Your Ultimate Guide to Coffin Nails: Shape, Style, and Secrets from a Pro
I’ve worked behind the nail desk for a long, long time, and I’ve seen countless nail trends come and go. But some shapes just have that timeless ‘it’ factor, and the coffin nail—also called the ballerina shape—is definitely one of them.
In this article
- First Things First: Understanding the Coffin Nail
- Can You Do Coffin on Natural Nails? (The Honest Answer)
- Is This Shape Really for You? And How to Spot a Good Tech
- How the Pros Shape Coffin Nails
- Troubleshooting Common Shaping Mistakes
- The Fun Part: Finishes, Colors, and Art
- Keeping Them Perfect: Fills and Safe Removal
- Inspiration Gallery
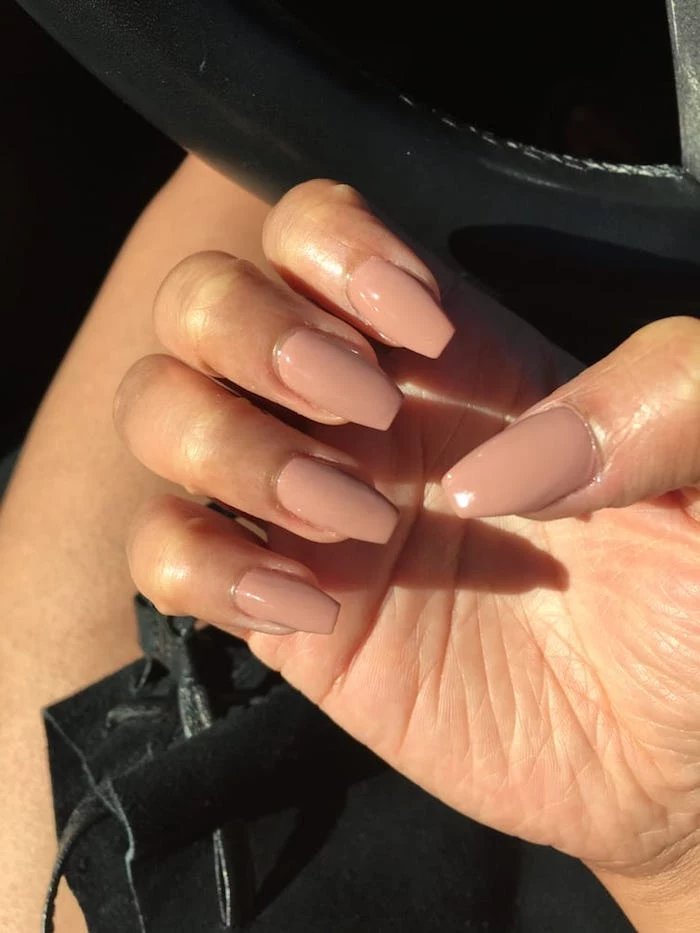
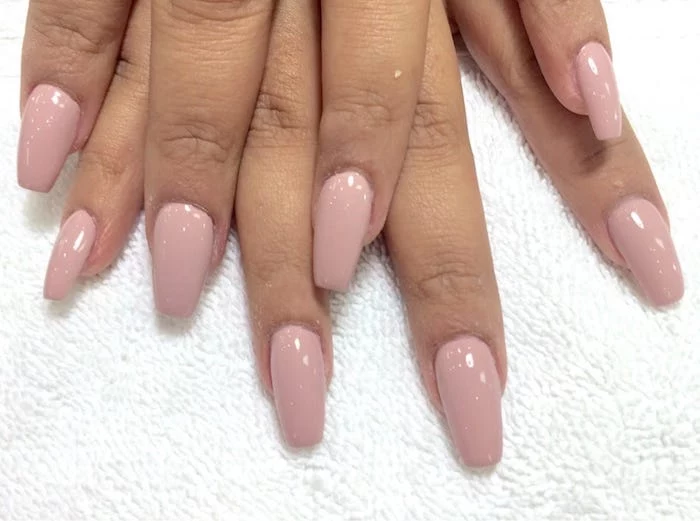
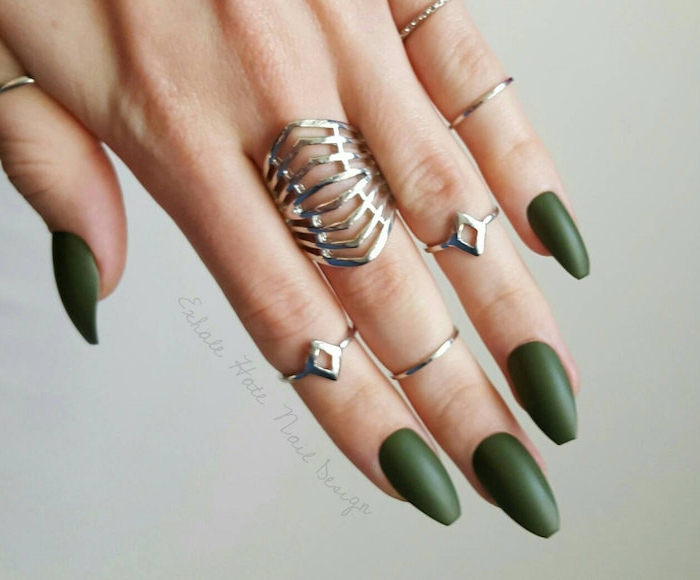
Let’s clear this up first: think elegant ballerina pointe shoe, not a spooky coffin! The name sounds dramatic, but the look is pure sophistication. It’s defined by long, tapered sides that square off at the tip with a straight, flat edge. It’s a look that screams confidence and has a knack for making fingers appear longer and more slender.
But here’s the thing. Getting a gorgeous and, more importantly, a durable coffin nail is a real technical skill. It’s so much more than just filing down the sides. It’s about understanding structure, product, and balance. Honestly, it’s a shape that quickly reveals if a technician knows what they’re doing. So, let’s skip the endless photo galleries and get into the practical stuff I share with my clients and new nail techs.
First Things First: Understanding the Coffin Nail
Before you even think about picking up a file, you have to appreciate that a coffin nail is an engineered structure. Seriously. If any part of that structure is weak, it’s going to fail, and that usually means a painful break that can damage your natural nail underneath. Not fun.
A natural nail gets its strength from its gentle curve and solid edge. When we file it into a coffin shape, we’re essentially removing the supportive corners you’d find on a square nail. This creates two new stress points right at the corners of that flat tip. Without the right reinforcement, any pressure on those corners can send a crack shooting right down the nail.
This is exactly why the apex is so critical. The apex is the highest, thickest point of the nail enhancement, strategically placed over the natural nail’s stress area to act as a backbone. On a coffin nail, a perfect apex is non-negotiable. It counterbalances the pressure on that flat tip. A nail that’s flat from cuticle to tip has zero structural support. I can tell you from experience, it is 100% guaranteed to break.
Can You Do Coffin on Natural Nails? (The Honest Answer)
Okay, let’s be real. Can you get a coffin shape on natural nails? Technically, yes, but it comes with some major caveats. Your natural nails would need to be incredibly strong and already quite long. For most of us, that’s just not realistic. The tapered sides make the nail vulnerable, and without the strength of an enhancement, they’re just asking to split and break.
That’s why enhancements are almost always the way to go for a true, crisp coffin shape. If you’re heading to the salon, here’s what you’ll likely be choosing from:
- Acrylic: This is the OG of nail enhancements, a mix of liquid and powder that creates a super strong and durable result. It’s fantastic for achieving those long, sharp coffin shapes because it’s so rigid and allows a technician to build a really precise apex.
- Hard Gel: This is a thick, honey-like gel that’s cured under a UV or LED lamp. It’s also very strong but has a little more flexibility than acrylic, which some people prefer. It’s also odorless, which is a big plus for anyone sensitive to the smell of acrylic monomer.
- PolyGel (or Hybrid Gel): This is a newer-school product that basically combines the best parts of acrylic and gel. It comes in a tube and has a paste-like consistency, so a tech can take their time perfecting the shape before curing it. It offers great strength with easy workability.
Choosing between them often depends on your nail tech’s specialty and what works best for your nails and lifestyle. Oh yeah, and for a great full set of coffin nails from a skilled tech, you should budget anywhere from $60 to $150+, depending on your location and the tech’s experience level.
Heads up for the DIY crowd: If you’re determined to try this at home, I’d strongly suggest starting with high-quality press-on nails. You can file them into a perfect coffin shape before you even apply them, giving you the look without risking your natural nails. If you must try it on your own nails, keep them SHORT. A ‘baby coffin’ is much less likely to break.
Is This Shape Really for You? And How to Spot a Good Tech
A good nail technician should be honest about whether a style is a good fit for your lifestyle. Long coffin nails are a commitment! If you work with your hands a lot, type like a maniac, or are just generally rough on your nails, a shorter version or a more durable shape like an almond or oval might be a better choice. It’s all about setting you up for success so you love your nails for weeks, not just a few hours.
By the way, finding a great tech is key. Here are some green flags to look for (and red flags to avoid):
- Green Flag: They have a consultation with you first to discuss your lifestyle and nail goals.
- Green Flag: Their tools are either single-use or come from a sealed, sterilized pouch. Cleanliness is everything.
- Green Flag: They are skilled with a hand file and don’t over-use an electric file (e-file), especially on your natural nail plate.
- RED FLAG: They use a drill bit (like a metal one) directly on your natural nail. This is a huge no-no.
- RED FLAG: You feel a burning sensation during filing or curing. This often means improper technique or product application. Speak up!
How the Pros Shape Coffin Nails
Shaping a coffin nail is a game of precision. Rushing leads to lumpy, weak nails. For enhancements, a 100/180 grit file is the workhorse. The coarse 100 side removes bulk, and the finer 180 side refines the shape. For natural nails, please don’t use anything that rough! A 240 grit buffer or a glass file from a beauty supply store is much safer and prevents tearing.
And you absolutely need good lighting. You have to see the nail from every single angle to spot imperfections.
Here’s the basic process for a nail that’s ready for its final shaping. And remember, a quality new set can take some time in the chair—plan for 1.5 to 2.5 hours.
- Set the Length: First, I establish the length and use the straight edge of my file to create the flat tip. The file has to be held perfectly perpendicular to the nail’s length. Even a slight angle will make the tip crooked.
- Find the Center Line: This is the secret to symmetry. I imagine a line from the center of the cuticle to the center of the tip. Every file stroke on one side is mirrored on the other.
- Taper the Sides: I place my file flush against the side wall and file in one smooth direction, from the side toward the free edge. Pro-Tip: I brace the hand I’m filing with on the table and use my thumb to stabilize the client’s finger. This prevents wobbling and gives you a laser-straight line. Avoid that back-and-forth sawing motion—it creates heat and gives you less control.
- Check and Refine: I look at the nail from every possible angle—from my view, the client’s view, and straight down the barrel from the tip. That ‘barrel view’ is how you check the C-curve and thickness. Is the tip flat? Are the sides even? Is the surface smooth? This is where the artistry happens.
Troubleshooting Common Shaping Mistakes
- The ‘Fan’ Shape: The tip is too wide because the sides weren’t tapered enough. The fix is to go back and file the sides more.
- The ‘Arrow’ Shape: The opposite problem. The sides are too tapered, and it looks like a stiletto with the point snipped off. You can’t add product back, so this usually means shortening the nail to get the right proportions.
- A Crooked Tip: This comes from not holding the file straight. It’s an easy fix with small, careful adjustments until it’s perfectly level from the client’s perspective.
The Fun Part: Finishes, Colors, and Art
Once the structure is perfect, it’s time to play! The coffin shape is an amazing canvas for nail art.
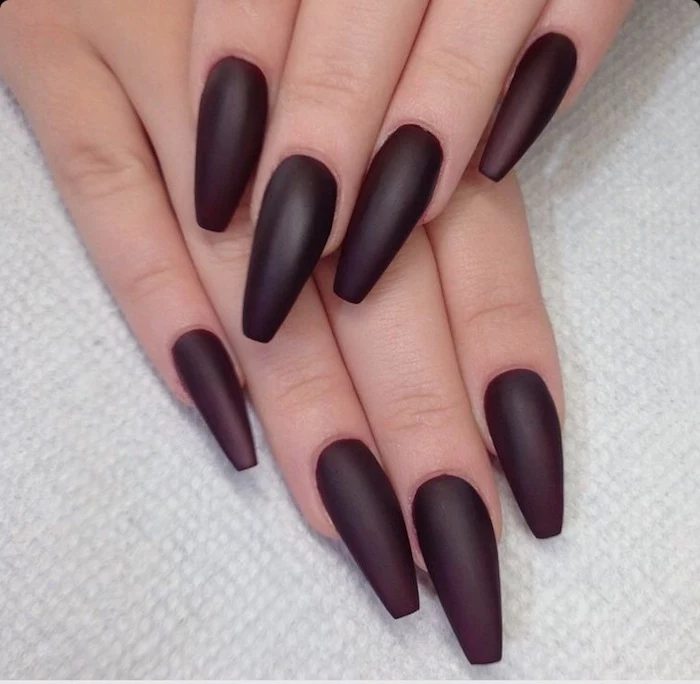
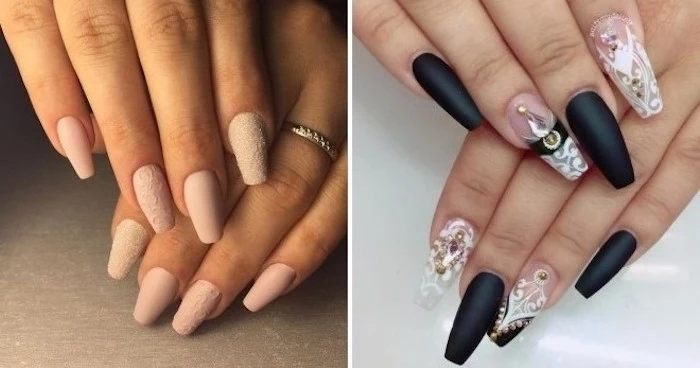
A quick note on matte vs. glossy top coats. A glossy finish is durable and stain-resistant. A matte finish is stunning but more porous, so it can get stained by things like makeup, new denim, or hair dye. Quick Tip: If your matte nails get stained, gently wipe them with a cotton pad soaked in rubbing alcohol. It often lifts surface stains right off!
Some designs that look incredible on this shape include:
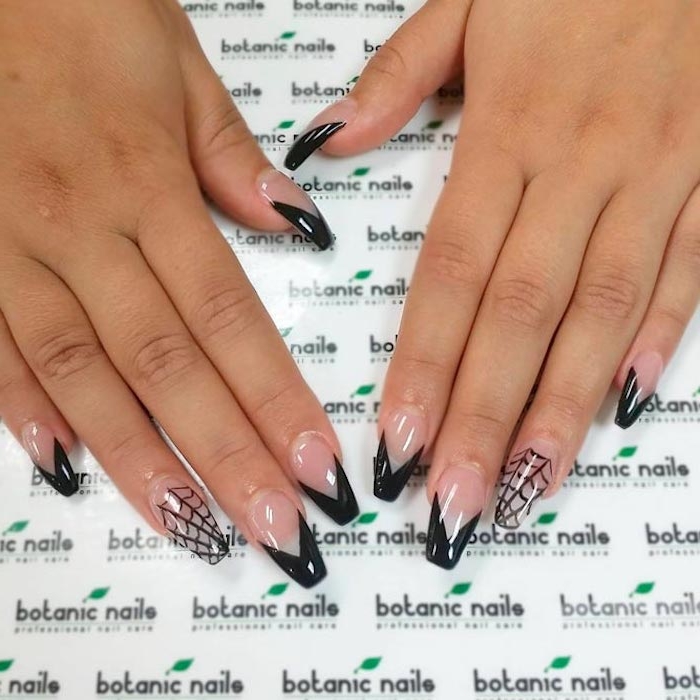
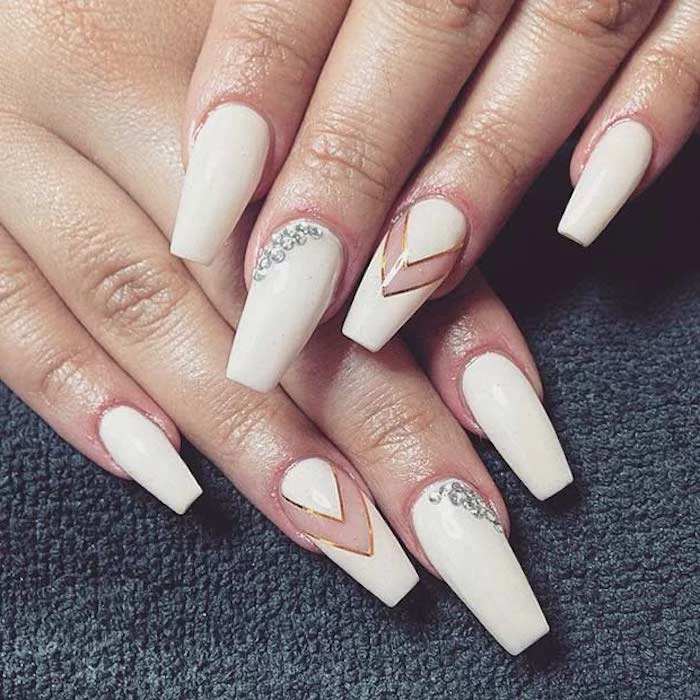
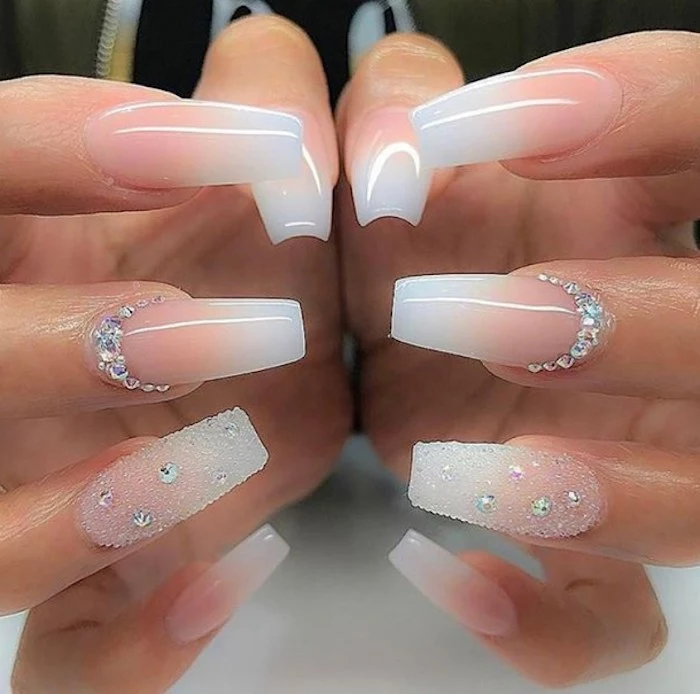
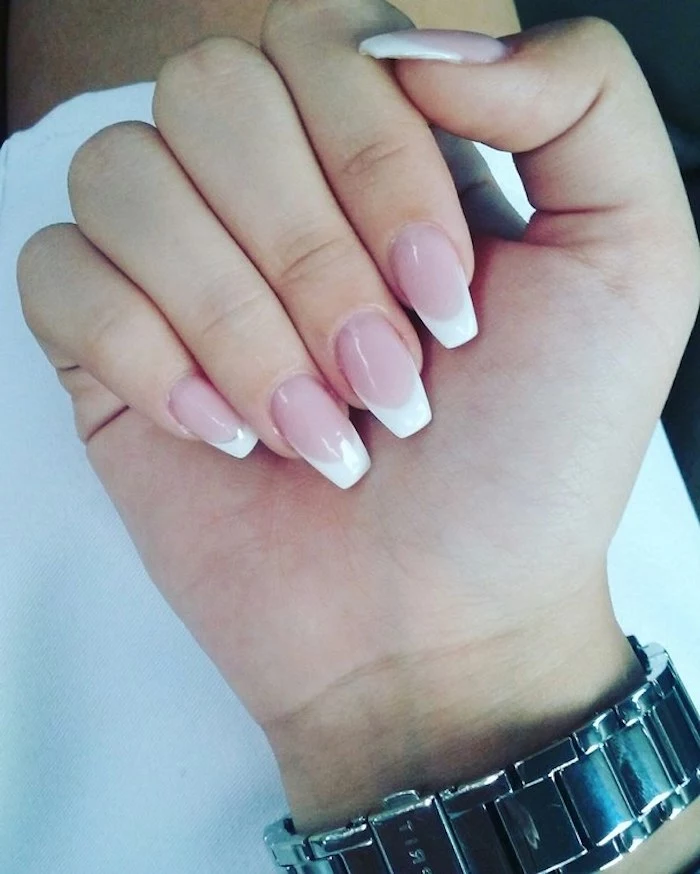
- Modern French: A deep ‘V’ or chevron-shaped smile line looks so much chicer on a coffin nail than a traditional soft curve.
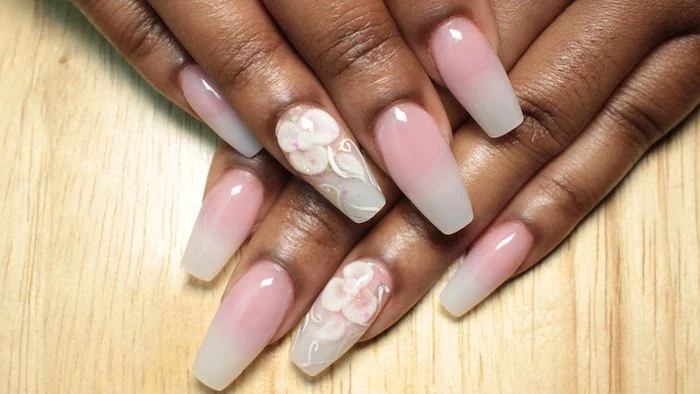
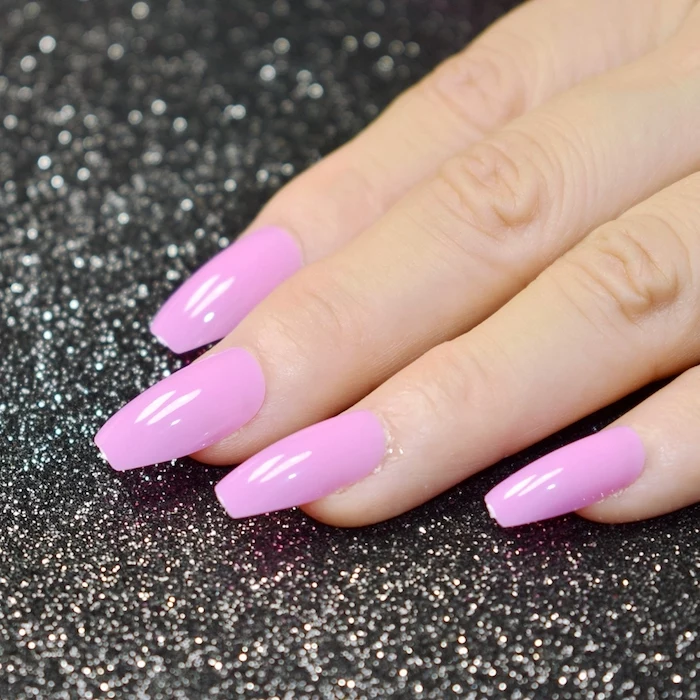
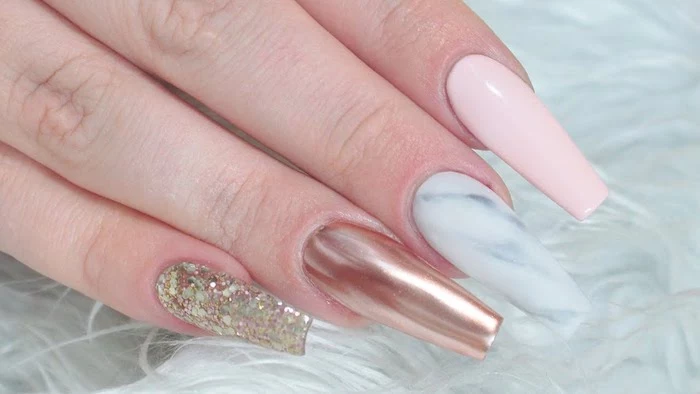
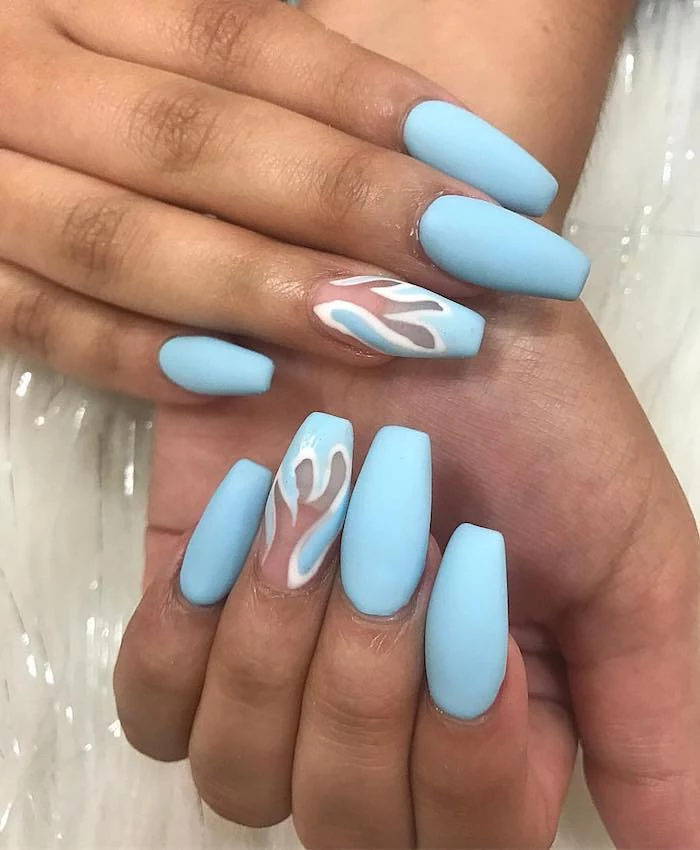
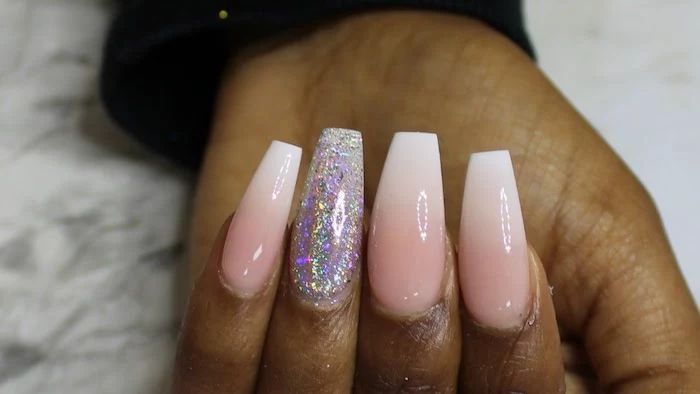
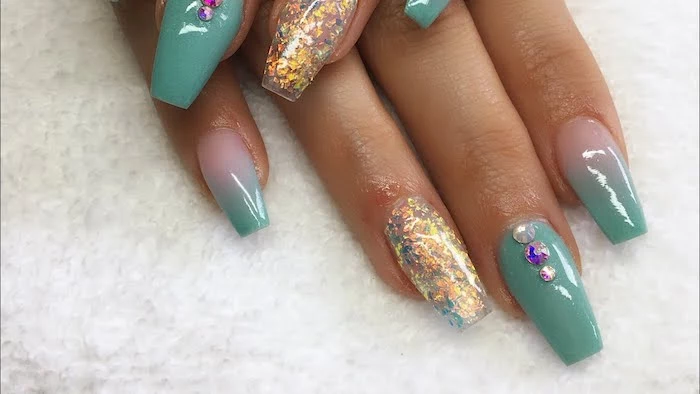
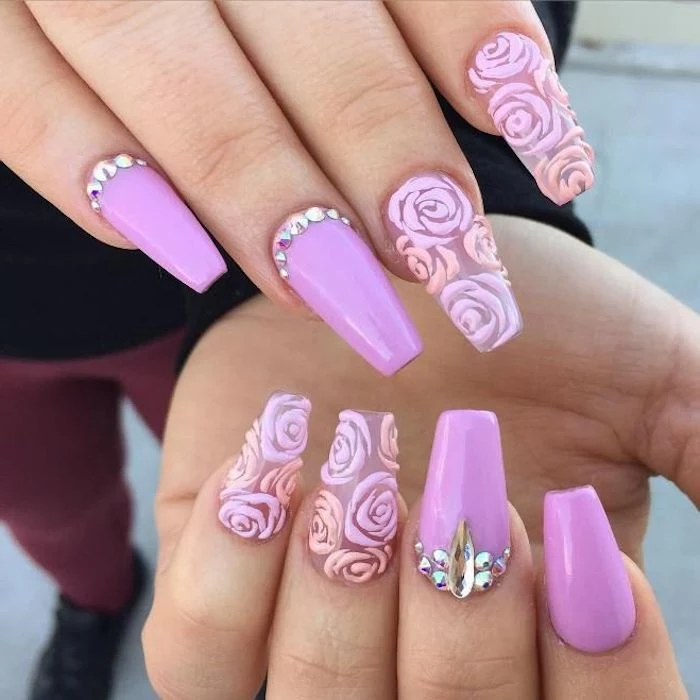
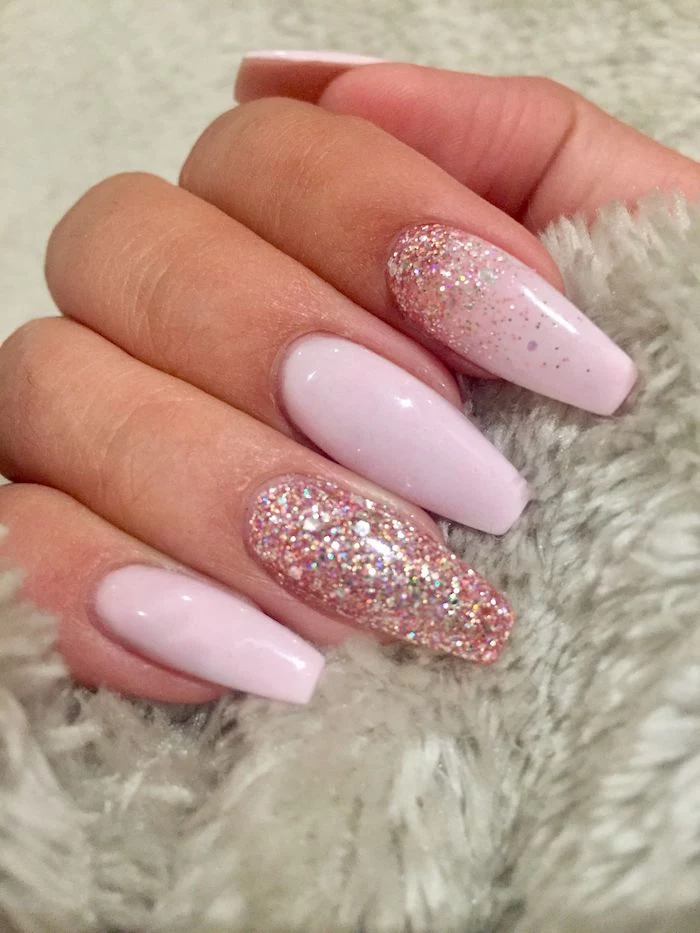
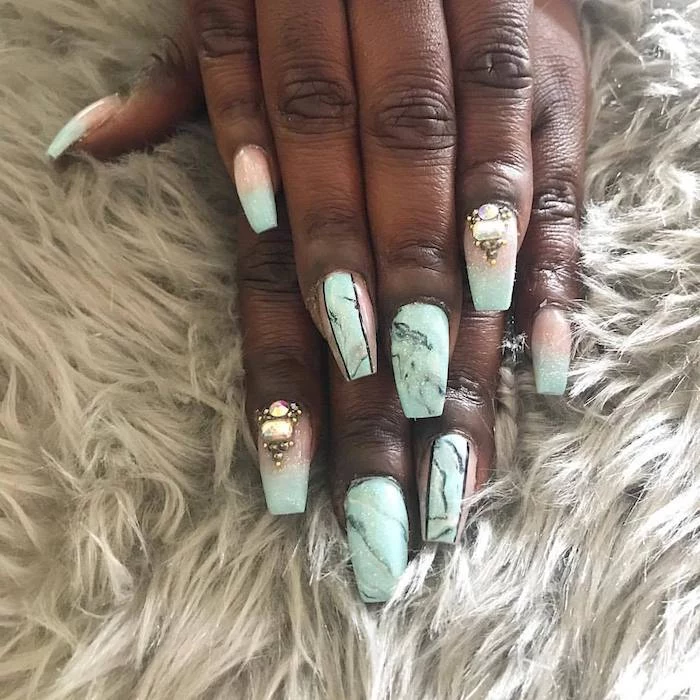
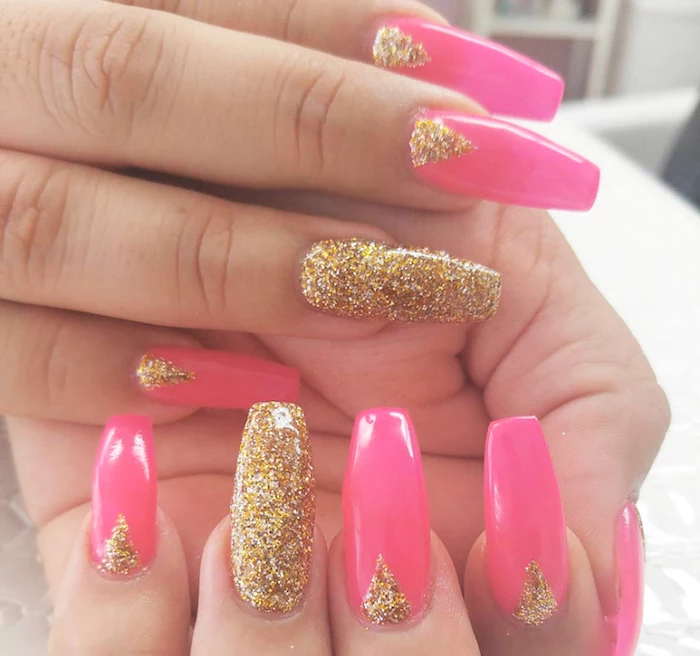
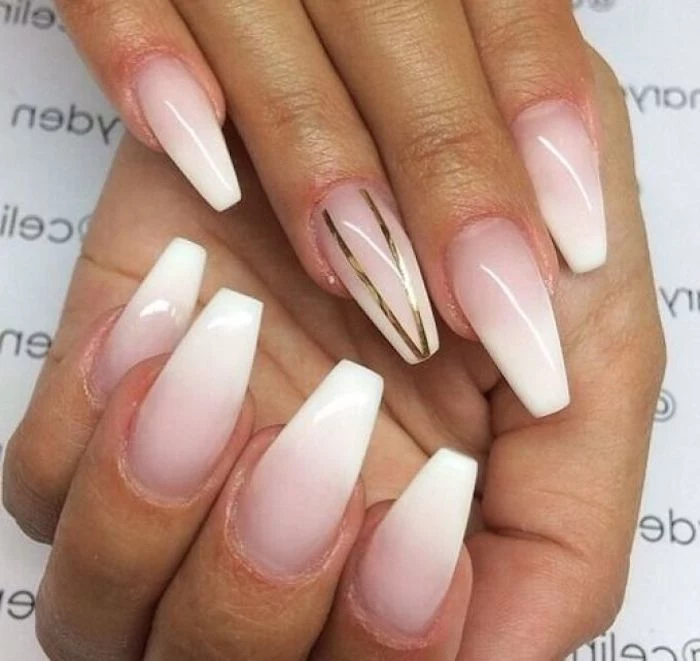
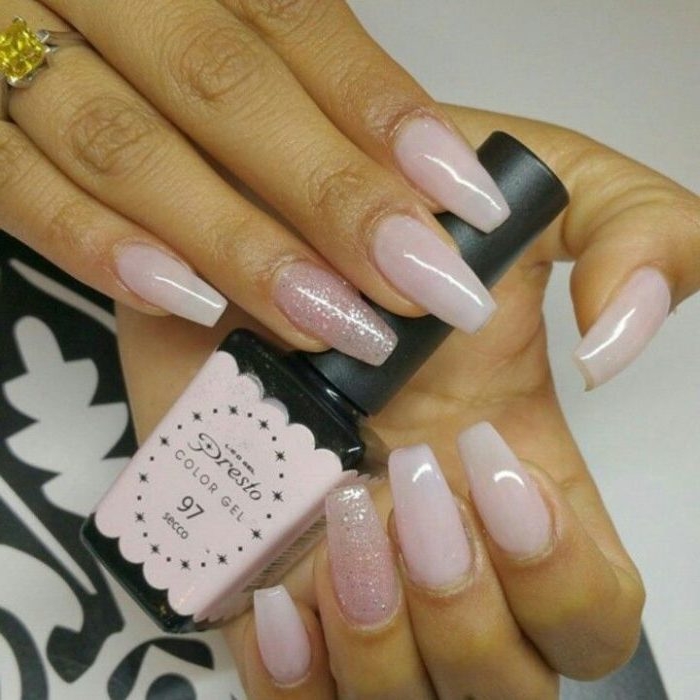
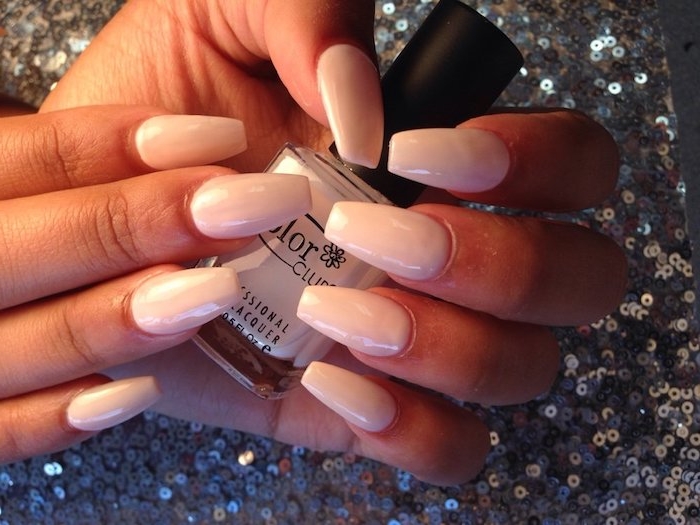
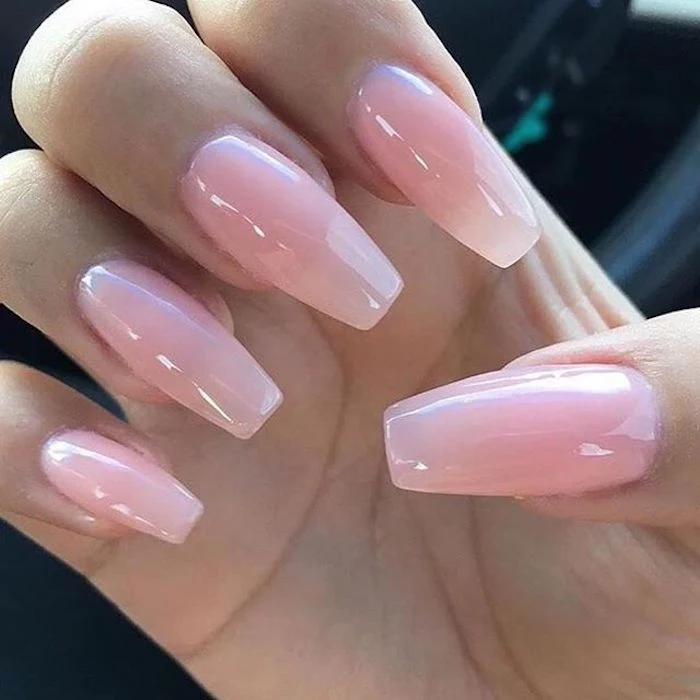
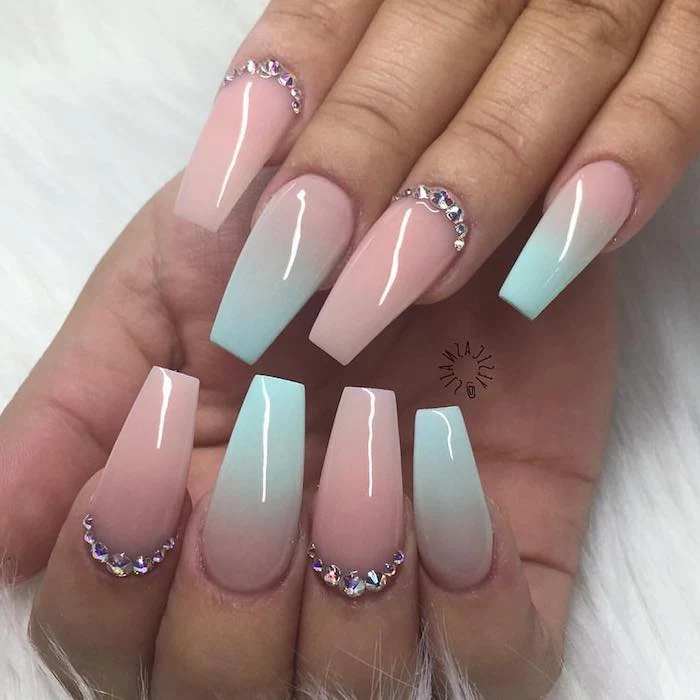
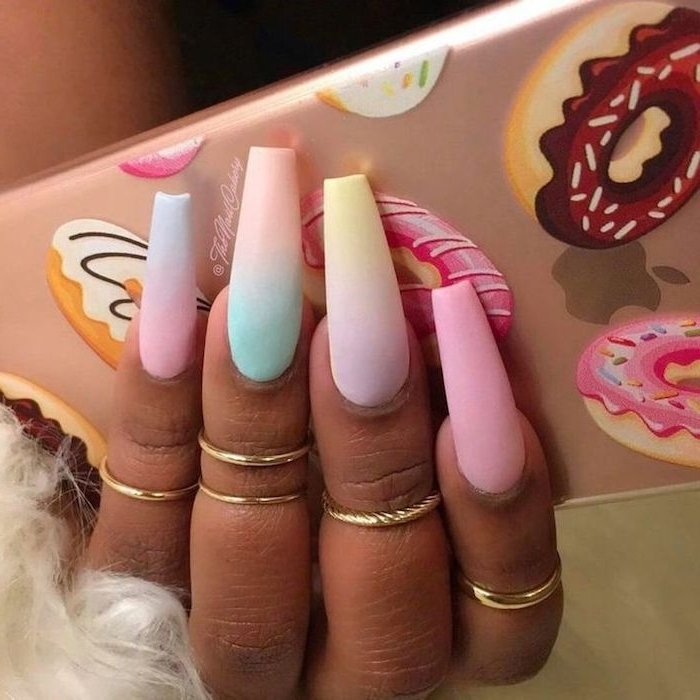
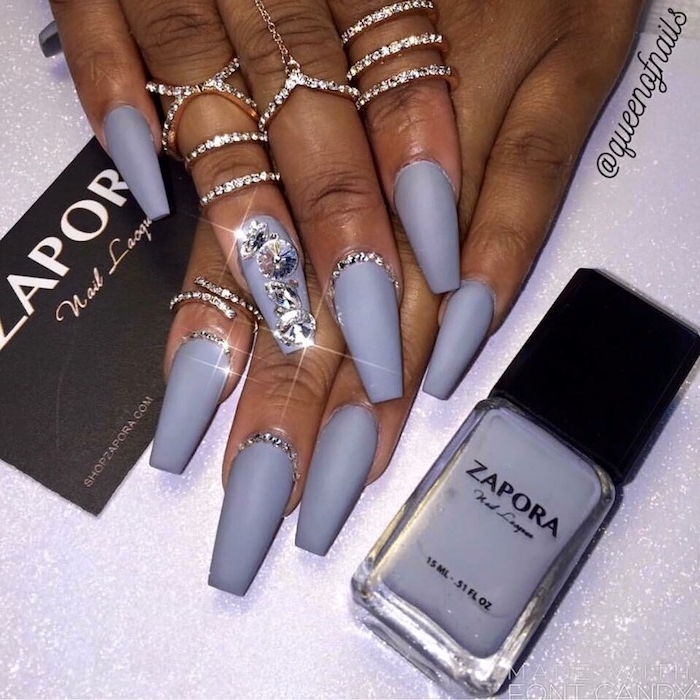
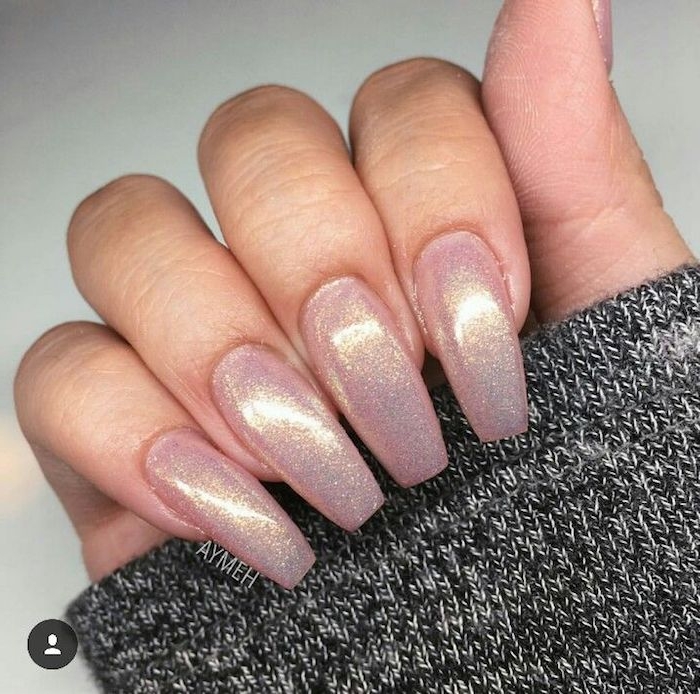
- Ombré and Baby Boomers: The long, flat surface is perfect for a seamless fade, especially the classic soft pink to milky white blend.
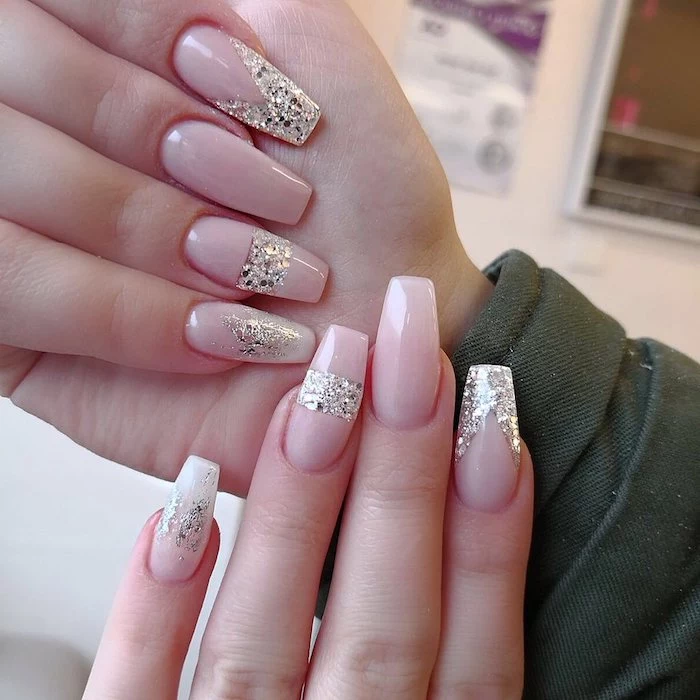
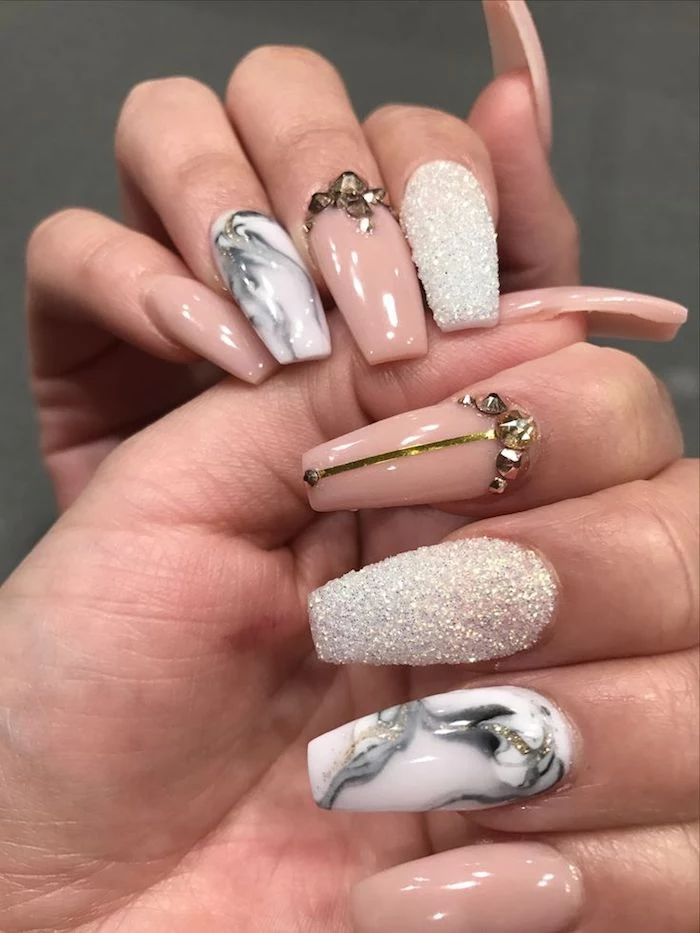
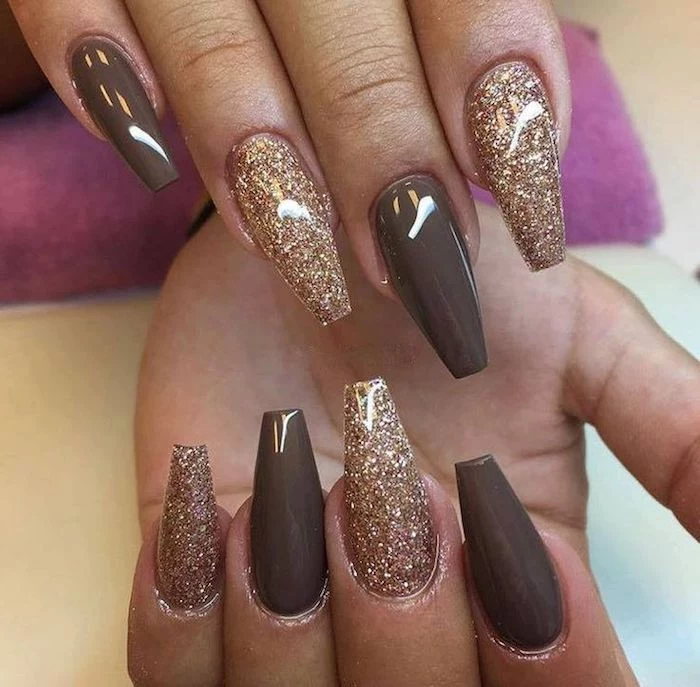
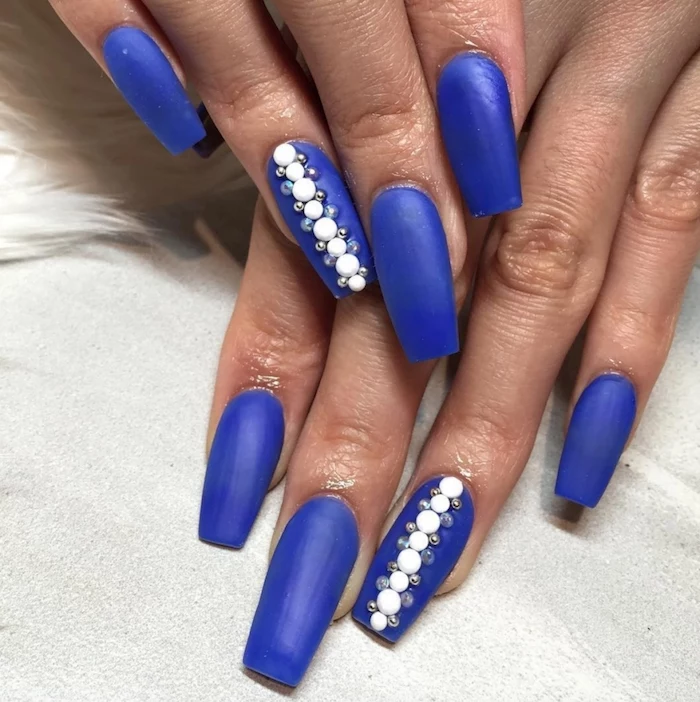
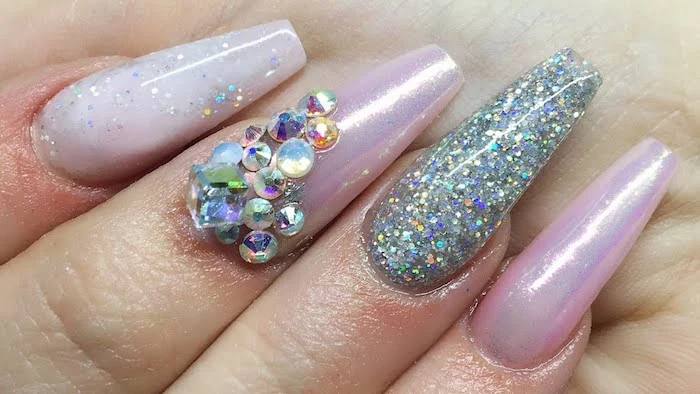
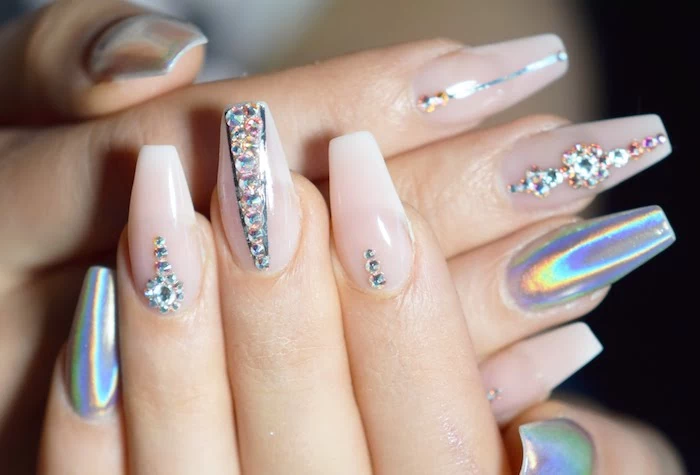
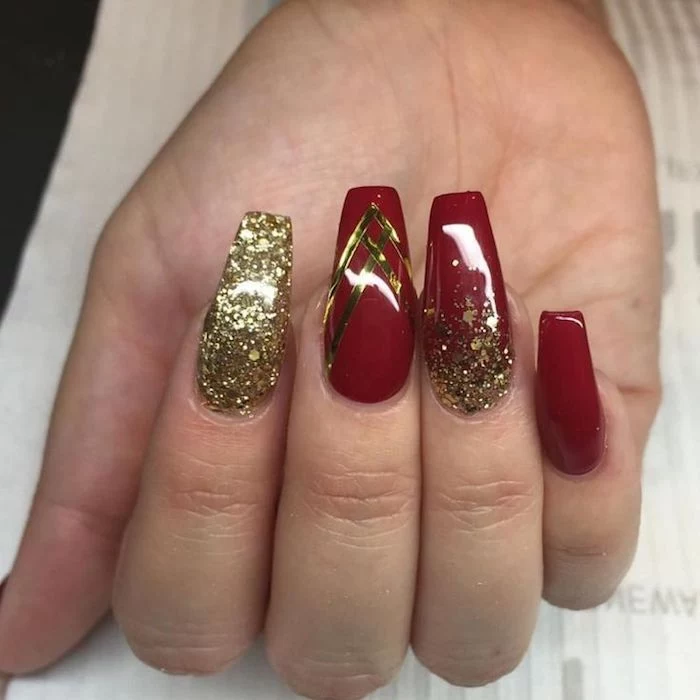
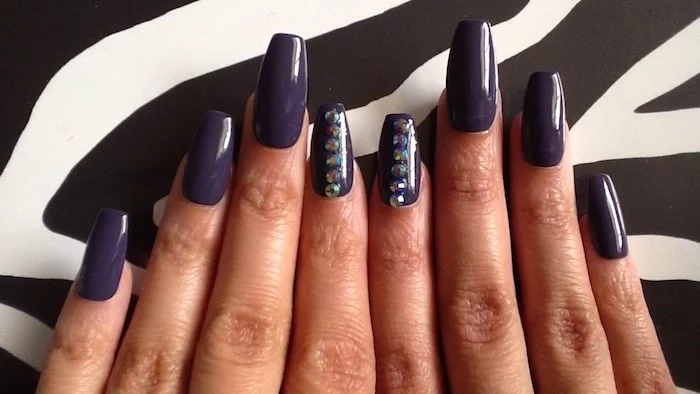
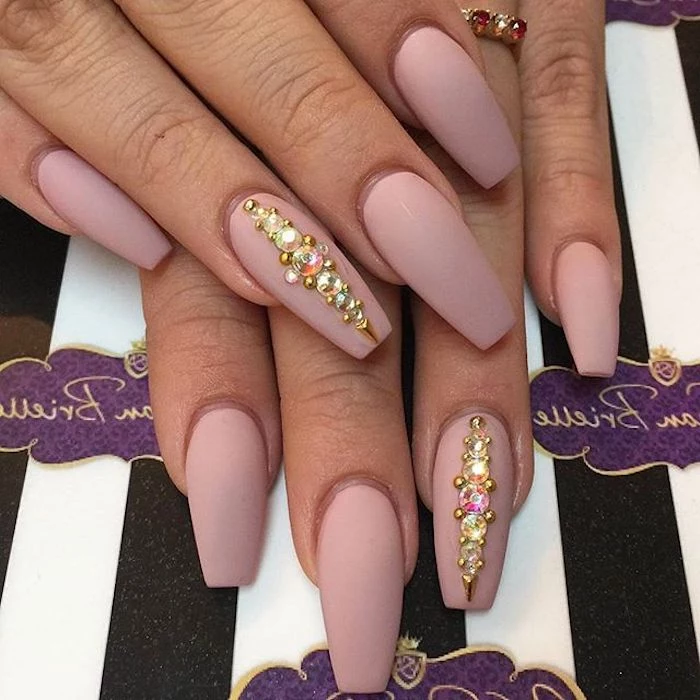
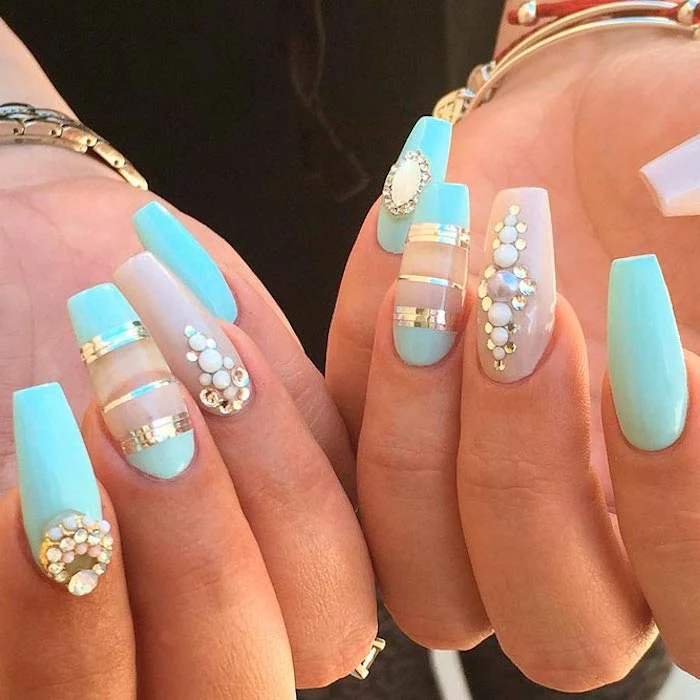
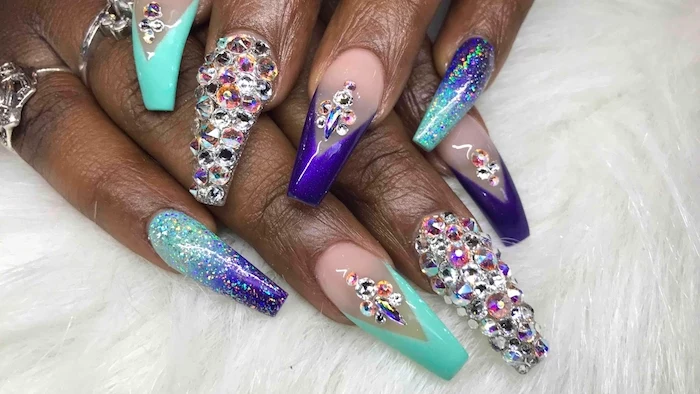
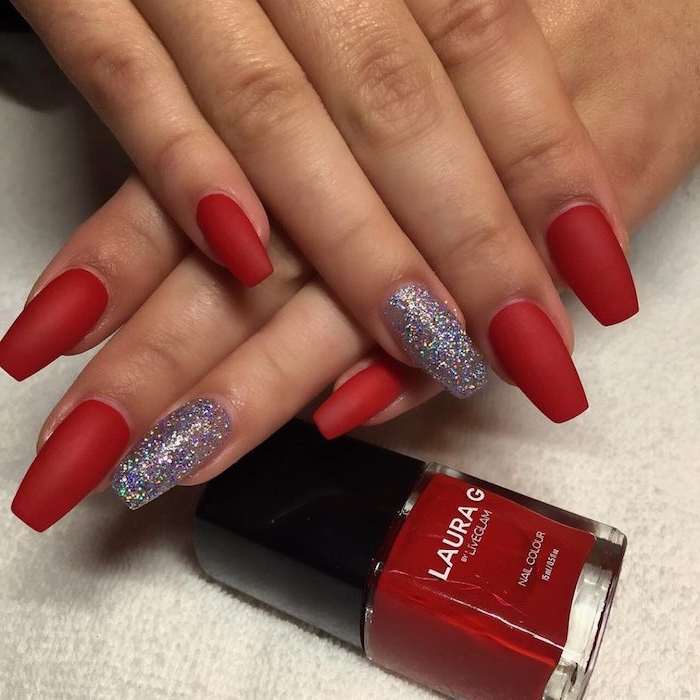
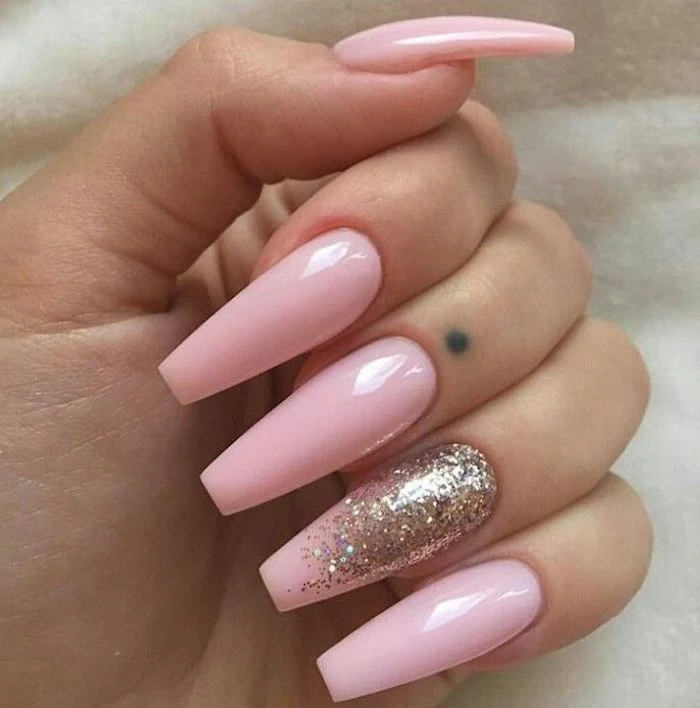
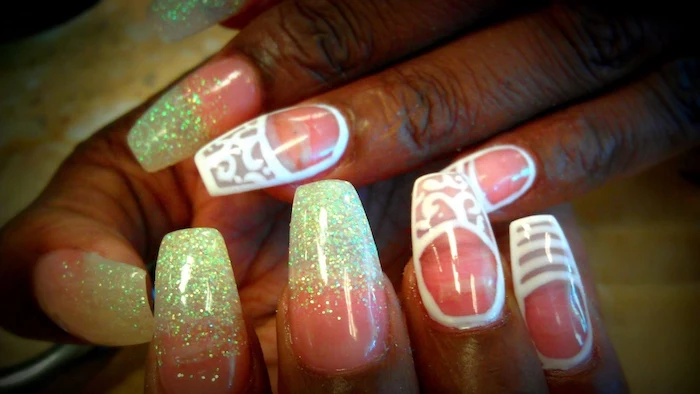
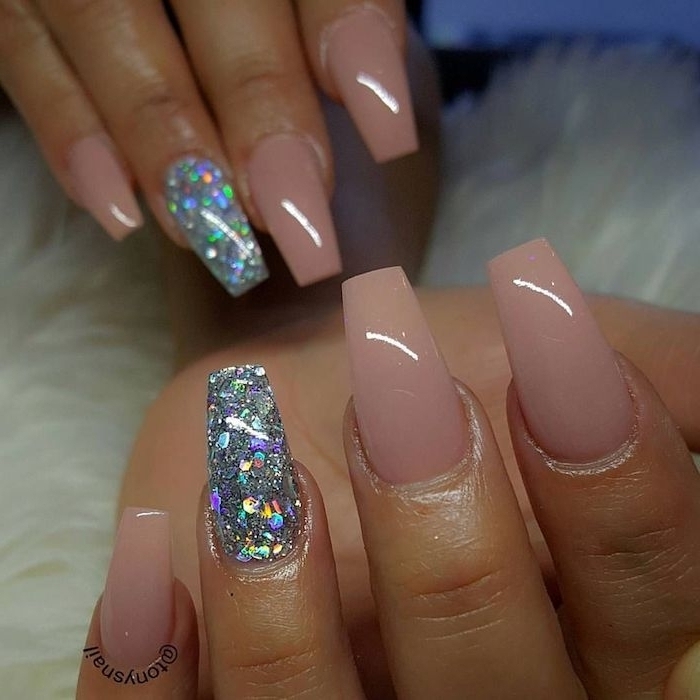
- Encapsulated Glitter: This is a technique where glitter or other art is sealed inside the nail. It’s time-consuming but the depth and sparkle are unreal.
Keeping Them Perfect: Fills and Safe Removal
A set of coffin nails is a relationship, not a one-night stand. You have to maintain them. I recommend a fill every 2 to 3 weeks. A fill will typically cost between $40 and $80.
When your nail grows, it’s not just the gap at the cuticle that’s the problem. The whole structure shifts forward. That perfectly placed apex is now halfway down the nail, making it top-heavy and way more prone to breaking. A proper fill service is actually a rebalancing of the entire nail structure, not just a patch job. The tech will file down the old product, re-shape the nail, and build a new apex in the correct spot.
And what about when you’re ready to take them off? Professional removal is always the safest bet. But if you can’t get to a salon, you can do it at home very carefully. For acrylic or PolyGel:
- Shorten and Thin: First, clip the length down. Then, using a coarse file (like a 100-grit), gently file off the top coat and about 50-60% of the product. Be careful not to file down to your natural nail.
- The Soak: Soak cotton balls in 100% pure acetone, place one on each nail, and wrap it tightly with a small square of aluminum foil. The foil traps heat and helps the acetone work faster.
- Wait and Scrape: Let them soak for at least 20-30 minutes. The product should be gooey and jelly-like. Gently scrape off the softened product with an orange wood stick or a cuticle pusher. NEVER force or pry it off.
- Re-soak if Needed: If there’s still product left, don’t keep scraping. Just re-wrap the nail with a fresh acetone-soaked cotton ball and wait another 10-15 minutes.
- Hydrate: Once they’re clean, gently buff your natural nail and drench your nails and cuticles in cuticle oil. Acetone is extremely drying, so this step is crucial.
And there you have it. Coffin nails are a stunning choice, and when they’re done right, they’re strong, beautiful, and totally wearable. It’s all about that perfect blend of art and science.
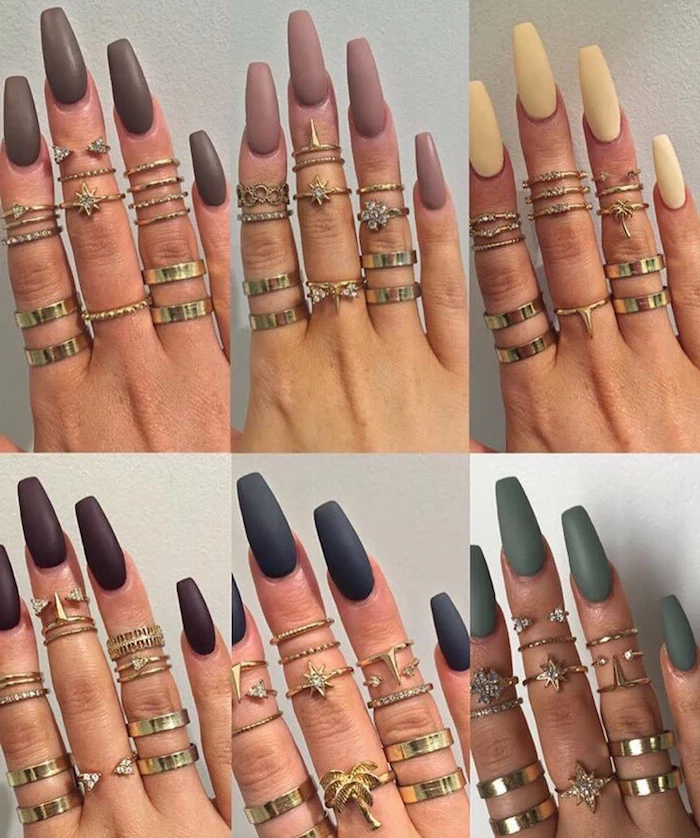
Inspiration Gallery
Acrylic vs. Builder Gel: The choice for your coffin nails often comes down to this. Acrylic is the powerhouse—ultra-rigid and perfect for dramatic length. Builder gels, like the popular BIAB™ from The Gel Bottle Inc, offer more flexibility, which can prevent shattering on impact and feels lighter on the nail. Discuss your lifestyle with your tech to choose your champion.
The ‘ballerina’ name isn’t just a prettier alternative to ‘coffin.’ It directly references the squared-off toe of a ballerina’s pointe shoe, evoking a sense of strength, grace, and discipline—qualities mirrored in a perfectly structured nail enhancement.
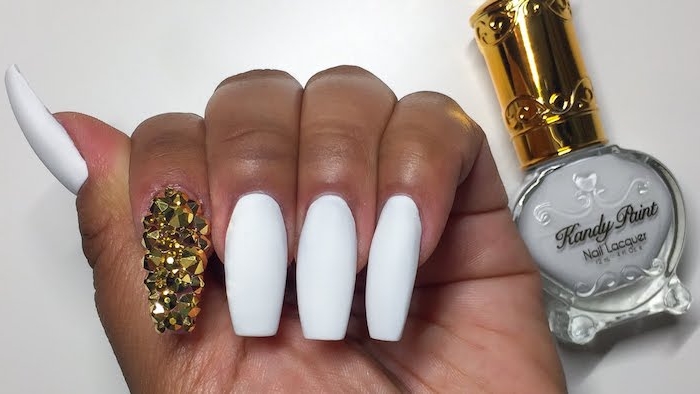
Thinking about a matte finish? It’s incredibly chic on a coffin shape, especially with deep jewel tones or nudes. But be warned: matte top coats can be prone to staining from makeup, hair dye, or even dark denim. A quick wipe with an alcohol pad can often lift fresh stains, but prevention is key.
How do I prevent my long coffin nails from feeling clumsy?
It’s all about adaptation! Start by using the pads of your fingers, not the tips, to type and text. When opening a car door or pressing buttons, use your knuckles. It feels strange for a day or two, but quickly becomes second nature and is the number one secret to avoiding painful breaks and preserving your manicure.

- Adds instant polish and a ‘finished’ look to any outfit.
- Visually elongates the fingers, making them appear more slender.
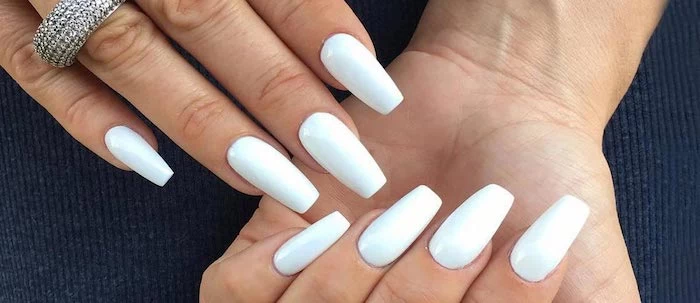
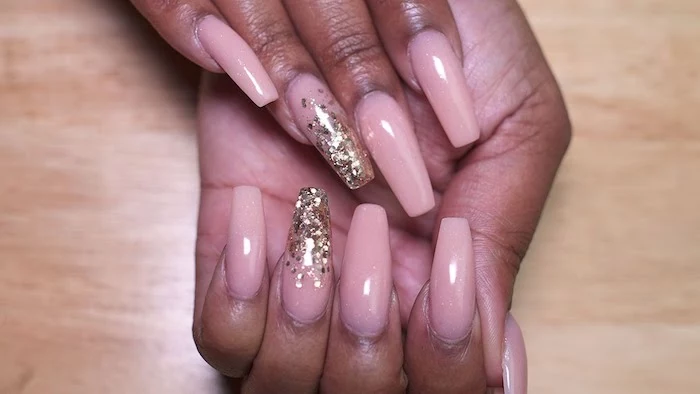
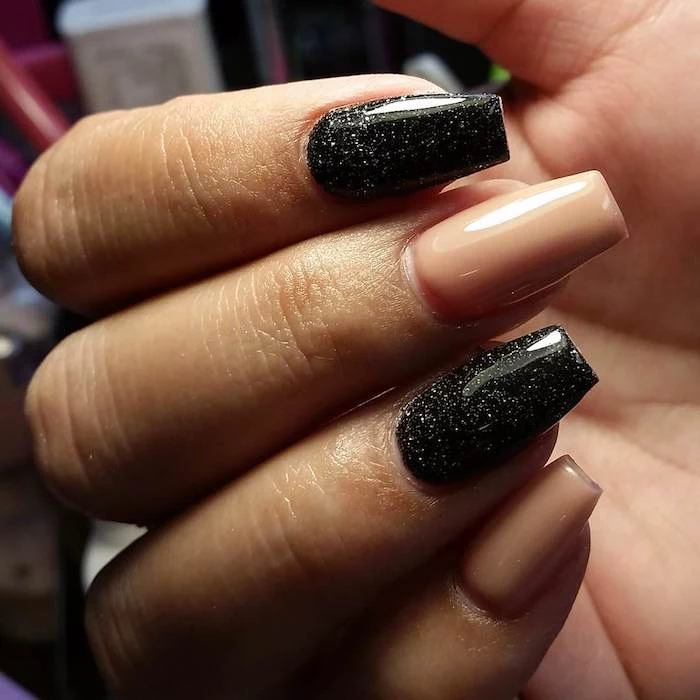
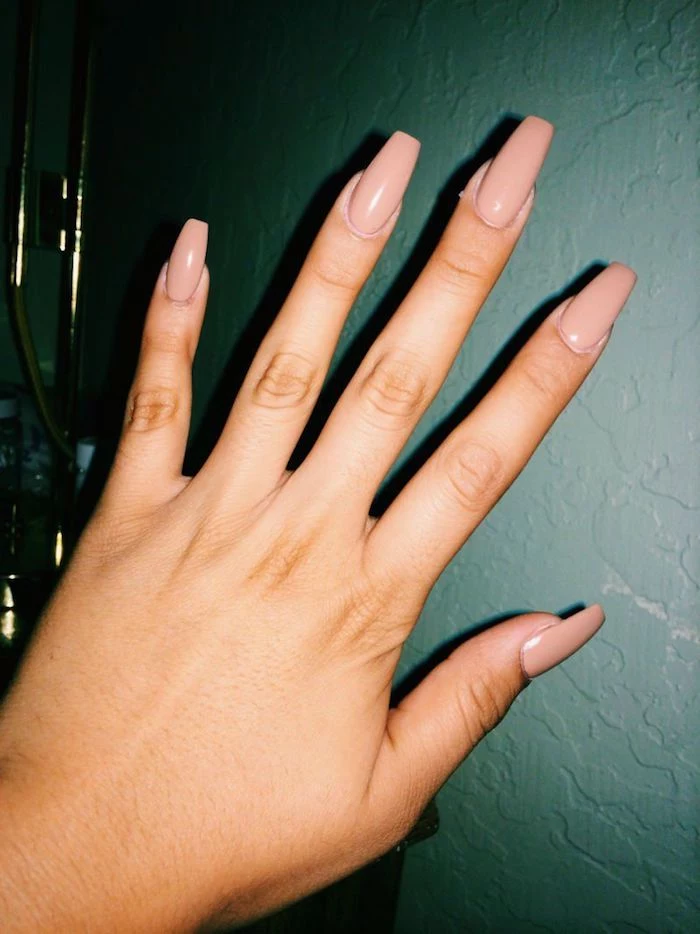
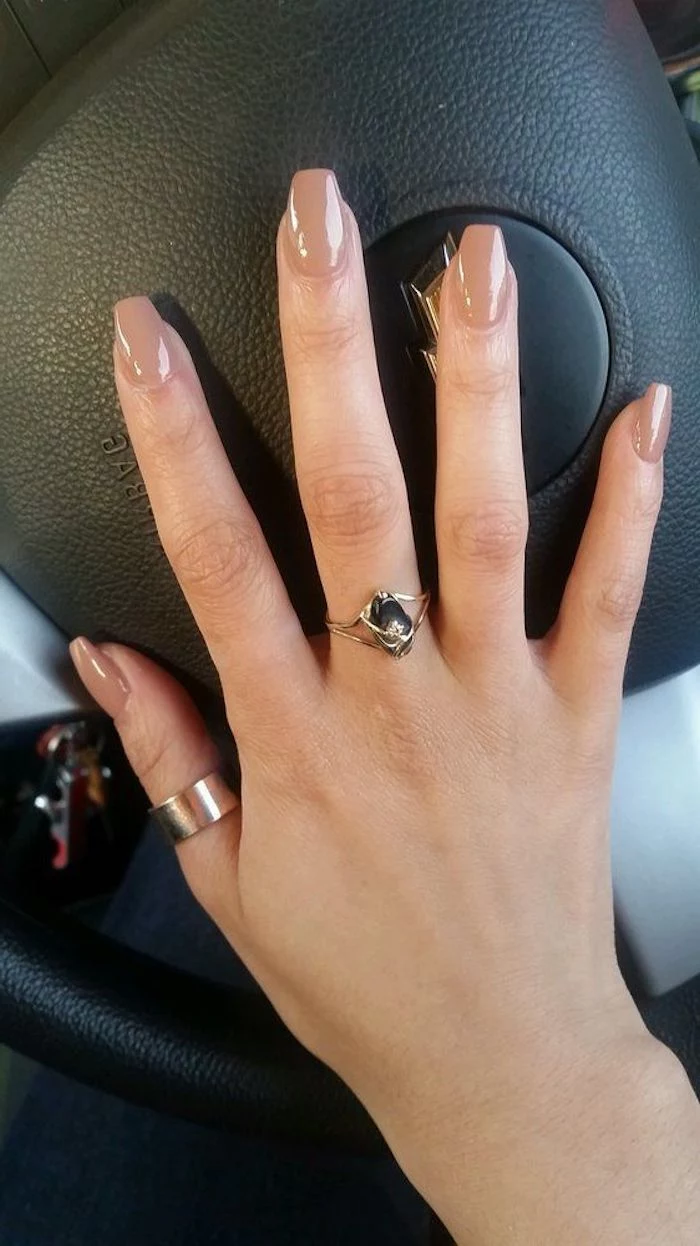
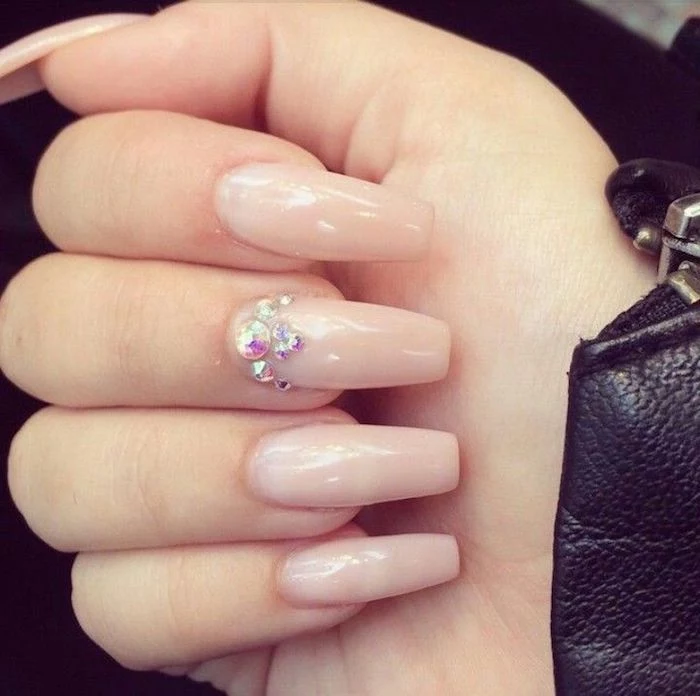
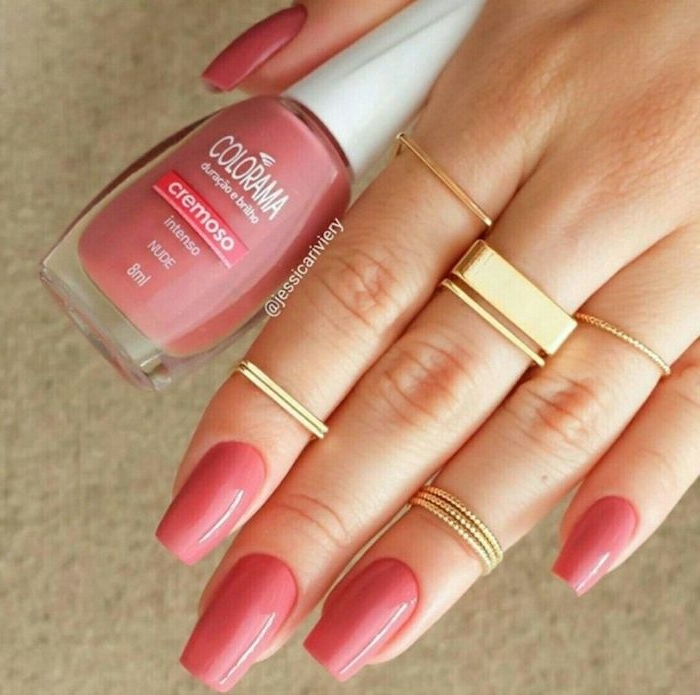
The secret? The nude coffin nail. From a sheer OPI ‘Bubble Bath’ to a more opaque beige, a well-shaped nude coffin nail is the ultimate accessory that works for the boardroom, a wedding, or a casual weekend.
The French manicure has evolved. On a coffin shape, the classic smile line is often replaced with a deep, sharp ‘V-Cut’ French or a soft, blended ‘Baby Boomer’ ombré. These modern takes accentuate the nail’s tapered lines far better than a traditional curved tip.
Pro Tip: If your tech files your nails paper-thin at the tip, that’s a major red flag. A quality coffin nail should have a consistent, reinforced structure from the apex all the way to the free edge. The tip should be crisp, but never fragile.

Don’t underestimate the power of a good top coat. For a glass-like shine that resists scratches, ask for a professional-grade, non-wipe gel top coat. For at-home polishers, Seche Vite Dry Fast Top Coat remains an industry icon for its incredible speed and durable, glossy finish that helps protect the underlying structure.
A single drop of quality cuticle oil applied daily does more than just moisturize the skin. It keeps the enhancement product (gel or acrylic) flexible and less prone to brittleness and cracking, extending the life of your manicure. Look for formulas rich in jojoba and vitamin E.
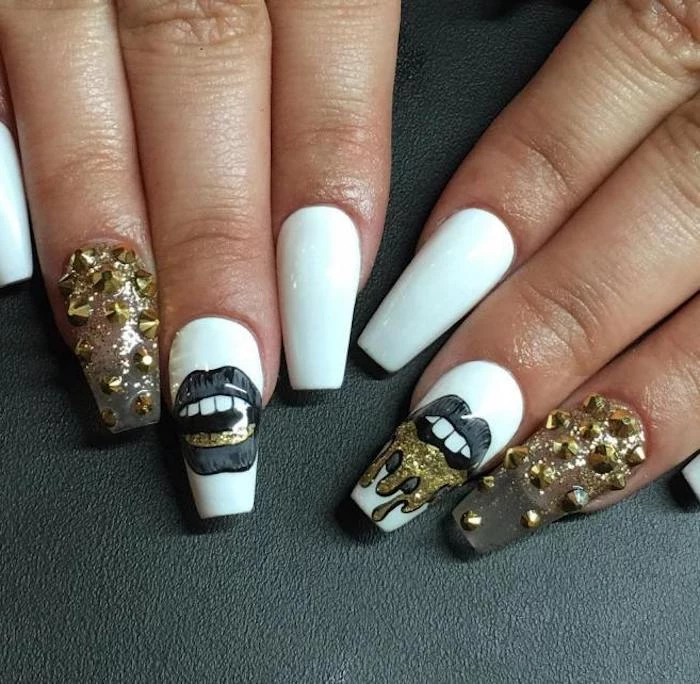
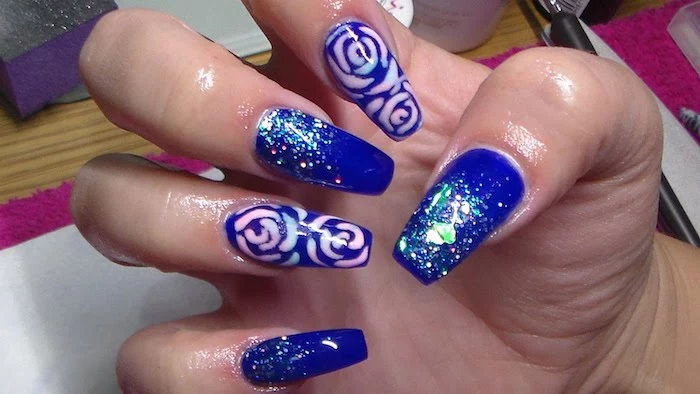
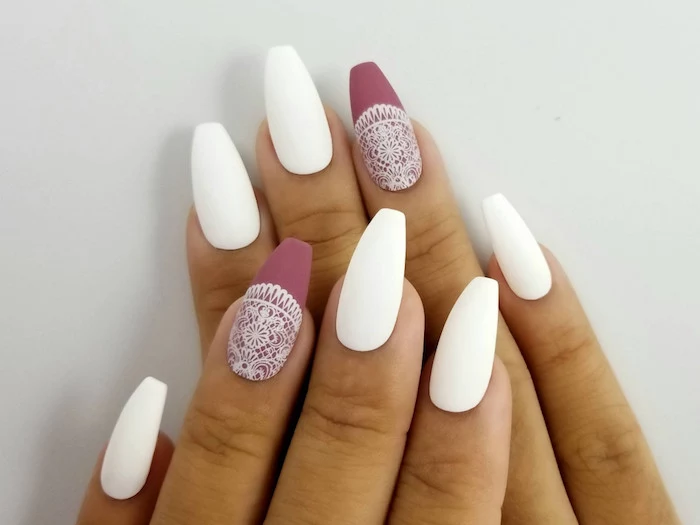
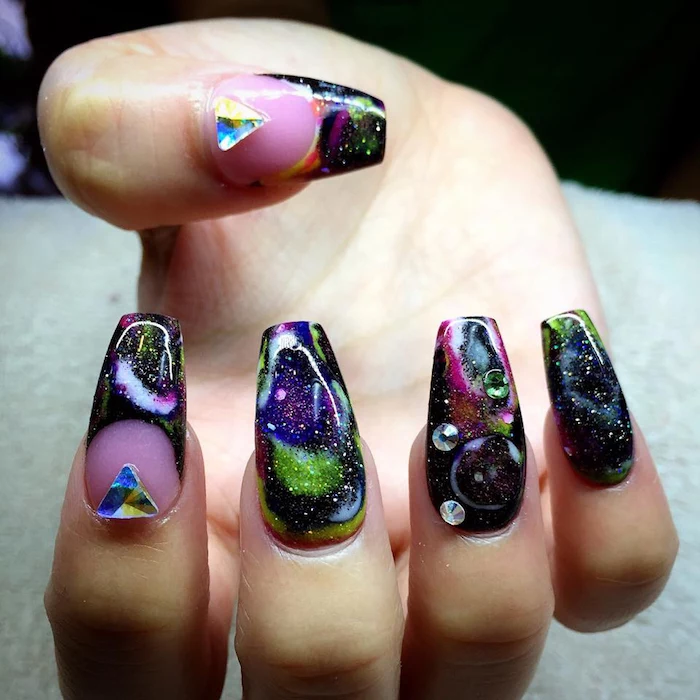
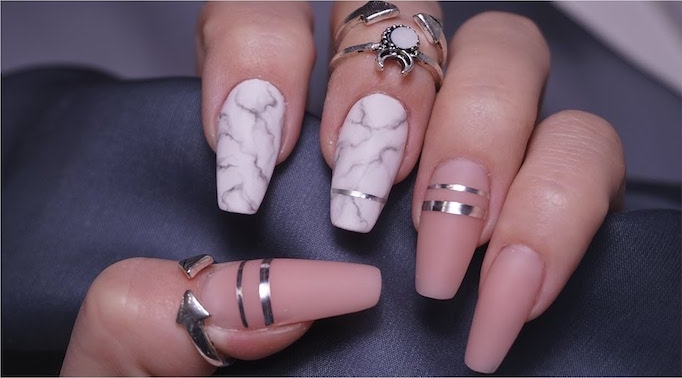
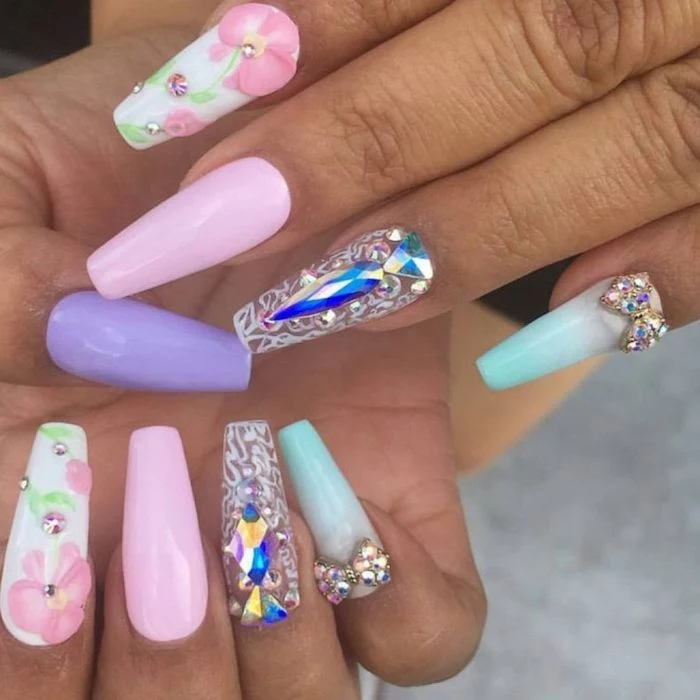
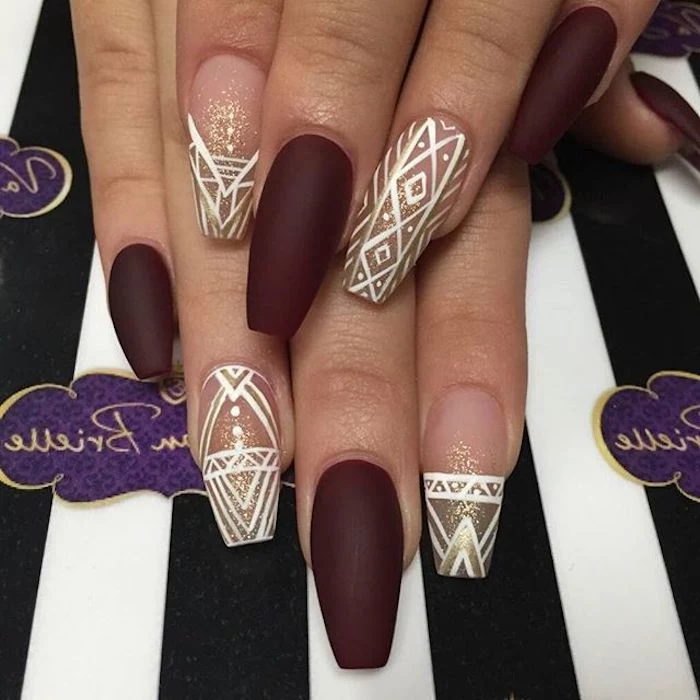
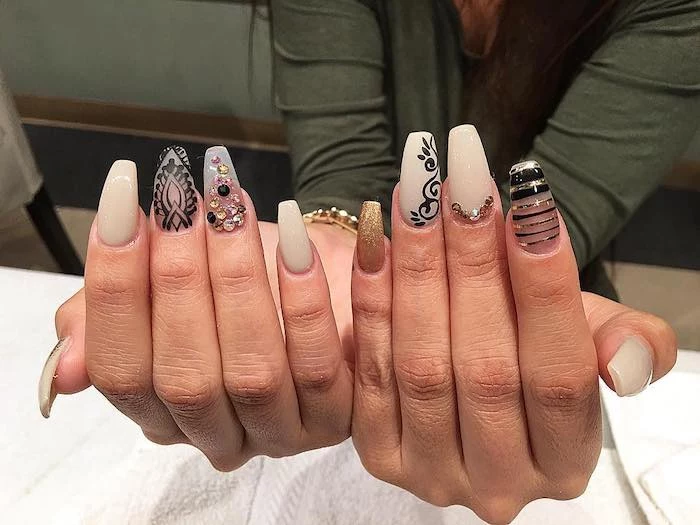
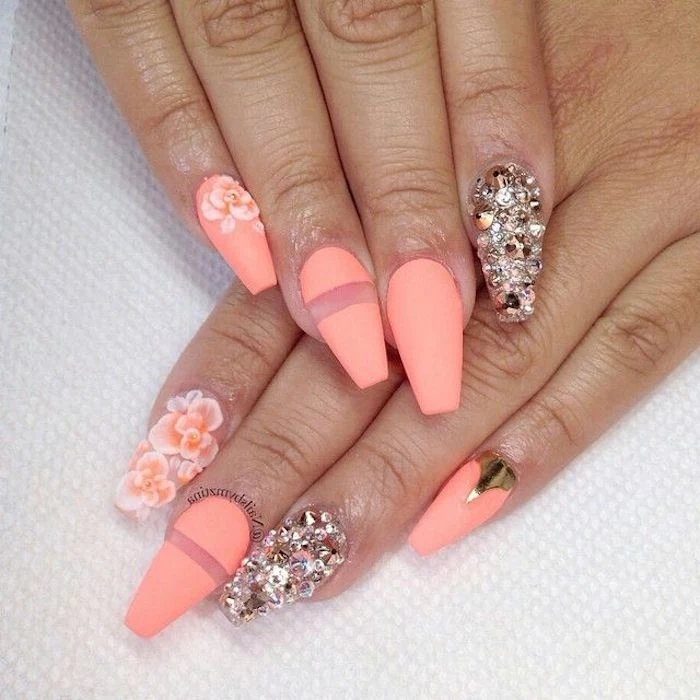
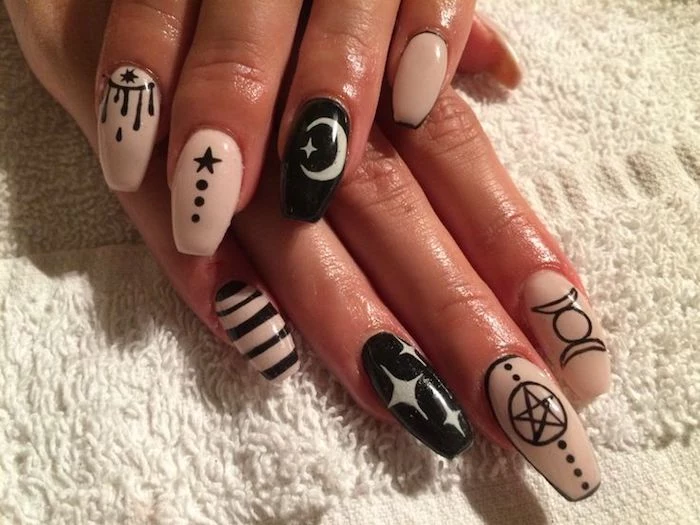
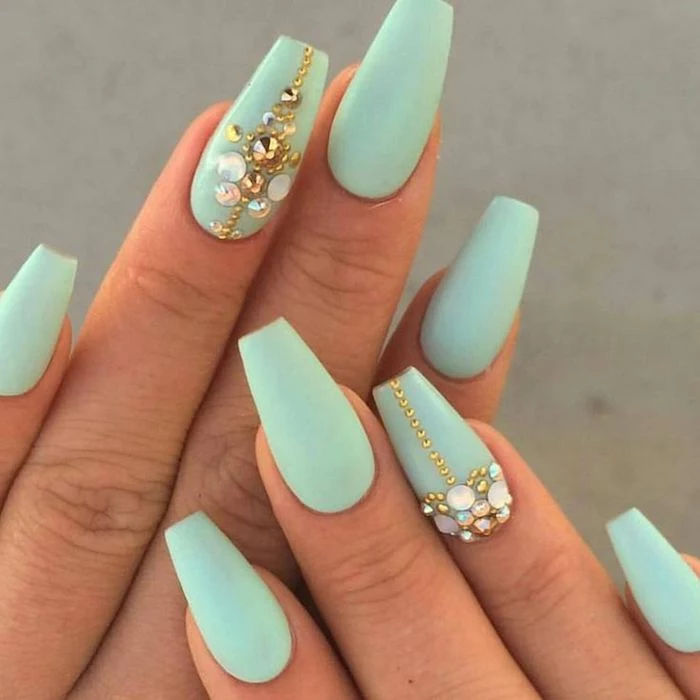
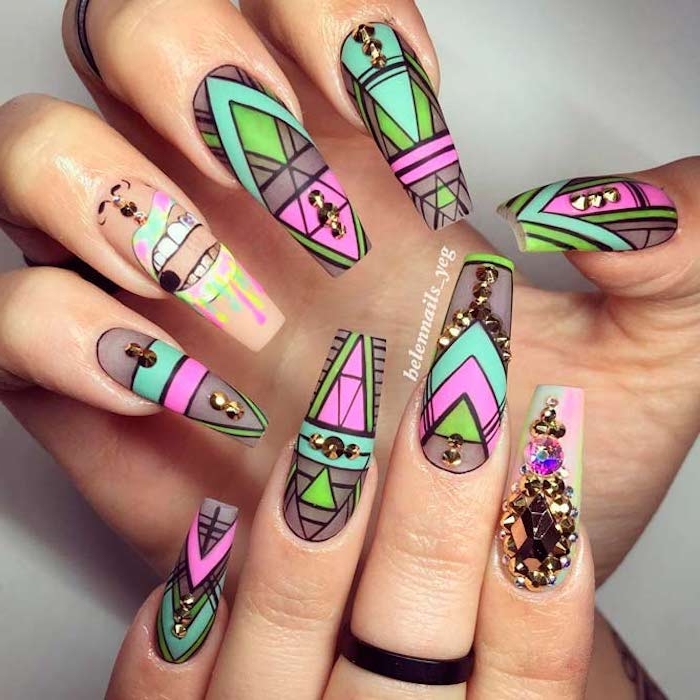
The coffin shape provides a perfect, flat canvas for showcasing intricate art. Think beyond a simple glitter accent. This shape is ideal for:
- Detailed line work and geometric patterns.
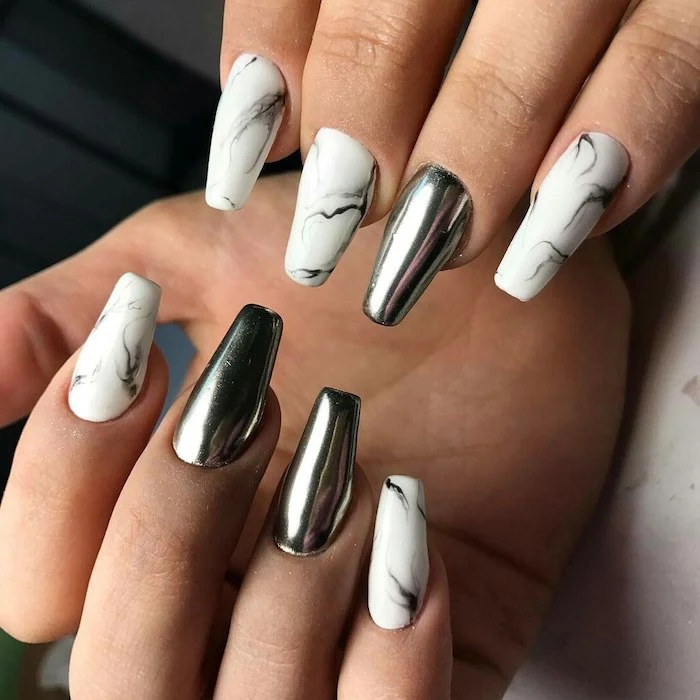
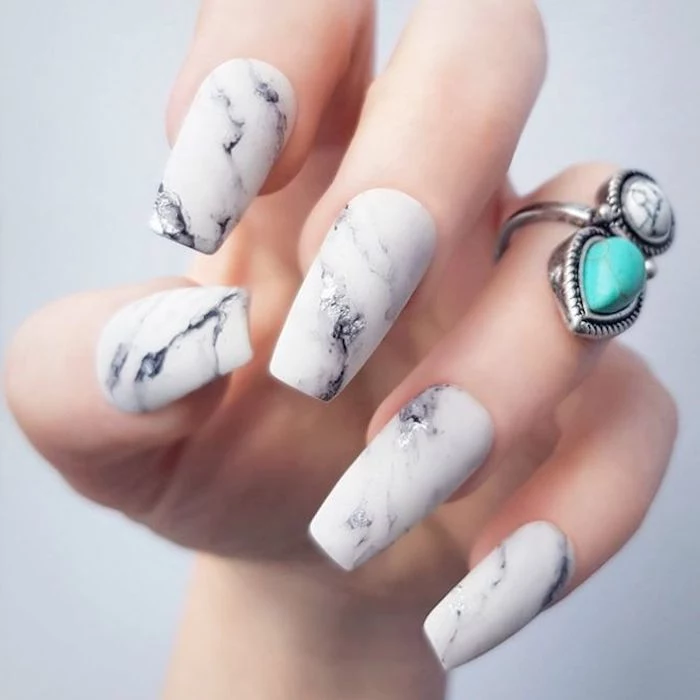
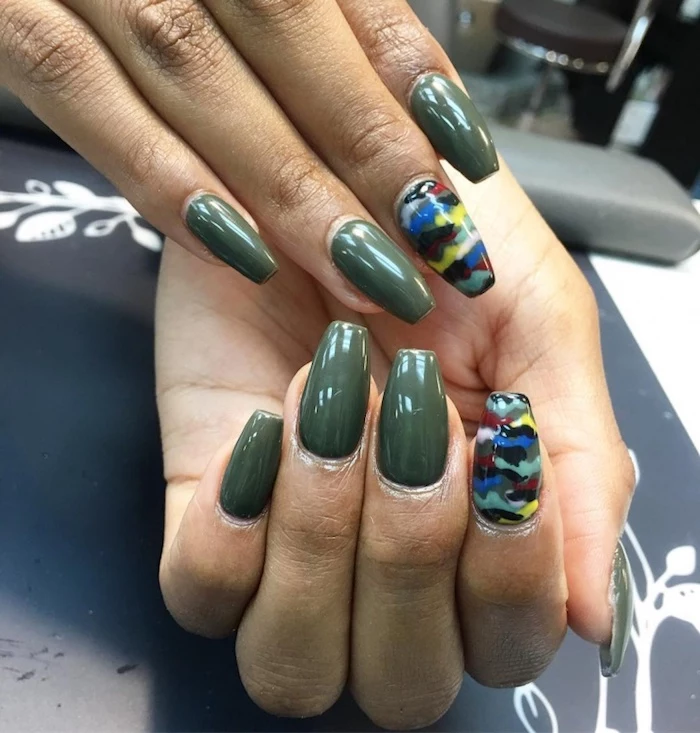
- Marble or quartz effects that can spread out across the wide tip.
- Encapsulated foils, dried flowers, or charms without adding too much bulk.
Short Coffins: A practical and chic option for those who use their hands a lot. They offer the edgy silhouette without the high maintenance of a longer nail.
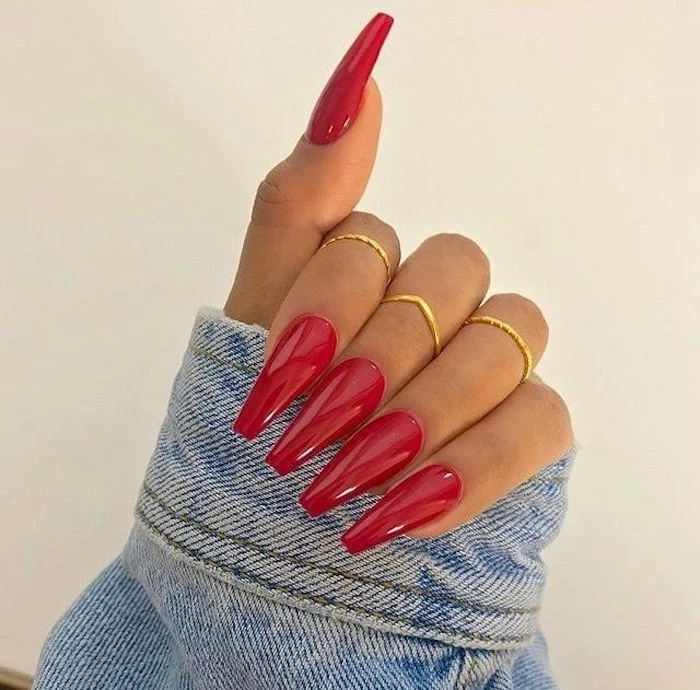
Long Coffins: The classic statement-maker. This length provides the most dramatic finger-lengthening effect and the best canvas for nail art.
Start with a shorter length to get used to the shape before committing to a longer set.
Celebrity nail artist Chaun Legend is often credited with popularizing the dramatic, perfectly sculpted coffin nail, especially through his work with Kylie Jenner. His signature look features a defined, slender shape and a flawless apex, setting a high standard for techs worldwide.
Are press-on coffin nails a good alternative?
For a temporary look, absolutely! Brands like Static Nails or Kiss offer reusable coffin press-ons that are great for a special event. They lack the durability and custom fit of a professional set, but they’re a fantastic, low-commitment way to test-drive the shape before investing in a full set from the salon.
- Schedule fills every 2-3 weeks, without fail. Waiting too long allows the apex to grow out, shifting the nail’s balance point and dramatically increasing the risk of breakage.
- Don’t pick or peel. If a nail lifts, it can trap moisture and bacteria. See your tech for a proper repair.
- Moisturize! Healthy hands and cuticles are the foundation of a beautiful manicure.

On average, fingernails grow about 3.47 millimeters per month. For a long nail enhancement, this means the structural balance point—the apex—can shift significantly in just two weeks. This is why regular maintenance appointments (fills) are not just aesthetic, but crucial for safety and durability.
When you skip a fill, you’re not just dealing with a grown-out look; you’re wearing a structurally compromised enhancement that’s an accident waiting to happen.
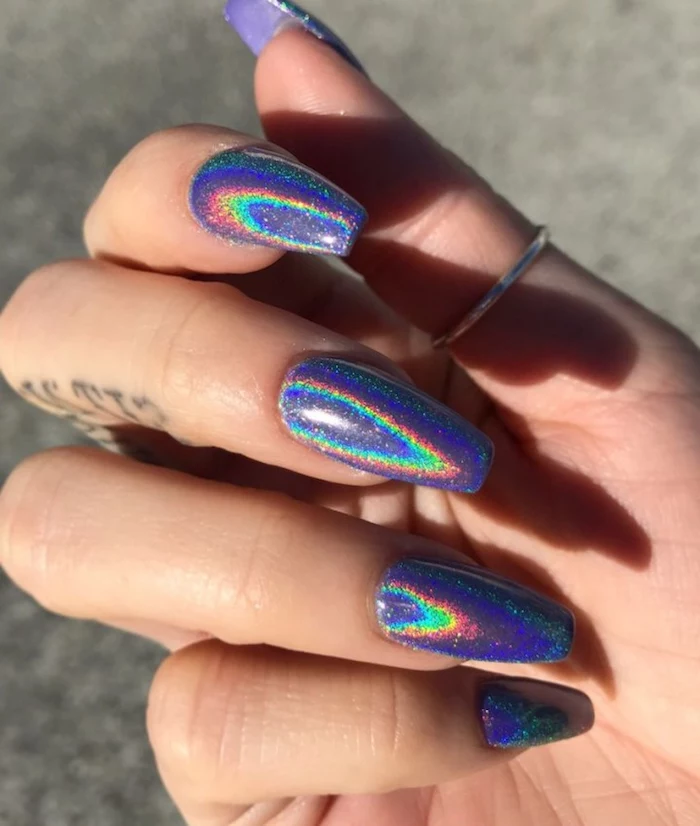
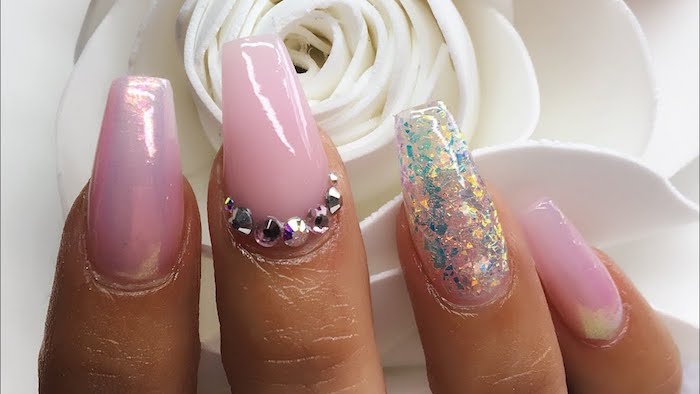
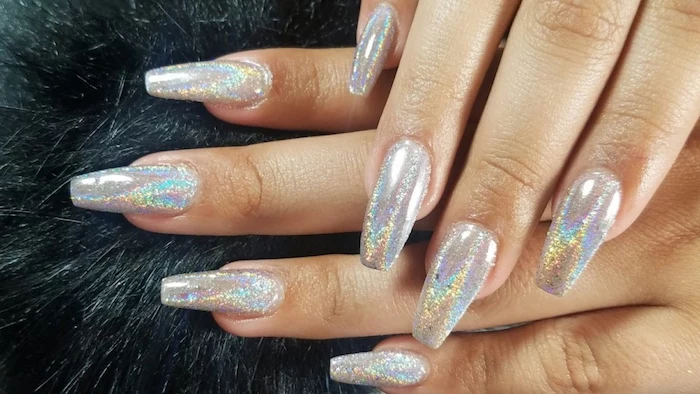
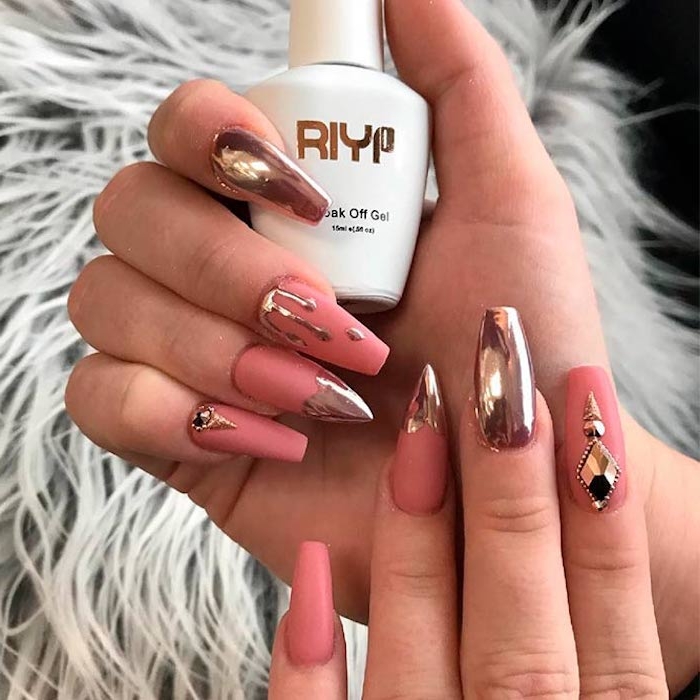
The “Glazed Donut” trend, popularized by Hailey Bieber, looks stunning on a coffin shape. The look is achieved by rubbing a white or holographic chrome powder, like those from Daily Charme, over a sheer, milky-white gel polish. The flat plane of the coffin tip catches the light beautifully, enhancing the subtle, pearly sheen.
A common mistake: Filing the sides too aggressively at home. If you get a snag, gently file it smooth with a high-grit file (240 or higher), but avoid reshaping the tapered sides yourself. It’s easy to file away the lower arch that provides crucial support, leading to a weak point that will inevitably crack.
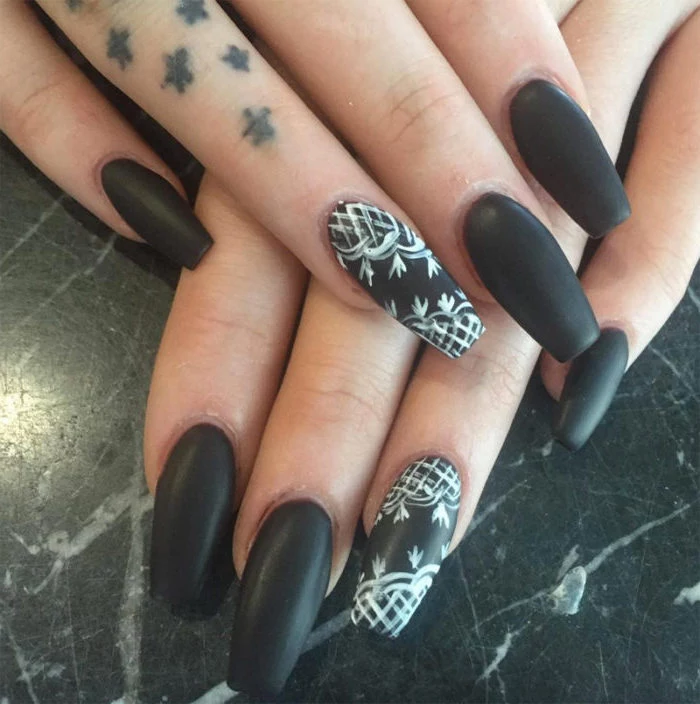

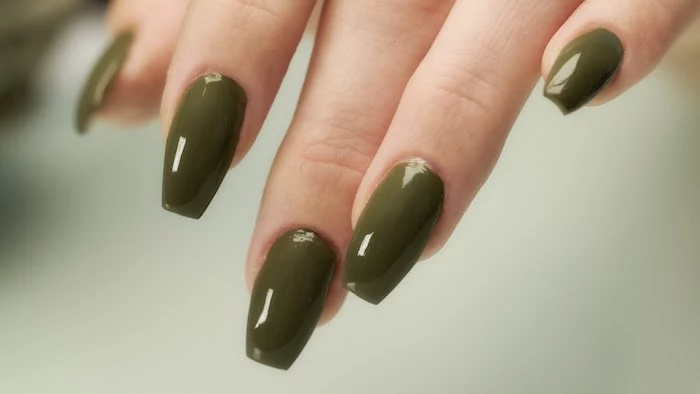
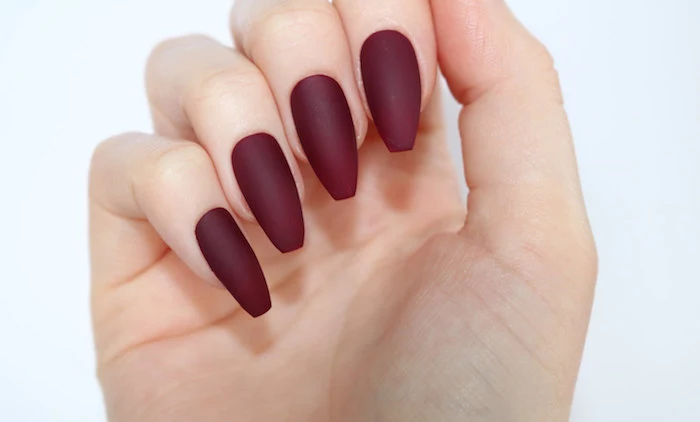
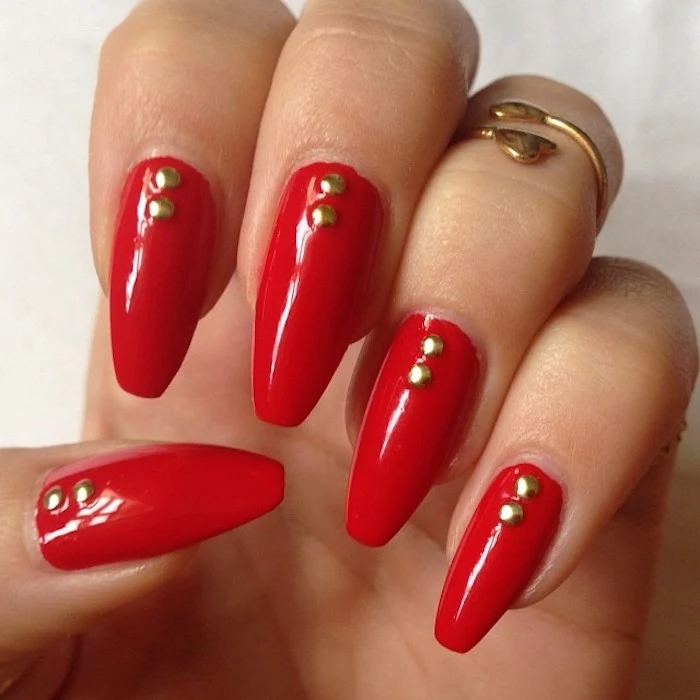
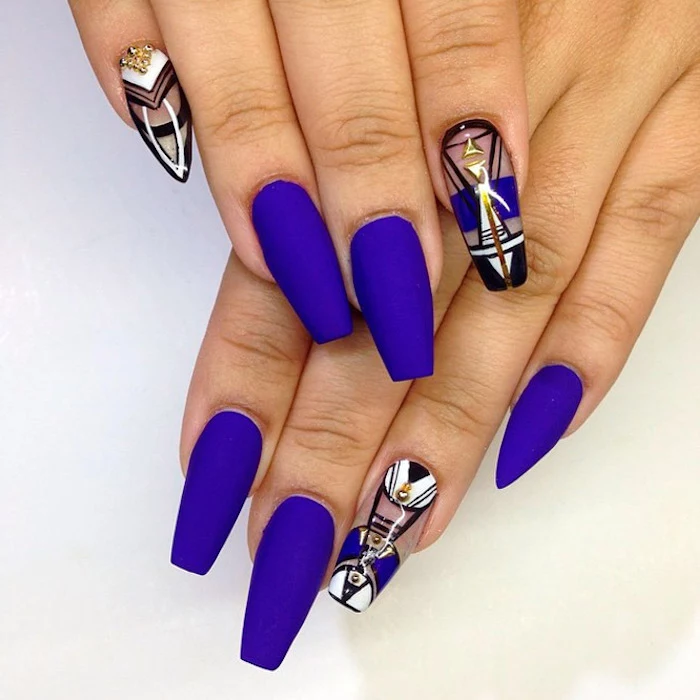
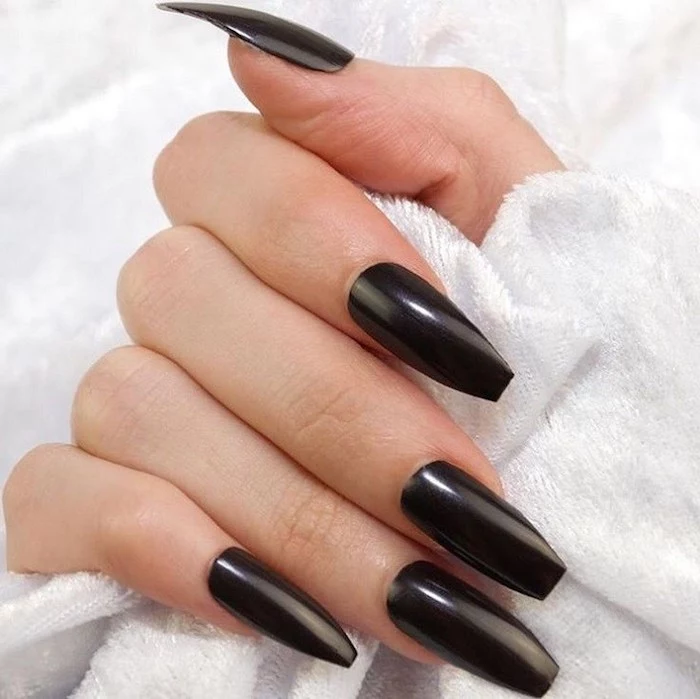
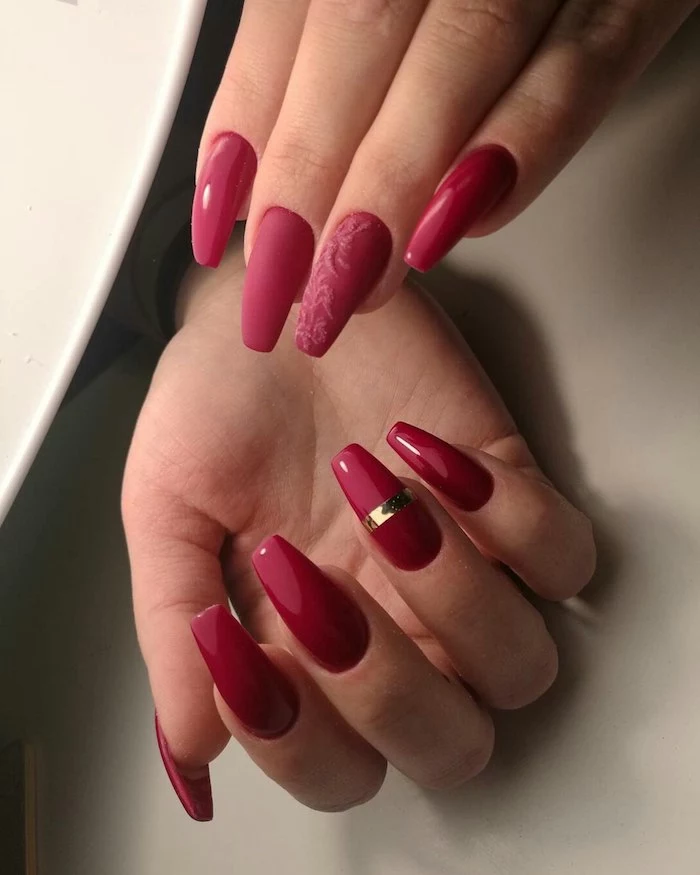
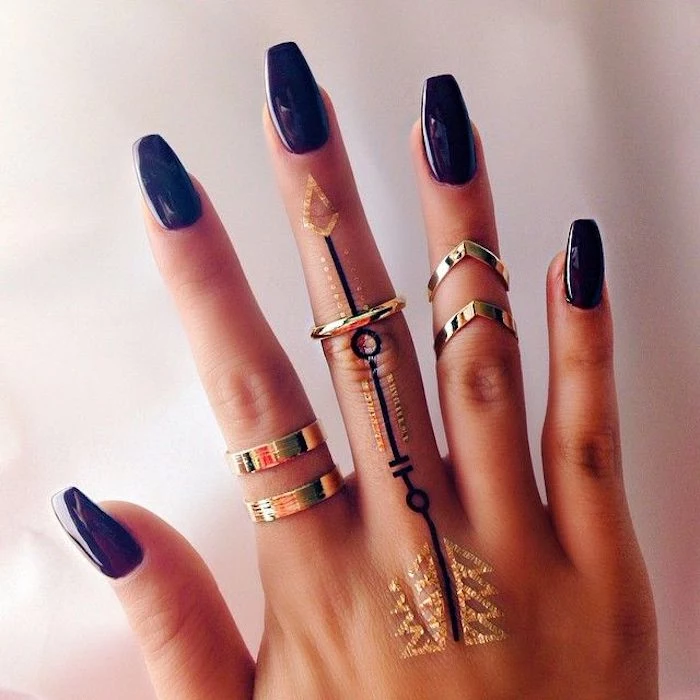
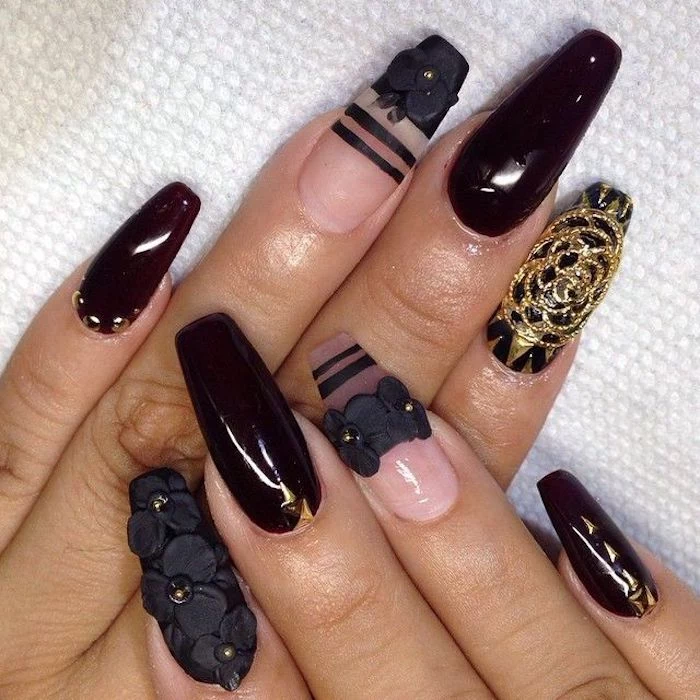
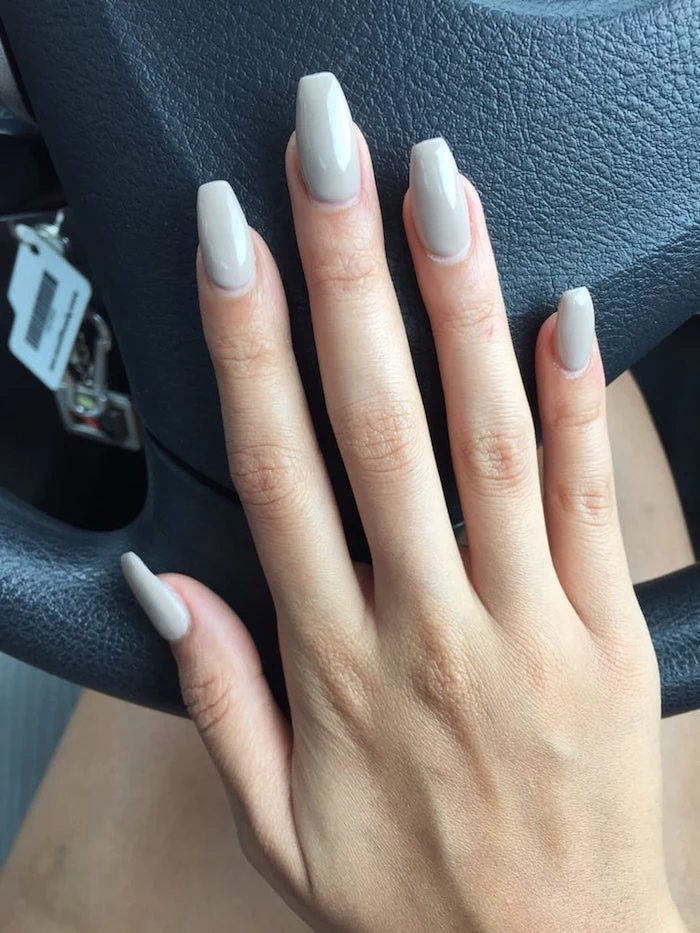
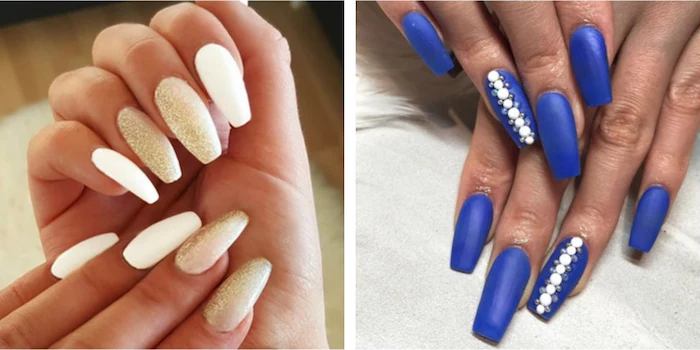
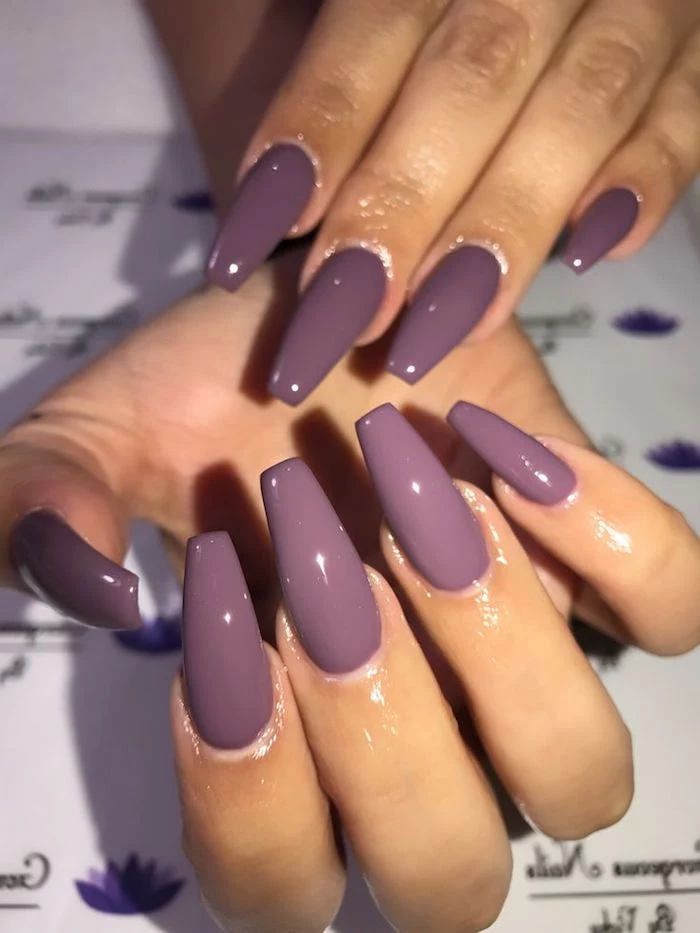
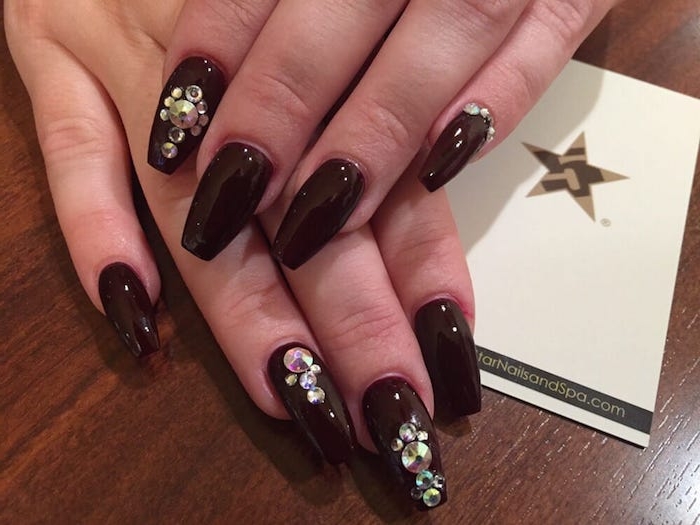
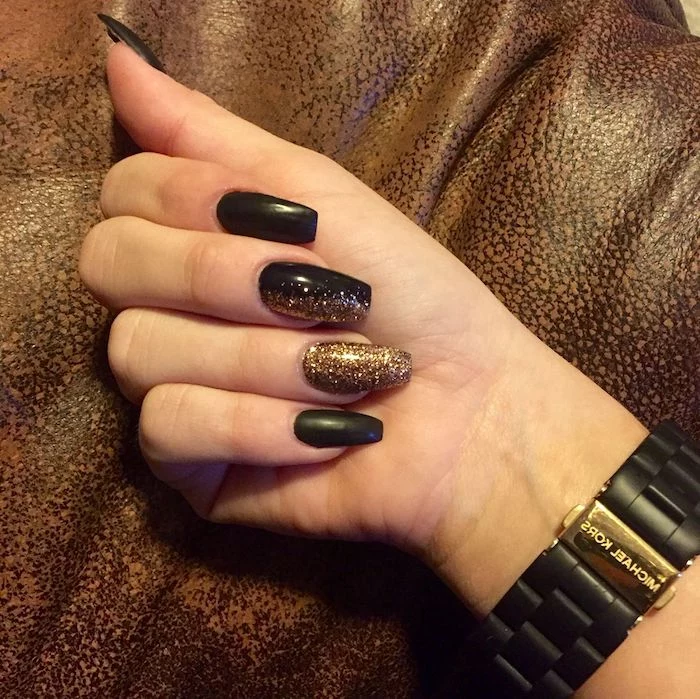
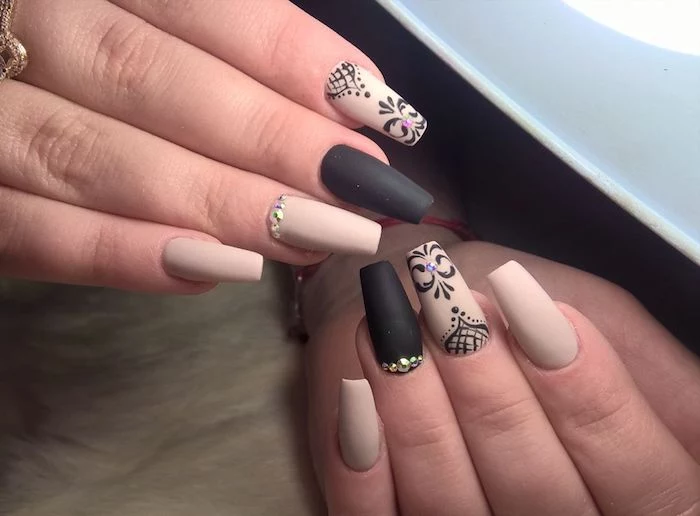
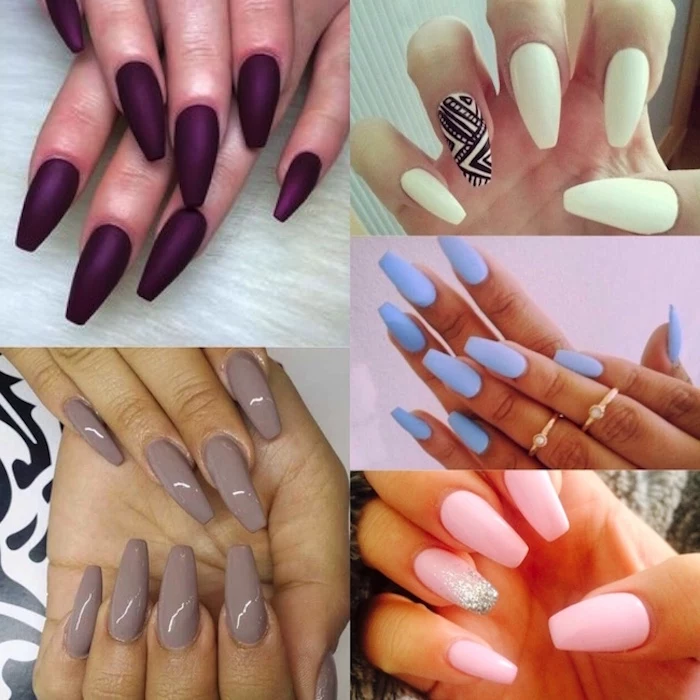
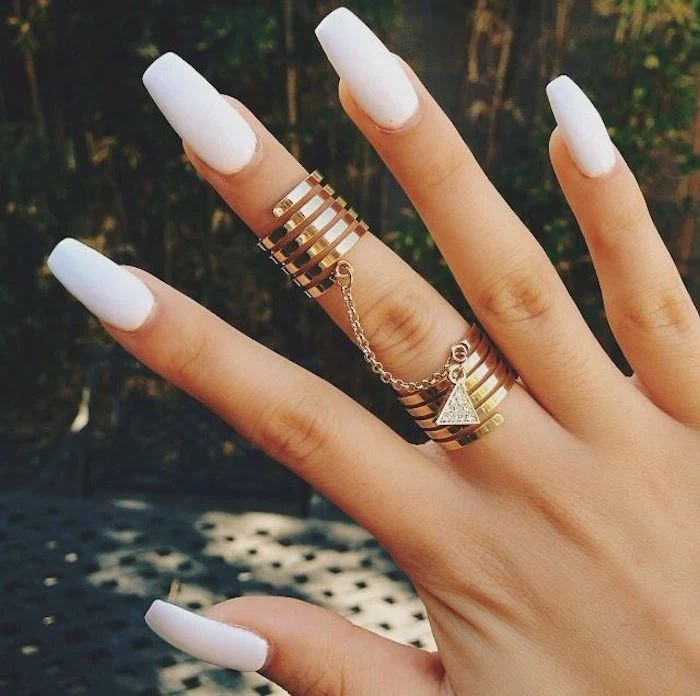
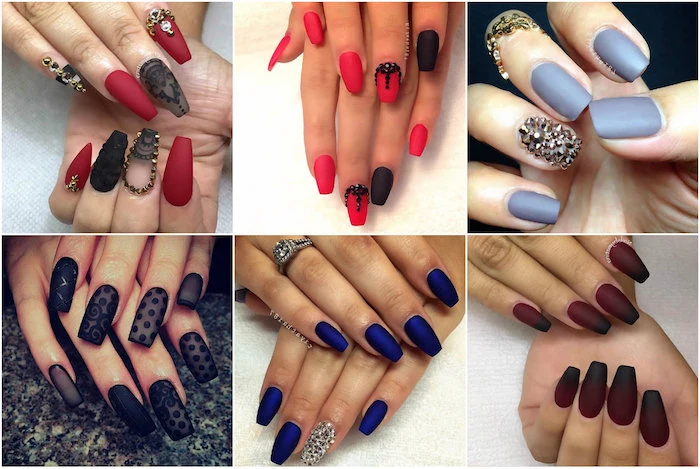
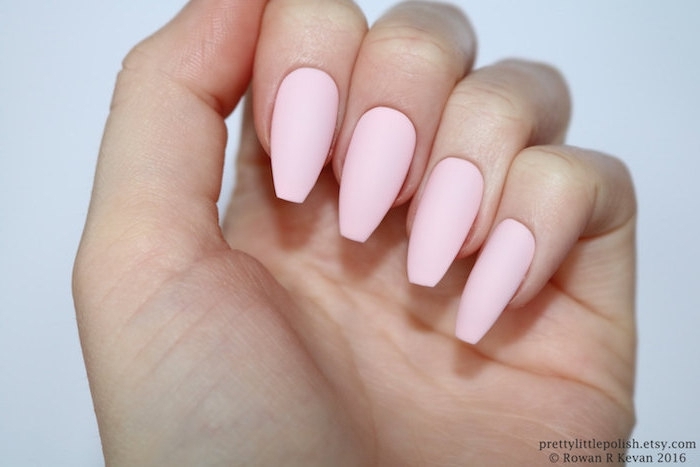
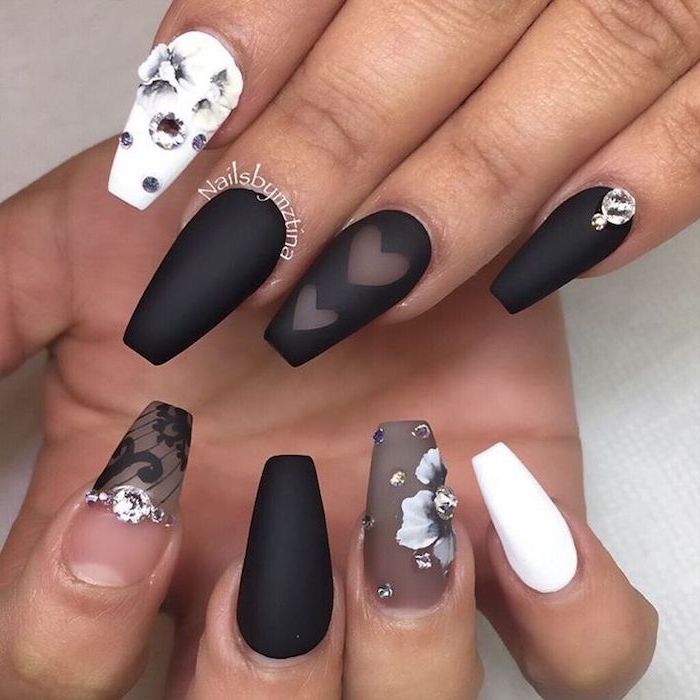
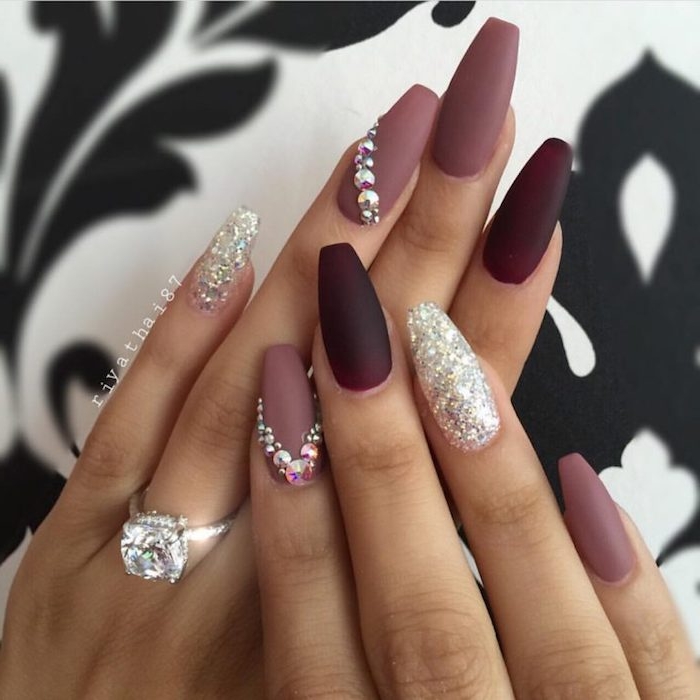
The choice of color can change the entire vibe of your coffin nails. A bold, glossy black or a deep burgundy screams drama and confidence. In contrast, a sheer pink or a soft, milky white on the same shape reads as elegant, clean, and sophisticated. Think about the mood you want to project.
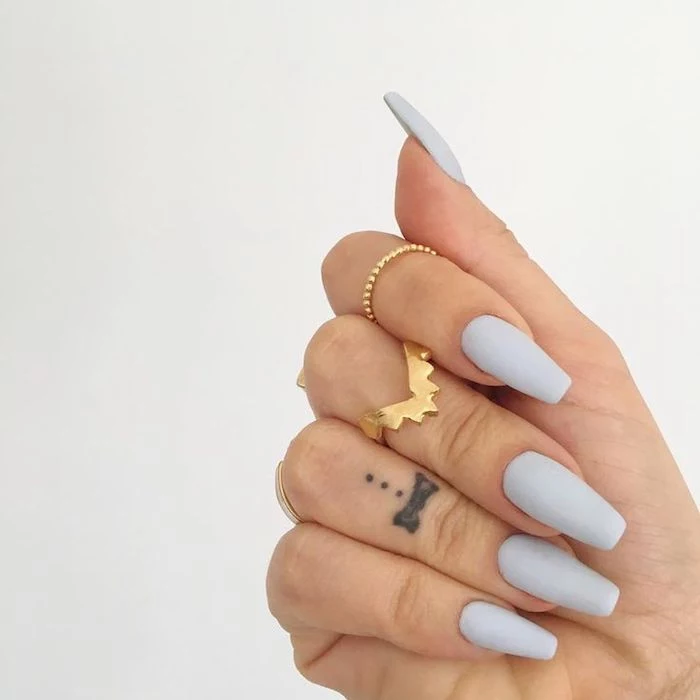
- It can hide imperfections in the nail structure.
- It makes your manicure look new for longer.
- It adds a unique, velvety dimension to any color.
The hero? A high-quality matte top coat. Ask your technician to apply one over your chosen color. It completely transforms the look and feel, offering a sophisticated alternative to high-gloss shine.

Worried about damaged nails after removal?
Proper removal is key. Never pry or rip off your enhancements. A professional should always soak them off using acetone and gentle tools. For at-home removal of soft gels or press-ons, a product like CND’s Offly Fast is designed to dissolve the product without the excessive scraping that damages the natural nail plate.
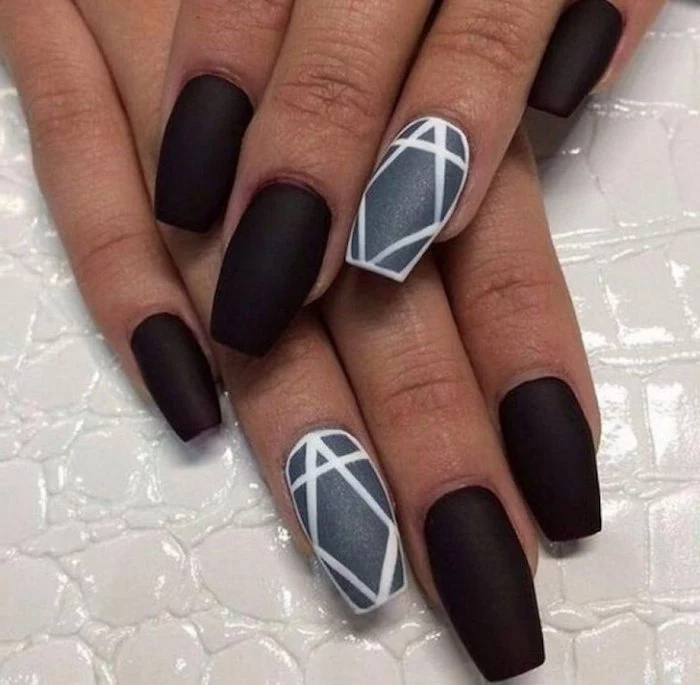
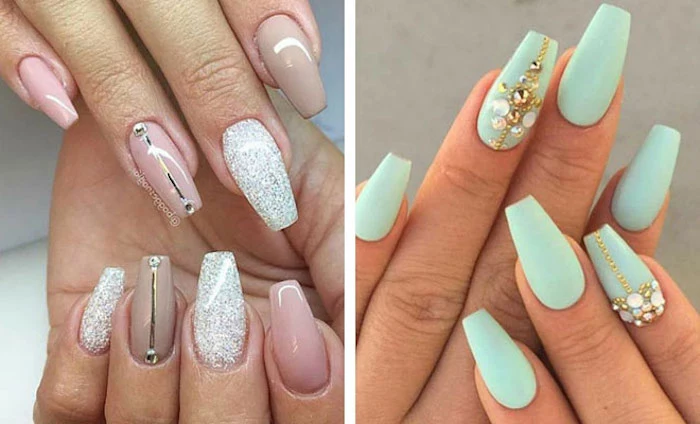
Negative space designs, where parts of the natural or nude nail are left unpainted, are particularly striking on coffin nails. The sharp, geometric nature of the shape provides a perfect frame for crisp lines and creative cutouts, resulting in a modern, art-gallery feel.
In a survey by Professional Beauty, over 60% of nail technicians cited ‘custom shapes and nail art’ as the fastest-growing and most profitable part of their business, with shapes like coffin and stiletto leading client requests.

Structural Tip: Look at your coffin nail from the side. You should see a gentle, graceful curve from the cuticle to the tip, with the highest point (the apex) located over the stress area of your natural nail. A completely flat nail has no strength and is a sign of improper application.
If you’re getting your first set of coffin nails, consider starting with a medium length. It provides the signature look and feel without the extreme adaptation period required for very long nails. It’s the perfect way to ease into the style and decide if the shape truly fits your daily life.
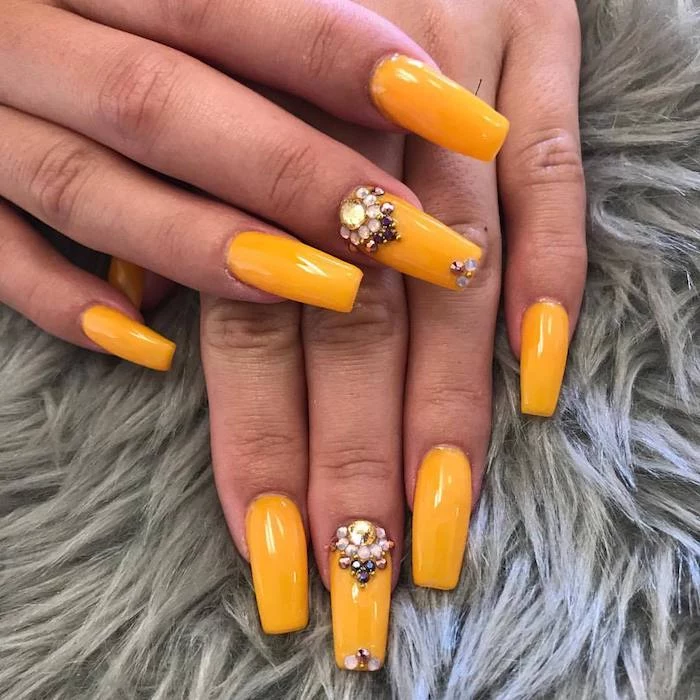
The ‘Airbrush Aura’ effect is a current trend that looks magical on the flat surface of a coffin tip. It involves airbrushing or using a sponge to create a soft, gradient orb of color in the center of the nail, typically over a nude or milky base. It’s a soft yet eye-catching design that plays with light and dimension.


