Your Perfect Nude Manicure is Harder Than You Think. Here’s How to Nail It.
So, you want that perfect nude manicure. That clean, chic, “my-nails-but-way-better” look. As someone who’s spent more than a decade behind the nail desk, I can tell you it’s the one request that has never, ever gone out of style. But here’s the secret most people don’t realize: a truly flawless nude nail is one of the hardest things to get right. There’s simply nowhere to hide. Every tiny mistake in prep or a single shaky brushstroke is on full display.
In this article
It’s a true test of skill, a quiet statement of confidence and precision. And no, it’s not just about grabbing any old bottle of beige polish. It’s about understanding your unique skin tone, a meticulous prep routine, and application techniques that the pros swear by. I’m going to walk you through the exact process I use in my salon—the stuff I teach my apprentices—so you can finally get that elegant, long-lasting finish you’ve been dreaming of.
First Things First: Let’s Talk Color Theory
Before you even think about picking up a file, we need to get the color right. This is where most at-home manicures go wrong. The magic happens when the polish color works in harmony with your skin’s undertones. It’s a little bit of art, a little bit of science.
Finding Your Skin’s True Undertone
Your surface skin tone can change, but your undertone is for life. It’s that subtle hue coming from beneath your skin, and it’s the key to everything. Here’s a quick breakdown:
- Cool Undertones: Your skin has hints of pink, red, or blue. A quick trick is to look at the veins on your wrist—if they look blue or purple, you’re likely in the cool club. You’ll look amazing in nudes with a rosy or pink base. Some classics I always recommend for my cool-toned clients are timeless shades like Essie’s ‘Ballet Slippers’ or OPI’s ‘Bubble Bath’. Stay away from anything too yellow, as it can make your skin look a bit washed out.
- Warm Undertones: Your skin leans more yellow, peachy, or golden. If your veins appear greenish, you’re probably warm-toned. The best nudes for you will have a yellow, peach, or golden vibe. A go-to for years has been OPI’s ‘Samoan Sand’—it’s just perfect. A cool, pinkish nude, on the other hand, can look stark or ashy.
- Neutral Undertones: You’ve got a mix of both cool and warm, and your veins might look like a combination of blue and green. Honestly, you hit the jackpot. You can pull off a huge range of shades, from soft pinks to sandy beiges. A balanced, peachy-beige is often a fantastic match.
Oh yeah, and then there’s the olive undertone—a unique mix of neutral, yellow, and green. Finding the right nude here can be a little tricky. From my experience, polishes with a hint of caramel or a dusty taupe are gorgeous. I’d advise steering clear of anything too pink, which tends to clash.
Sheer, Jelly, or Opaque?
The formula’s coverage, or opacity, totally changes the final look.
- Sheer: Think of this as a tint for your nails. It gives a translucent wash of color that enhances your natural nail, letting the white tip peek through. Sheers are super forgiving and perfect for a quick, polished look.
- Semi-Sheer (or Jelly): This gives you a bit more color than a sheer but isn’t fully opaque. It’s fantastic for blurring minor imperfections while still looking soft. You’ll probably need three thin coats for that squishy, plush look that’s so popular right now.
- Opaque (or Crème): This is full-coverage, solid color. It delivers that super clean, modern, and intentional look. But heads up! This is where your application skills really matter, because every streak will show.
Quick tip: Never trust how a color looks in the bottle. I always paint a stripe of two or three options on a client’s actual nails. Polish can change color as it dries, so seeing it on the skin is the only way to know for sure.
The Foundation: Pro-Level Nail Prep
You can have the most expensive polish in the world, but if the canvas isn’t prepped, the manicure is doomed to fail. It’ll chip, lift, and look messy within days. This is where professionals spend the most time, and it’s absolutely non-negotiable.
Real Talk on Sanitation
Let me be blunt: proper sanitation isn’t just about looking professional; it’s a critical health and safety issue. Any metal tools (like pushers and nippers) should be scrubbed and then fully submerged in a hospital-grade disinfectant. Files and wooden sticks should be single-use. If you ever walk into a salon and they can’t tell you their sanitation process, walk right back out. It’s not worth the risk of a nasty infection.
The Truth About Cuticles
So many people get this wrong. The little band of living skin at your nail base is the eponychium—you should never cut this. It’s your nail’s bodyguard. The part we can and should remove is the true cuticle, which is the non-living, dead tissue stuck to your nail plate.
Here’s the pro process:
- Soften it up. I use a liquid cuticle remover to dissolve the dead tissue. My go-to is Blue Cross Cuticle Remover, which you can grab online for about $5. A little goes a long way.
- Gently push back. With a sterilized pusher, I gently trace the nail base to lift the dead tissue off the nail plate.
- Clean up. I use a damp cloth or a curette to carefully remove the flaky bits. Nippers are a last resort, used only for obvious hangnails or stubborn dead tissue that’s already lifted. Less is more.
Shaping and Surface Prep
After shaping the nail (always file in one direction to prevent tearing!), the most important step is prepping the nail surface. I lightly buff the nail with a fine-grit buffer just to remove the shine, not to thin the nail. Then comes the crucial part: I scrub the nail with a lint-free wipe soaked in 99% isopropyl alcohol. Heads up: the 70% stuff you have in your medicine cabinet has too much water and won’t dehydrate the nail plate properly. This single step is probably the #1 reason salon manicures last longer than at-home ones.
Common Mistakes and How to Fix Them
Before we paint, let’s cover a few common disasters I see all the time.
- Problem: BUBBLES in your polish!
Cause & Fix: You shook the bottle. Shaking traps air, which creates bubbles. Always gently roll the bottle between your palms instead. It warms the polish and mixes it perfectly without the drama. - Problem: Streaky, uneven color.
Cause & Fix: Your coats are too thick, or you didn’t wait long enough between them. The first coat should be thin—almost like a sketch. Wait a full 2-3 minutes, then “float” the second coat over the nail with very light pressure. Let the brush do the work! - Problem: Chipping after just a day or two.
Cause & Fix: You skipped capping the free edge. After your color coats and your top coat, be sure to swipe the brush lightly along the very tip of your nail. This creates a seal that dramatically reduces chipping.
The Art of Application: Getting That Streak-Free Finish
Okay, canvas prepped, mistakes avoided. Now for the fun part. Whether you’re using regular polish or gel, the goal is thin, even coats.
For a flawless home manicure with regular polish, block out at least an hour. Seriously. The drying time is non-negotiable for a perfect finish.
- Base Coat: Don’t skip it. It prevents staining and gives the color something to grab onto.
- First Color Coat: Apply it thin using the classic three-stroke method (center, left, right). It will look streaky. That’s okay!
- Second Color Coat: After waiting 2-3 minutes, float a slightly thicker second coat on top to get that smooth, even coverage.
- Top Coat: Wait another 5 minutes, then apply a good, quick-dry top coat. To be frank, the best one I’ve ever used is Seche Vite. You can find it at Sally Beauty or online for about $10. It’s a game-changer.
What About Gel Polish?
Gel is fantastic for its shine and durability, but it’s a different beast. You’ll need a UV/LED lamp and a bit more precision. A lot of people worry about the lamps, but the exposure is very low. If you’re concerned, just apply a broad-spectrum sunscreen to your hands 20 minutes before you start. Easy peasy.
With gel, you cure (harden the polish under the lamp) between each step. The absolute key is to keep every coat incredibly thin and to avoid touching the skin, which causes lifting. In recent years, awareness around gel allergies has grown, often linked to an ingredient called HEMA. Many pro brands now offer amazing HEMA-free formulas, like The GelBottle Inc. or Light Elegance, so if you have sensitive skin, ask your tech for one of these.
Regular Polish vs. Gel: Which is Right for You?
Clients ask me this all the time. It really comes down to your lifestyle, budget, and how much time you have.
In terms of durability, there’s no contest. A great regular polish manicure will give you a solid 5-7 days of wear if you’re careful. Gel polish, on the other hand, is the two-week-plus champion. It’s tough, glossy, and pretty much life-proof.
When it comes to DIY-friendliness and cost, regular polish wins. You can get a great bottle of OPI or Essie for $10-$15. A full at-home gel setup is more of an investment, requiring a lamp, base/top coats, and specific removers. In a salon, a pro nude manicure with regular polish might cost between $25 and $40, while a gel service typically starts around $45 and goes up from there, depending on your location.
Finally, let’s talk removal. Regular polish comes off easily with acetone. Gel polish needs a proper soak-off. And this brings me to my most important piece of advice…
Aftercare: Don’t Ruin All Your Hard Work
The number one rule? Use cuticle oil daily. I can’t say this enough. It keeps your nails and the surrounding skin hydrated, and for gel, it keeps the product flexible to prevent it from getting brittle. Keep a bottle on your nightstand.
And my final plea: NEVER, EVER PEEL OFF YOUR GEL POLISH. I’ll never forget a bride who came to me in tears a week before her wedding with nails that were absolutely shredded from peeling off her gels. We had to do a whole nail recovery plan. When you peel the gel, you’re ripping off layers of your natural nail with it, leaving them thin, weak, and painful. The only safe way is to soak it off patiently with acetone and foil. It preserves your nail health so you can enjoy beautiful manicures for years to come.
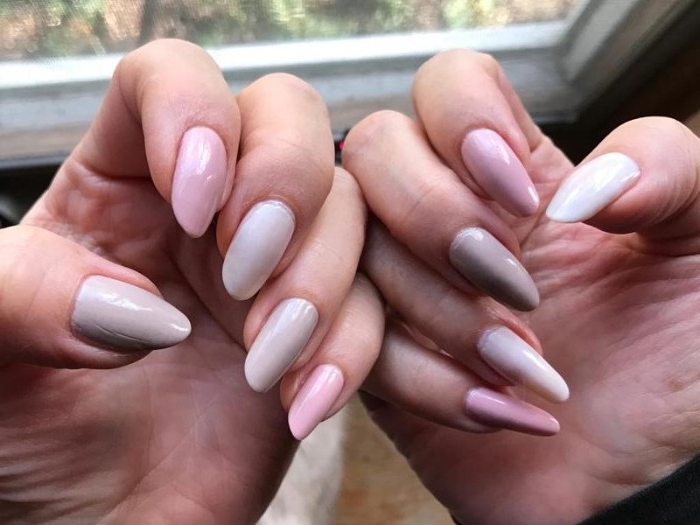
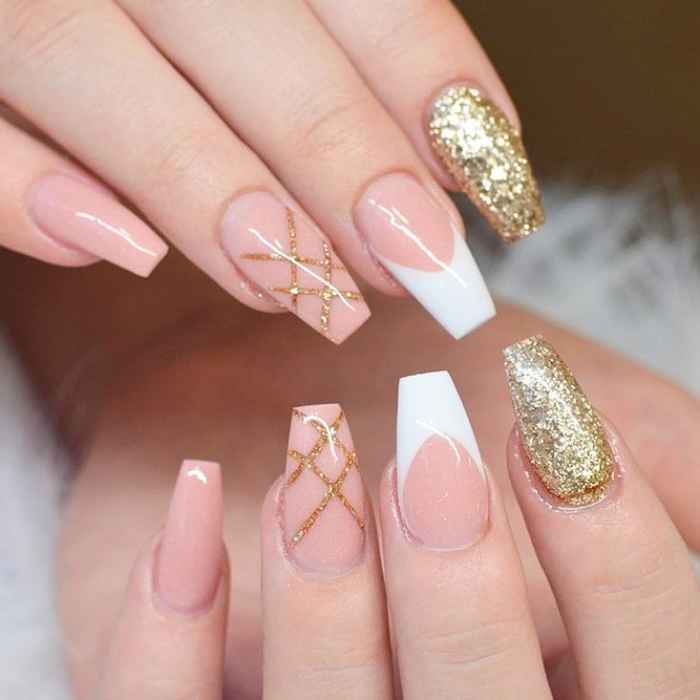
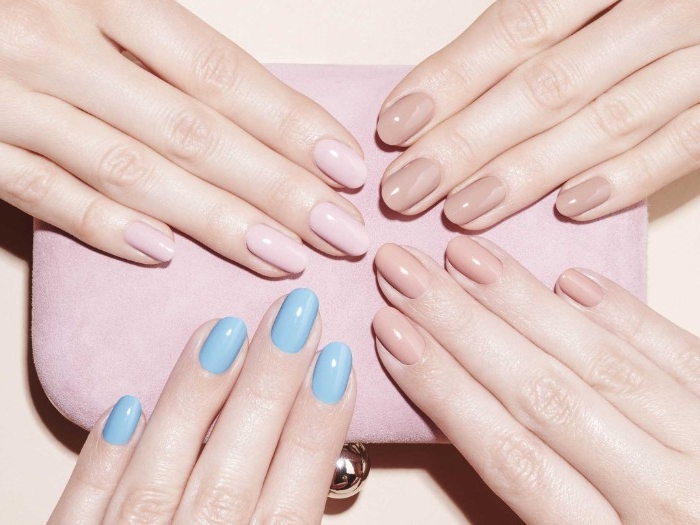
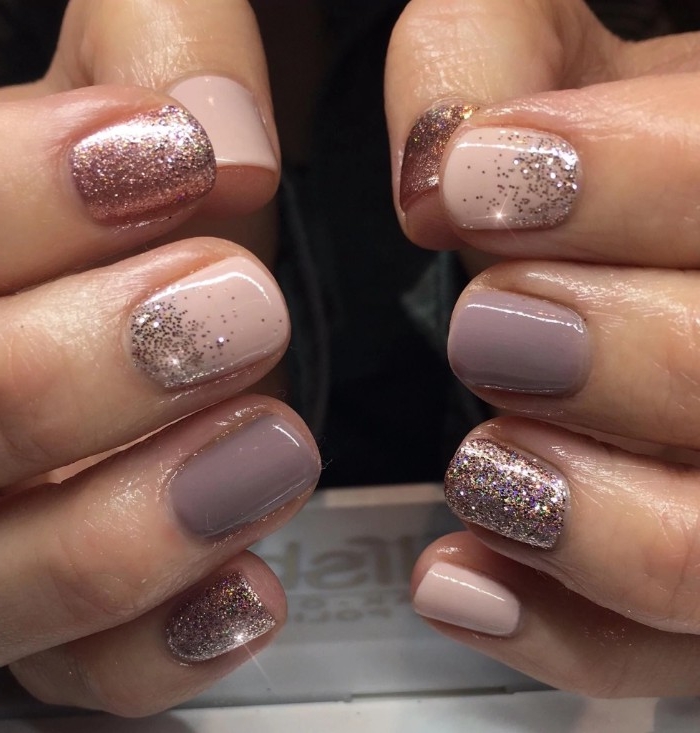
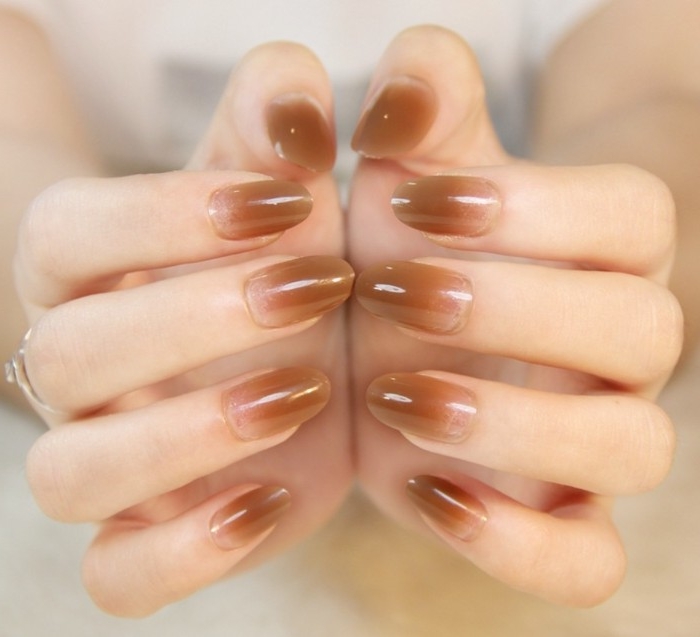
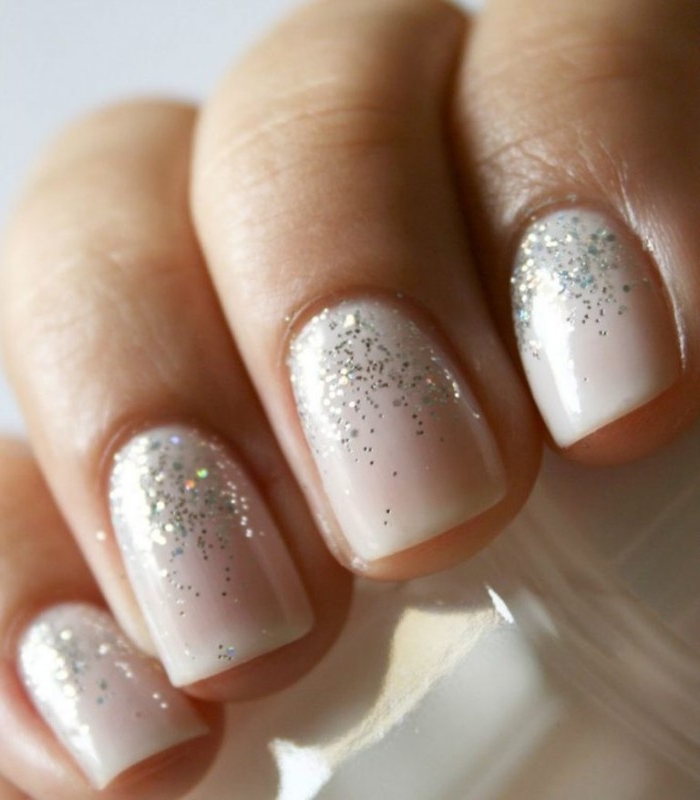
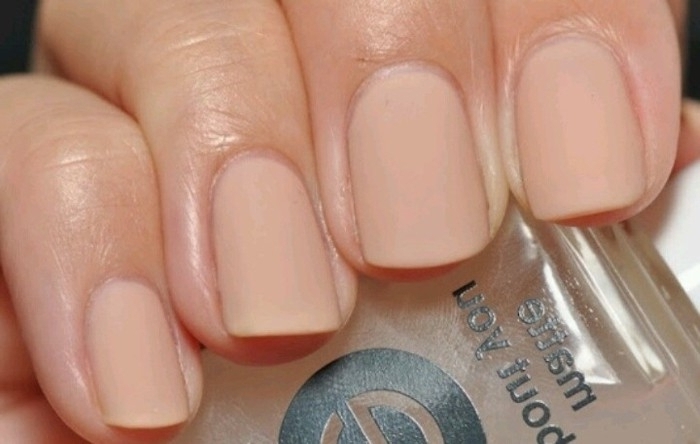
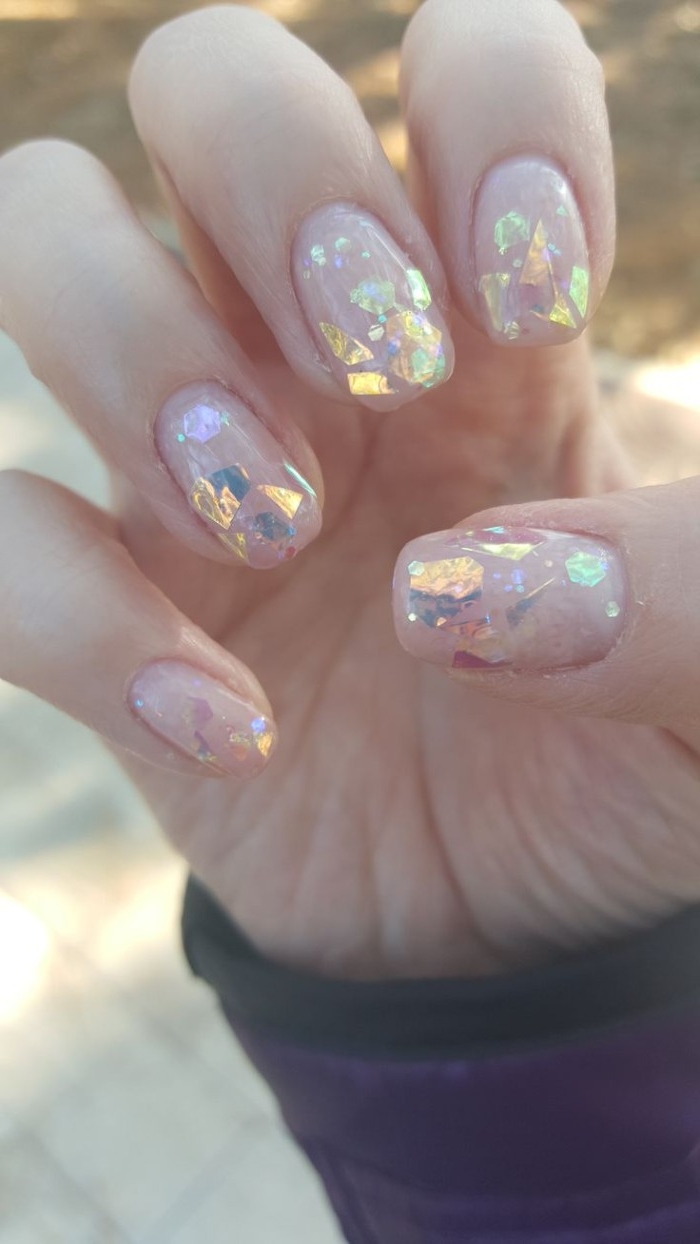
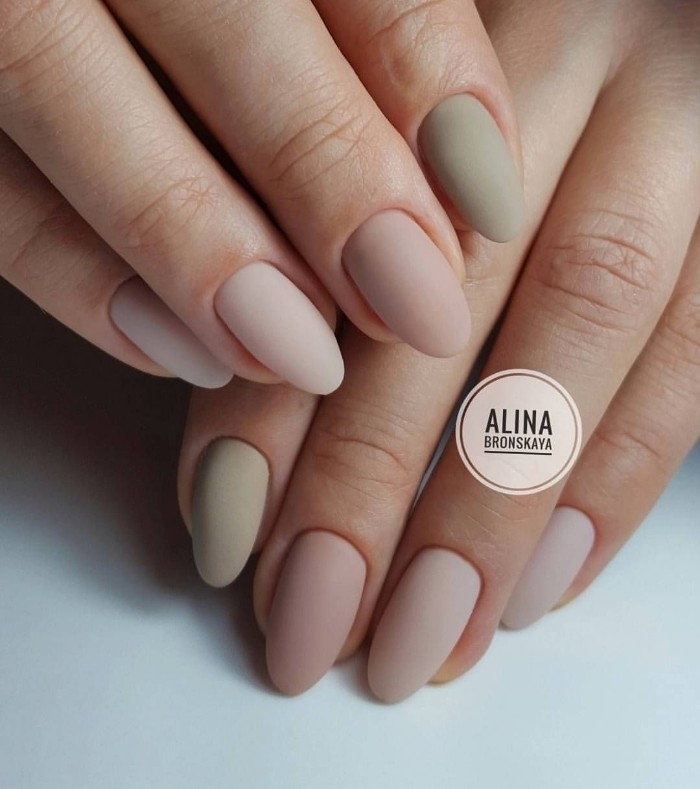
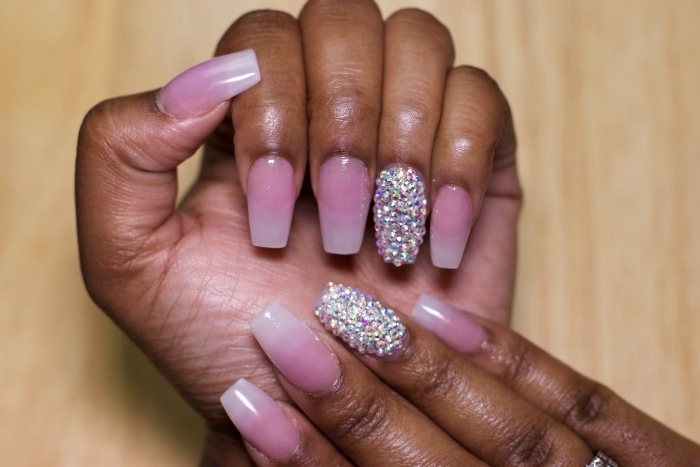
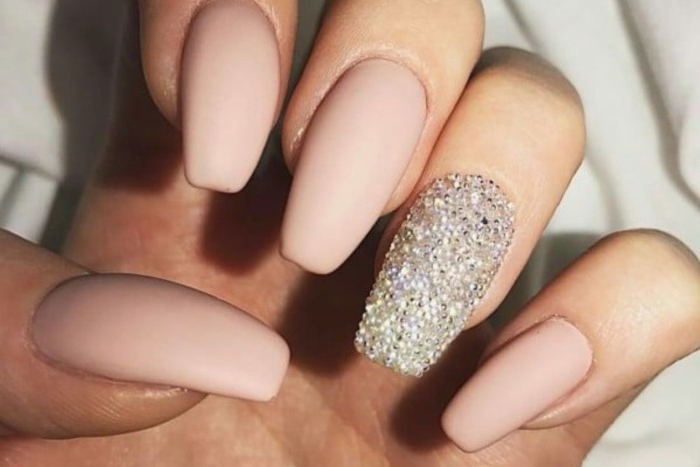
Inspiration Gallery
Don’t underestimate the power of your base coat. For a nude manicure, it’s not just about protection; it’s about creating a perfectly smooth, even canvas. A ridge-filling base coat, like OPI’s Ridge Filler, can be a game-changer, blurring imperfections and ensuring your delicate nude shade glides on without settling into lines or streaks.

- Work in thin, deliberate layers. A thick coat will bubble and take forever to dry.
- Use the three-stroke method: one down the center, then one on each side.
- Always ‘cap’ the free edge of your nail with polish to seal it and prevent chipping.
The one step pros never skip: Cuticle care. A flawless nude manicure is ruined by untidy cuticles. Gently push them back after a shower (never cut them yourself!) and moisturize daily with a high-quality oil. We love the CND SolarOil for its blend of jojoba oil and vitamin E that keeps skin soft and hydrated.
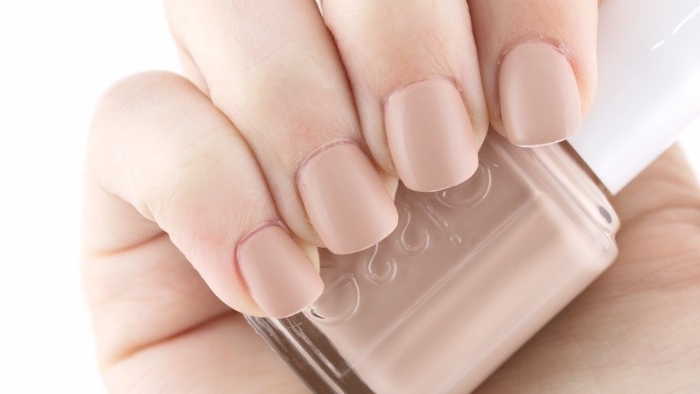
For a translucent, ‘your-nails-but-better’ effect, one coat of a sheer pink like Essie’s ‘Mademoiselle’ is enough. For an opaque, creamy finish, plan on two to three thin coats.
The top coat you choose completely defines the final look of your nude manicure. It’s the finishing touch that seals your hard work and provides the desired texture.
- For a high-shine, gel-like look: Choose a plumping top coat like Dior’s Gel Coat.
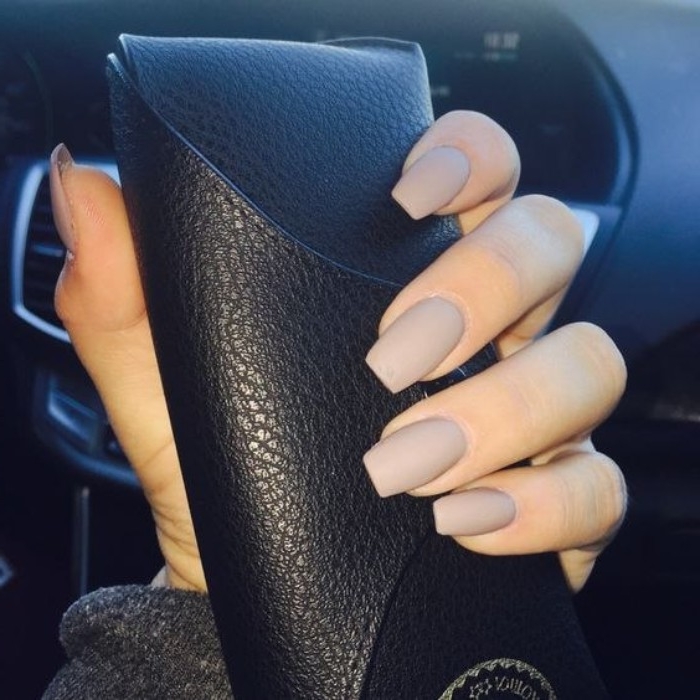
- For a modern, velvety finish: An option like OPI’s Matte Top Coat transforms any nude shade.
- For a fast finish: The cult classic Seche Vite Dry Fast Top Coat is unbeatable for speed.
My nude polish looks streaky, no matter what I do. What’s the secret?
Patience is the key. Streaks often happen when you apply the next coat before the previous one is sufficiently dry. Wait at least two full minutes between coats. Also, ensure your brush has just the right amount of polish—not too little, not too much. A light, confident hand is better than trying to overwork the polish on the nail.

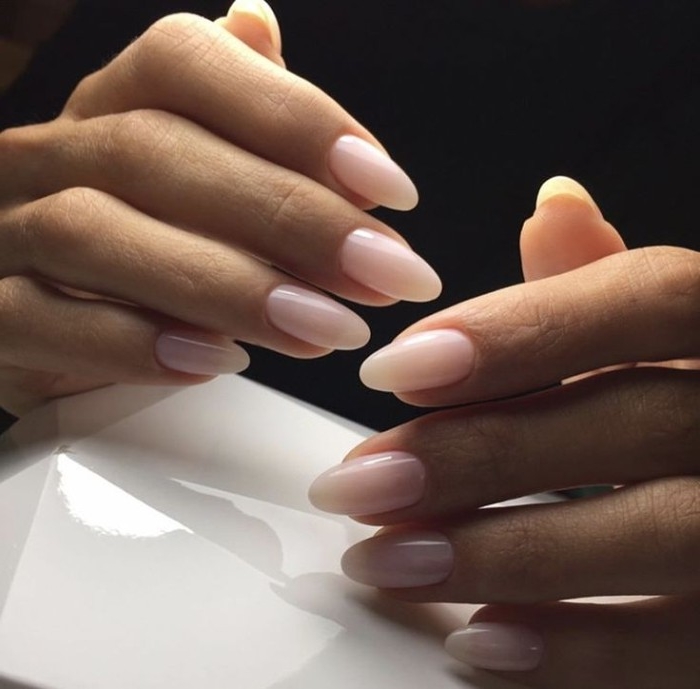
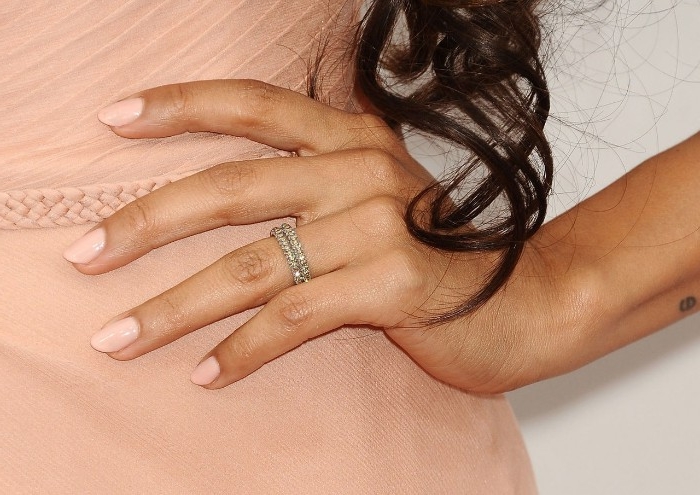
Glossy Finish: The timeless classic. It reflects light, making nails appear healthy and pristine. It’s forgiving and gives a ‘wet-look’ shine that feels luxurious.
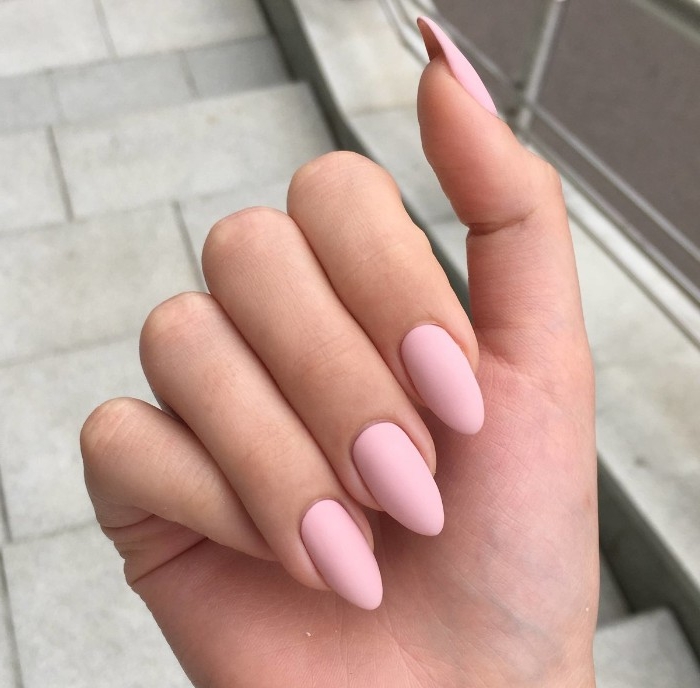
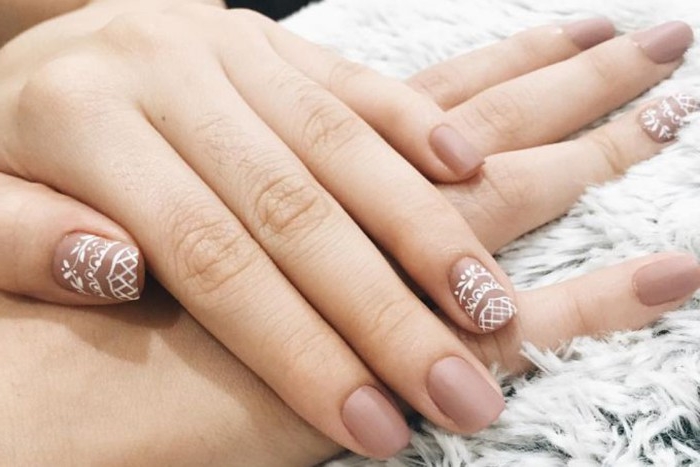
Matte Finish: Understated, modern, and edgy. A matte top coat over a nude polish creates a velvety, soft-focus effect that feels incredibly chic and sophisticated.
For a trendy twist, try a glossy French tip on a matte nude nail.

A professionally applied manicure should last 7 to 10 days without significant chipping.
The secret to achieving this at home lies in meticulous prep and aftercare. This means properly cleansing the nail plate with alcohol to remove oils before you start, and applying a cuticle oil daily *after* the manicure is fully dry. This keeps the nail flexible and less prone to breakage.
- Creates a professional, finished seal.
- Drastically reduces tip wear and chipping.
- Makes your manicure last days longer.
The technique? ‘Capping the free edge’. It’s as simple as running your polish brush horizontally along the very tip of your nail after each coat of color and top coat.
The inevitable smudge just happened. Don’t panic.
- Dip the pad of a finger from your other hand into a tiny amount of nail polish remover.
- Very gently, pat and smooth the smudged area to even it out.
- Wait a minute, then apply a very thin layer of your nude color over the patch. Finish with a top coat.
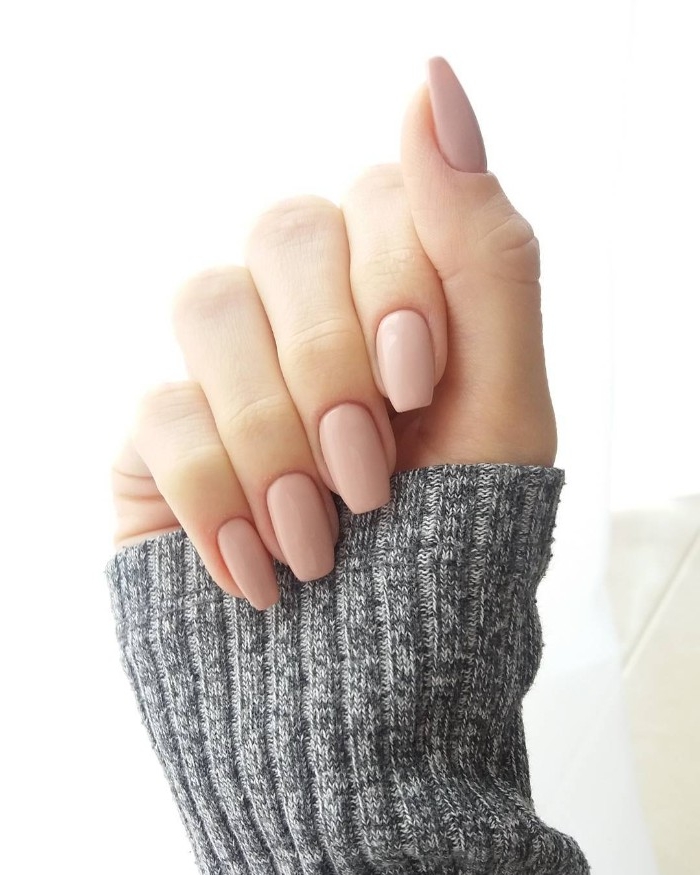
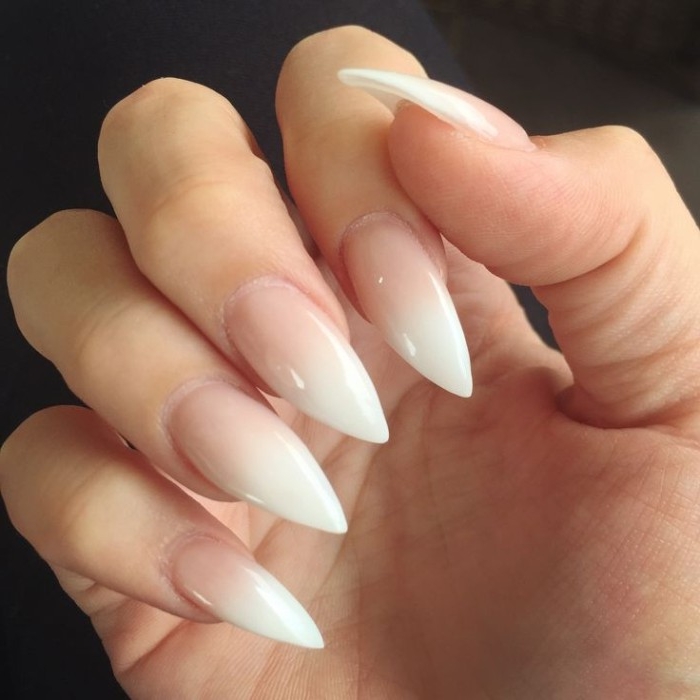
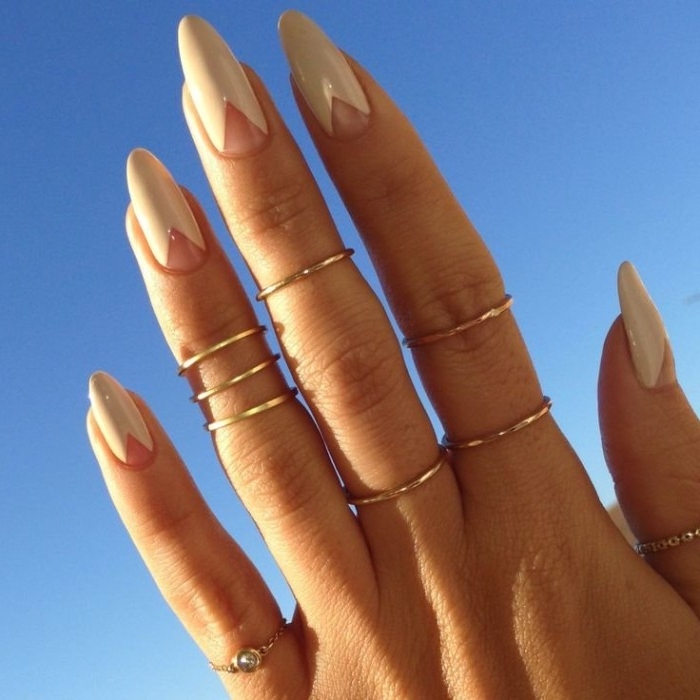
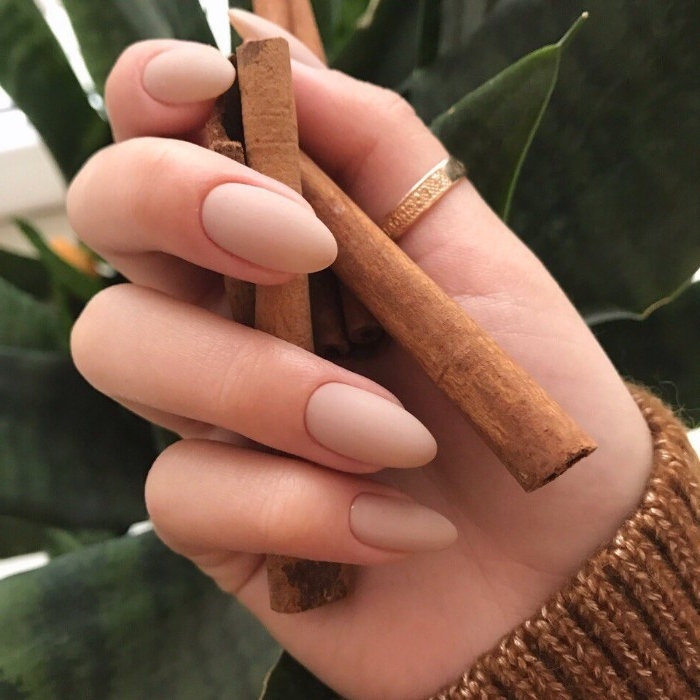
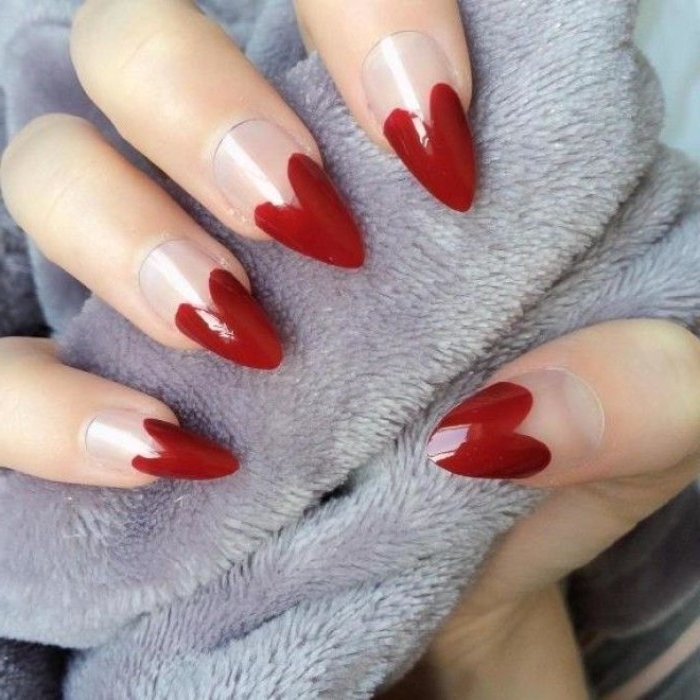
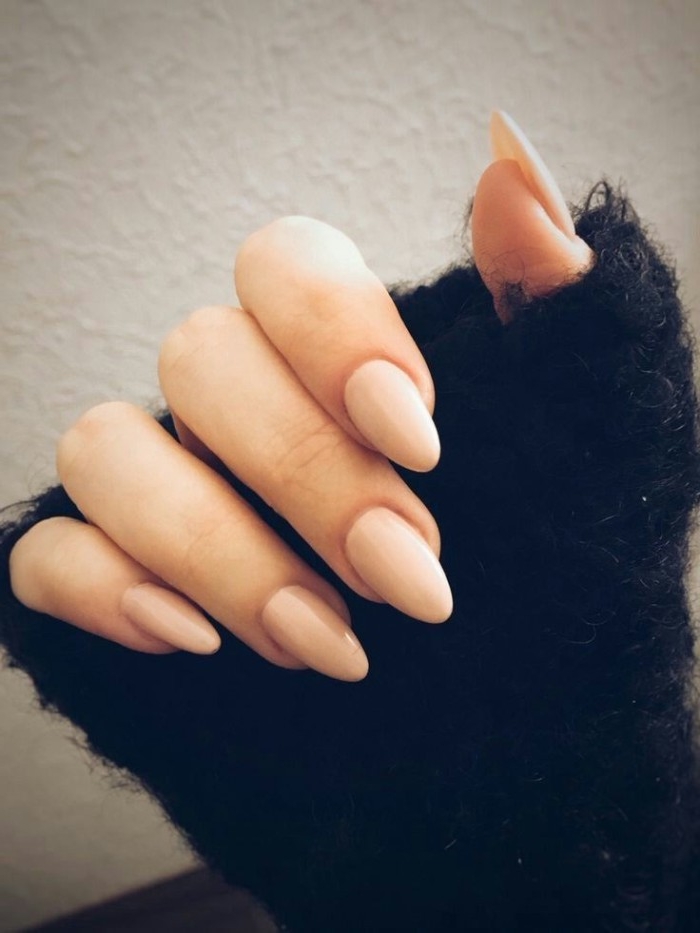
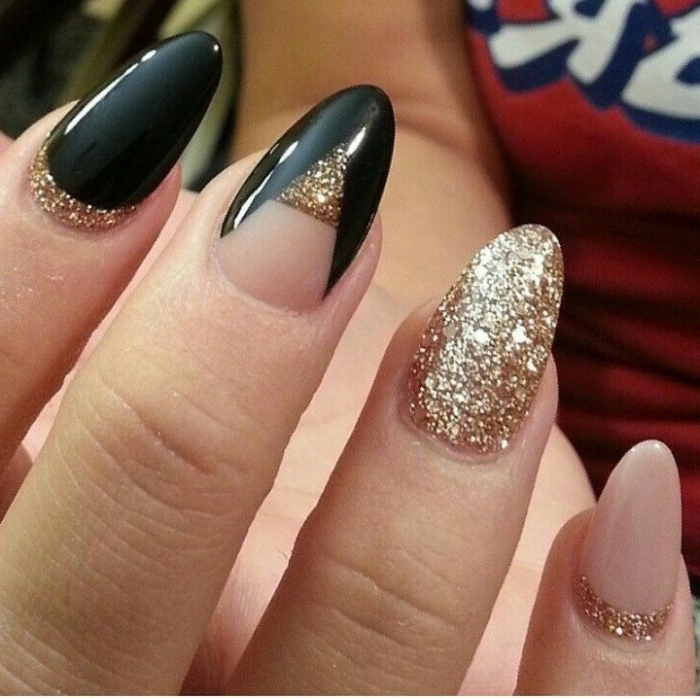
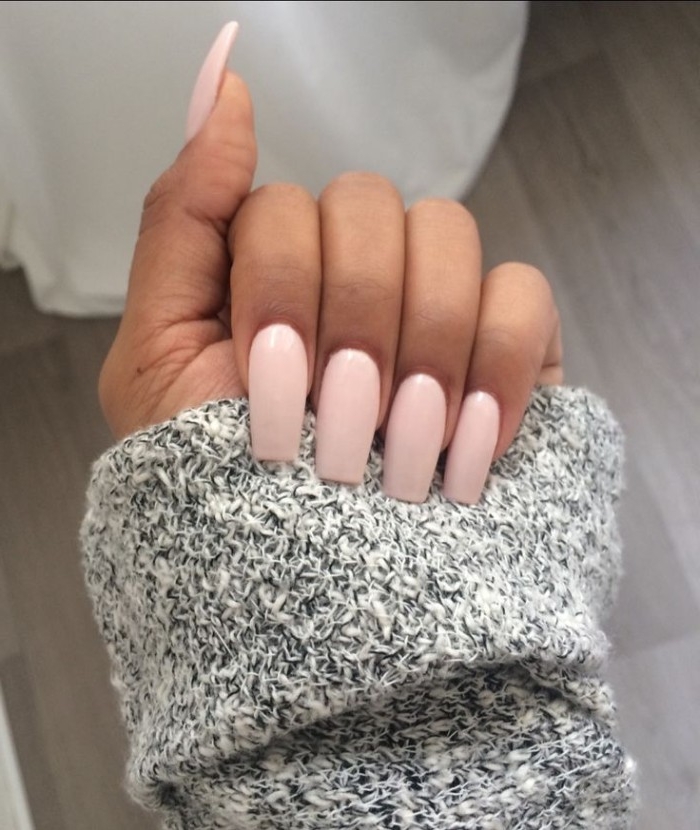
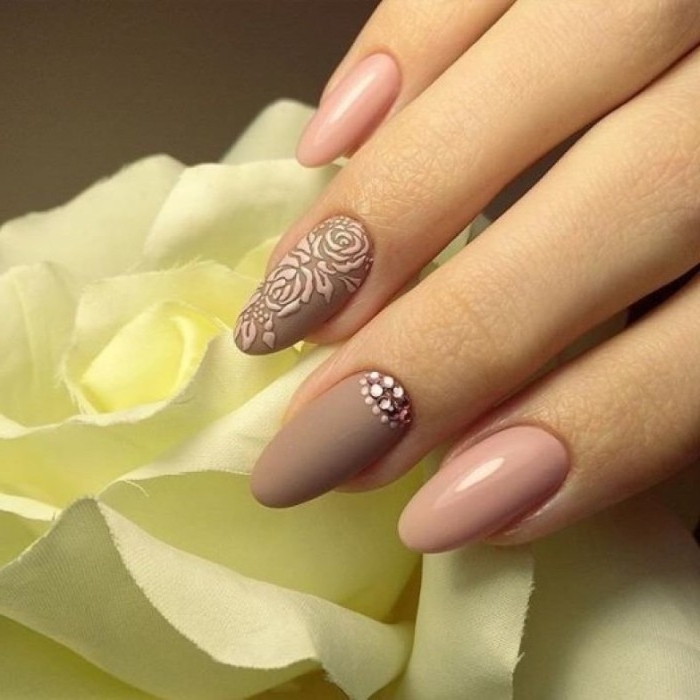
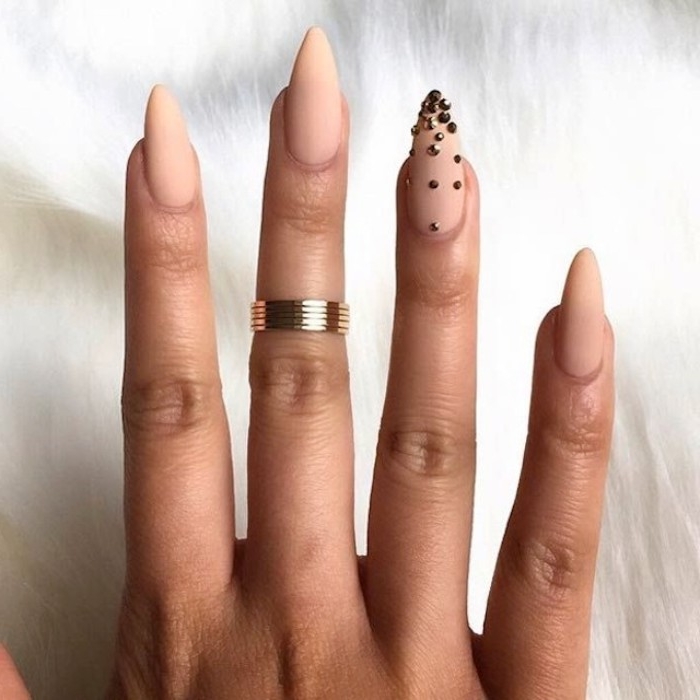
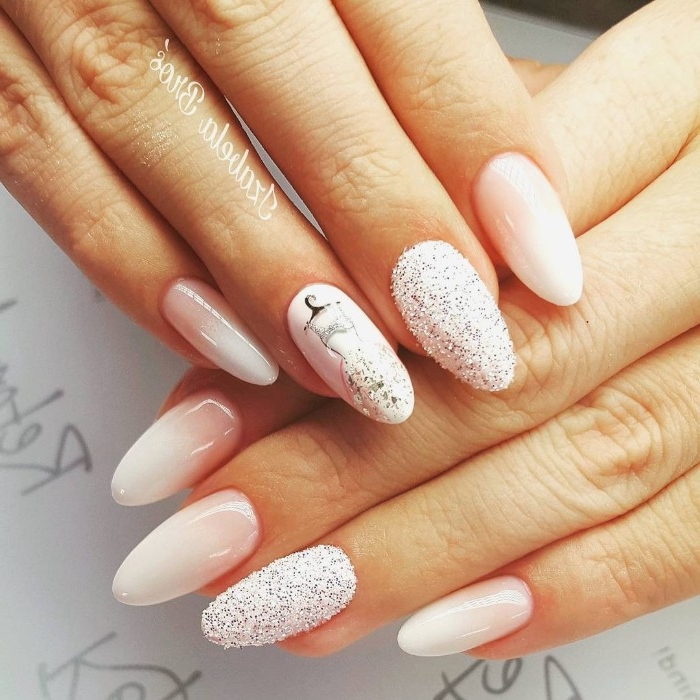
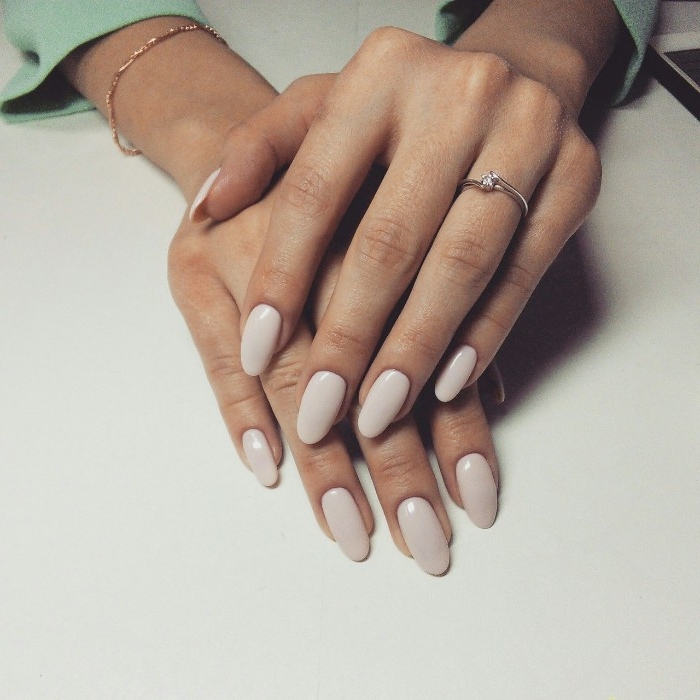
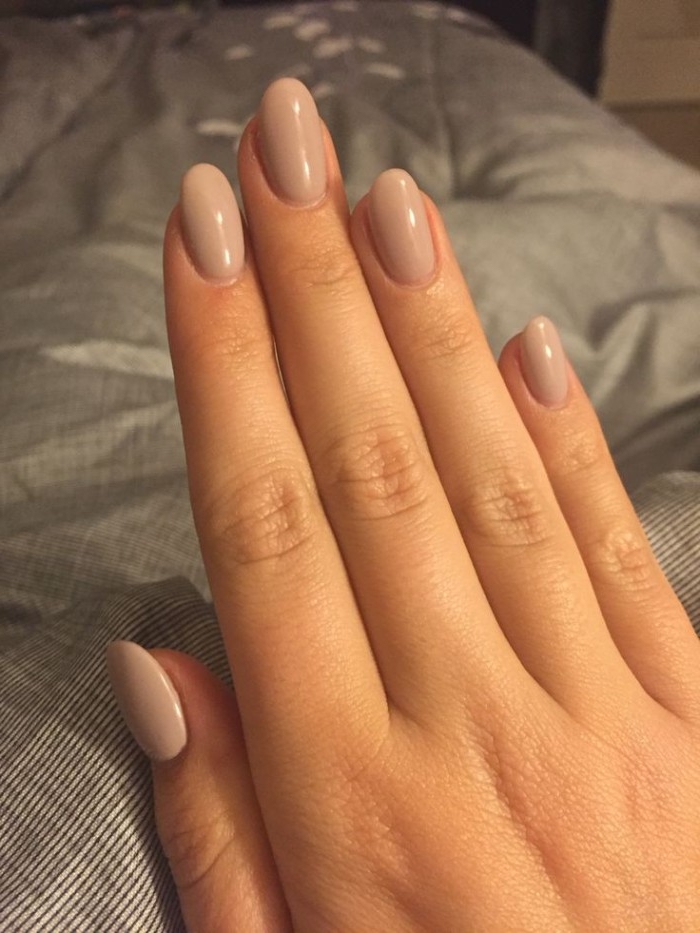
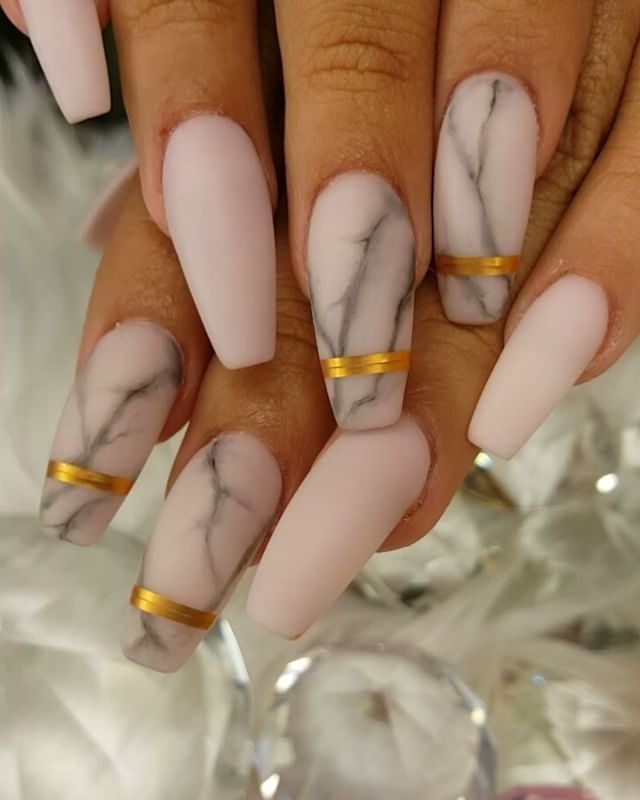
The shape is part of the statement. A soft, rounded or ‘squoval’ shape enhances the quiet elegance of a nude polish. Almond and stiletto shapes give it a bolder, more fashion-forward edge. The key is consistency—ensure all nails are shaped uniformly for that polished, intentional look.
A perfect nude nail is the ultimate power move. It’s confident, it goes with everything, and it signifies that you pay attention to the smallest details. It doesn’t scream, it whispers. – Betina Goldstein, Celebrity Nail Artist
How do you make your perfect manicure last all week?
It’s all about the daily habits. Think of your top coat as a shield that needs reinforcement.
- Apply a fresh layer of your quick-dry top coat every 2-3 days to restore shine and add protection.
- Always wear gloves when doing dishes or cleaning. Harsh chemicals are the #1 enemy of a lasting manicure.
- Hydrate! Applying hand cream and cuticle oil daily keeps nails from becoming brittle.
Is a nude manicure flattering on short nails?
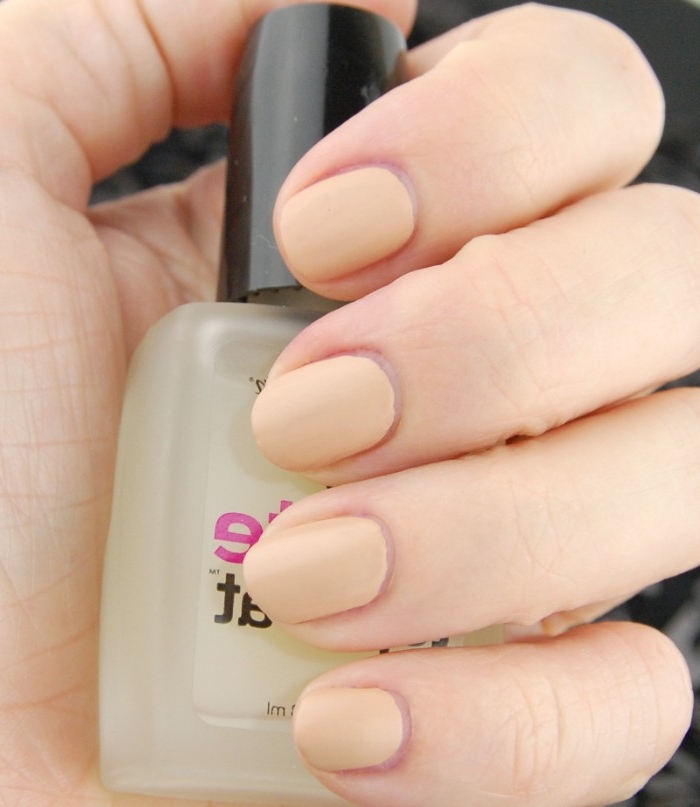
Absolutely! In fact, it’s one of the most elegant choices for short nails. A well-chosen nude can visually elongate your fingers. For shorter nails, stick to creamy, opaque formulas rather than very sheer ones, as they provide a cleaner, more defined look. Shades like Gucci’s ‘Ellen Blush’ or Chanel’s ‘Particulière’ are stunning on a neat, short nail.
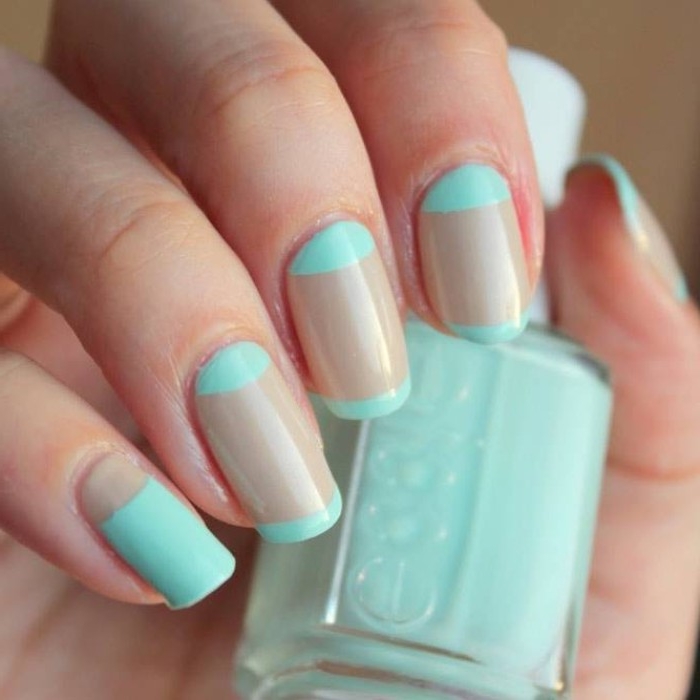
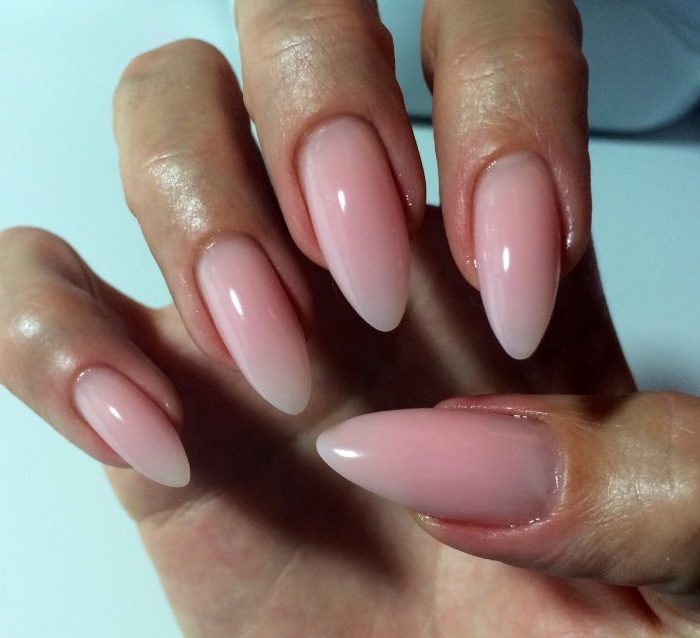
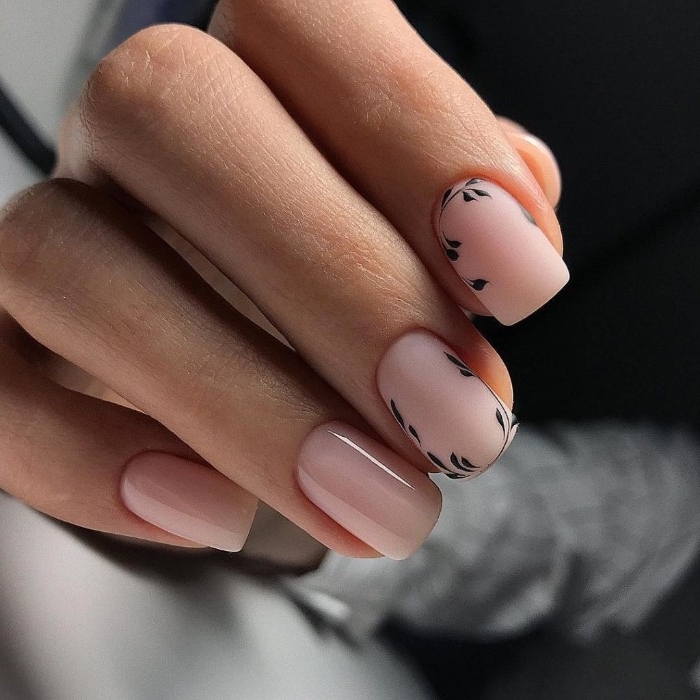
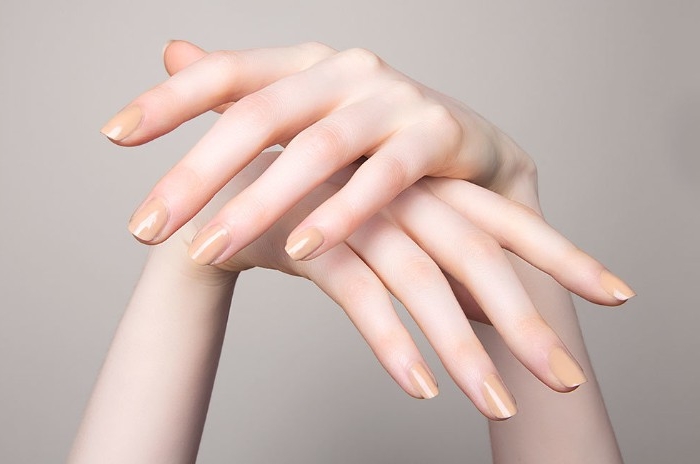
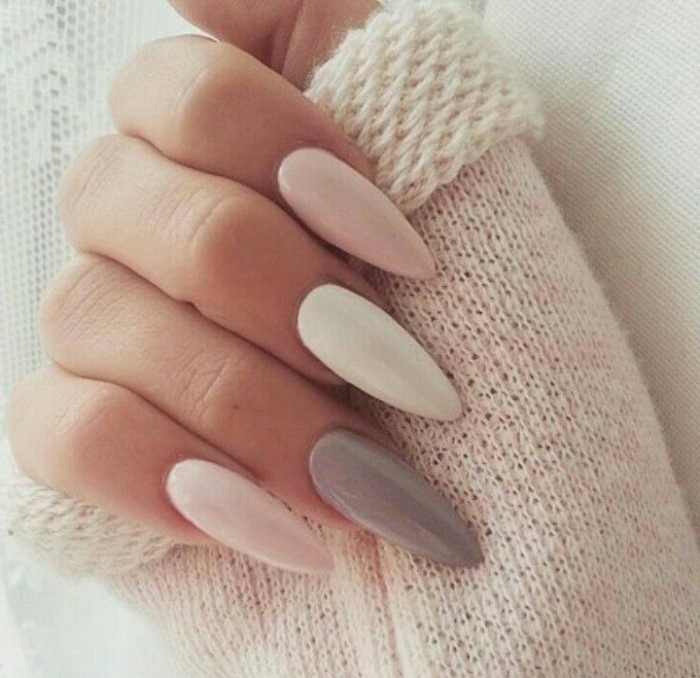
Sheer Nude: Think a wash of color, like a watercolor painting. It’s forgiving, easy to apply, and offers a hyper-natural ‘your-nails-but-better’ finish. Perfect for those who want a barely-there, clean look. A prime example is Essie’s ‘Ballet Slippers’.
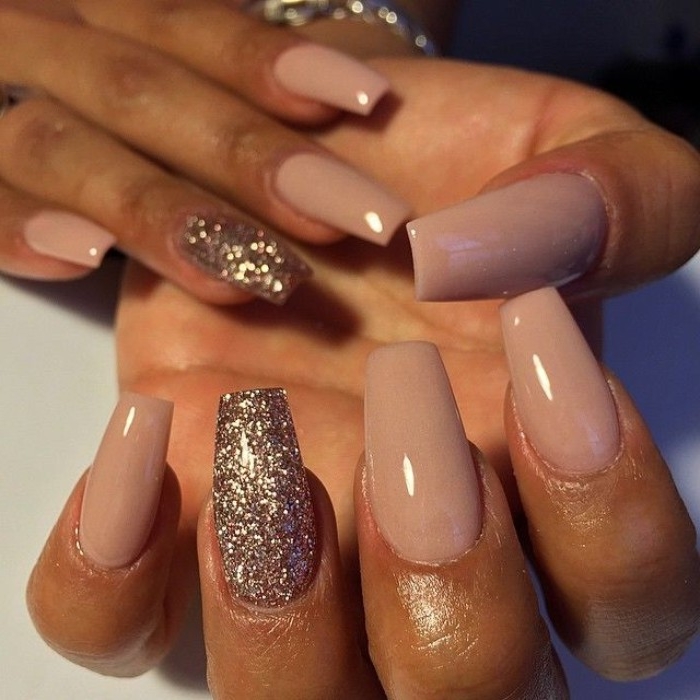
Opaque Nude: This offers full, creamy coverage for a more solid, polished statement. It requires a steadier hand but delivers a chic, modern look that completely conceals any nail imperfections. Think of a classic like Orly’s ‘Mind Over Matter’.

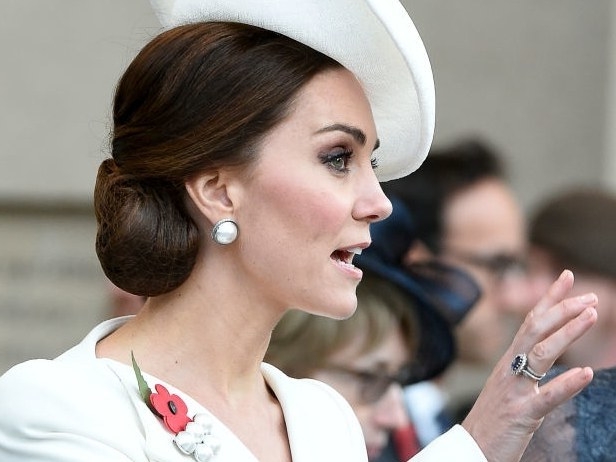
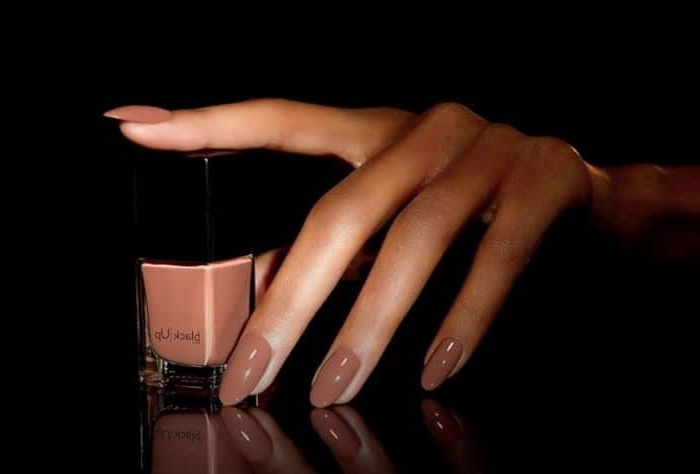
Across search engines and social media, shades of ‘nude’ consistently rank among the most requested and searched-for nail colors worldwide.
This isn’t just a trend; it’s a staple. Its universal appeal lies in its versatility. A nude manicure is appropriate for any occasion, from a corporate boardroom to a wedding. It complements any outfit without competing with it, embodying a sense of timeless, effortless style.
For the ultimate smooth foundation, especially on weaker nails, look into BIAB (Builder in a Bottle). This professional-grade gel product, like the one from The GelBottle Inc, creates a strong, perfectly shaped overlay on the natural nail. Applying your nude polish over this base results in an impeccably smooth and incredibly durable manicure.
- Essie Expressie ‘In a Flash Sale’: A creamy, quick-dry beige that’s universally flattering.
- Sally Hansen Insta-Dri ‘Making Mauves’: A beautiful mauve-toned nude that dries in 60 seconds.
- Revlon Ultra HD Snap! ‘Basic’: A clean, pale beige with an easy-to-apply, 20-free formula.

Did you know the word ‘manicure’ has Latin roots? It combines ‘manus,’ for hand, and ‘cura,’ for care. It’s a reminder that a beautiful result always begins with meticulous care of the hands and nails.


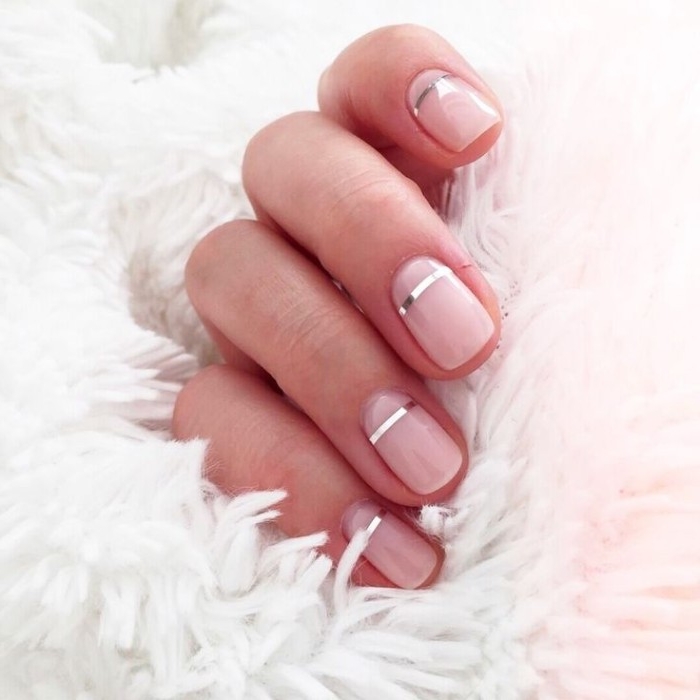
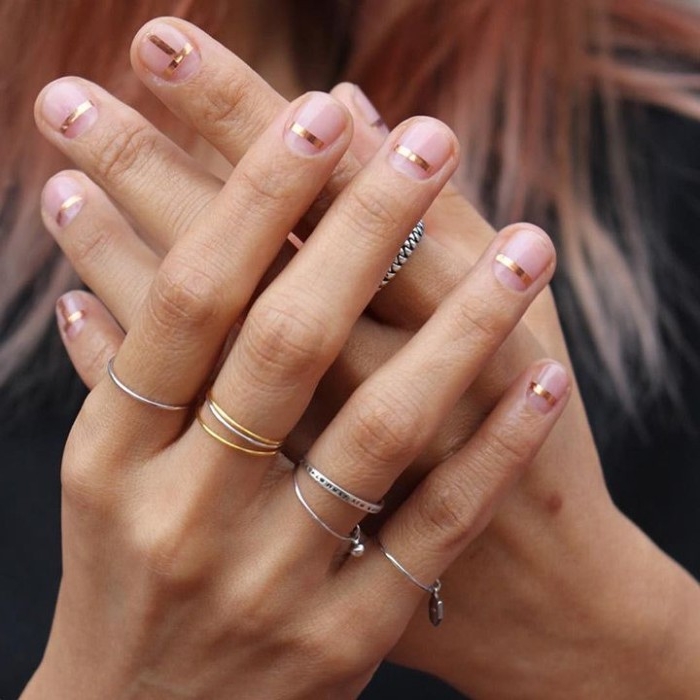
- It adds a modern twist to a classic look.
- It makes nails appear longer and more slender.
- It’s subtle enough for even the most conservative environments.
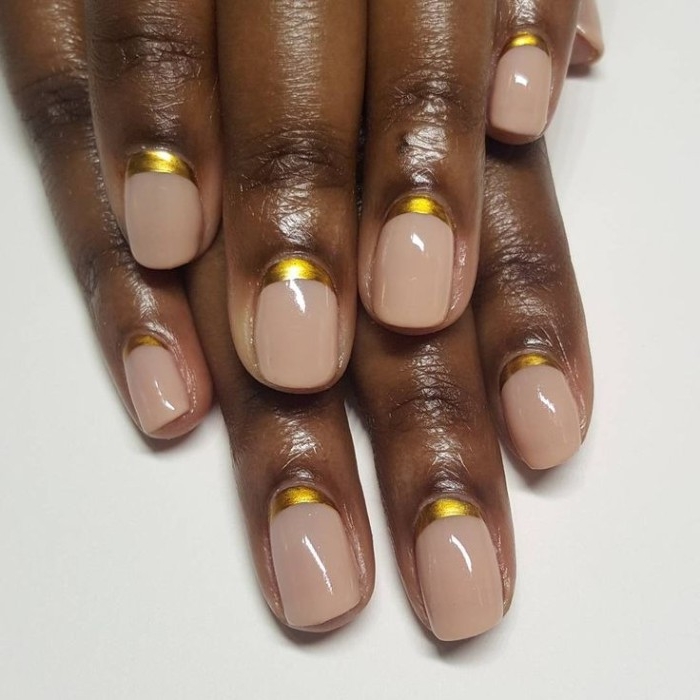
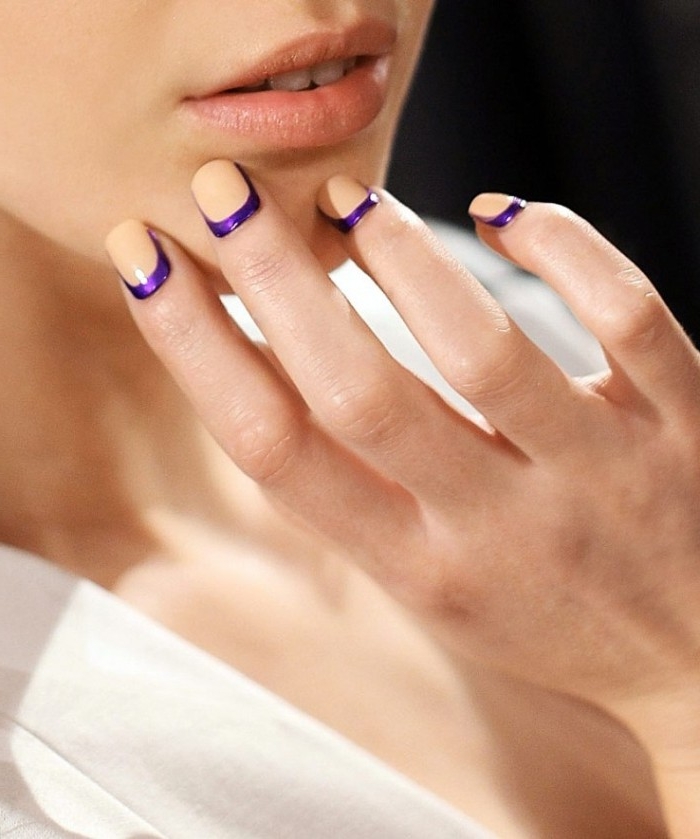
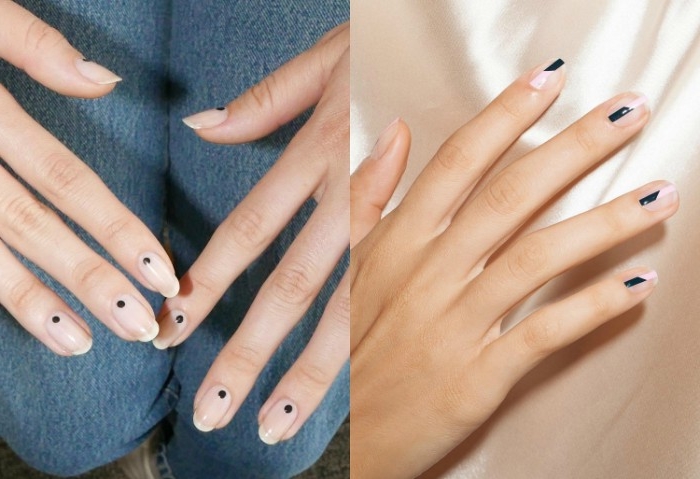
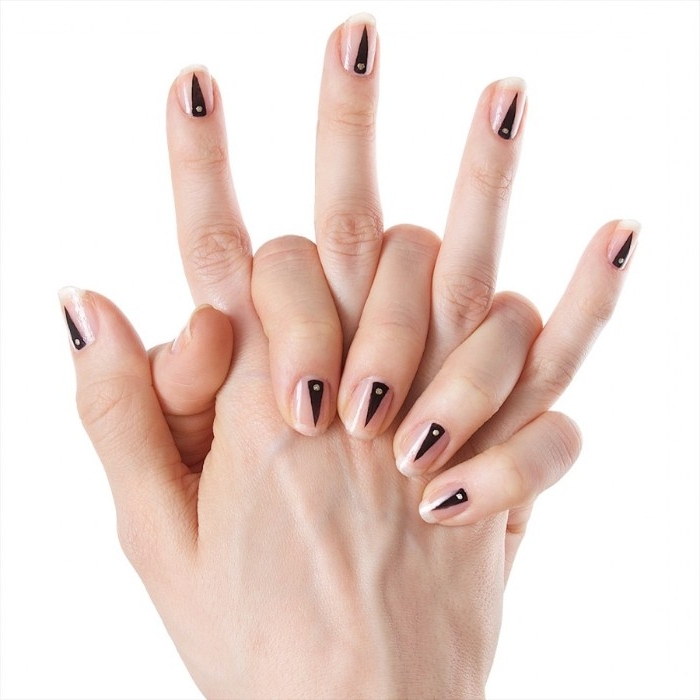
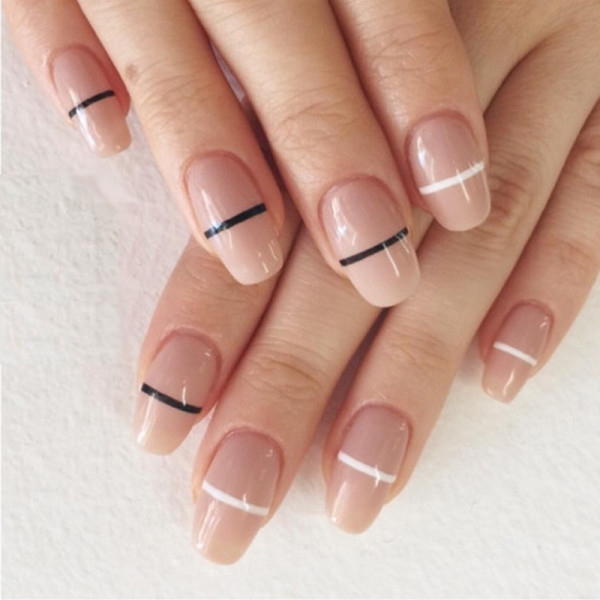
The secret is the ‘Micro French’ or ‘Skinny French’ manicure. It involves a whisper-thin white or off-white line painted right at the tip of a perfectly polished nude nail.
A non-negotiable investment: a high-quality top coat that won’t yellow over your pristine nude color. Lighter polishes are prone to discoloration from UV rays or chemical reactions. A top coat with UV protection, like the CND Vinylux Long Wear Top Coat, is essential to keep your beige true and your pinks from turning orange.
Why does my pale nude polish look yellow or dingy after a few days?
This is often due to ‘staining’ from external sources. Things like handling dark denim, applying self-tanner, or even cooking with spices like turmeric can discolor a light manicure. A high-quality, non-porous top coat is your best defense. If a stain does occur, gently wiping the nail with rubbing alcohol can sometimes lift it without ruining the polish.
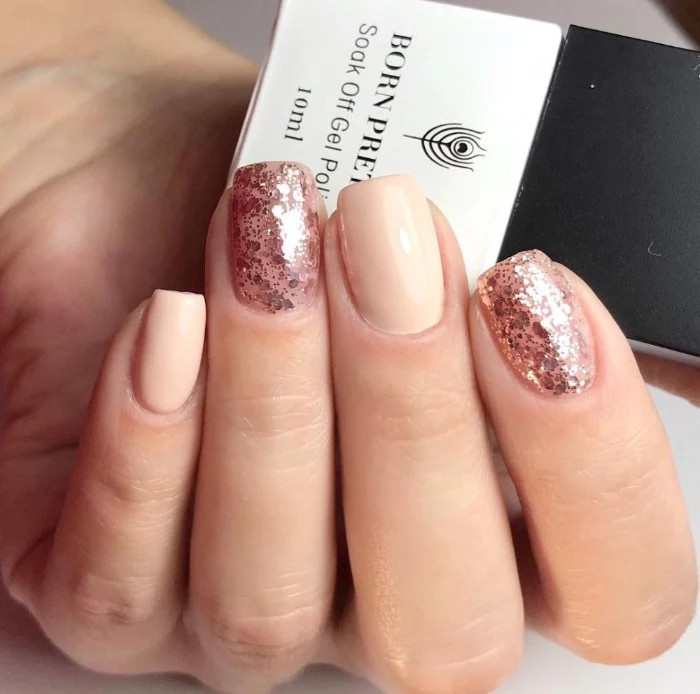
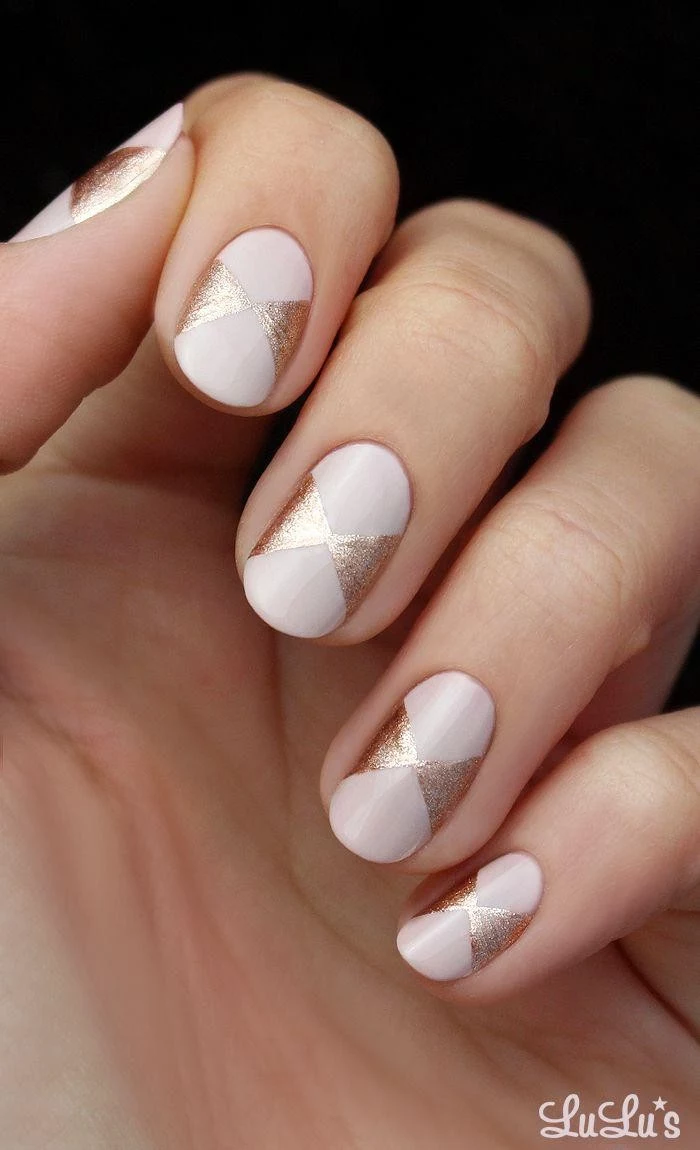
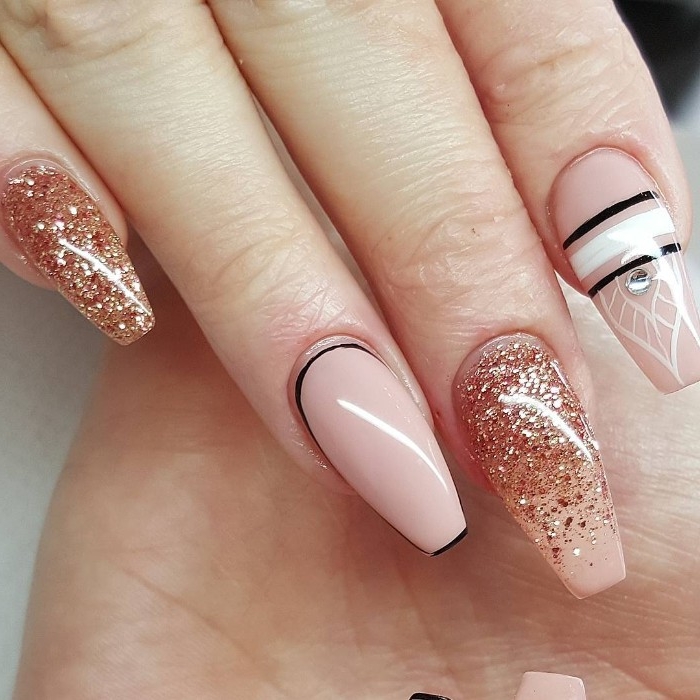
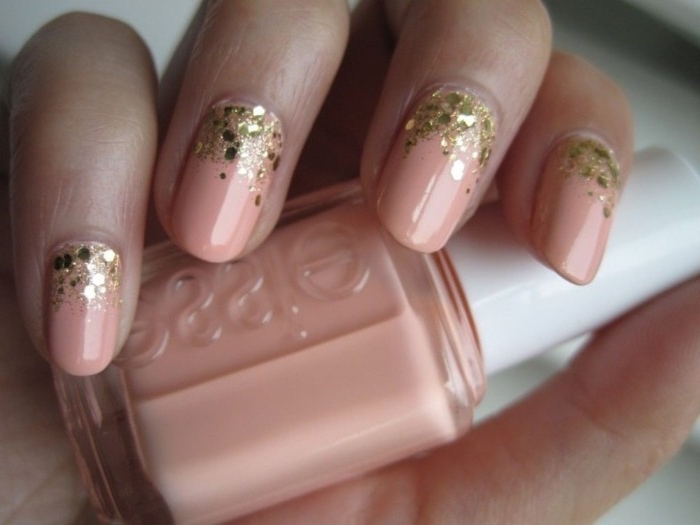
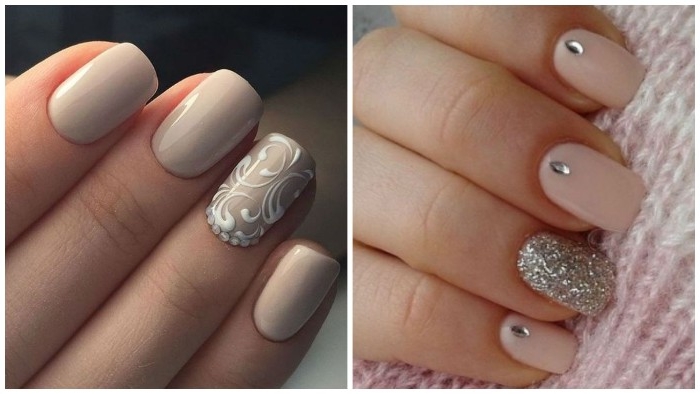
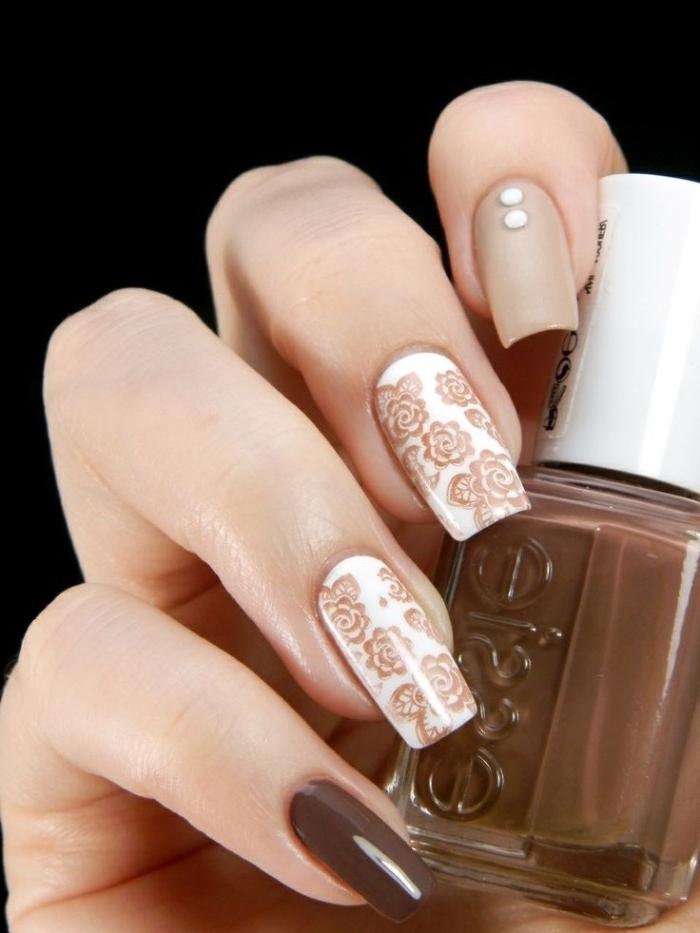
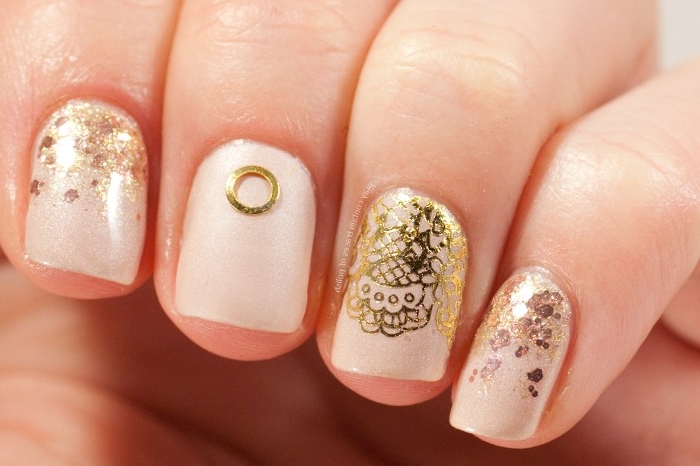
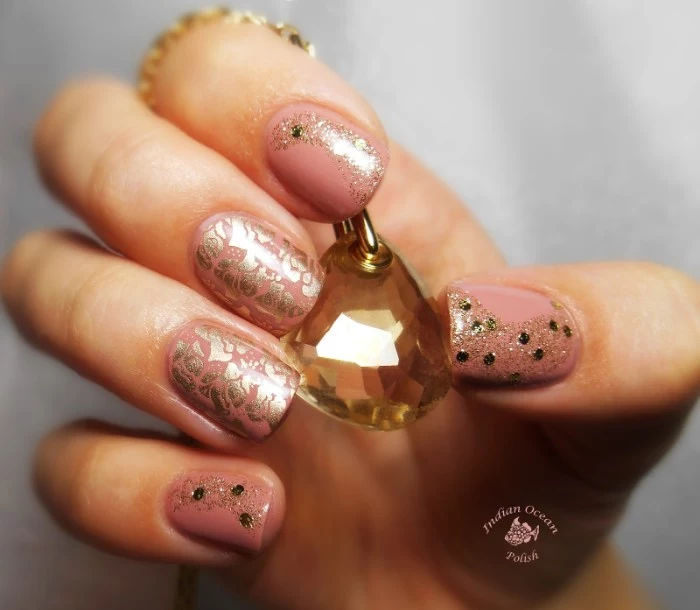
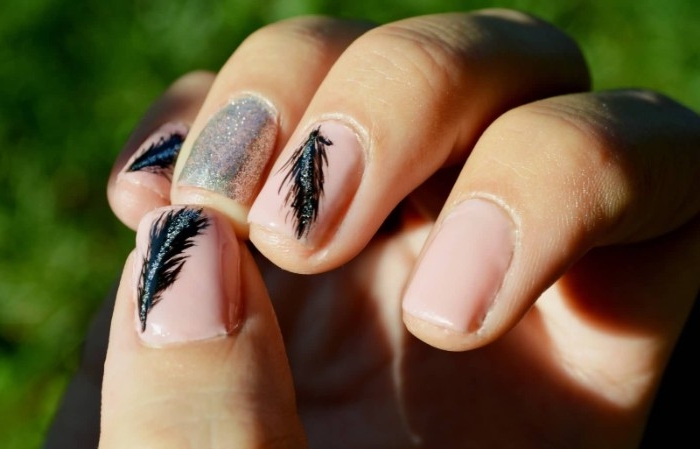
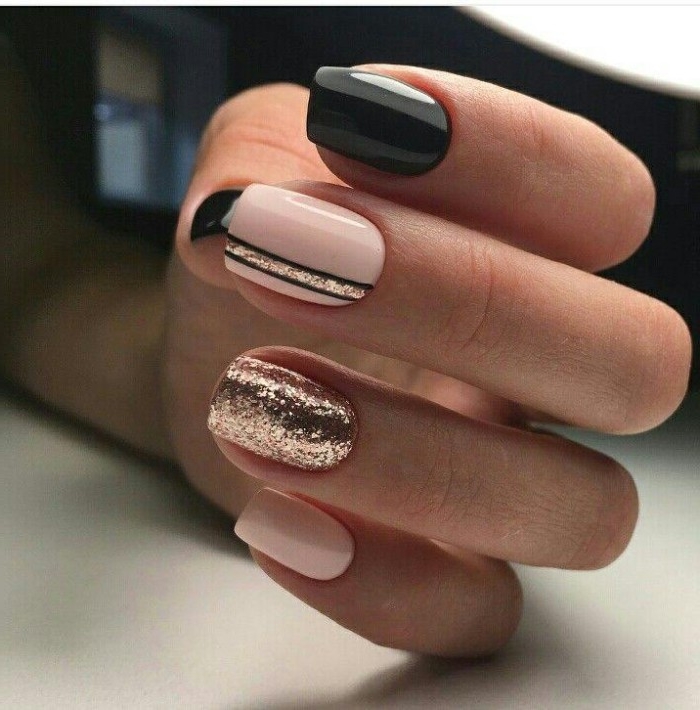
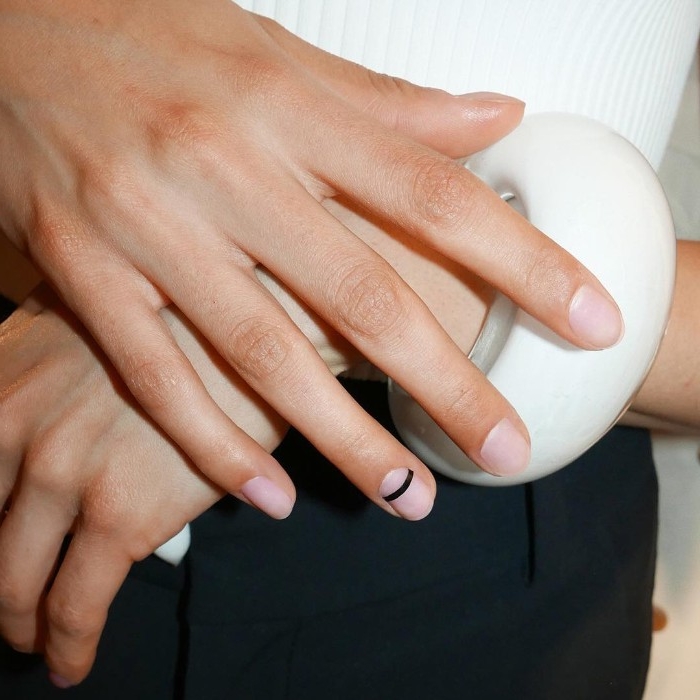
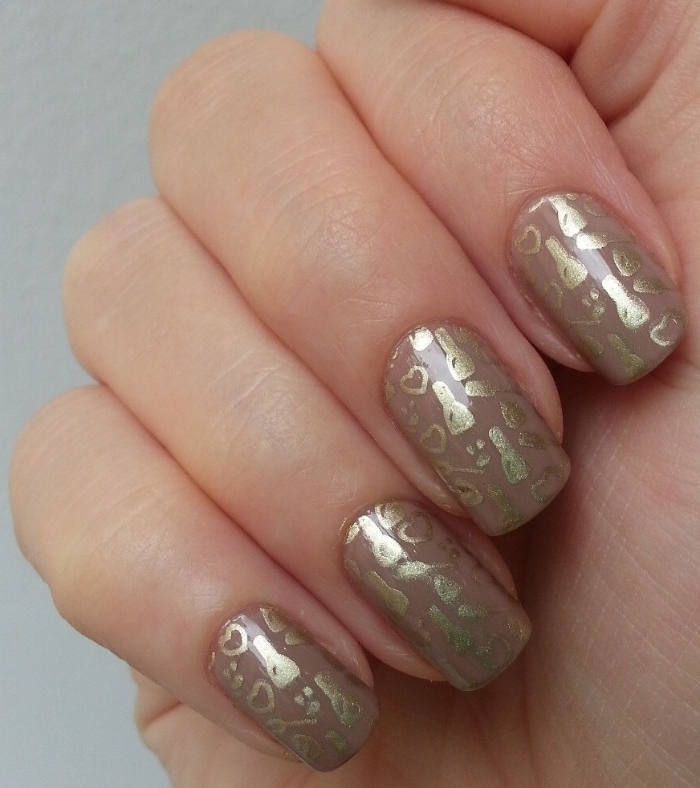
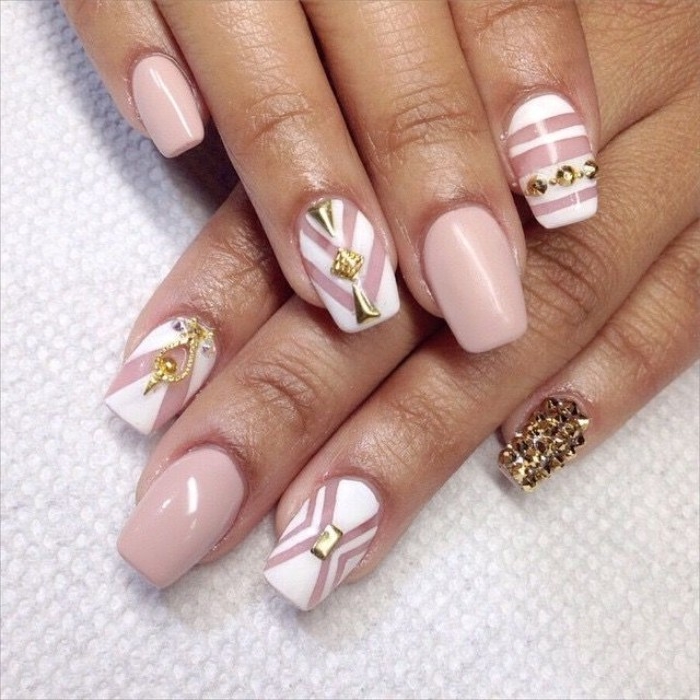
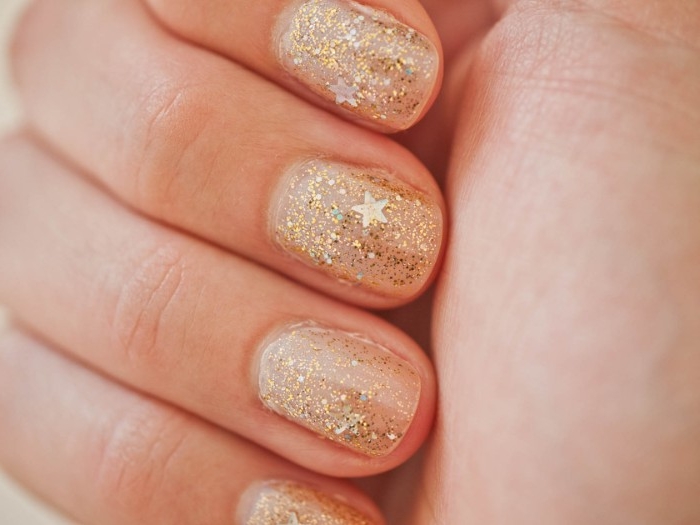
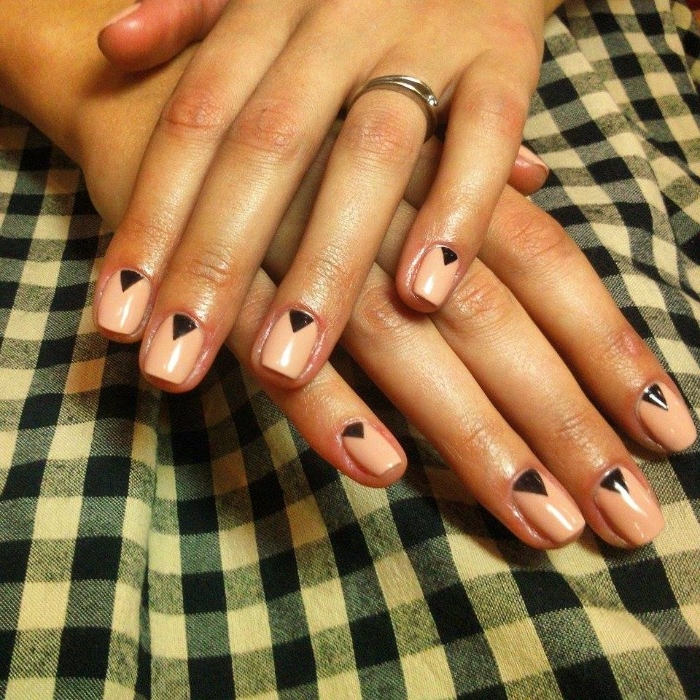
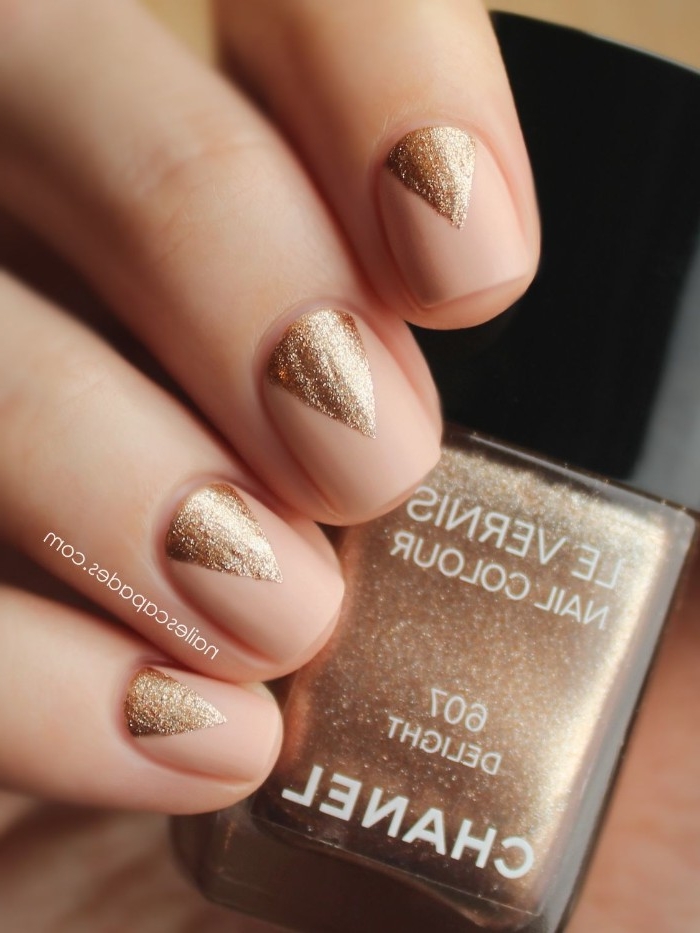
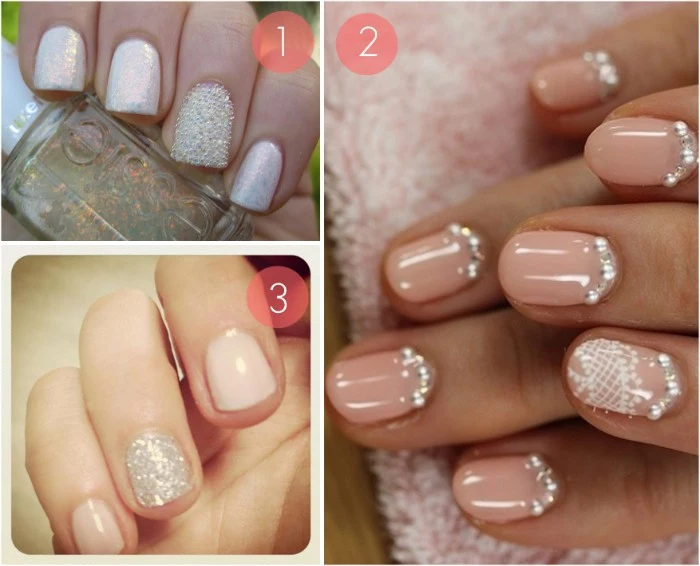
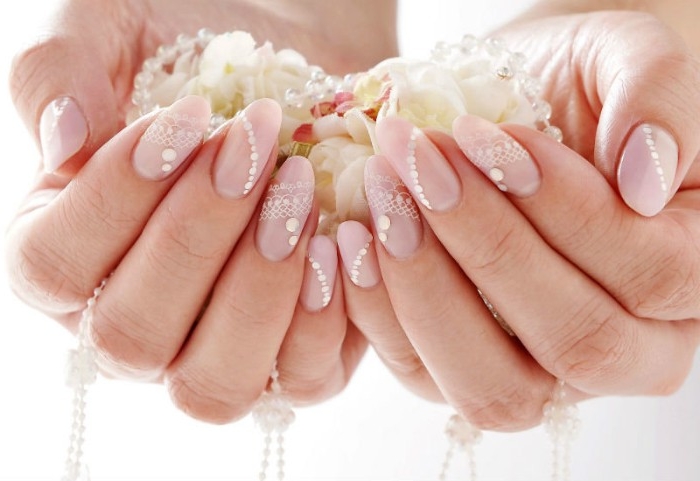
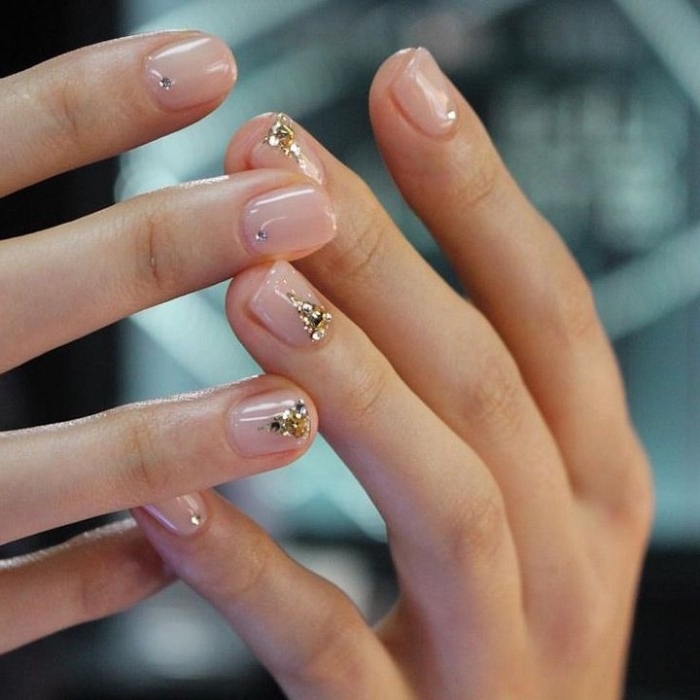
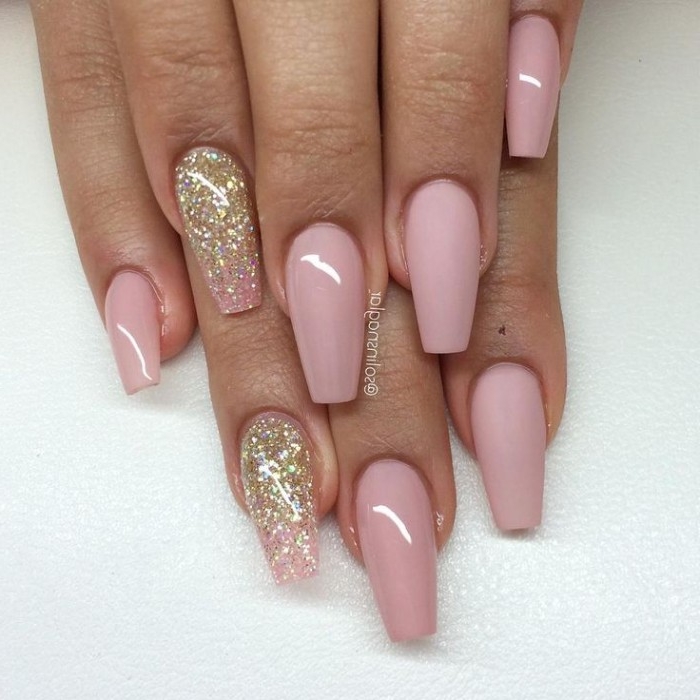
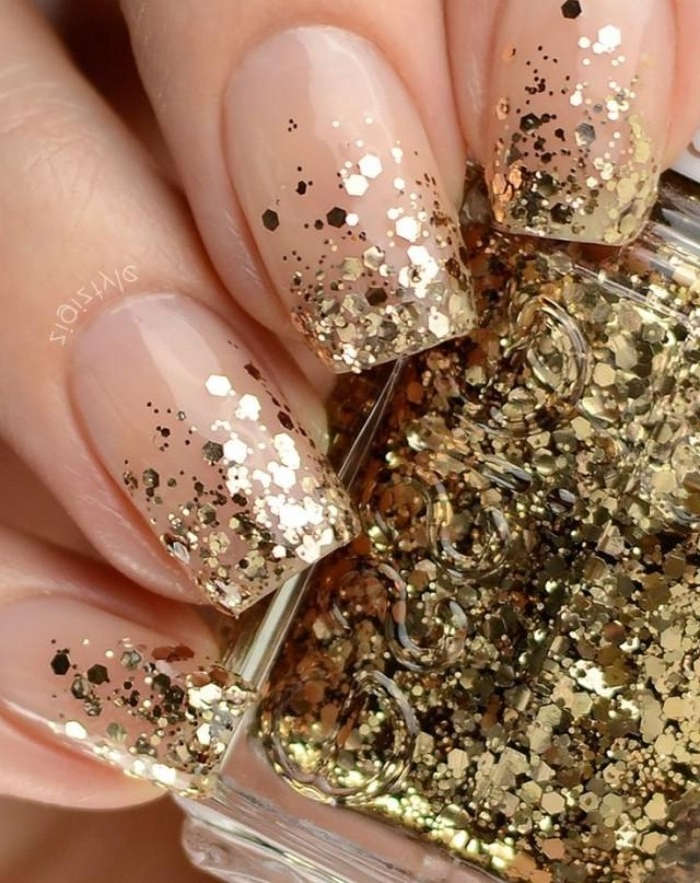
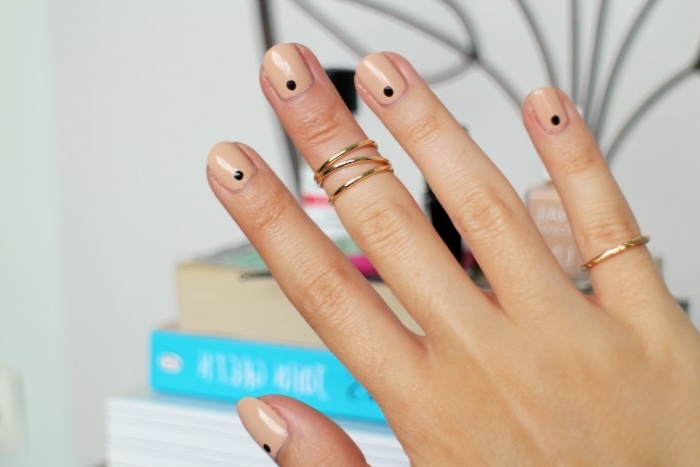
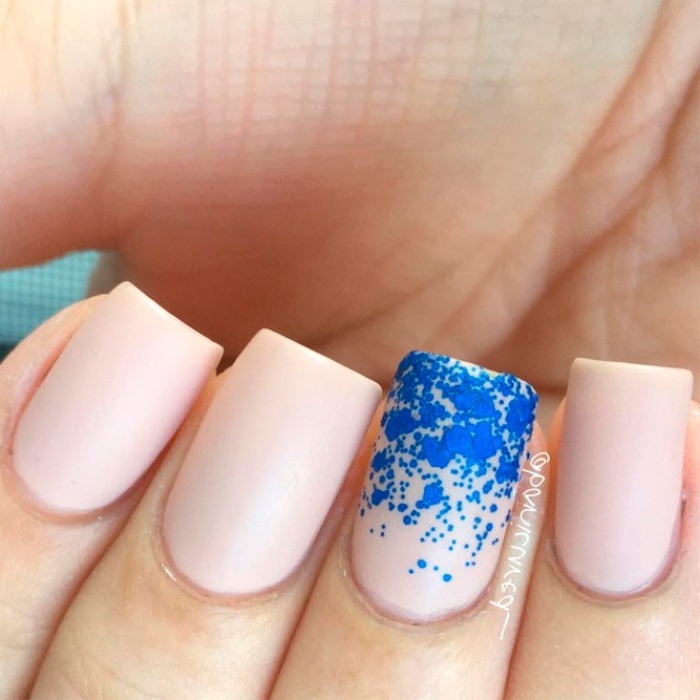
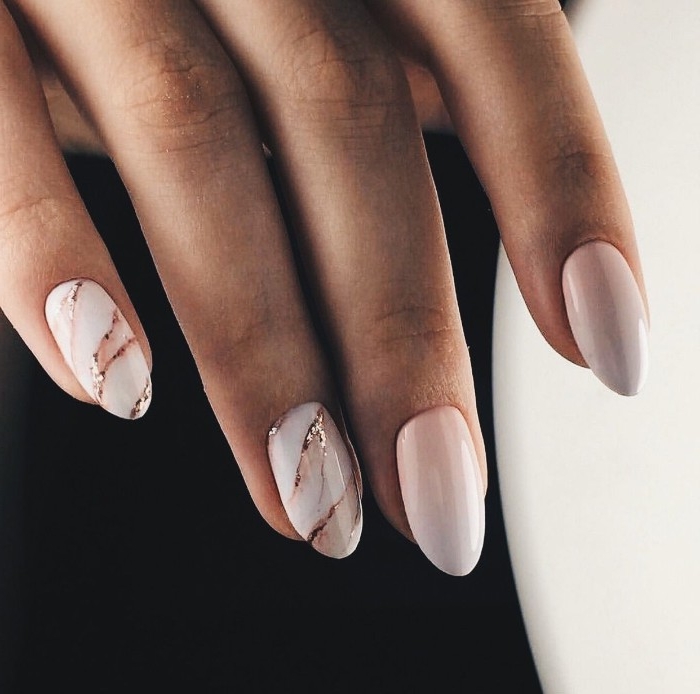
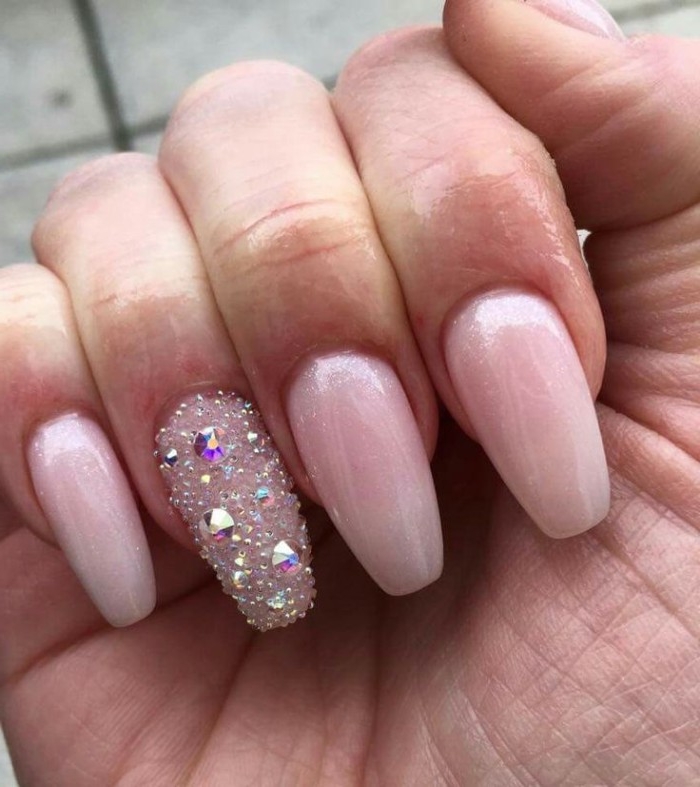
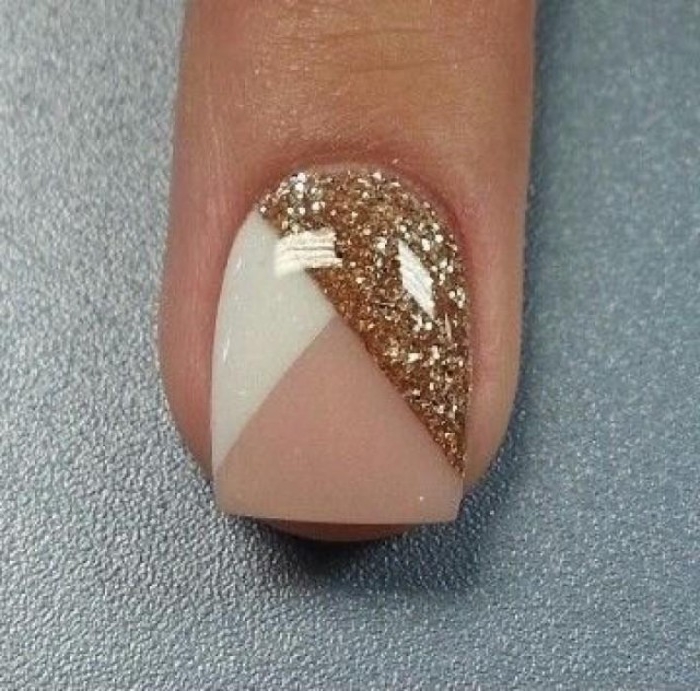
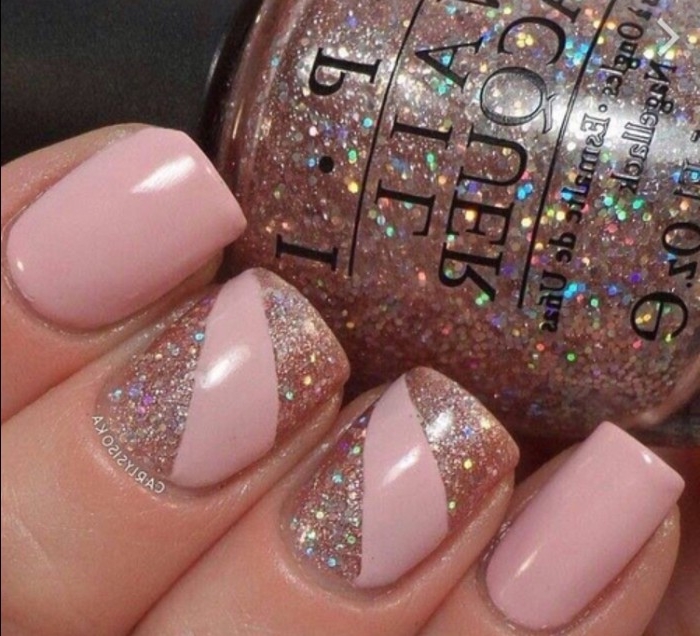
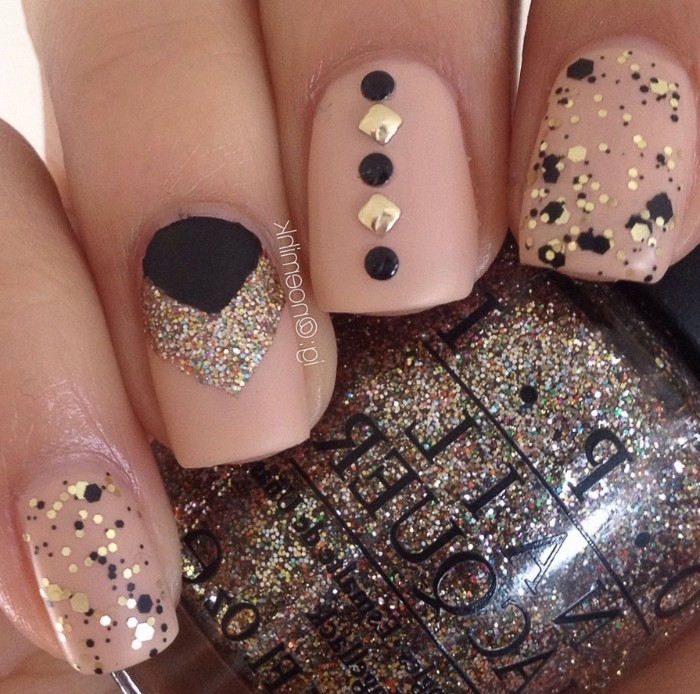
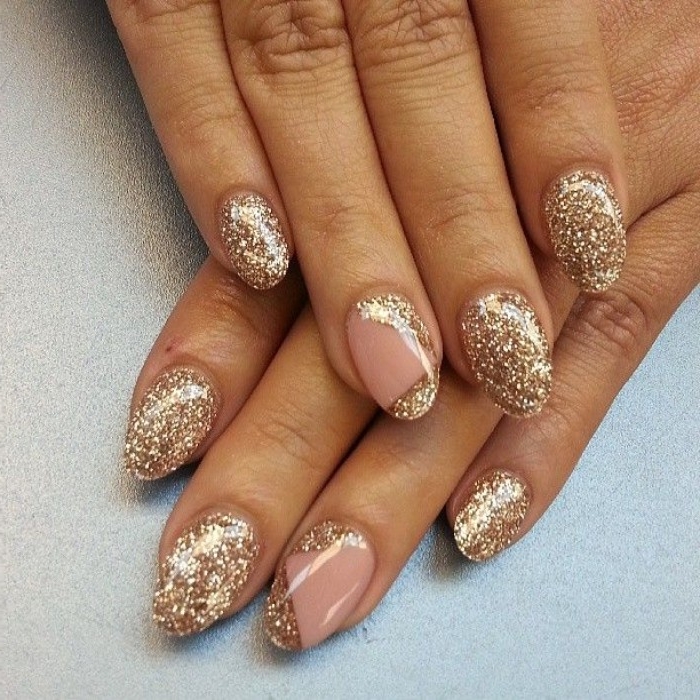
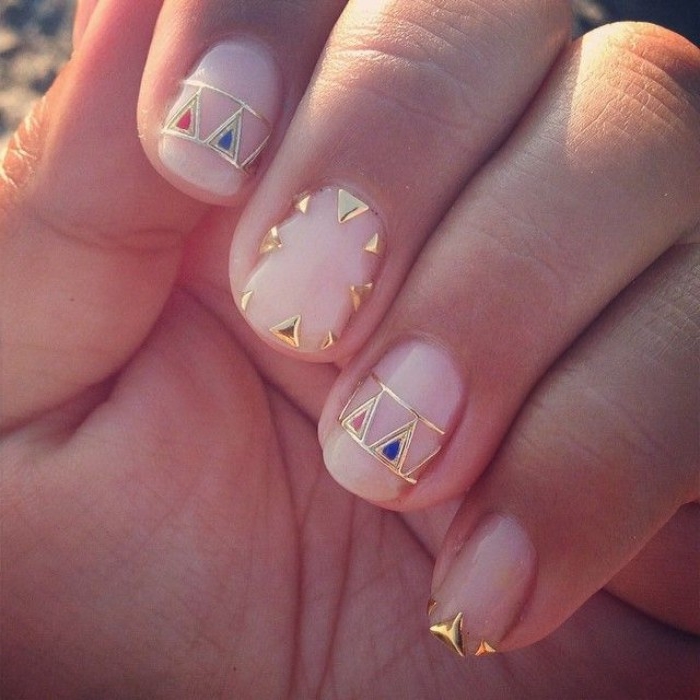
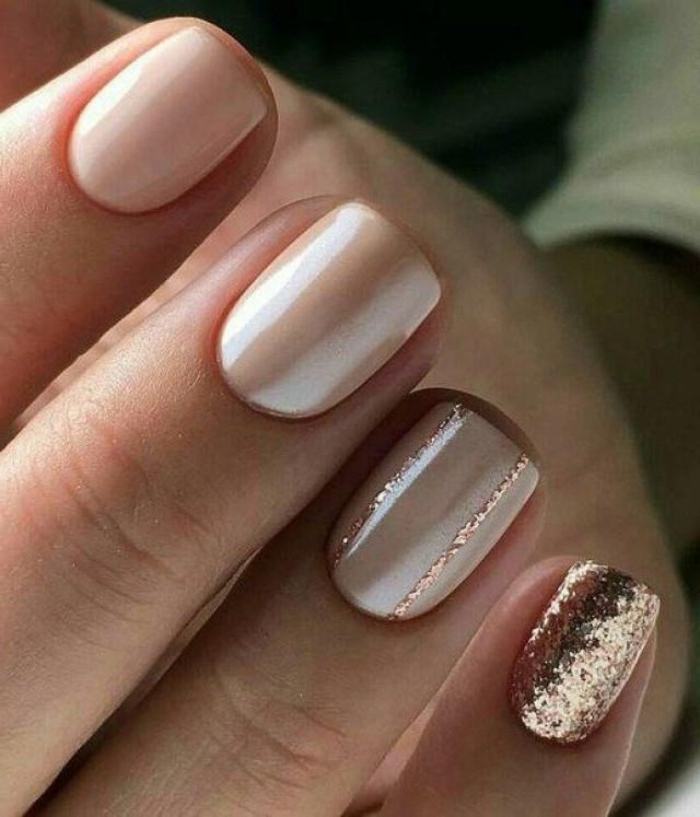
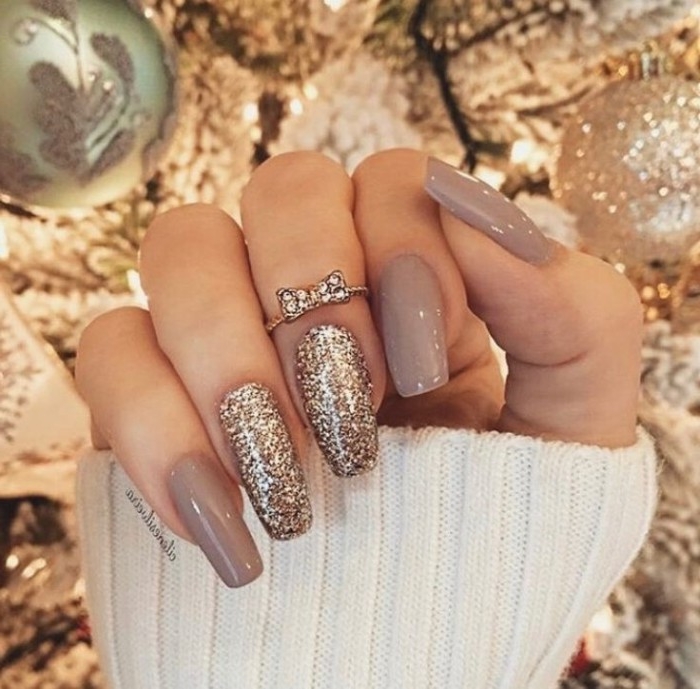
A simple nude is the perfect canvas for a touch of minimalist art. It keeps the overall look chic and uncluttered.
- Apply a single, tiny metallic dot at the base of each nail using a dotting tool or toothpick.
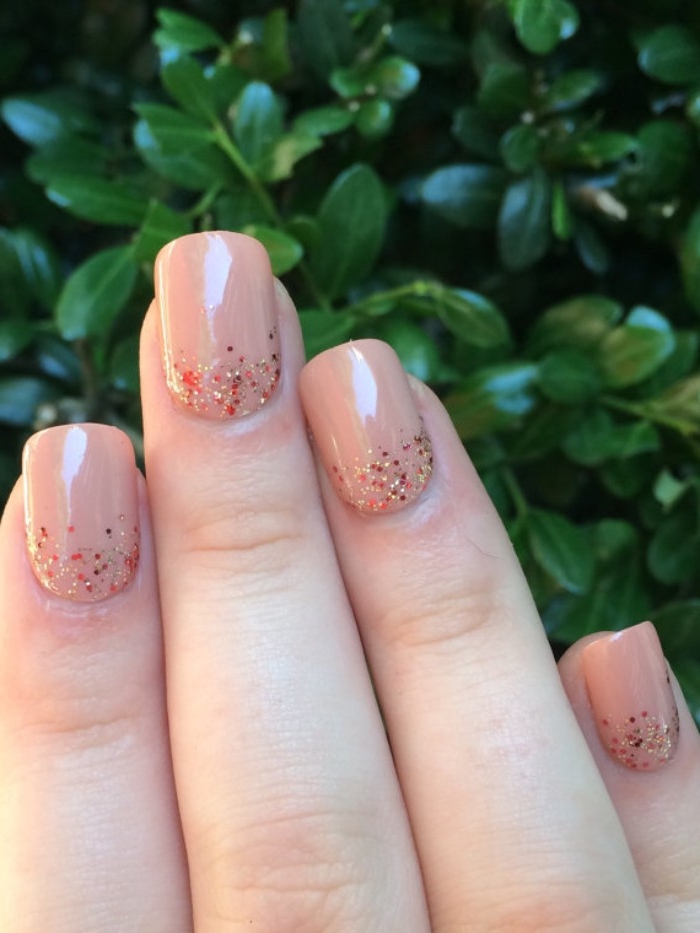
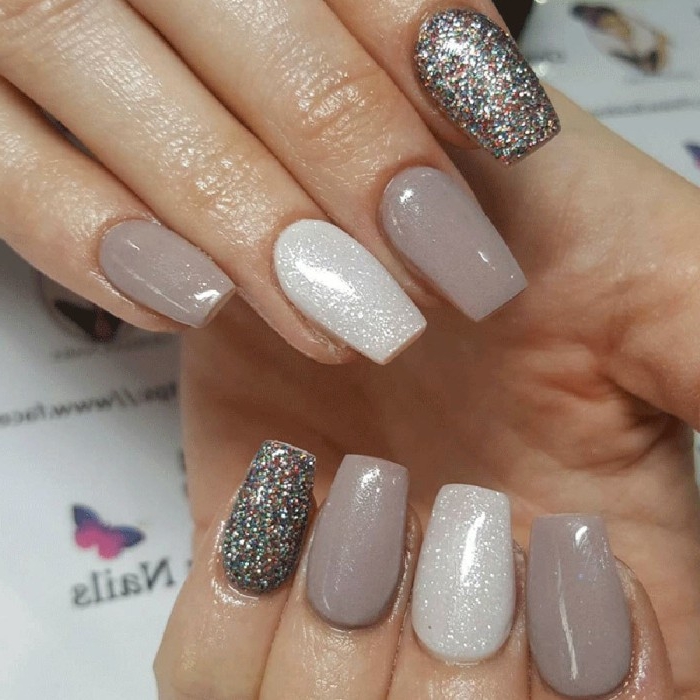
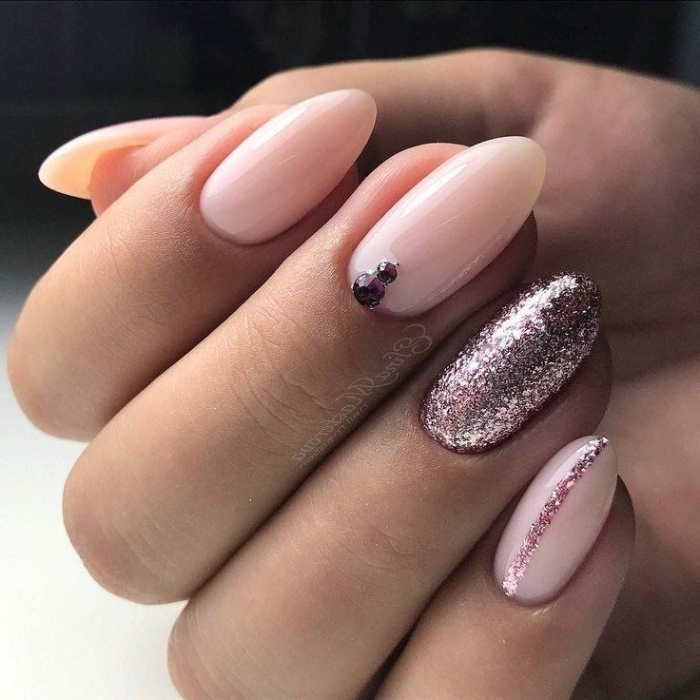
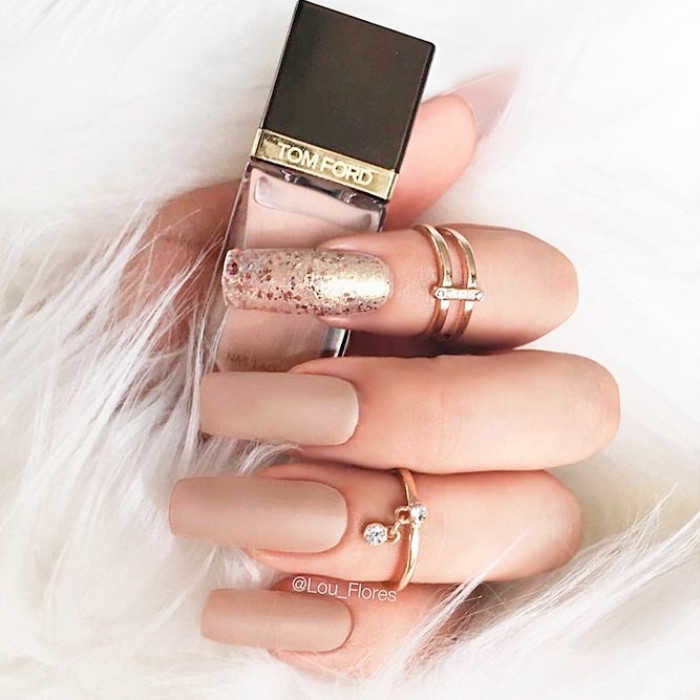
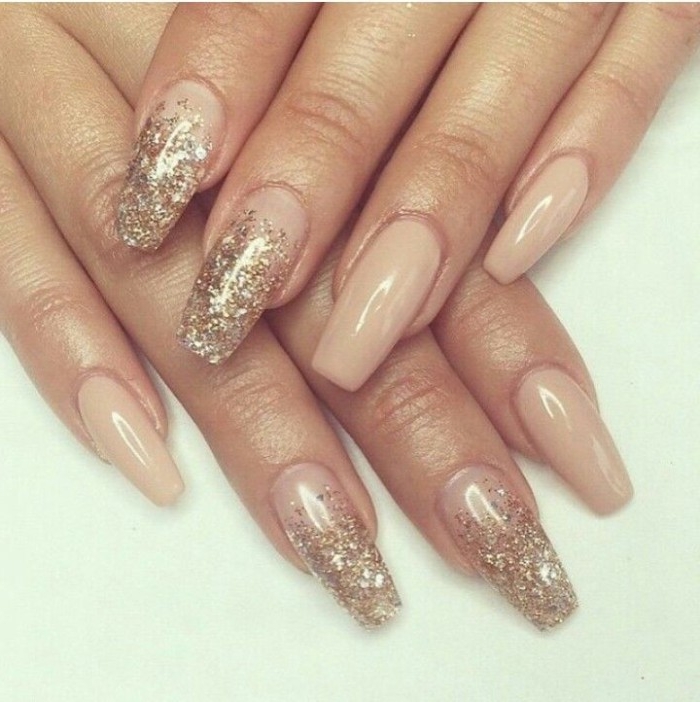
- Adorn just one accent nail (usually the ring finger) with a sheer coat of glitter like ‘Summit of Style’ by Essie.
- Try a ‘negative space’ design by leaving a small, clean moon shape unpolished at the cuticle.
There’s a unique sense of calm and self-assurance that comes from looking down at your hands and seeing a flawless nude manicure. It’s a quiet detail that speaks volumes. It says you are polished, put-together, and in control, without needing the flash of a brighter color. It’s the ultimate accessory for quiet luxury.


