Your Ultimate Guide to Flawless Lime Green Nails (The Pro Secrets)
I’ve been a licensed nail tech for a long, long time—over fifteen years now. And in that time, I’ve seen every color trend come, go, and come back again. But some colors are just different. They have an energy all their own. I can still vividly remember the first time a client asked for a true, electric lime green. It was a brand-new gel polish that practically glowed in the bottle, and my other clients were skeptical, clutching their go-to reds and pinks. But the second I painted on that first vibrant coat, the whole salon’s vibe shifted. It was pure, unapologetic confidence.
In this article
That one manicure kickstarted a local trend. It taught me that bold colors aren’t just for a specific season; they’re about a feeling. Lime green is optimistic, high-energy, and just plain cool. It grabs attention without needing glitter or gems. So, let’s get into it. This is more than just looking at pretty pictures—this is a deep dive into the real craft behind the color. We’ll cover how to pick the right shade and system, nail the application, and even try some fun art, all while keeping your nails healthy.

First, Let’s Choose Your Fighter: System & Shade
Before you even think about polish, you have to decide how you want to wear it. The system you choose—gel, dip, or acrylic—totally changes the game in terms of durability, cost, and a-plication. And yes, there’s a perfect lime green for your skin tone.
Picking the Right Lime for You
Here’s a little secret: not all limes are created equal. Just like with lipstick, finding the right undertone makes a huge difference.
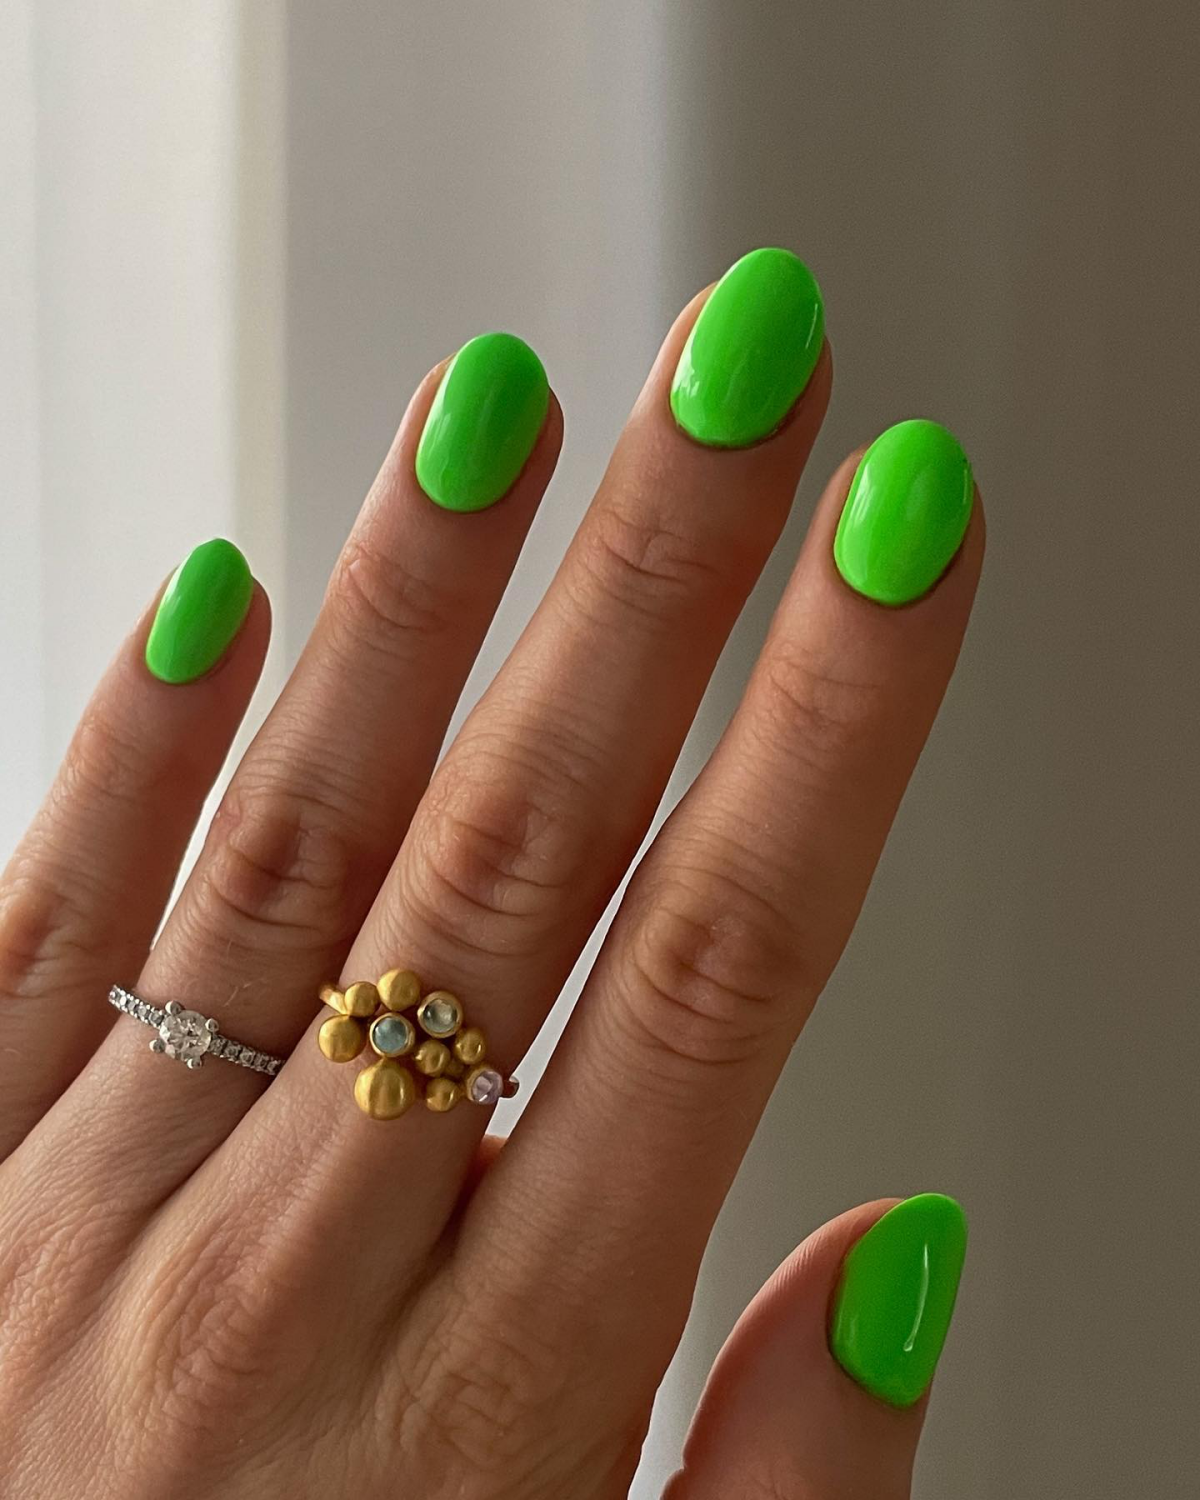
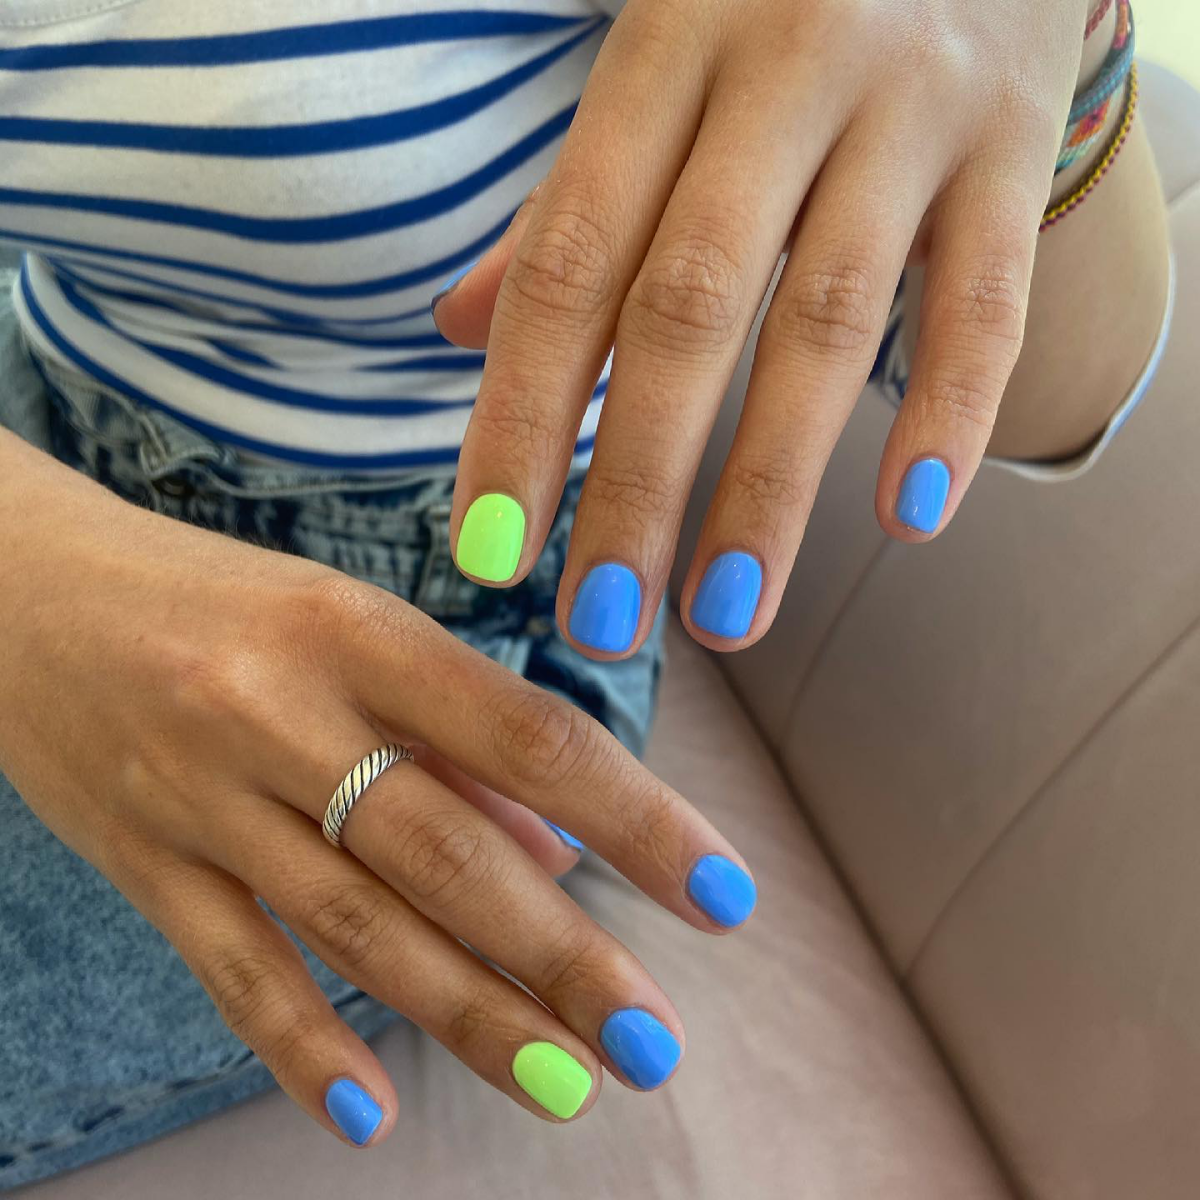
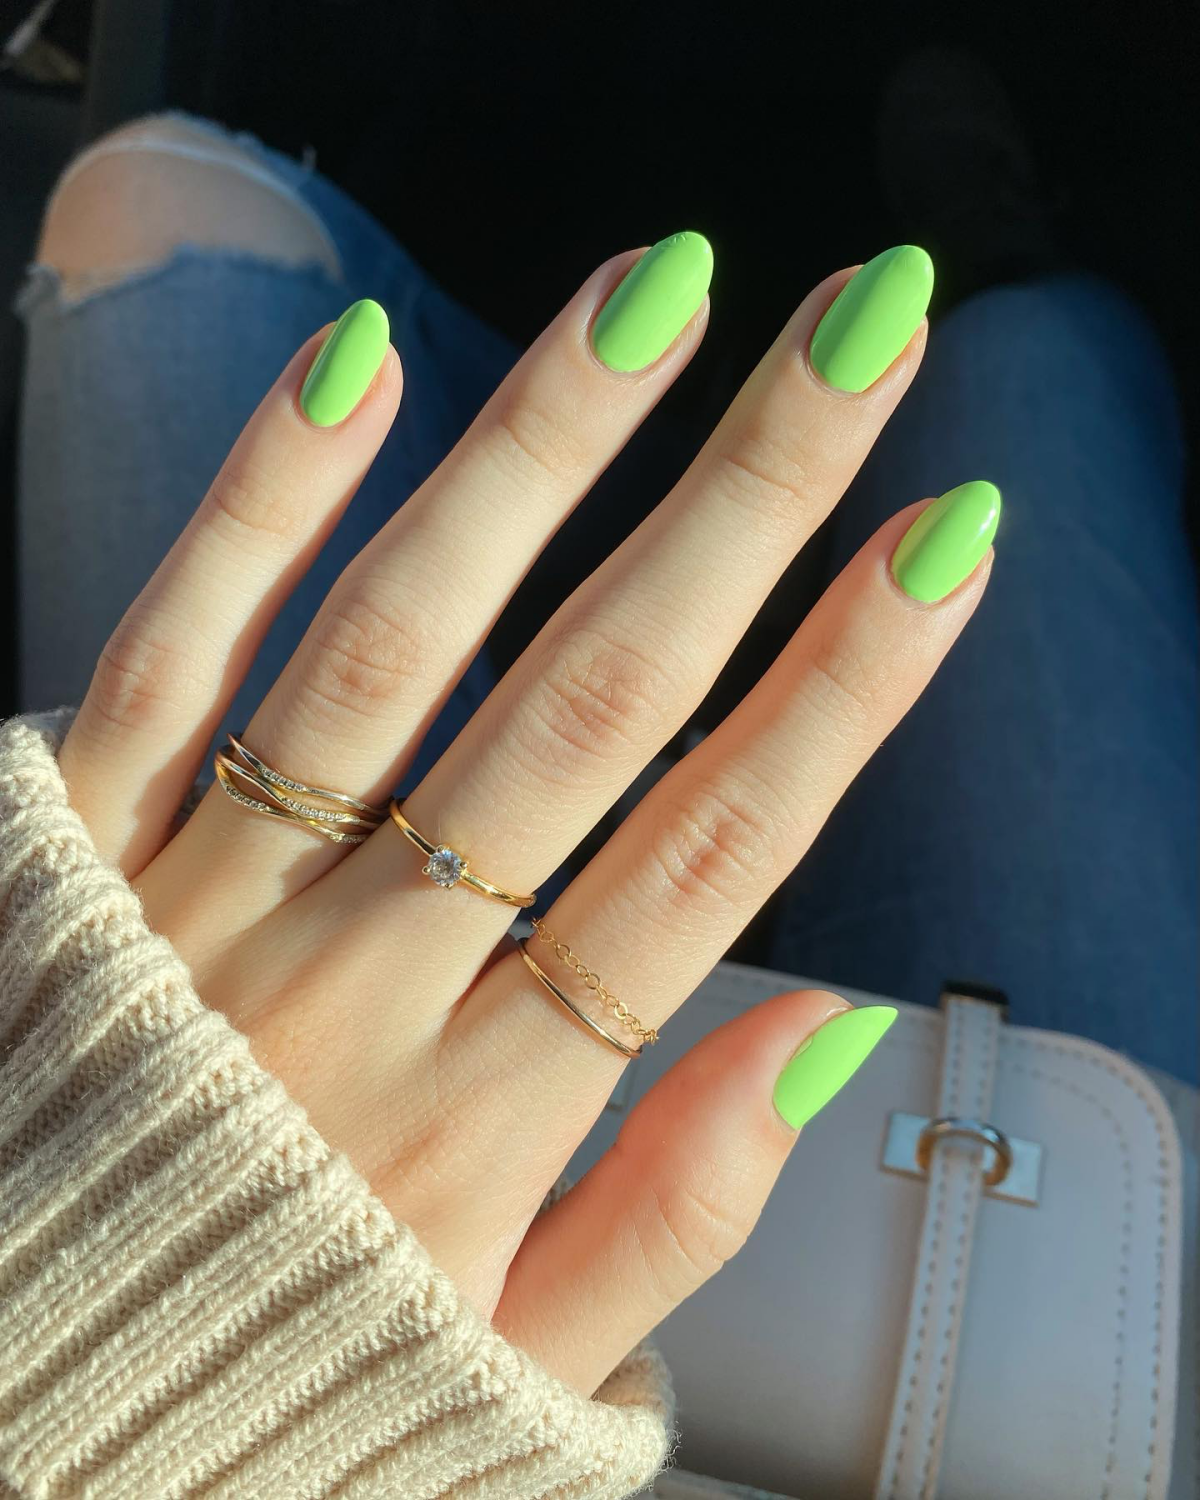
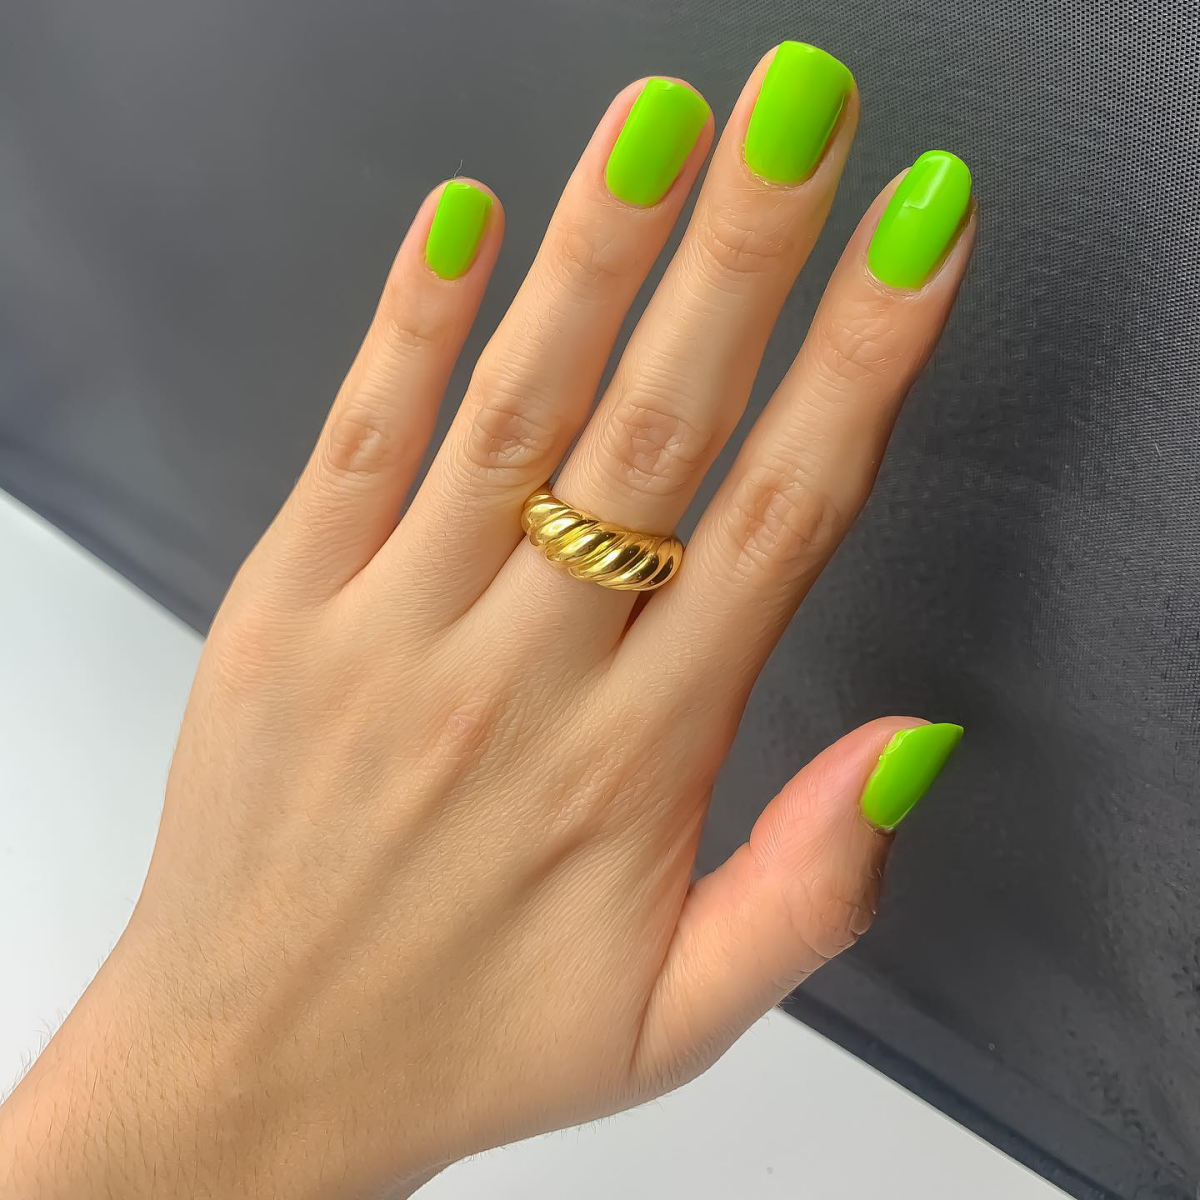
- For warm or olive skin tones: Look for lime greens that have a strong yellow or chartreuse base. These warmer, almost neon-citrus shades will make your skin look radiant and sun-kissed.
- For cool or fair skin tones: You’ll look amazing in lime greens that lean slightly more toward blue. Think of a cooler, mint-adjacent lime or even a pastel neon. These shades provide a stunning contrast without washing you out.
Gel vs. Dip vs. Acrylic: What’s the Deal?
Clients ask me this all the time. Honestly, the “best” system really depends on your nails and your lifestyle.
Gel Polish is my go-to for most clients with healthy natural nails. It’s flexible, so it can handle the little bumps of daily life without chipping. It soaks off relatively easily, which is a big plus for nail health. A pro gel manicure with a color like this will typically run you $45 to $75 and take about 60-75 minutes. For DIYers, this is definitely the most approachable system to learn at home.
Dipping Systems have become super popular for a reason. You get the strength of acrylic but without the intense monomer smell. It’s a great option if you’re tough on your hands or need a little extra strength. The one catch? It can sometimes look a bit thicker than gel if not applied carefully. The process involves a resin base and dipping your nail into a pigmented powder, which is then sealed.
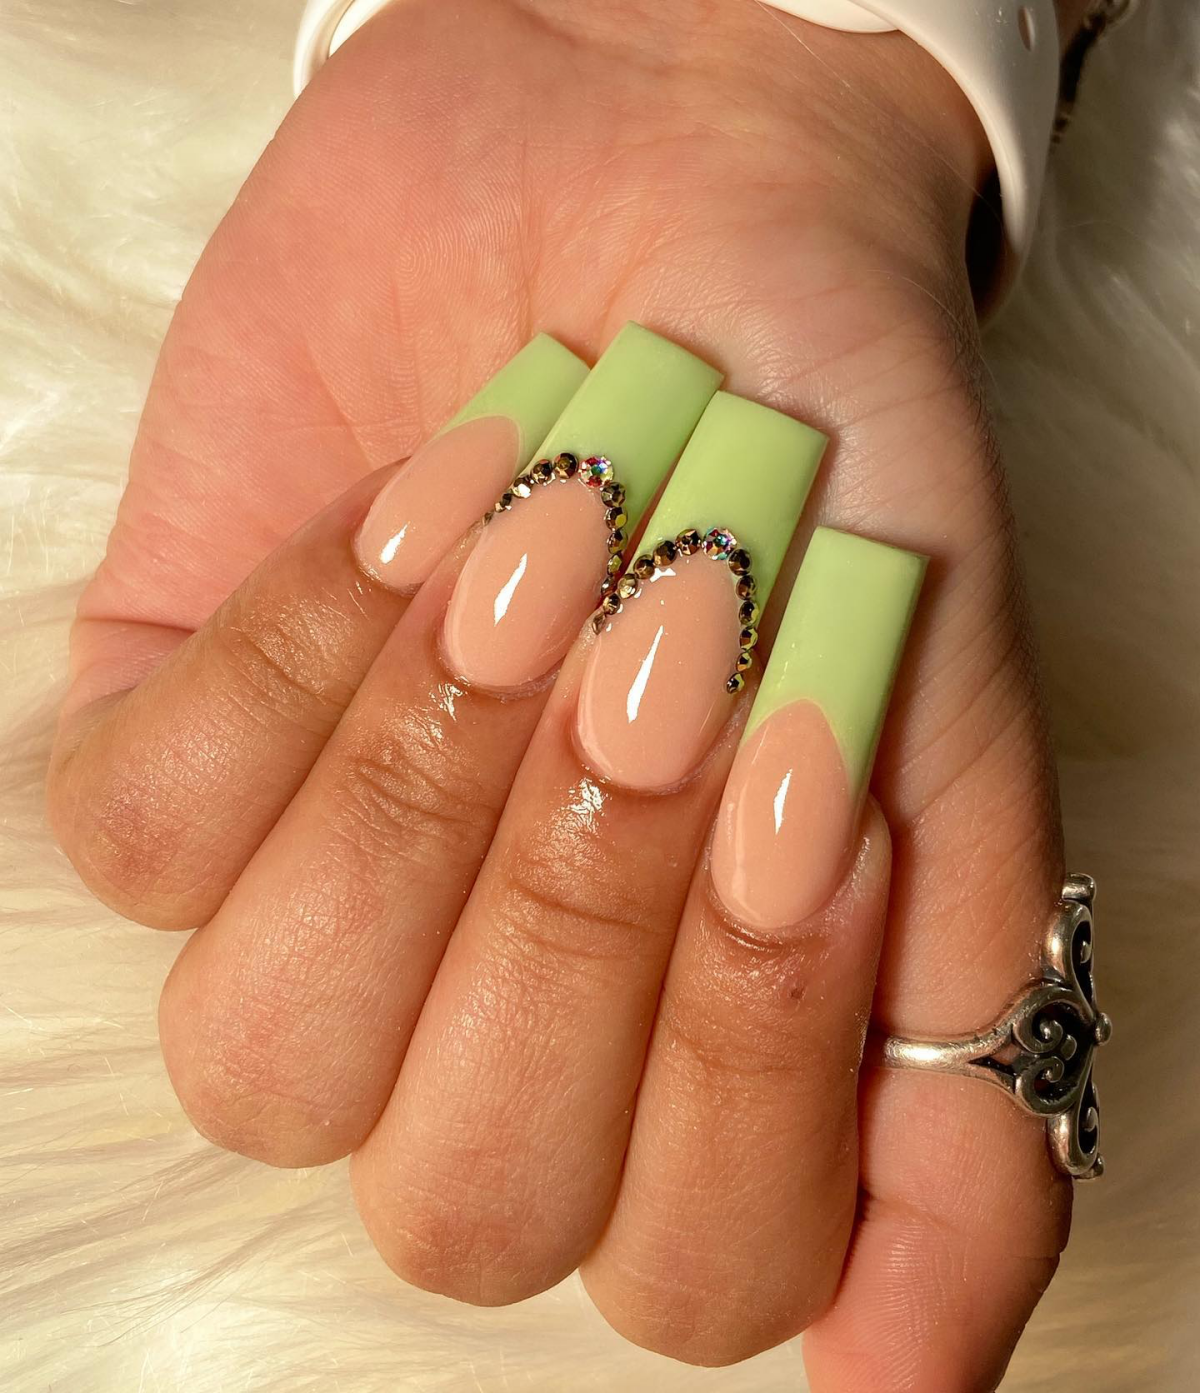
And then there’s Acrylic, the original powerhouse. This is what you want for long, dramatic extensions or if you need maximum durability. It’s a mix of a liquid (monomer) and a powder (polymer) that a skilled tech sculpts into a nail. It’s the strongest of the three but also the most difficult to do correctly and requires professional-only products. Mastering the liquid-to-powder ratio is a true art form.
The Science of That Glow
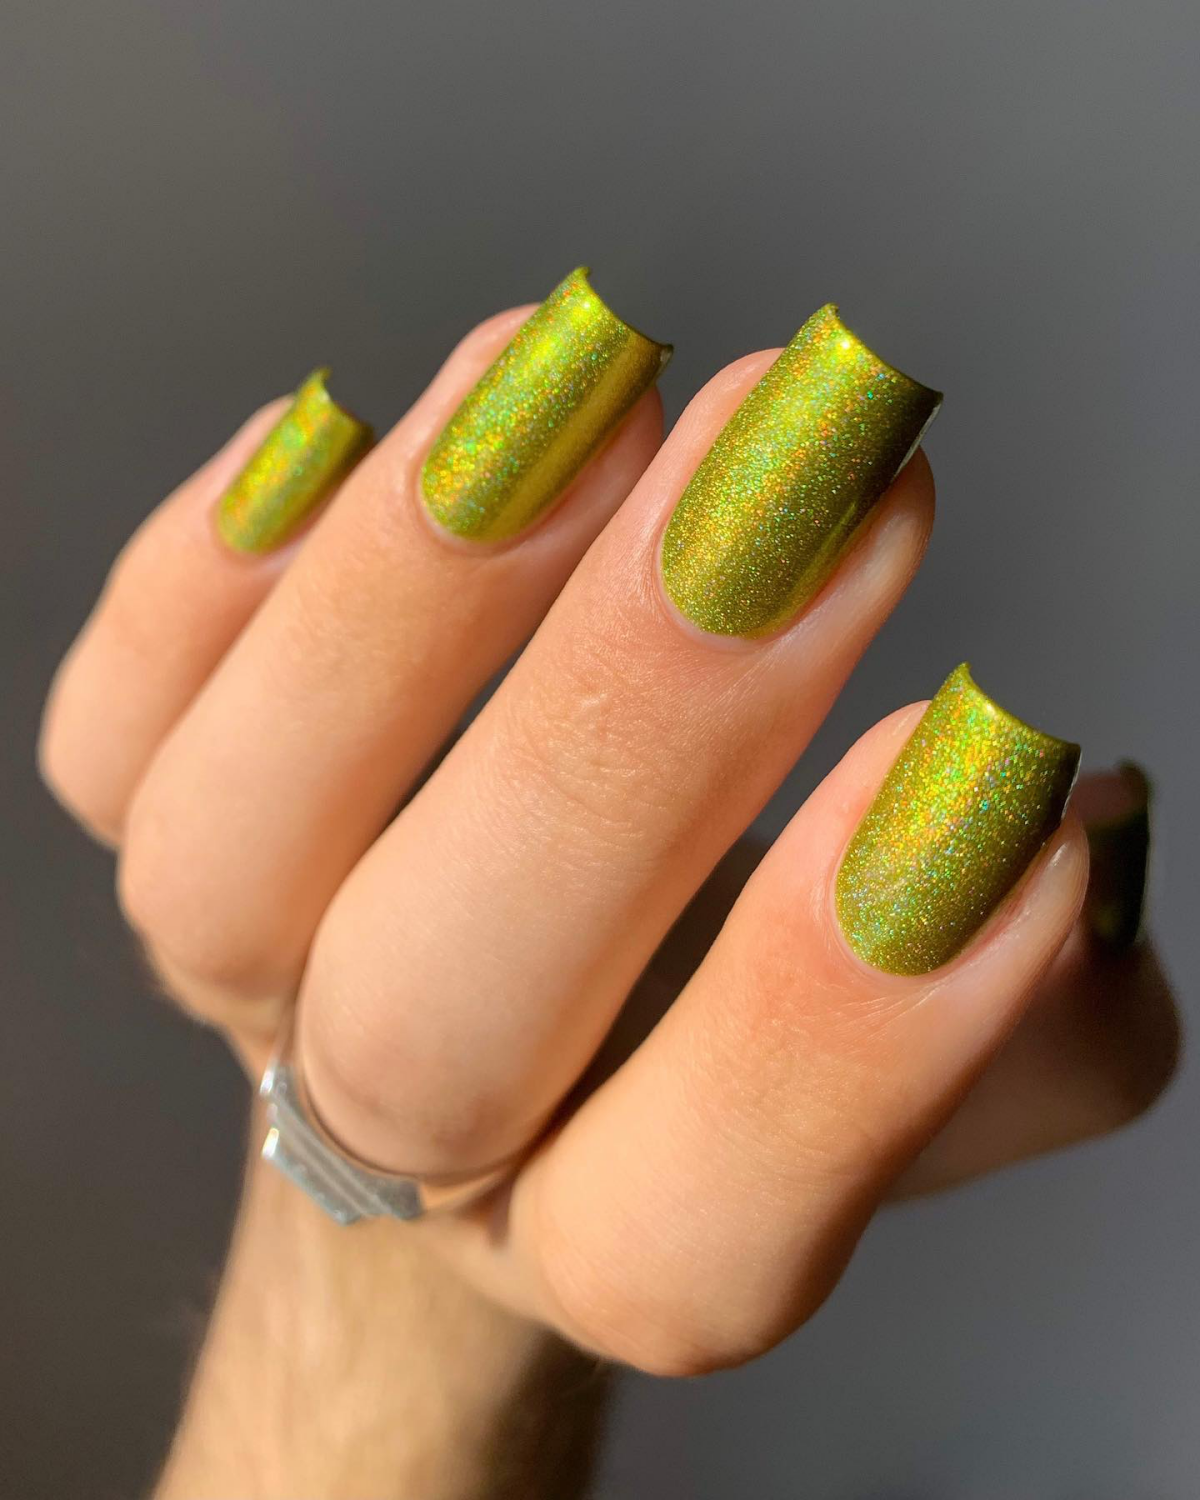
To us, a bottle of lime green polish is a specific chemical puzzle. Understanding why it behaves the way it does is the key to a perfect, non-streaky manicure. The pigments for these super-bright greens are unique. They often contain special fluorescent dyes that don’t just reflect light—they actually absorb UV light and shoot it back out as super-vibrant visible light. That’s why they seem to glow in the daylight!
But here’s the catch: this formulation makes them naturally more translucent than, say, a classic red. The pigment just doesn’t have the same hiding power. This is the #1 reason people get frustrated with lime green. They try to glob on one thick coat to get it opaque, and it ends up a lumpy, undercured mess.
Pro Tip (and honestly, it’s non-negotiable): Always, always start with a white base. Apply one or two thin coats of a solid, opaque white gel polish first. Cure it completely. This creates a perfect blank canvas. Your lime green will go on smoother, look a thousand times brighter, and you’ll achieve full coverage in just two thin coats instead of four streaky ones. The difference is night and day.
Prep Work Is 70% of the Manicure
Clients watch the color go on, but any good tech knows the real magic happens during prep. A lazy prep job means lifting and chipping within days, no matter how expensive your polish is. This part is sacred.
First things first: safety and sanitation. My hands and my client’s hands are washed and sanitized. All my metal tools, like cuticle pushers, are sterilized in a medical-grade autoclave after every single use. If a salon doesn’t have an autoclave, walk out. Seriously. Files and buffers are always single-use.
Next up, cuticles. I gently push back the cuticle and focus on removing only the non-living tissue stuck to the nail plate. For pros, a fine-grit diamond bit on an e-file at low speed works wonders. For an at-home user, NEVER use an e-file on yourself without training! Instead, get a good cuticle remover liquid (like the one from Sally Hansen, around $7 at Target). Apply it, let it sit for a minute, and then gently push back the softened tissue with an orangewood stick. Never, ever cut the living skin around your nail; you’re just inviting infection.
After cuticles, I lightly buff the nail plate with a soft 180 or 240-grit buffer to remove the shine—no aggressive filing! Then, I scrub the nail with a nail dehydrator (mostly alcohol) to remove oils, followed by an acid-free primer, which acts like double-sided tape for your polish.
The Art of Flawless Application
With our perfect canvas prepped, it’s time for color. Applying a tricky shade like lime green requires patience and a light touch.
- Thin to Win: This is the golden rule. Your first coat of lime green will look sheer and probably streaky. That’s okay! It’s supposed to. Just apply it as thinly as you can, cure it for the full 30-60 seconds in your LED lamp, and trust the process. The second coat will build the color, and the third usually perfects it.
- Float the Brush: Don’t press down hard. Imagine you’re just letting the brush “float” over the nail, letting the polish level itself out. This prevents brush strokes and bald spots. It takes a little practice to get the feel for it.
- Seal the Deal (Cap the Edge): After painting the nail surface, swipe the very tip of the brush along the free edge of your nail. This is called capping, and it creates a seal that dramatically reduces chipping. Do this with your base coat, every color coat, and your top coat.
Heads up on

Galerie d’inspiration
How do you make lime green look expensive and not just loud?
The secret is the finish. A high-gloss, glass-like top coat is non-negotiable. It elevates the vibrant color, giving it depth and a reflective quality that reads as luxurious. For gel users, a product like CND Shellac’s DuraForce Top Coat provides exceptional shine and scratch resistance, ensuring your electric color stays flawlessly brilliant.
Did you know that neon pigments, like those in many lime greens, are often ‘fugitive’? This means they can fade faster than other colors when exposed to UV light.
To keep your lime manicure from dulling after a few days in the sun, always finish with a UV-protective top coat. It acts like sunscreen for your polish, preserving that electric, straight-from-the-salon vibrancy.
The #1 mistake with vibrant colors: A patchy application. Bright shades like lime green are unforgiving and show every streak. The key isn’t thick coats. Instead, apply two to three very thin, even layers, allowing each one to level out before applying the next. This builds up smooth, opaque coverage without bulkiness.
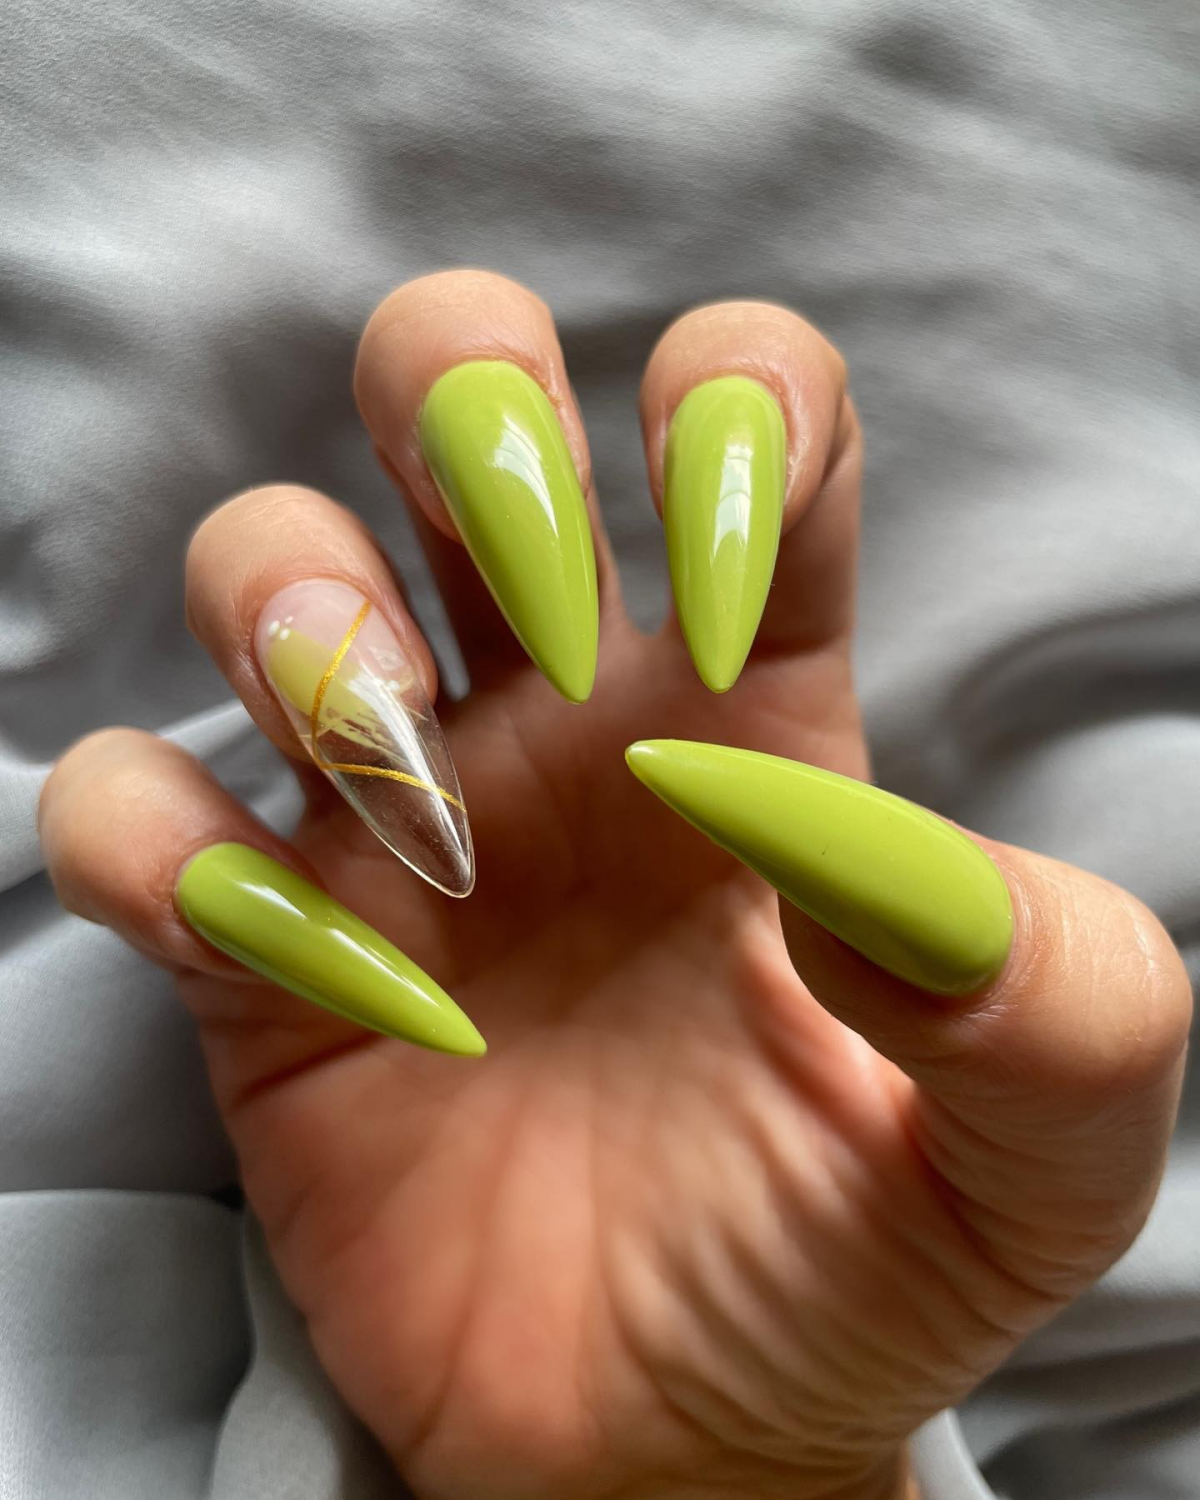
For a truly standout look, consider the texture. Pairing a glossy lime green with a single matte accent nail creates a sophisticated, dynamic contrast that’s both modern and eye-catching. The difference in light reflection makes the color appear multi-dimensional without the need for complex nail art.
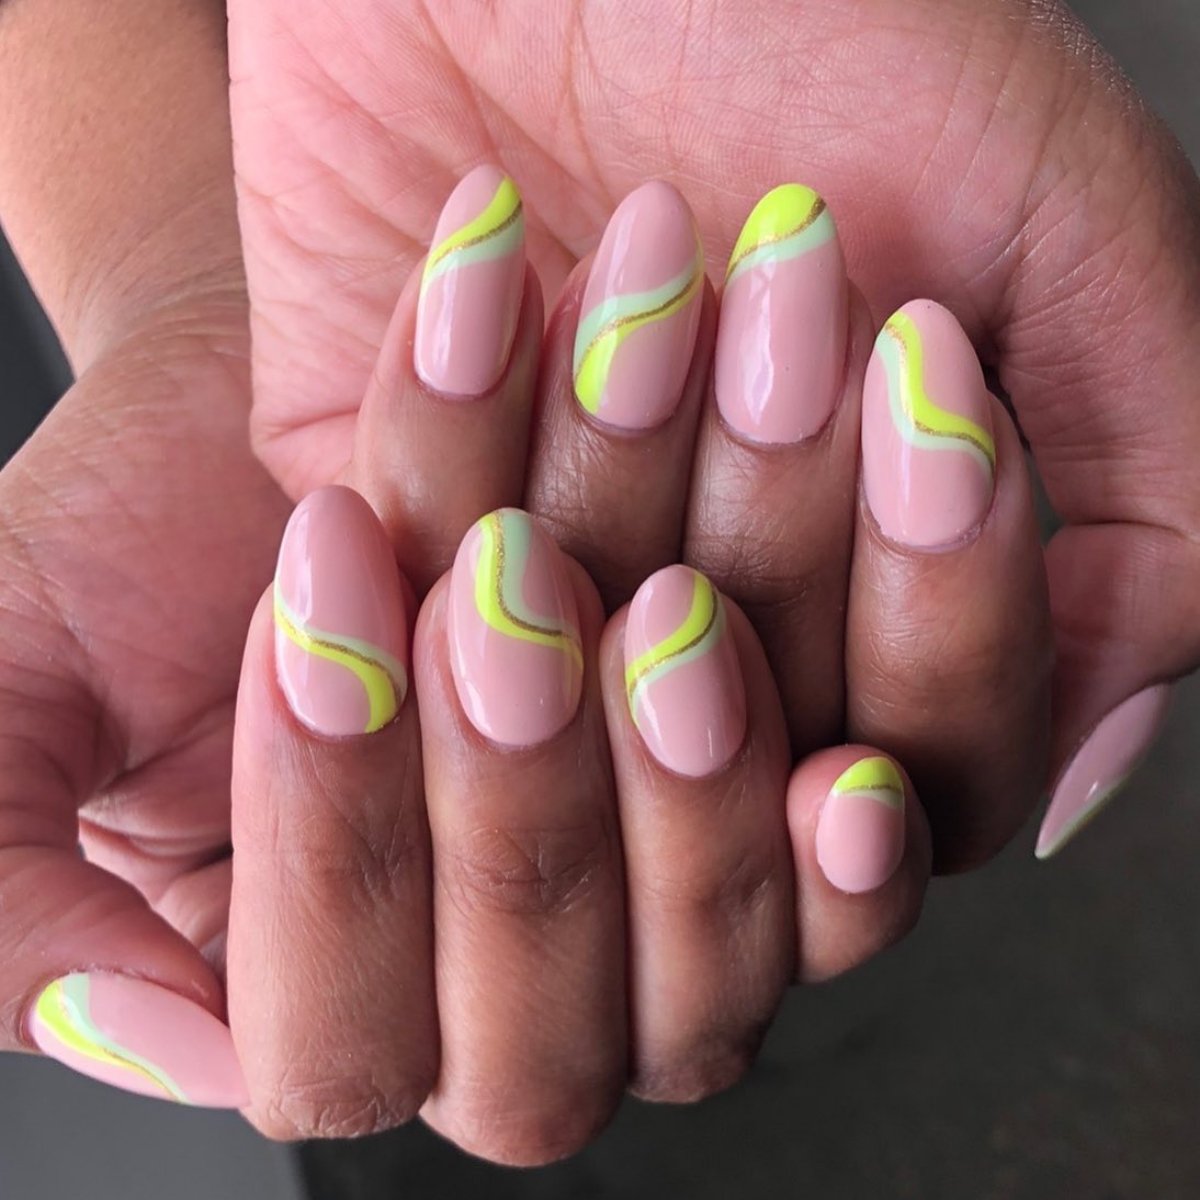
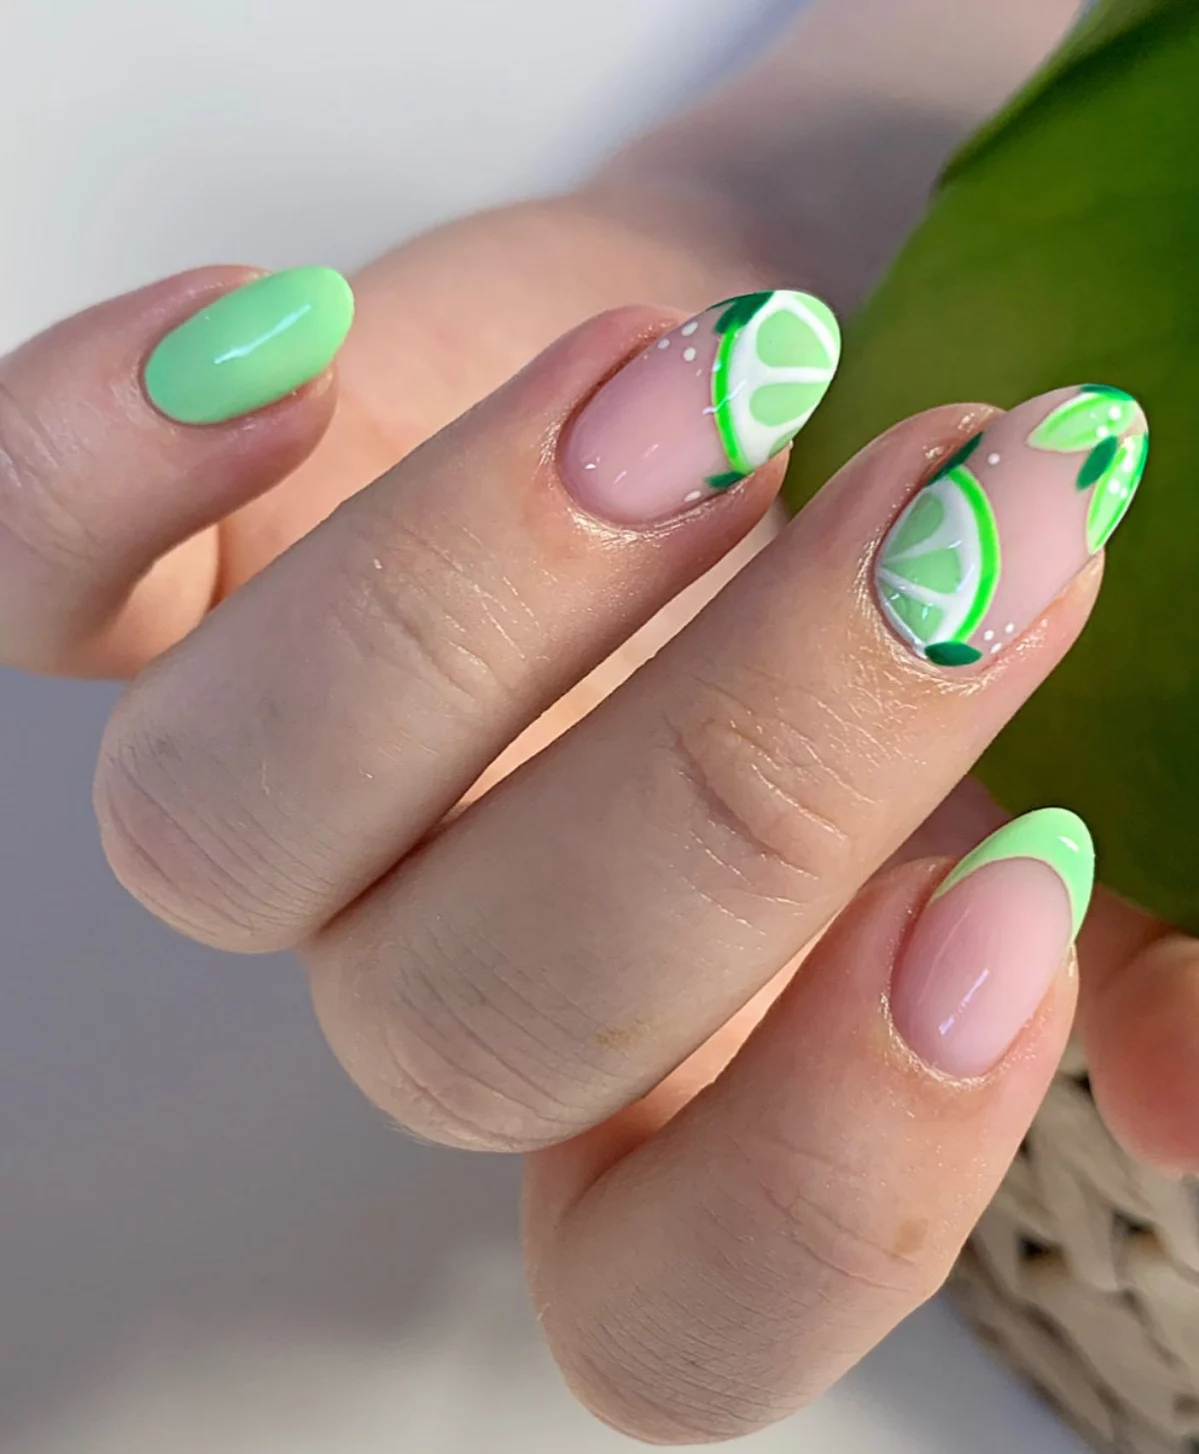
- A perfect pop of modern art on your fingertips.
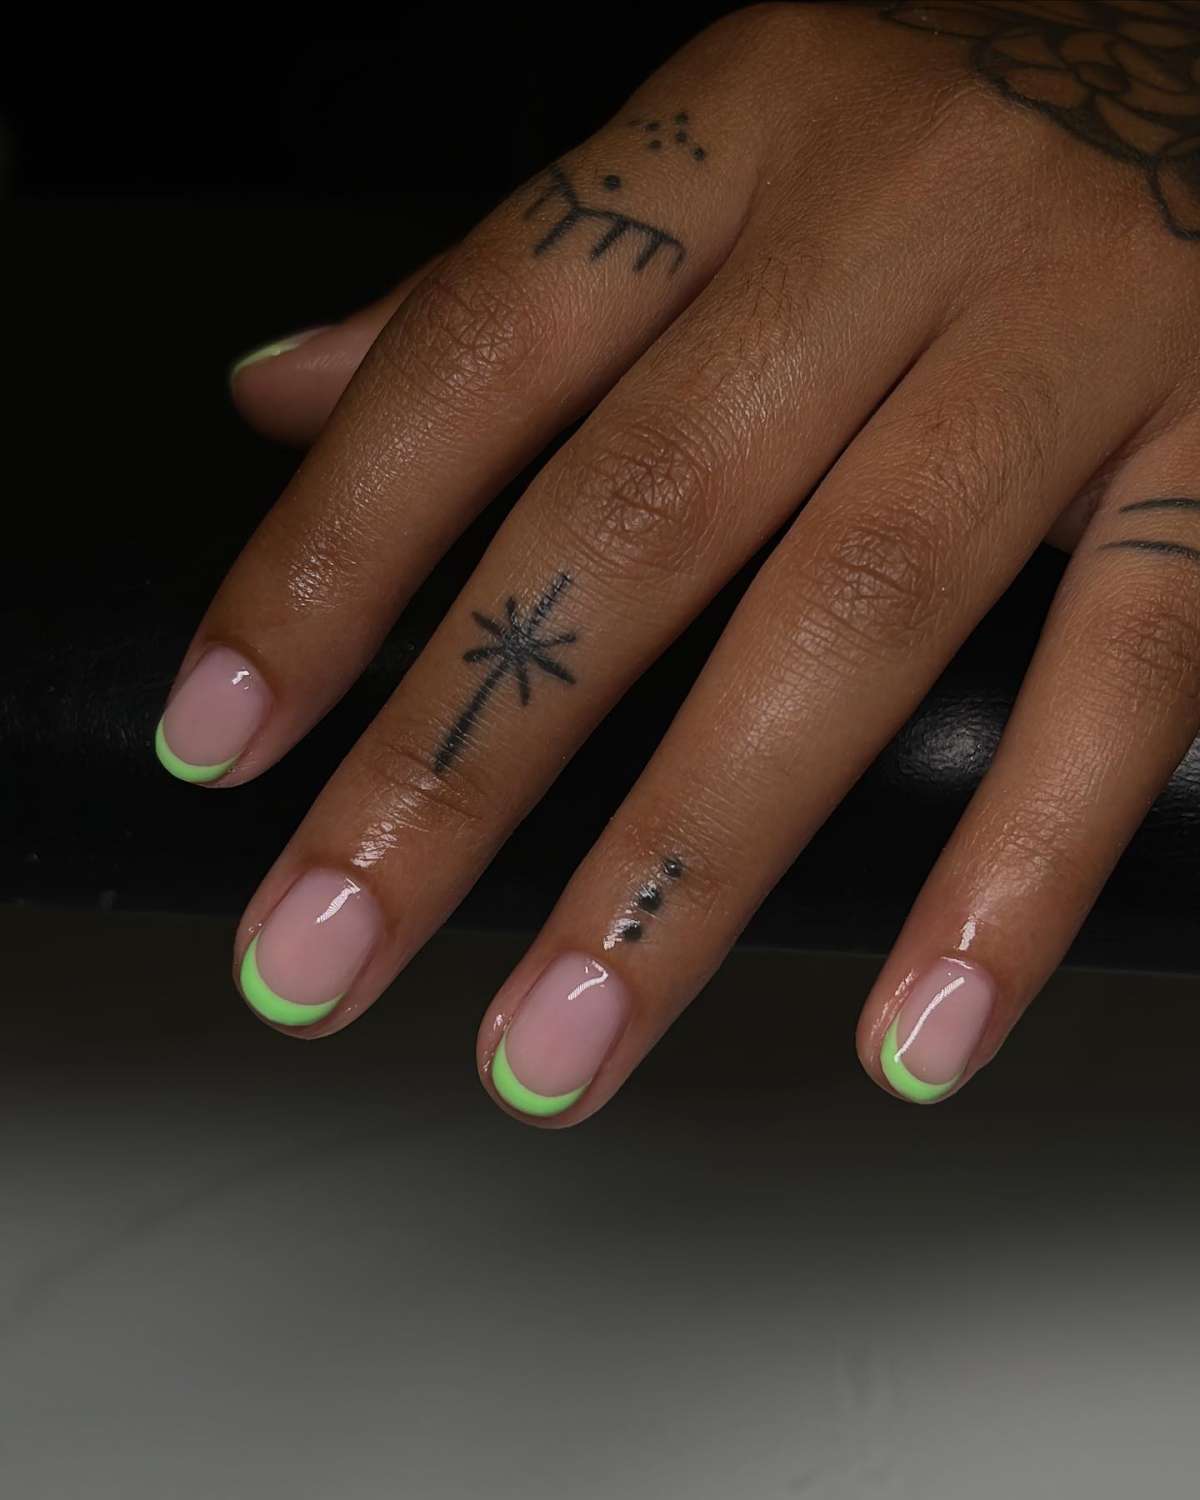
- An easy way to incorporate a complementary color.
- It looks intricate but is surprisingly simple to achieve.
The technique? The ‘abstract swirl’. After your base color, place a few dots of white or black polish onto the nail and use a fine-liner brush to gently drag them into a marbled pattern. Don’t overthink it—the beauty is in the imperfection!
For a soft, ethereal vibe: Try a ‘glazed’ lime green. This is Hailey Bieber’s glazed donut trend adapted for citrus lovers. Apply a sheer, milky white polish over your lime green base. The result is a softer, iridescent finish that mutes the neon just enough, giving it a dreamy, otherworldly glow.
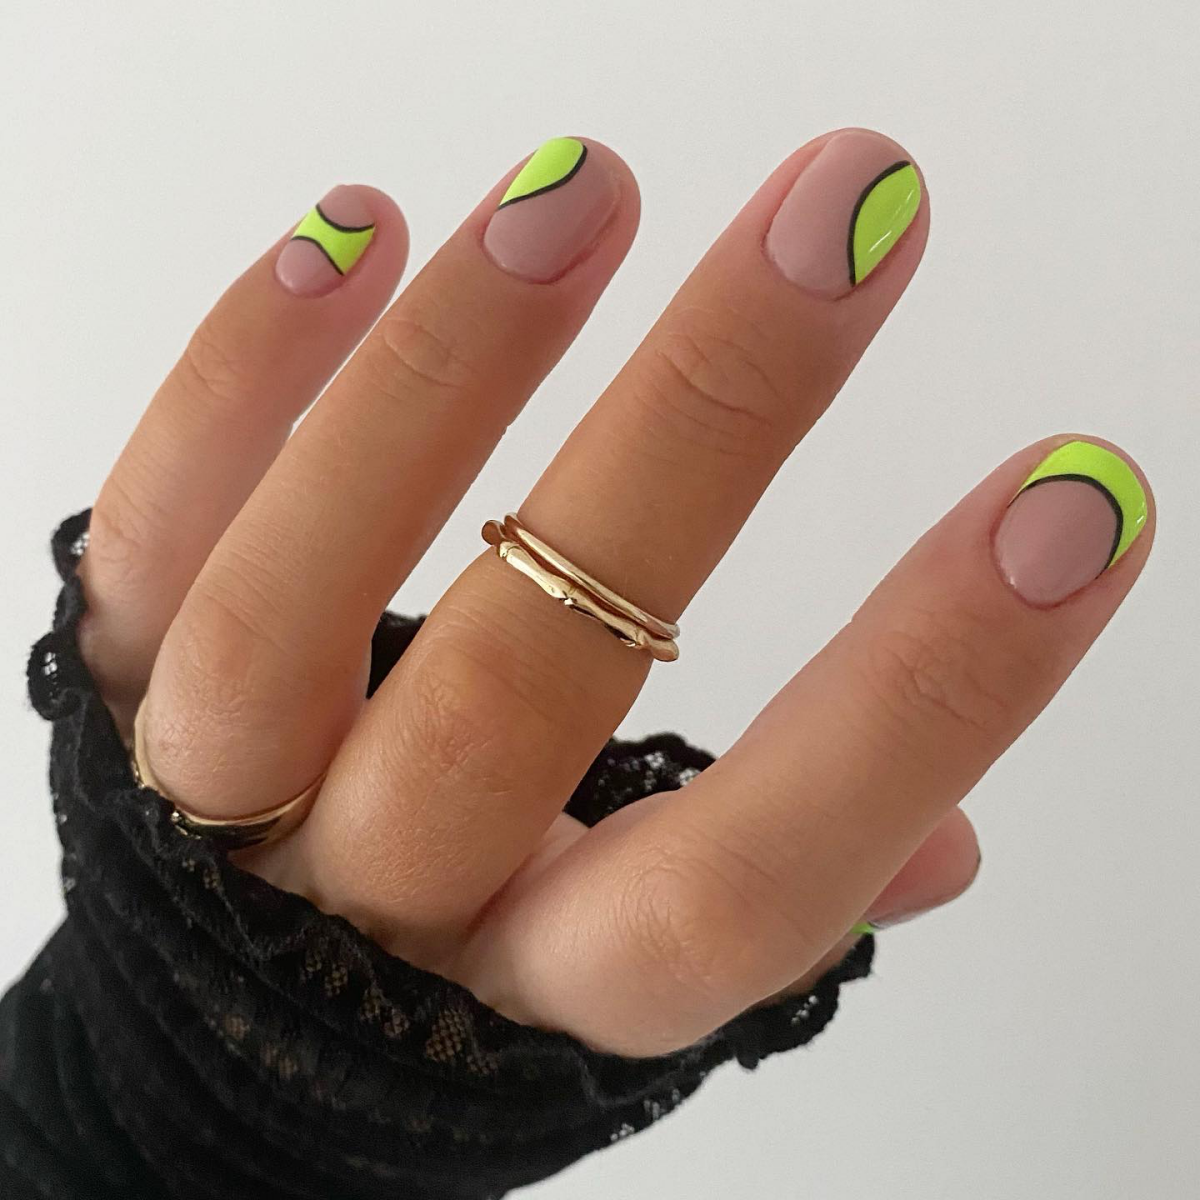
For a bold, graphic look: Use lime green as a negative space color. Paint sharp, geometric shapes on a bare or nude nail, letting your natural nail show through. This high-contrast style feels architectural and edgy.


