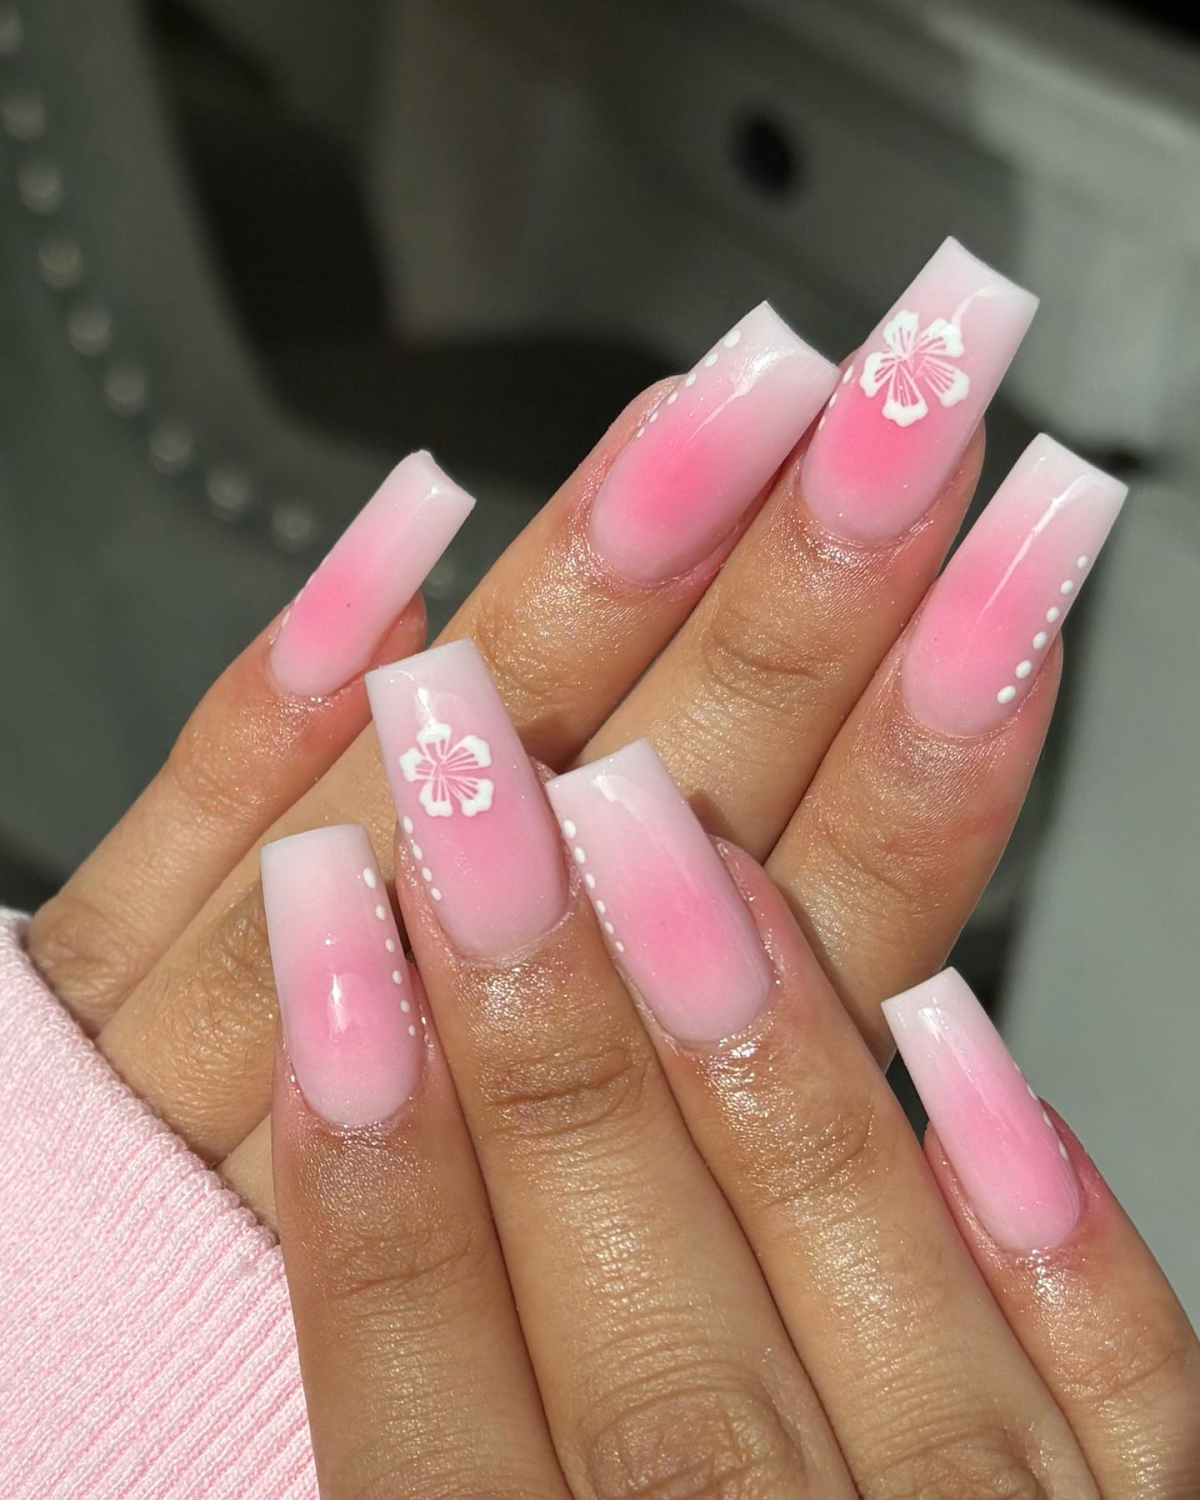
The Ultimate Guide to Flawless Pink and White Ombre Nails
I’ve been a licensed nail tech for a long time—long enough to see trends explode and then fizzle out. But one look has truly stood the test of time: the pink and white ombre. You’ve probably heard it called “baby boomer nails” or a “French fade.” Honestly, whatever you call it, this soft, dreamy gradient is a certified classic for a reason.
In this article
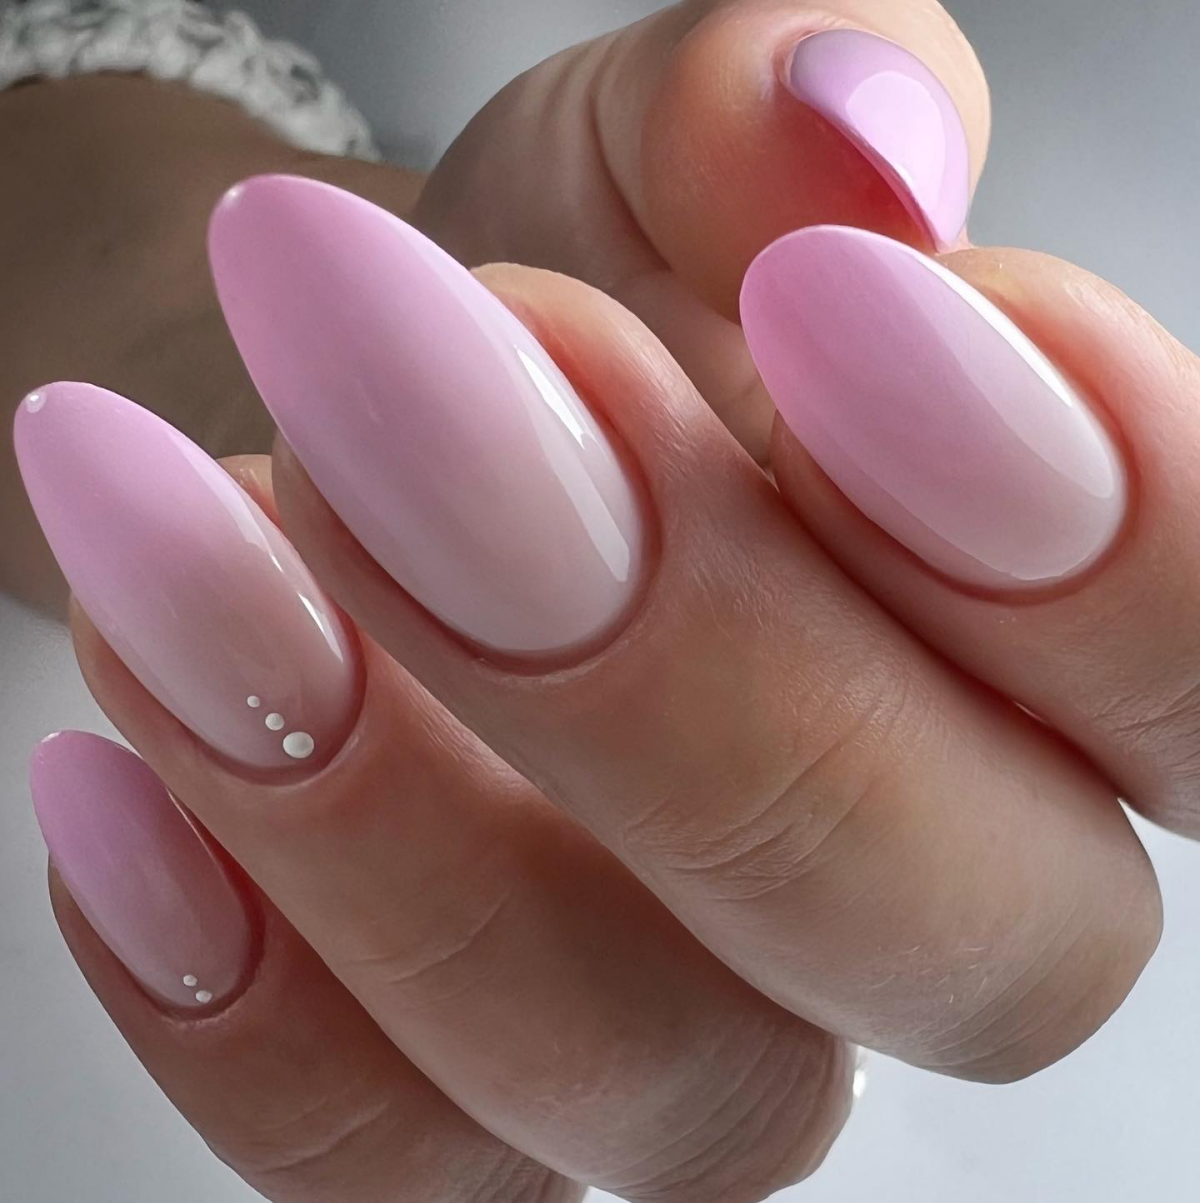
It’s not just hype you see online; it’s one of the most requested styles in my salon, a go-to for everyone from brides to business professionals. Why? Because it’s incredibly versatile. It can look soft and sophisticated for everyday wear, but it also makes a fantastic canvas for glitter, nail art, or bold pops of color. I’ve done this look on short, natural nails and on long, dramatic stilettos. The core idea is the same, but getting that buttery-smooth, seamless transition is a real skill.
So many clients come to me after getting a botched job somewhere else, showing me that tell-tale harsh line where the pink and white meet. A real ombre should have an invisible blend, a gradient so soft you can’t tell where one color ends and the other begins. In this guide, I’m pulling back the curtain and sharing everything I know, from the products I trust to the techniques I teach my own apprentices.
Getting to Know Your Materials
Before you can create that perfect blend, you have to understand what you’re working with. It’s not just nail polish; these are professional products with their own unique properties. The three main ways we achieve this look are with acrylic, hard gel, and gel polish—and each one behaves completely differently.
Acrylic: The Gold Standard for Structure
For a strong, durable ombre, acrylic is my personal favorite. It’s a system that uses a liquid (monomer) and a powder (polymer). The moment your brush, loaded with monomer, touches the powder, a chemical reaction starts, and the product begins to harden. This means you have a limited window to sculpt and blend.
The secret to a beautiful acrylic blend is all about your liquid-to-powder ratio. If your bead of acrylic is too wet, it’ll be runny and hard to control. If it’s too dry, it will set up too fast, creating that harsh line we all hate. The sweet spot is a creamy consistency, kind of like melted butter. It should hold its shape on your brush but still be pliable enough to guide into place.
Good to know: The white and pink powders are often formulated differently. White powder tends to set faster to help create crisp lines for traditional French manicures, so you have to work quickly with it. The cover pinks are usually more opaque to hide any blemishes on the natural nail and set a bit slower, giving you time to build the nail’s structure (or apex). Some pro-grade brands that are really well-known for their workability are lines like Young Nails, CND, or Kiara Sky.
Hard Gel: The Forgiving Alternative
Hard gel is a whole different ballgame. It’s a thick, honey-like substance that will not harden until you cure it under a UV or LED lamp. This is amazing because it gives you virtually unlimited time to perfect your blend. The challenge with gel is its viscosity (or thickness). Some are thick and stay put, while others are thinner and will self-level, smoothing themselves out.
My clients often say that hard gel feels a bit lighter and more flexible on the nail than acrylic. To create the ombre, you’ll typically apply a thicker white gel to the tip and a medium-viscosity pink near the cuticle. Then, using a fine liner brush, you gently swirl and feather the two colors together where they meet until the transition is flawless. You can fuss with it for as long as you need!
Heads up! Proper curing is non-negotiable. Each gel has a specific cure time for a specific lamp. If a gel is under-cured, it can lead to service breakdown or, worse, cause skin allergies that can be permanent. A full cure usually takes 60 seconds in an LED lamp or 2 minutes in an older UV lamp.
Gel Polish: The DIY-Friendly Option
This is what most people have at home, and while it’s fantastic for solid colors, creating a true ombre with it is tough. The most common at-home technique involves painting the colors onto a makeup sponge and then dabbing them onto the nail. The result can be pretty, but it often looks more textured than blended and can have tiny air bubbles. It just doesn’t quite have that seamless, sculpted look.

Lesser-known trick: If you want a quick and easy ombre vibe at home, try this cheater method. Start with a coat of sheer pink gel polish over your whole nail and cure it. Then, paint a little white gel polish onto the corner of a makeup sponge and gently dab it onto the tip of your nail, building it up until you’re happy with the fade. It’s a great hack for a similar effect in a fraction of the time!
The Pro Application: Step-by-Step
A beautiful set of nails that lasts for weeks isn’t an accident. It’s the result of meticulous prep and a refined application process. A full set of sculpted pink and white ombre nails at a salon will typically cost between $65 and $120+, depending on the salon’s location, the tech’s experience, and your desired nail length. Plan for the appointment to take anywhere from 1.5 to 3 hours.
Nail Prep: The Foundation for Everything
I can’t say this enough: lifting is almost always caused by lazy prep work, not bad products. Every single client gets the same thorough prep.
- Sanitation First: We both wash our hands. I wear fresh gloves, and my metal tools (like my cuticle pusher) come straight from a sealed pouch after being sterilized in an autoclave—that’s a hospital-grade steam sterilizer. My file is always brand new for each person. If you ever see a tech using a dirty file, run!
- Cuticle Care: I gently push back the skin and then carefully remove the non-living cuticle tissue that’s stuck to the nail plate. This is a critical step because any tissue left behind will cause the product to lift.
- Etching the Nail Plate: Using a light touch and a 180-grit file, I gently remove the shine from the natural nail. This creates a slightly rough surface for the product to grip onto.
- Dehydrate & Prime: I scrub the nail with 99% isopropyl alcohol to remove all dust and oils. Then, I apply a dehydrator and a primer. The primer acts like double-sided tape, creating a super strong bond between the natural nail and the enhancement.
The Magic of Sculpting and Filing
For the acrylic method, I place a nail form under the free edge to build the extension. First, I place a bead of white acrylic at the tip. Here’s the key to the blend: as the white starts to set, I use just the tip of my brush to gently tap-tap-tap the edge closest to the nail bed. This thins it out and creates a jagged, uneven line. Think of it like blurring a pencil line with your finger—you’re breaking up that solid edge so the pink has something to grab onto.
Next, I place the pink bead just behind the white, slightly overlapping it, and blend it back toward the cuticle. After building the structure and letting the acrylic fully cure, the real magic happens: filing. New techs are often scared to file away their work, but this is what makes the ombre pop. You’ve layered the colors slightly. When you file the surface smooth, you’re gently sanding through the very top layer where the pink overlaps the white, revealing that perfect, soft transition underneath. This is why we build the nail slightly thicker at first—so we have room to file it down to perfection!
Upkeep and Making Them Last
So, you’ve got these gorgeous nails. Now what? Pink and white ombre nails should last you about 2 to 4 weeks before you need a maintenance appointment, which we call a fill or a rebalance.
A lot of people wonder how you can possibly “fill” an ombre. Do we have to redo the whole thing? Nope! During a fill appointment, I’ll file down about 50-70% of the old product. I’ll reshape the nail and file away any lifting. Then, I apply fresh pink acrylic to the new growth area near your cuticle and blend it seamlessly into the existing pink. Sometimes, we can just topcoat from there. If the white at the tips is looking a little dull or has filed thin, I might do what’s called a “reverse French” technique to redefine the ombre, but usually, a simple pink fill is all that’s needed. A fill is cheaper than a full set, typically running $55 to $90, and it’s faster, too—usually about an hour to an hour and a half.
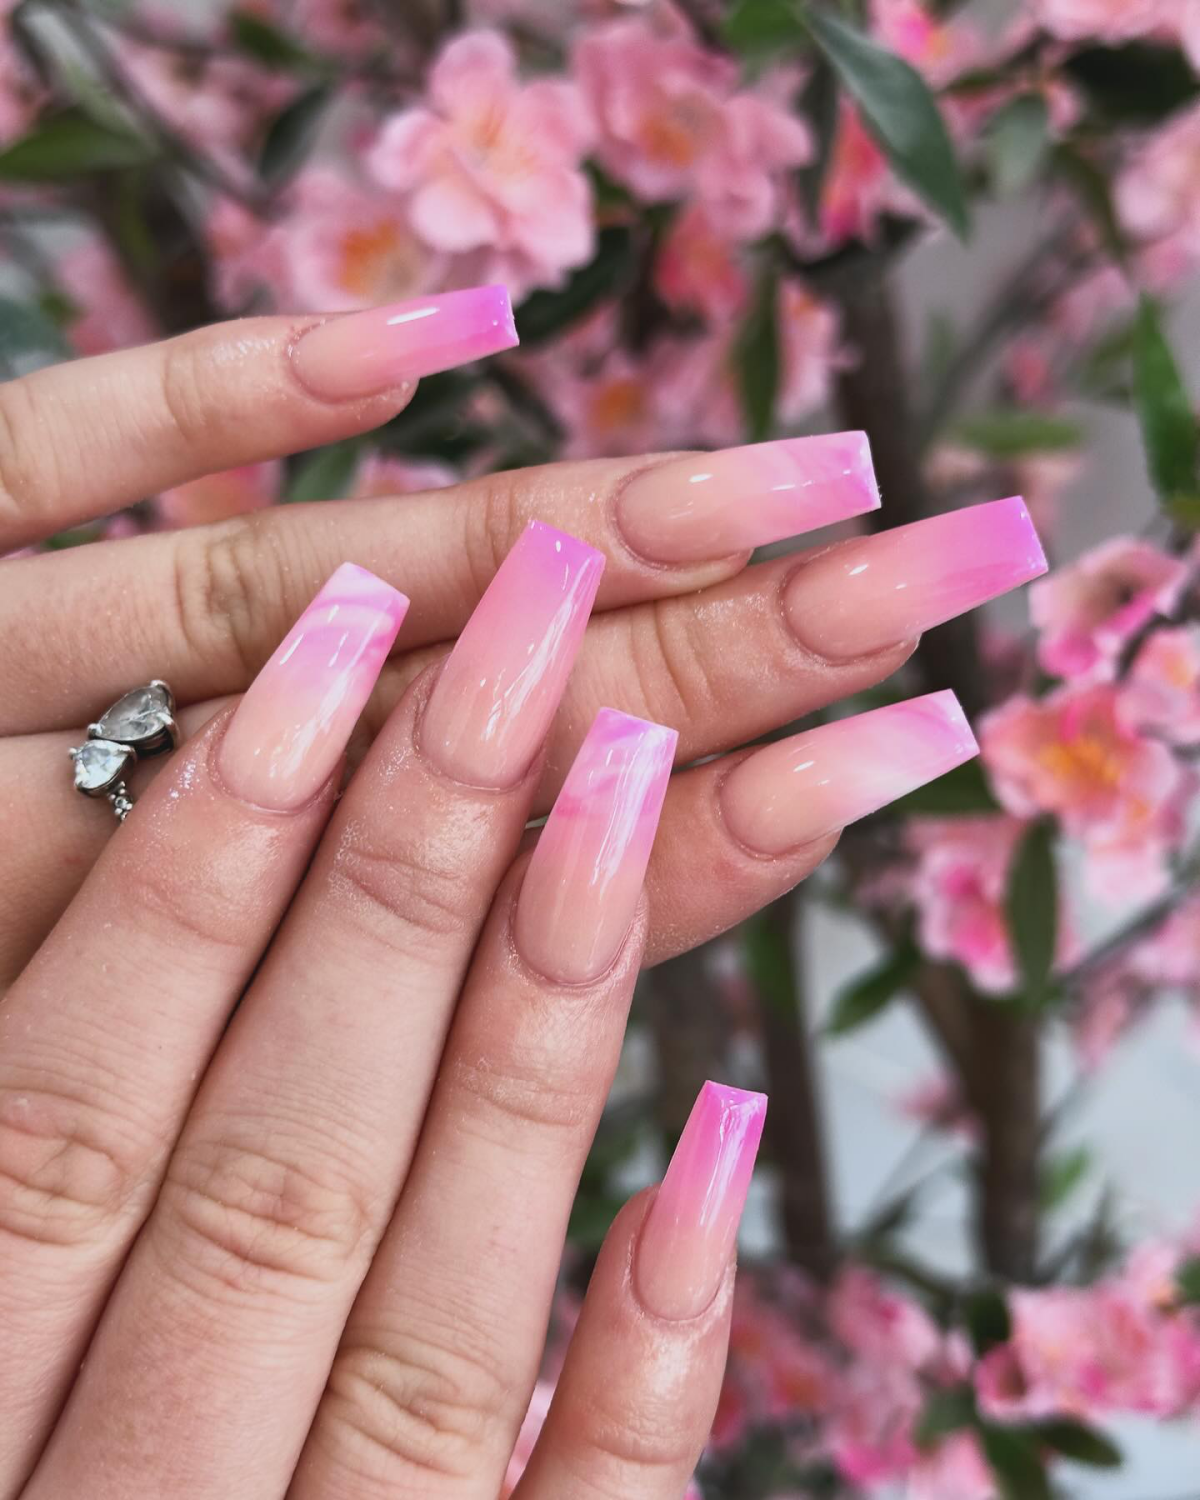
Playing with the Style
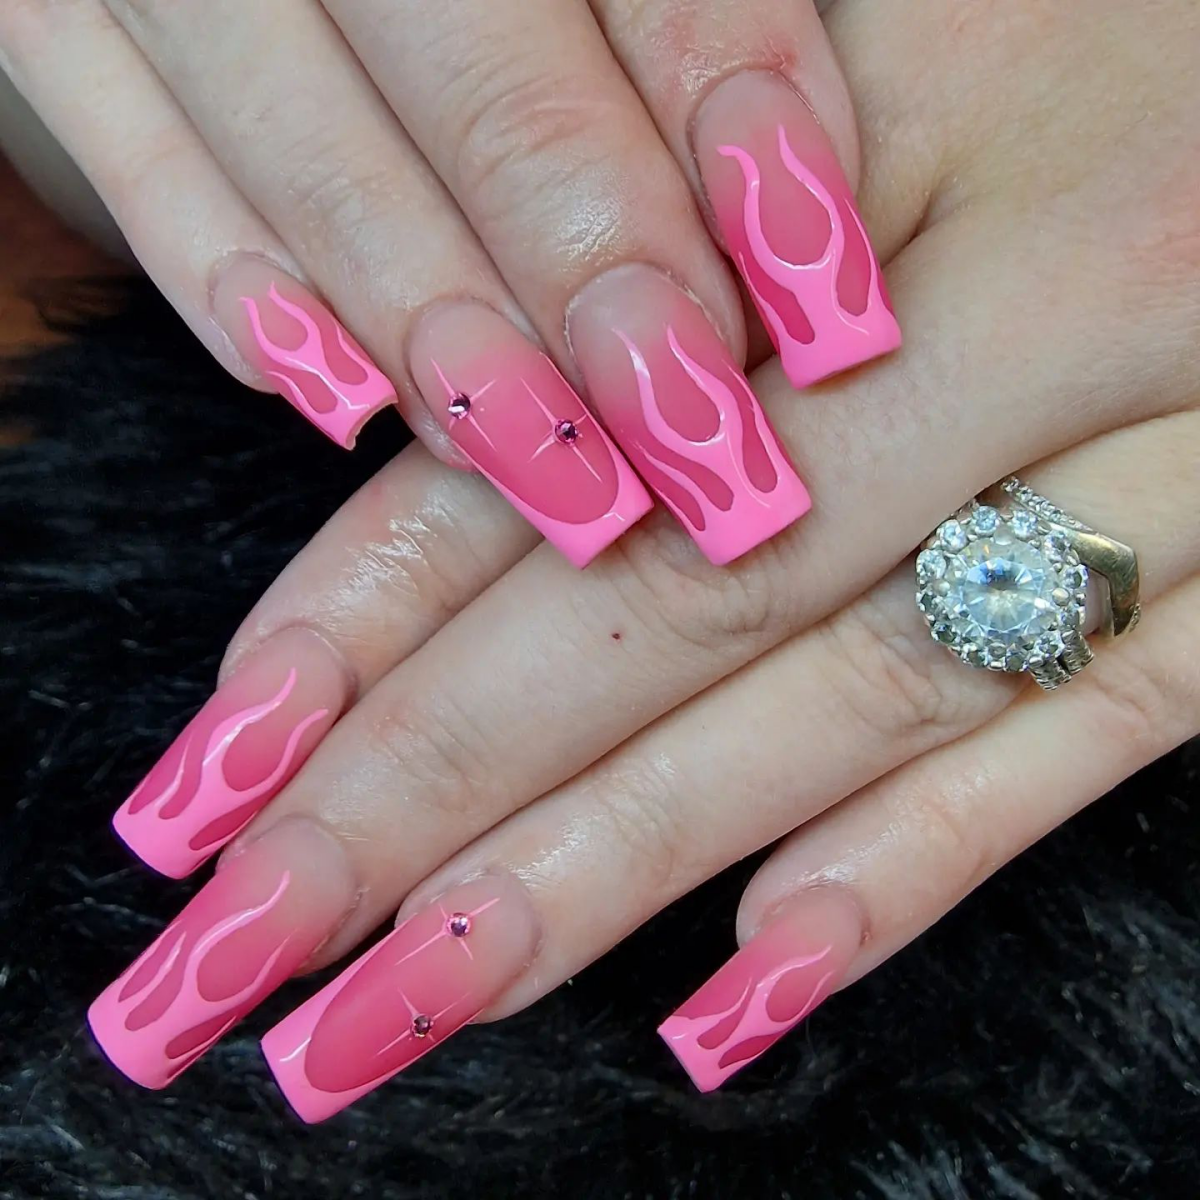
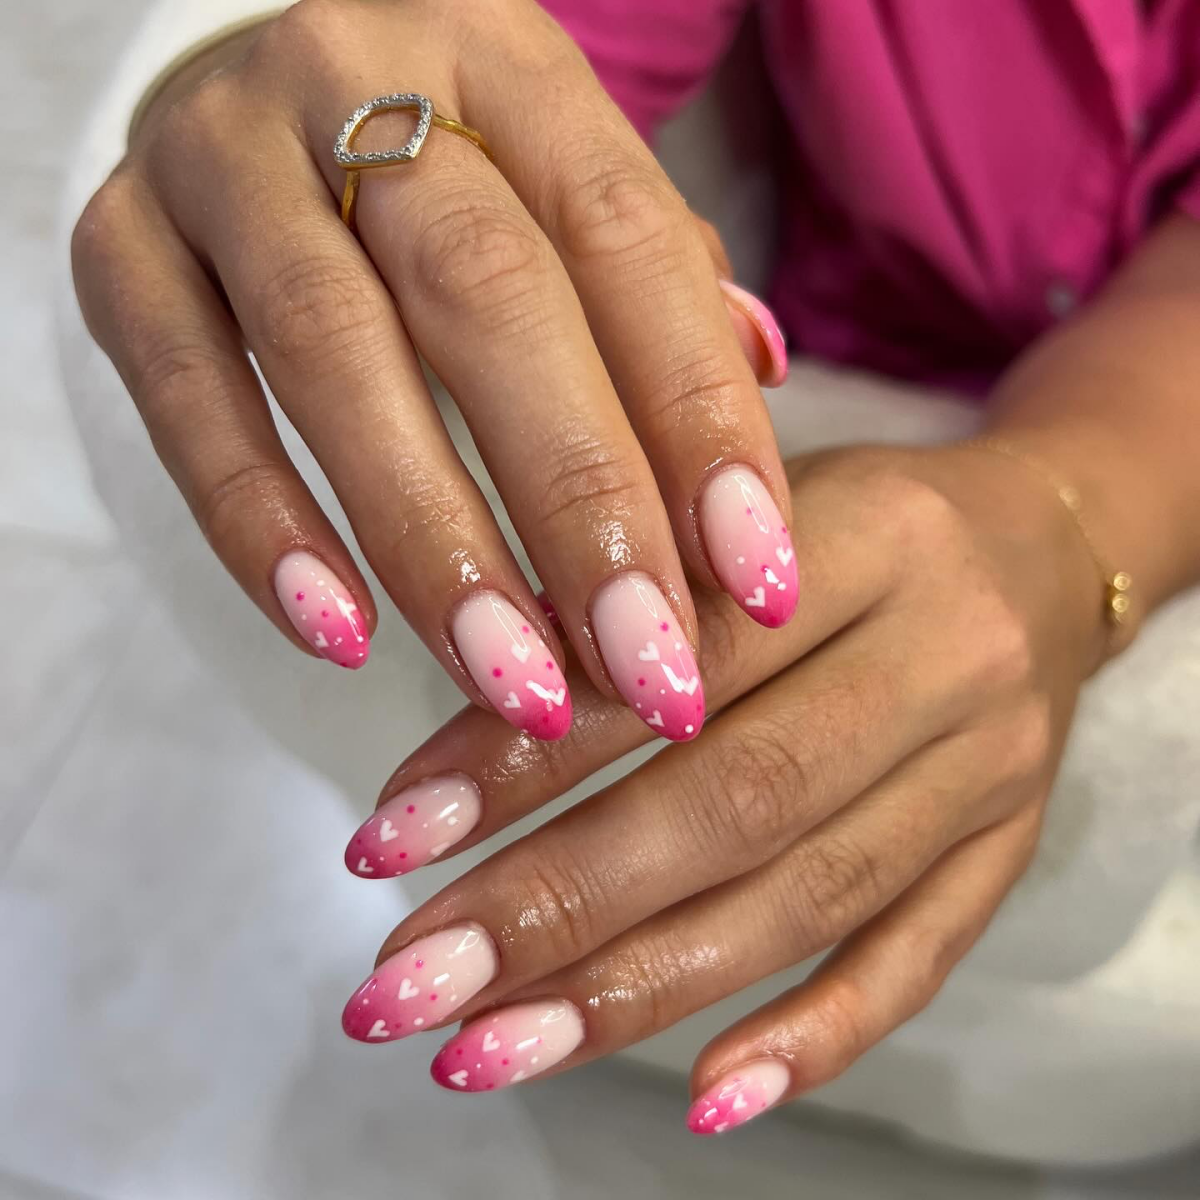
A classic ombre is stunning on its own, but it’s also a fantastic base for customization. A glitter fade from the cuticle is a super popular request. I always use professional-grade cosmetic glitter, which I mix into clear acrylic or gel. This way, the glitter is encapsulated within the nail, so the surface is perfectly smooth.
By the way, style preferences can really vary. In many European nail circles, the trend leans towards a very soft, natural look on shorter nails—the white is almost sheer. In the US, especially in big cities, clients often want a bolder, more high-contrast look on longer nails. And in many Asian nail art traditions, the ombre is just the starting point for incredible, delicate hand-painted designs or 3D art.
My Final Two Cents: Safety is Everything
I know the temptation to DIY is strong, especially with so many kits available online. But working with professional acrylics and gels comes with real risks. The number one cause of developing a lifelong allergy to these products is repeated skin contact with the uncured material. If that happens, you might not be able to wear any nail enhancements ever again.
If you walk into a salon, look around. Is it clean? Does the tech use new files and sterilized tools? A professional invests hundreds, sometimes thousands, of dollars in proper sanitation equipment like an autoclave because your health is the priority. Ask if they’re licensed—it means they’ve passed state-mandated exams on safety. Ultimately, a pink and white ombre looks simple, but its beauty is a testament to true craftsmanship. It’s a skill honed over thousands of hours, and there’s nothing more satisfying than creating a flawless, timeless set of nails.
Galerie d’inspiration
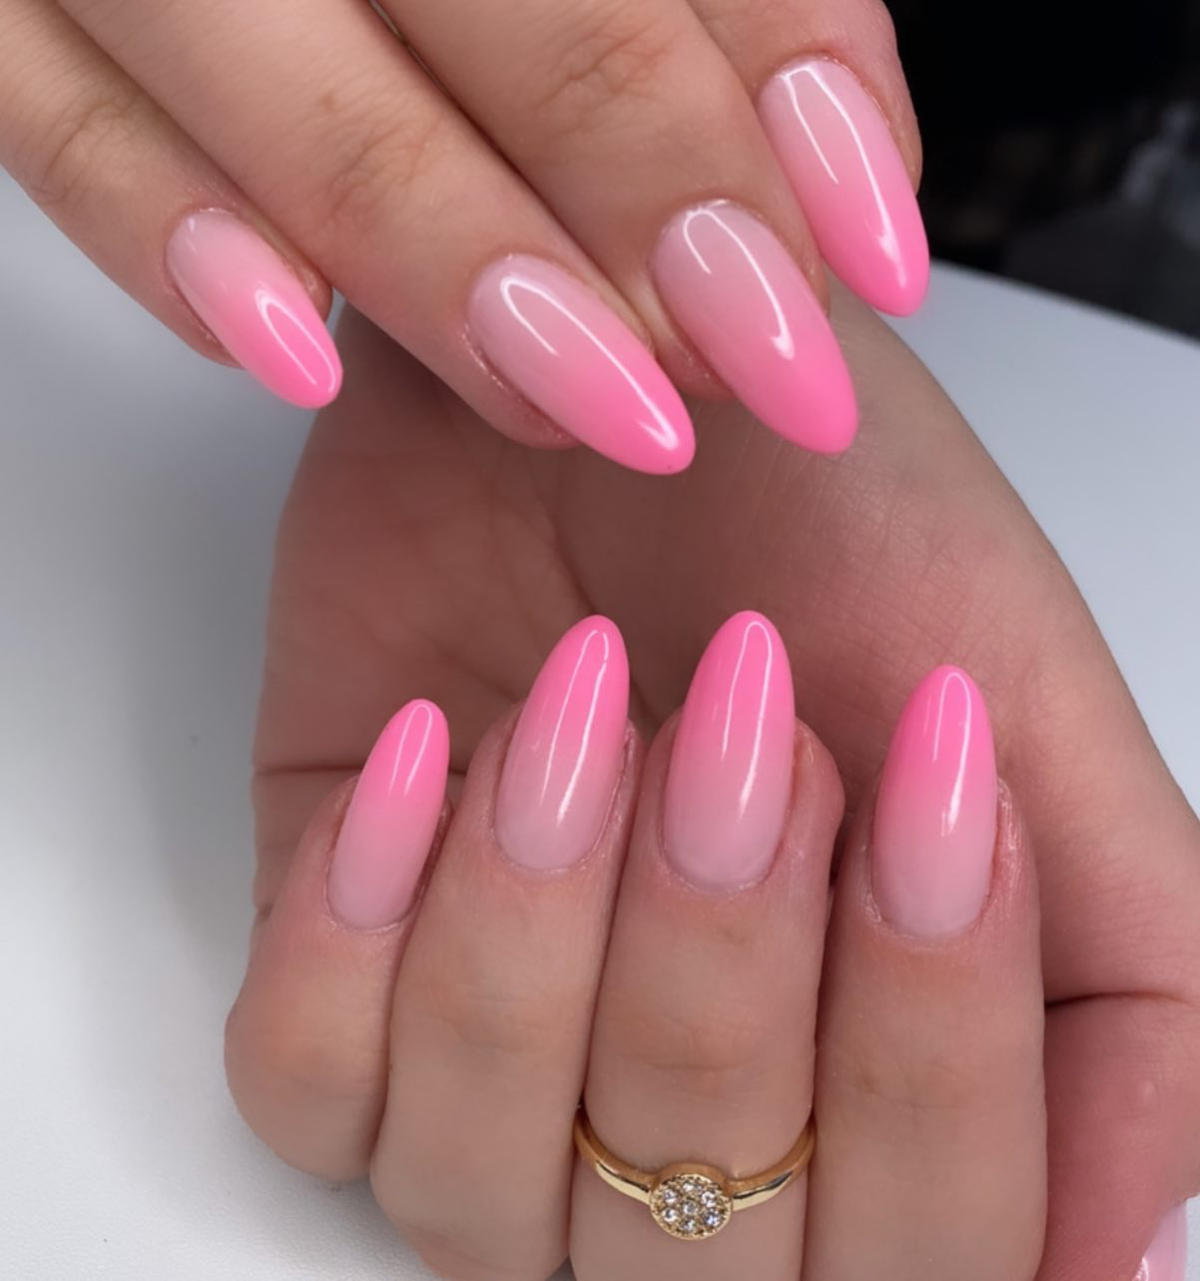
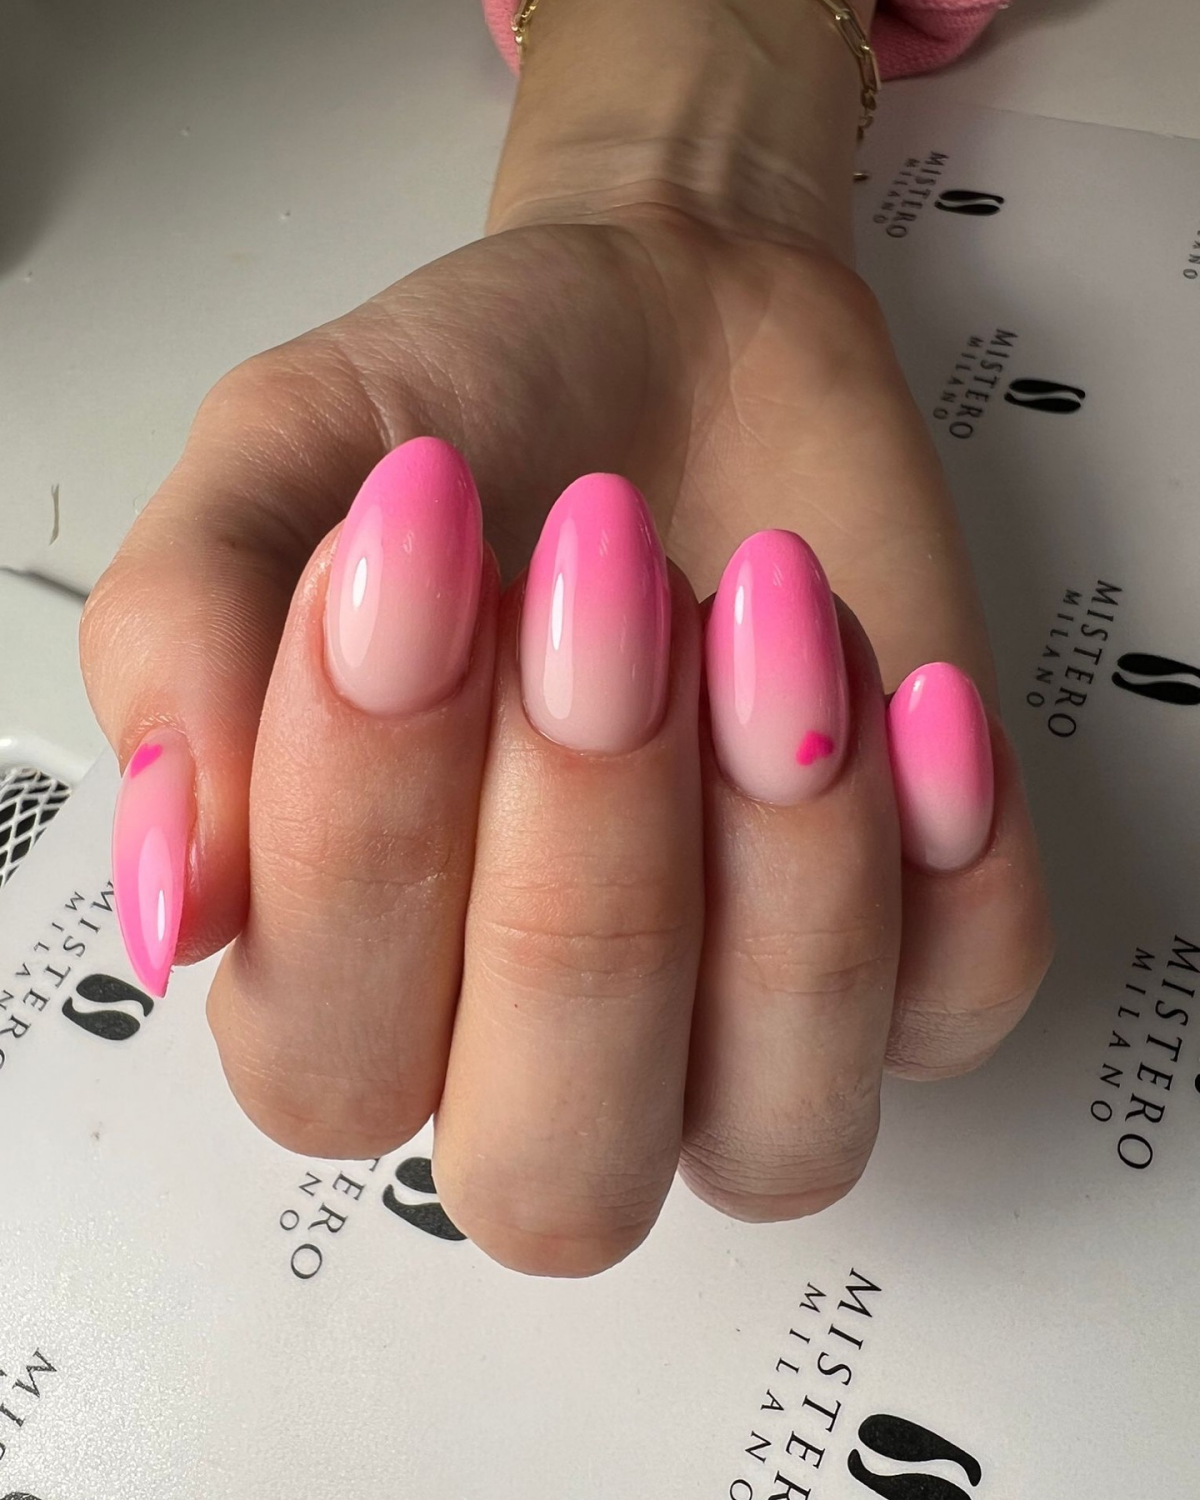
So, why are they often called “Baby Boomer” nails?
The name is a nod to the post-World War II era. During that time, the classic manicure featured shades very similar to the ones in this look—soft, natural pinks and clean off-whites. The French Fade or Pink and White Ombre captures that timeless, elegant aesthetic that was popular with the Baby Boomer generation, but gives it a modern, seamless twist without the harsh line of a traditional French manicure. It’s a style that truly bridges generations.
Acrylic Ombre: Known for its strength and durability. It creates a defined, sculpted look with a slightly more matte transition unless a high-gloss top coat is used. It’s the go-to for adding length and structure.
Gel Ombre: Tends to have a higher-shine, almost “juicy” finish. The blend can appear softer and more translucent. It’s more flexible than acrylic, making it feel lighter on the natural nail.
Ultimately, the choice depends on your lifestyle and desired finish—strength and structure versus flexibility and shine.
More than 75% of a flawless manicure’s success lies in the prep work.
A perfect ombre blend can be completely undermined by messy cuticles. Before applying any product, focus on creating a clean canvas. This means gently pushing back the eponychium (the living tissue), carefully removing any non-living tissue from the nail plate with a remover like Blue Cross Cuticle Remover, and lightly buffing the surface. This not only looks better but also prevents lifting and ensures your beautiful ombre lasts longer.
The secret to a salon-fresh look that lasts: Daily hydration is non-negotiable. Your nails and the surrounding skin are constantly exposed to water and soaps that strip them of natural oils. Applying a high-quality cuticle oil, like CND SolarOil or OPI ProSpa Nail & Cuticle Oil, every night replenishes moisture, keeps cuticles healthy, and prevents the enhancement from becoming brittle. It’s the single best thing you can do to maintain your investment.


