Blank Page Fright? Here’s What to Draw to Actually Get Better
We’ve all been there. Staring at a pristine, blank sheet of paper, pencil in hand, with absolutely zero idea of what to draw. It’s a paralyzing feeling, and it hits artists at every level, from total beginners to seasoned pros.
In this article
So many people think they need some grand, inspiring vision to strike before they can even start. But honestly, it’s the other way around. You have to start drawing—anything at all—to find the inspiration. The real problem isn’t a lack of subjects; it’s about learning how to truly see the world around you.
This isn’t just a list of drawing prompts. It’s a guide to retraining your eyes to see things not as objects with names, but as a fascinating collection of shapes, lines, and shadows. The most boring object in your house can become an amazing study. That coffee mug isn’t just a mug; it’s a cylinder topped with an ellipse, catching light in some spots and casting shadows in others. Learning to translate that to paper… well, that’s the whole game.
Seeing Like an Artist: The Fundamentals
Before you dive into drawing something complicated, you’ve got to get a handle on a few basic principles. This is the technical stuff that turns a simple sketch into something that feels real and convincing.
Break It Down to Simple Shapes
Everything, and I mean everything, can be simplified into basic geometric shapes. An apple is mostly a sphere. A laptop is a couple of thin rectangular boxes. A wine bottle is just a cylinder with a cone on top. This was a total game-changer for me when I was learning.
Instead of getting overwhelmed by the complex outline of a person, the pros learn to see the torso as a box, the head as a sphere, and the arms and legs as cylinders. It takes all the intimidation out of it and gives you a solid structure to build on. Before you draw your next subject, just stop and look at it for a minute. Try to name the simple shapes you see. It’s a simple exercise that will fundamentally change how you approach drawing.
Mastering Light and Shadow
A drawing without shading is going to look flat. It’s light and shadow that give an object form and weight. To make things look three-dimensional, you need to understand how light behaves.
Here’s a classic exercise: put a single egg on a white piece of paper under one lamp. Look closely. You’ll see five distinct things happen:
- Highlight: The brightest spot where the light hits the egg directly.
- Mid-tone: The actual, true color or value of the egg itself.
- Core Shadow: The darkest part of the shadow on the egg, where the light can’t reach.
- Reflected Light: This is the secret sauce! It’s a faint light that bounces off the paper and back onto the egg, right along the edge of the shadow. Beginners almost always miss this, but it’s what makes an object feel solid and part of its environment.
- Cast Shadow: The shadow the egg throws onto the paper. Notice how it’s darkest right next to the egg and gets softer and lighter as it moves away.
Quick tip: If you’re struggling to see these five different values, try squinting your eyes. Seriously! It blurs the details and simplifies everything into bigger, more obvious shapes of light and dark.

The Magic of Negative Space
Sometimes the easiest way to draw something accurately is to draw the space around it. This is called negative space. Our brains are wired to identify objects, which can actually trip us up when we try to get proportions right.
When you focus on the empty shapes around the object, your brain stops trying to label things and just sees abstract shapes. A classic way to practice this is with a chair. Don’t draw the legs; draw the shape of the floor you see through the legs. Draw the triangle of wall visible between the seat and the back. You’ll be shocked at how a perfectly proportioned chair suddenly appears on your page.
Don’t have an hour? Try this 5-minute challenge: Grab your keys and toss them on the table. Instead of drawing the keys, just draw the empty shapes in between them with a pen. It’s a fantastic, super-fast workout for your brain.
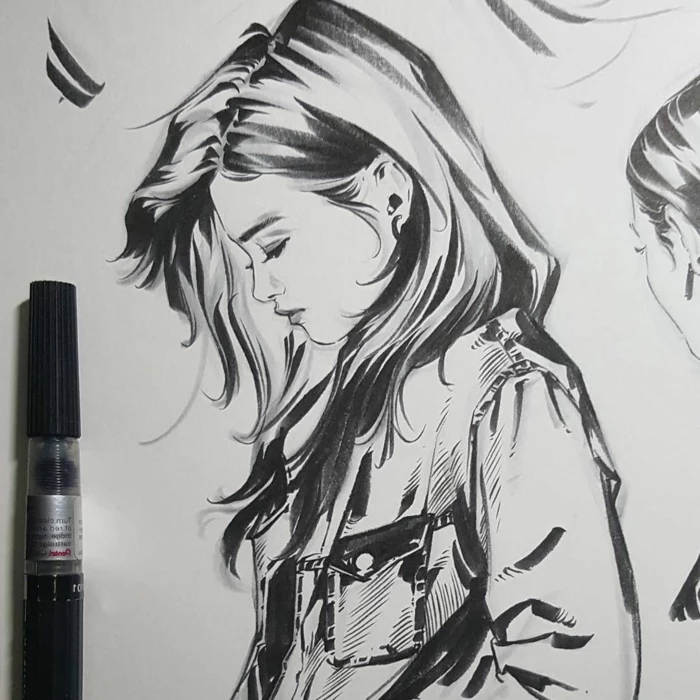
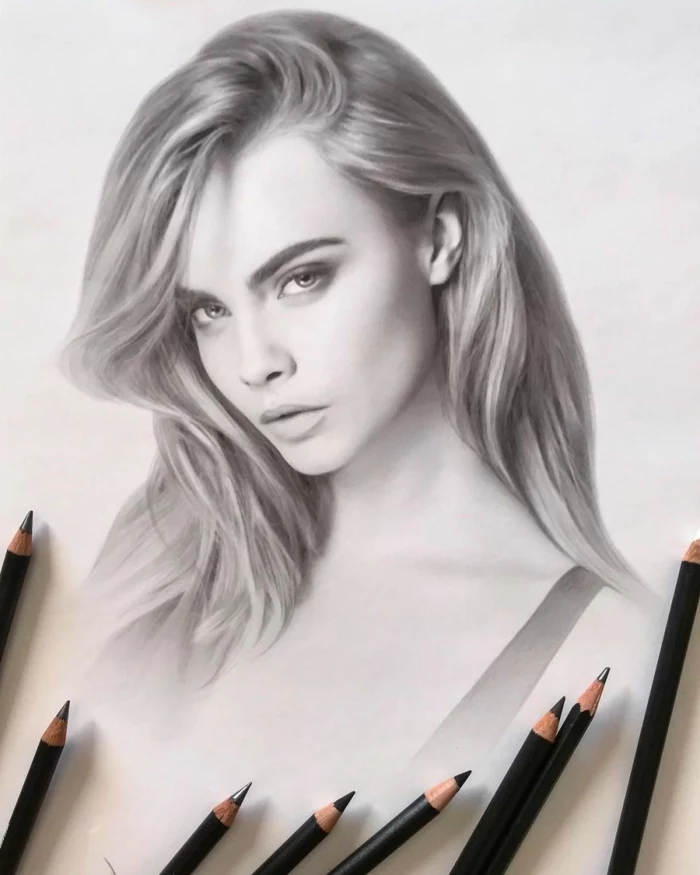
Your First Toolkit (For Under $25)
The right tools really do make a difference. You don’t need to spend a fortune, but using the wrong stuff can be incredibly frustrating. I’ve seen people give up because they thought they were bad at drawing, when the real problem was paper that fell apart when they tried to erase.
Graphite Pencils Are More Than a #2
Drawing pencils come in a range of hardness levels, marked with an ‘H’ (hard) and a ‘B’ (black/soft). A standard school pencil is an HB, which is right in the middle.
- H Pencils (like 2H, 4H): These have more clay mixed in, so they make very light, precise lines. They’re great for initial layout sketches that you plan to erase or draw over. Heads up: pressing too hard will dent your paper.
- B Pencils (like 2B, 4B, 6B): These are soft, with more graphite. They make beautiful, dark, rich marks perfect for shading. They smudge easily, which is great for blending but can be messy. A pro tip is to always rest your drawing hand on a spare sheet of paper to avoid smudging your work.
A great starting set is a 2H, an HB, a 2B, and a 4B. You can find a basic set from a brand like Staedtler or Faber-Castell at most art supply stores or online for about $5-$10.
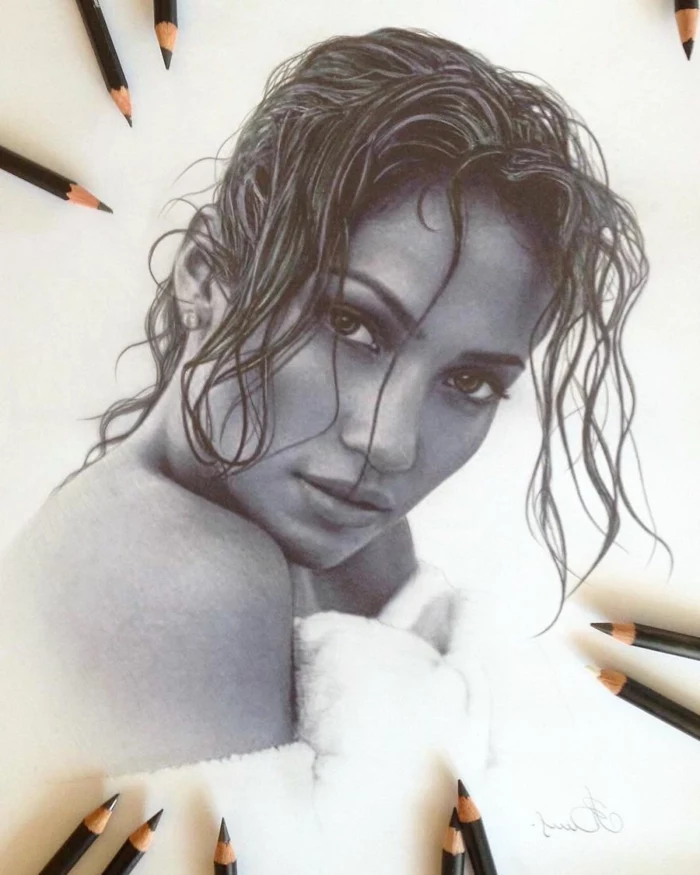
Charcoal: For Drama and Deep Darks
Charcoal is a whole other beast. It’s messy, but it gives you a level of deep, velvety black that graphite just can’t touch. The first time I used vine charcoal, I swear I ended up with more on my face than on the paper. The trick is to use a light touch and embrace the dust!
- Vine Charcoal: This is a burnt stick of willow. It’s super light, dusty, and incredibly easy to erase and blend. It’s perfect for big, expressive drawings.
- Compressed Charcoal: This is charcoal powder mixed with a binder and pressed into a stick. It creates intensely dark blacks but is much harder to erase. Use it for your final, dramatic dark accents.
Paper Matters More Than You Think
Doodling on cheap printer paper is fine, but for serious practice, it’ll hold you back. It’s too smooth to hold much graphite and will tear if you do a lot of erasing.
You want to look for two things in drawing paper: weight and tooth. “Tooth” just refers to the paper’s surface texture. A paper with more tooth has tiny peaks and valleys that grab onto your pencil or charcoal, allowing you to build up rich layers. A great, affordable sketchbook to start with is a Strathmore 400 Series. You can get one for about $15, and the paper has enough tooth for both pencil and charcoal without breaking the bank.
So for less than $25, you can get a versatile set of pencils and a quality sketchbook that will serve you well for a long time.
Practical Exercises to Build Real Skill
Okay, let’s put all this theory into practice. These are a couple of my go-to exercises for training the hand, eye, and mind. Revisit them often!
1. The Kitchen Still Life
Why it works: Your kitchen is full of simple geometric forms that don’t move! It’s the perfect place to practice drawing form, light, and shadow. Plan to give yourself a good hour or two for this.

How to do it:
- Grab 2-3 objects (an odd number is usually more interesting to look at). A mug, an onion, and a box of crackers are great examples.
- Set them up near a window or under a single lamp to create clear, strong shadows.
- Start with your light 2H pencil. Don’t draw hard outlines. Just lightly sketch in the main shapes—a cylinder for the mug, a sphere for the onion.
- Once the composition feels right, start using your softer B pencils to build up the shadows. Go slow. It’s much easier to make an area darker than it is to make it lighter.
- Common mistake: Watch out for making the reflected light too bright. It’s still part of the shadow, just a slightly lighter part. New artists often make it look like a bright, unnatural stripe.
2. A Study in Texture
Why it works: Making something look rough, smooth, or shiny is all about observation. This exercise forces you to translate what you see into different kinds of marks.
How to do it:
- Find objects with really different textures. A crumpled piece of paper, a fuzzy sweater, a metal spoon, or a piece of tree bark are all fantastic subjects.
- Focus on one at a time. Try to fill a whole page with a close-up study of that single texture.
- Don’t think, “I’m drawing a sweater.” Instead, think, “I’m drawing a pattern of soft, looping lines next to dark, fuzzy shadows.” Break the texture down into pure marks, lines, and dots.
- Ask yourself: Are the lines sharp or soft? Are the shadows deep or gentle? Is the surface reflective? Let your answers guide your pencil.
The goal isn’t to create a perfect masterpiece every time. The goal is to practice, to learn, and to slowly but surely change the way you see the world. So grab a pencil, pick something boring, and make it beautiful.
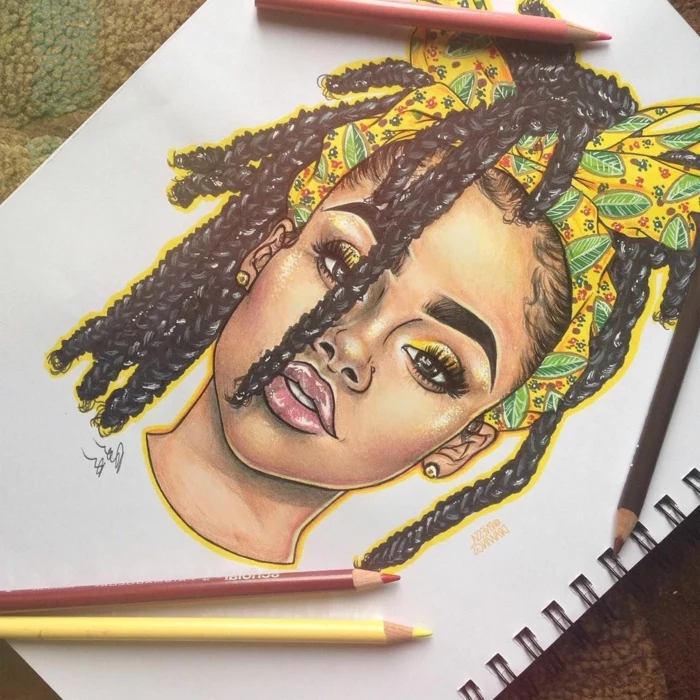
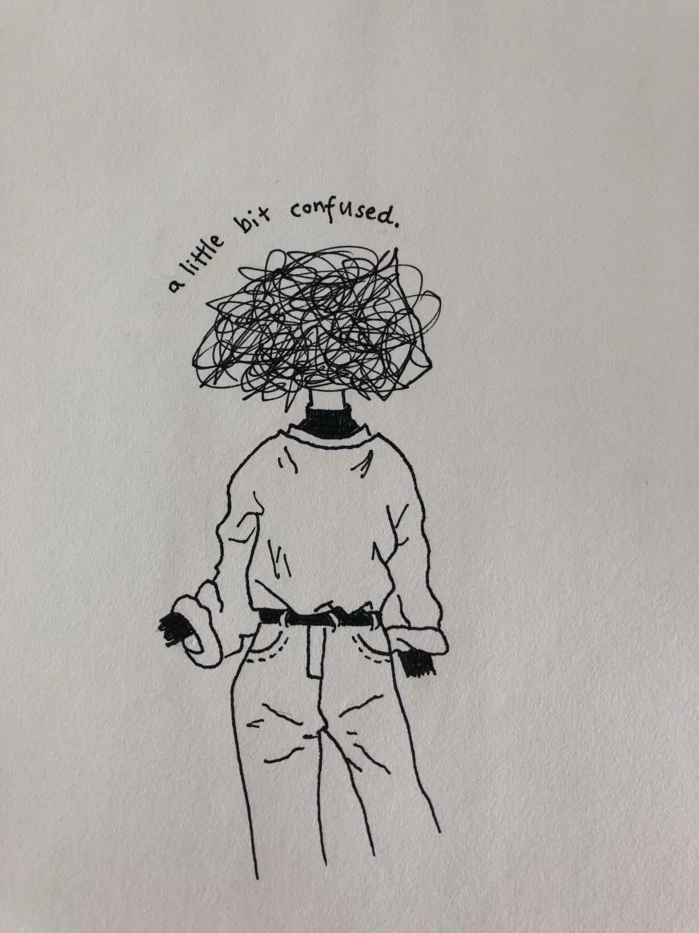
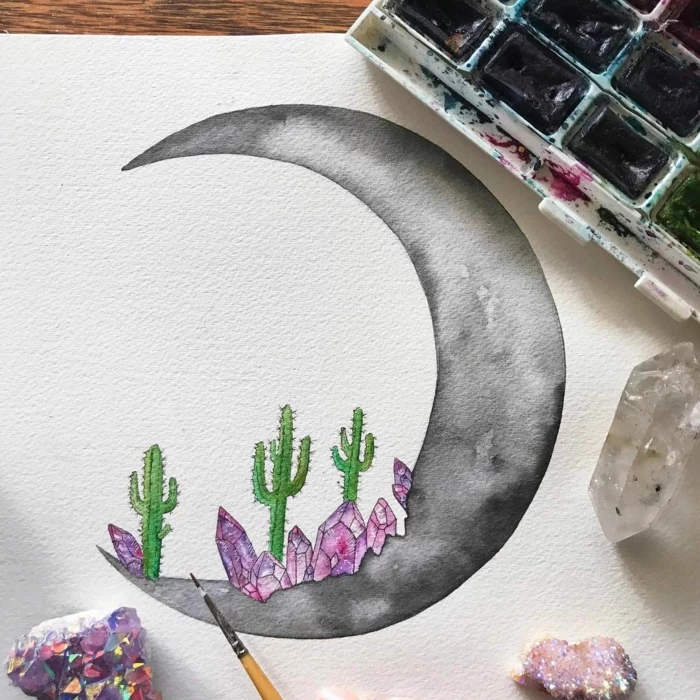
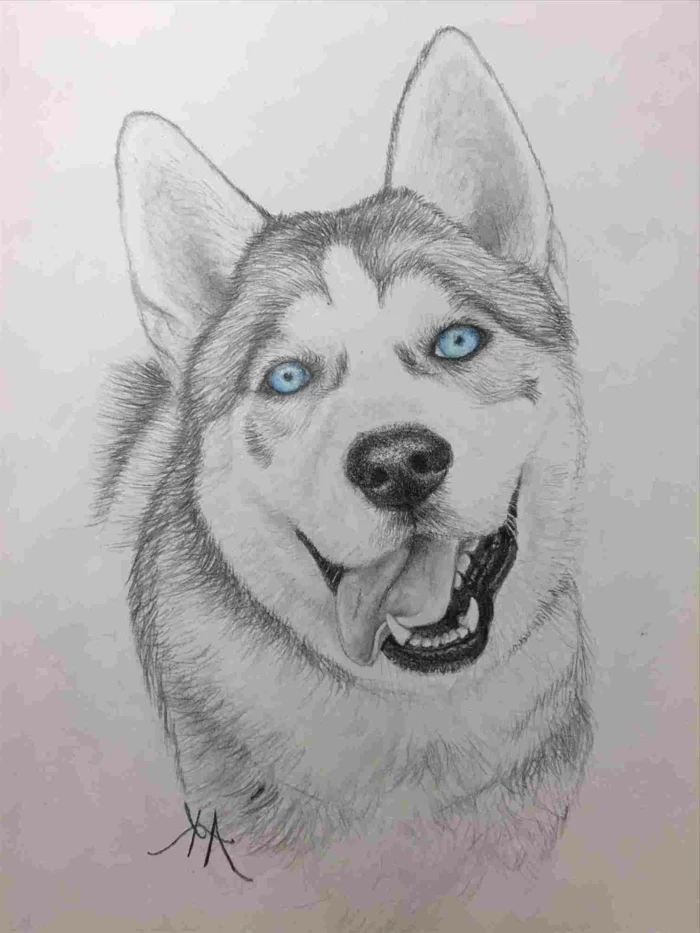
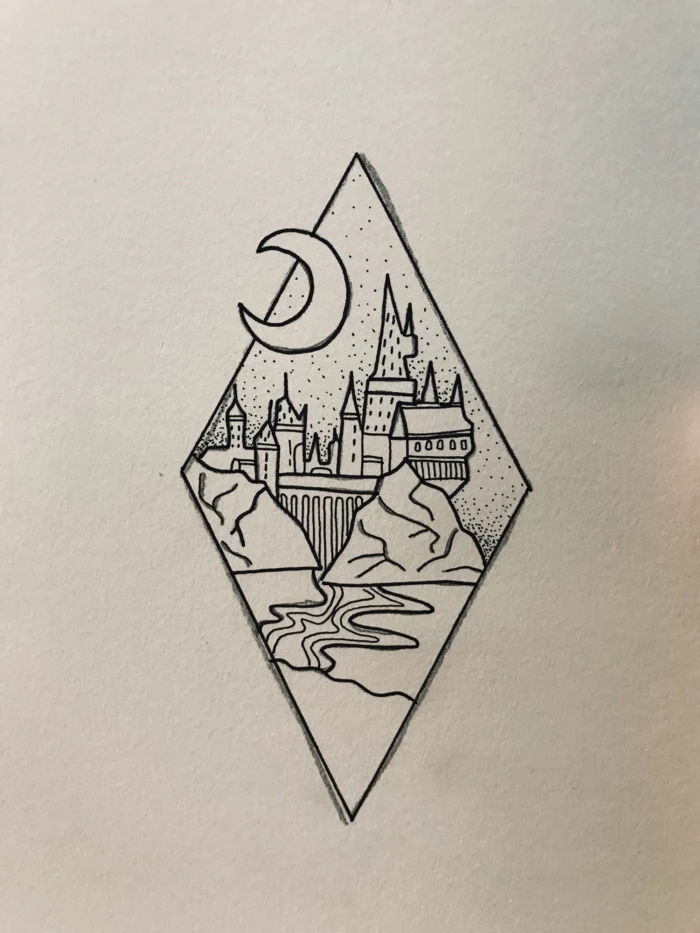
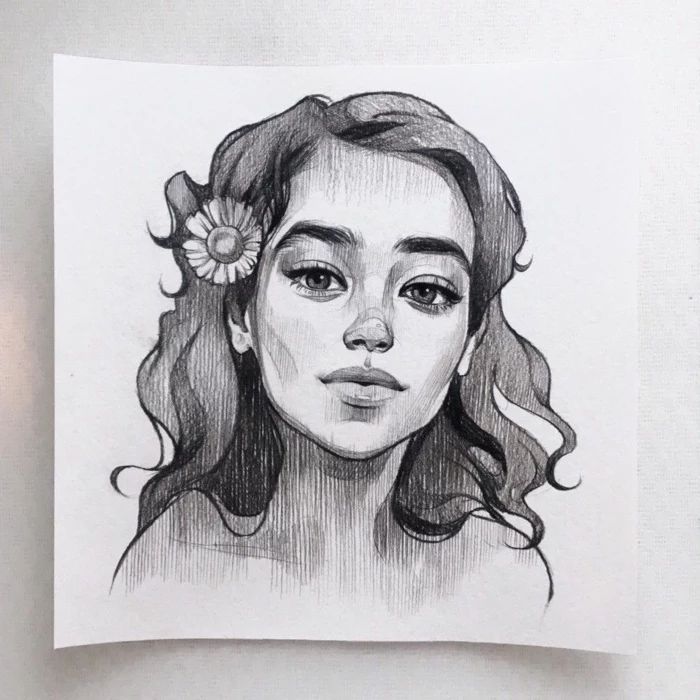
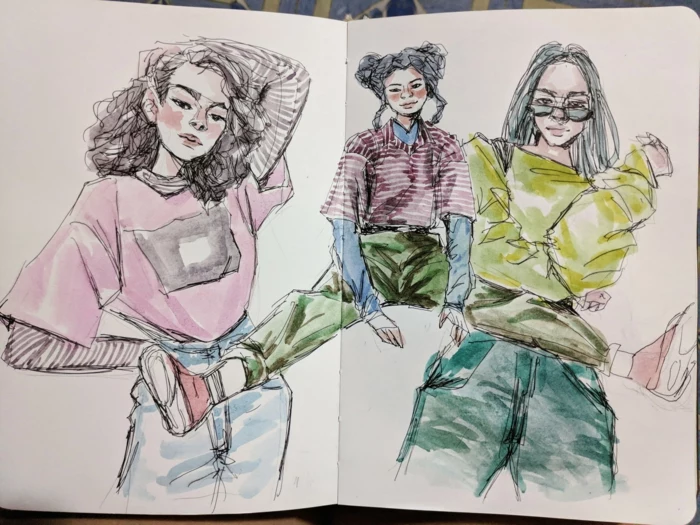
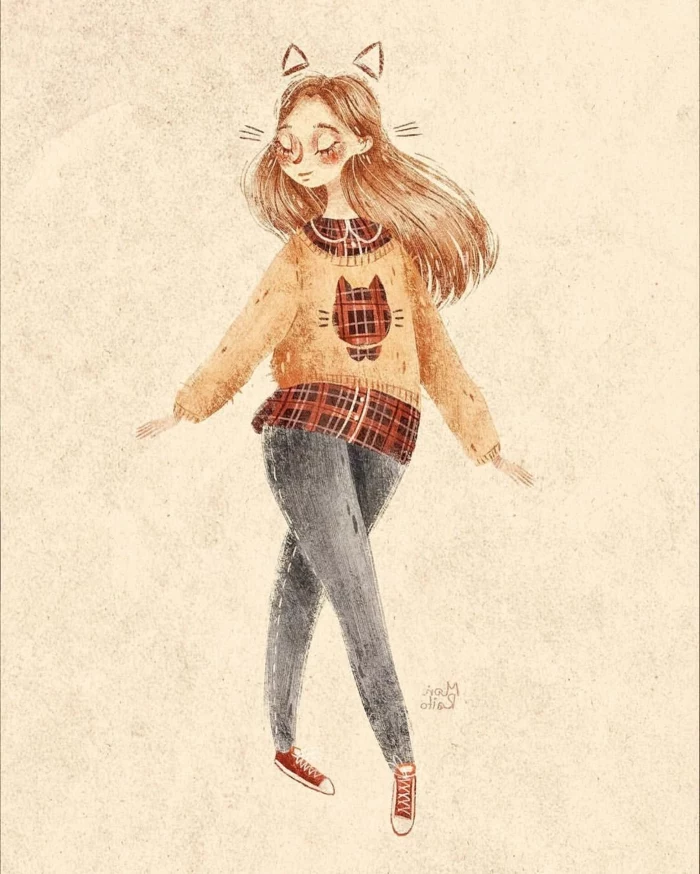
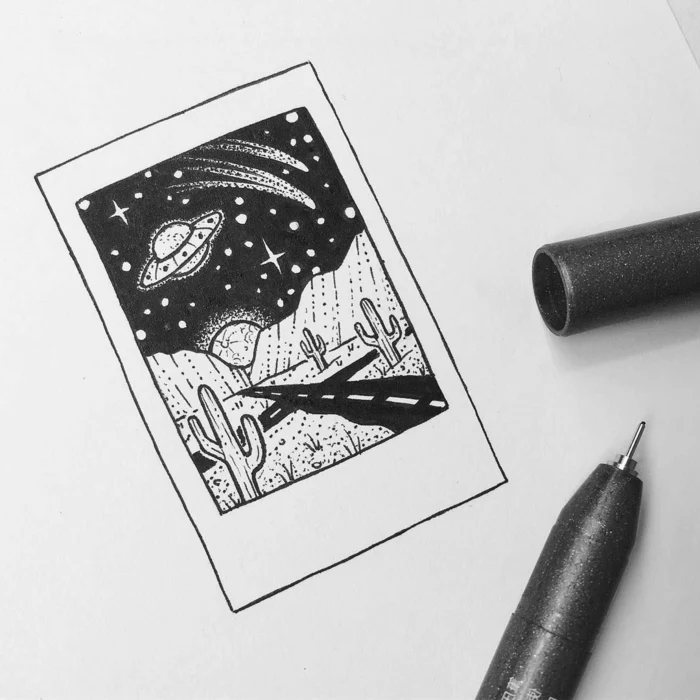
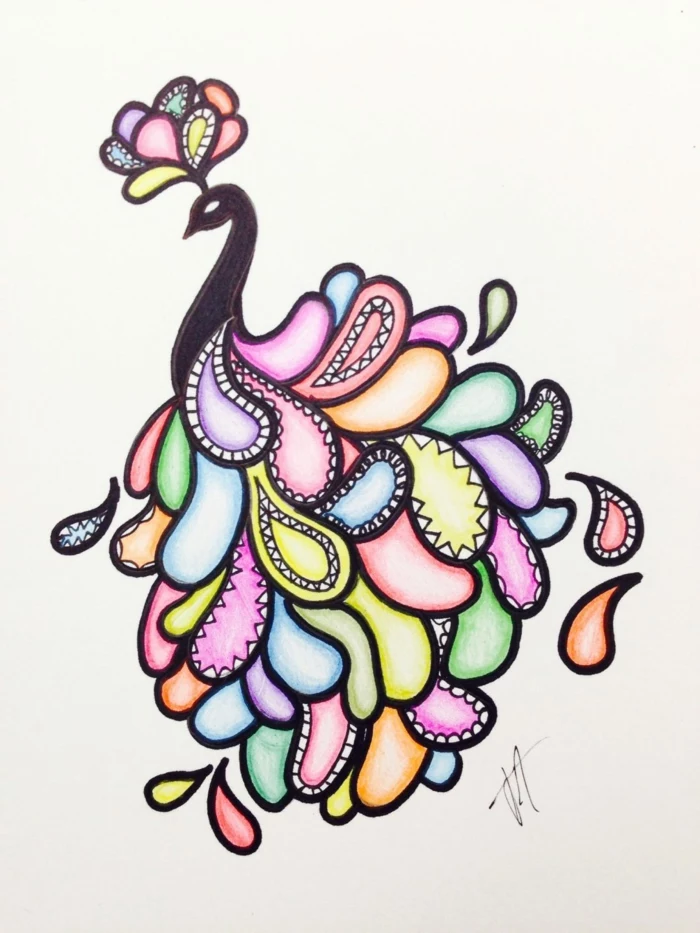
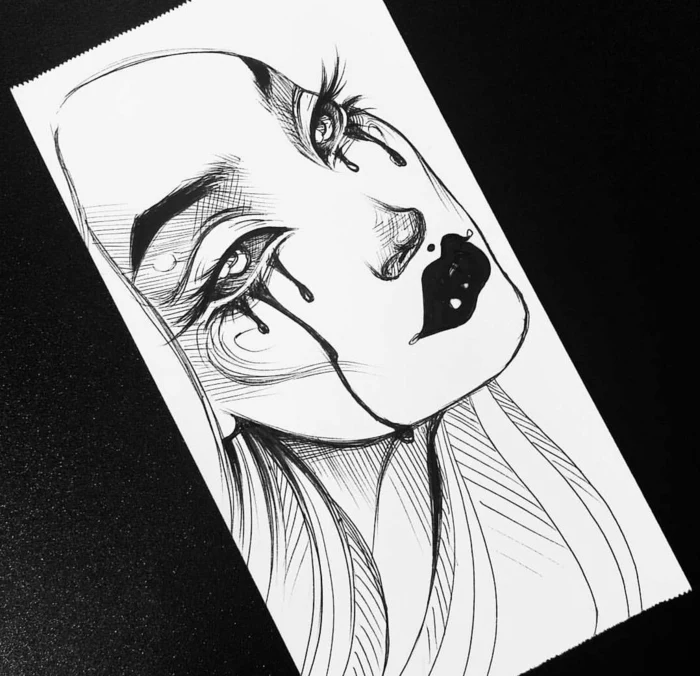
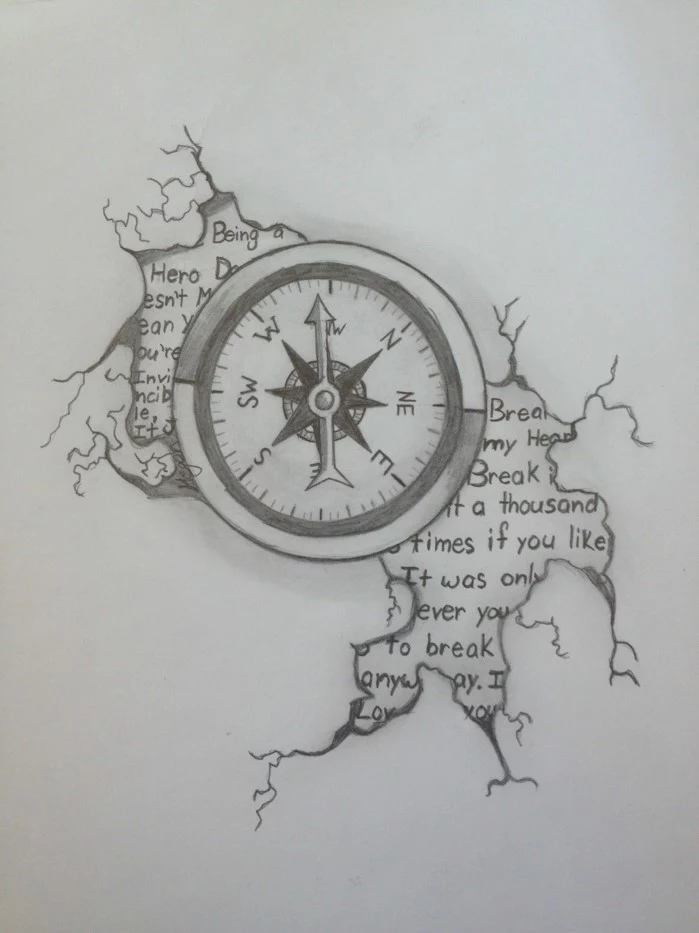
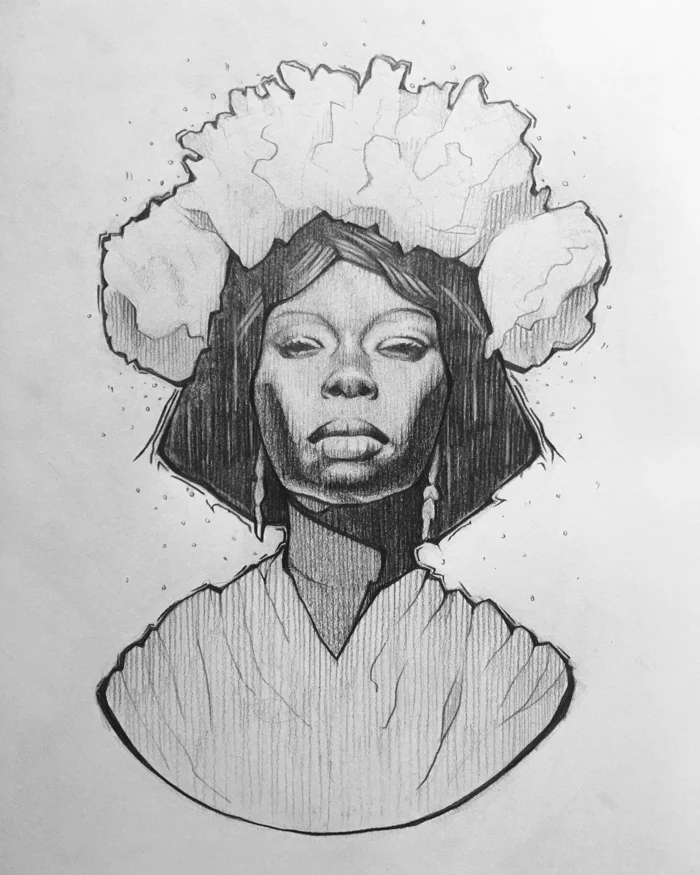
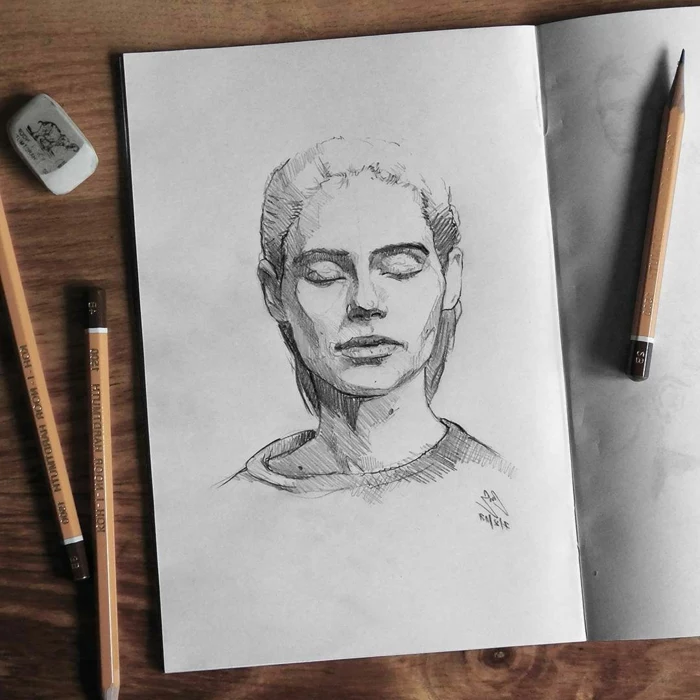
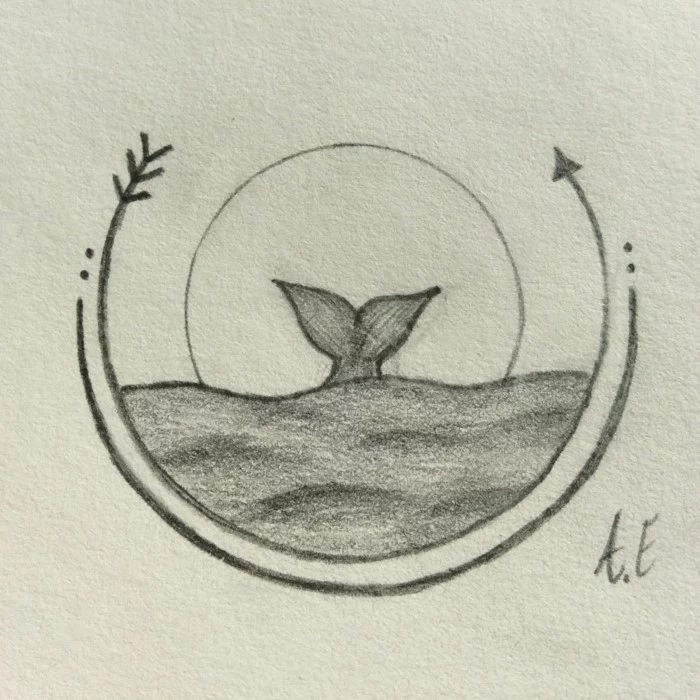
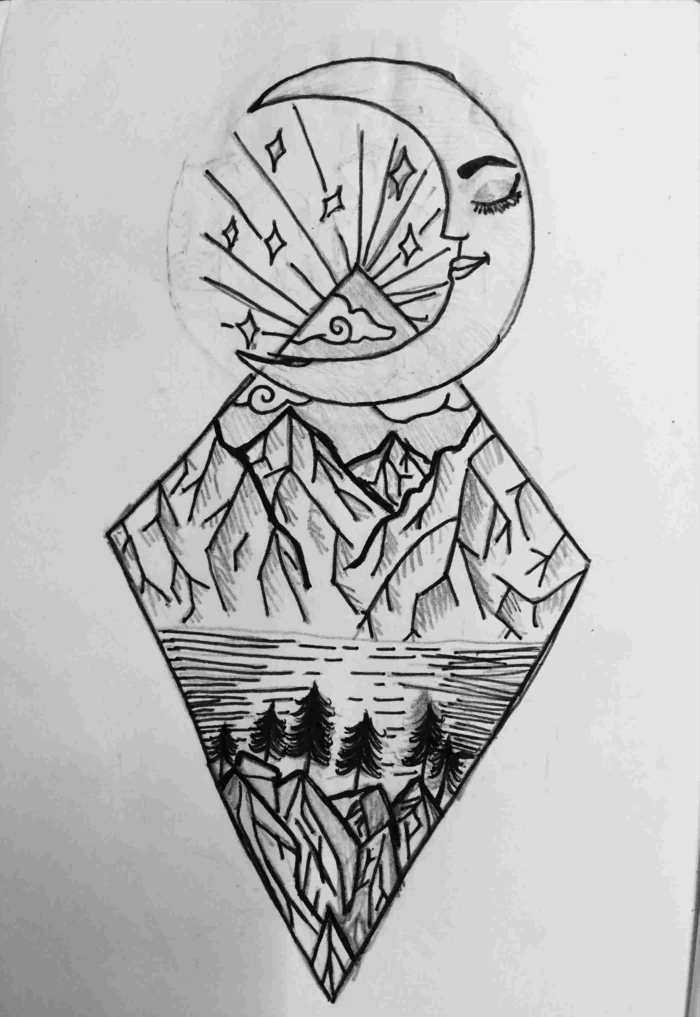
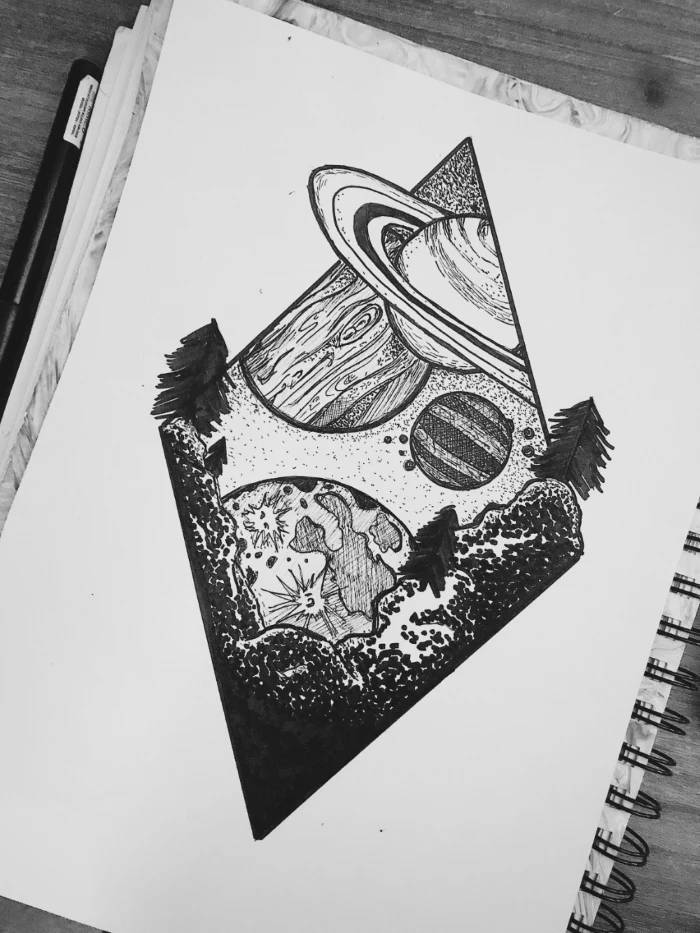
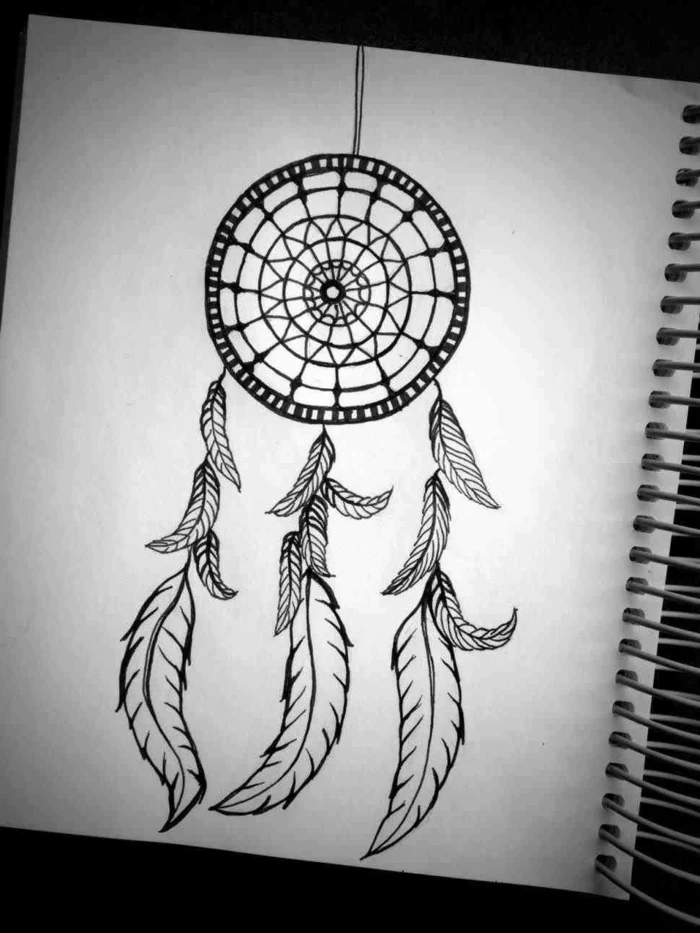
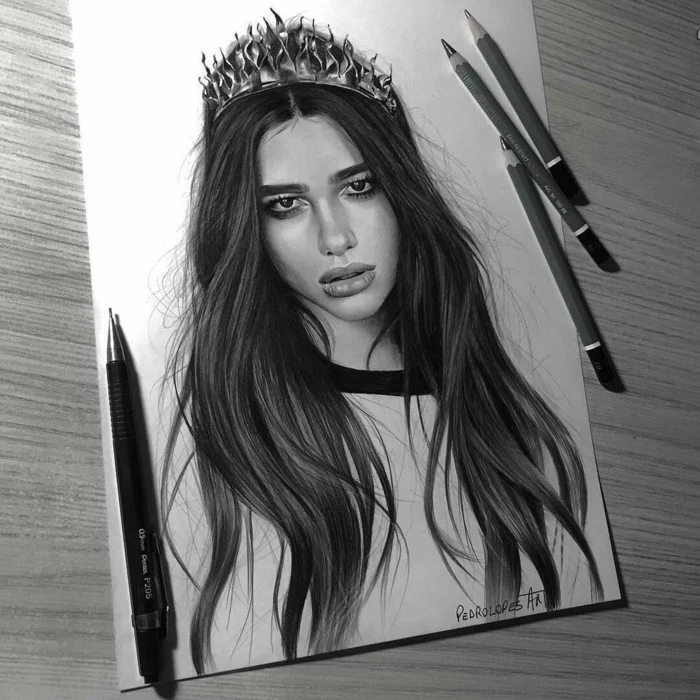
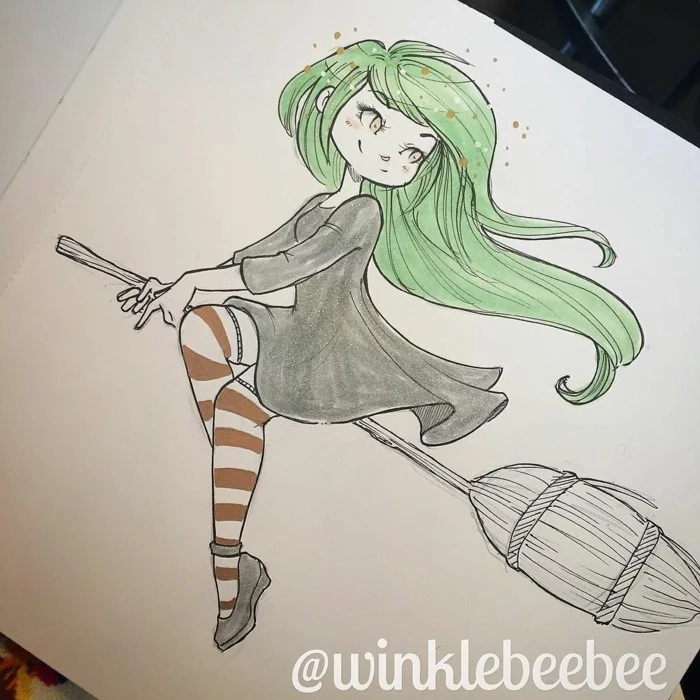
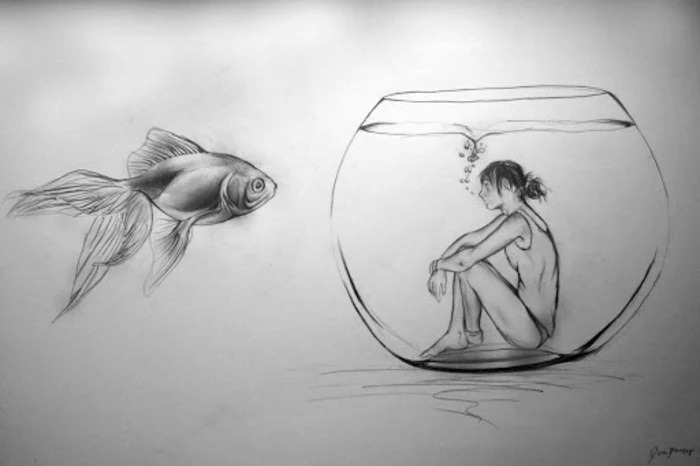
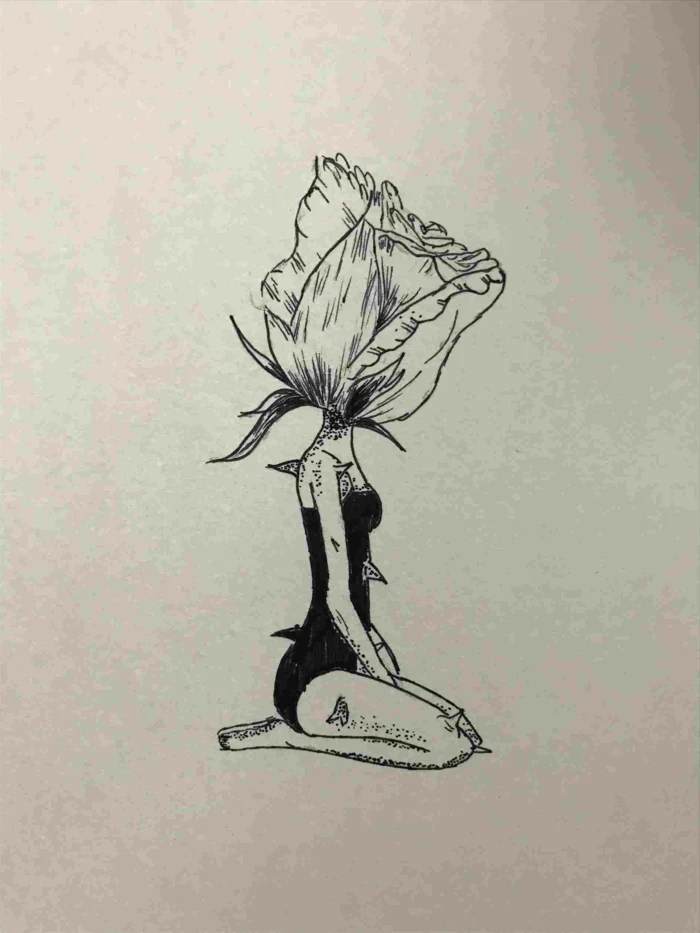
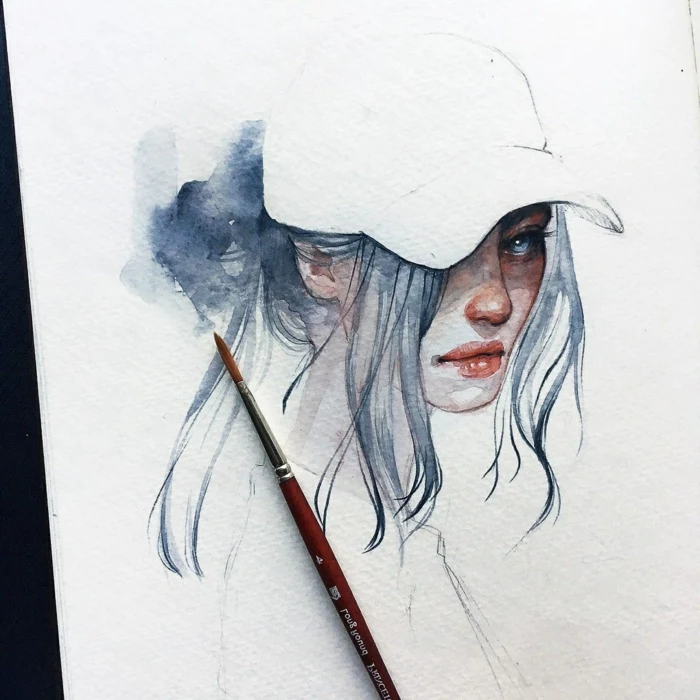
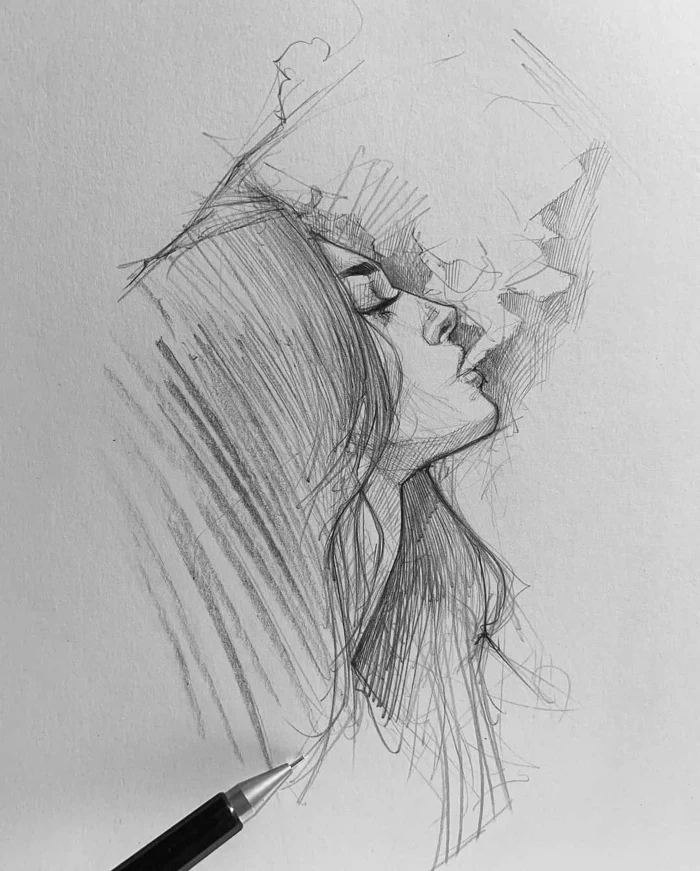
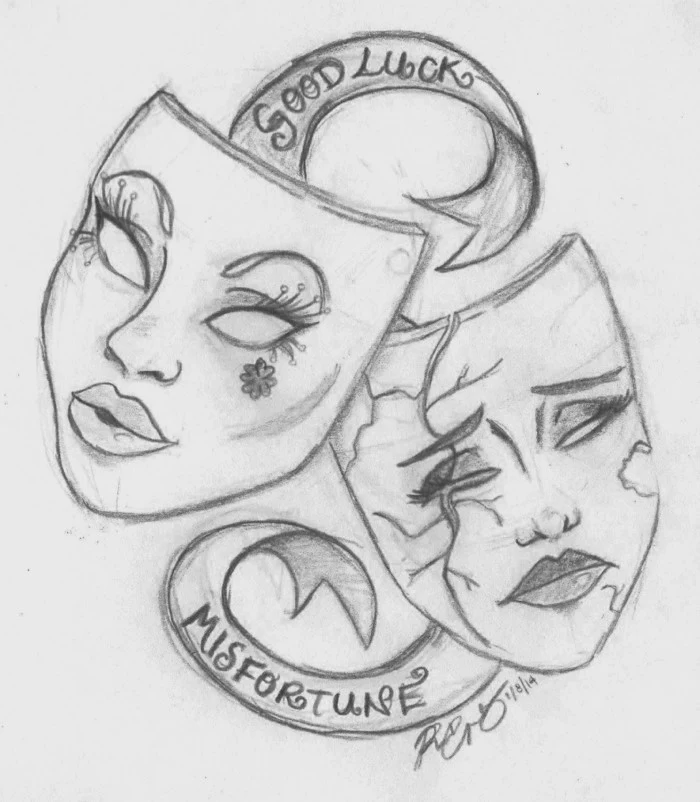
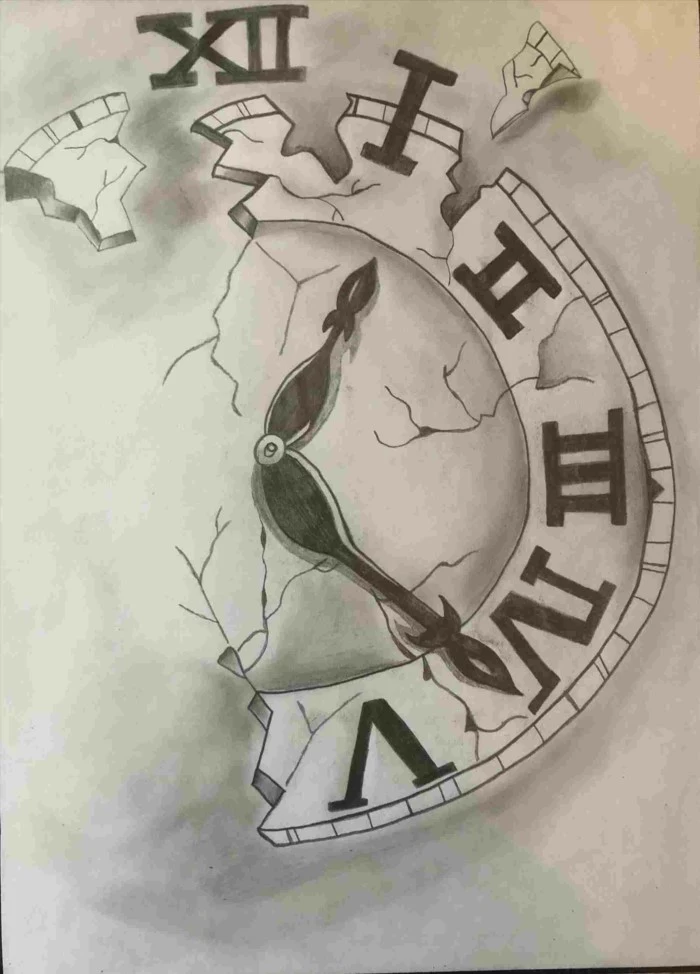
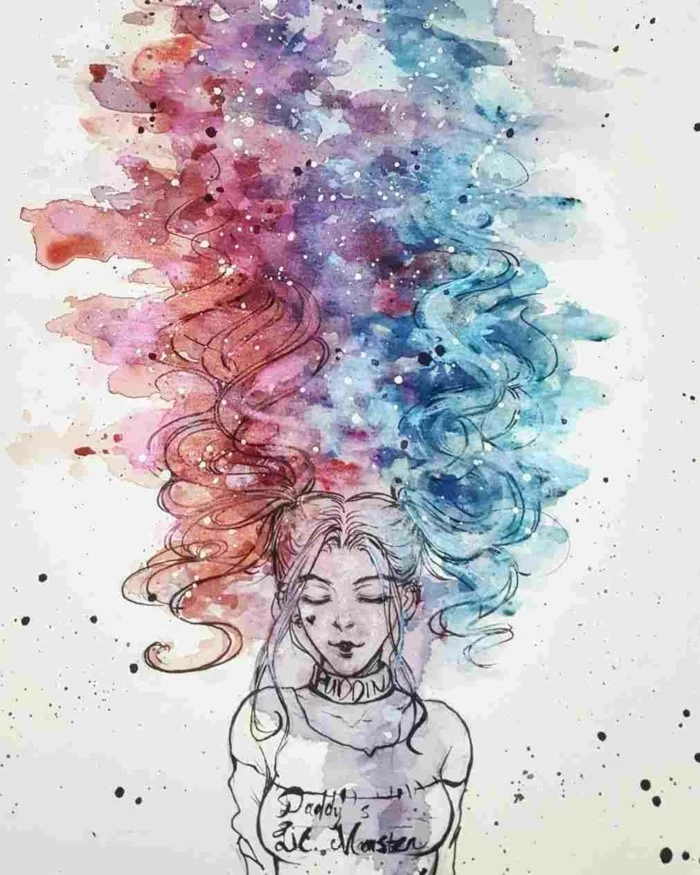
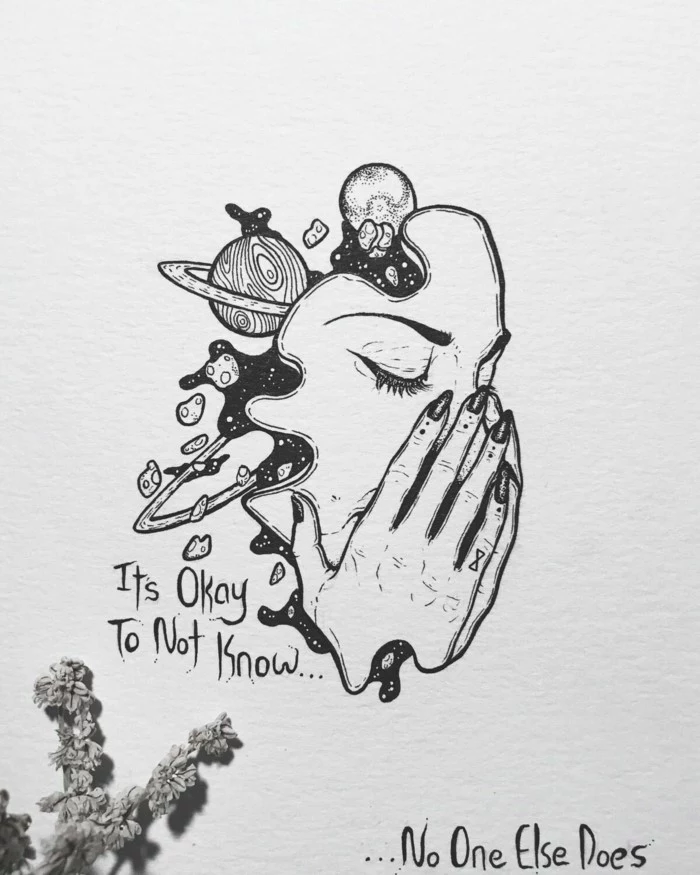
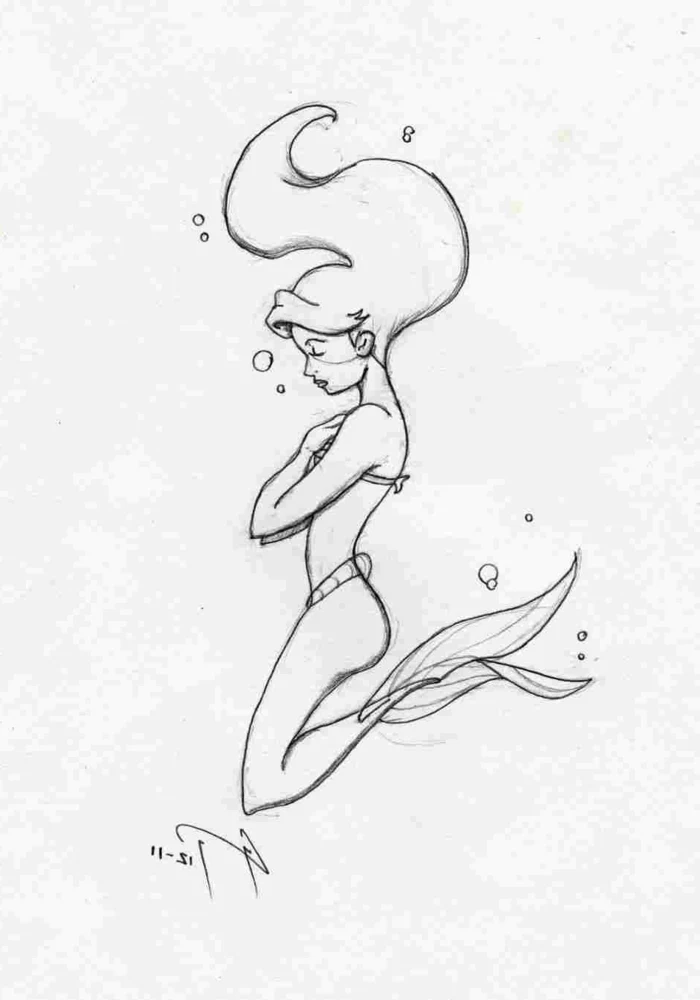
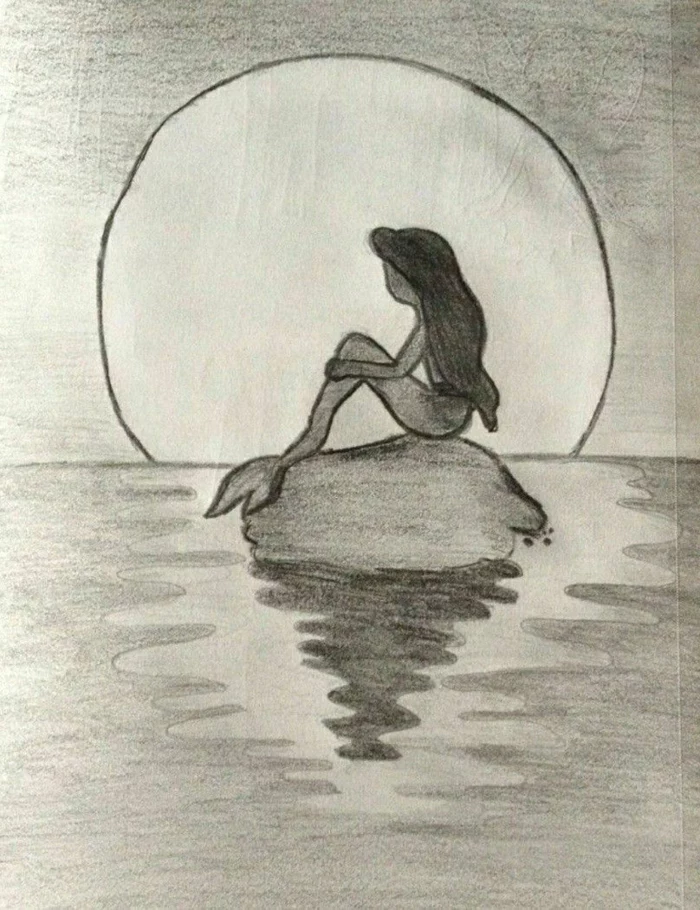
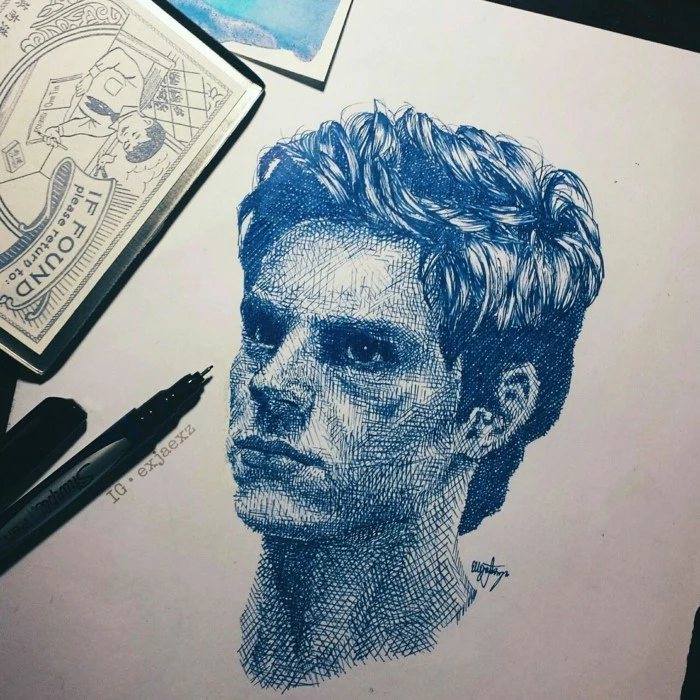
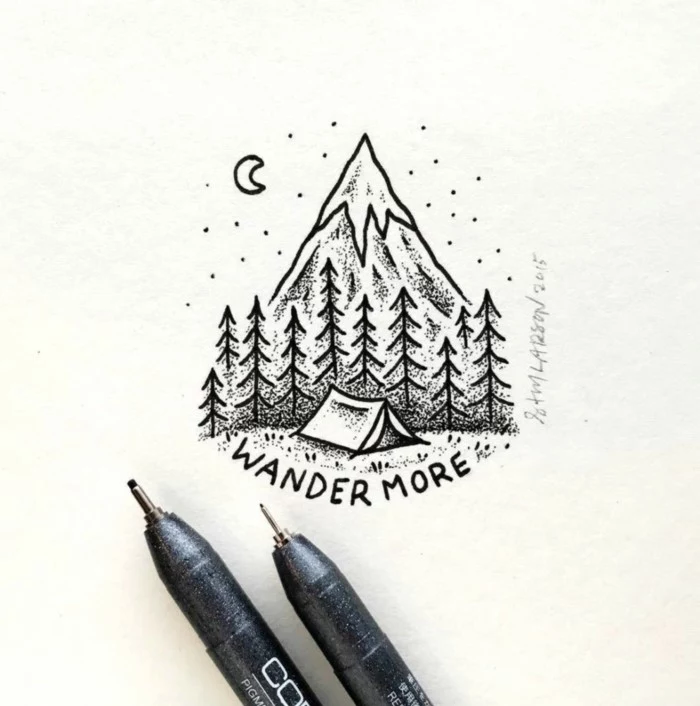
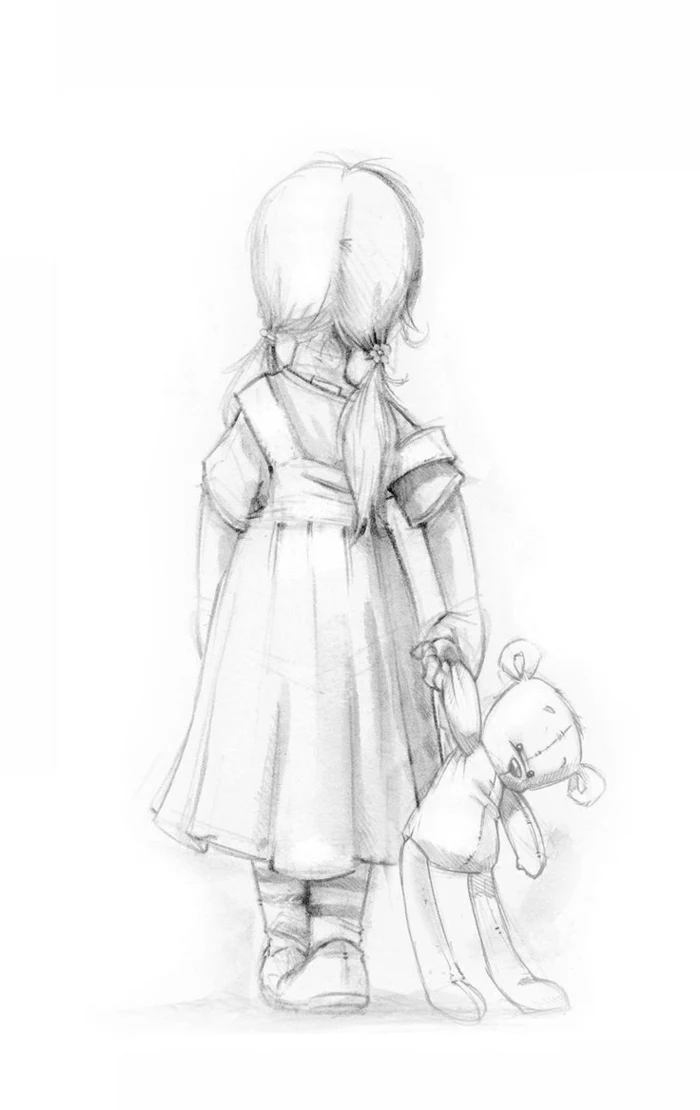
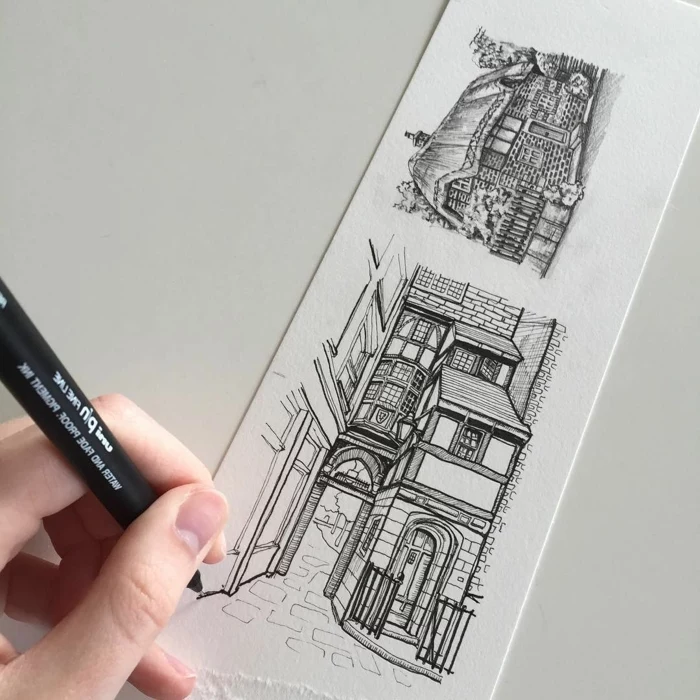
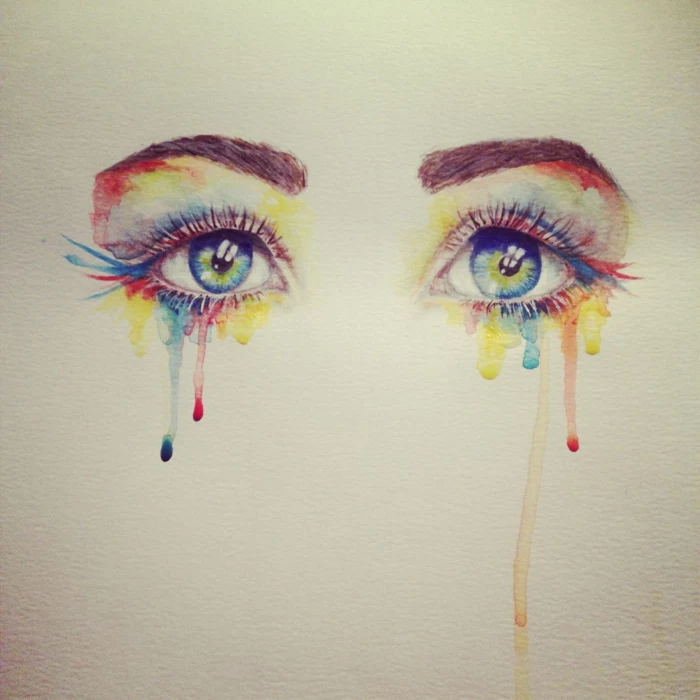
Inspirational Gallery
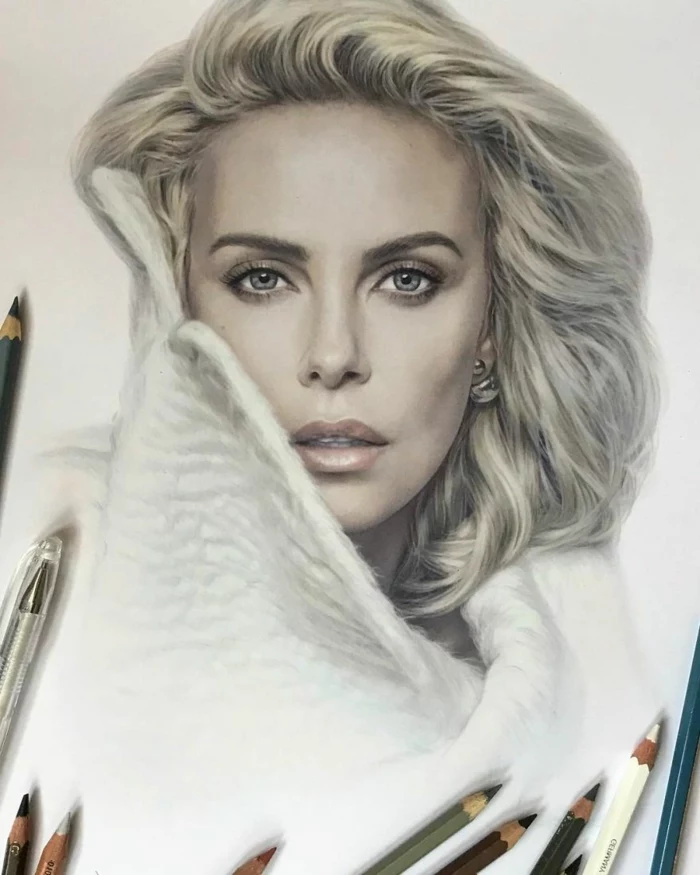
Option A: Graphite Pencils. Ideal for detailed, precise work. A set from Staedtler Mars Lumograph, ranging from a hard 2H to a soft 6B, gives you incredible control over line weight and shading. Perfect for realistic studies.
Option B: Willow Charcoal. For expressive, bold, and fast sketches. It’s dusty and imprecise, but fantastic for capturing gesture and large areas of shadow. It forces you to be less precious with your work.
For beginners, starting with graphite is often easier, but playing with charcoal can be a liberating experience.
What’s the difference between H and B pencils?
It’s all about the clay-to-graphite ratio. ‘H’ stands for Hard; these pencils have more clay, creating lighter, finer lines perfect for initial sketches or technical drawing. ‘B’ stands for Black; they are softer with more graphite, delivering dark, rich marks ideal for shading and expressive lines. A good starter pencil is a 2B—it’s versatile enough for both lining and light shading.
Before tackling a big piece, warm up your hand and arm for five minutes. This isn’t about creating a masterpiece; it’s about building muscle memory.
- Fill a page with gentle, overlapping circles. Go both clockwise and counter-clockwise.
- Draw sets of parallel lines—vertical, horizontal, diagonal—without a ruler. Try to keep them evenly spaced.
- Practice drawing long, smooth S-curves across the page. This simple routine dramatically improves line confidence.
Don’t just erase mistakes; draw with your eraser. A kneaded eraser is a powerhouse tool for this. Instead of rubbing out lines, you can press it onto a shaded area to lift graphite and create soft highlights, like the gentle shine on a cheekbone or the reflection on a water glass. It’s a subtractive method of drawing that adds a new layer of sophistication to your work.
- It captures the energy and movement of a subject in seconds.
- It builds incredible confidence in your ability to make marks.
- It trains your eye to see the whole form, not just the details.
The secret? It’s called Gesture Drawing. Set a timer for 30 or 60 seconds and try to capture the entire pose of a person or animal. Use sweeping, continuous lines. Don’t worry about accuracy; focus on flow and energy. It’s one of the most effective exercises an artist can do.
Try the ‘Negative Space’ trick. Instead of focusing on drawing the object itself—say, a chair—concentrate on drawing the shapes of the air *around* and *between* its legs and slats. Your brain processes these abstract shapes with less preconceived bias, often resulting in surprisingly accurate proportions.

A study published in the Quarterly Journal of Experimental Psychology found that drawing something can improve memory recall by almost double compared to just writing it down.
This means that sketching your observations isn’t just a creative outlet; it’s a powerful learning tool. When you draw an object, you are forced to observe it so intensely that you forge a much stronger mental connection to it. So, sketching that weird-looking tree on your walk isn’t just practice—it’s a way to truly remember it.
My lines look shaky and uncertain. How can I draw with more confidence?
The problem is likely in your arm. Most beginners draw from the wrist, which has a very limited range of motion and leads to short, scratchy lines. Try locking your wrist and drawing from your elbow and shoulder instead. This uses the larger muscle groups in your arm, allowing for longer, smoother, and more decisive strokes. Practice by drawing large circles and straight lines across a whole page using your entire arm.
Ready to sketch on the go? Urban sketching is a fantastic way to practice, but you don’t need a huge bag of supplies. A minimal kit is best:
- A small A6-sized Moleskine or Hahnemühle sketchbook that fits in a pocket.
- One good waterproof fineliner pen, like a 0.3mm Sakura Pigma Micron.
- A water brush pen filled with water.
- A tiny travel palette of watercolors, like a Winsor & Newton Cotman Sketchers’ Pocket Box. That’s it!
The humble ballpoint pen is an artist’s secret weapon. A simple BIC Cristal forces you to be decisive—there’s no erasing! It’s an excellent tool for practicing cross-hatching to build up shadows and values. The variable pressure you can apply creates a surprising range of tones. Plus, they’re everywhere and cost next to nothing.
One Light Source is Your Best Friend. If you’re struggling with how to shade, simplify your setup. Place an object (an apple works perfectly) on a plain surface and light it with a single desk lamp from one side. Now you can clearly see the core shadow, the cast shadow, and the highlight. Drawing this simple scene is a masterclass in creating three-dimensional form.
Challenge: Fill a sketchbook with one boring theme. For an entire month, draw only one thing. Examples: coffee cups from different cafes, people’s shoes on the bus, fire hydrants, or abandoned shopping carts. This constraint forces you to look closer and find the beauty and variation in the mundane. It kills the ‘what to draw’ paralysis and creates a fascinating visual document.
Is using an iPad and Procreate ‘cheating’?
Not at all. A digital tablet is a tool, just like a pencil. It doesn’t replace the need to learn the fundamentals of art—perspective, color theory, anatomy. However, features like layers and the ‘undo’ button can accelerate learning by allowing for fearless experimentation. Think of it as a sketchbook with superpowers.
- You’ll train your hand-eye coordination like never before.
- You’ll learn to trust your sense of observation over your memory.
- You’ll produce beautifully expressive and unique line drawings.
The technique is called Blind Contour Drawing. Pick an object, place your pen on the paper, and draw its outline without ever looking down at your hand—and try not to lift the pen. The final drawing will look weird, but the process is pure gold for your skills.
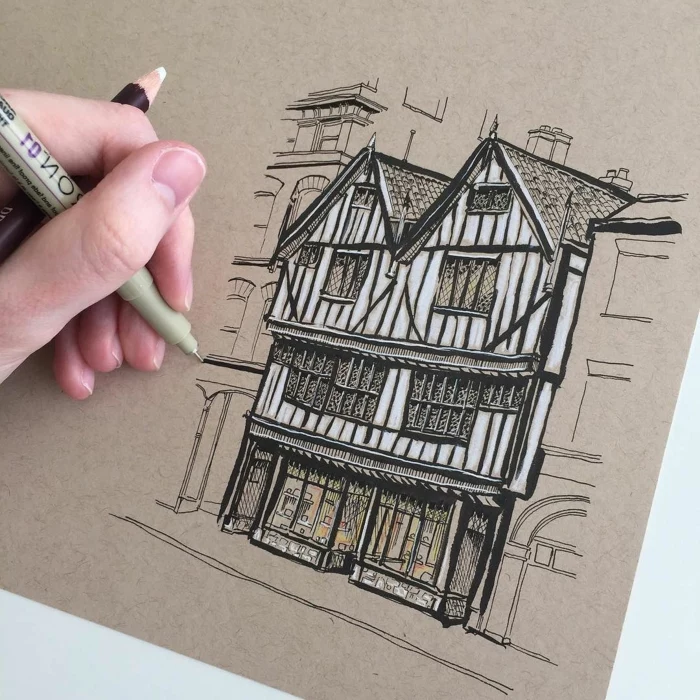
Bristol Board: An ultra-smooth, heavy-duty paper. Its surface has almost no texture (‘tooth’), making it perfect for fine, crisp ink work with tools like Copic Multiliners or dip pens.
Standard Sketch Paper: Lighter and with more texture. This ‘tooth’ is designed to grab particles from graphite and charcoal, making it ideal for practice and sketching.
Use a Canson sketchbook for daily practice, but switch to Strathmore Bristol for a finished ink piece.
Let your feed be your muse. For a daily dose of inspiration, follow some modern masters on social media:
- @KimJungGiUS: A legend known for his unbelievable memory and perspective, creating vast scenes without any underlying sketch.
- @loisvb (Loish): A master of character design and digital color, her work is a lesson in creating mood and appeal.
- @jakeparker: The creator of the ‘Inktober’ challenge, his inventive vehicle designs and crisp linework are endlessly inspiring.

A simple trick for instant depth is understanding one-point perspective. Imagine the horizon as a flat line across your page. Pick one spot on it—the ‘vanishing point’. Now, any lines in your scene that are moving away from you (like the sides of a road, a railway track, or the top and bottom of a building) must all angle towards that single point. It’s a foundational rule that makes 2D space feel 3D.
Working on toned paper—like a grey or tan Strathmore Toned Sketchbook—can revolutionize your shading. You’re starting from a mid-tone, so you work in two directions: you add darks with a soft graphite pencil (like a 4B) and you add highlights with a white charcoal or pastel pencil. This makes objects pop off the page and teaches you to think about light, not just shadow.
How do I add shadows without my drawing looking dirty or muddy?
Avoid smudging with your finger! Instead, build up tone gradually using hatching (a series of parallel lines) and cross-hatching (a second set of lines drawn over the first at an angle). The closer the lines, the darker the value. This technique keeps your shadows clean, deliberate, and full of texture.
Think in silhouettes. Before you worry about a single detail on a figure or object, squint your eyes and look at its overall shape. Can you capture that basic silhouette in a solid block of color or tone? If the main shape is strong and recognizable, the details you add later will have a much more solid foundation to sit on. This is a key principle in character and object design.
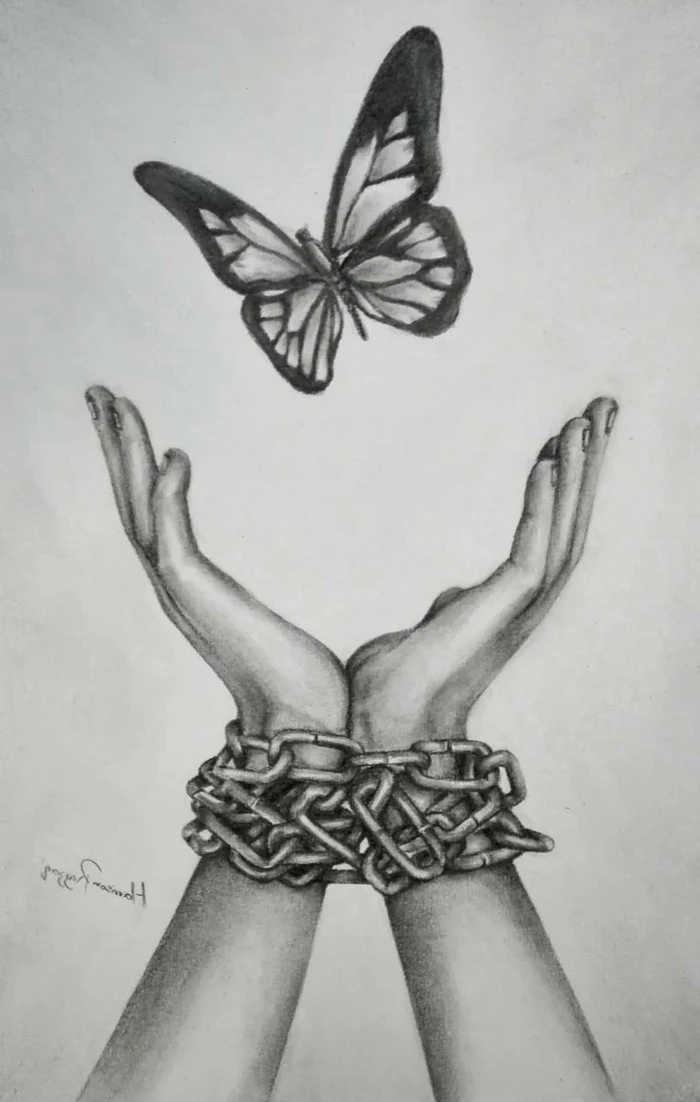
The human hand is so complex that it takes up almost a quarter of the motor cortex in the human brain—the part that controls all body movement.
This is why drawing hands is notoriously difficult! There are 27 bones and a huge range of motion. Don’t be discouraged if you struggle. Use your own non-drawing hand as a reference model. Break it down into simple shapes: a trapezoid for the palm, and cylinders for the finger segments.
Draw a ‘mundane minute’. Pick the most boring thing in your immediate vicinity—a light switch, a crumpled tissue, a power cord. Set a timer for just 60 seconds and draw it as accurately as possible. This micro-exercise forces you to truly *see* an object you normally ignore, finding the interesting angles and shadows in the everyday.


