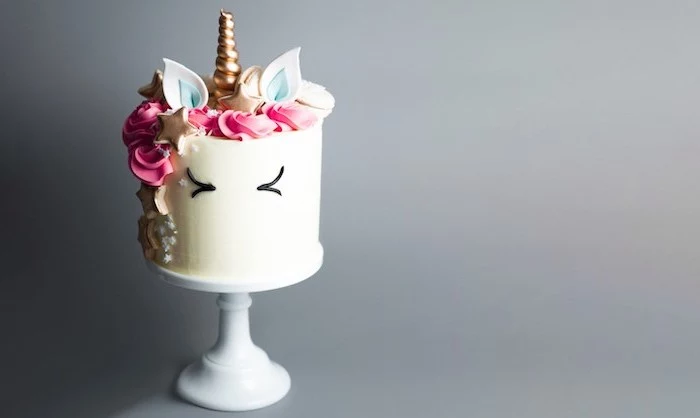
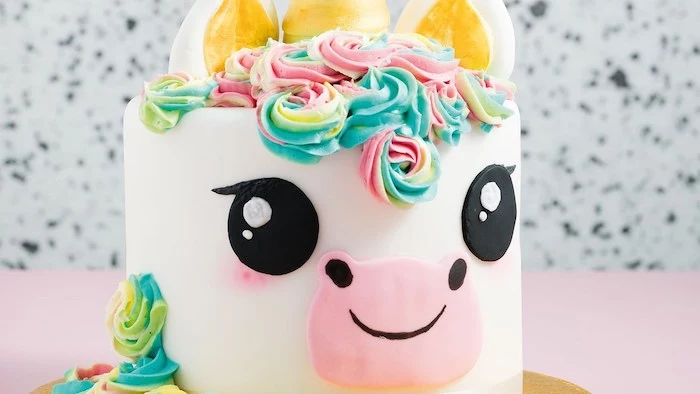
I’ve spent more hours in professional pastry kitchens than I can count, and I’ve watched cake trends come and go. But honestly, nothing has stuck around quite like the unicorn cake. They’re pure magic. I’ve probably built hundreds of them, and I can tell you one thing: the secret isn’t magic, it’s solid technique.
So many home bakers give it a shot, and bless their hearts, they end up with leaning towers, melty frosting, or a cake that’s just way too sweet. That’s not what we’re doing today. We’re aiming for a cake that’s both gorgeous and delicious. It needs to be stable enough to survive a little jostling (like a car ride to a party) and have a moist, flavorful cake base that the frosting complements, not smothers.
A quick heads-up: This isn’t a 30-minute project. It’s a labor of love that requires some patience and planning. I usually split it over two days, and I highly recommend you do the same. But here’s the good news—it is 100% doable in your home kitchen. I’m going to walk you through the exact professional methods I use, from the cake science to the assembly secrets. Let’s build this thing right, from the foundation up.
First Things First: Your Game Plan & Shopping List
Before you even pull out a mixing bowl, let’s get organized. As I said, this is best as a two-day adventure to keep things low-stress.
A Realistic Timeline:
Day 1: Bake & Cool (About 2.5 hours). This is for mixing the batter, coloring it, baking the layers, and letting them cool completely. Rushing the cooling part is a classic mistake that leads to melty doom.
Day 2: Frost & Assemble (About 3 hours). You’ll make your buttercream, stack your cake, do the crumb coat, and then all the fun decorating.
And here’s what you’ll need to grab for the cake foundation itself. Don’t worry, nothing here is too exotic or expensive.
Baker’s Shopping List:
Cake Flour: This is my non-negotiable for a tender crumb. A box usually runs about $3-$5 at most grocery stores.
Unsalted Butter: Get the good stuff if you can; the flavor really comes through.
Granulated Sugar
Large Eggs
Whole Milk
Good Vanilla Extract: Not imitation! A small bottle might seem pricey at $8-$15, but it makes a world of difference.
Baking Powder & Salt
Gel Food Coloring: A multipack with rainbow colors from a craft store like Michaels or online is your best bet, maybe $10-$15. The liquid drops from the grocery store just won’t give you vibrant colors.
Gear: Three 8-inch round cake pans, parchment paper, and a digital kitchen scale. Seriously, a $15 scale from Amazon or Target will make you a better baker overnight by ensuring your measurements are perfect.
The Foundation: A Truly Reliable Rainbow Cake
Everything starts with the cake. A unicorn cake is tall, so your layers need to be sturdy enough to stack but still have that soft, tender bite everyone loves. We’re basically cake engineers here.
Let’s Talk Ingredients (The ‘Why’ Behind the ‘What’)
In the bakery world, every ingredient has a job. Understanding their roles is like having a superpower—it lets you fix problems before they even happen.
Flour Face-Off: Cake Flour vs. All-Purpose So, why am I so insistent on cake flour? It’s all about the protein. Cake flour is milled from softer wheat and has a low protein content, around 7-9%. Less protein means less gluten, and less gluten means a softer, fluffier, more delicate cake. All-purpose flour has more protein, which can make your tall cake a bit tougher and denser. It’ll work in a pinch, but for a true unicorn cake, cake flour is the winner.
By the way, always sift your flour. It’s not some fussy, old-fashioned step. Sifting gets air into the flour and breaks up lumps, which is key for a light texture. Don’t have a sifter? No problem. A fine-mesh strainer tapped over your bowl works perfectly.
The Butter Secret The recipe will say “room-temperature unsalted butter,” and this is the secret handshake of baking. We’re talking about a very specific state: around 65-68°F (18-20°C). If you poke it, your finger should make a clean indent but not feel greasy or sink right in. Cold butter won’t cream with sugar properly, so you won’t get the tiny air pockets that help the cake rise. Butter that’s too soft will make your cake greasy and dense.
Quick tip: If your kitchen is chilly and your butter is a rock, you can cube it and zap it in the microwave in 5-second bursts. Just be careful not to melt it!
The Un-Foolable Vanilla Cake Recipe (For 3 Rainbow Layers)
Alright, here’s the recipe that won’t let you down.
Ingredients:
3 cups (360g) sifted cake flour
1 ½ cups (300g) granulated sugar
1 tbsp baking powder
½ tsp salt
1 cup (226g or 2 sticks) unsalted butter, softened and cubed
4 large eggs, room temperature
1 cup (240ml) whole milk, room temperature
2 tsp good vanilla extract
Gel food coloring (at least 3 colors)
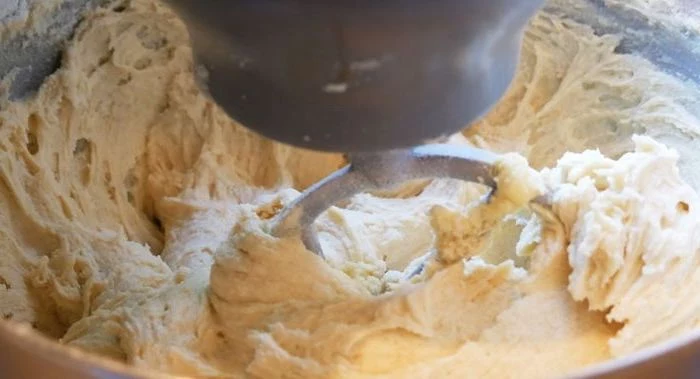
Instructions: 1. Preheat your oven to 350°F (175°C). Grease and flour your three 8-inch cake pans, and line the bottoms with parchment paper. This guarantees they won’t stick. 2. In a large bowl (or your stand mixer), whisk together the sifted cake flour, sugar, baking powder, and salt. 3. Add the cubed, room-temperature butter and mix on low speed until the mixture looks like coarse, damp sand. This is called the “reverse creaming” method, and it’s amazing for creating a fine, tender crumb. 4. In a separate bowl, whisk the eggs, milk, and vanilla together. 5. Slowly pour about half of the wet mixture into the dry ingredients, mixing on low until just combined. Scrape down the sides of the bowl, then increase the speed to medium and beat for about a minute. This builds the cake’s structure. 6. Reduce the speed back to low and slowly add the remaining wet mixture, mixing only until it’s all incorporated. Don’t overmix! Overmixing develops gluten and makes the cake tough.
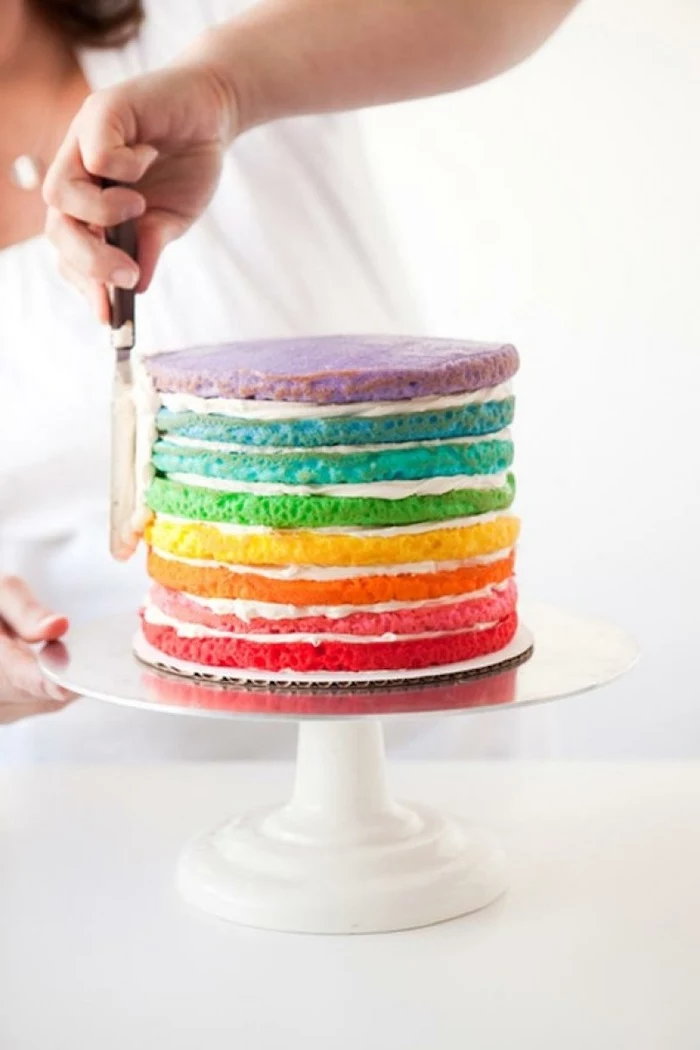
Making the Rainbow Layers
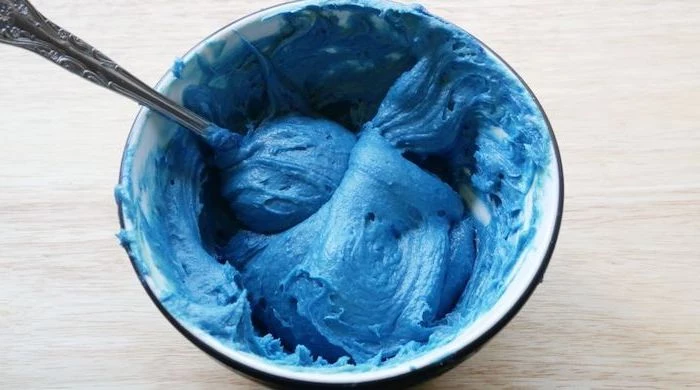
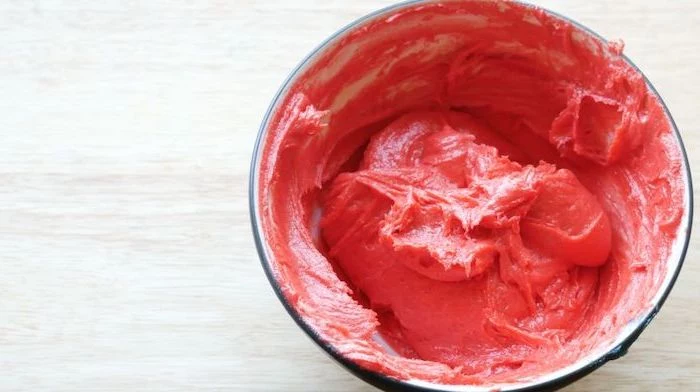
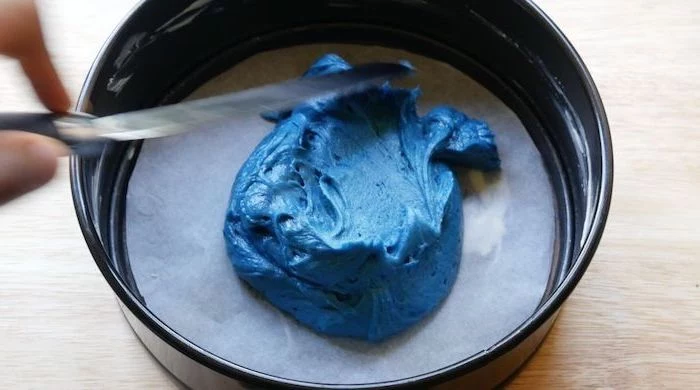
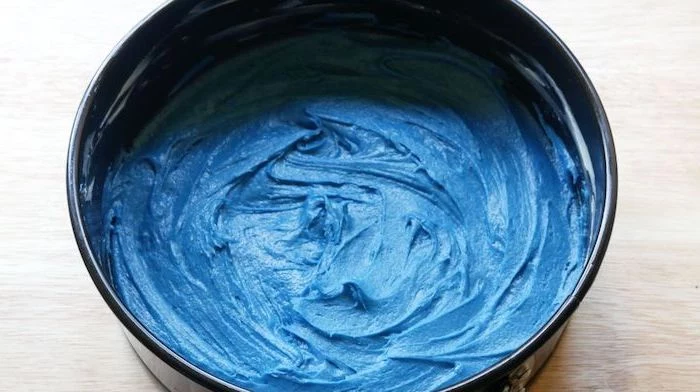
Now for the fun part. Divide your batter evenly among three bowls. A kitchen scale is your friend here to get perfectly even layers. Add a few drops of a different gel color to each bowl and stir gently until the color is uniform. Remember, the color will bake a little darker, but gel coloring is potent, so start small.
Pour each color of batter into one of your prepared pans and bake for 25-30 minutes, or until a toothpick inserted into the center comes out clean. Let them cool in the pans for 10 minutes before turning them out onto a wire rack to cool completely. And I mean completely—at least two hours. Warm layers are the #1 enemy of frosting.
Uh Oh… A Quick Troubleshooting Guide
Sometimes things go a little sideways. Don’t panic!
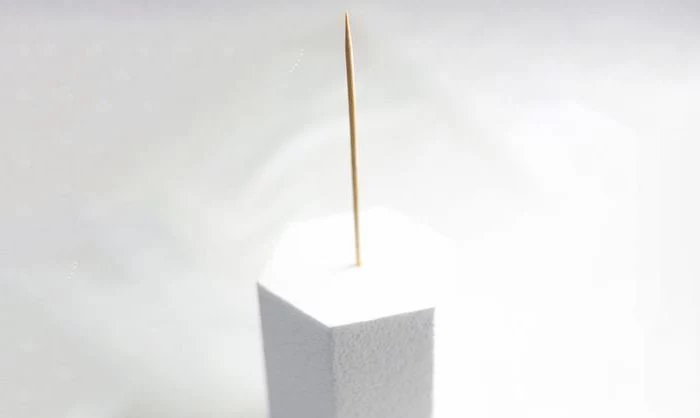
I’ll never forget the time I had to deliver a unicorn cake for a big party, and I noticed the horn was starting to… droop. It was a hot day, and the car was warming up. My heart stopped. The secret I used to save it? A hidden structural dowel inside the horn itself. It’s a reminder that even for pros, structure is everything.
Here are some common home-baking hiccups:
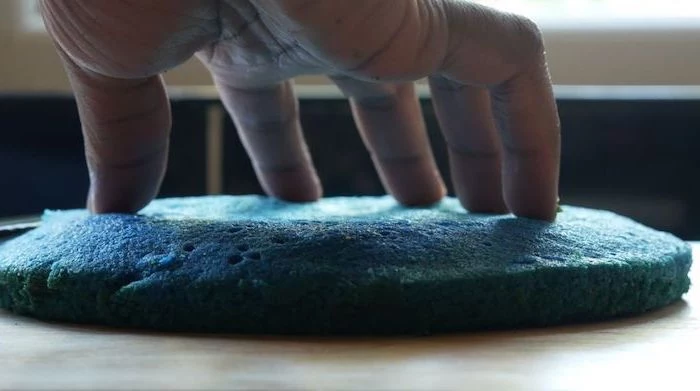
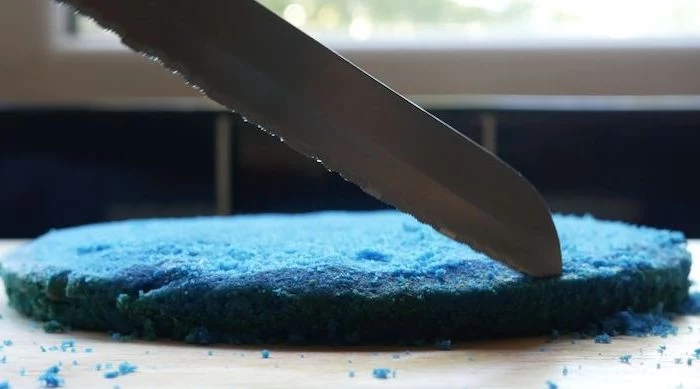
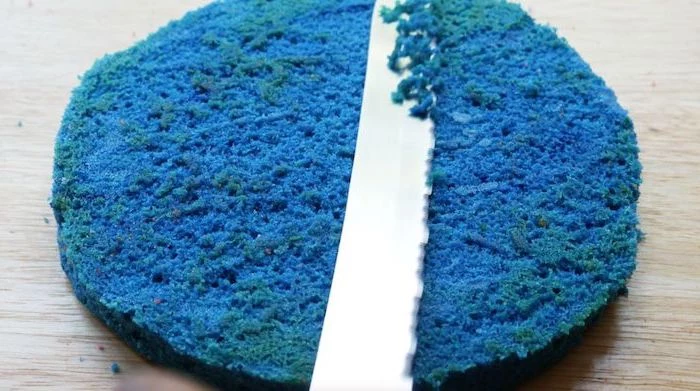
My cake has a giant dome! This is super common. It means the edges of your cake cooked faster than the middle. Just take a long, serrated knife and gently saw off the dome to create a flat, level surface for stacking. Level layers are critical for a stable cake.
My layers are cracking! This can happen if the cake is too warm when you try to move it, or if it’s a bit dry. Be gentle, and let them cool fully. A little cracking on the bottom isn’t a big deal, as the frosting will act like glue.
So there you have it. The complete guide to building a solid, delicious foundation for your unicorn masterpiece. Once you’ve got these beautiful rainbow layers baked and cooled, you’re ready for the really fun part: the buttercream and decoration. But we’ll save that for next time!
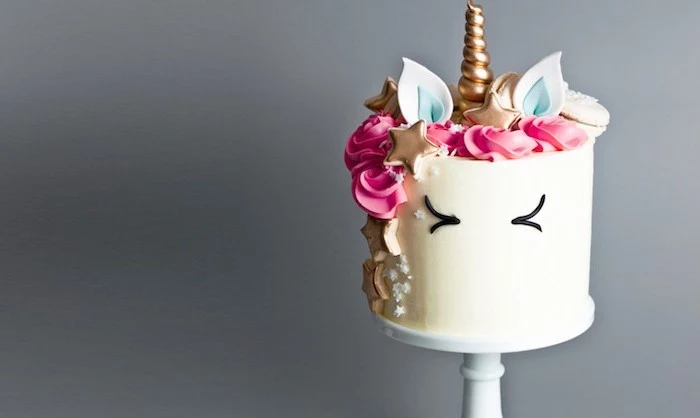
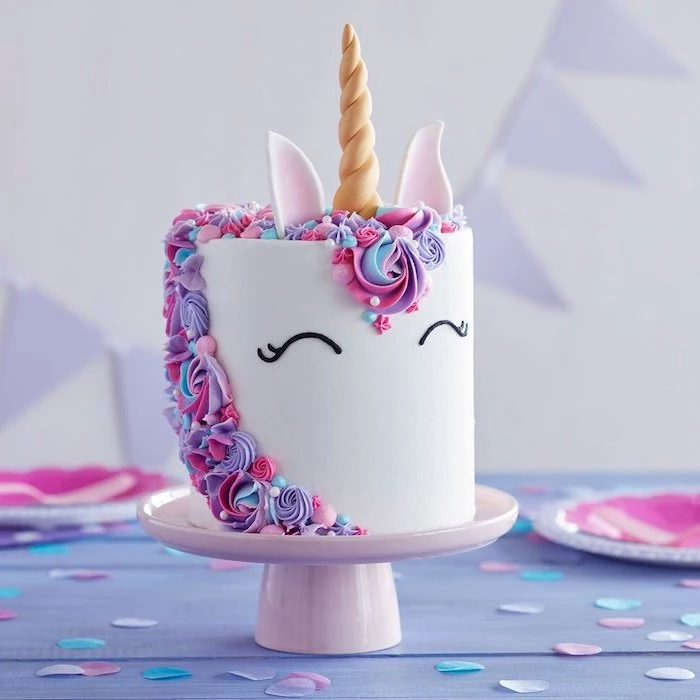
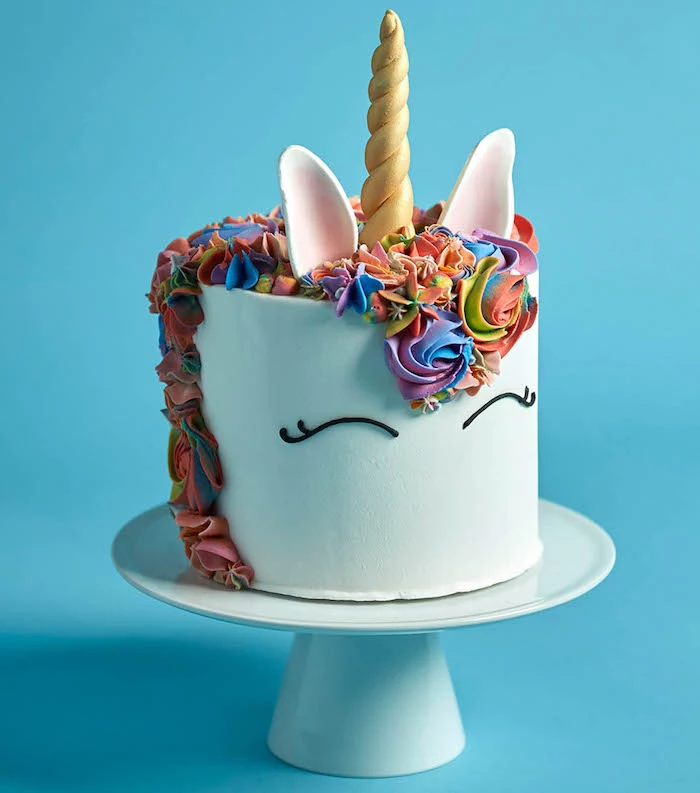
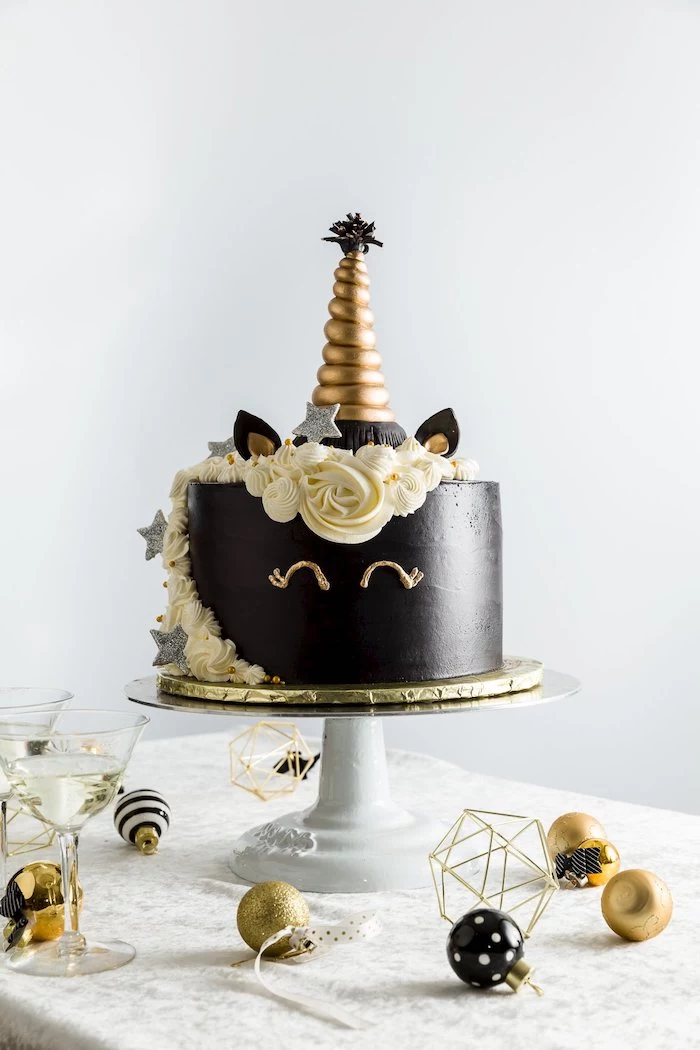
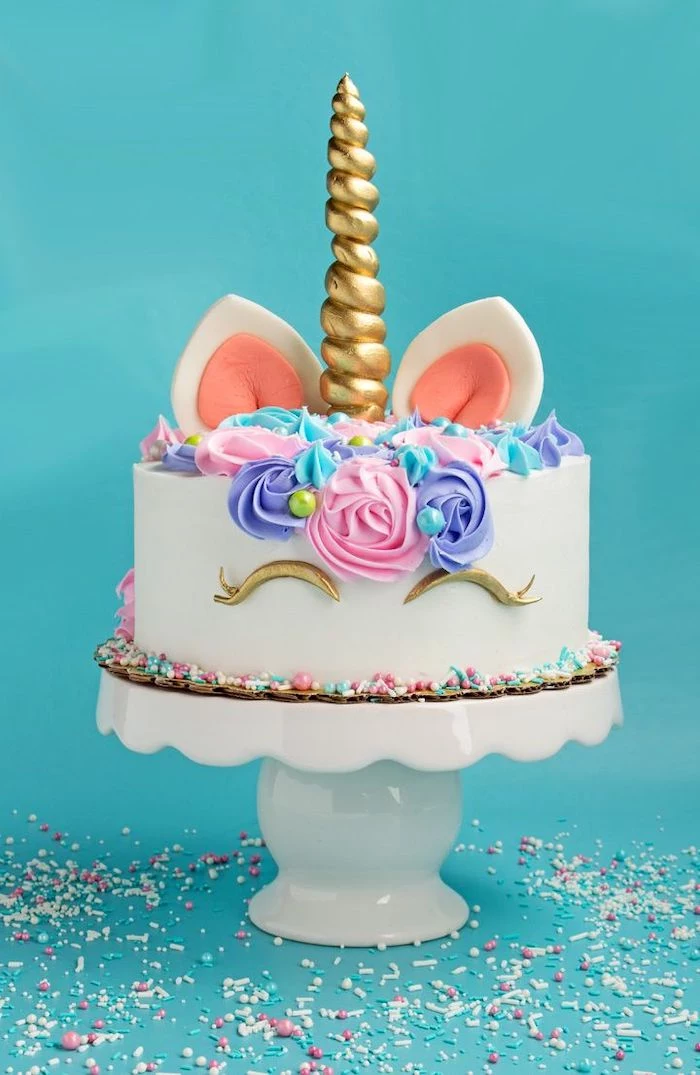
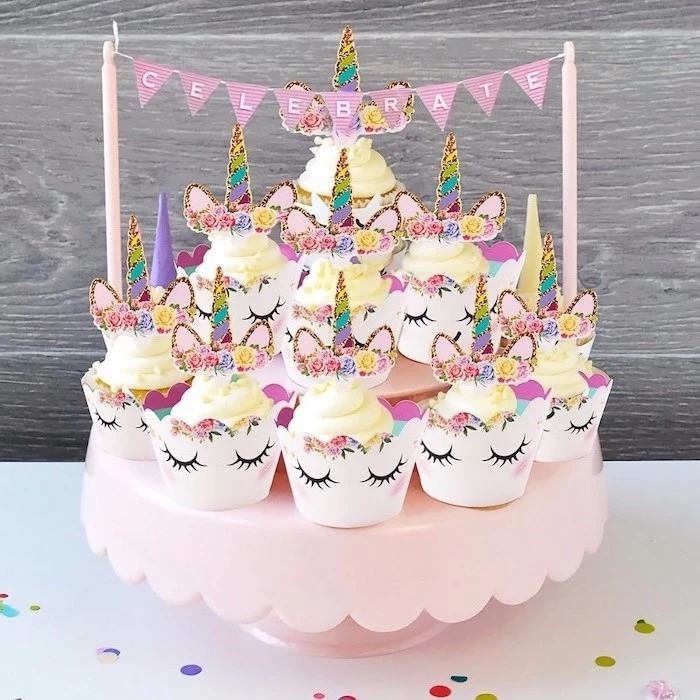
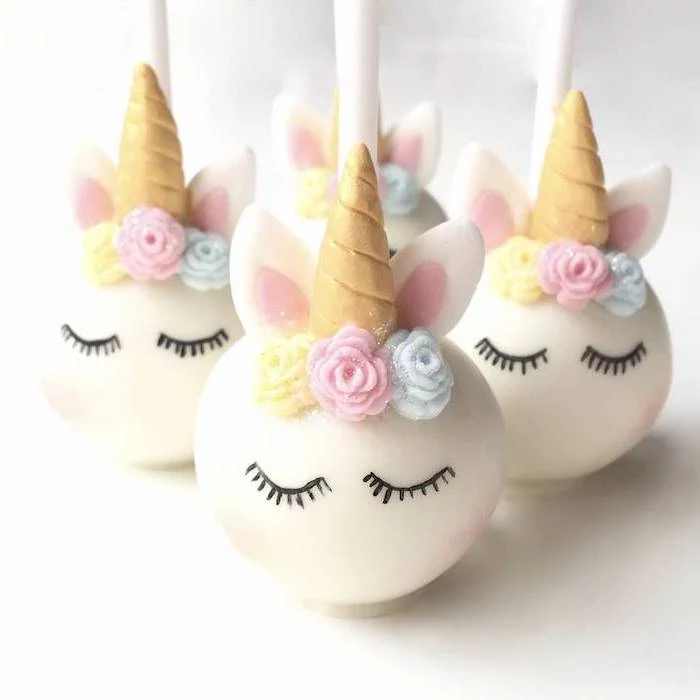
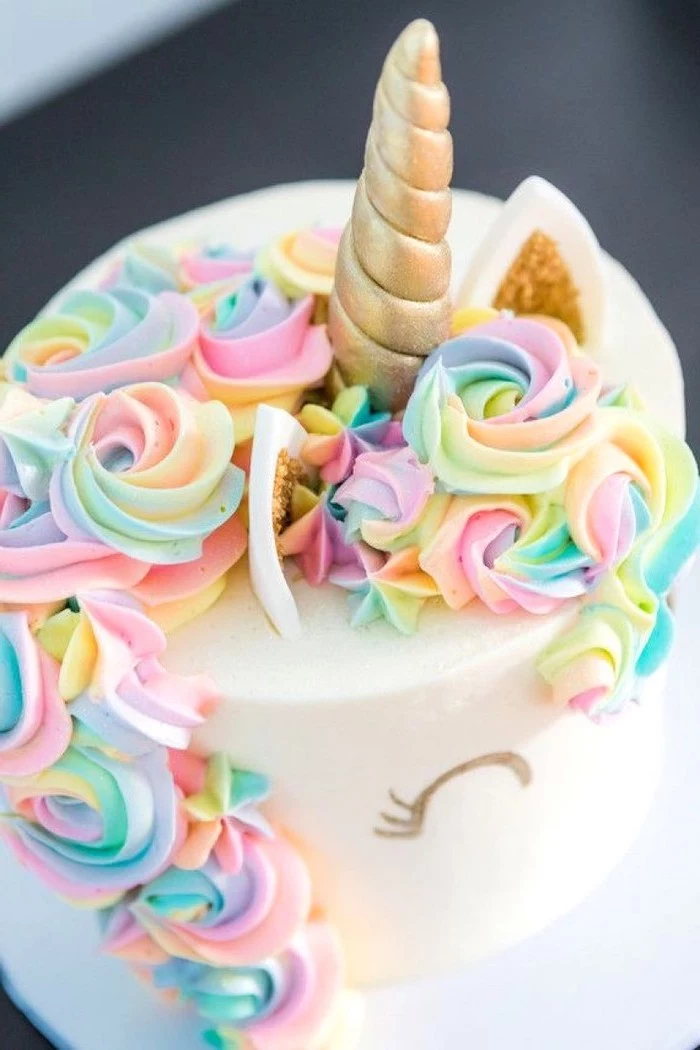
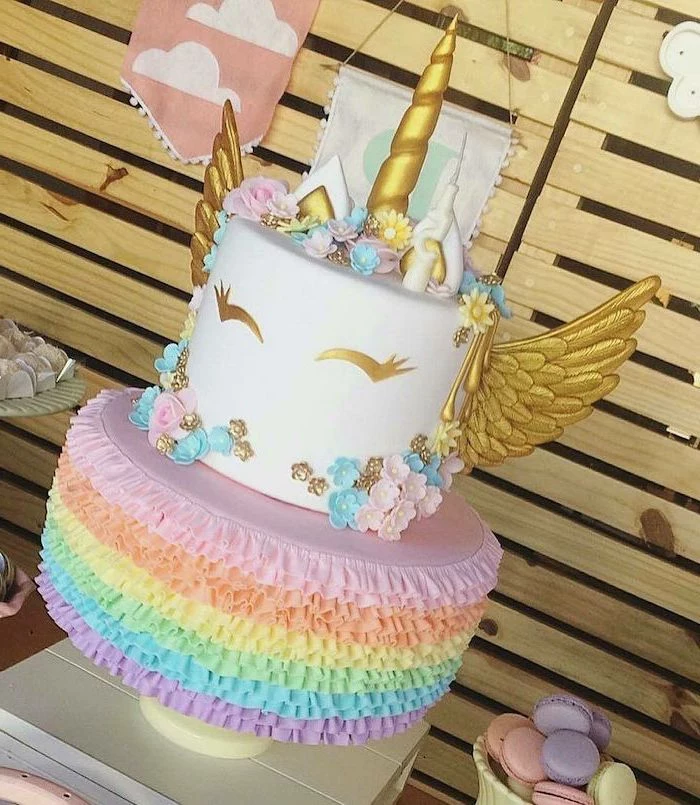
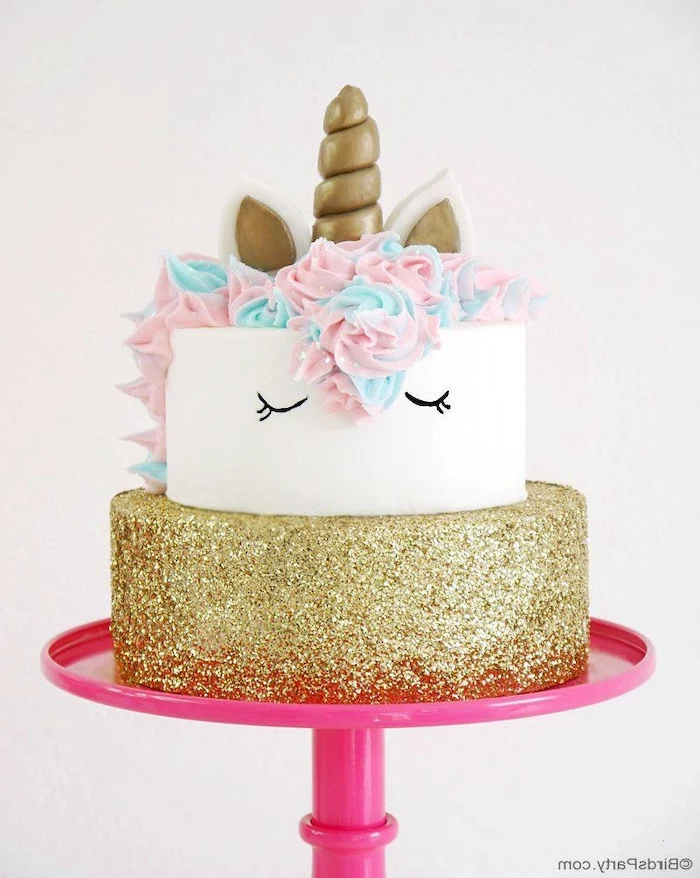
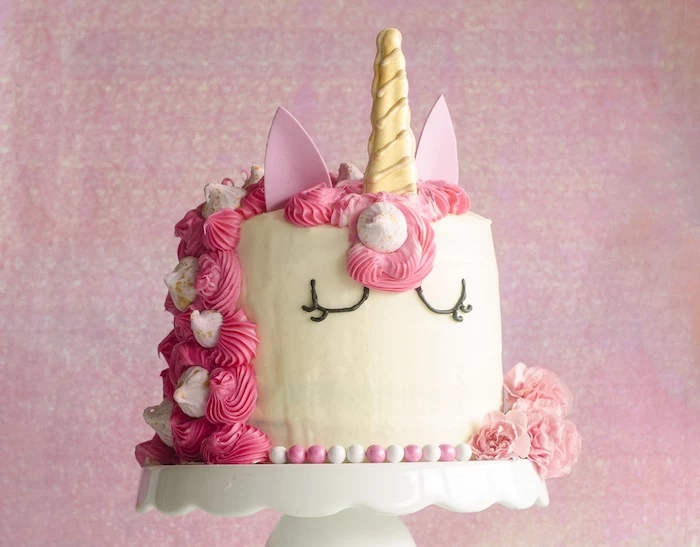
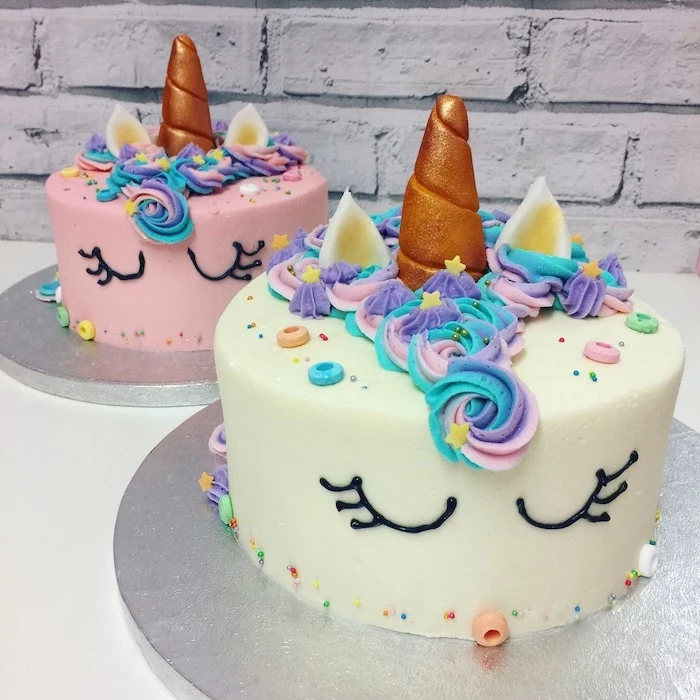
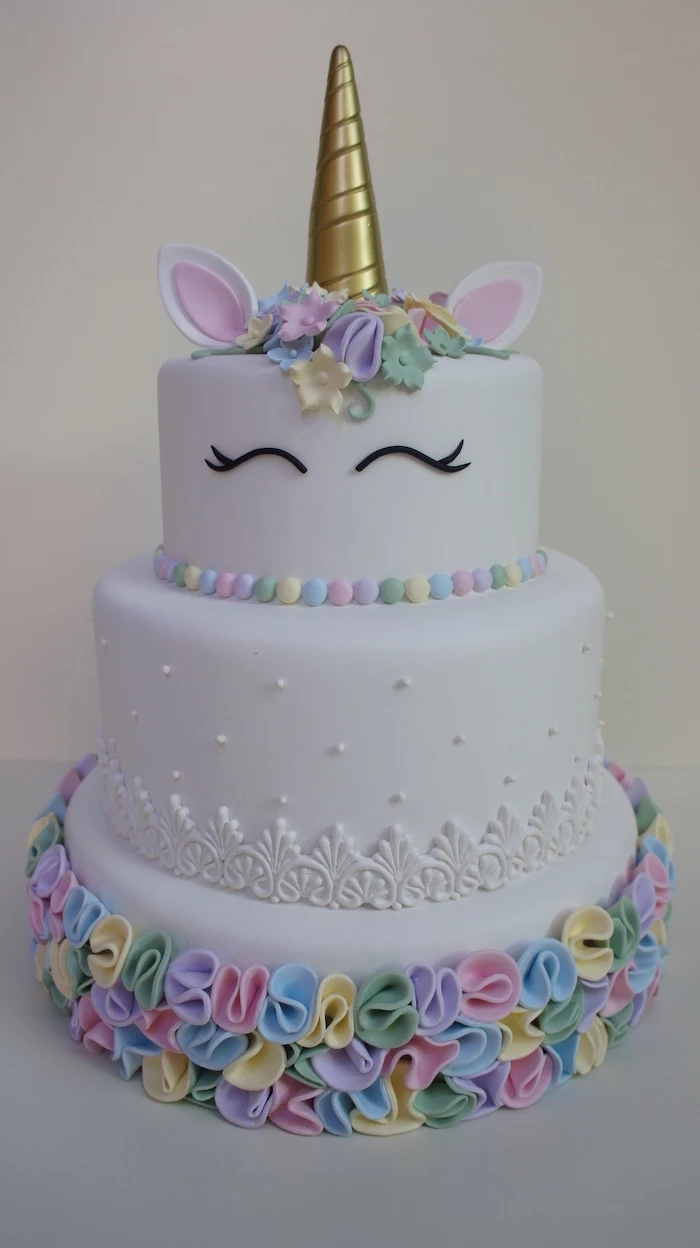
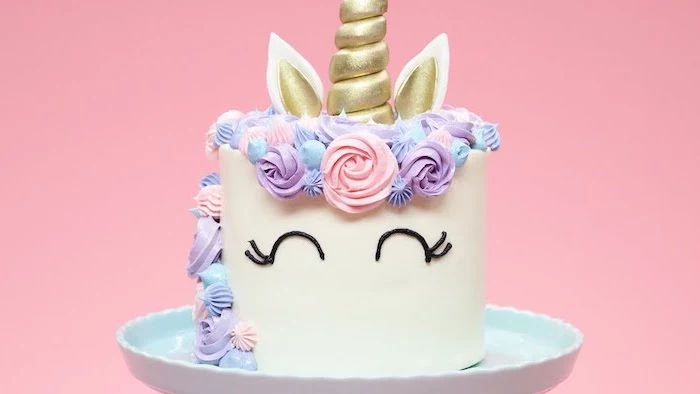
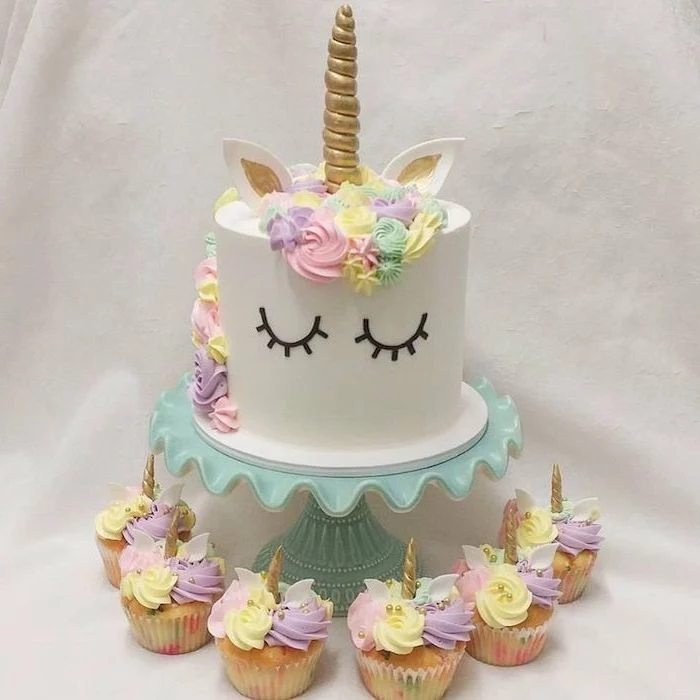
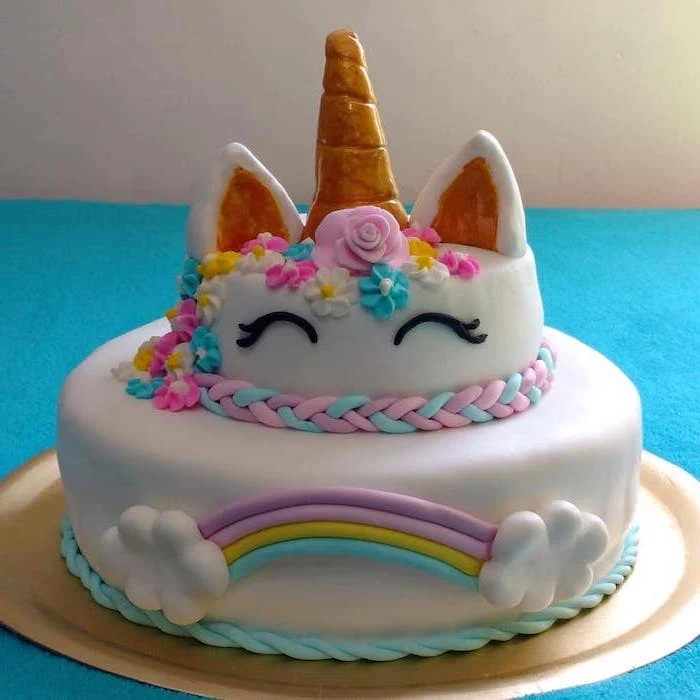
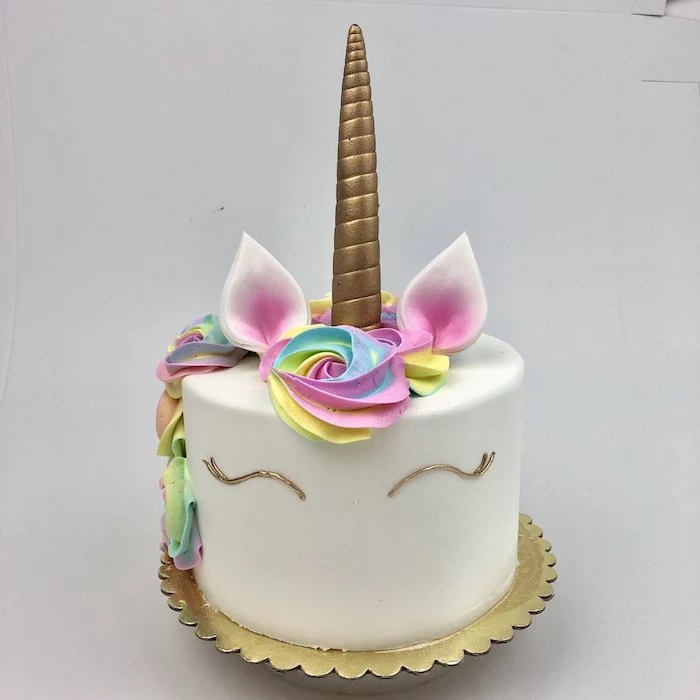
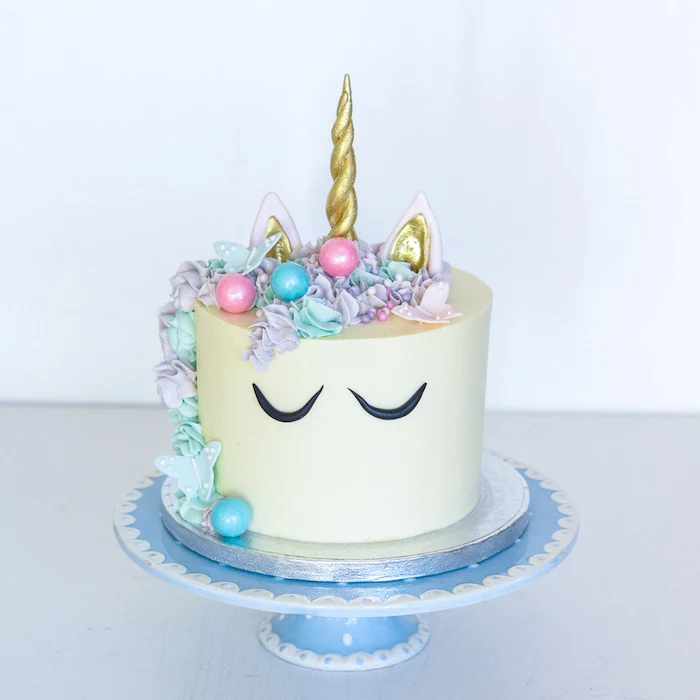
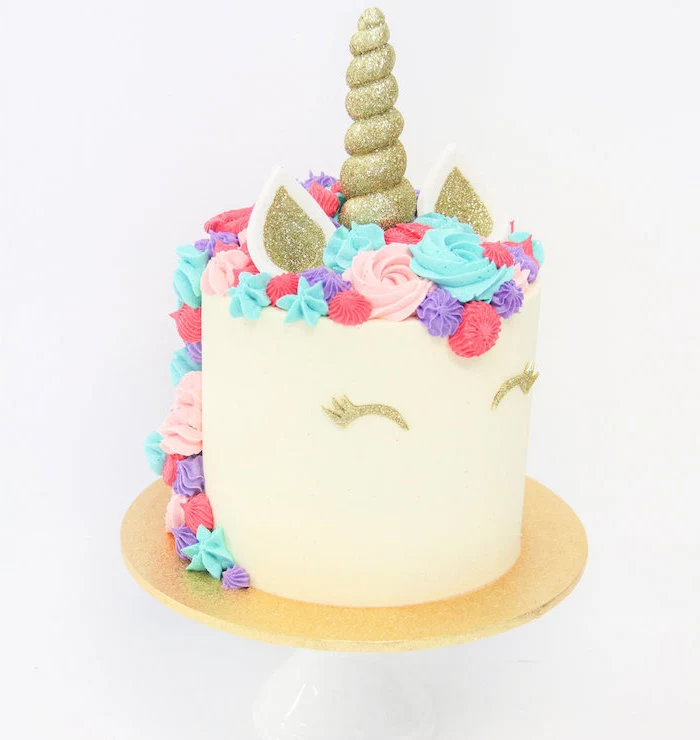
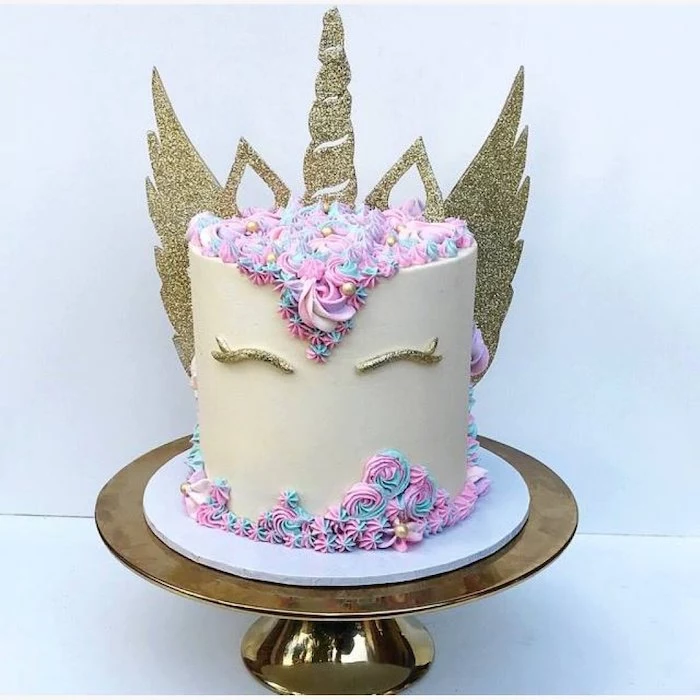
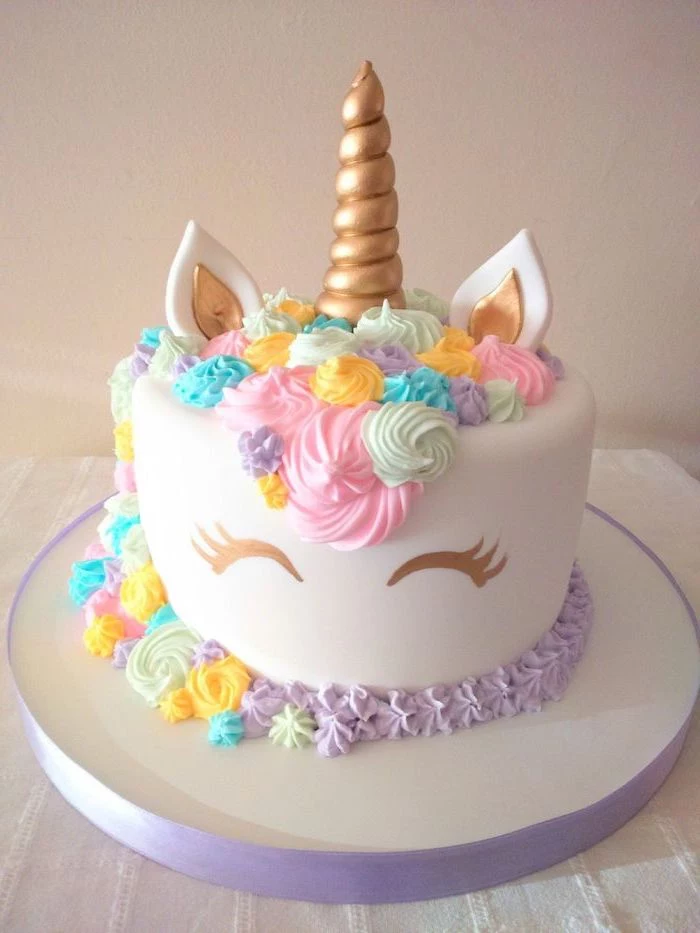
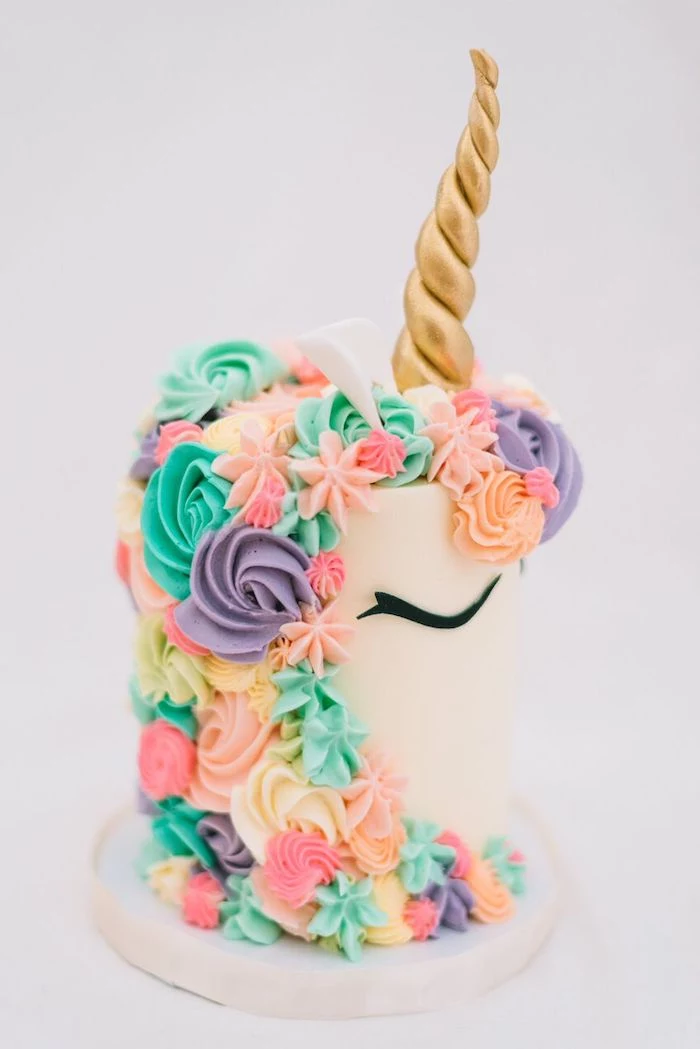
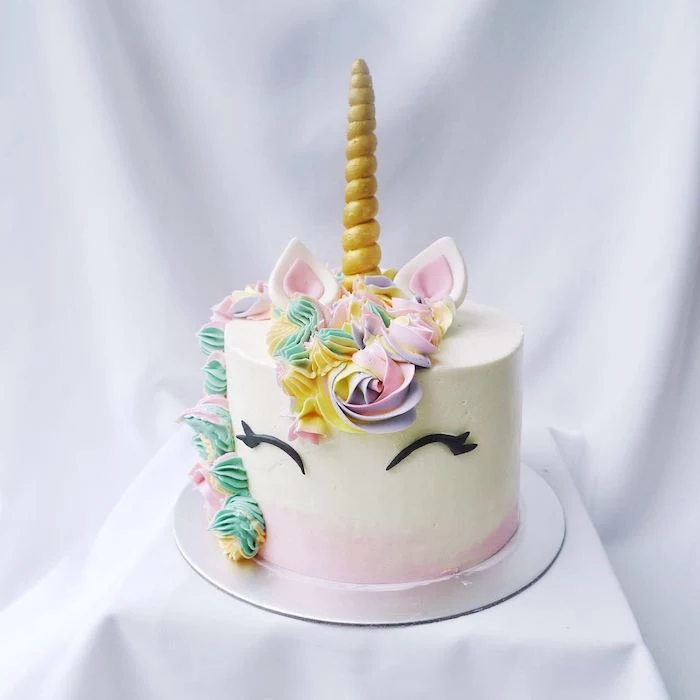
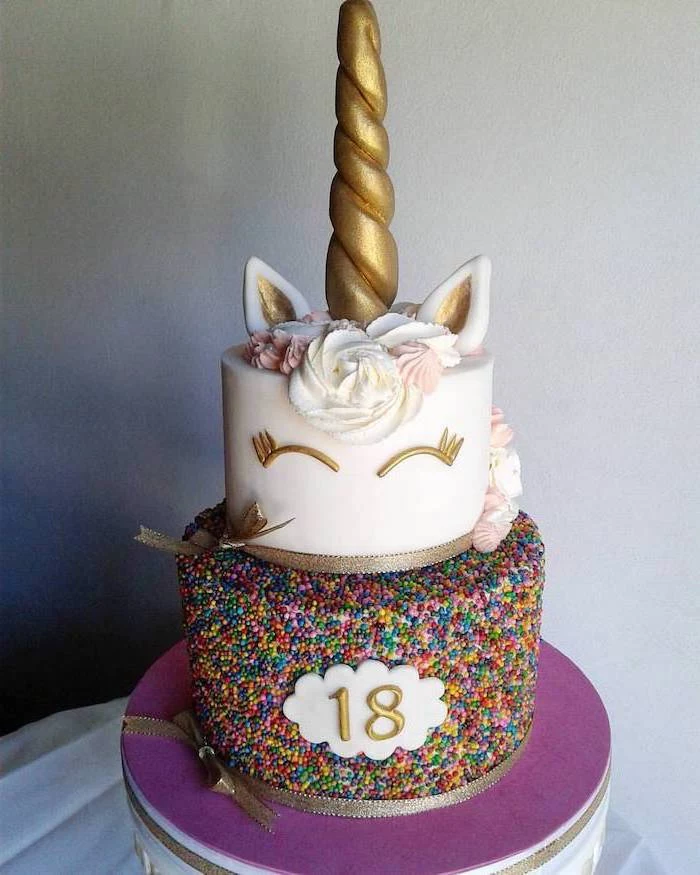
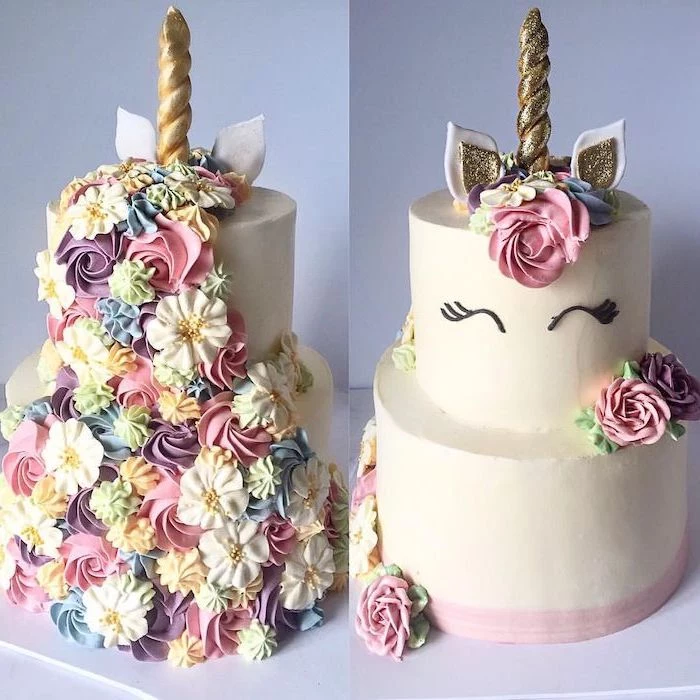
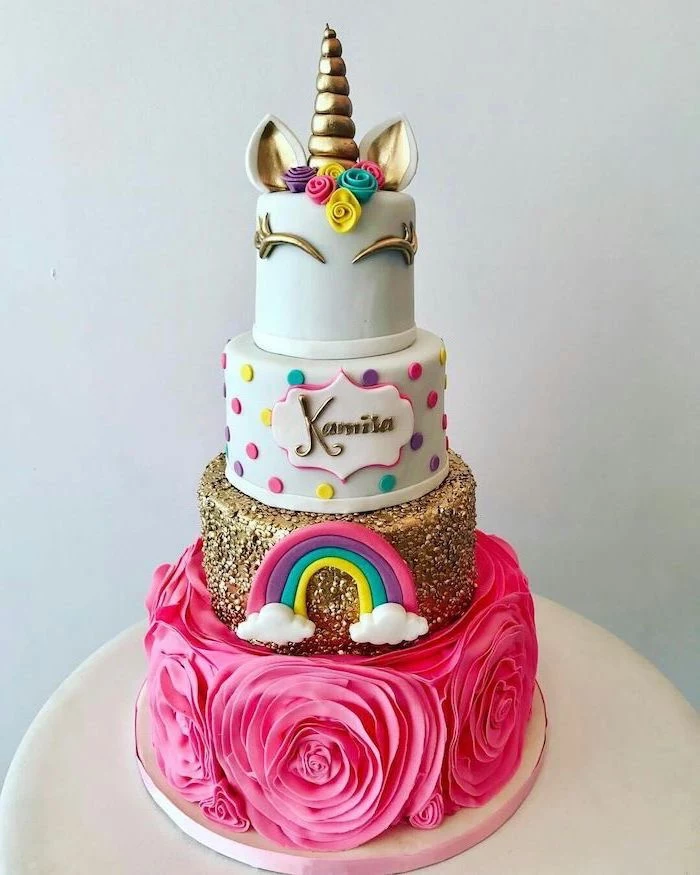
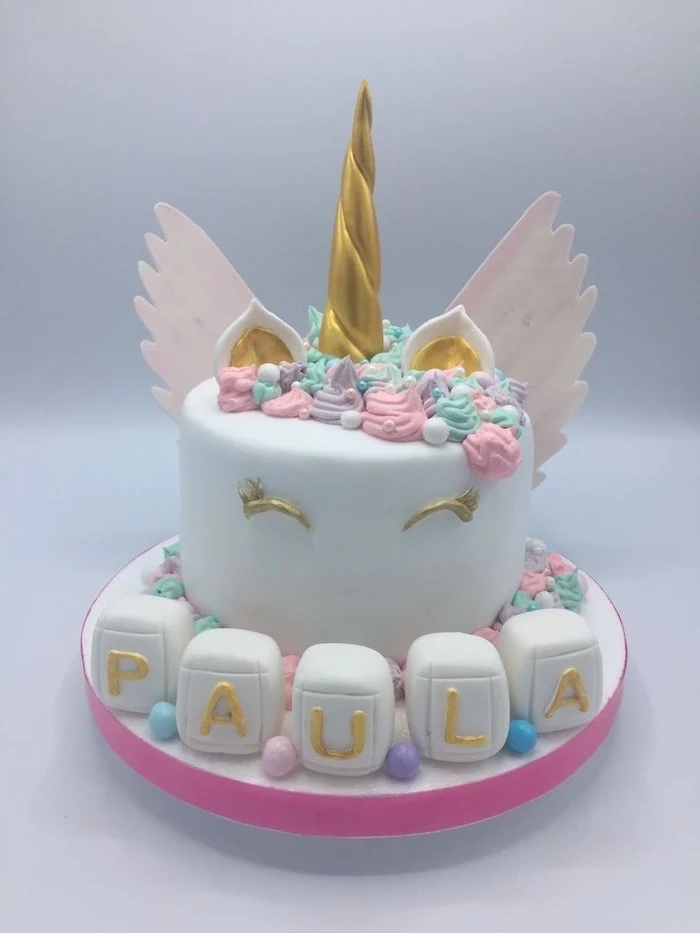
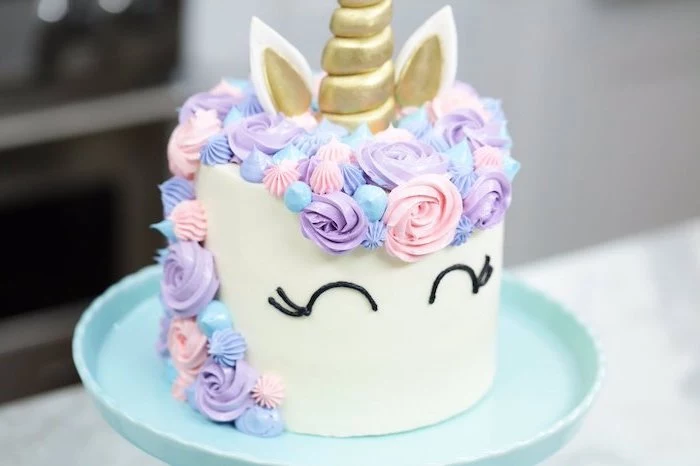
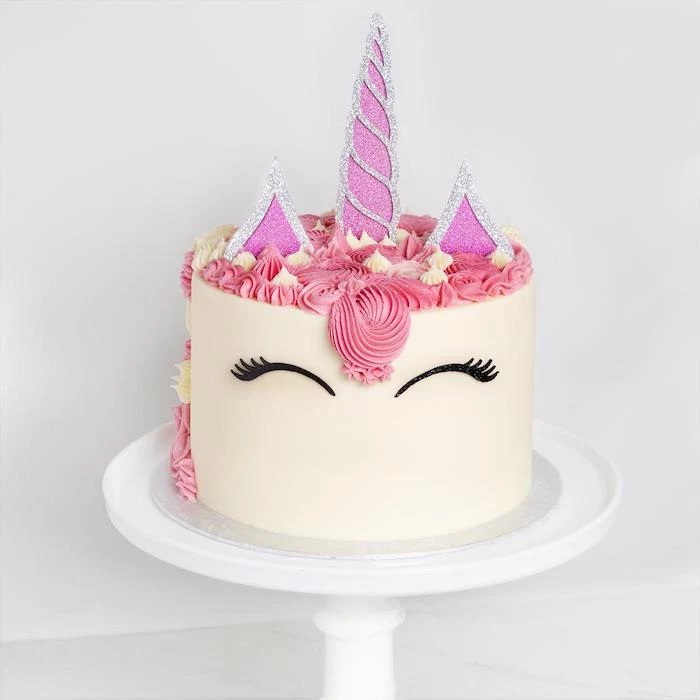
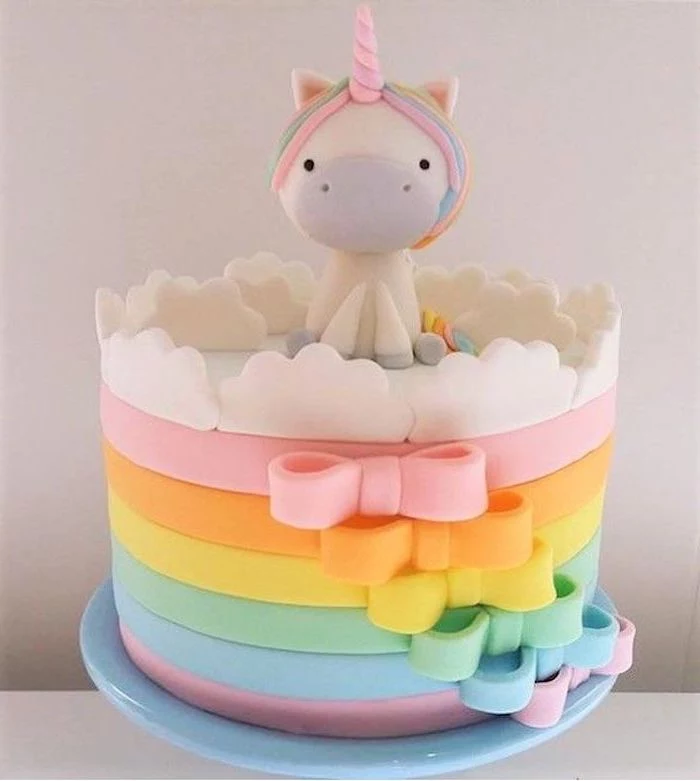
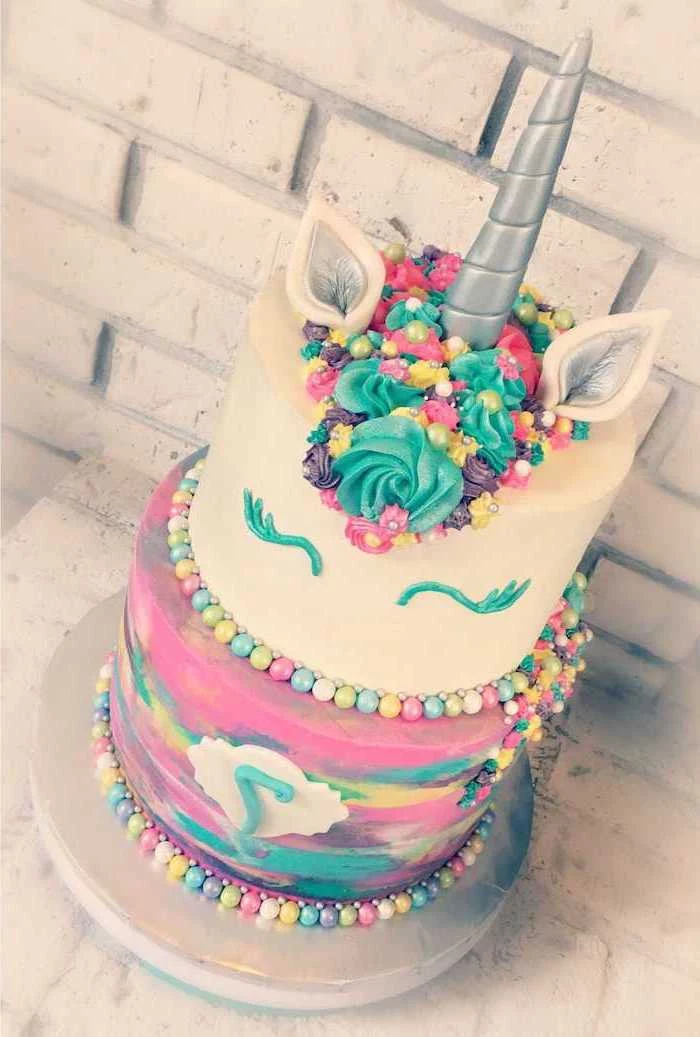
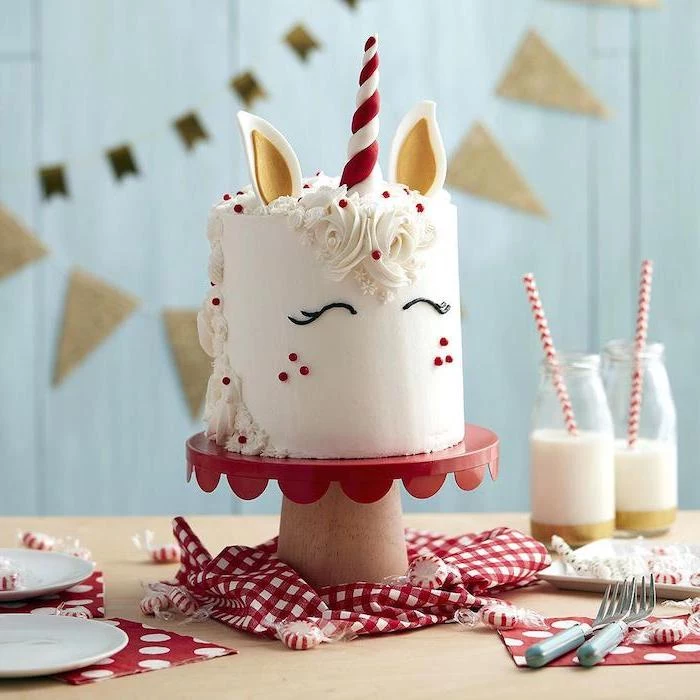
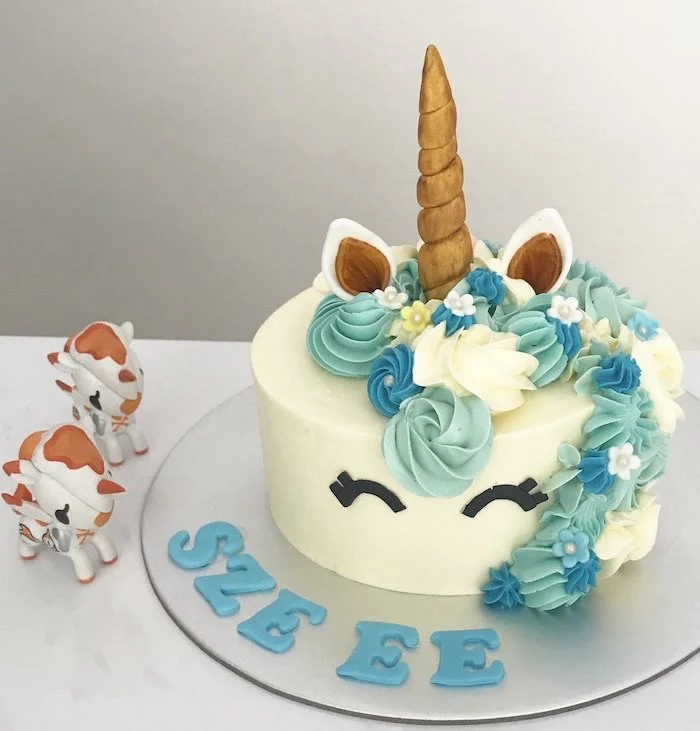
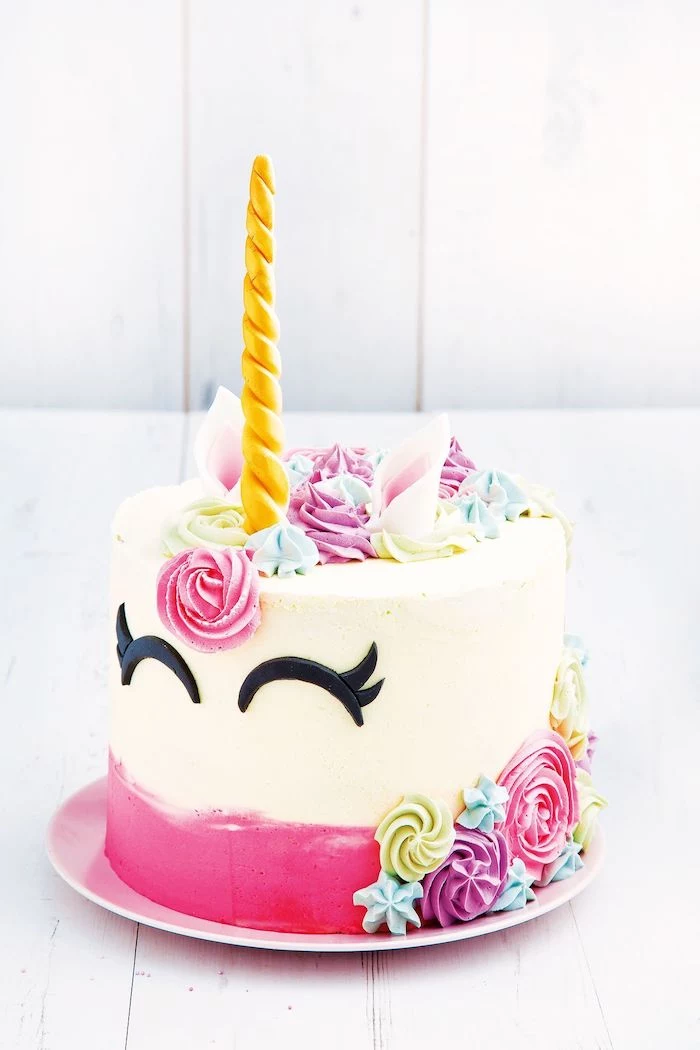
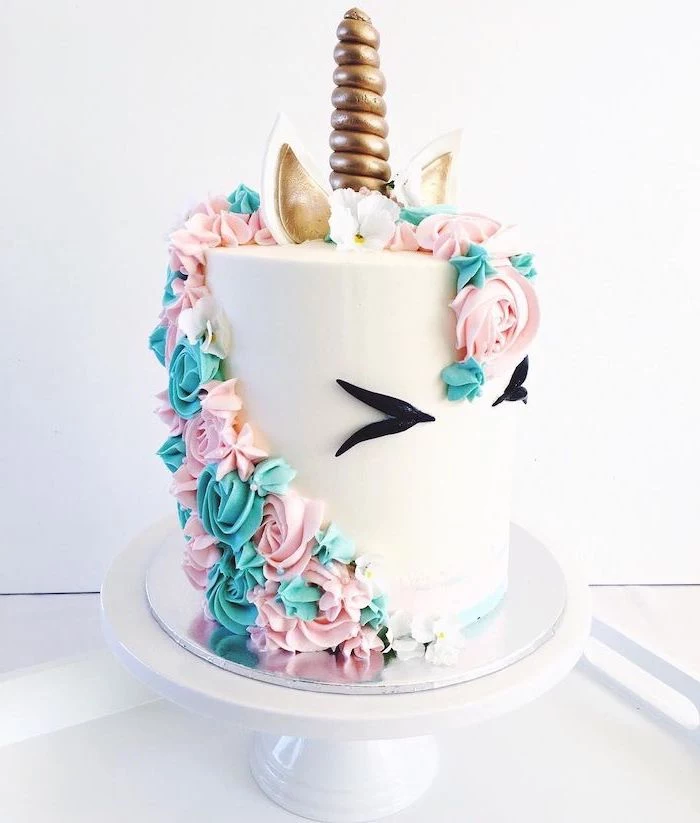
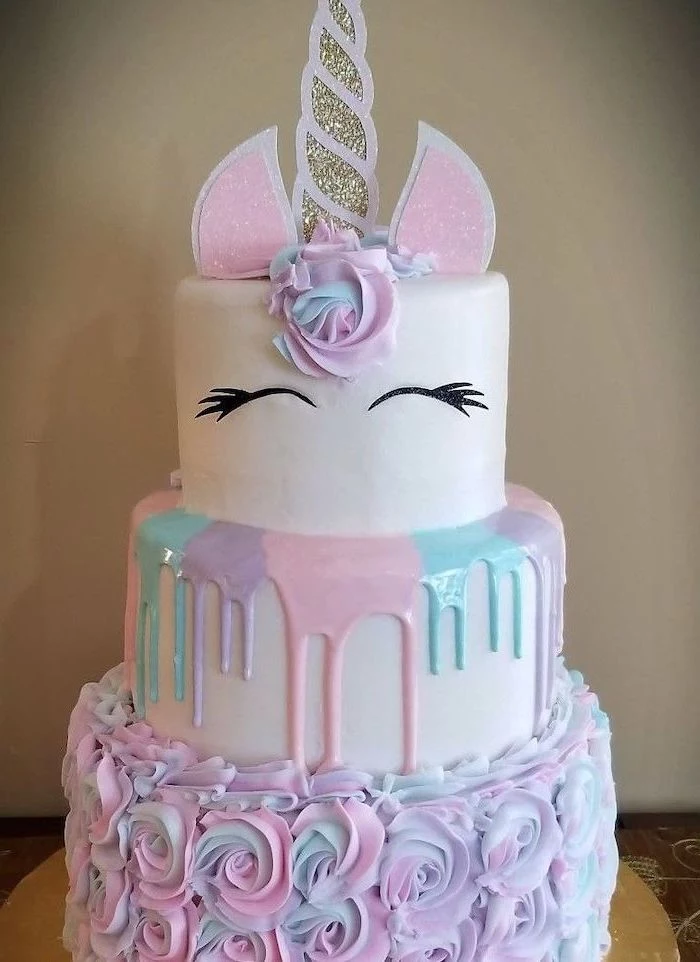
Inspiration Gallery
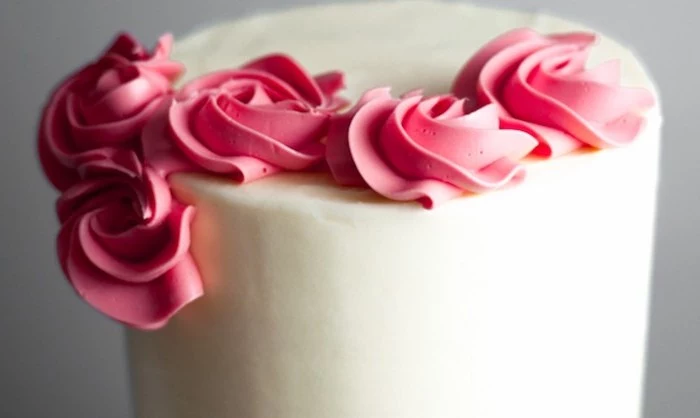
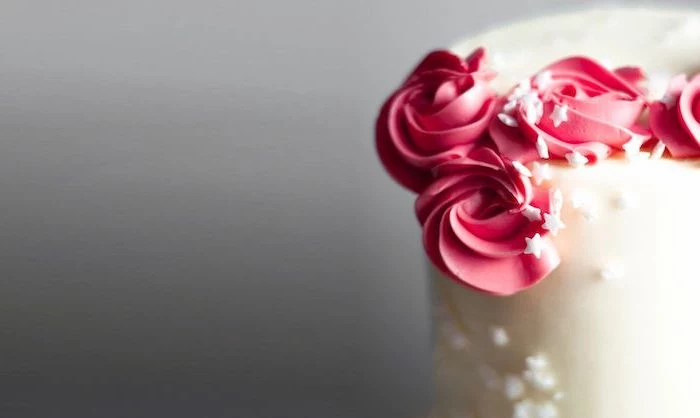
American Buttercream: The classic. It’s sweet, crusts well, and is made from butter and powdered sugar. It’s fast and forgiving. Swiss Meringue Buttercream: Silky, less sweet, and incredibly stable. It involves heating egg whites and sugar before whipping. It’s the professional’s choice for a flawless, smooth finish that holds up beautifully under pressure.
Vibrant, deep colors without watering down your frosting.
No strange, bitter aftertaste, even with dark shades.
A small drop goes a very long way, making it cost-effective.
The secret? High-quality gel food coloring. Brands like Americolor or Chefmaster offer concentrated pigments that are essential for achieving those magical unicorn hues without compromising your buttercream’s texture.
More than 70% of parents say they feel pressure to throw an “Instagram-worthy” birthday party for their children.
The unicorn cake is often the centerpiece of this trend. But remember, while a beautiful photo is nice, the real magic comes from the shared joy and the delicious taste of a well-made cake. Focus on the experience, not just the snapshot!
The choice of your cake board is more than just a serving platter; it’s the foundation of your entire structure. Always choose a sturdy, greaseproof cake drum that is at least two inches wider than your cake. This extra space gives you a handle for lifting and moving the cake without touching the frosting and provides a stable base that won’t bend or buckle during transport.
How do I get those perfect multi-color frosting swirls?
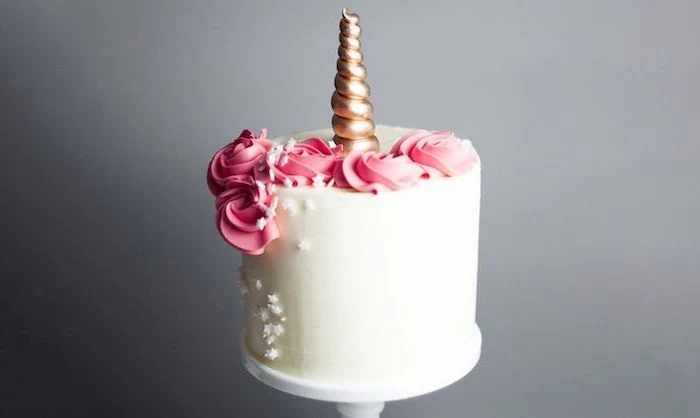
The trick is in the piping bag preparation. Lay a large piece of plastic wrap on your counter. Spread thin stripes of your different colored buttercreams side-by-side. Carefully roll the plastic wrap into a log, twist the ends, and snip one end off. Slide this entire color log into a piping bag fitted with a large star tip, like a Wilton 1M. When you pipe, the colors will emerge in a perfect, magical swirl.
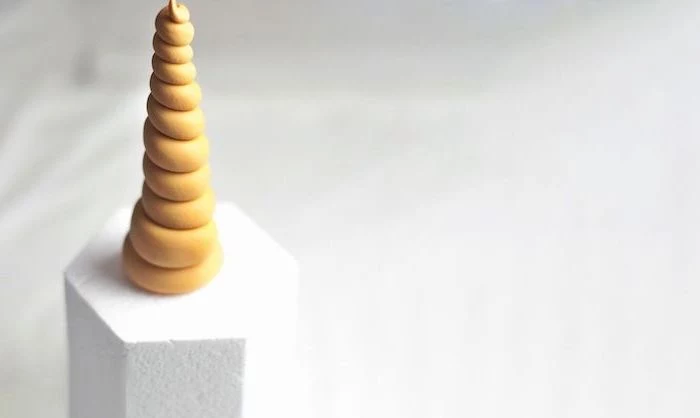
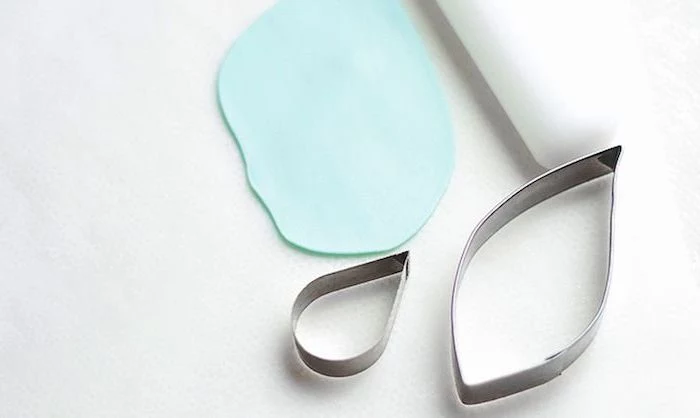
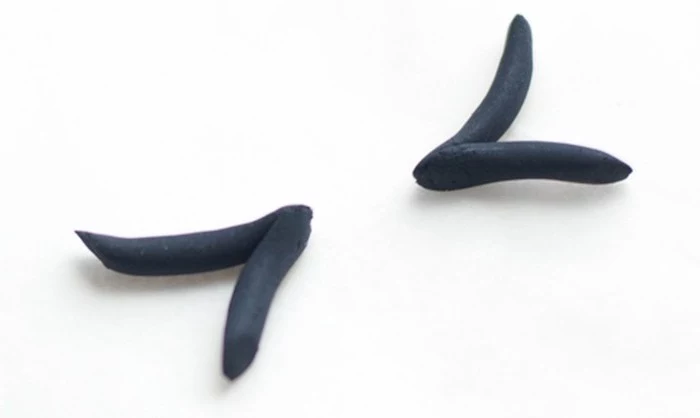
Fondant: This is a pliable sugar dough, great for covering cakes. For the unicorn horn and ears, you’ll want to add a bit of Tylose powder (or CMC powder) to standard fondant to help it dry harder and hold its shape. Gumpaste: This is a sugar dough that dries rock-hard and is specifically for modeling figures and flowers. It’s ideal for the horn if you need maximum durability, but it’s less palatable than fondant. For a cake that will be eaten, a Tylose-fortified fondant is often the best compromise.
A sturdy cake turntable is non-negotiable for smooth, even frosting.
An offset spatula (both large and small) allows for better angles and control than a regular knife.
A bench scraper is the key to achieving perfectly straight, sharp sides on your final coat of frosting.
Don’t be afraid to think beyond vanilla. A unicorn cake’s whimsical appearance pairs wonderfully with surprise flavors. Consider adding lemon zest to your batter for a bright, fresh note, or swirl in a raspberry puree between the colored layers for a tart, fruity kick that cuts through the sweetness of the buttercream.
A word on glitter: To achieve that ethereal shimmer, only use products explicitly labeled as ‘edible’. Craft glitter is toxic and made from plastic. Look for brands like The Sugar Art’s
Can I make the horn and ears ahead of time?
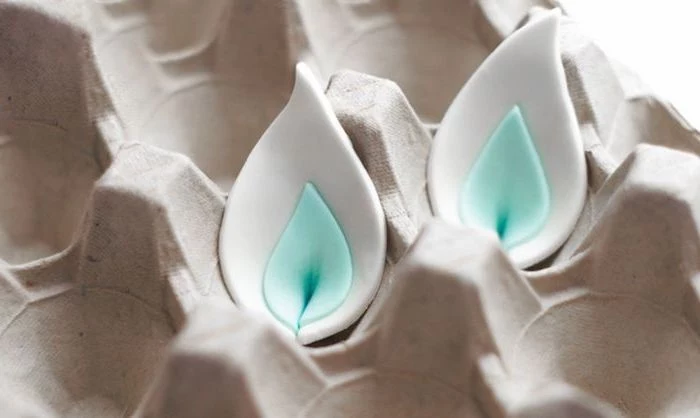
Absolutely! In fact, you should. Making them at least 2-3 days in advance is a professional move. This gives the fondant or gumpaste ample time to dry completely, making them firm and easy to handle. Store them in a cool, dry place, standing upright in a block of styrofoam or an egg carton, away from humidity.
The pastel palette is classic, but don’t be afraid to explore other unicorn aesthetics. A ‘galaxy’ unicorn with deep blues, purples, and blacks speckled with edible silver stars can be stunning. Or, lean into a sophisticated look with an all-white cake, using only a shimmering gold or silver horn and subtle textural details for a minimalist magical touch.
Plan your route in advance, avoiding bumpy roads where possible.
Place the boxed cake on a flat, level surface in your car, like the floor of the passenger seat, not the seat itself.
Run the air conditioning to keep the car cool, especially in warmer weather. Buttercream is your enemy’s best friend in the heat.
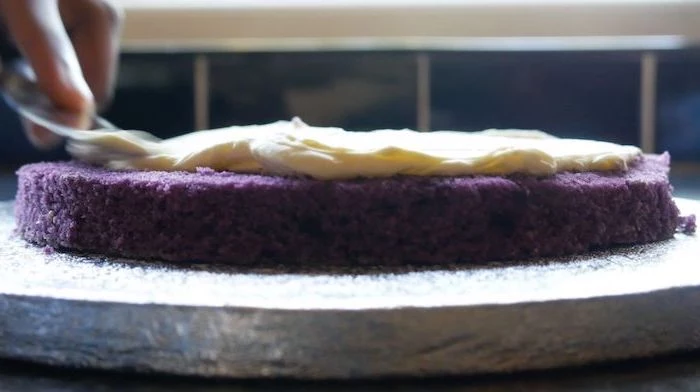
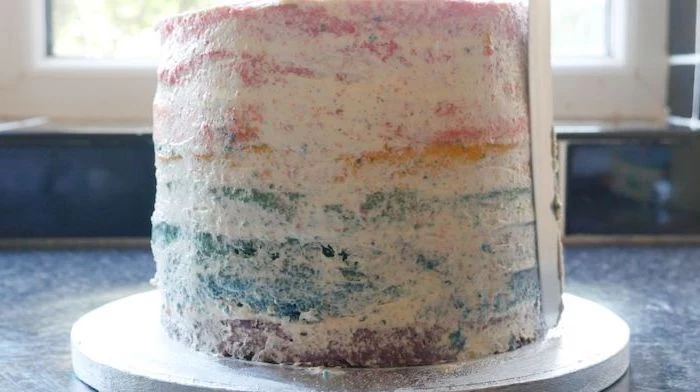
Important: Don’t skip the crumb coat! This is the thin, preliminary layer of frosting that traps all the loose crumbs. After applying it, you must chill the cake for at least 30 minutes until the frosting is firm to the touch. This simple step is the number one secret to a pristine, crumb-free final coat of frosting. It’s the difference between a homemade look and a professional finish.
Take your unicorn cake to the next level by adding complementary textures and treats around the base or as part of the mane.
Pastel-colored French macarons add a touch of elegance.
Small, whimsical meringue kisses provide a light, airy crunch.
Shards of colorful rock candy can mimic magical crystals.
Cake flour contains only 7-9% protein, compared to all-purpose flour’s 10-12%.
This might seem like a small difference, but it’s everything. Less protein means less gluten development, which is the key to the tender, soft, and finely-textured crumb that makes a professional-quality cake layer melt in your mouth. It’s a small investment for a dramatically better result.
My buttercream is grainy or separated! What happened?
This usually happens for two reasons. If it’s grainy, your powdered sugar may not be fully dissolved, or you used granular sugar by mistake. If it looks curdled or separated, the temperature is the culprit. If it’s too cold, the butter has hardened. Gently warm the bowl with your hands or a warm towel while mixing. If it’s too warm and soupy, chill the entire bowl and whip in the fridge for 15-minute intervals until it comes back together.
Perfectly flat and even cake tops, every time.
No need to trim off a large, wasteful dome.
Moister cake edges, as they are protected from drying out.
The secret? Bake Even Cake Strips. These fabric strips are soaked in water and wrapped around the outside of your cake pans. They work by insulating the pan, forcing the cake to bake more evenly from the outside in, eliminating the dreaded dome.
Create your own bespoke sprinkle mix for a truly unique design. Start with a base of white jimmies or nonpareils. Add in colored sugar pearls in your chosen palette, a few larger edible confetti shapes like stars or hearts, and a dash of metallic dragees for shine. Tossing them all together in a bowl gives you a custom blend you can’t buy in a store.
The modern unicorn, a symbol of purity and magic, owes much of its imagery to tapestries from the Middle Ages, like
Over-mixing the batter: As soon as you add the flour, mix only until the ingredients are just combined. Over-mixing develops gluten, which will make your magical cake tough and chewy instead of light and tender. This is a common mistake that no amount of beautiful frosting can fix.
For that ultimate Midas touch on the horn, you have two main options for achieving a gold finish.
Edible Gold Luster Dust: This is a fine powder mixed with a clear alcohol (like vodka) or lemon extract to form a paint. It’s cost-effective and provides a beautiful, shimmering coat. Brands like CK Products or Wilton offer popular options. Edible Gold Leaf: These are incredibly thin sheets of real gold. They provide an unmatched, brilliant metallic finish but are more expensive and delicate to apply. A little goes a long way for adding highlights.
Even the most seasoned pastry chefs make mistakes. If your horn is a little lopsided or a frosting swirl isn’t perfect, don’t despair. The beauty of a unicorn cake is its whimsical, joyful nature. A few extra sprinkles or a strategically placed meringue kiss can hide almost any imperfection. Embrace the process and be proud of your magical creation!
Prevents the cake layers from sliding during transport.
Provides stability for tall, multi-layered cakes.
Helps you lift the cake cleanly off its decorating turntable.
The secret? A small dab of buttercream. Before placing your first cake layer down on the cake board, spread a spoonful of frosting in the center. It acts as a glue, anchoring your entire creation securely to its base from the very first step.
An important tip on temperature: A hot or humid kitchen is the enemy of buttercream. If your house is warm, your frosting will become soft, soupy, and impossible to work with. Try to decorate in the coolest part of the day, or even aim an oscillating fan into the kitchen (but not directly at the cake) to keep the air moving. A cool cake and cool frosting are the keys to sharp, clean results.
John combines 12 years of experience in event planning, interior styling, and lifestyle curation. With a degree in Visual Arts from California Institute of the Arts and certifications in event design, he has styled luxury weddings, corporate events, and celebrity celebrations. John believes in creating memorable experiences through innovative design and attention to detail.
To provide the best experiences, we use technologies like cookies to store and/or access device information. Consenting to these technologies will allow us to process data such as browsing behavior or unique IDs on this site. Not consenting or withdrawing consent, may adversely affect certain features and functions.
Functional
Always active
The technical storage or access is strictly necessary for the legitimate purpose of enabling the use of a specific service explicitly requested by the subscriber or user, or for the sole purpose of carrying out the transmission of a communication over an electronic communications network.
Preferences
The technical storage or access is necessary for the legitimate purpose of storing preferences that are not requested by the subscriber or user.
Statistics
The technical storage or access that is used exclusively for statistical purposes.The technical storage or access that is used exclusively for anonymous statistical purposes. Without a subpoena, voluntary compliance on the part of your Internet Service Provider, or additional records from a third party, information stored or retrieved for this purpose alone cannot usually be used to identify you.
Marketing
The technical storage or access is required to create user profiles to send advertising, or to track the user on a website or across several websites for similar marketing purposes.