So You Want to Draw Monsters? A Practical Guide to Creating Horror Art
I’ve been sketching creepy crawlies and things that go bump in the night since I could hold a pencil. It all started with little monsters in the margins of my math homework. Now, I do it for a living, creating horror art for book covers and designing creatures for indie games. And you know what? The thrill of dragging a nightmare into the real world with just a piece of paper and some graphite has never, ever gotten old.
In this article
A lot of artists I talk to are fascinated by horror but get stuck on where to even begin. They see a polished, terrifying piece of art and think it’s some kind of dark magic. But honestly, it’s not. It’s a craft. It’s about learning a few key tricks and understanding why certain things make our skin crawl. Why does a weird shadow feel so threatening? Why is a face that’s almost human way more disturbing than some snarling beast with ten-inch fangs?
I’ve spent years messing up, trying again, and figuring this stuff out. This is the guide I wish I had when I started. So grab a sketchbook. Let’s get weird.
Why We Find Things Creepy (The Not-So-Secret Science)
Before you even think about drawing, it helps to understand the psychology of a good scare. This is the theory that makes your practical work so much more effective. It’s the difference between a random monster and a creature that genuinely haunts someone.
Shadows and the Power of Suggestion
Let’s be real: we’re all a little scared of the dark. Or rather, we’re scared of what could be hiding in it. As artists, we can play with this primal fear using light and shadow, a technique the pros call chiaroscuro. By creating a single, strong light source, you automatically create deep, dark shadows. Those shadows are your playground.
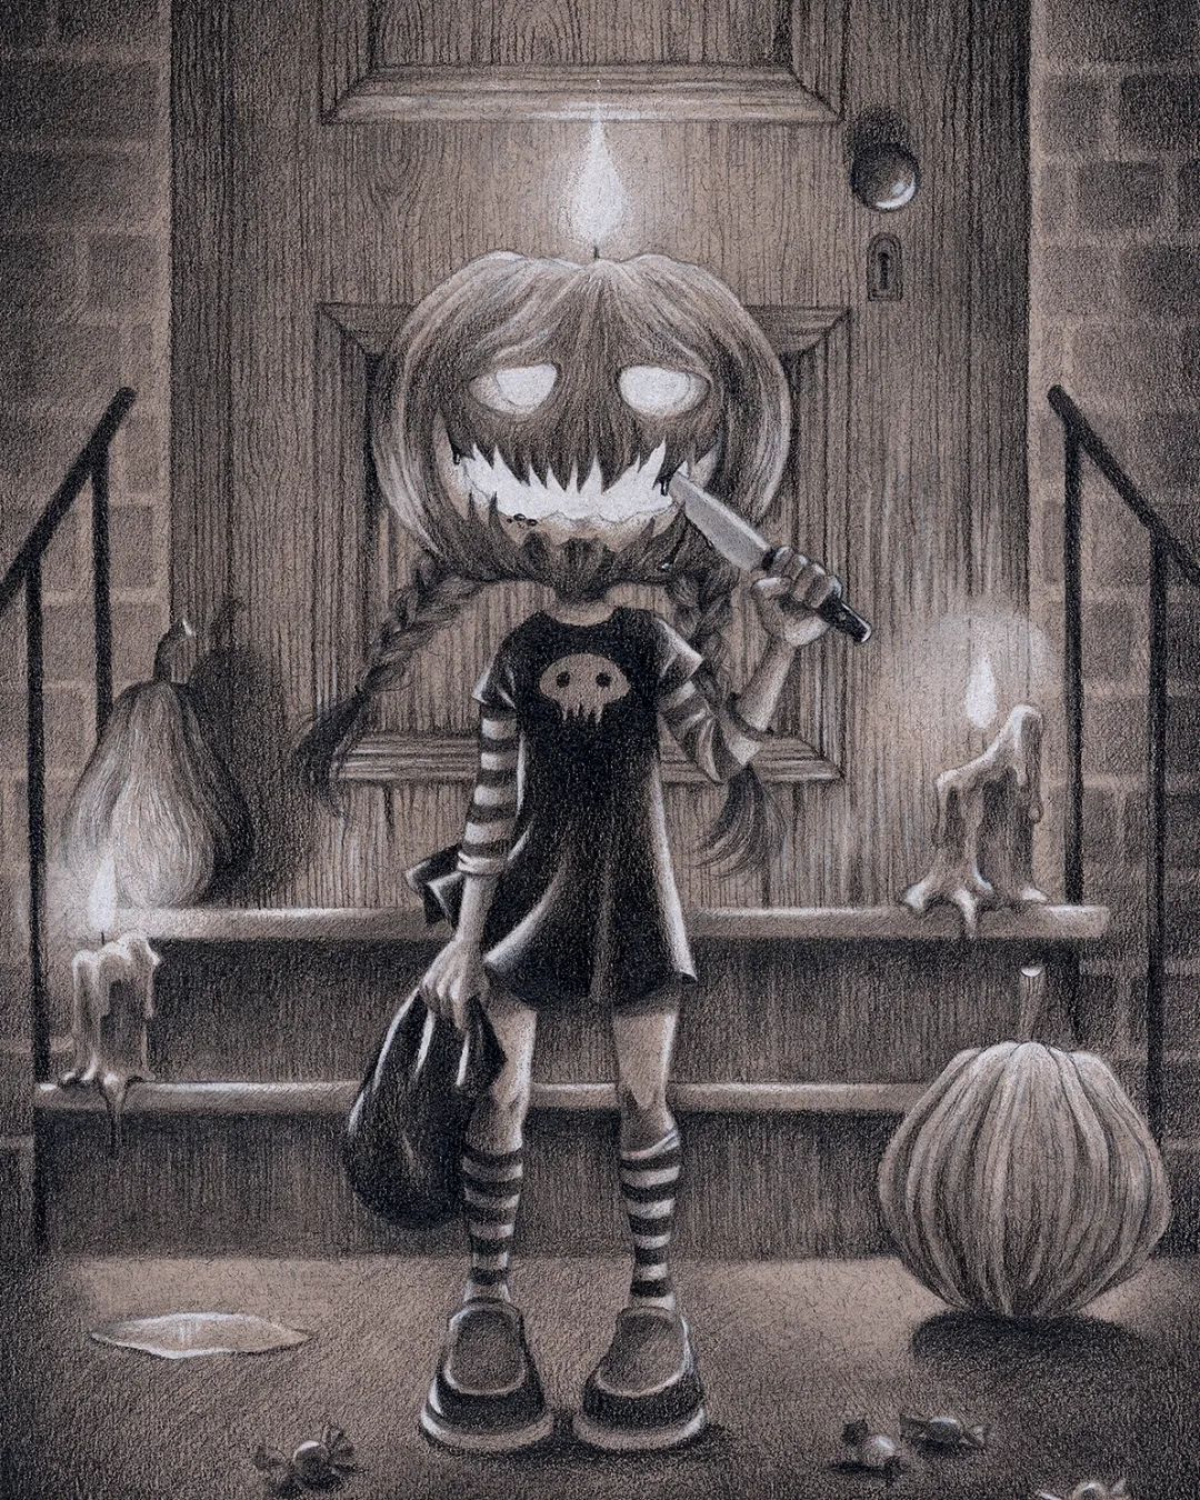
Think about a figure in a doorway. If you light them from the front, they’re just a person. But if you light them from behind? They become a silhouette. You can’t see their face, their expression, or what they’re holding. The viewer’s mind will immediately start filling in the blanks with its own worst fears. You didn’t even have to draw a monster! Sometimes, the idea of one is way scarier.

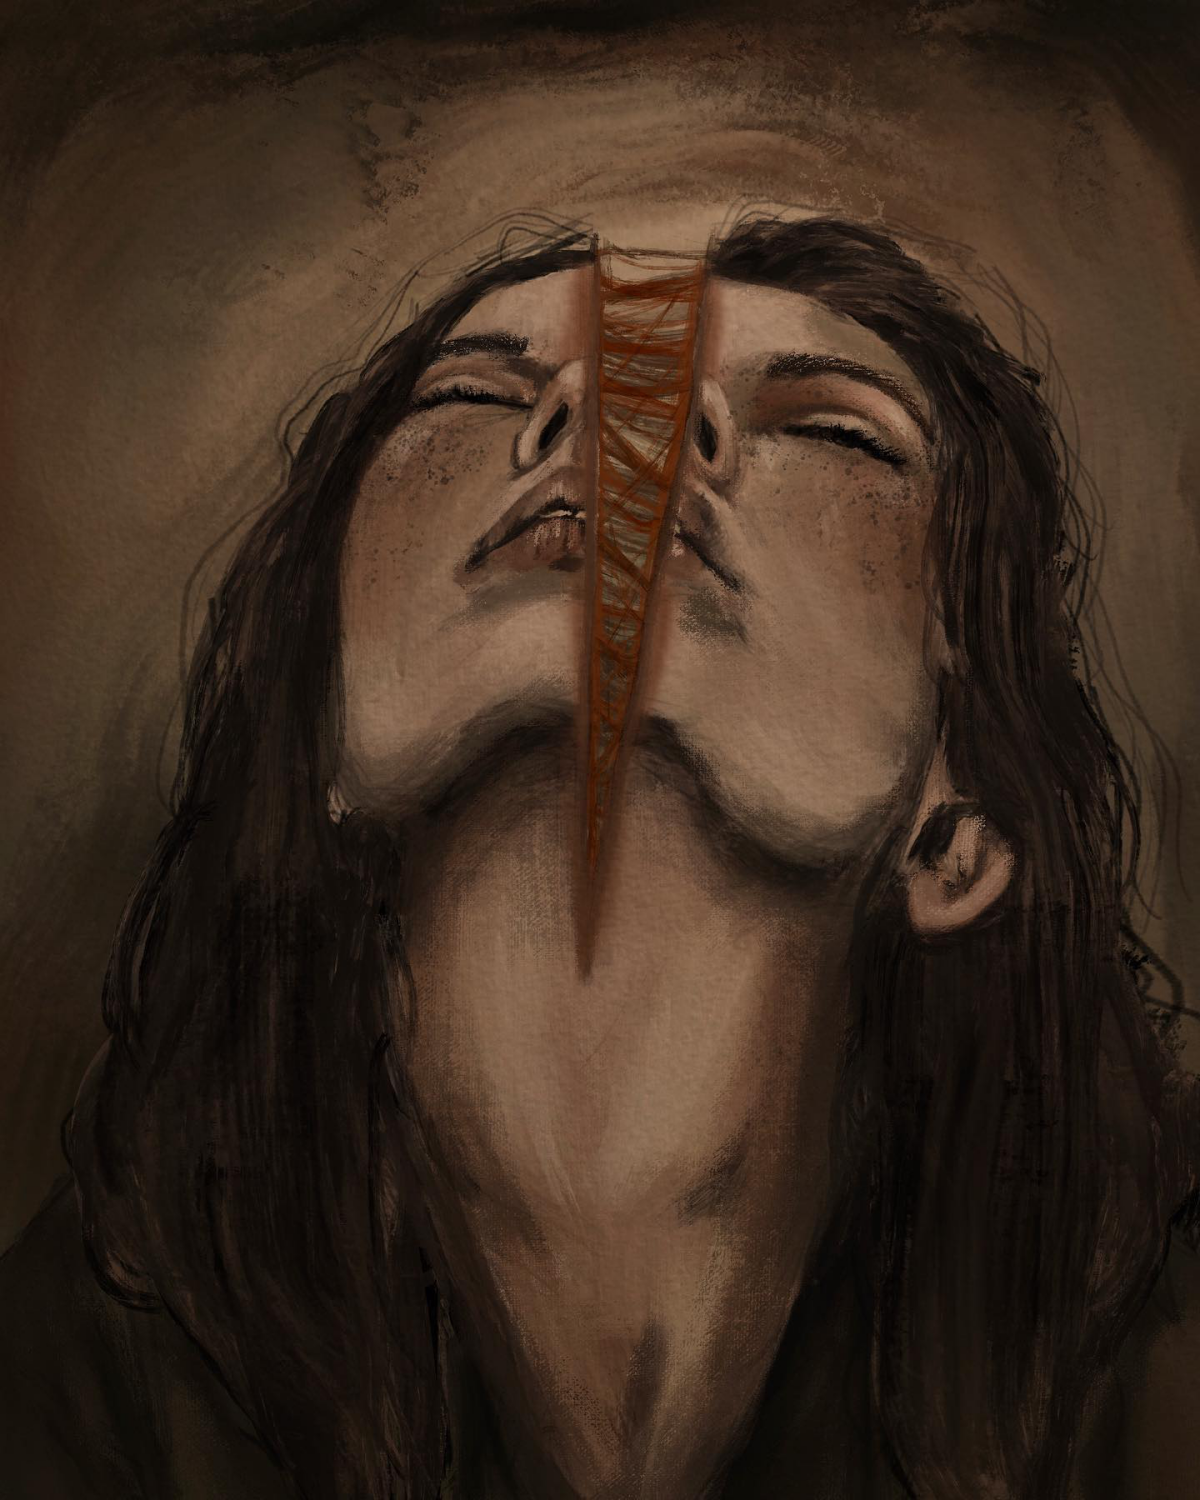
The Uncanny Valley: When ‘Almost Human’ is Terrifying
Ever seen a robot or a doll that just felt… wrong? That’s the uncanny valley. It’s a super useful concept for horror artists. Our brains are wired to recognize human faces, and when something looks almost perfectly human but has a few small things off, our internal alarms go off like crazy.
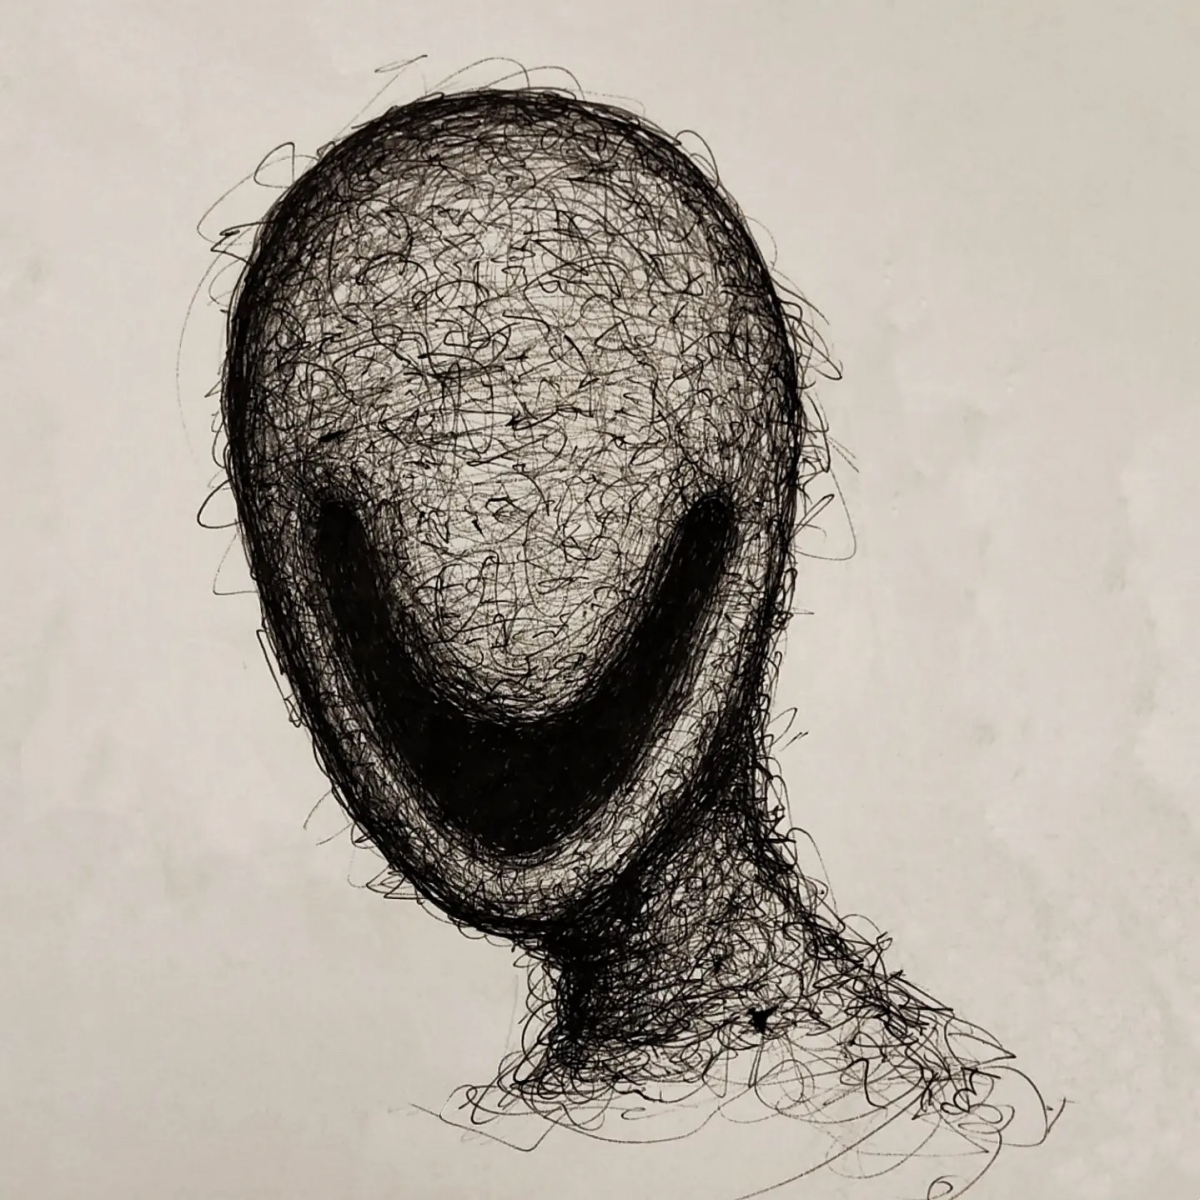
This is your sweet spot for creating unsettling art. Instead of a cartoonish zombie, try drawing a person with eyes that are just a millimeter too far apart. Or a smile that stretches a tiny bit too wide. For one project, I had to draw a haunted family. The creepiest portrait, by far, was one of the mother. Her face was totally normal, except I erased the pupils, leaving these big, black, doll-like eyes. The feedback was instant: people were way more freaked out by her than by the more obviously monstrous sketches. The key is to know human anatomy so you can break it convincingly.
Your First Horror Art Toolkit (For Under $30)
Good news: you do not need to spend a fortune on gear. Some of the most iconic horror images were made with simple ink and paper. Knowing how to use your tools is what matters. Here’s a super practical starter kit you can probably grab at a local art store like Michael’s or find online.
Your Shopping List:
- A Basic Graphite Pencil Set (2H to 6B): This will probably run you about $10-$15. The ‘H’ pencils make light lines for sketching, and the ‘B’ pencils are soft and dark for shading. A simple 2B pencil is my go-to for most things.
- Charcoal (Willow & Compressed): For deep, dark shadows, nothing beats charcoal. A small variety pack with both a soft willow stick and a harder compressed stick should be under $10.
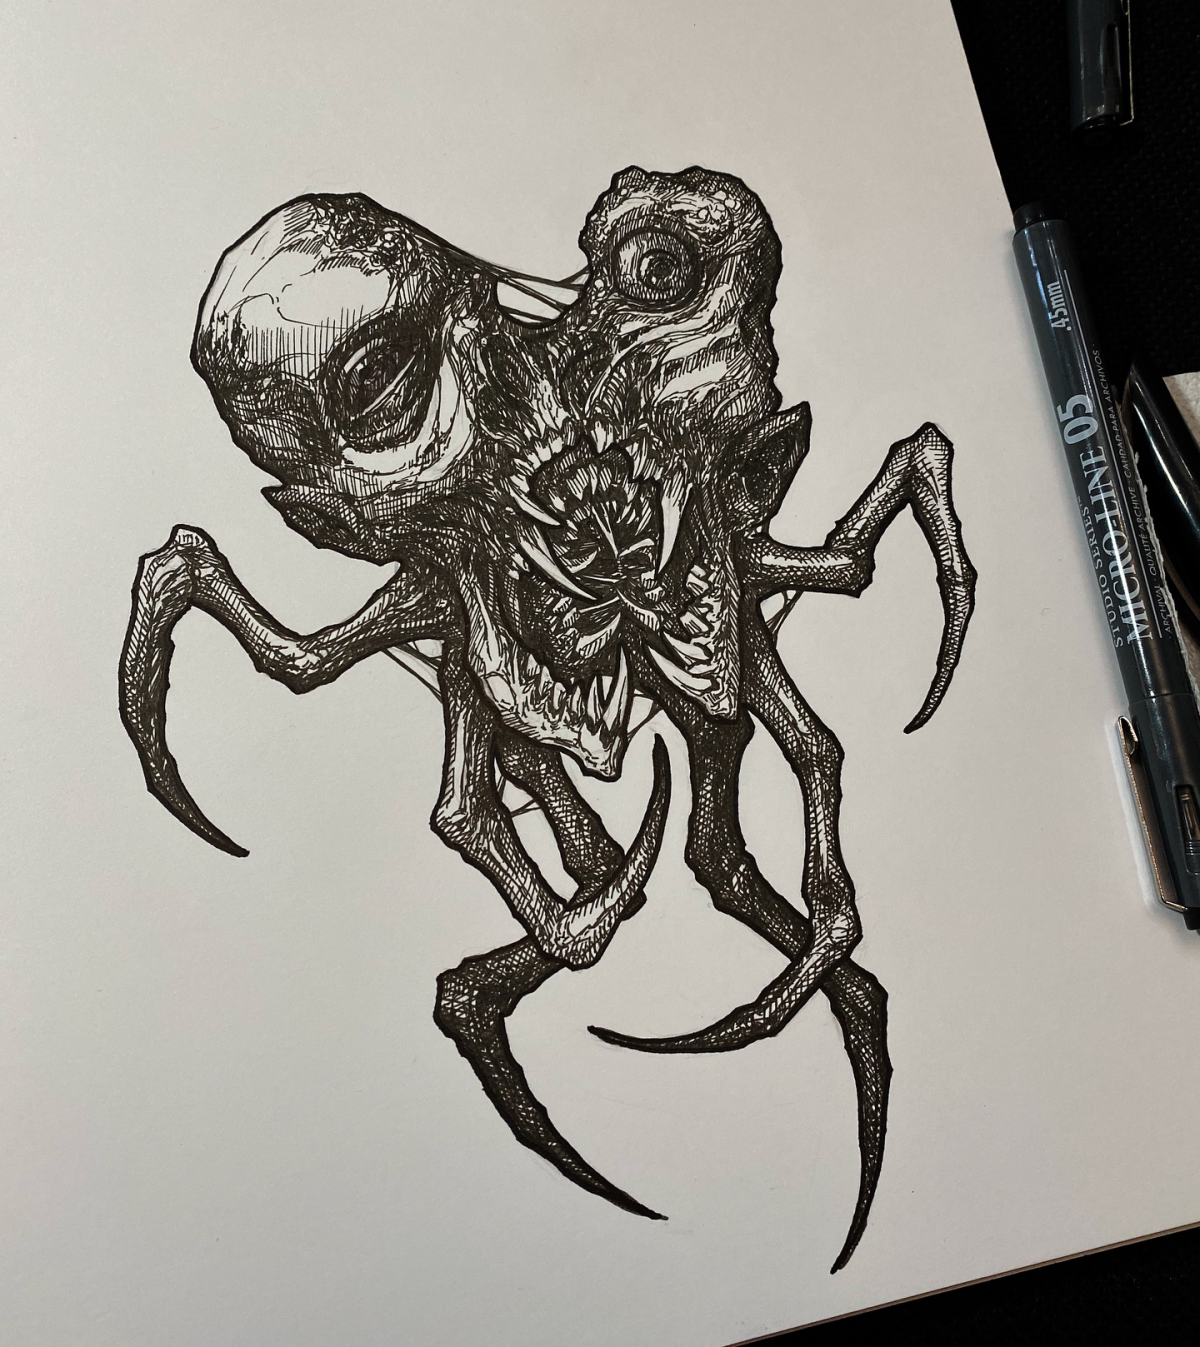
- A Fine-Tipped Ink Pen: A single Sakura Pigma Micron pen in size 05 (that’s 0.45mm) is perfect for details and costs just a few bucks. A whole set can be $15-$20, but one is enough to start.
- Decent Paper: Skip the flimsy printer paper. Get a pad of mixed-media paper that’s at least 90 lb (around 150 gsm). This will cost about $10-$15 and will prevent your work from warping if you use ink. Bristol board is another fantastic, smooth option.
Working with Charcoal (and How to Tame It)
Charcoal is amazing for atmosphere, but it has a personality. Think of it this way:
- Willow Charcoal: This stuff is light, dusty, and a dream to blend. It’s perfect for blocking in big, foggy areas of shadow. The downside? It’s messy as all get out. But it’s very forgiving.
- Compressed Charcoal: This comes in a denser stick or pencil form and creates a much darker, crisper mark. It’s awesome for adding sharp, final details, but it’s much harder to erase. This is your ‘point of no return’ tool.
Quick tip: To blend your charcoal, you can buy a special tool called a blending stump (it’s basically a stick of tightly rolled paper), but honestly, your finger works great for a smudgy, organic look. A cotton swab is a good middle ground.
Heads up on safety! Charcoal dust is no joke for your lungs. I always work near an open window or, for bigger pieces, I’ll pop on a simple N95 dust mask. When you’re done, you need to seal the drawing with a fixative spray. And please, do this outside! The fumes are intense. I learned that the hard way in a tiny, unventilated studio apartment once. Also, there are two types of spray: ‘workable’ fixative lets you keep drawing on top, while ‘final’ fixative is a permanent seal. Grabbing the wrong one is a classic beginner mistake!
Core Techniques for Genuinely Disturbing Art
Alright, you’ve got your tools and the theory. Let’s get to the fun part. These are the techniques I use almost every single day.
Know the Rules of Anatomy, Then Shatter Them
The number one mistake I see beginners make is drawing monsters that are just random blobs with teeth. A truly scary creature feels like it could exist in some twisted version of reality. To do that, you have to start with the real thing.
Get yourself a good anatomy book for artists (look for one that focuses on skeletal and muscle structures, not a dense medical textbook). Once you truly understand how a normal arm bends, you can draw one that bends the wrong way. Once you know the proportions of a face, you can elongate the jaw or shrink the eyes to get that uncanny feeling.
Try this 5-minute exercise: Grab a random household object. A stapler, a coffee mug, whatever. Now, give it one unsettling human feature, like realistic teeth or an eye. It’s a fantastic way to train your brain to think weird and splice reality with the grotesque.
Mastering Unsettling Textures
Texture is what makes your art feel real. It tells the viewer what your creation would feel like if they dared to touch it. Here’s a mini-guide to creating a few classic horror textures.
How to create a ‘Wet & Slimy’ look: This is all about high contrast. First, map out your shape. Then, using a soft pencil or charcoal, blend a smooth, dark shadow on one side. The real trick is the highlight. Leave areas of pure, stark white paper where the light would hit a wet surface. Keep these highlights sharp and clean. The contrast between the soft shadow and the sharp highlight is what sells the ‘wet’ effect.
How to create a ‘Decayed & Rotting’ look: Embrace the chaos. Start by laying down an uneven tone with the side of a charcoal stick. Then, use different techniques to create a messy surface. Try stippling (making tons of little dots) for a moldy look or cross-hatching (scribbling lines in different directions) for torn flesh. Your best friend here is a kneaded eraser (the gray, putty-like kind). You can pinch it into a sharp edge to lift out highlights or press it flat to create a mottled, uneven texture. It’s all about creating unpredictable patterns.
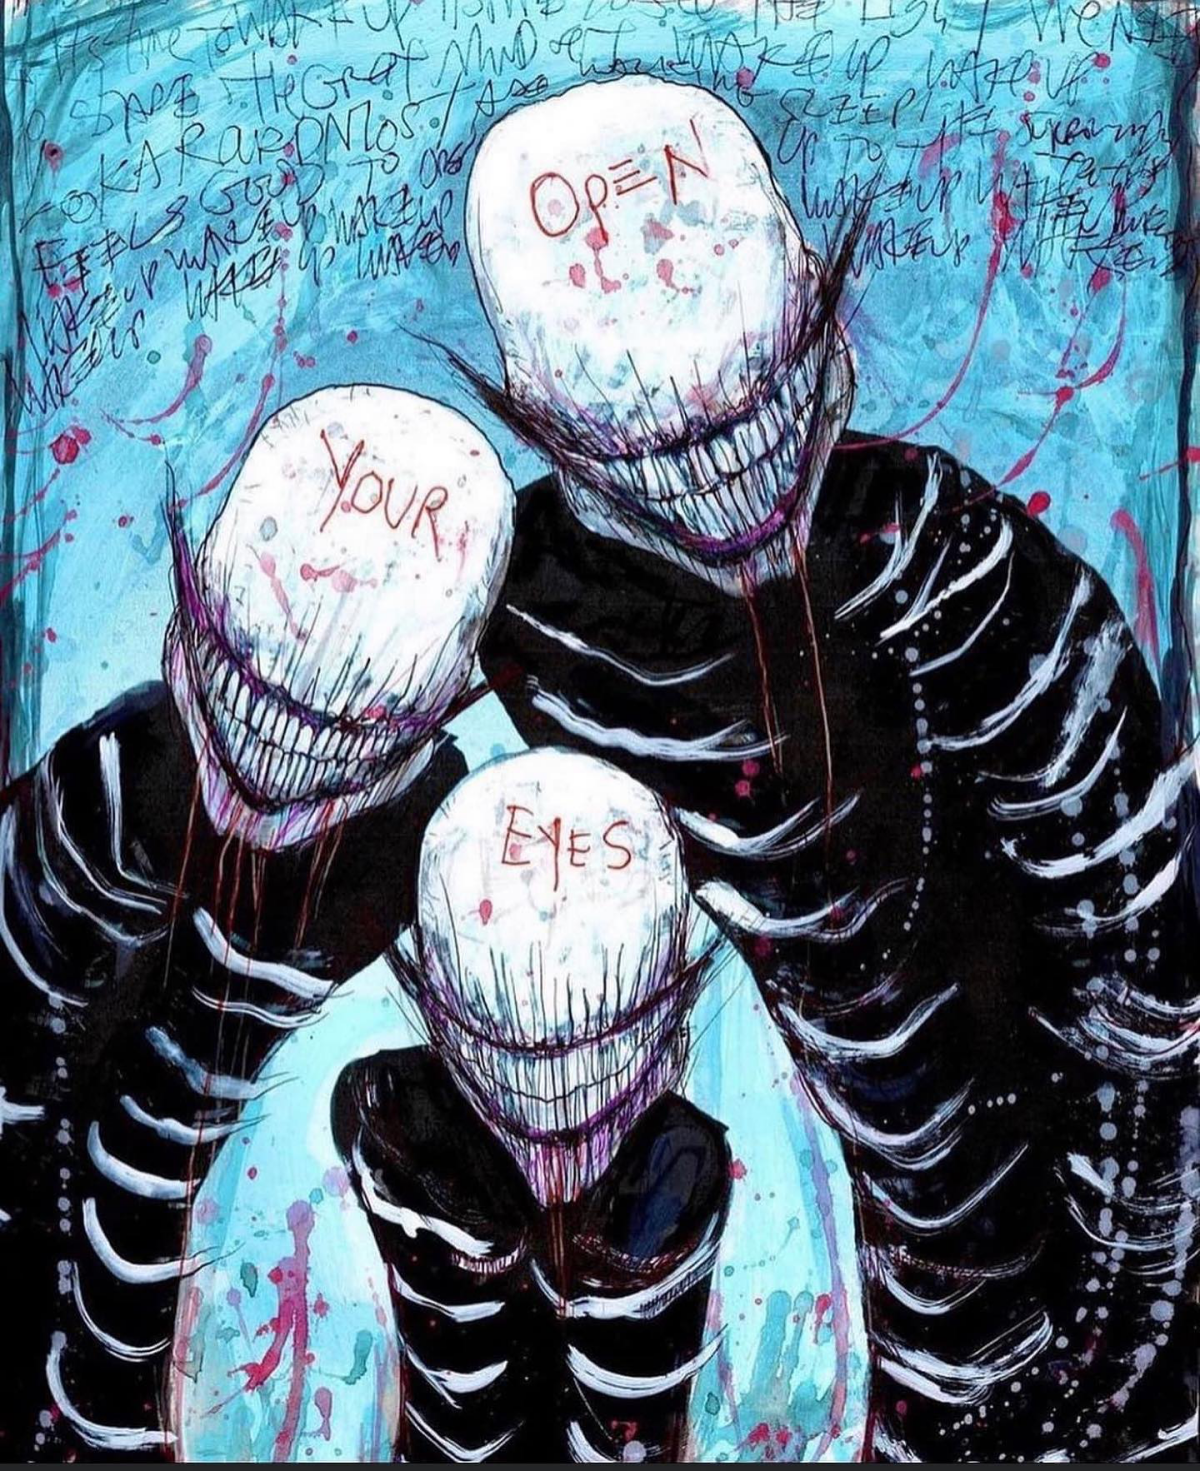
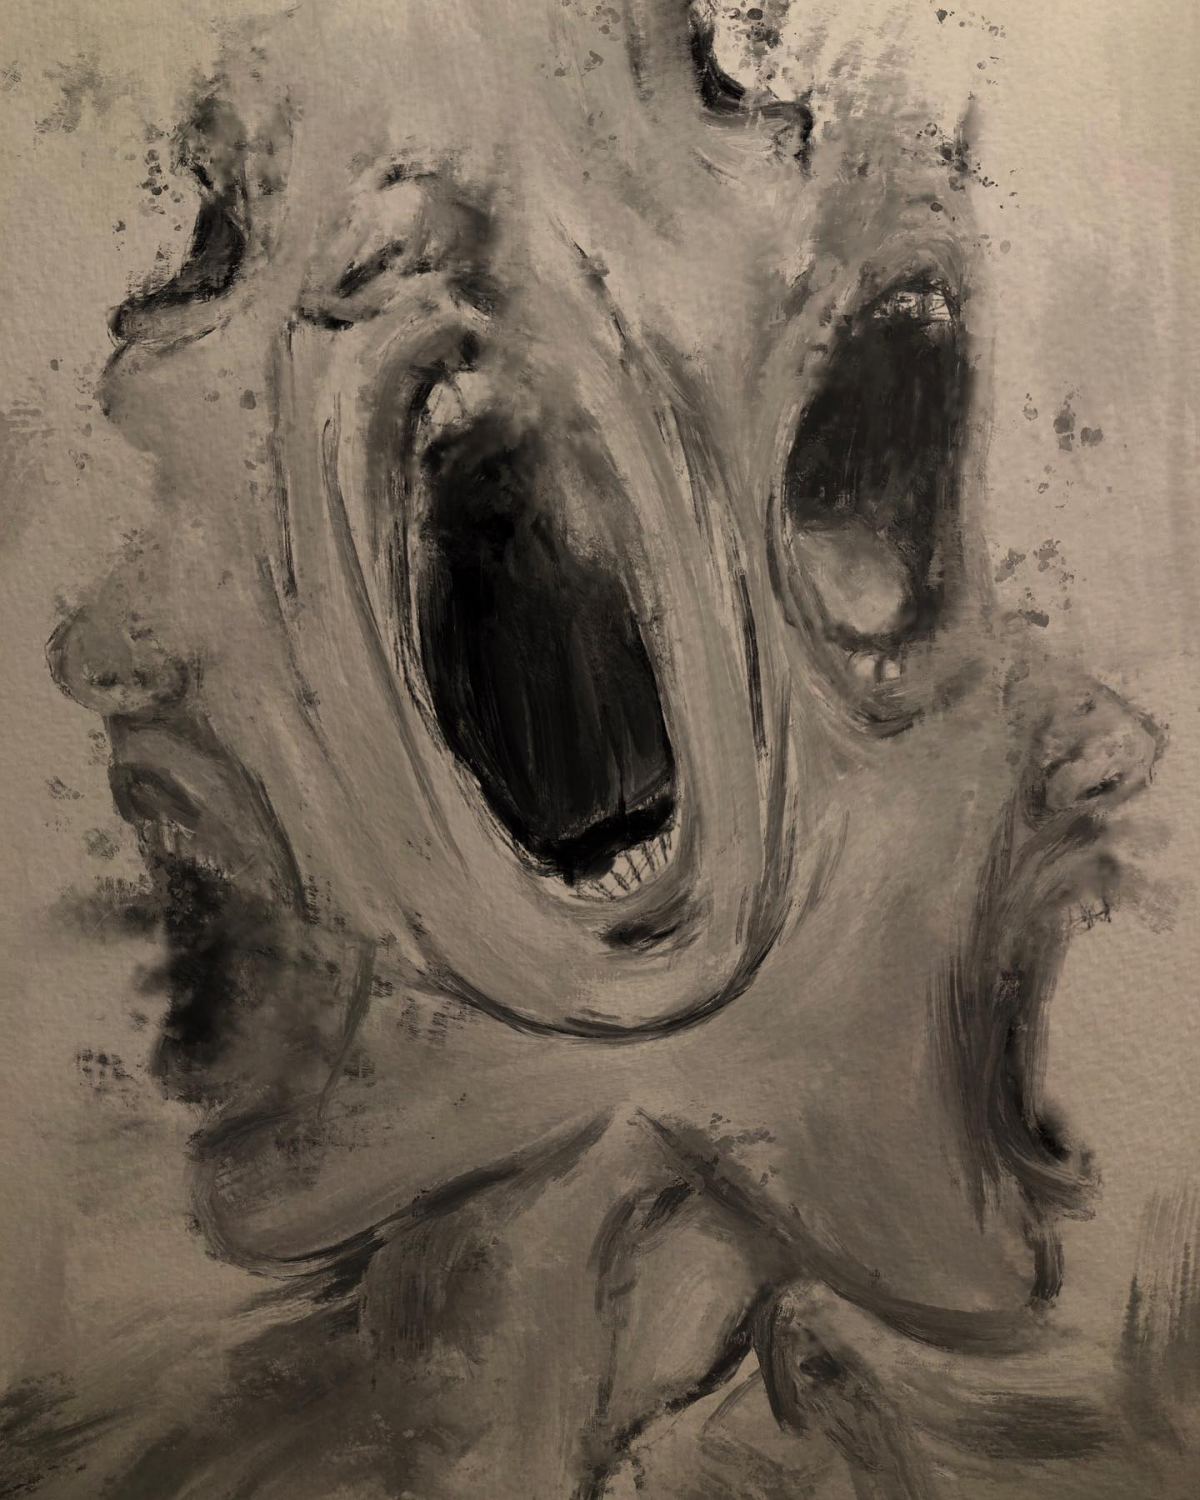
The Eyes and Mouth: Windows to the Horror
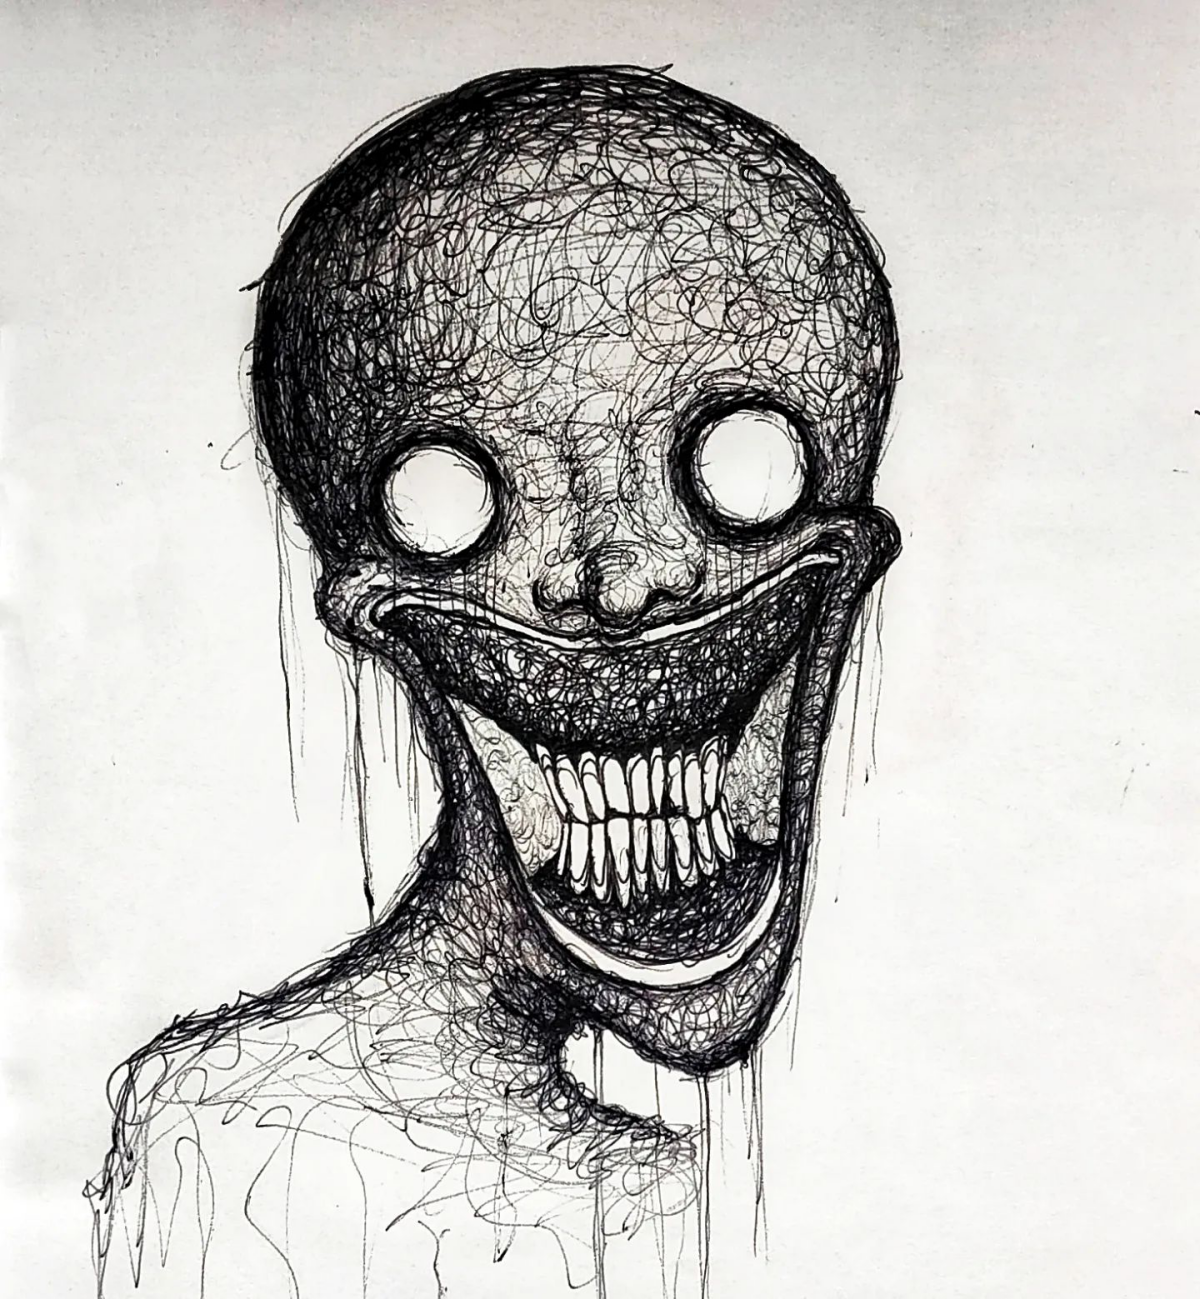
If you only get two things right, make them the eyes and the mouth. We are biologically programmed to look at these features to gauge emotion and intent. You can mess with that instinct.
Eyes without pupils are a classic for a reason—they look inhuman. Eyes that are too large look predatory or terrified. Sometimes, having no eyes at all is the most frightening choice. And mouths? A smile that’s a little too wide turns warmth into a threat. A mouth hanging open can suggest mindless horror. But even a closed mouth can be scary; a thin, tight line can hint at repressed rage or some terrible secret.
Telling a Story With Your Art
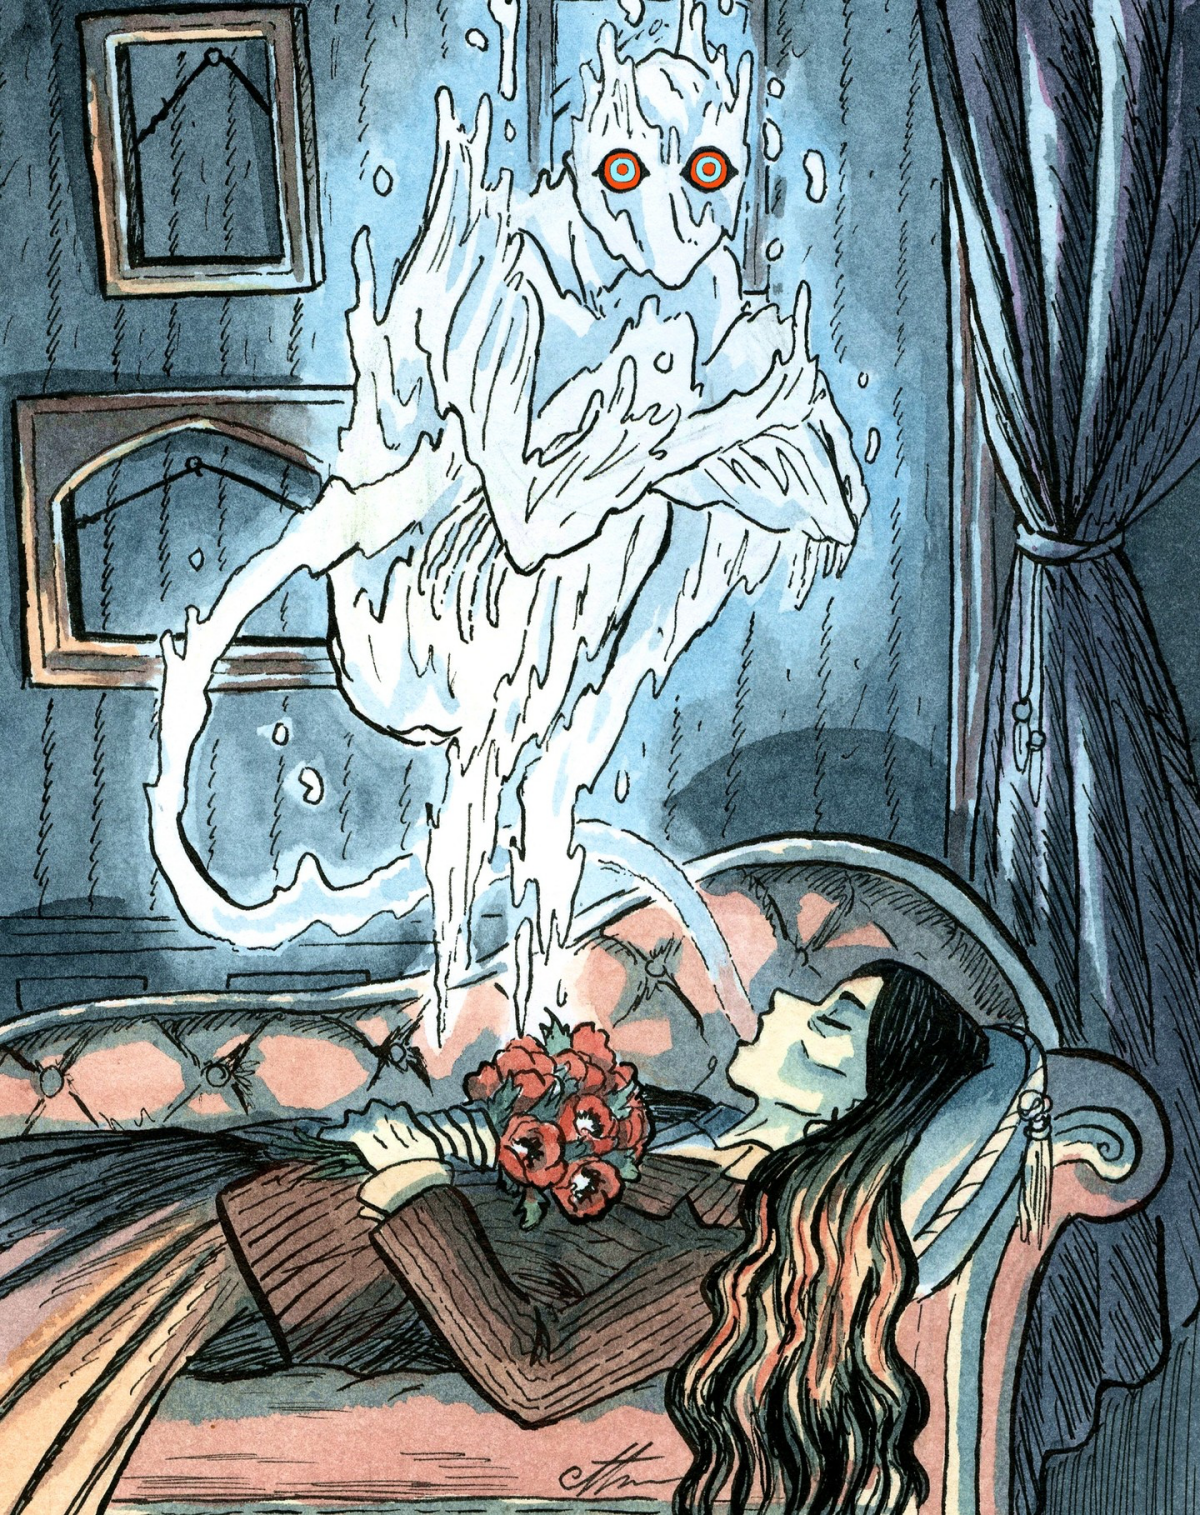
The best horror art doesn’t just show you a monster; it tells you a story. The setting can be just as scary as the creature itself.
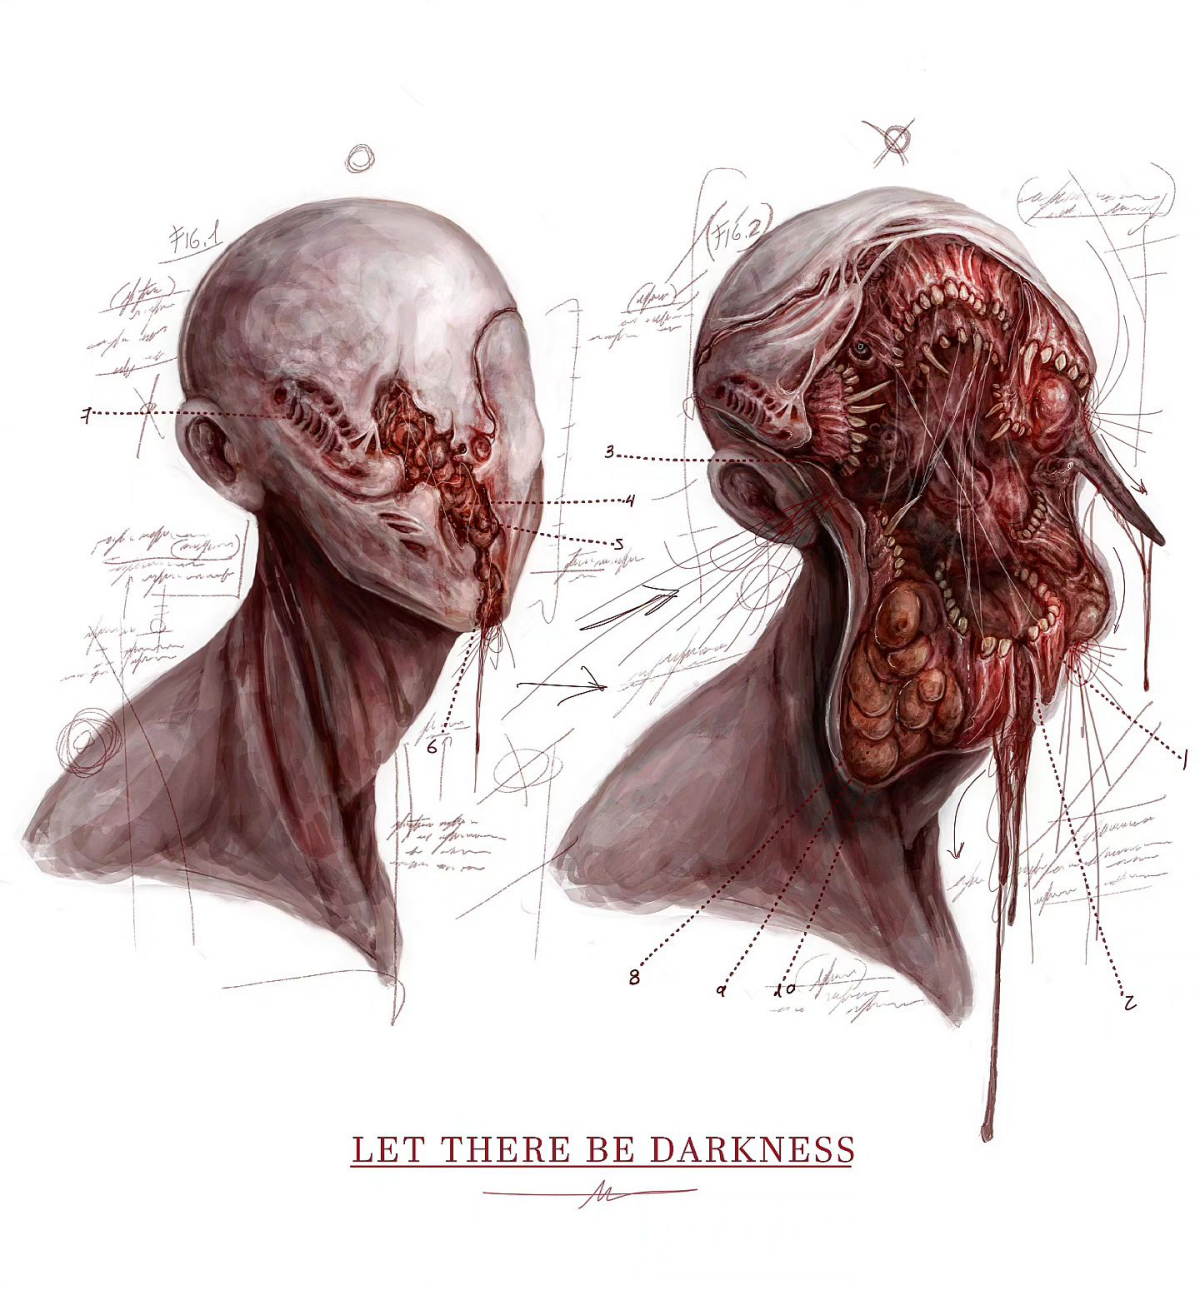
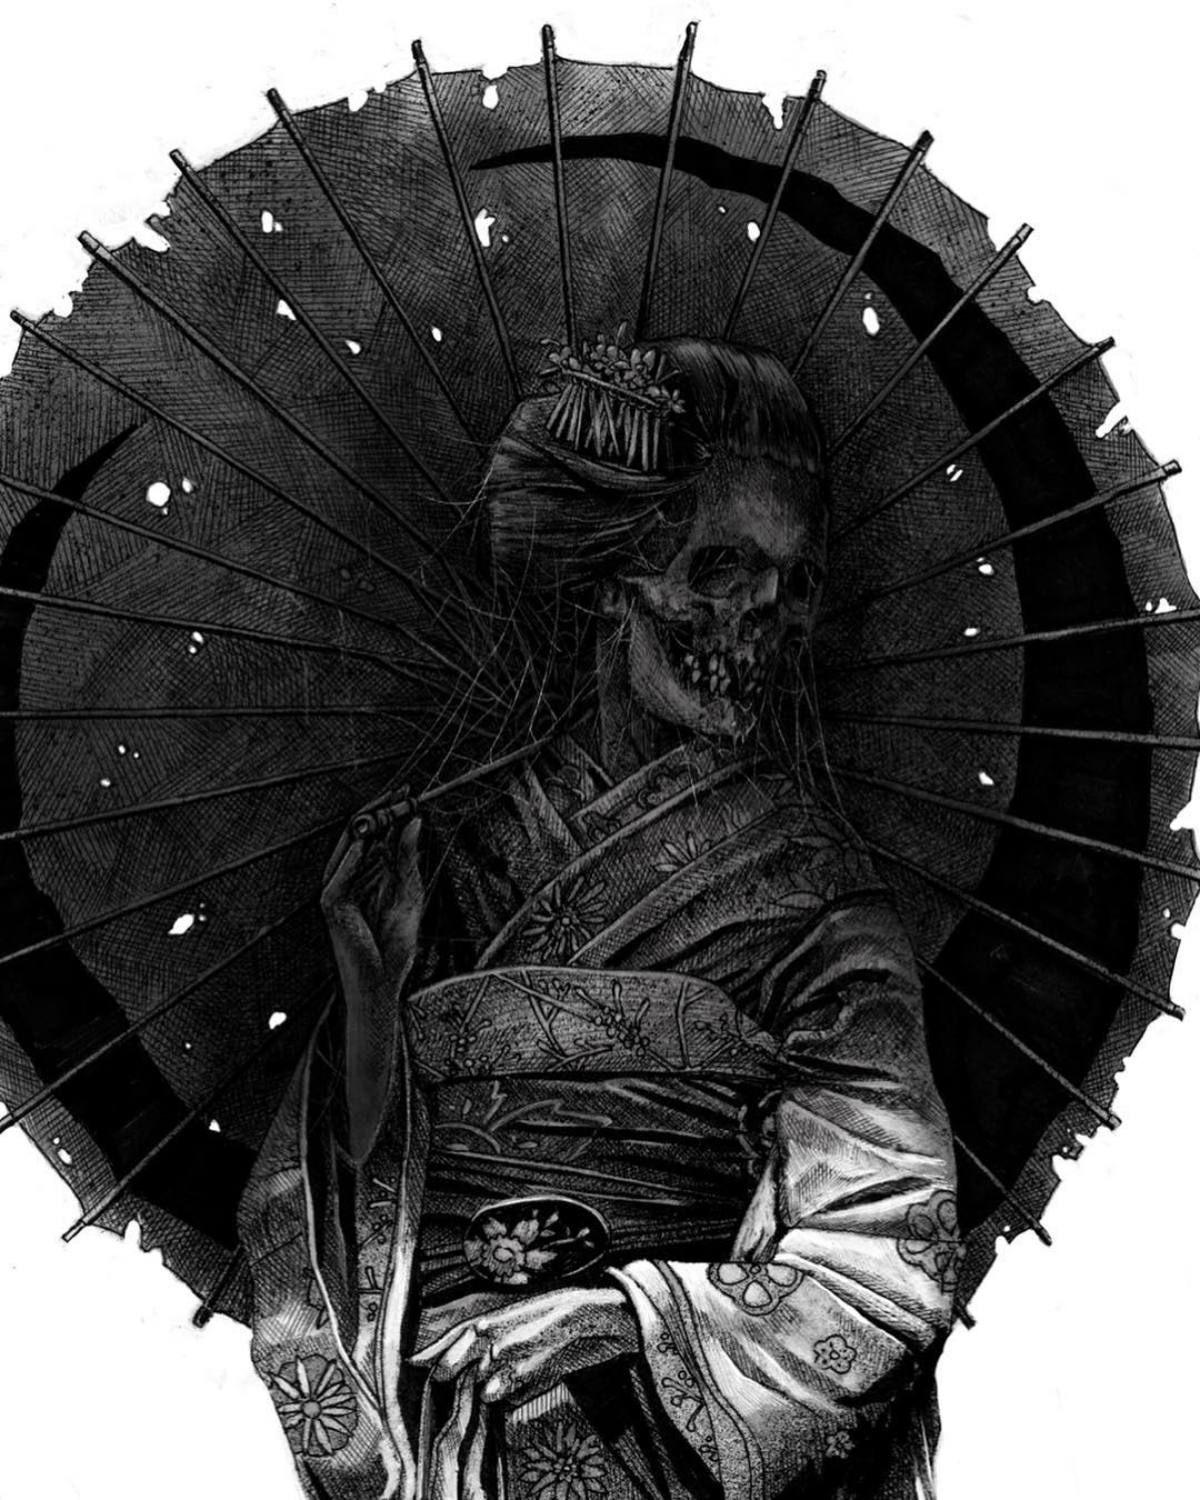
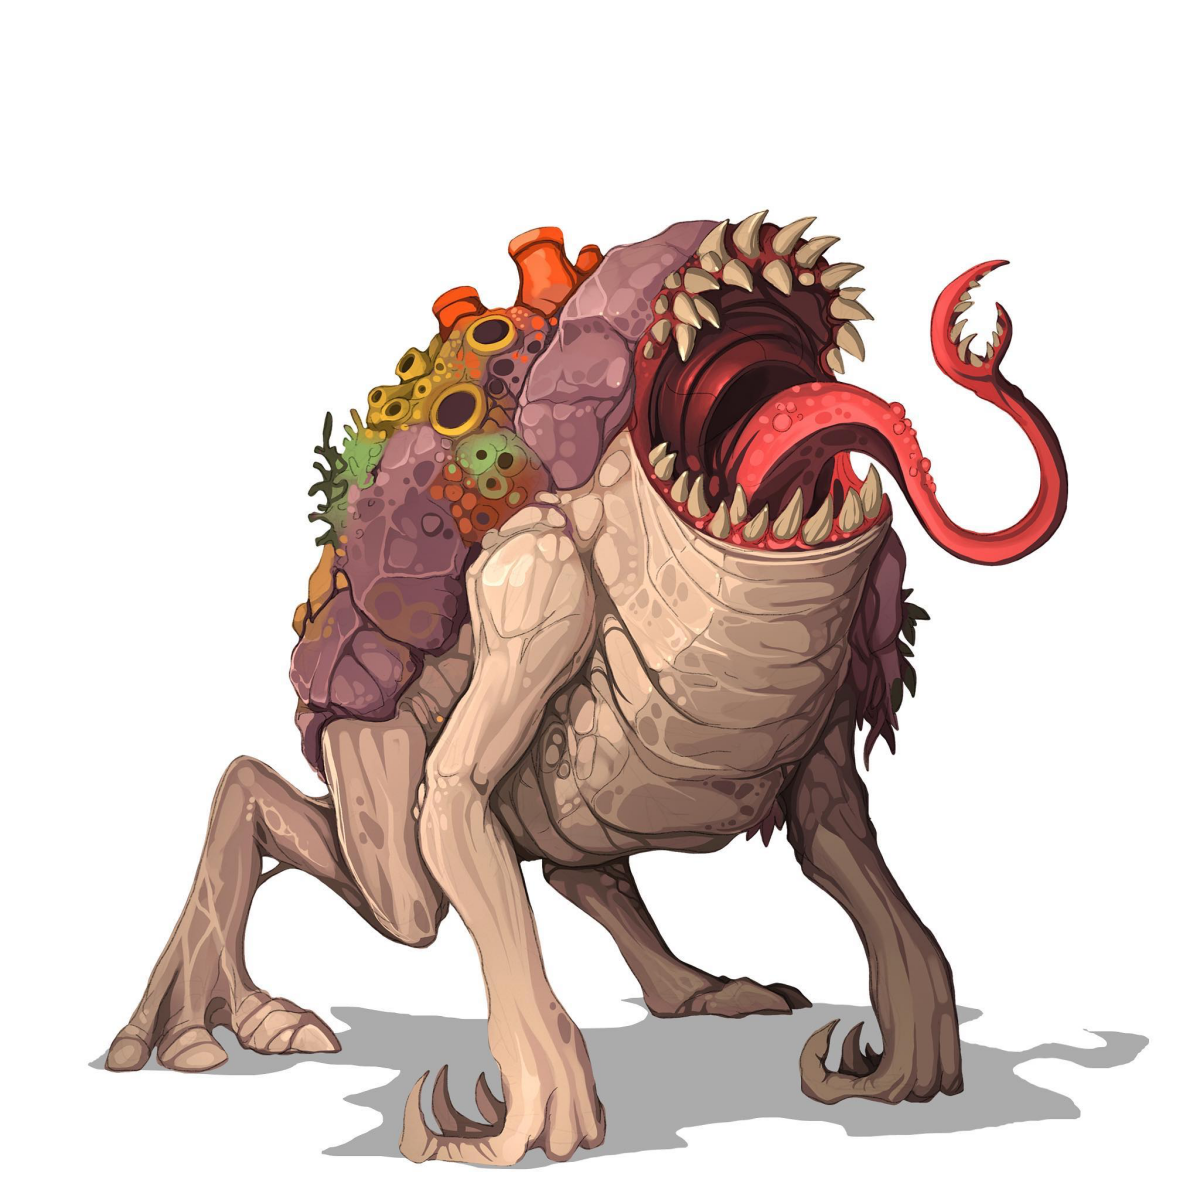
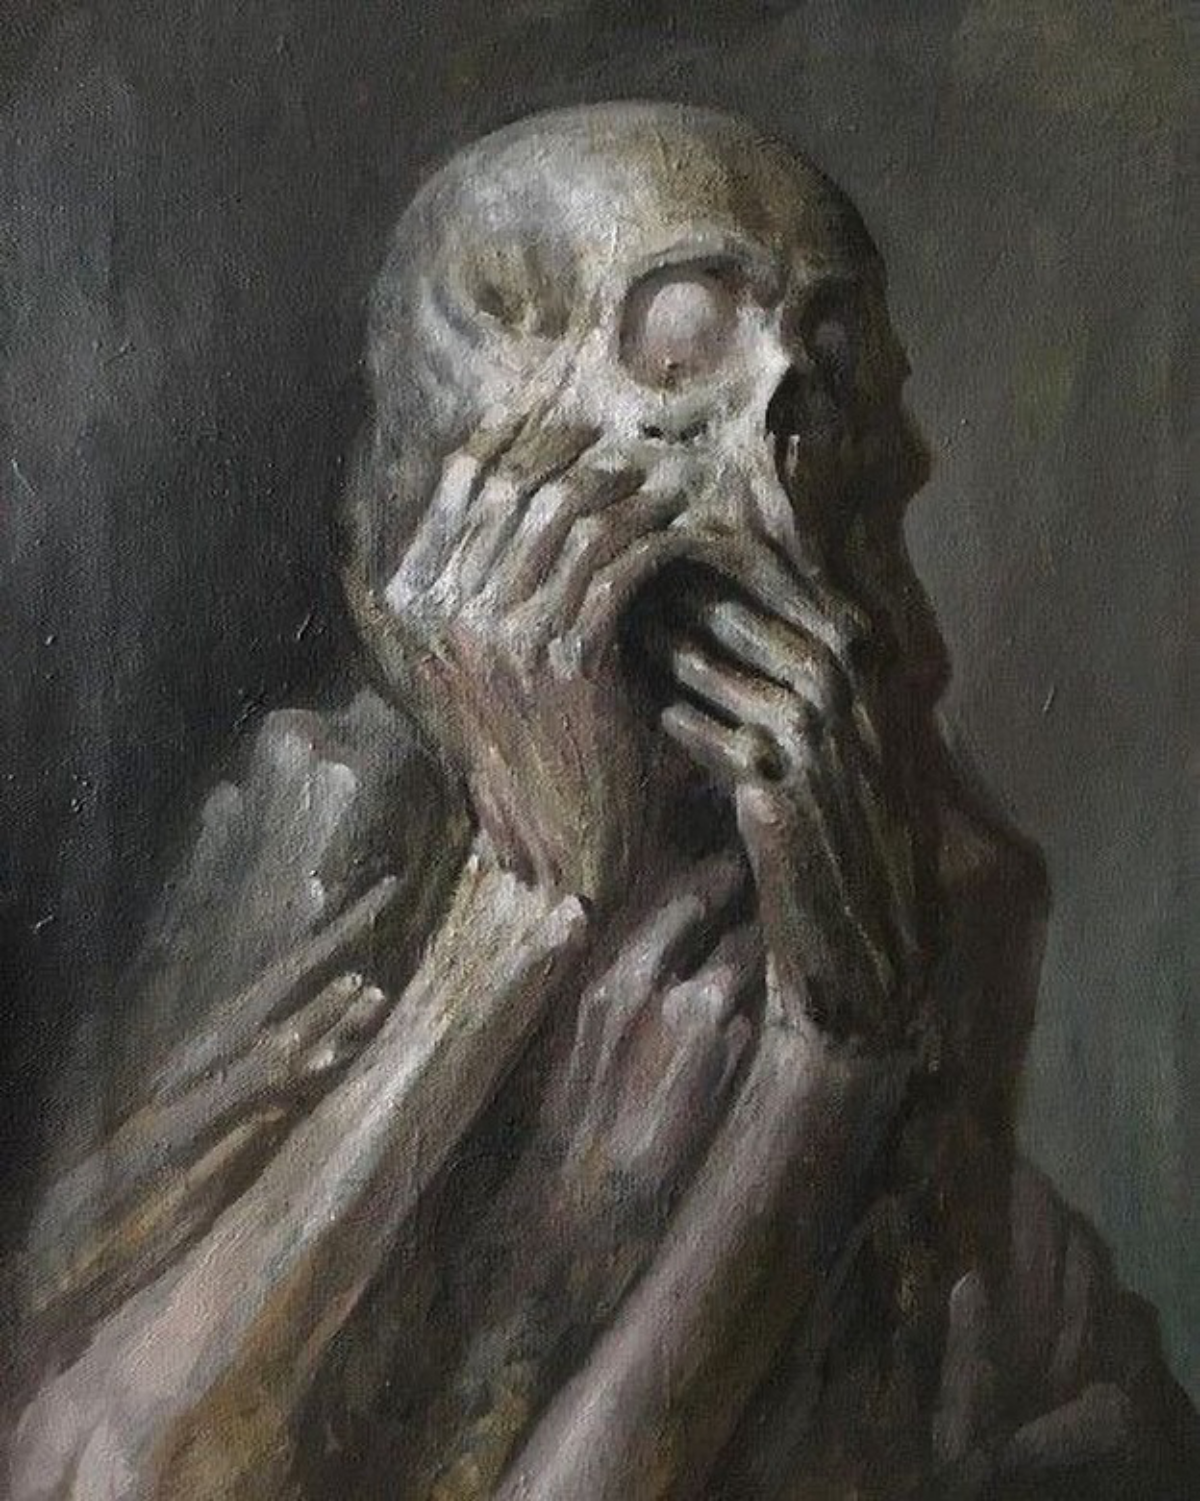
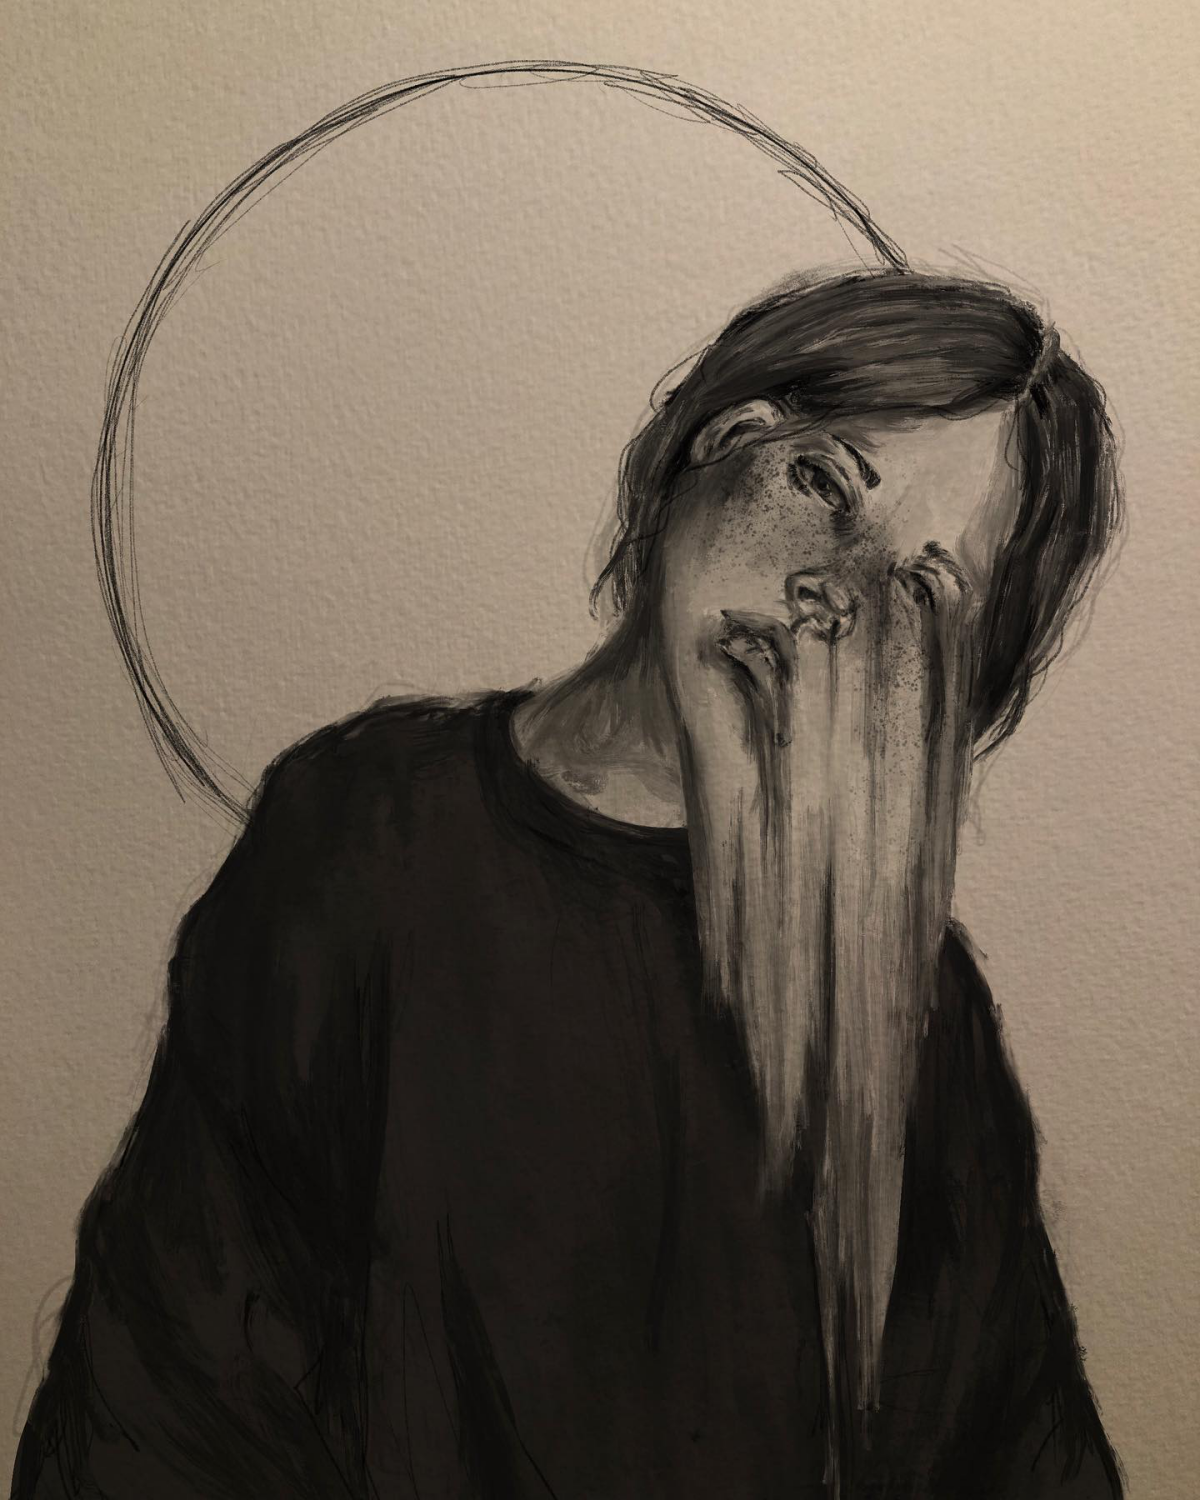
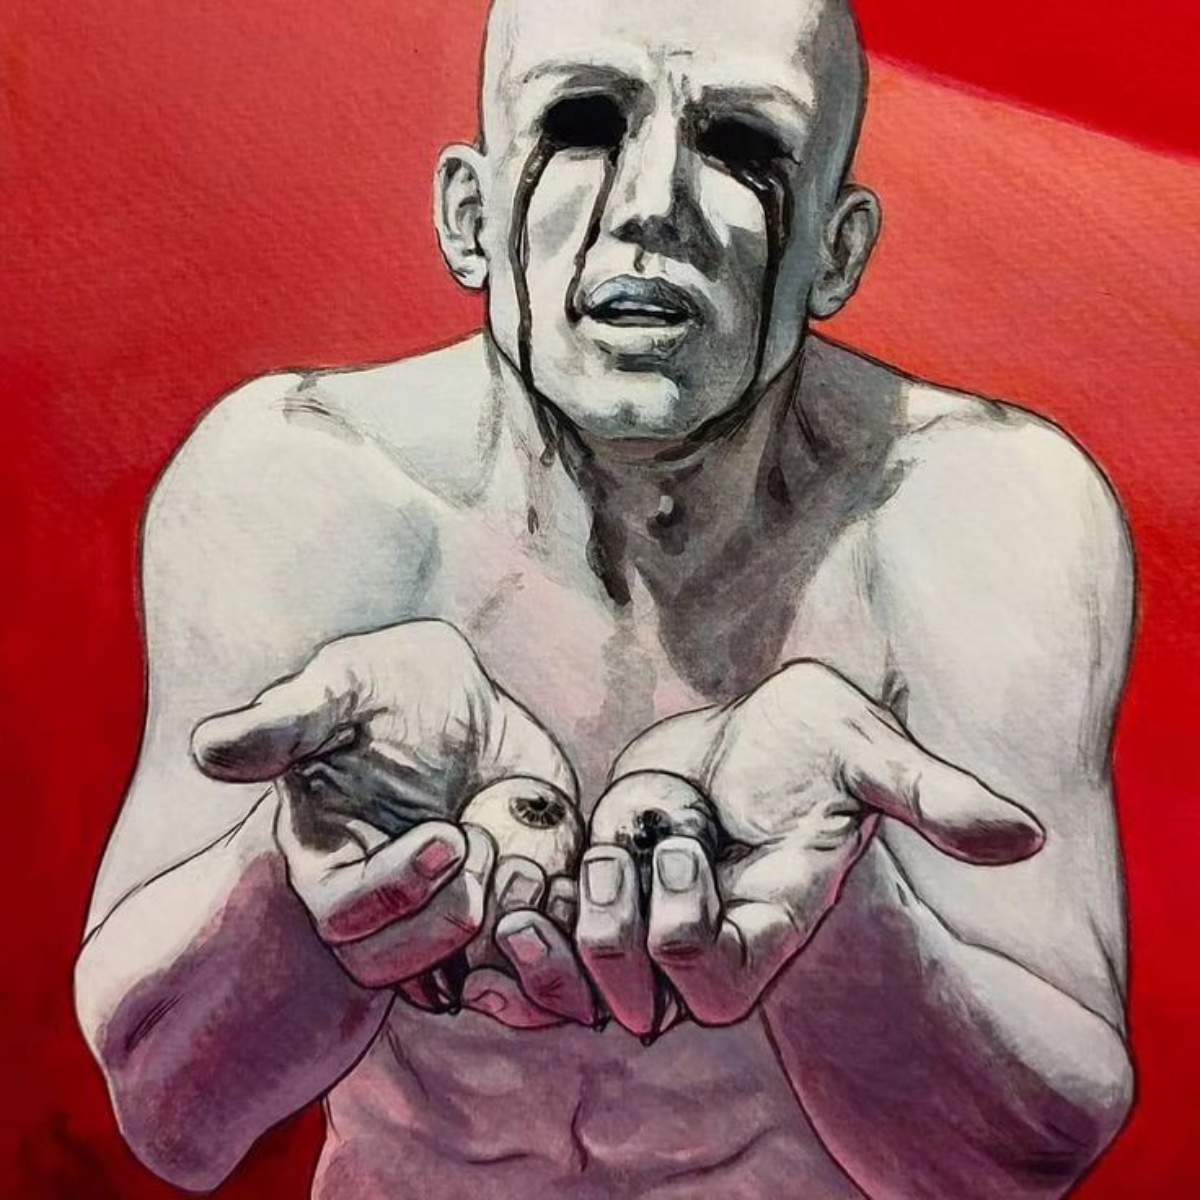
Think about different styles of horror. Some of the most famous Western horror art focuses on biomechanics and visceral body horror—flesh and machine fused together in grotesque ways. It’s often very external and physical. In contrast, many renowned Japanese horror artists lean into psychological dread. Their work is often quiet and slow, building an atmosphere of inescapable doom with images of uncanny transformations or impossible, repeating patterns that feel like a curse. Then you have some of the European surrealist masters, whose work isn’t about a monster chasing you at all—it’s about the soul-crushing despair of a hellish landscape. The environment itself is the monster.
So don’t just draw your creature in a blank void. Put it in a room, but make the room feel wrong. Add a dark stain spreading on the ceiling. Put a single child’s toy in an otherwise abandoned, adult space. Draw a chair facing the corner. These little details build a narrative and make the viewer’s imagination do the heavy lifting.
Taking Your Art to the Next Level
Making art is one thing, but if you want to get serious, there are a few practical things to keep in mind.
Building and Showing Your Portfolio
When you build a portfolio, you’re telling a story about your skills. Don’t include every doodle you’ve ever made. Pick your best 10-15 pieces that show a consistent style. It’s better to look like an expert in one thing than a beginner in many. When it’s time to share your work online, you need good photos or scans. A quick tip: If you’re using your phone, take the picture in bright, indirect natural light (like near a window on an overcast day). This avoids harsh shadows. Good lighting is way more important than a fancy camera.
Take Care of Your Body!
I mentioned ventilation, but the other big health risk for artists is Repetitive Strain Injury (RSI). Drawing for hours puts a ton of stress on your hands, wrists, and neck. I once had a crazy deadline and drew so much my hand was numb for three days. It was terrifying. Now, I force myself to take breaks. Every hour, get up, stretch your fingers and wrists, and look away from your desk. A good chair and posture aren’t luxuries; they’re essential if you want to do this for a long time.
A Final Thought…
I’ve shared the tools and tricks that work for me, but art isn’t a science. These aren’t rules; they’re starting points. The most important thing you can do is experiment. Try a new medium. Draw something that personally scares you. See what happens.
There will be days when every drawing you make is garbage. Every single artist has a giant pile of failed drawings hidden somewhere. But those aren’t failures—they’re lessons. They teach you what doesn’t work, which is just as valuable as knowing what does. So fill your sketchbook with both. Keep drawing, keep exploring, and keep bringing your nightmares to life. The world is waiting to see them.
Galerie d’inspiration
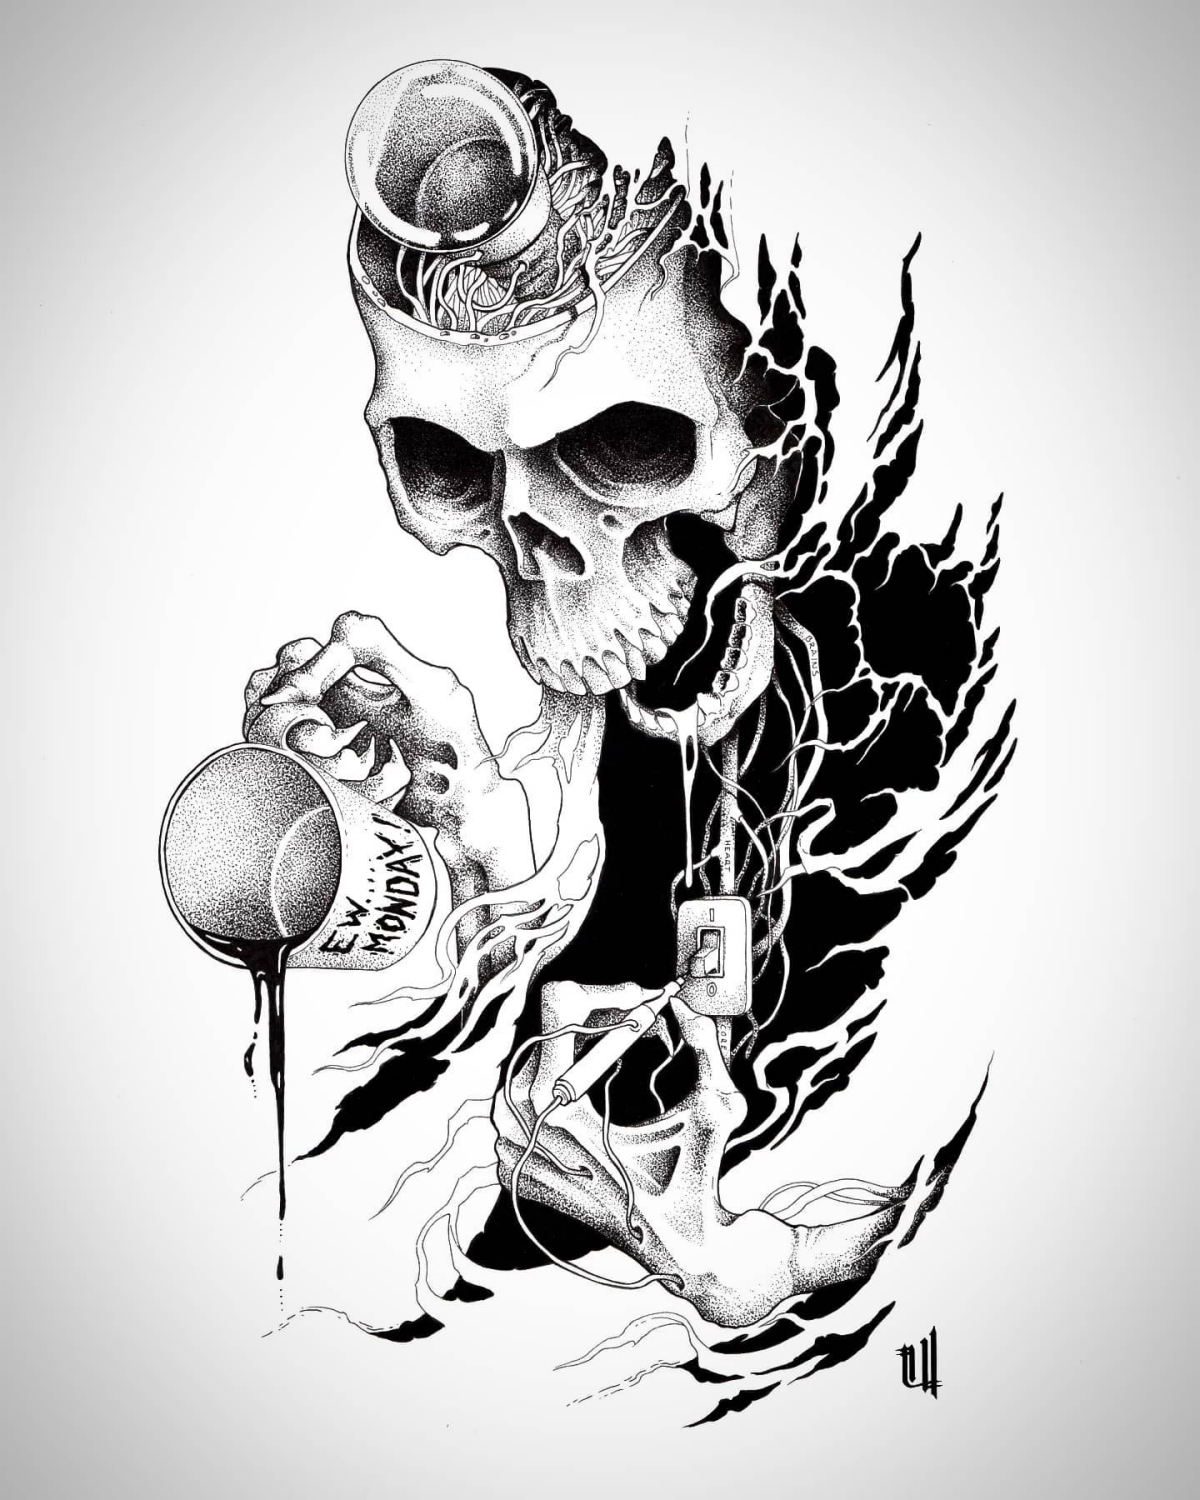
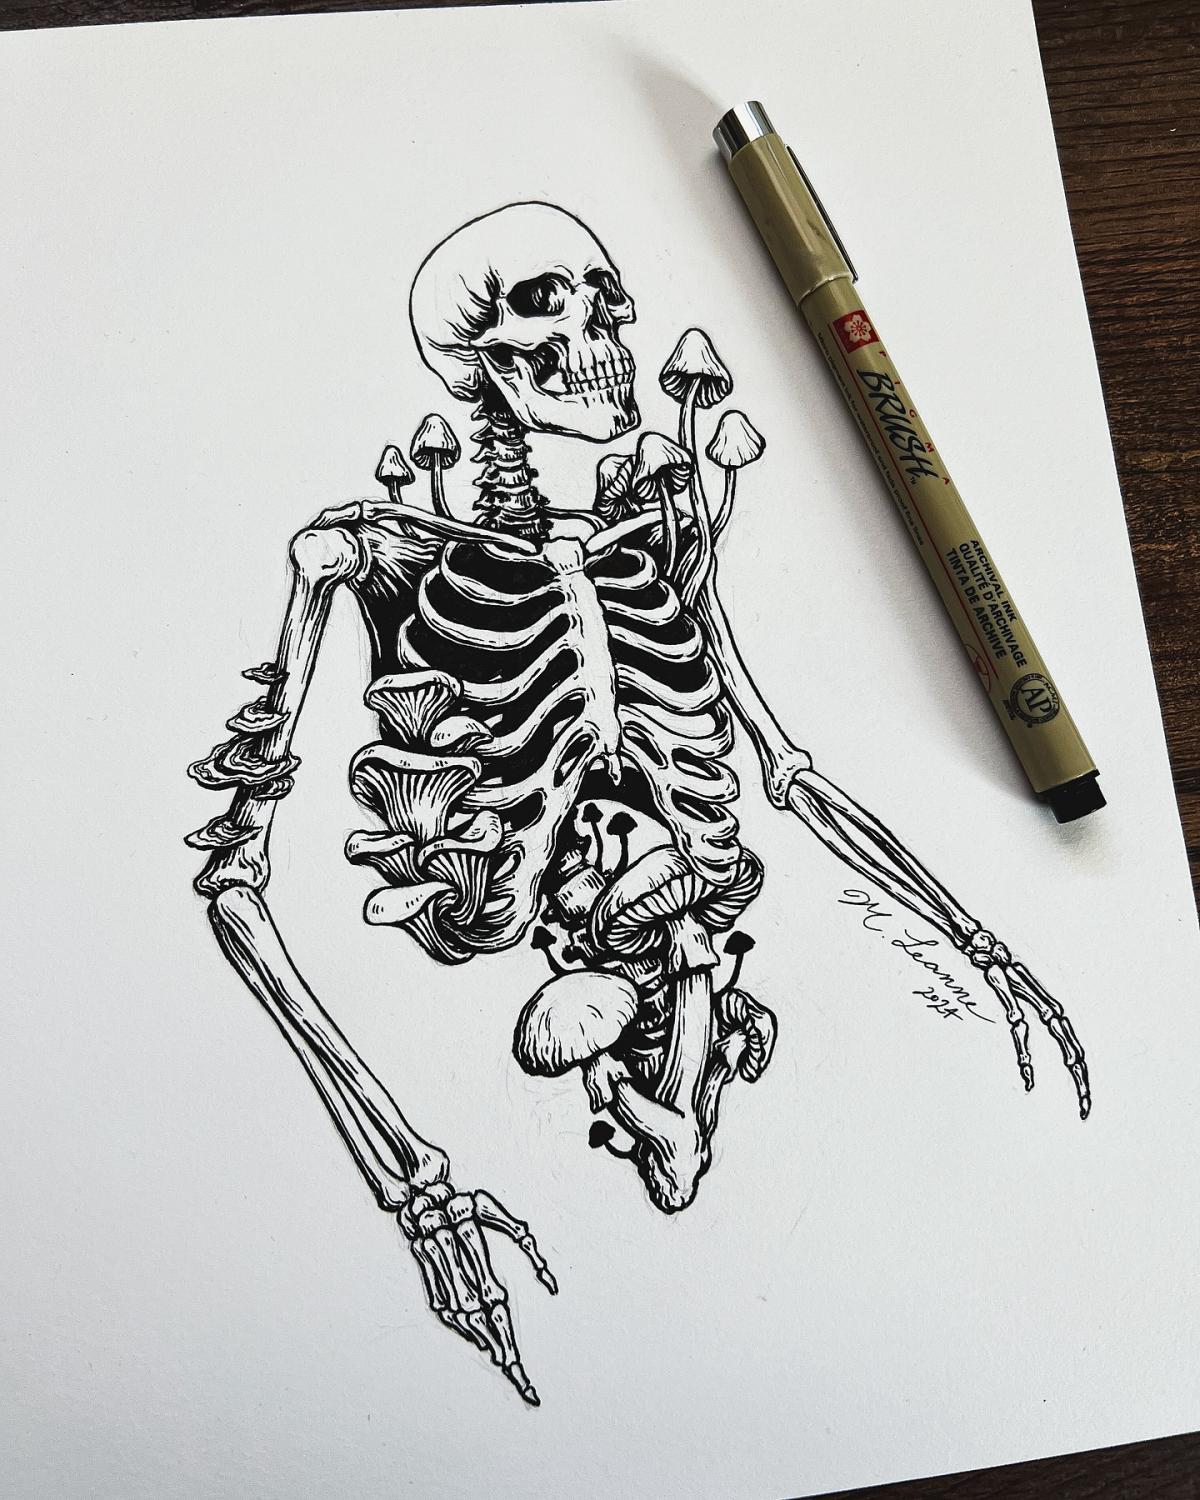
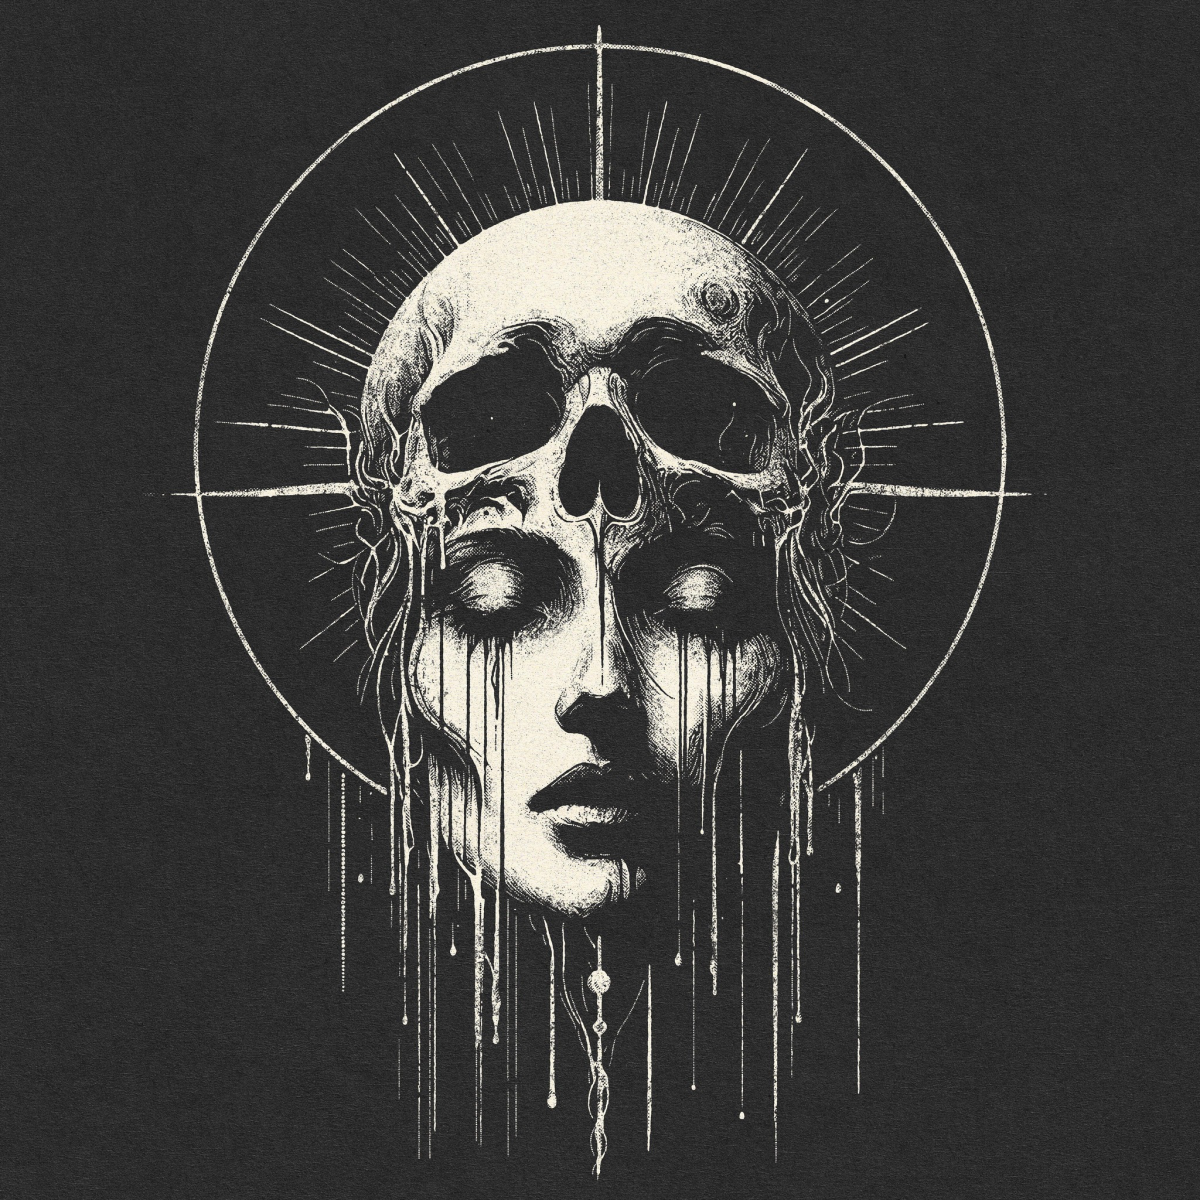
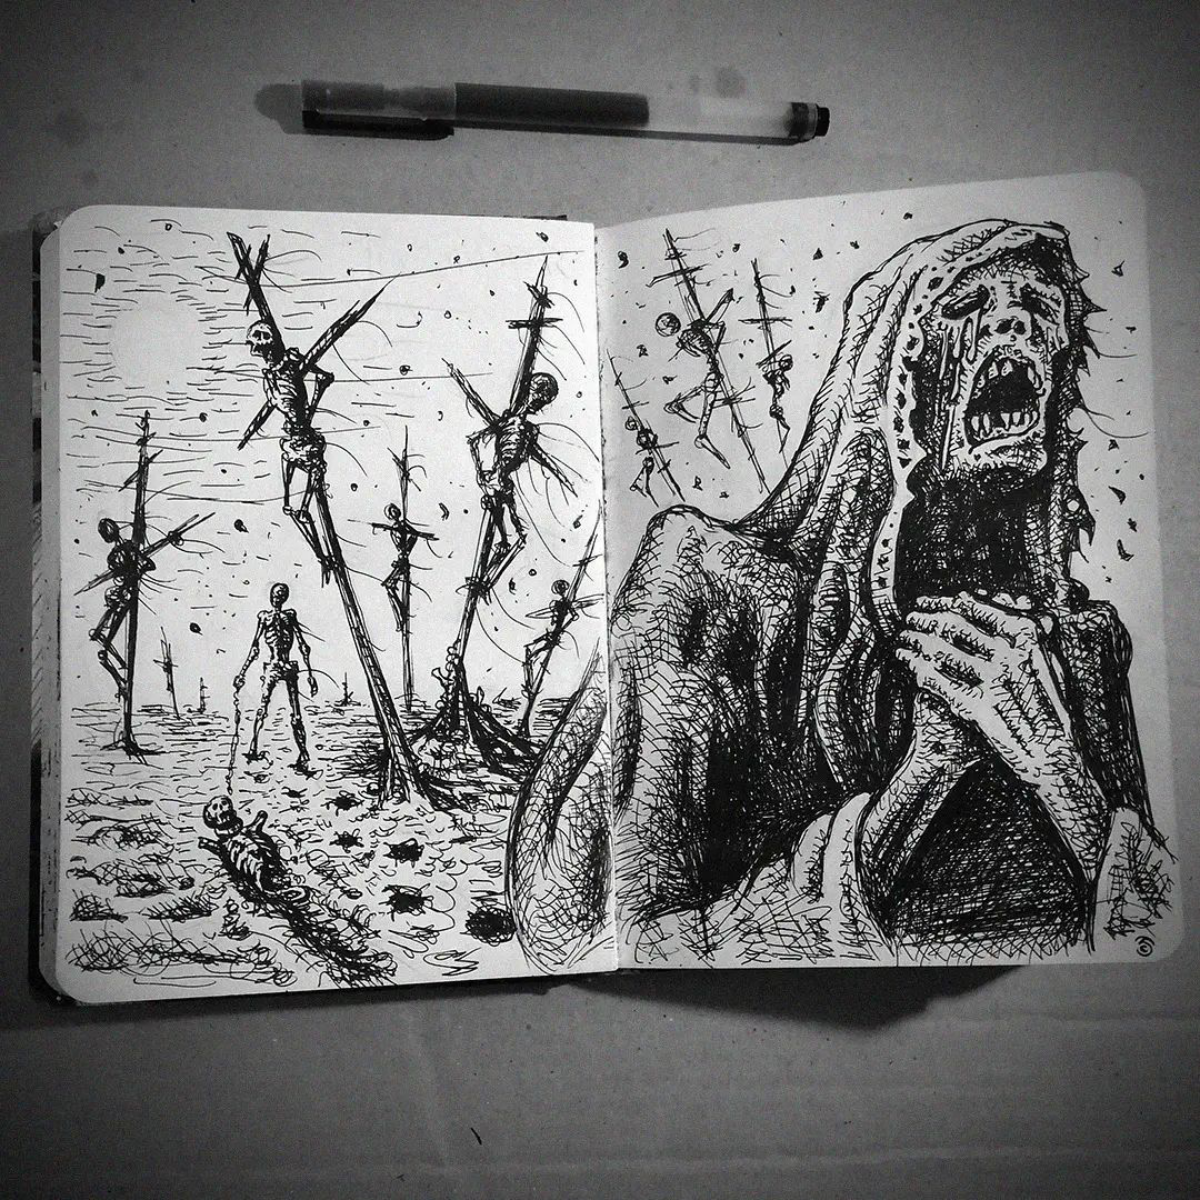
Don’t underestimate the power of a great inking pen. While digital is amazing, the tactile feel of a Sakura Pigma Micron pen on smooth Bristol board is a ritual in itself. The consistent, waterproof ink allows you to build layers of detail, from the finest vein on a creature’s wing to the deepest shadow in an empty eye socket, without smudging or bleeding. A simple 01 or 005 can be your best friend for a long time.
Ink Wash: For creating beautifully graded, atmospheric shadows with real ink. Simply dilute India ink (like Speedball Super Black) with water in a few separate pots to get different shades of grey. Apply with a soft brush for an instant eerie, watercolour-like effect.
Digital Airbrush: For a smooth, cinematic feel in software like Procreate or Photoshop. A soft, low-opacity airbrush is perfect for building up subtle gradients, mimicking fog, or adding a ghostly glow around a light source.
The choice depends on the mood: ink wash often feels more organic and raw, while a digital airbrush can deliver a cleaner, more polished horror vibe.
- What does it sound like when it moves? Is it a wet squelch, a dry skittering, or an unnerving silence?
- How does it hunt? Is it an ambush predator that mimics objects, or a relentless pursuer?
- What is its texture? Slimy, chitinous, hairy, or unnaturally smooth?
- Does it have a weakness, or a motivation beyond just being evil?
Thinking about these details, even if you don’t draw them all, will make your creature feel more real and, therefore, more frightening.
Do I really need to learn anatomy to draw monsters?
Absolutely. Think of it this way: you have to know the rules to break them effectively. Understanding how a real skeleton connects and how muscles wrap around bone is what allows you to twist it into something truly impossible and painful-looking. Drawing a creature with an extra joint in its arm is far more disturbing when the rest of the arm’s anatomy is disturbingly correct. It grounds your nightmare in reality.
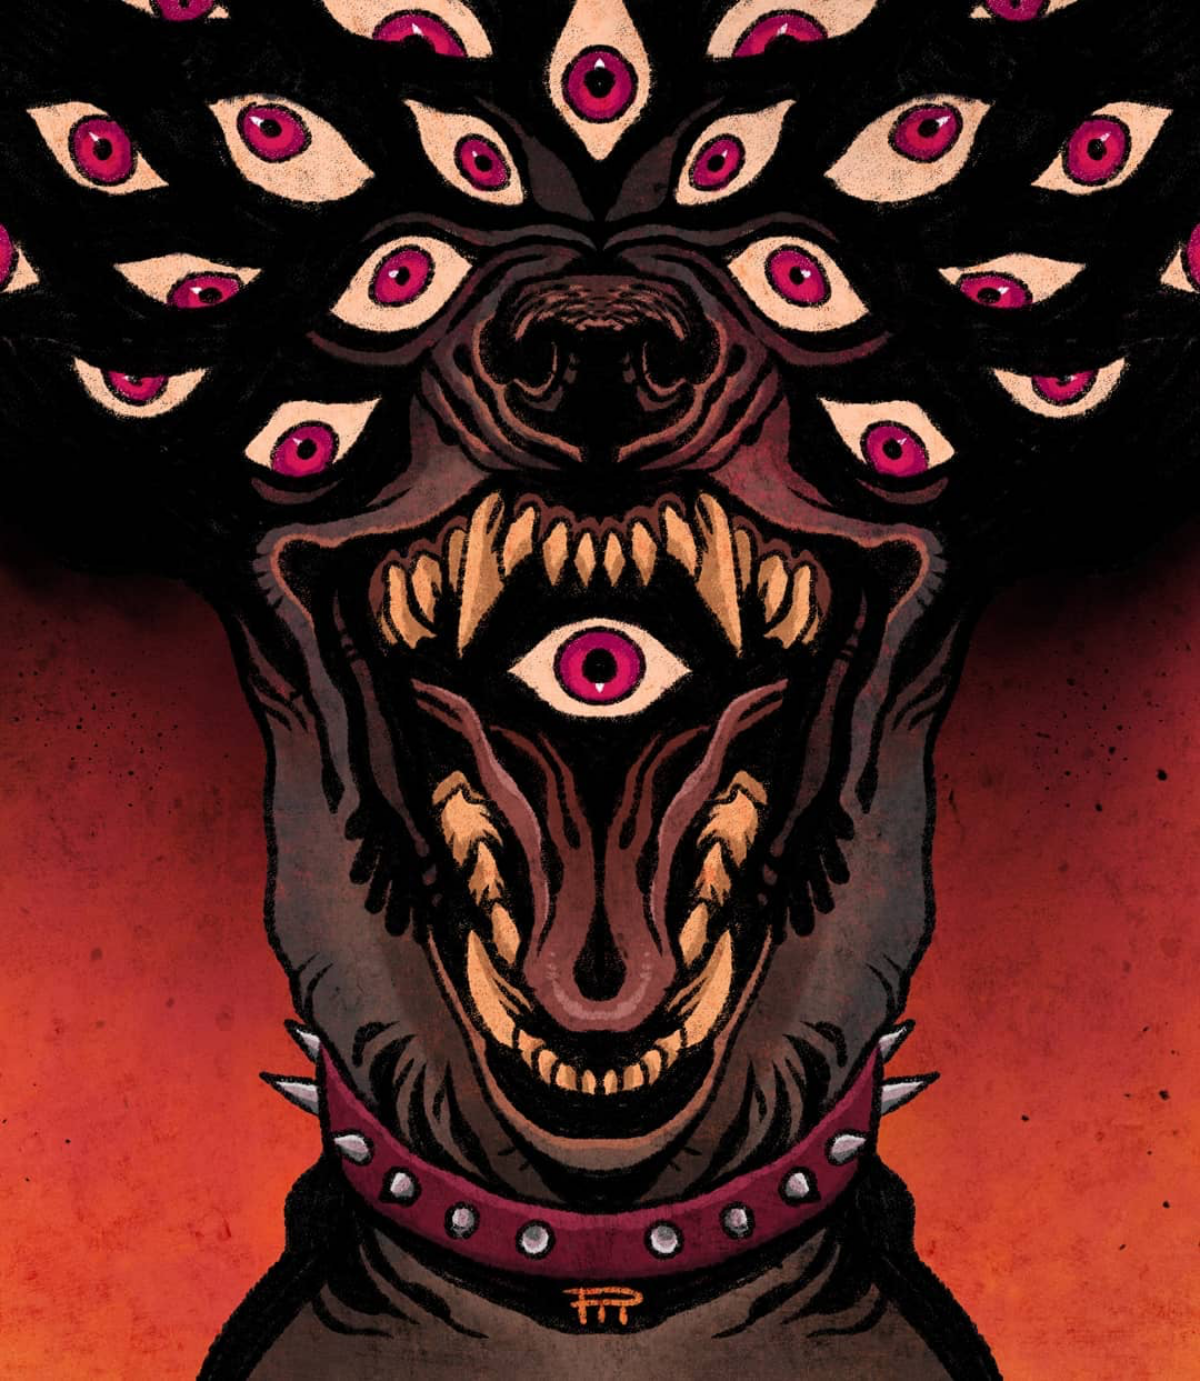
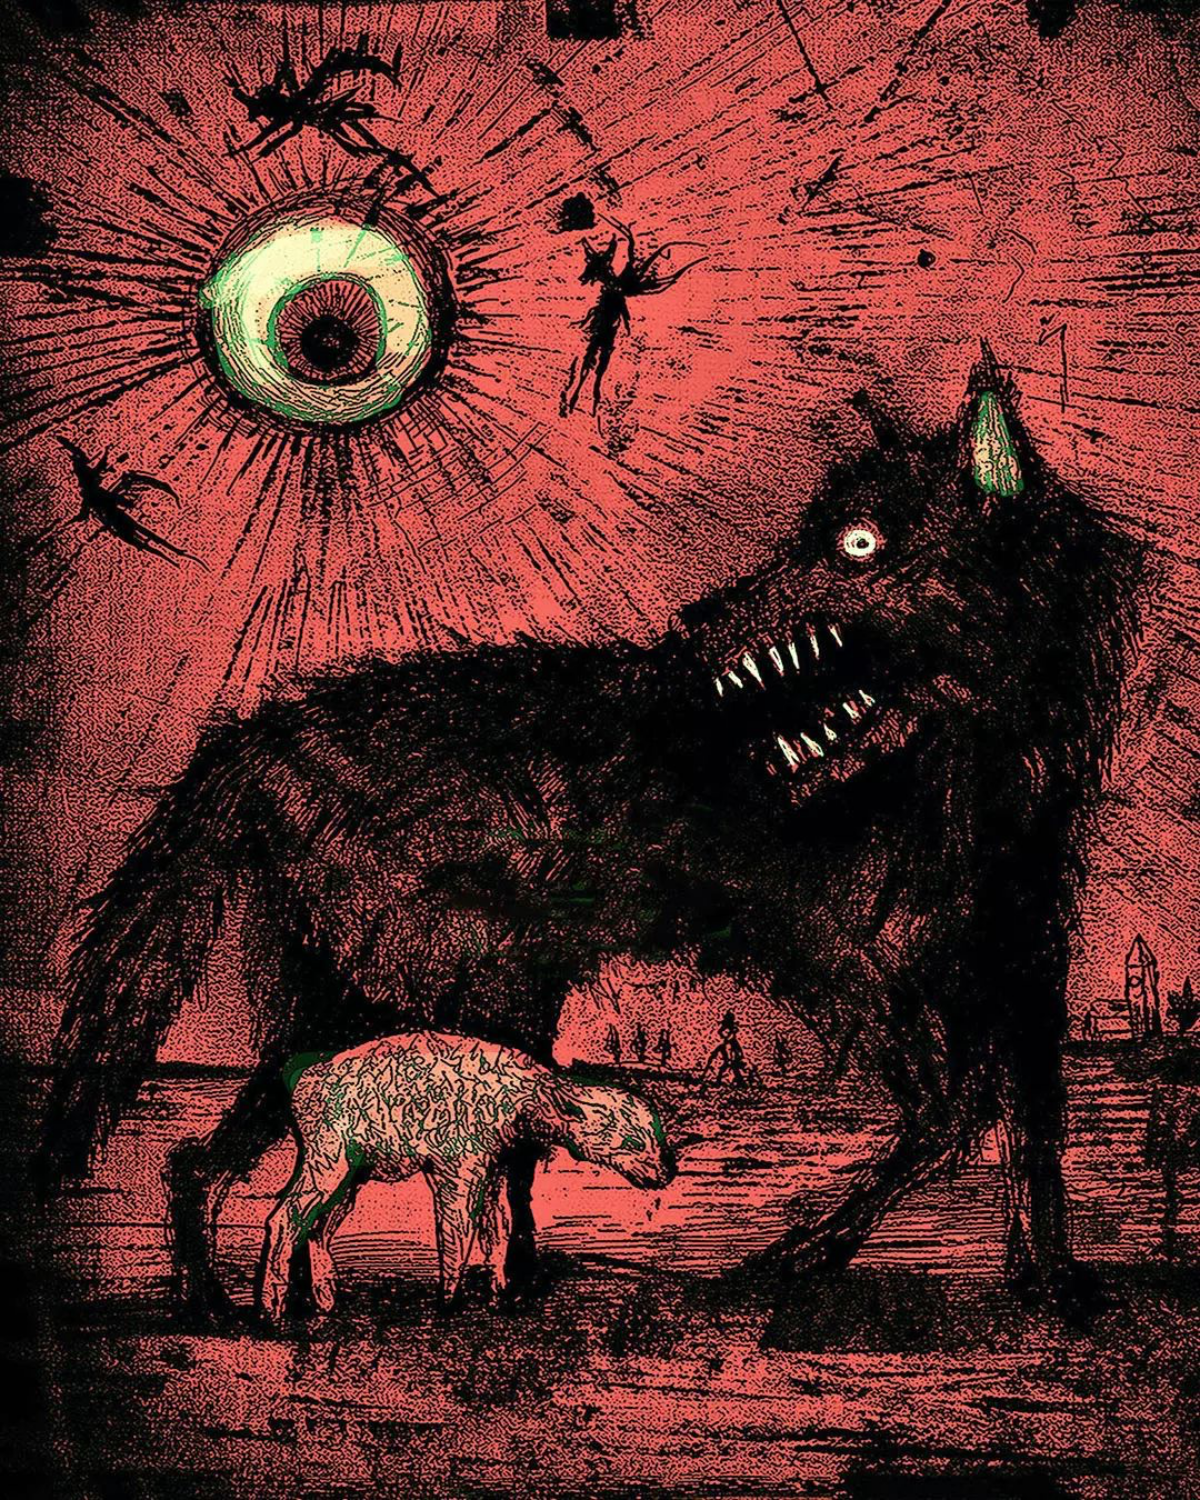
A 2014 study showed that our brains are hardwired to detect snakes and spiders, a lingering trait from our evolutionary past.
This is why arachnid and serpentine features are such a powerful cheat code in monster design. Adding too many legs, giving a humanoid figure a snake-like neck, or designing eyes in clusters instantly taps into a primal, subconscious fear. You’re not just drawing a monster; you’re triggering an ancient alarm bell in the viewer’s brain.
The biggest rookie mistake: Over-designing your creature. Piling on horns, tentacles, teeth, claws, and spikes all at once doesn’t make a monster scarier; it just makes it confusing. A truly iconic monster often has one or two terrifying key features that it’s built around. Think of the Xenomorph’s secondary jaw or Pyramid Head’s helmet. Simplicity is focus.
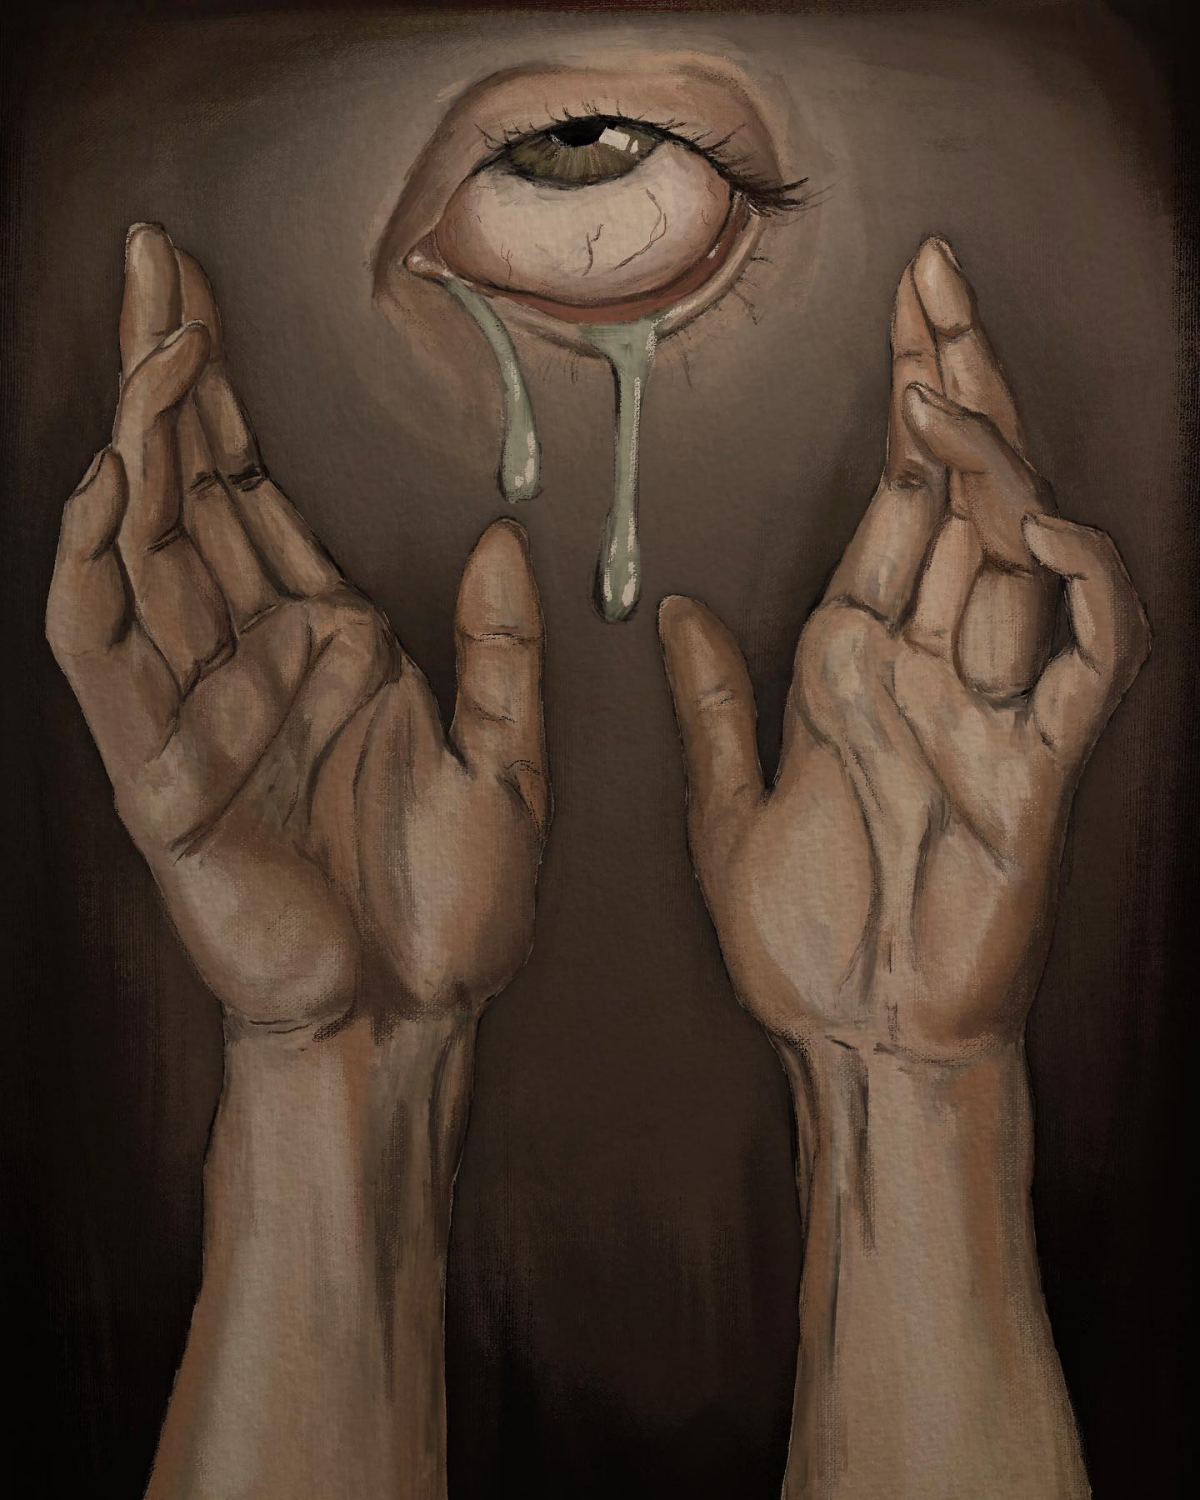
Explore the unnerving world of body horror. It’s not about gore; it’s about the violation of the natural form. Try incorporating these elements into your next sketch:
- Asymmetry: One side of a face is drooping, one arm is monstrously elongated.
- Fusion: Flesh fused with inorganic material like metal or rock.
- Repetition: A cluster of eyes where a mouth should be, or a hand made of fingers.
- Transparency: Skin so thin you can see the muscles and organs pulsing beneath.
- It adds a tactile, physical dimension to your 2D art.
- It can suggest decay, disease, or an alien biology.
- It makes your creature look like it could actually exist in our world.
The secret to incredible texture? Go beyond the pencil. For traditional art, try dabbing your drawing with a sponge, pressing crinkled foil into wet ink, or sprinkling salt onto a watercolor wash. For digital, download some grunge or concrete texture brushes and use them on a low-opacity layer to add instant grit and realism.
Feeling stuck in a rut of zombies and vampires? Look to international folklore for a wellspring of truly bizarre inspiration. Japanese Yōkai, for instance, offer concepts far stranger than typical Western monsters. Research the Rokurokubi (a woman whose neck can stretch to incredible lengths) or the Futakuchi-onna (a woman with a second, ravenous mouth on the back of her head). Their psychological horror will add a new, deeply unsettling dimension to your portfolio.
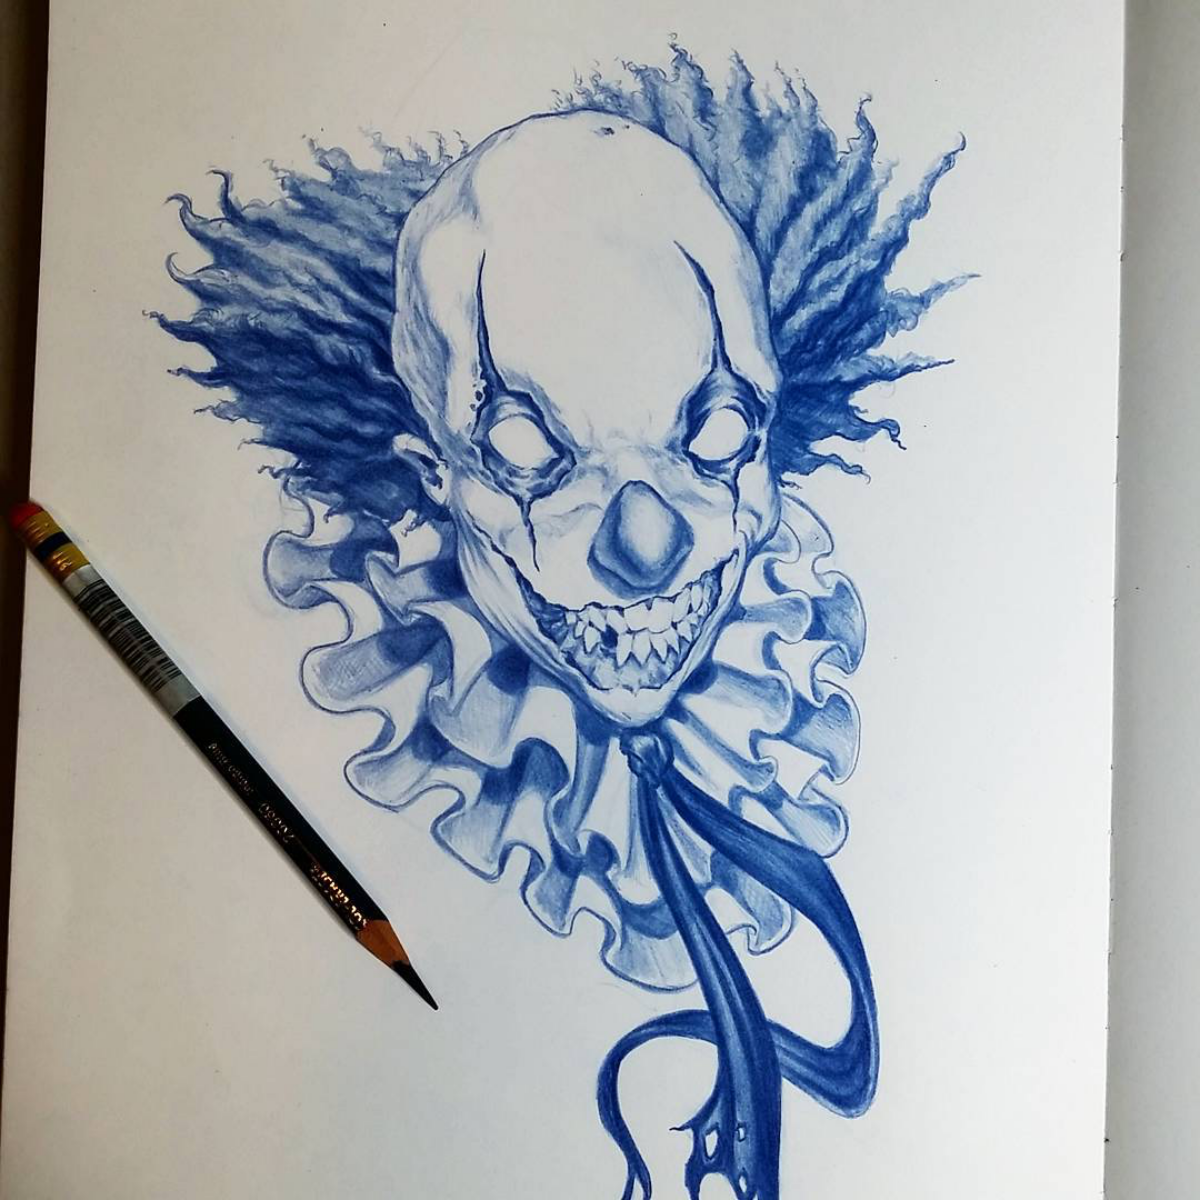
Don’t be afraid of the ballpoint pen. Seriously. While it might seem like a humble office supply, an artist like Shohei Otomo can create hyper-realistic, often unsettling masterpieces with nothing more than a standard Bic. It’s a fantastic tool for practicing pressure control—a light touch for faint lines, and heavy pressure for deep, rich blacks. It proves that the tool doesn’t make the artist.
For a truly unsettling look: Go for a sickly, bruised color palette. Forget bright primary colors. Instead, think in terms of colors that suggest something is wrong or decaying. Muted, jaundiced yellows, pale greens like oxidized copper, deep bruised purples, and fleshy, raw pinks can make a simple drawing feel profoundly unwell without a single drop of blood.