Your Guide to Drawing Incredibly Realistic Mushrooms
My fascination with mushrooms didn’t start with a foraging basket, but with a sketchbook and a handful of pencils. I’ve spent years as an illustrator, and fungi have always been one of my absolute favorite subjects to capture. There’s just something so honest about them—they’re complex without being flashy. But drawing them well takes more than just a little artistic talent; it requires a whole lot of patience and a real understanding of what you’re looking at.
In this article
- First, You Have to See: Mycology for Artists
- Gearing Up: The Illustrator’s Toolkit
- Mastering Textures That Bring Your Drawing to Life
- Finding Your Subjects (Even Without a Forest)
- Let’s Draw: From First Sketch to Finished Piece
- Taking It to the Next Level
- Final Thoughts: It’s All About Observation
- Galerie d’inspiration
A lot of folks start out with simple, cartoony mushrooms, and there’s nothing wrong with that! It’s a great way to begin. But if you want to truly capture their unique character, you have to learn to see them like a naturalist would. This guide is built on everything I’ve learned from countless hours of sketching in the field and in my studio. My goal is to get you past the five-step doodles and give you the foundation to create stunning, lifelike mushroom illustrations.
First, You Have to See: Mycology for Artists
Before a single pencil mark hits the paper, you need to understand the mushroom’s structure. Honestly, a drawing is only ever as good as the observation behind it. In botanical illustration, we don’t guess—we study. Knowing the right terms helps you look with purpose. It’s the difference between seeing a “stem” and really observing the unique texture and shape of a “stipe.”
The Basic Building Blocks of a Mushroom
Most of the classic gilled mushrooms you probably picture in your head share a similar anatomy. When I’m teaching, I always have students learn these parts first. Why? Because it helps you break down a really complex subject into simple, manageable shapes.
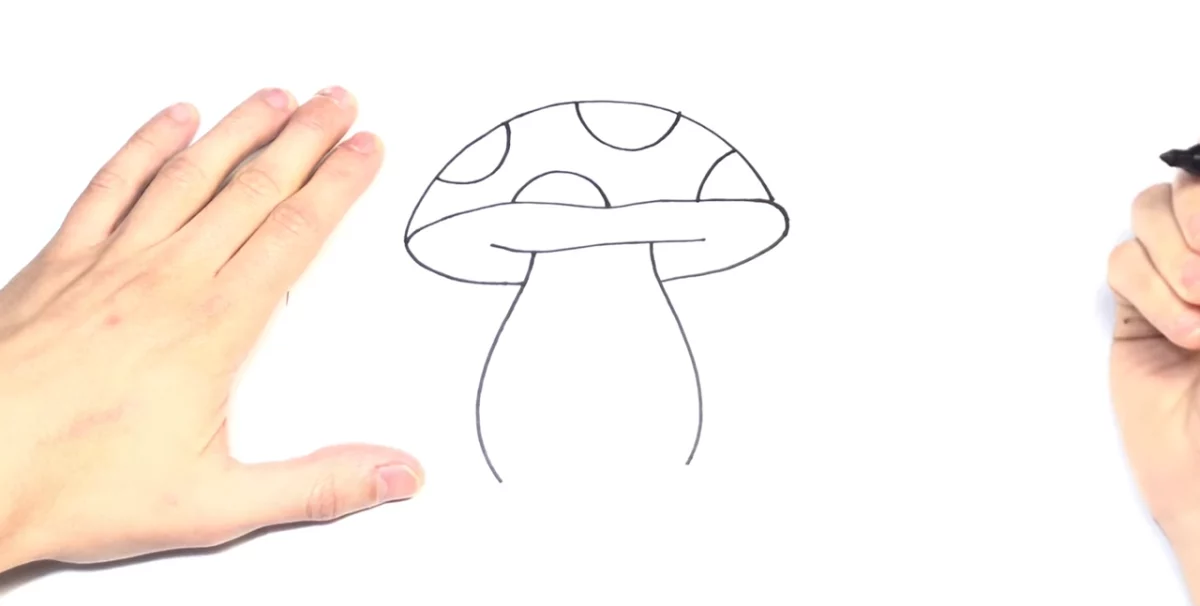
- Pileus (The Cap): This is the top part. It can be a classic dome, totally flat, or even shaped like a funnel. Pay close attention to its surface—is it smooth, scaly, or maybe even a little slimy?
- Hymenium (The Underside): This is where the magic happens—the spore-producing surface under the cap. It’s a critical detail for any realistic drawing and usually consists of gills, pores, or even teeth.
- Gills (Lamellae): Think of these as the thin, papery ribs you see on many mushrooms. A key detail is noticing how they attach to the stem. Do they connect directly, run down it, or stop just short? This little detail adds a ton of realism.
- Pores: Some mushrooms, like Boletes, have a spongy layer of tiny tubes that look like pores instead of gills. Drawing this requires a totally different approach than drawing gills.
- Stipe (The Stem): This is the stalk holding up the cap. It’s almost never a perfect cylinder. Look closer. It might be tapered, have a bulbous base, or feature a unique texture like a net pattern.
- Annulus (The Ring): Sometimes you’ll see a little ring on the stipe. That’s what’s left of a veil that protected the gills when the mushroom was young.
- Volva (The Cup): Some mushrooms, including some of the most poisonous ones, sprout from a cup-like sac at the base. You might have to gently move some dirt to see it, but it’s an essential feature to capture if it’s there.
Learning these parts isn’t just for a pop quiz. It directly tells you how to draw. It shows you where shadows will naturally fall, how to orient your lines, and which features really define the mushroom’s personality.
Why Anatomy Shapes Your Drawing Technique
The structure of a mushroom tells you exactly how you need to draw it. For example, capturing gilled mushrooms is all about rendering dozens of fine, parallel lines that all follow a gentle curve. It’s an exercise in graceful linework.
But then you have Boletes. With their pored surfaces, you have to switch gears entirely. Your best bet is using stippling—building up tone with thousands of tiny dots—to create that distinct spongy texture. Or think about Morels, with their deeply pitted and ridged caps. That’s a pure study in light and shadow. You just can’t draw a Morel with the same smooth lines you’d use for a simple Button mushroom. Knowing the type helps you pick the right tool for the job before you even start.
Gearing Up: The Illustrator’s Toolkit
Your tools don’t need to be fancy or expensive, but they do need to be right for the job. I’ve seen so many beginners get frustrated with their results, only to realize the problem wasn’t their skill, but their paper or pencil choice. Here’s a practical look at what I keep in my bag.
Your Starter Kit: What to Buy and Where
You can get a fantastic beginner’s setup without breaking the bank. A good starting point is about $20 to $30. You can find all of this stuff at big art supply stores like Blick Art Materials, or even on Amazon.
- Graphite Pencils: You’ll want a small range. I’d suggest starting with a 2H for light initial sketches (it erases like a dream), an HB for defining the main shapes, and a 2B for creating rich, dark shadows. A small set of 4-6 pencils is usually under $10.
- Paper: This is important! For graphite or pen, a smooth Bristol board (around 100 lb) is perfect. It’s super smooth, so ink won’t feather out. Expect to pay about $10-$15 for a good pad. If you think you might want to try watercolor later, you HAVE to use watercolor paper (140 lb cold-press is the standard). Anything less will buckle and warp the second it gets wet. Seriously, this is a non-negotiable rule.
- Pens: For inking, you can’t go wrong with pigment-based fine-liners. The pros love them because the ink is archival and won’t fade. A set of three with varied tip sizes (like 005, 01, and 03) gives you a ton of flexibility. The 005 is a must-have for tiny details like gills.
- Erasers: A kneaded eraser is your best friend. It costs about $2 and lifts graphite off the page without smearing or damaging the paper. You can even mold it into a fine point to erase tiny areas.
- Blending Tools: A blending stump is basically a stick of tightly rolled paper that helps you create smooth, soft shading. Just use it sparingly! It’s easy to over-blend and make your mushroom look like it’s made of plastic. Remember, texture is key.
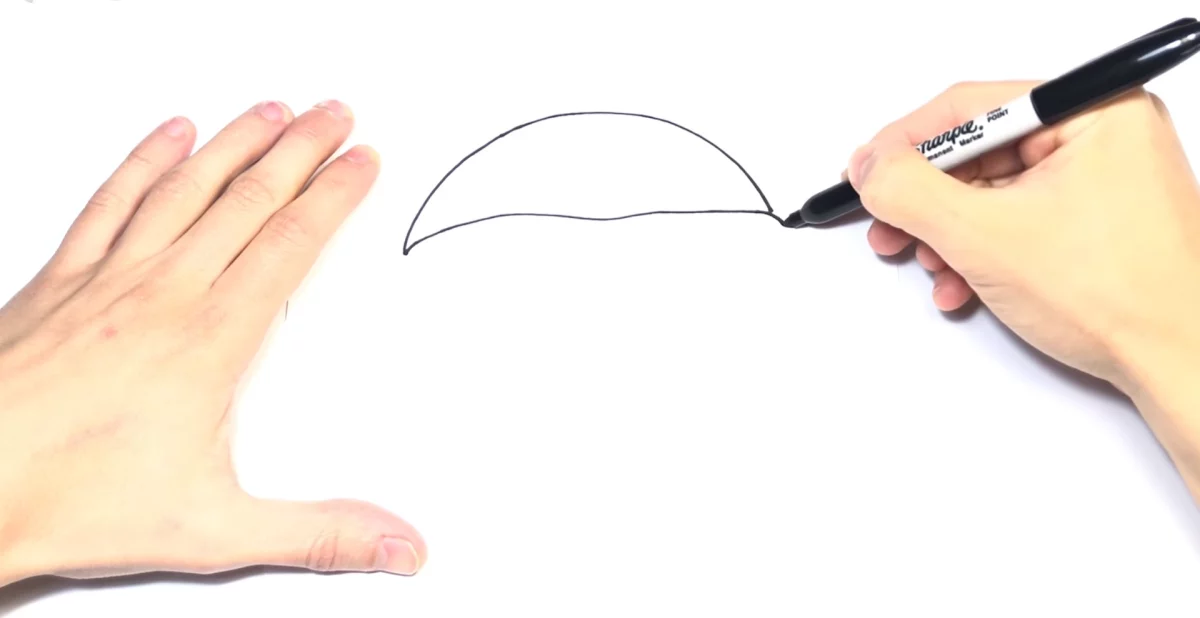
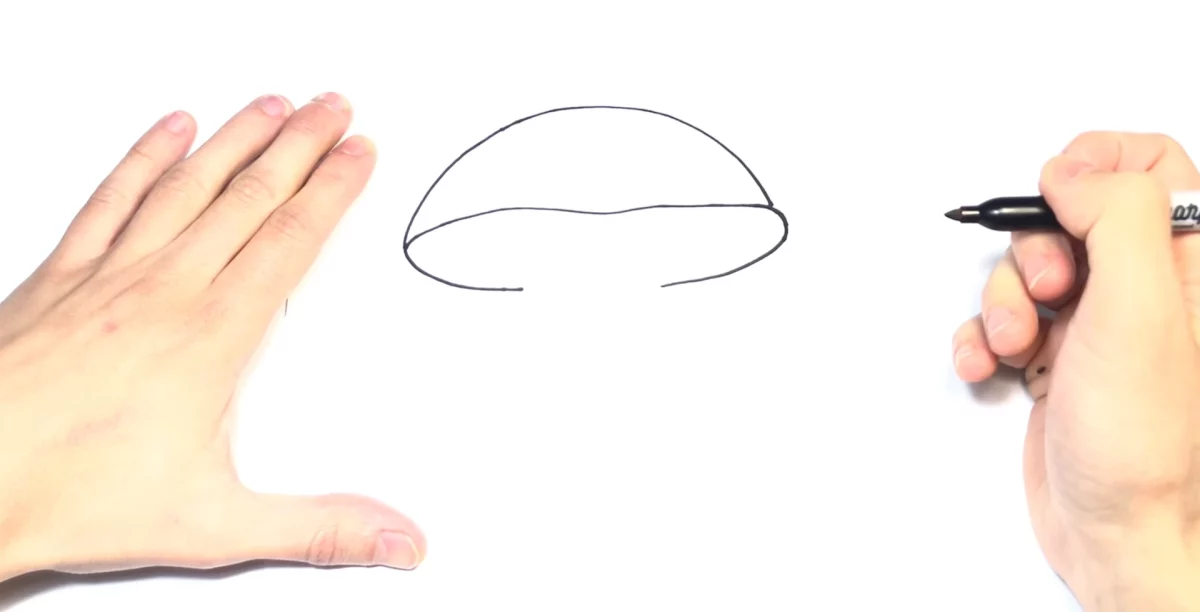
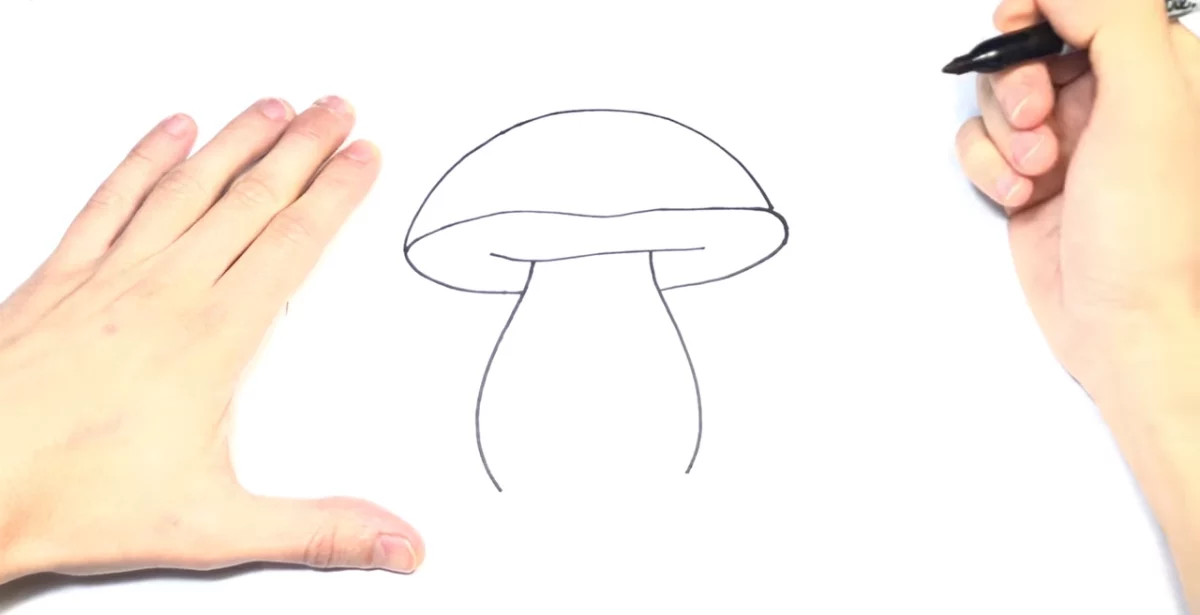
The Foundational Sketch: Building the Form
Every single great drawing starts with a solid, simple foundation. We use basic geometric shapes to lock in the placement, proportions, and perspective before we even think about details.
- Block-In with Basic Shapes: Just look at your mushroom. The cap is basically an ellipse or a circle. The stipe is a cylinder. Lightly sketch these forms with your 2H pencil. Don’t press hard!
- Nail the Perspective: This is the most common mistake I see beginners make. If you’re looking down at the mushroom, the ellipse of the cap will be wide and round, and you’ll see the underside, too. If you’re at eye-level, that same ellipse will be a very thin, flat line. Getting this right is what gives your drawing that 3D pop.
- Refine the Contours: Now, start adjusting those simple shapes to match the real mushroom. Is the cap perfectly even? Probably not. Does the stem get wider at the base? Draw that. This is where your observation skills really kick in.

Mastering Textures That Bring Your Drawing to Life
Texture is everything. It’s what makes a drawing of a mushroom feel real enough to touch. Each surface needs a slightly different technique.
Rendering Gills Without Losing Your Mind
Gills can look super intimidating. The secret? You only need to suggest them. Your brain will automatically fill in the rest.
- Find Your Center: The gills all radiate out from the stipe. Imagine a central point where the stem meets the cap—all your gill lines should point toward it.
- Follow the Curve: Gills aren’t straight. They follow the curve of the cap’s underside. So, don’t draw straight lines! Each line should have a subtle curve, like a slight smile or frown, depending on your angle.
- Vary Your Lines: Use a light touch and vary your line weight. Make the lines darker and closer together near the stem, and lighter and more spaced out as they reach the edge of the cap. This creates an incredible sense of depth.
- Quick Hack: If you’re struggling, try this. Draw the two gills on the very outside edges first. Then draw one right in the middle. Now, just fill in the spaces between them. It feels way less overwhelming than starting from the center and working your way out.
Rendering Pores and Stems
For those spongy pore surfaces, use stippling—making tons of tiny dots with a sharp pencil or a fine-point pen. The more dots you place in an area, the darker it will appear. For a fibrous stem, use long, vertical strokes that follow the curve. For a netted texture (like on some Boletes), lightly sketch the diamond pattern, but pay close attention to how it wraps around the cylindrical form. A lesson I learned the hard way: if you draw that net pattern flat, the whole stem will look flat. It has to curve with the form!
Finding Your Subjects (Even Without a Forest)
The absolute best way to learn is by drawing from a real-life object. Photos are okay, but they flatten everything out and you lose all the subtle details.
No Forest? No Problem! Your Grocery Store Is Your Studio
Heads up, city dwellers! You don’t need to go on a deep-woods expedition to find a great subject. Your local grocery store is an amazing resource. Pick up a pack of cremini, a big portobello, or even some simple button mushrooms. They are perfect for practicing form, texture, and especially those tricky gills. A portobello cap is one of the best models for learning gill structure, period.
Sketching in the Field (or at Home)
If you do get out into nature, try to draw the mushroom right where it’s growing. I carry a small folding stool for this exact purpose. If you can’t, take good reference photos. Quick tip: a great set of reference photos includes at least three angles: a shot from directly above, a shot from the side at ground-level, and a clear shot of the underside. Those three photos give you all the information you’ll need back at your desk.
A Crucial Safety Warning
Okay, let’s pause for a second, because this is SERIOUSLY important. Many beautiful mushrooms are dangerously, fatally poisonous. Some toxic species look almost identical to edible ones. The Destroying Angel, for example, is a gorgeous, pure white mushroom that is responsible for many tragic poisonings.
NEVER, EVER eat a wild mushroom you’ve identified from a book, an app, or an article like this one. Identification for consumption has to be 100% certain and is best left to a seasoned local expert. This guide is for artistic reference only. A mistake can kill you. End of story.
Let’s Draw: From First Sketch to Finished Piece
Ready to apply all this? Let’s walk through a couple of projects. Give yourself a good 30-60 minutes for each one and don’t rush the process.
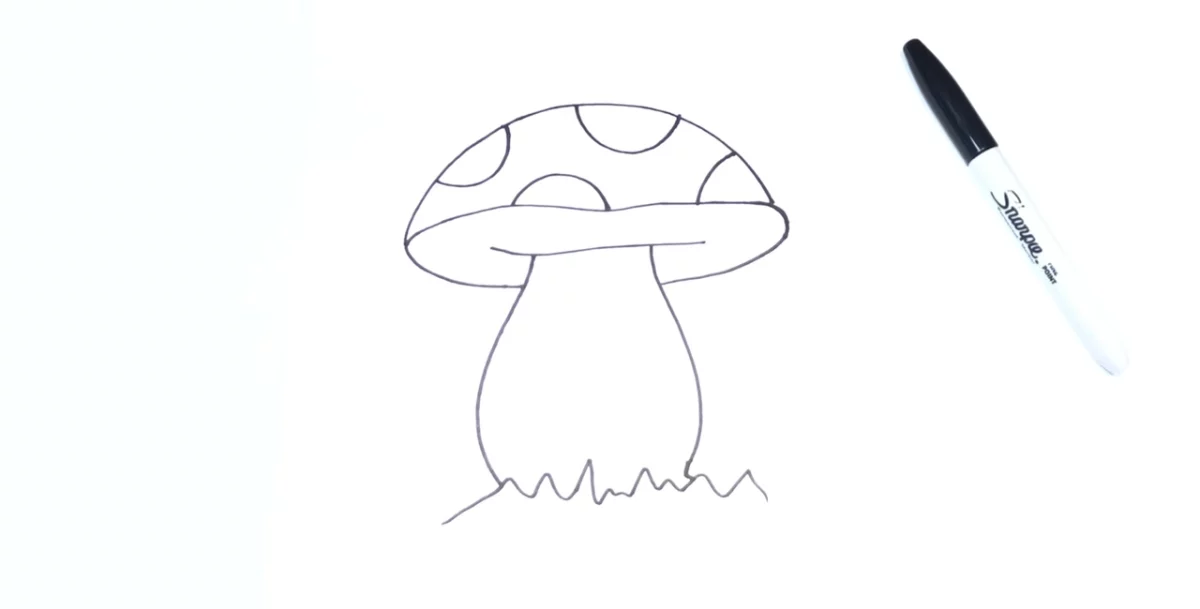
Beginner Project: A Grocery Store Button Mushroom
This is a fantastic first subject. It’s simple, classic, and you can buy one for about 25 cents.
- Block-In: Use a 2H pencil. Draw a wide ellipse for the cap and a short, stout cylinder for the stipe.
- Contour: Refine those shapes. The cap is a gentle dome. The stipe might thicken a bit toward the bottom. If the veil is broken, you might see remnants of a ring.
- Gill Placement: Just suggest the direction of the gills with a few light, curved, radiating lines. Focus on getting the flow right.
- Add Form with Shadow: Pick a light source. Lightly shade the side of the stipe and cap that are away from the light. The area where the gills meet the stipe will be the darkest. Use your HB or 2B pencil for this.
- Detailing: Now add a few more gill lines, keeping them light and curved. Use the sharp tip of your 2B pencil to add dark accents in the deepest shadows. A few fine, vertical lines on the stipe will give it a nice fibrous texture. Finally, gently lift away your initial guidelines with your kneaded eraser.
Intermediate Project: A King Bolete (or Portobello)
This mushroom has a thick, heavy presence. Your goal is to capture that weight and unique texture.
- Block-In: The cap is a thick, bun-like shape. The stipe is wide and often bulbous, almost like a barrel. Block these big shapes in with your 2H.
- Contour and Form: Refine those outlines. Really pay attention to that spongy, pored underside—it’s a distinct layer. (If you’re using a portobello, this is where you’d focus on the dense, dark gills).
- Shading and Texture: Shade the main forms to make them feel round and heavy. If you’re drawing a Bolete’s pore surface, use stippling. More dots in the shadow areas, fewer in the light. If you’re drawing the portobello’s gills, use those dark, radiating lines.
- Refinement: Deepen your shadows with a 2B or 4B pencil to make the mushroom feel solid and substantial. This mushroom has real heft, and your shading should reflect that.
Taking It to the Next Level
A drawing of a single mushroom is a study. A composition tells a story. This is where you can really start to have fun and develop your own style.
Building a Composition
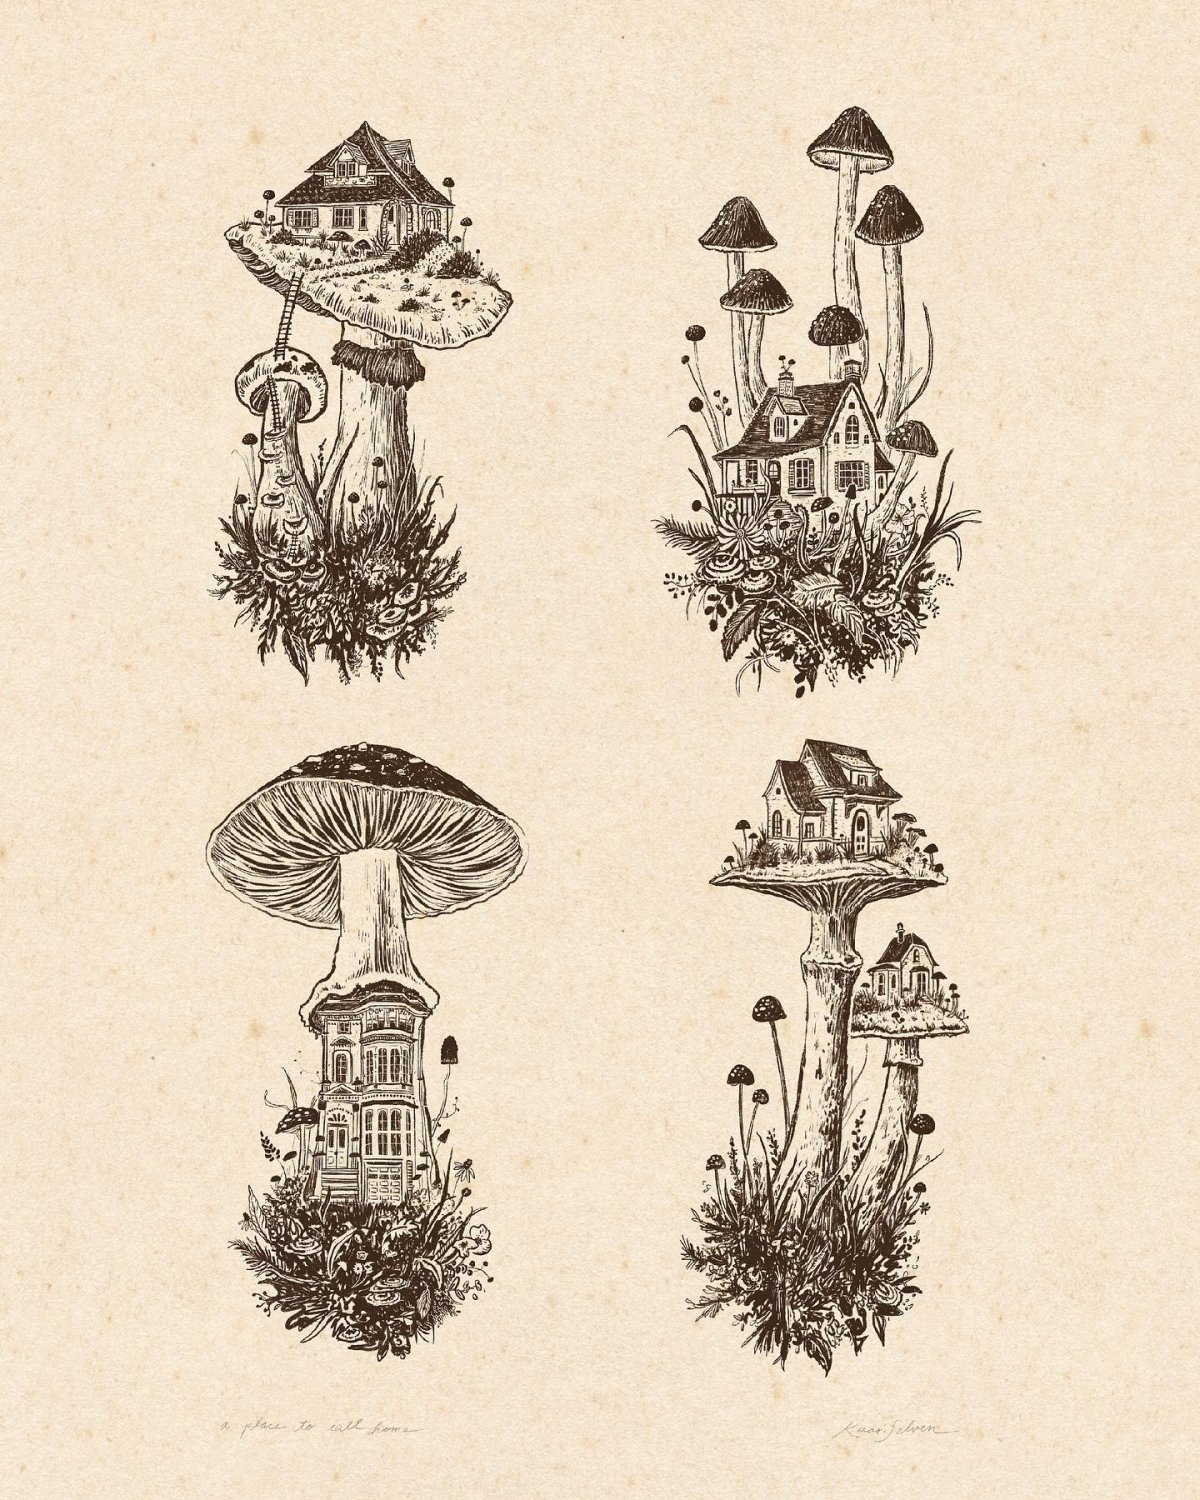
Mushrooms don’t grow in a white void. They push up through fallen leaves, erupt from decaying logs, or sprout from mossy ground. Drawing a bit of this environment anchors your subject and makes for a much more compelling image. A great piece of advice I once got was to always include a bit of whatever the mushroom is growing on. A drawing of an Oyster mushroom, for example, just feels incomplete without the piece of wood it’s growing from.
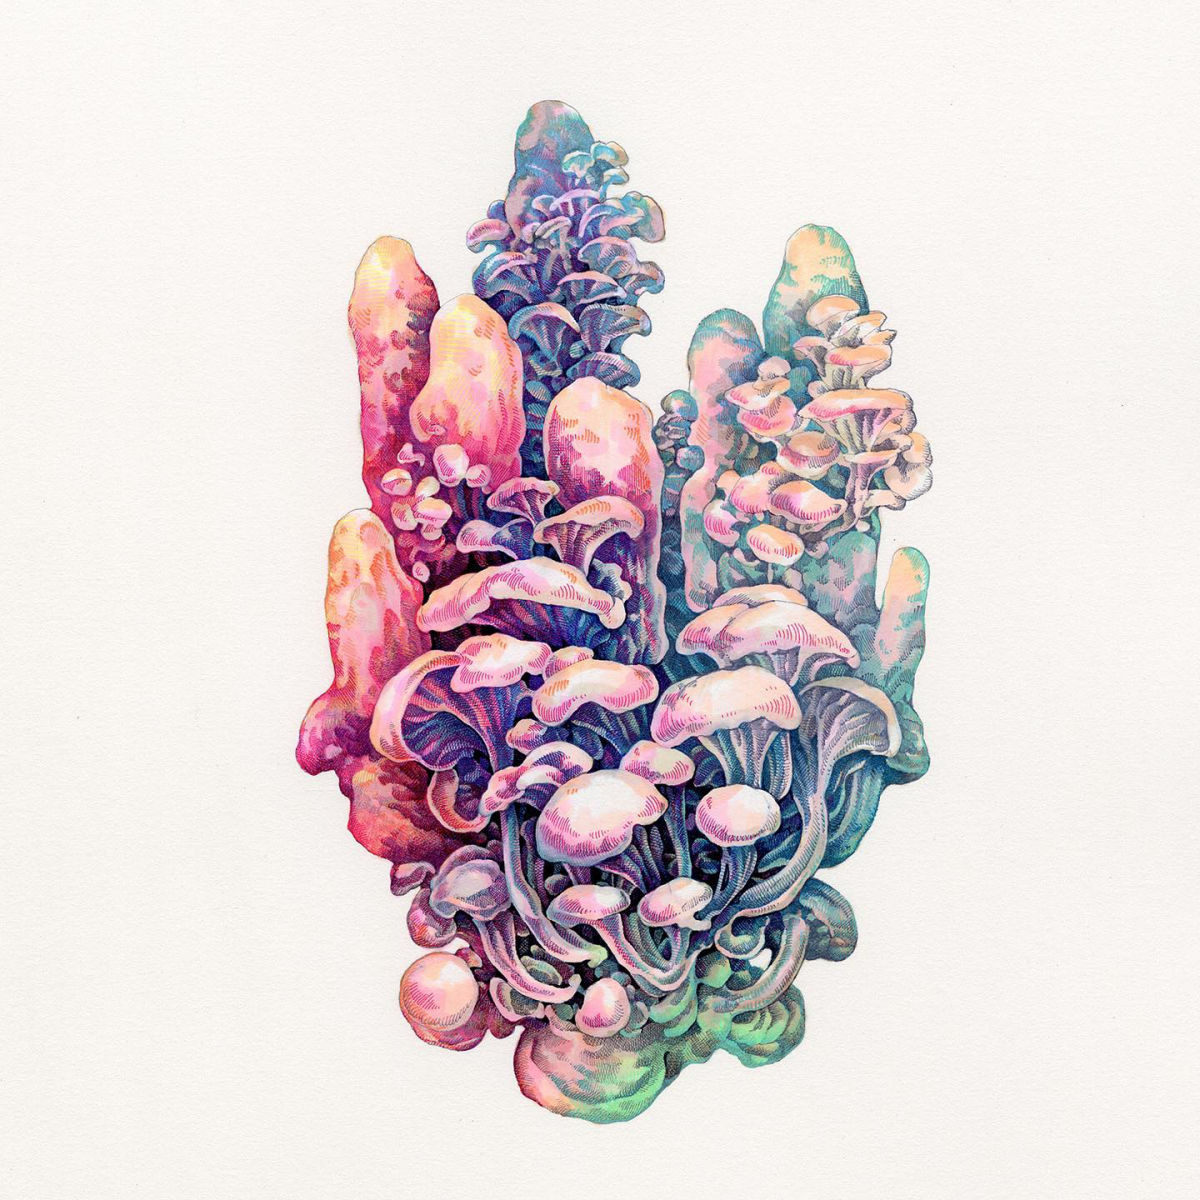
Troubleshooting Complex Clusters
Drawing a whole clump of mushrooms can seem tricky, but it’s manageable if you tackle it right. First, squint your eyes and see the entire cluster as one big shape. Lightly sketch that overall silhouette. Then, start picking out the individual caps that are in front. Pay very close attention to overlaps and the shadows they cast. The mushroom in front will cast a dark shadow on the one behind it, and it’s those shadows that create depth and stop your drawing from looking like a flat mess.
What About Color?
By the way, once you get comfortable with these drawing skills, you are perfectly set up to try watercolor. All the same principles of form, light, and texture still apply—you’re just swapping your pencil for a brush. Think of your detailed drawing as the perfect roadmap for your painting.
Final Thoughts: It’s All About Observation
Drawing mushrooms is a deeply rewarding practice that connects you to the natural world and seriously sharpens your observation skills. It teaches you to notice the tiny, intricate details of life that most people walk right past. Don’t get discouraged if your first few drawings look a little lopsided or flat. My early sketchbooks are full of them! Improvement doesn’t come from some innate talent; it comes from practice and from the time you spend truly looking. The real goal isn’t to create a perfect drawing. The goal is to learn how to see. Now grab your sketchbook and go find a subject. They’re waiting for you.
Galerie d’inspiration

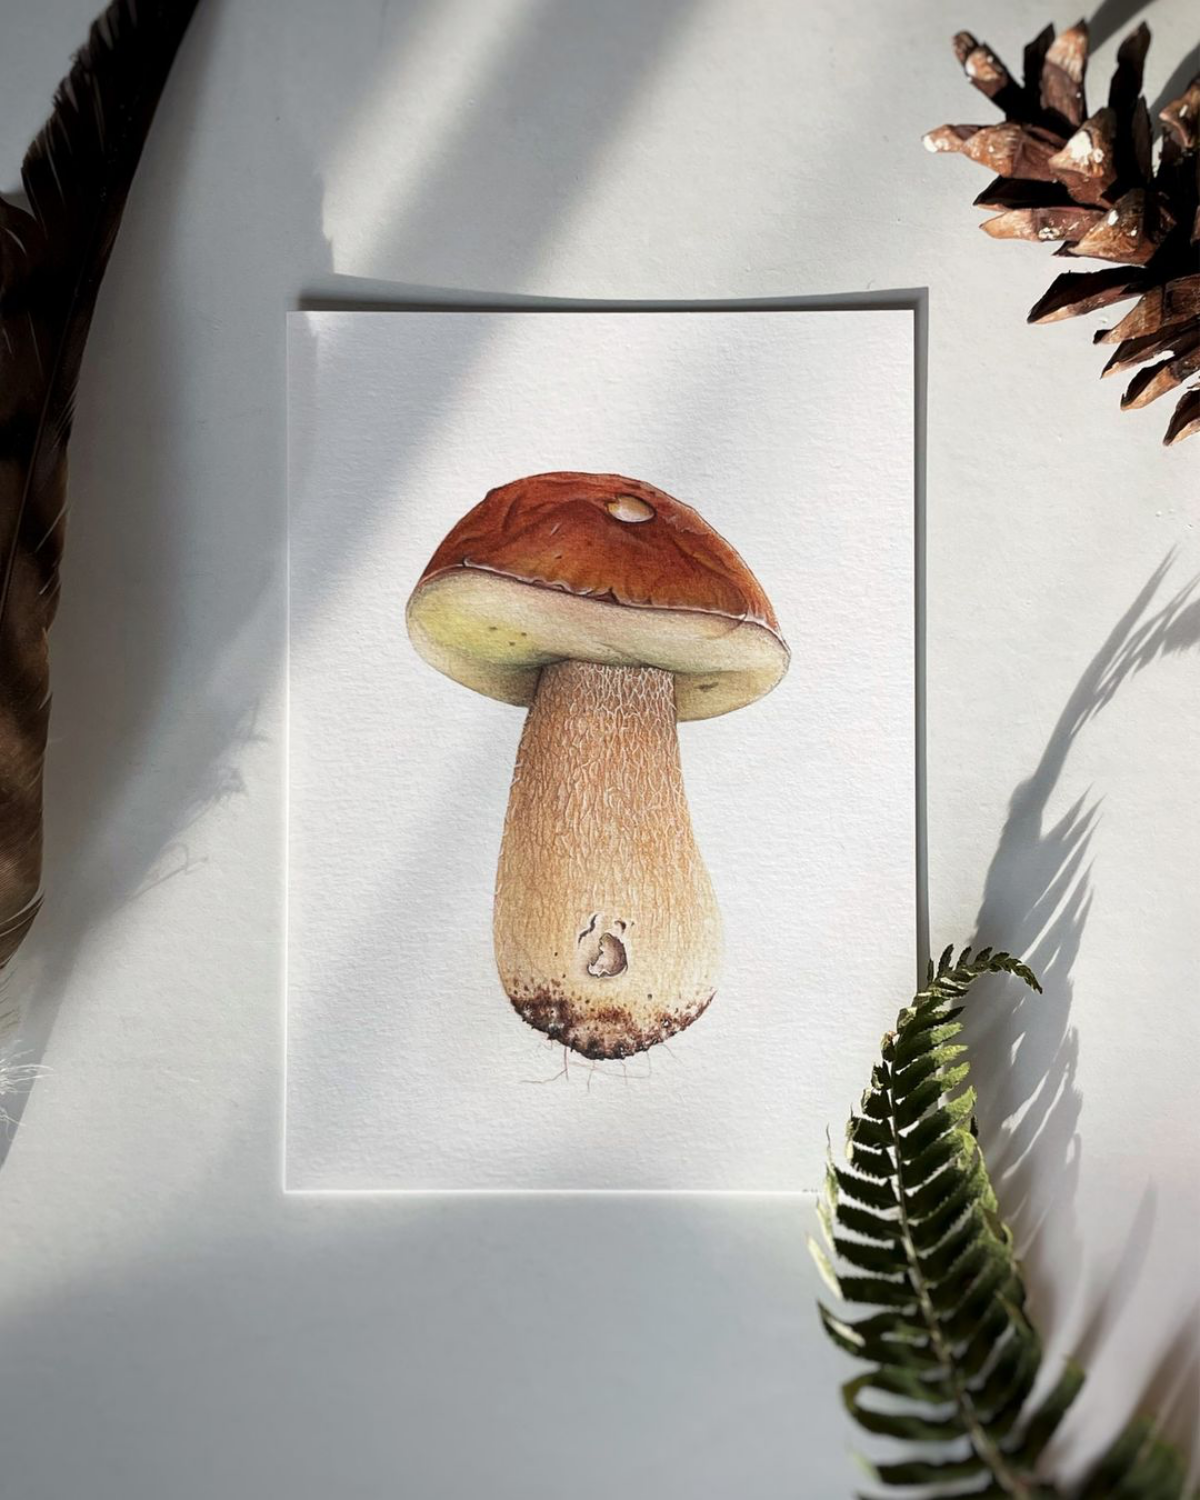
The iconic red cap of the Fly Agaric (Amanita muscaria) isn’t a single, flat color; its pigment is concentrated in the outer skin, which can fade with rain and age, revealing a yellowish layer beneath.
To capture this, avoid using a single red pencil. Start with a light yellow or orange base (like Faber-Castell Polychromos’ Dark Chrome Yellow), then build up layers of Cadmium Red and Deep Scarlet Red, letting some of the base color peek through. This technique creates a luminous, natural depth that a flat color can never achieve.
Choosing your paper surface can completely change the character of your mushroom drawing. The texture of the paper, or its ‘tooth’, interacts differently with your tools.
- For intricate details like gill structures or the fine scales on a cap, a smooth Bristol Board (like the Strathmore 300 series) is perfect. It allows for crisp, clean lines with fine-tip pens or sharp graphite.
- For a softer, more atmospheric look, especially if you plan to use colored pencils or light watercolor washes, try a hot-press watercolor paper. The subtle texture of a brand like Arches provides just enough grip for rich pigment layering without distorting your line work.