Your Guide to Making Summer Soaps: From Easy First Steps to Artisan Bars
I still remember the scent of a family garden in the middle of summer. That sharp, green smell of tomato leaves tangled up with the sweet perfume of climbing roses. To me, that’s the smell of the season, and it’s what first got me hooked on trying to capture that feeling in a simple bar of soap.
In this article
- So, Where Do You Start? Two Paths to a Perfect Bar
- The Science Bit: What Makes Soap Actually Work?
- Safety First! My Golden Rules for Handling Lye
- The Soap Maker’s Toolkit: Getting Your Gear Together
- Melt and Pour Summer Recipes: Your Sensory Starter Pack
- Cold Process From Scratch: Your Signature Summer Bar
- Advanced Technique: Apricot & Pink Clay Swirl
- Troubleshooting: When Good Soap Goes Sideways
- Inspirational Gallery
Making your own soap is an amazing way to control exactly what goes on your skin, and honestly, it connects you to a really timeless craft. This guide is here to walk you through the two main ways to get started: the super approachable Melt and Pour method, and the more traditional Cold Process technique. We’ll start simple and build your skills from there, focusing on those fresh, vibrant scents that just scream ‘summer.’ My goal is to give you the confidence to make soap you can be proud of, safely and successfully.
So, Where Do You Start? Two Paths to a Perfect Bar
When you decide to make soap, you’re basically standing at a fork in the road. There’s no right or wrong choice, just what feels right for you right now. I always tell people to start with Melt and Pour. It lets you get the hang of blending scents and playing with design without having to dive into the chemistry just yet.
But how do you really choose? Let’s break it down.
- If you want safety and speed… Melt and Pour is your best friend. There’s no handling of lye, which is the main safety concern in soap making from scratch. Plus, your soap is ready to use in just a few hours. It’s all about instant gratification.
- If you crave total creative control… Cold Process is the ultimate goal. You choose every single oil, butter, and additive. This is how you create those gorgeous, artisan bars with intricate swirls and unique properties. It’s your recipe, from start to finish.
- Let’s talk startup costs. Getting into Melt and Pour is pretty easy on the wallet. You can grab a basic kit with a base, a mold, and a few scents for around $30 to $50. Cold Process is more of an investment. For the lye, oils, safety gear, and a good digital scale, you should plan on spending between $75 and $120 to get properly set up.
- And the big one: time. A batch of Melt and Pour soap is ready to use as soon as it’s cool and hard. But for Cold Process, patience is key. The soap needs to “cure” for 4 to 6 weeks before it’s at its best.

Melt and Pour (M&P): The Accessible Start
Think of this method as the “finishing step” of soap making. The complicated part—the chemical reaction—has already been done for you. You’re starting with a ready-made soap base that you simply melt, customize, and pour. It’s as simple as that.
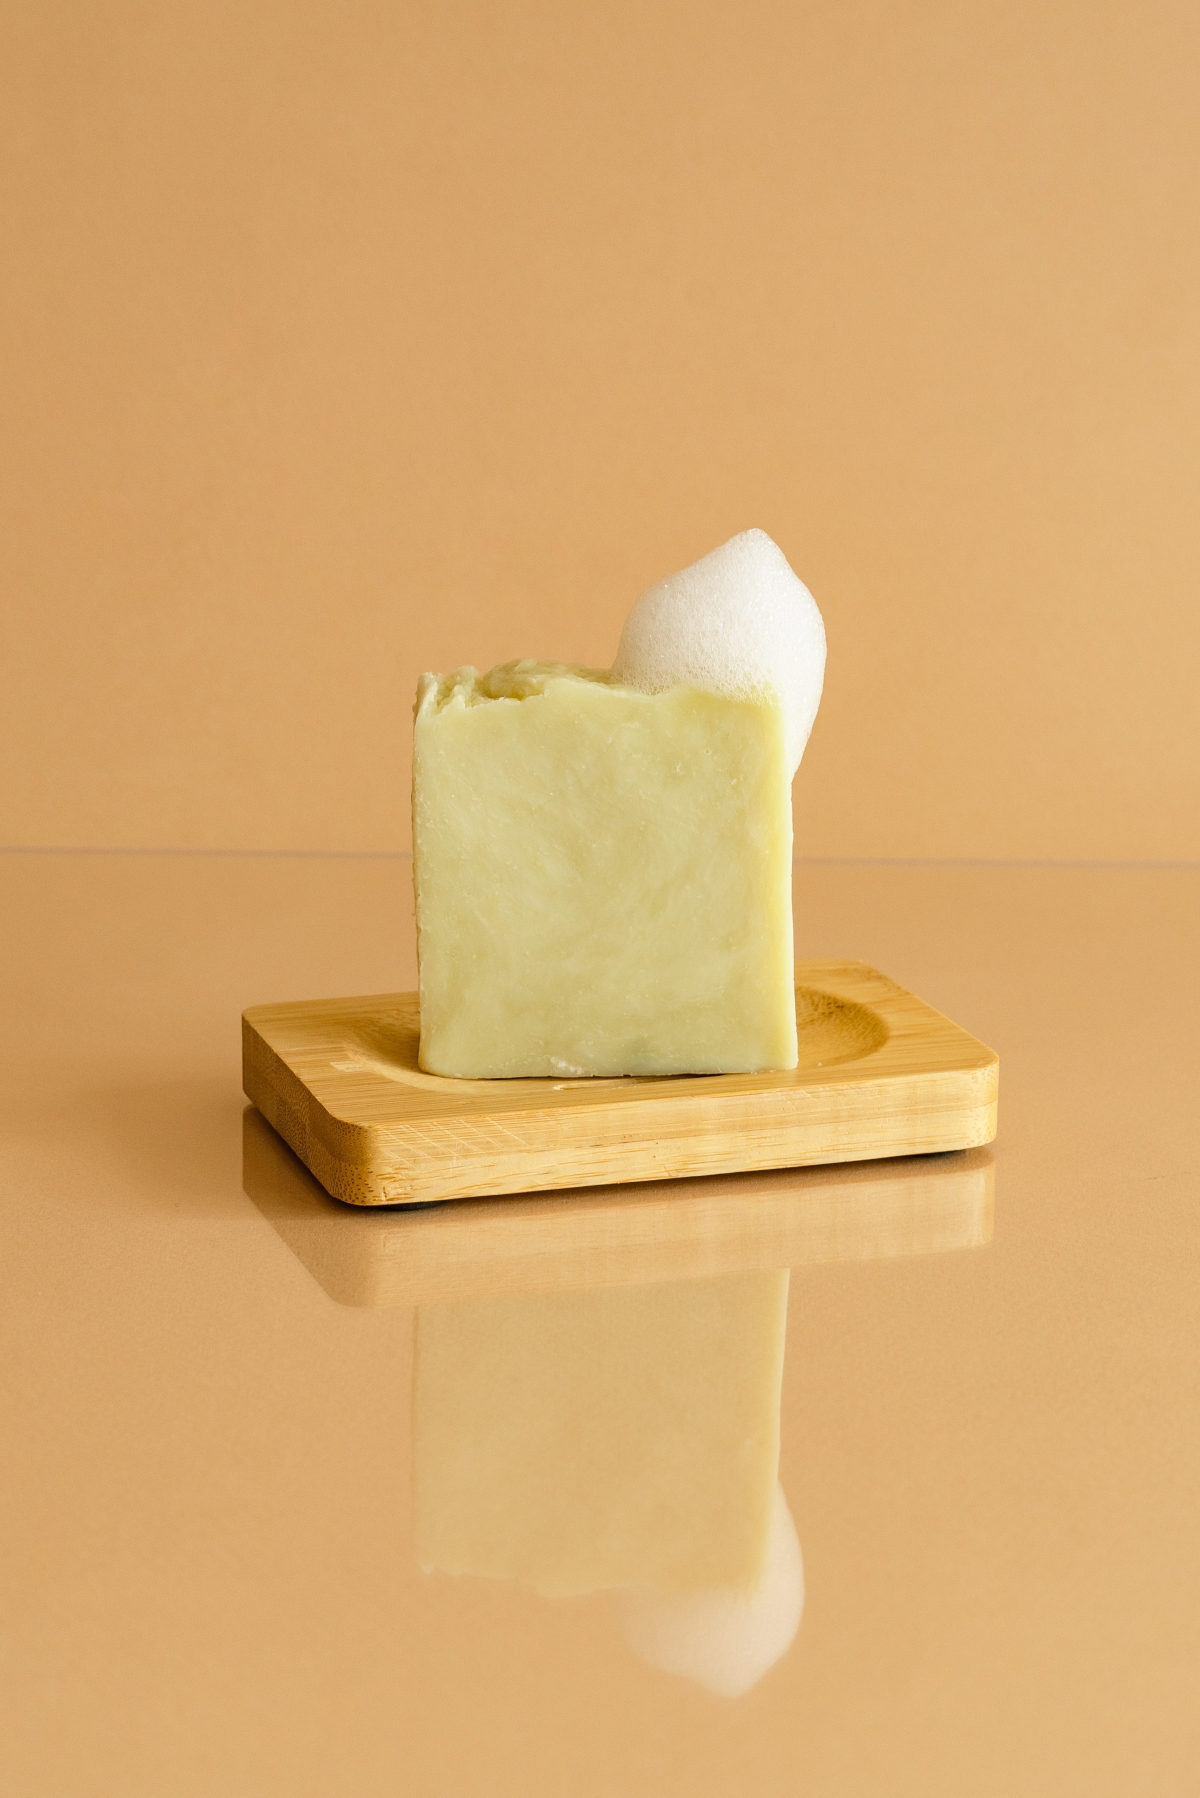
The biggest advantage here is safety. You don’t handle lye (sodium hydroxide), which makes this a fantastic project to do with older kids (with supervision, of course). It’s also incredibly fast. But there are a couple of trade-offs. You can’t control the base oils in your soap, and sometimes, M&P soaps can “sweat” in humid weather because of the high glycerin content. Good to know: This is totally harmless, and wrapping your finished bars tightly in plastic wrap usually prevents it.
Cold Process (CP): The Traditional Method
This is it—soap making from scratch. It’s a beautiful chemical process called saponification, where you combine fats and oils with a lye solution to create soap. This is the way it’s been done for centuries, though modern tools like stick blenders have made it way more precise.
The upside? You have total control over every single ingredient. You can use olive oil for a gentle bar, coconut oil for big bubbles, and shea butter for conditioning. The creative freedom for swirls and layers is endless. The challenge, however, is that you absolutely must handle lye with proper safety gear and respect. And, of course, there’s that 4-6 week curing time I mentioned. Patience is a virtue here!
The Science Bit: What Makes Soap Actually Work?
Understanding a little of the science behind what you’re doing makes you a much better soap maker. It takes the mystery out of it and puts you in the driver’s seat. At its core, soap is just a chemical reaction between fats and an alkali (lye).
When they combine, they undergo saponification, which creates two things: soap and glycerin. In a properly made bar, all the lye is completely used up in this reaction. The glycerin, which is a natural moisturizer, stays in the bar. That’s why handmade soap feels so incredible on your skin compared to commercial bars, which often have the glycerin removed.
Why Your Choice of Oils Matters
Every oil brings something different to the party. A good recipe is all about balance. Here’s a quick rundown of what I think about:
- Cleansing: Coconut oil is the king of cleansing and big, fluffy bubbles. But too much can be drying, so I try to keep it at 30% or less of my total oils.
- Conditioning: Oils like olive oil and apricot kernel oil make a super gentle, moisturizing bar. A 100% olive oil soap, known as Castile soap, is incredibly mild but can take ages to harden and has a very low, slippery lather.
- Lather: While coconut oil makes big bubbles, castor oil is the secret weapon for a rich, creamy, and stable lather. You only need a little, around 5%.
- Hardness: To make sure your bar doesn’t turn into a pile of mush in the shower, you need hard oils or butters like shea butter, cocoa butter, or palm oil.

A Quick Word on “Superfatting”
To make sure our soap is gentle and that every last bit of lye is gone, we use a technique called “superfatting.” It just means we use a little bit more oil than the lye can convert into soap. I typically use a 5% superfat, which leaves 5% of those lovely oils free in the final bar to moisturize your skin. It’s also a great safety buffer. Any good online soap calculator will let you set this percentage easily.
Safety First! My Golden Rules for Handling Lye
Okay, let’s get serious for a moment. Before you even think about making Cold Process soap, we have to talk about safety. Sodium hydroxide is a caustic chemical that can cause severe burns if handled carelessly. Respecting this ingredient is the single most important part of the craft.
Your Must-Have Safety Gear (PPE):
- Splash-Proof Goggles: Not glasses, not sunglasses. You need goggles that create a seal around your eyes. A splash of lye solution to the eye is a very serious medical emergency.
- Chemical-Resistant Gloves: Regular dish gloves work great. Just check for holes first!
- Full Coverage: Long sleeves, pants, and closed-toe shoes are non-negotiable. Protect your skin.
The Mixing Process—Get This Right:
- Location, Location, Location: Always work in a well-ventilated area. Open a window or turn on an exhaust fan. And please, keep kids and pets out of the room entirely.
- THE GOLDEN RULE: Always Add Lye to Water. Never, ever do it the other way around. Adding water to lye can cause a caustic volcano to erupt from your container. I’ve seen it happen, and it’s a powerful lesson in why you follow the rules.
- Heads up—It Gets Hot! When lye dissolves in water, it creates a powerful heat reaction, easily reaching 200°F (93°C). Always use a heat-proof container for this, like a sturdy plastic pitcher with a
2 or
5 recycling symbol on the bottom. Never use aluminum—lye reacts with it.
In Case of Spills: Have a bottle of plain white vinegar handy. For spills on a countertop, pour vinegar over it to neutralize the lye before wiping it up. If you get lye on your skin, do NOT use vinegar. Immediately flush the area with tons of cool, running water for at least 15 minutes and seek medical attention. Dilution is the goal, not neutralization.
The Soap Maker’s Toolkit: Getting Your Gear Together
Having the right tools makes everything safer and more fun. You don’t need to spend a fortune, but a few items are essential.
For Melt and Pour Soap:
- Soap Base: Start with goat’s milk, shea butter, or a clear glycerin base.
- Heat-Proof Container: A big Pyrex measuring cup works perfectly.
- Stirring Stuff: Silicone spatulas or stainless steel spoons.
- Silicone Mold: Individual cavity molds are the easiest to start with.
- Fragrance & Color: Skin-safe fragrance or essential oils, and mica powders.
- Rubbing Alcohol: A small spray bottle of this is your secret weapon for popping bubbles on top.
For Cold Process Soap:
- Digital Scale: This is your most important tool. All ingredients, even liquids, must be measured by weight for the chemistry to work.
- Stick (Immersion) Blender: This turns a 45-minute stirring marathon into a 2-minute task. It’s a must-have.
- Stainless Steel Pot: For melting your oils.
- Heat-Proof Pitcher: A dedicated, sturdy plastic pitcher for your lye solution.
- Silicone Spatulas: To scrape every last drop of your precious soap batter.
- Loaf Mold: A standard silicone or wood loaf mold. (If you use wood, you have to line it with freezer paper.)
- Safety Gear: Goggles, gloves, and protective clothing, as we discussed!
By the way, where do you get all this? It can be overwhelming at first. I usually point people to dedicated online soap-making suppliers like Bramble Berry, Nurture Soap, or Wholesale Supplies Plus. They have everything, and you can trust their ingredients are high-quality and skin-safe, which isn’t always a guarantee on giant online marketplaces.
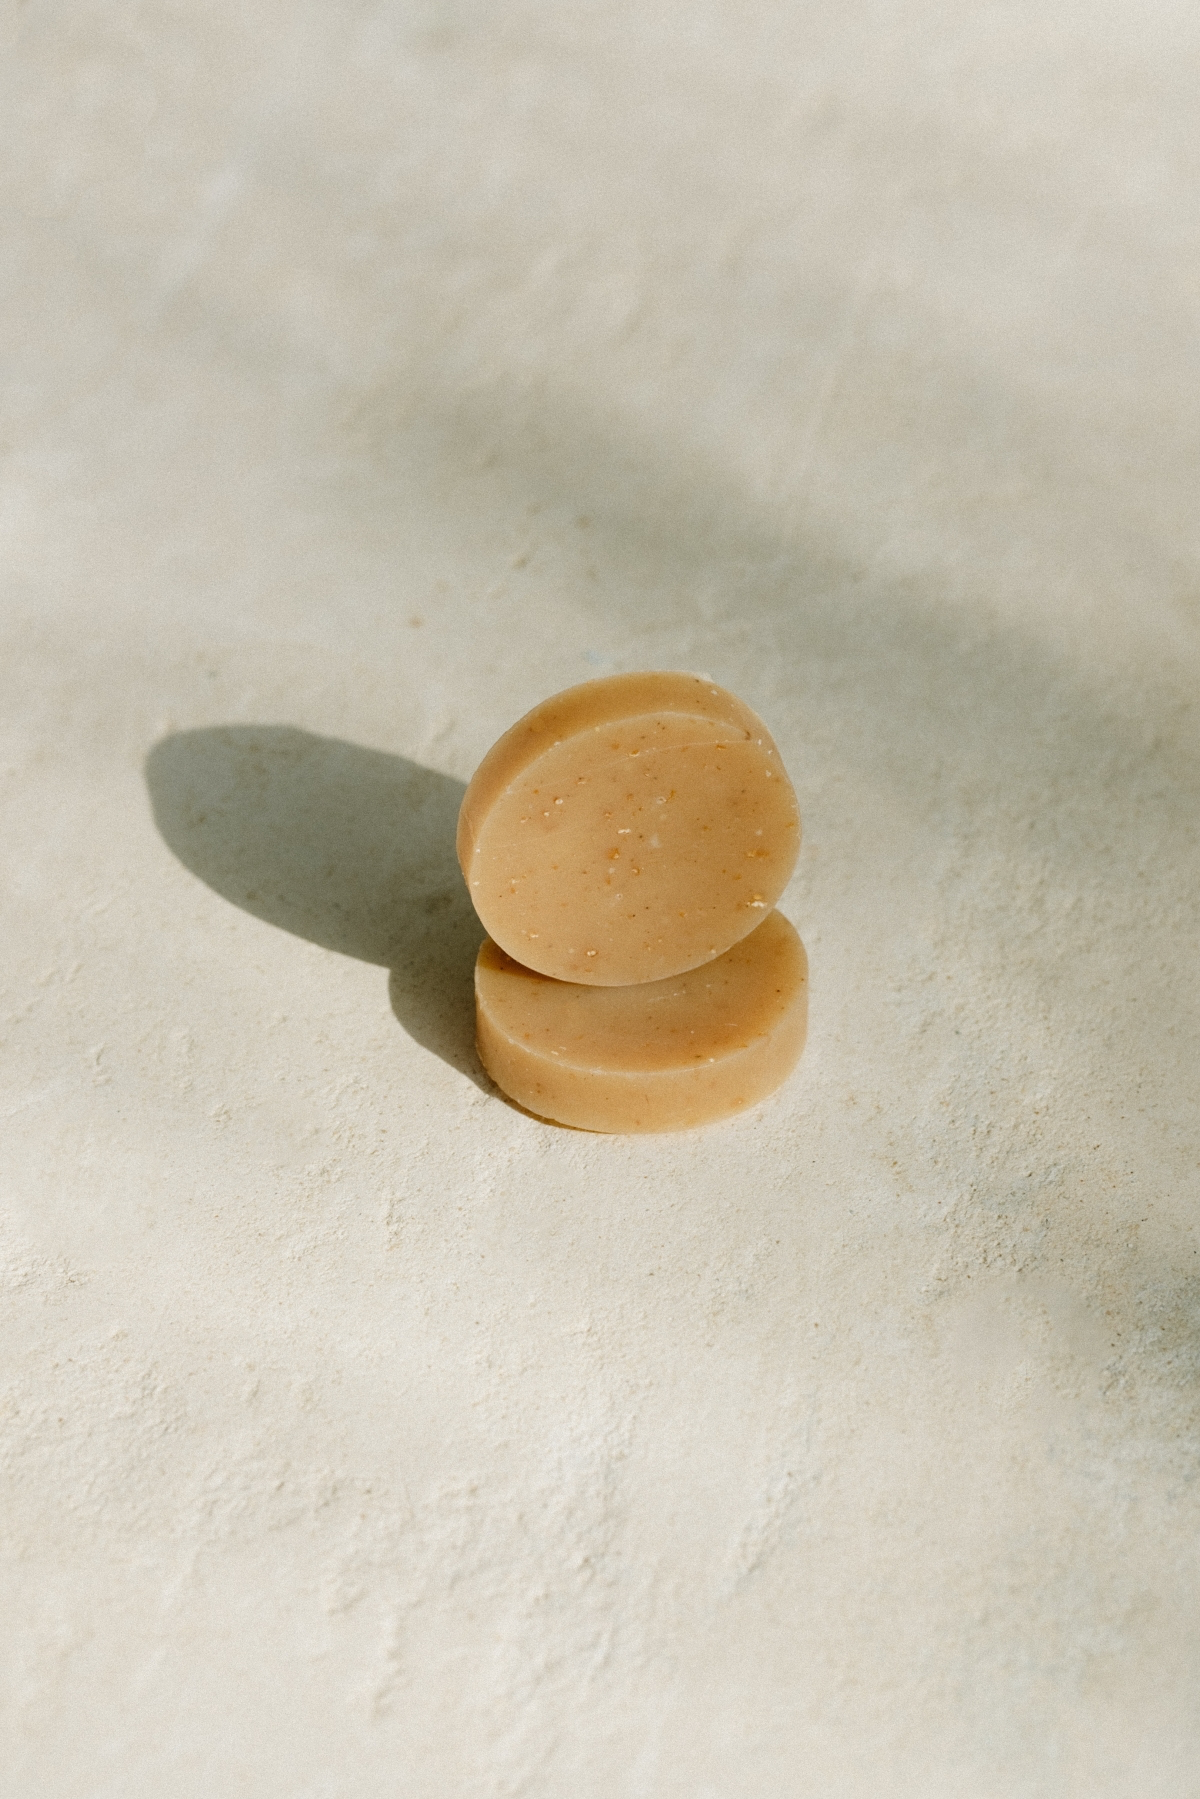
Melt and Pour Summer Recipes: Your Sensory Starter Pack
These recipes are a fantastic, low-stress way to start. We’re aiming for about 6 bars of 4 oz soap, so you’ll need 24 oz (680g) of M&P base for each recipe.
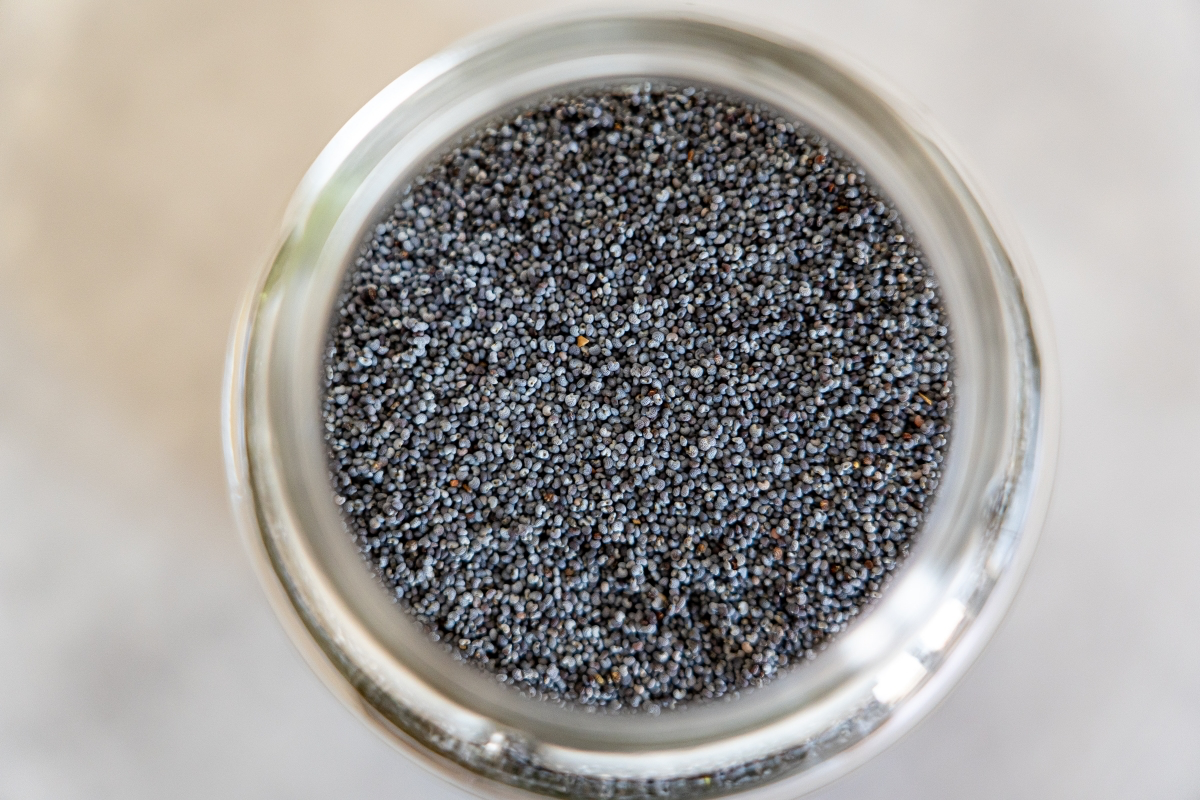
Recipe 1: Grapefruit, Mint & Poppy Seed Scrub
This bar is a real eye-opener in the morning. The poppy seeds give a great gentle scrub, and the bright scents are an instant mood-lifter.
- 24 oz (680g) Goat’s Milk Melt and Pour Soap Base
- 1 tablespoon Poppy Seeds
- 0.5 oz (14g) Grapefruit Essential Oil
- 0.2 oz (6g) Peppermint Essential Oil
- Optional: A tiny pinch of pink mica powder for color
Just cube and melt your base in the microwave in 30-second bursts. Don’t let it boil! Let it cool for a minute or two (down to about 130°F), then stir in your oils, color, and poppy seeds. Pour into the mold, spritz the top with rubbing alcohol to get rid of bubbles, and let it harden for a few hours. That’s it!

Recipe 2: Creamy Coconut & Lime
This one smells like a tropical vacation in a bar. It’s creamy, refreshing, and just lovely.
- 24 oz (680g) Shea Butter Melt and Pour Soap Base
- 0.7 oz (20g) Lime & Coconut Fragrance Oil (make sure it’s soap-safe!)
- 1 teaspoon Lime Zest (mostly for looks)
- Optional: A pinch of green mica powder
A quick note on fragrance: While lime essential oil is wonderful, it can fade really fast in soap. For a scent that sticks around, a high-quality, phthalate-free fragrance oil from a soap supplier is often a better choice. Also, a quick warning: make sure you’re using skin-safe essential oils specifically meant for cosmetics, not just any old oil from a discount store, as the quality and concentration can be all over the place.
Cold Process From Scratch: Your Signature Summer Bar
Ready to level up? This is where the real magic happens. This foundational recipe makes a 2.5 lb (1134g) batch, which will give you about 8-10 standard-sized bars depending on how thick you cut them. It fits perfectly in a standard 10-inch loaf mold.
CRUCIAL: Before you start, please run these numbers through an online soap calculator like SoapCalc or one on a supplier’s website. It’s a professional habit that confirms your measurements and ensures a perfect, safe batch every time. This recipe is calculated with a 5% superfat.
A Foundational “Trinity” Base Recipe
- Oils (Total 32 oz / 907g): Olive Oil (40%), Coconut Oil (30%), Shea Butter (30%)
- Lye Solution: 4.57 oz / 130g Sodium Hydroxide (Lye) and 10.56 oz / 300g Distilled Water
- Additives: 1.5 oz / 43g of your chosen essential oil or fragrance oil blend
The Step-by-Step Cold Process Method:
- Prep & Safety: Gear up! Goggles, gloves, long sleeves. Get your workspace ready and your mold lined.
- Lye Solution: In a well-ventilated spot, slowly add your lye to your distilled water, stirring until it dissolves. It will get hot. Set it aside somewhere safe to cool to around 100-110°F (38-43°C).
- Oils: Melt your hard oils (shea, coconut) in your pot, then remove from heat and add your liquid oil (olive). This helps cool things down. Aim for a similar temperature as your lye solution.
- Combine & Blend: Slowly pour the lye solution into the oils. Insert your stick blender and blend in short bursts, stirring in between.
- Reaching Trace: After a minute or two, the mixture will thicken. When you lift the blender and a trail of batter sits on the surface for a second, you’ve reached “trace.” It should look like thin pudding or a gravy that just coats the back of a spoon.
- Add Fragrance & Pour: Stir in your fragrance oil with a spatula, pour the batter into your mold, and cover it with cardboard and a towel to insulate it.
- The Long Wait: Let it sit for 24-48 hours. Once it’s firm, put on gloves, unmold it, and cut it into bars.
- Cure: Place the bars on a rack with some airflow between them and let them cure for 4-6 weeks. Don’t skip this! It’s what makes the soap hard, gentle, and long-lasting.
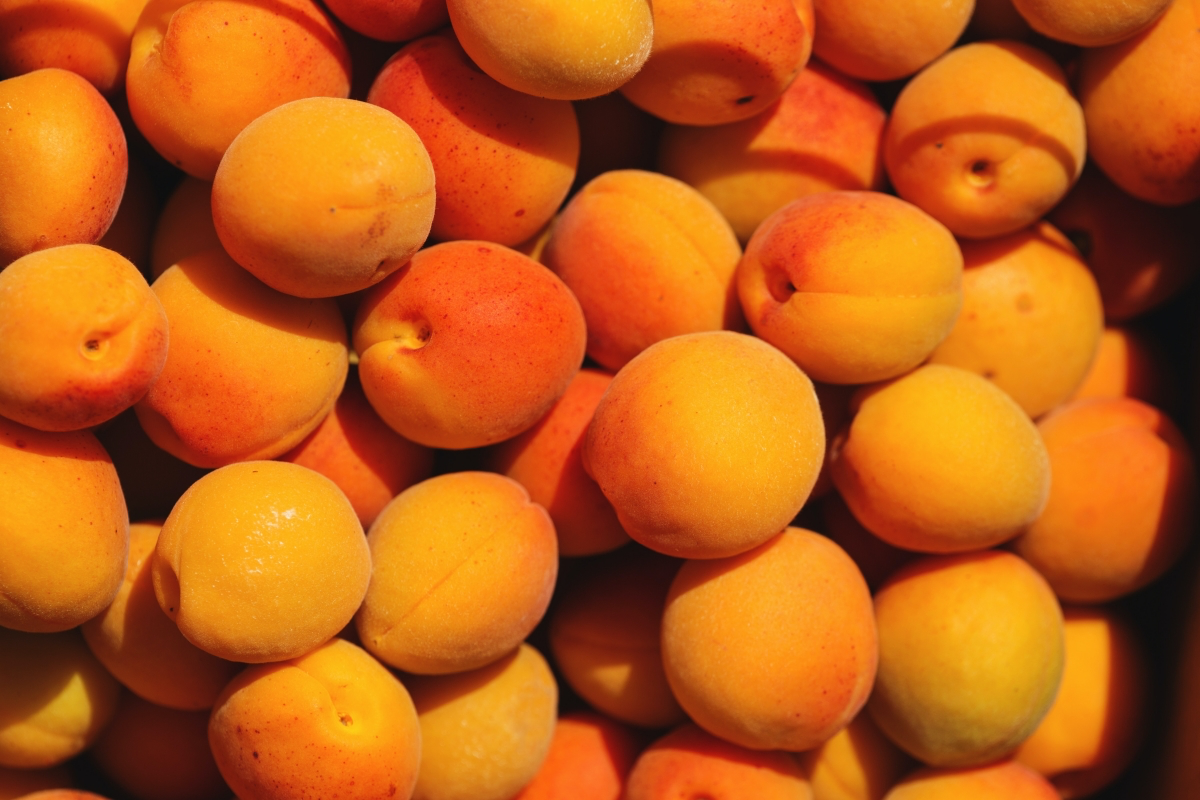
Advanced Technique: Apricot & Pink Clay Swirl
Want to get fancy? Let’s tweak that base recipe. We’ll swap out some olive oil for conditioning Apricot Kernel Oil and use natural clays for a beautiful swirl.
- Modified Oils: Olive Oil (30%), Coconut Oil (30%), Shea Butter (30%), Apricot Kernel Oil (10%). Adjust your lye and water on a soap calculator for this change!
- Colorants: 1 tsp French Pink Clay, 1 tsp Kaolin Clay.
- Scent: 1.5 oz (43g) of a lovely Apricot Freesia fragrance oil.
To get the swirl, just bring your batter to a very light trace. Split off about a third of it and mix in the pink clay. Add the white kaolin clay to the larger portion. Pour the pink soap back into the white soap, give it one lazy figure-eight stir with a spatula, and pour it into the mold. You’ll get a beautiful, random pattern.
Troubleshooting: When Good Soap Goes Sideways
My first few batches of CP soap were… rustic. It’s all part of the learning curve! Here are a few common hiccups.
- Soda Ash: A harmless white, chalky film on top of your cured soap. You can just wash or steam it off. No big deal.
- The Batch Seized: Oh, the seized batch. We’ve all been there. My first encounter was with a floral fragrance oil that turned my beautiful, liquid soap batter into something resembling lumpy cement in about five seconds flat. I had to literally spoon it into the mold. It wasn’t pretty, but guess what? After it cured, it was still perfectly usable soap! So don’t panic. Just glop it into the mold and call it ‘rustic’.
- Oily Separation: If you see pools of oil on top, it usually means something was mis-measured or it wasn’t blended enough. This is why that digital scale is so critical. Unfortunately, this batch might be a loss.
- The Dreaded Volcano: This happens when the soap overheats in the mold, often due to sugary ingredients like honey or milk. If you use those, don’t insulate the mold; you can even pop it in the fridge to keep it cool.
Soap making is this amazing blend of science and art. It asks for precision and patience, but the reward is so worth it. Start with the simple joy of Melt and Pour, and when you feel that pull, embrace the deep satisfaction of creating a bar of Cold Process soap entirely from scratch. The feeling of using something you crafted yourself is just unmatched. Enjoy the process!
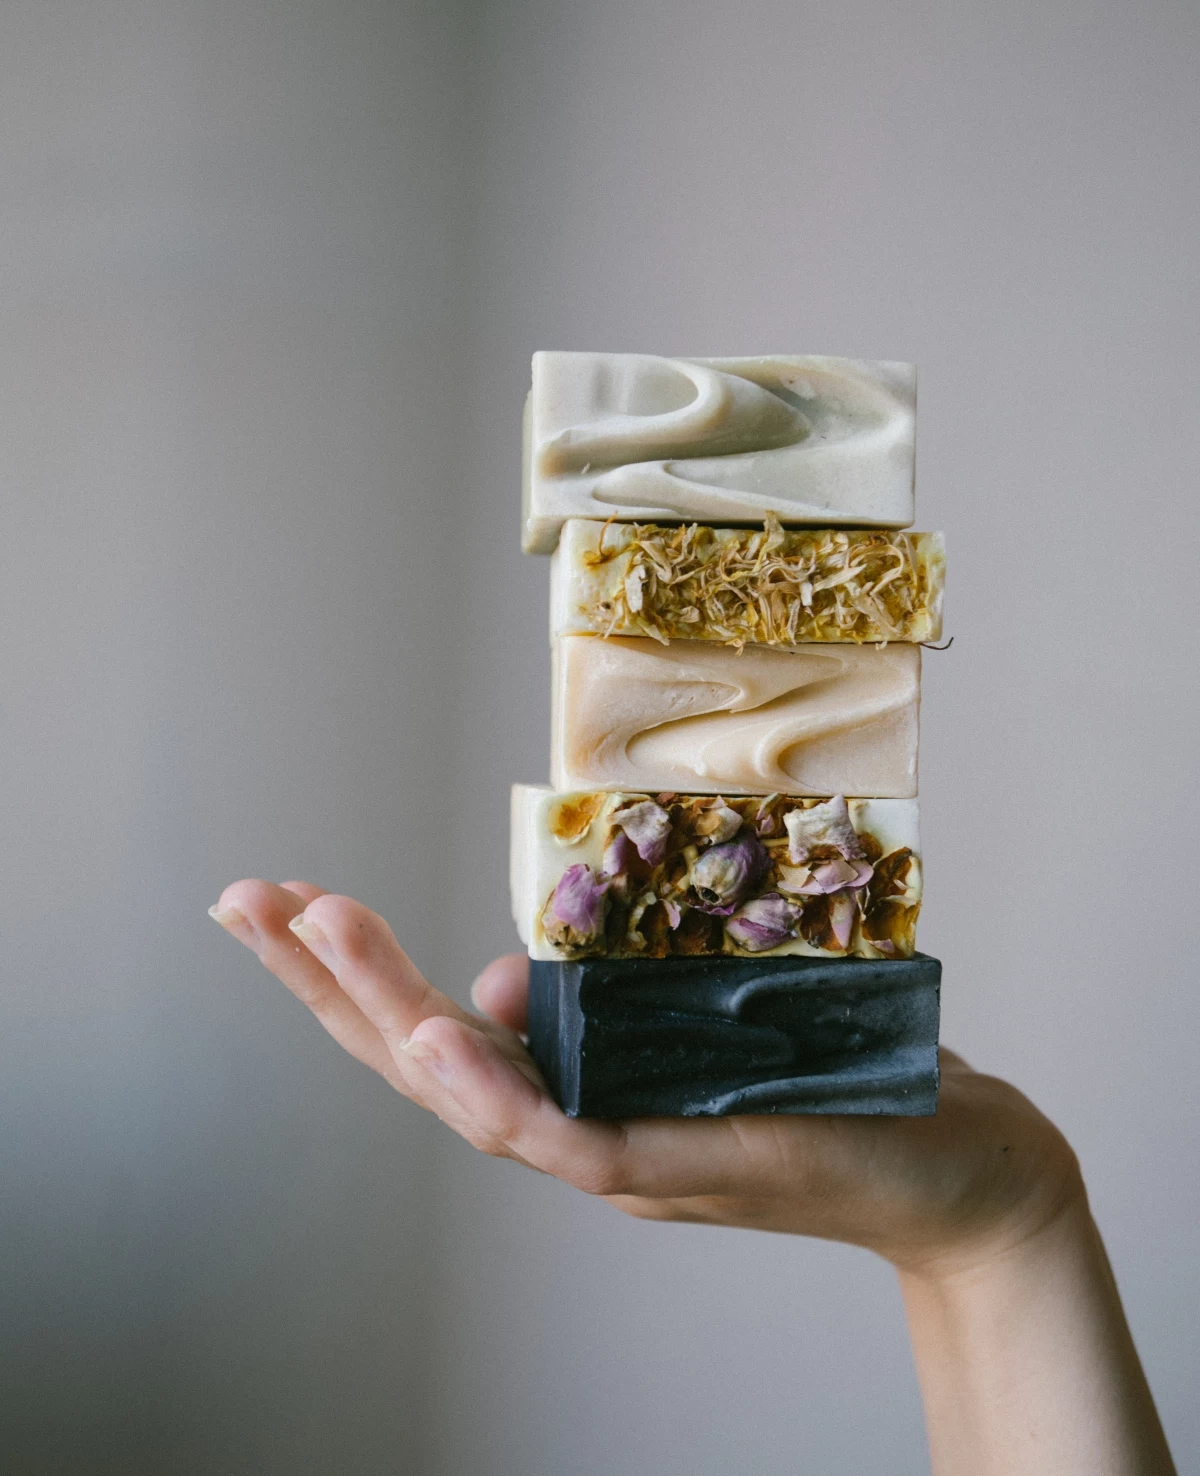
Inspirational Gallery
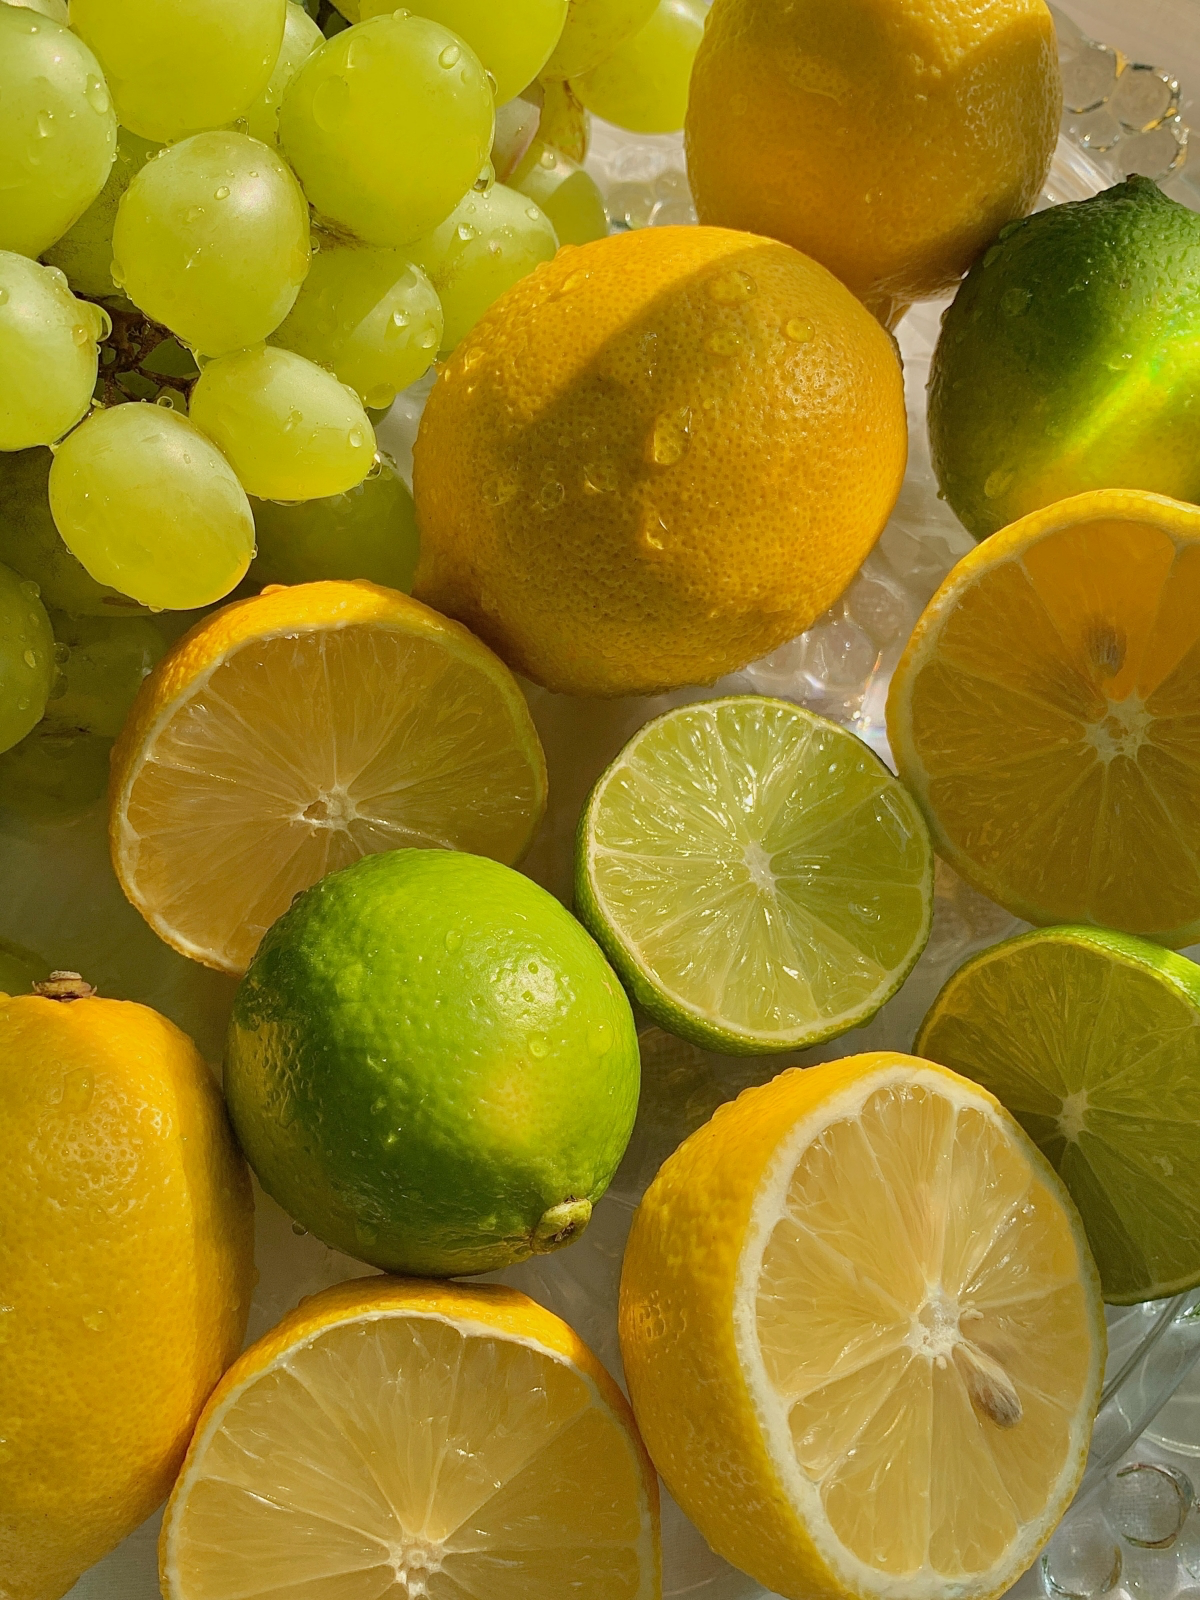
Capture the essence of a summer garden by layering scents. Start with a green, earthy base like tomato leaf or cucumber fragrance oil. Then, add a bright, sharp top note of peppermint essential oil and a soft floral heart note like geranium. The result is a complex, fresh scent that unfolds as you lather.
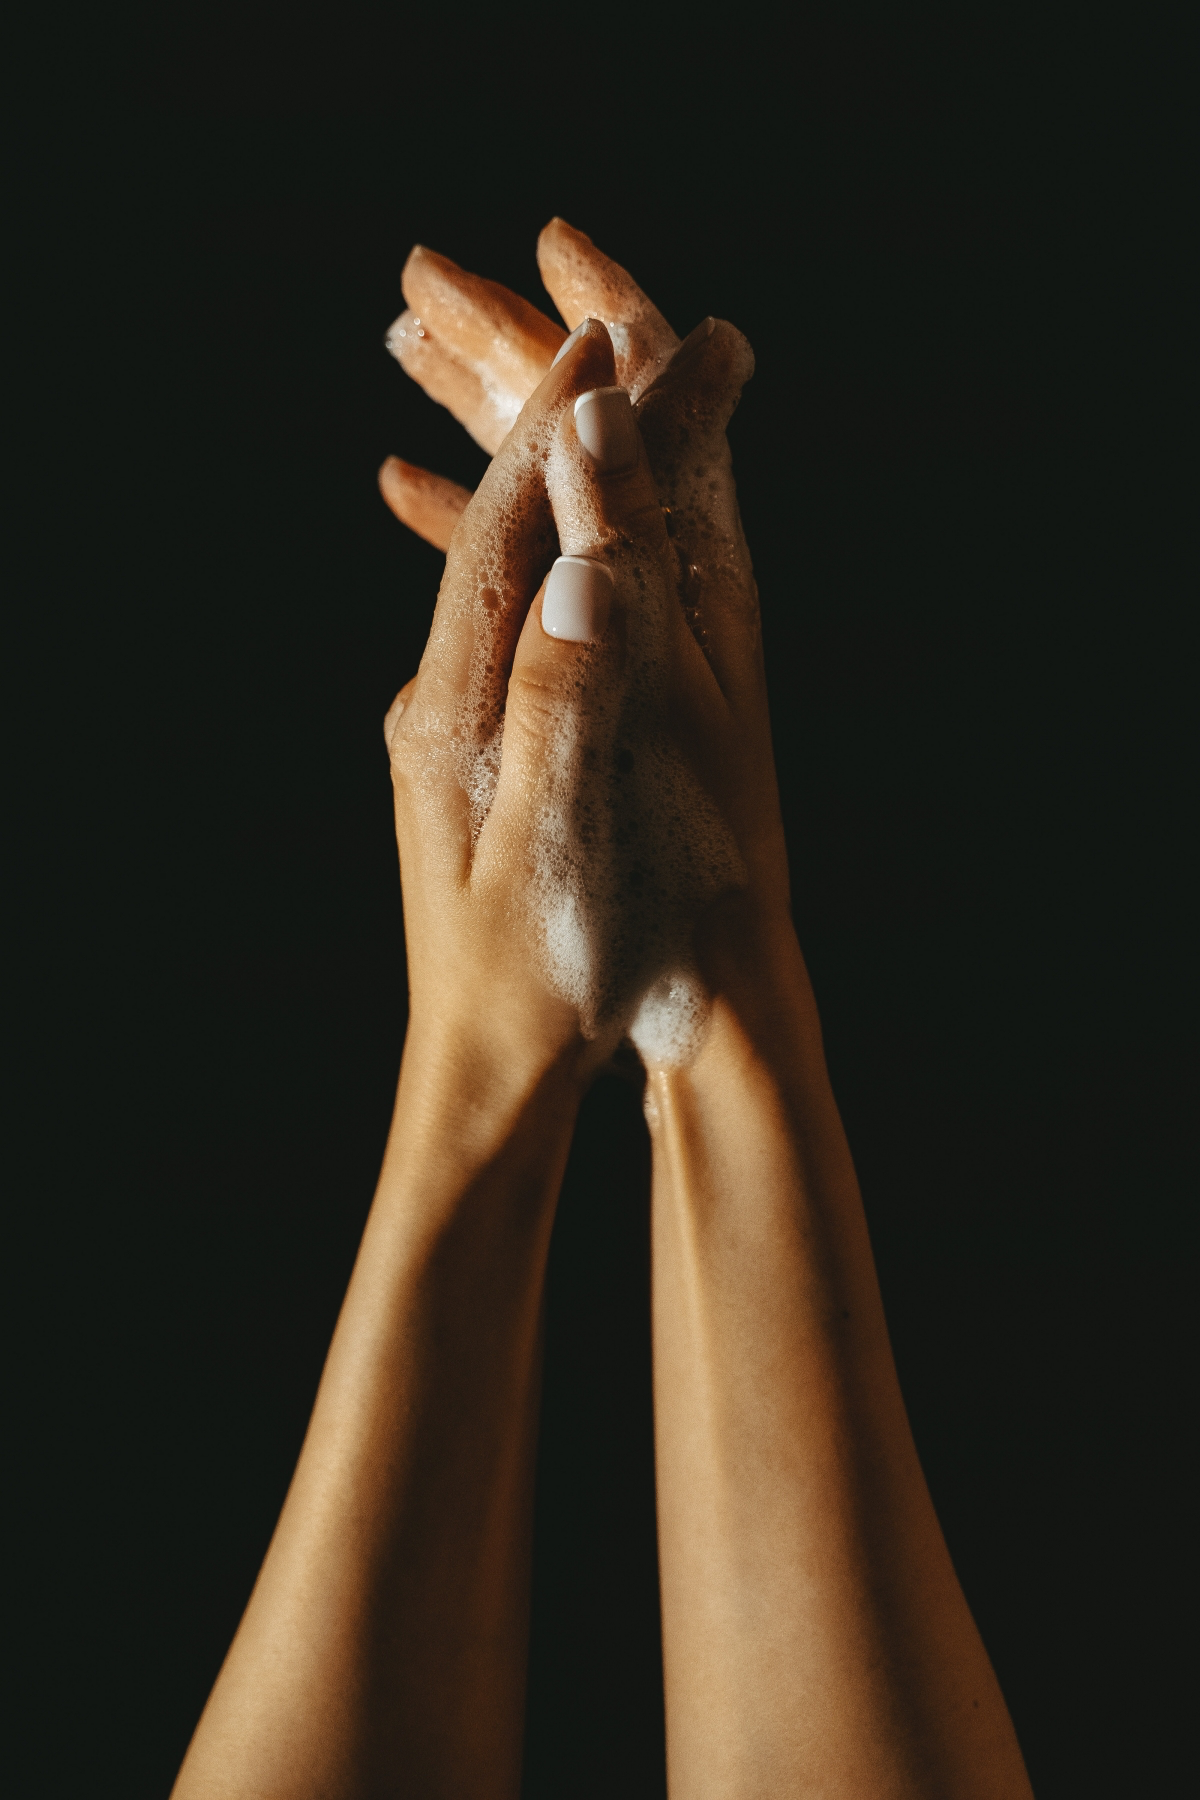
Handmade soap retains all its natural glycerin, a humectant that draws moisture to the skin. This makes it particularly soothing after a day in the summer sun, helping to keep skin hydrated and soft.
Want those vibrant, sun-drenched summer colors without artificial dyes?
Nature offers a beautiful palette. For a cheerful yellow, try infusing your oils with annatto seeds or adding a pinch of turmeric powder. A touch of spirulina powder will give you a lovely seafoam green, while French pink clay provides a soft, dusky rose reminiscent of a sunset.
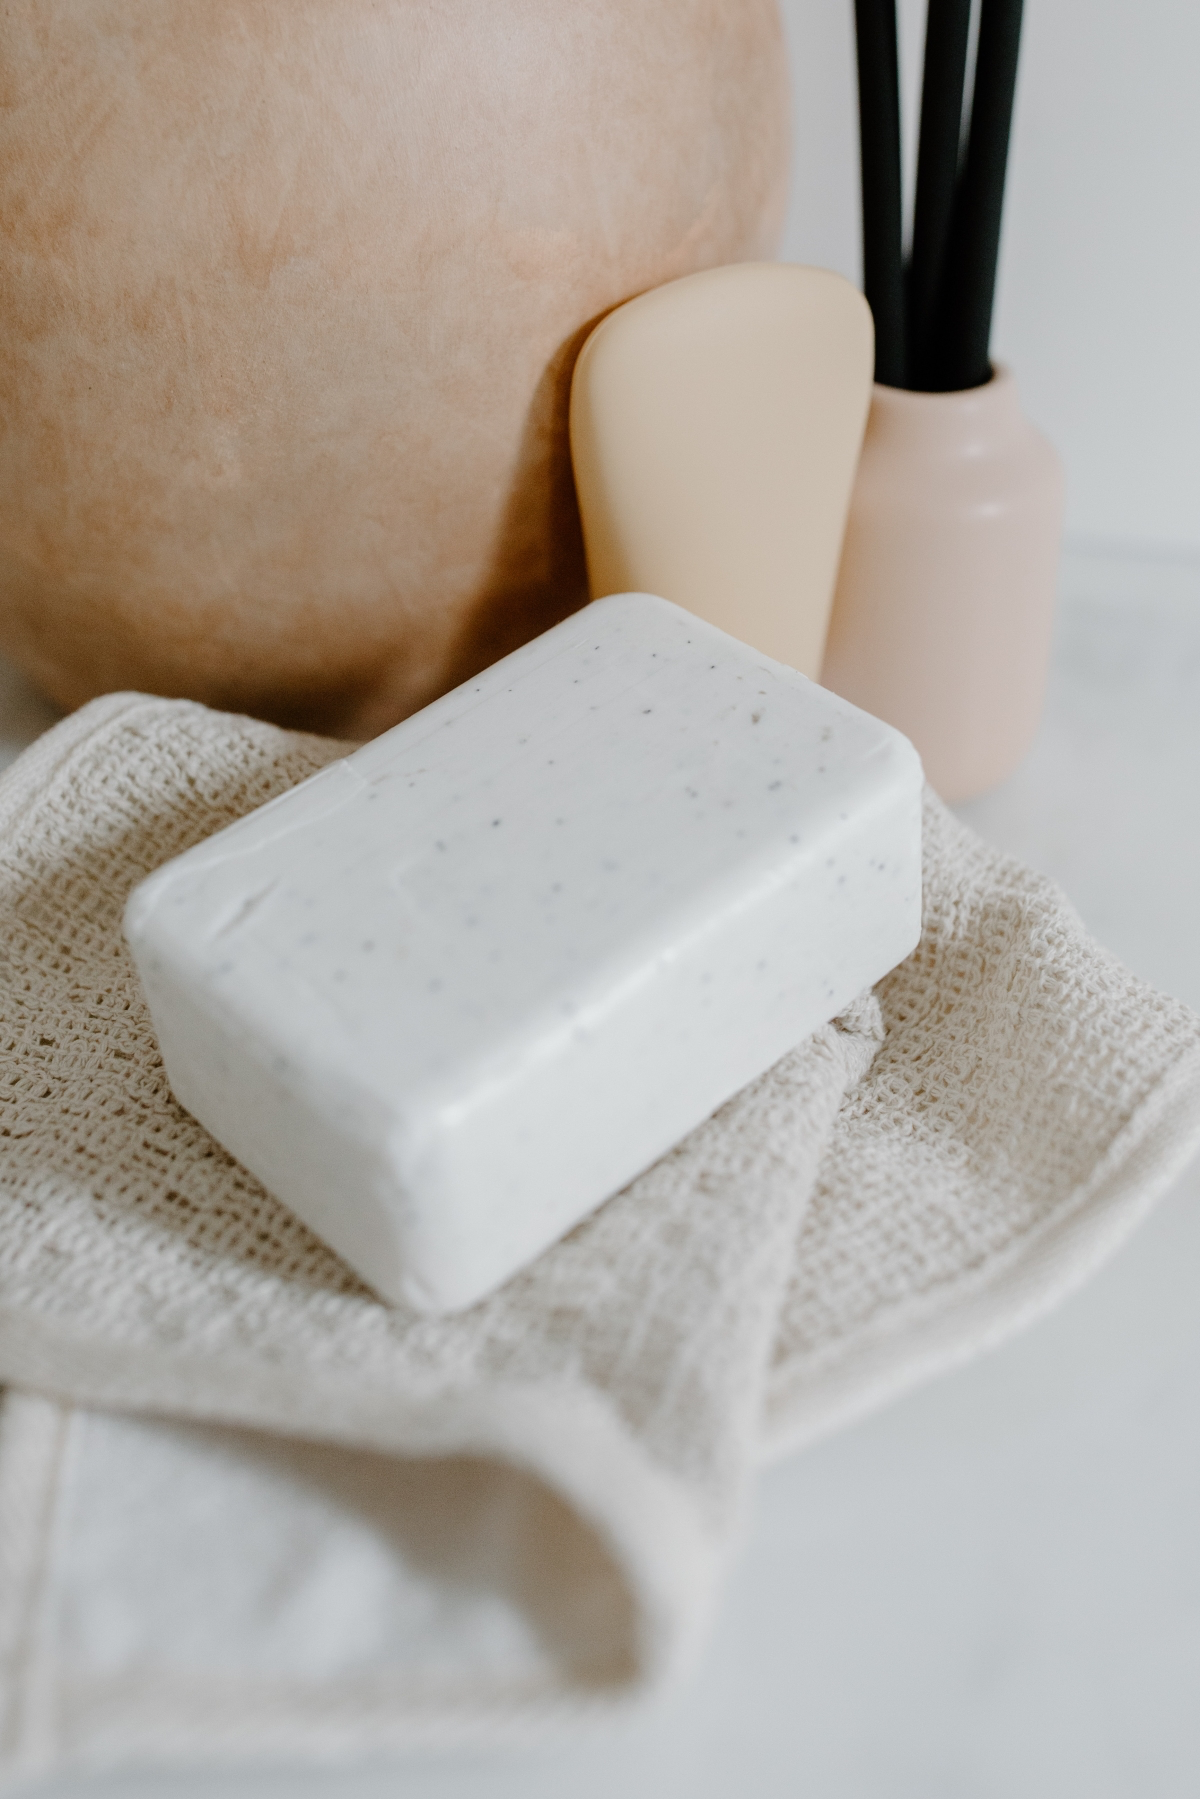
Option A: Colloidal Oatmeal. Finely ground and silky, this additive is a hero for calming irritated or sun-kissed skin. It creates a creamy, gentle lather that soothes and moisturizes.
Option B: Kaolin Clay. A very mild clay that’s perfect for summer. It provides a smooth ‘slip’ to the soap bar and helps absorb excess oil without drying out the skin.
For post-beach soothing, choose oatmeal. For a daily gentle cleanse, kaolin clay is ideal.
A common mistake: Adding fresh fruit purées like strawberry or cucumber directly into your soap. While it seems like a great summer idea, the high water and sugar content can lead to mold, spoilage, and a mushy bar. Instead, opt for cosmetic-grade fruit extracts or fragrance oils designed for soapmaking to get the scent without the risk.
- Creates an incredibly creamy, lotion-like lather.
- Helps to soothe and condition dry, summer-exposed skin.
The secret? Add one teaspoon of coconut milk powder per pound of soap base. Mix it with a little bit of liquid oil first to avoid clumps before adding it to your melted Melt and Pour base or at trace for Cold Process.
Adding dried botanicals can create a beautiful, rustic summer bar. But be selective!
- Do use: Calendula petals, blue cornflower, or lavender buds. They hold their color well and add delicate texture.
- Don’t use: Whole leaves like mint or large flower heads. They tend to turn brown and can look like rot, as well as feeling scratchy on the skin. Finely ground is almost always better.
Did you know many citrus essential oils have a low flashpoint? The flashpoint is the temperature at which a vapor will ignite.
In soap making, this is crucial. Adding a low flashpoint oil like lemon (around 115°F/46°C) or sweet orange to a very hot Melt and Pour base (often 150°F/65°C or more) can cause the scent to literally flash off and evaporate, leaving you with a weakly scented bar. Always let your base cool to around 120-125°F before adding delicate top-note essential oils.
For a truly beach-inspired bar, try making a sea salt soap. The magic happens when you add a large amount of fine sea salt (not coarse!) to your Cold Process soap batter at a very light trace. The salt dissolves, drawing moisture from the soap and creating an intensely hard, stone-like bar that lasts for ages and has a unique, creamy, low-suds lather. It’s perfect for gentle exfoliation and feels incredible on the skin.
My soap is covered in little droplets of moisture, especially on humid summer days. What’s happening?
This is known as ‘glycerin dew.’ Because handmade soap is rich in glycerin (a good thing!), it attracts moisture from the air. In high humidity, it can attract so much that it forms beads on the surface. To prevent this, especially with Melt and Pour soap, wrap your finished bars tightly in plastic wrap as soon as they are fully hardened. This creates a barrier and keeps them looking perfect.


