Drawing Cacti That Don’t Look Like Cartoons: A Practical Guide
I’ve spent more hours than I can count drawing plants, but cacti have always been a favorite challenge. My first real attempt, years ago, was a total dud. I tried to sketch a giant, classic desert cactus from a photo, and while I got the basic shape right—a big column with two arms—it looked completely flat and lifeless. It had no weight, no texture, nothing.
In this article
That failure taught me the most important lesson of all: to draw a cactus well, you have to understand it first. It’s not about just copying lines; it’s about figuring out how it grows, how it stores water, and how its skin and spines work together. It’s about drawing a living thing.
This is the first thing I tell anyone who asks for drawing advice. We don’t just jump in with a pencil. We start by just looking. This guide is built on that exact idea. We’re going to go way beyond simple shapes and get into the nitty-gritty that makes these plants so cool to draw.

First, Let’s Understand the Plant
Knowing the basic parts of a cactus is the secret key to drawing one that looks like it could actually exist. These aren’t just lumpy green things with spikes glued on. Every feature is there for a reason, and that reason shapes its form. Once you know the ‘why,’ the ‘how’ of drawing gets a whole lot easier.
The Stem: It’s All About Ribs and Bumps
The main body of a cactus is its stem, which is basically a big water tank. Most of the classic desert types have these really obvious ribs running down them, like you see on a barrel cactus. Think of them like the pleats on an accordion; they let the plant literally swell up with water after it rains and shrink back down during a drought. For an artist, these ribs are a gift because they create a perfect road map for light and shadow.
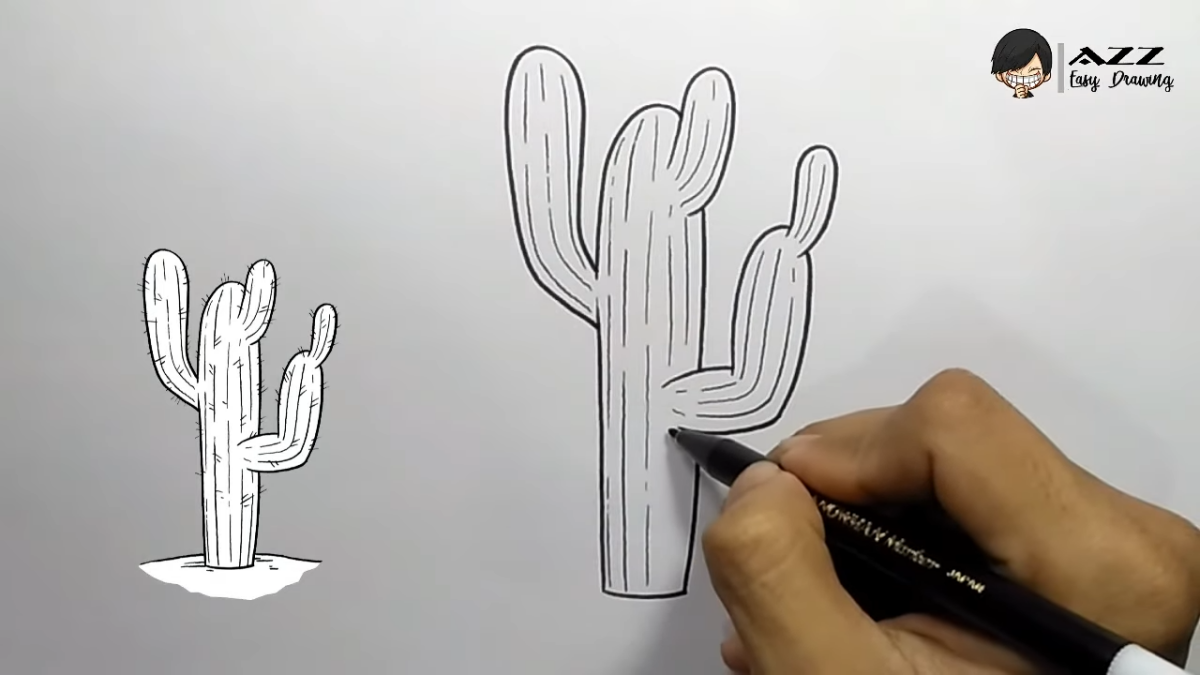
But here’s the trick: don’t just draw straight, parallel lines down the cactus. That’s a one-way ticket to a flat drawing. You have to draw contour lines that curve with the plant’s round shape.
Try this right now: Grab an apple or an orange. Imagine drawing lines from the stem down to the bottom. See how they curve around the sides? That’s exactly what you need to do on your cactus drawing. This simple shift in thinking immediately makes it look 3D. By the way, some cacti, like the little pincushion types, have bumps called tubercles instead of ribs. For those, you focus more on the tiny shadows each individual bump casts.
The Areole: The Most Important Word You’ll Learn
If you only learn one technical term, make it this one. Areoles are the small, fuzzy, cushion-like spots that grow along the ribs or on top of the tubercles. They are the unique feature of a cactus. Think of them as the command center for all new growth—spines, flowers, and even new arms all sprout from these little spots.
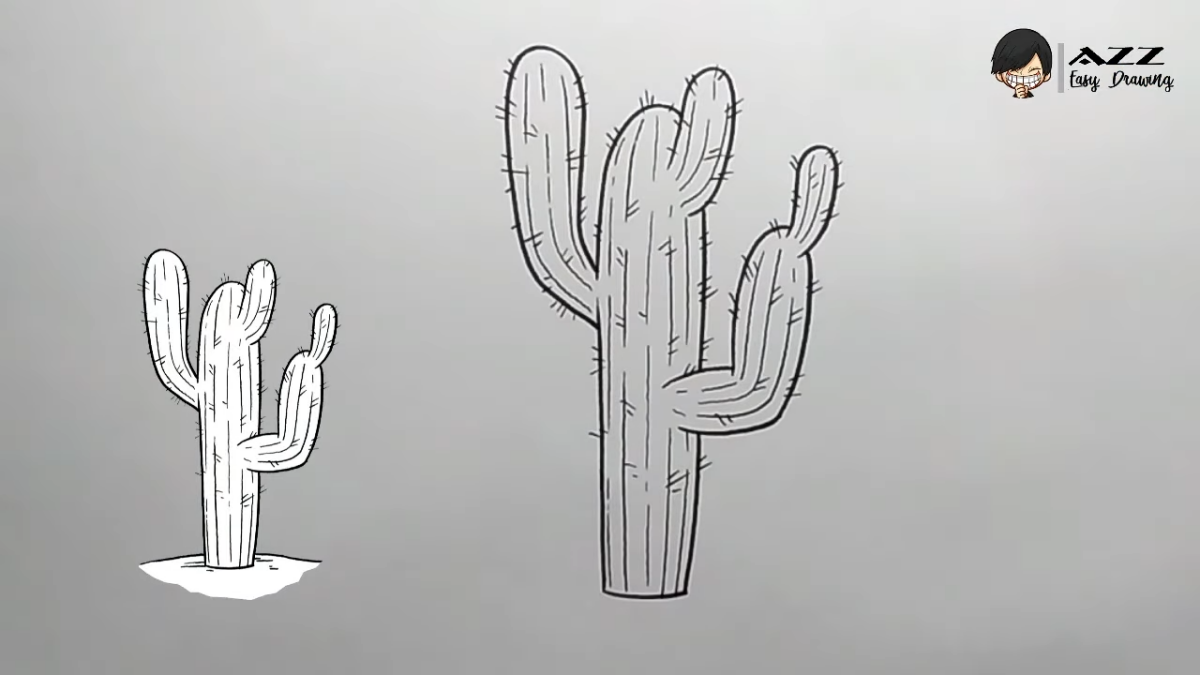
Spines don’t just poke out of the skin randomly; they pop out in organized clusters from the areole. So, when you’re drawing, map out where the areoles go first. Get their spacing right along the ribs. Only then should you start drawing the spines growing out of them. It’s a small step, but it makes a huge difference in realism.
Spines and Glochids: A Lesson in Texture
Spines are basically modified leaves. They vary a ton—some are like long, sharp needles, while others are hooked, feathery, or almost papery. To draw them well, you need to vary your line weight. A sharp, hard pencil is great for the fine, needle-like tips, while a softer pencil can add thickness to the base where it meets the areole.
And then there are glochids. Oh, the glochids. You find these on prickly pears, and they’re those tiny, hair-like, barbed bristles that grow in dense clusters. They are an absolute nightmare to touch (I learned that the hard way sketching in the desert once), but they create a really interesting texture to draw. You can’t draw every single one, so don’t even try. Instead, use a technique called stippling. Just take a sharp pencil or a fine-tipped pen and create clusters of tiny dots. This gives the illusion of a fuzzy, dense patch without driving yourself crazy.

A Few Common Mistakes & Quick Fixes
Before we grab our tools, let’s talk about a couple of common pitfalls I see all the time. Getting these right will put you way ahead of the game.
- The Pancake Cactus: This is when your round cactus looks squashed and flat. The fix? Remember the orange! Use curved contour lines for the ribs, not straight parallel ones. Also, make sure the shadows in the crevices between the ribs are nice and dark to create depth.
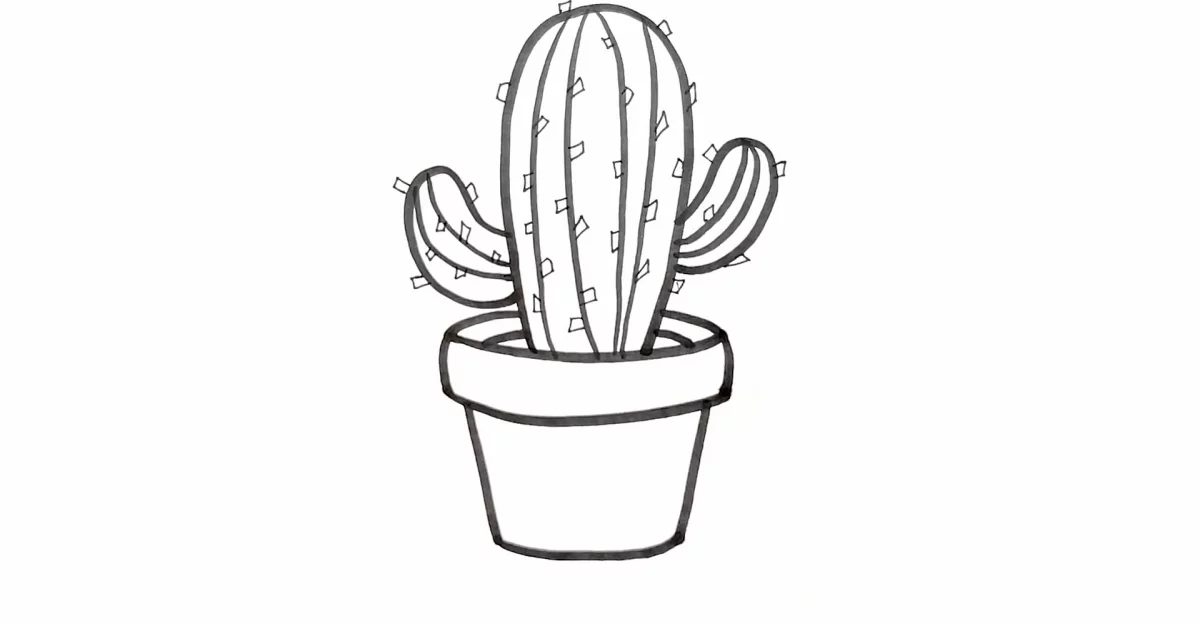
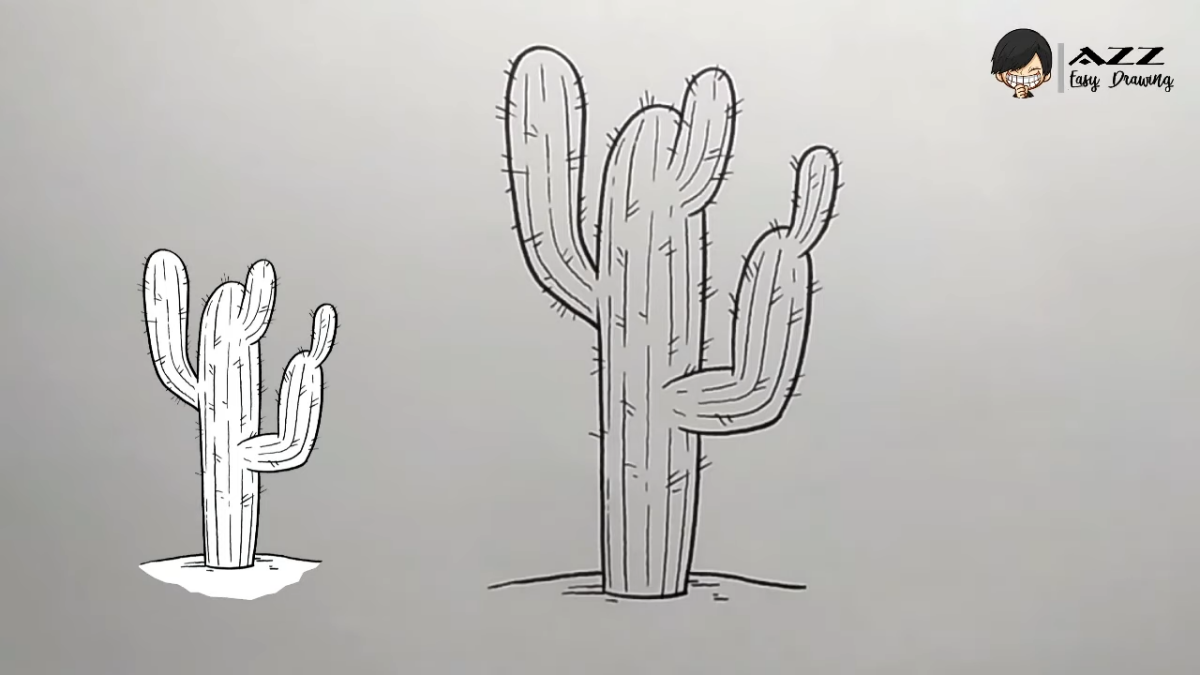
- The Floating Cactus: This happens when your cactus looks like it’s hovering in mid-air instead of sitting on the ground. The fix is so easy: always, always add a small, dark cast shadow on the ground right underneath the plant. It instantly anchors it to the surface.
The Right Tools for the Job (Without Breaking the Bank)
Good news: you don’t need a professional art store’s worth of supplies. Good technique beats fancy gear any day. That said, the right tools make things a lot easier.
What if I only have a
2 pencil and printer paper? Honestly, don’t let a lack of supplies stop you! You can absolutely practice all the shapes and techniques with just that. The core skills are in observation and form. Just press harder for your dark lines and use a very light touch for guidelines. The practice is what matters most.
My Recommended Beginner’s Kit (Under $20) If you’re ready to grab a few dedicated supplies, you can get a fantastic starting kit for less than the price of a couple of movie tickets. You can find this stuff at art stores like Blick or even big craft stores like Michael’s.
- Paper: For pencil, you want paper with a bit of texture (or ‘tooth’) to grab the graphite. A solid drawing pad (something like a 9×12 inch pad with 80 lb paper) will run you about $10-$12. If you’re using ink, a smoother Bristol board is better.
- Pencils: You really only need four. A 2H for light, easy-to-erase initial sketches; an HB (like a standard
2) for general lines; a 2B for building up darker shadows; and a 4B for the absolute darkest spots. A small variety pack usually costs around $5-$7.
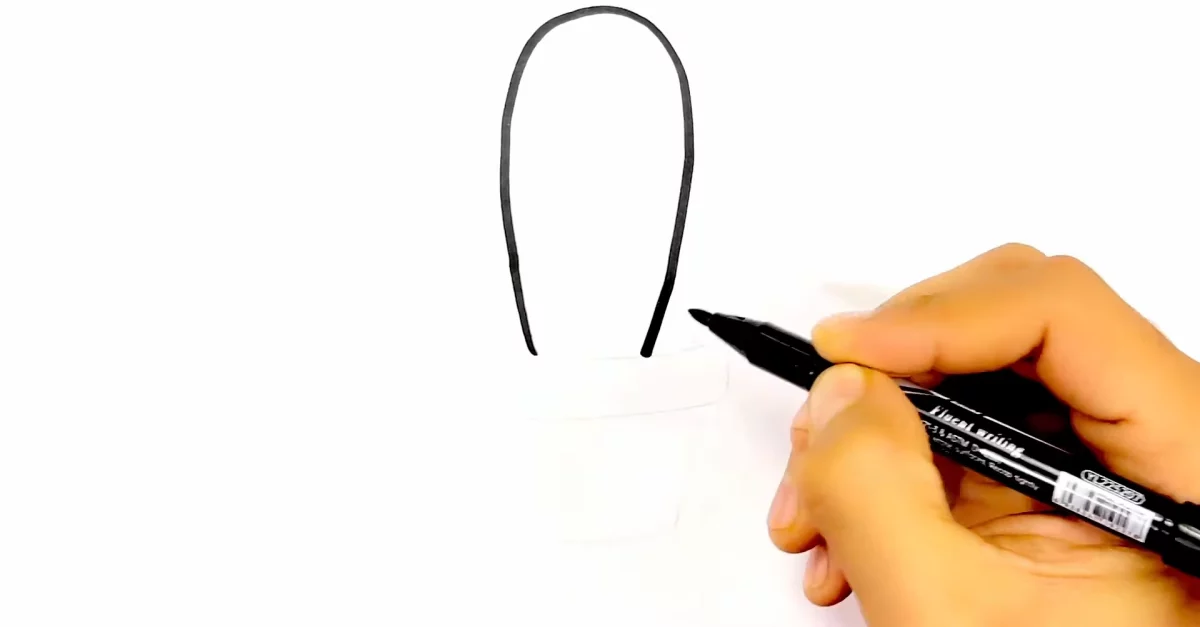
Let’s Draw! Two Projects to Get You Started
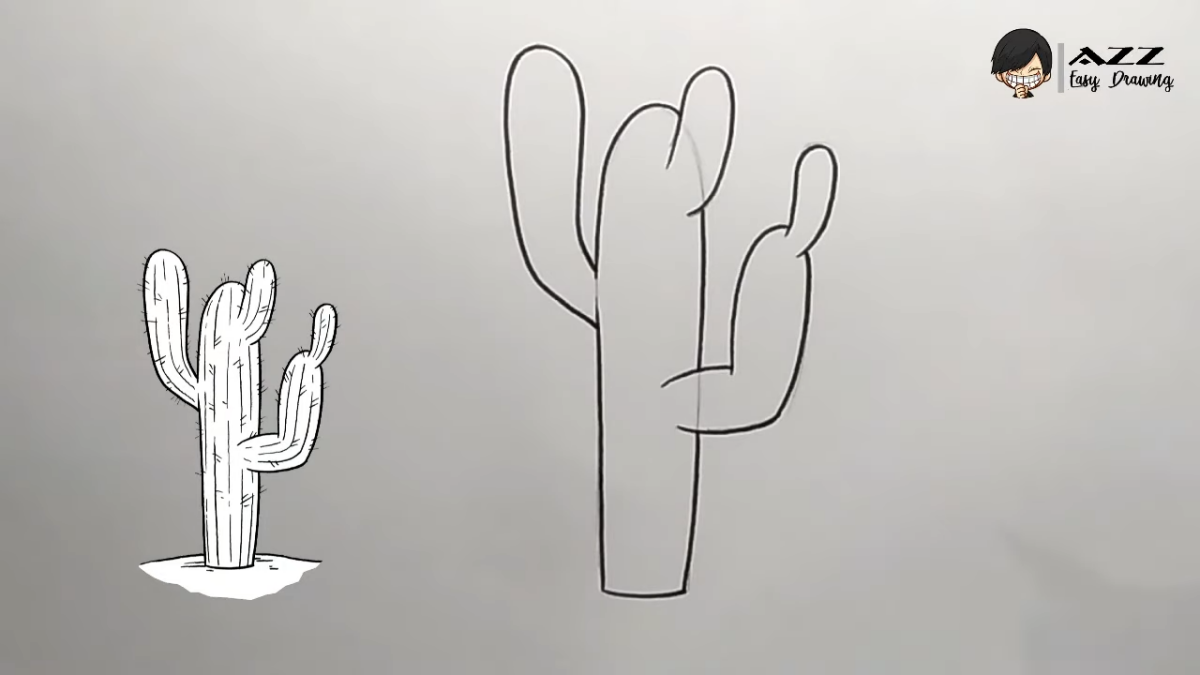
Alright, let’s put this into practice. Grab your paper and a light (2H) pencil. Work slowly and focus on the structure, not just the outline.
Project 1: The Classic Barrel Cactus (Beginner)
This is the perfect starting point. Its shape is simple, and the ribs are great for practicing volume. Give yourself a good 30-45 minutes for this one, and don’t rush.
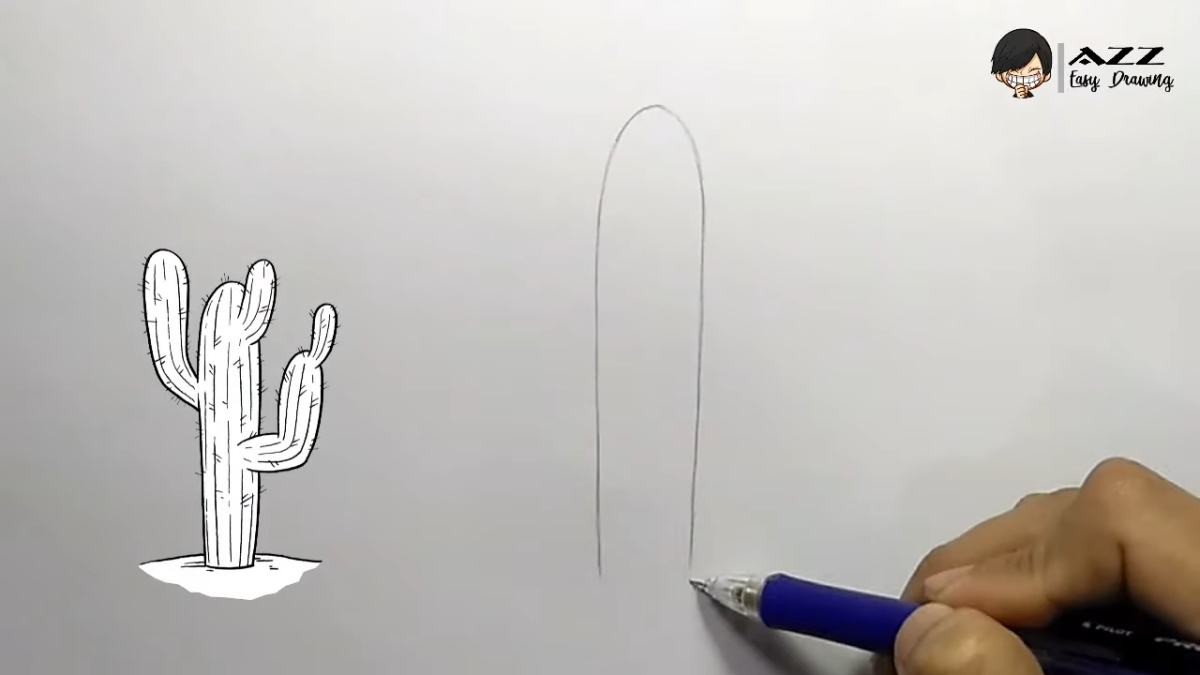
- Core Shape: Lightly sketch a short, wide cylinder or a slightly squashed circle. Super light—this is just your guide.
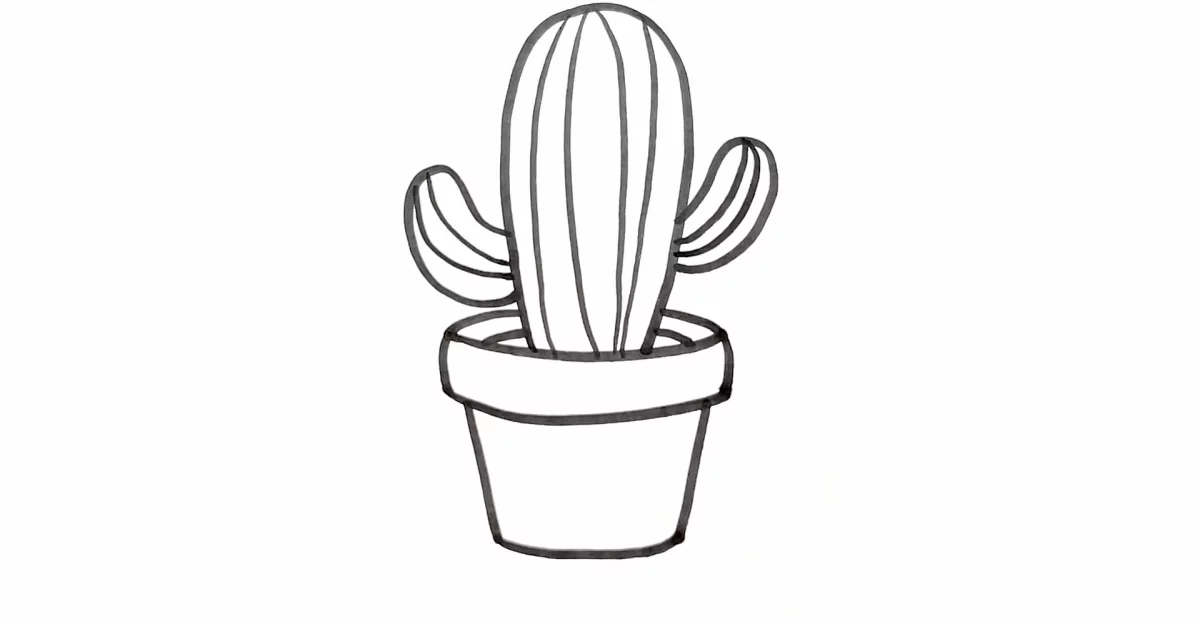
- Map the Ribs: Draw a single vertical line down the very center. Then, add curved lines on either side, following the contour of your shape (remember the orange!). Make the lines appear closer together as they wrap around the sides to create that 3D illusion.
- Place the Areoles: Make little tick marks along each rib line. Try to keep the spacing fairly consistent.
- Add Spine Clusters: From each areole mark, draw your spines. Barrel types often have a few thick central spines and a fan of smaller, thinner ones around them. Mix up the length and curve slightly—perfect uniformity looks unnatural.
- Light and Shadow: Pick a light source (say, the upper left). The parts of the ribs facing the light will be the brightest. The deep cracks between the ribs will be the darkest. Use your 2B and 4B pencils to gently build up the shadows. Leave the highlighted areas bright white. Finish it off with that small, dark cast shadow on the ground to make it sit firmly.
Project 2: The Prickly Pear (Intermediate)
The prickly pear introduces a new challenge: drawing flat, paddle-like pads that grow out of each other. The key here is showing overlap and a different kind of texture.
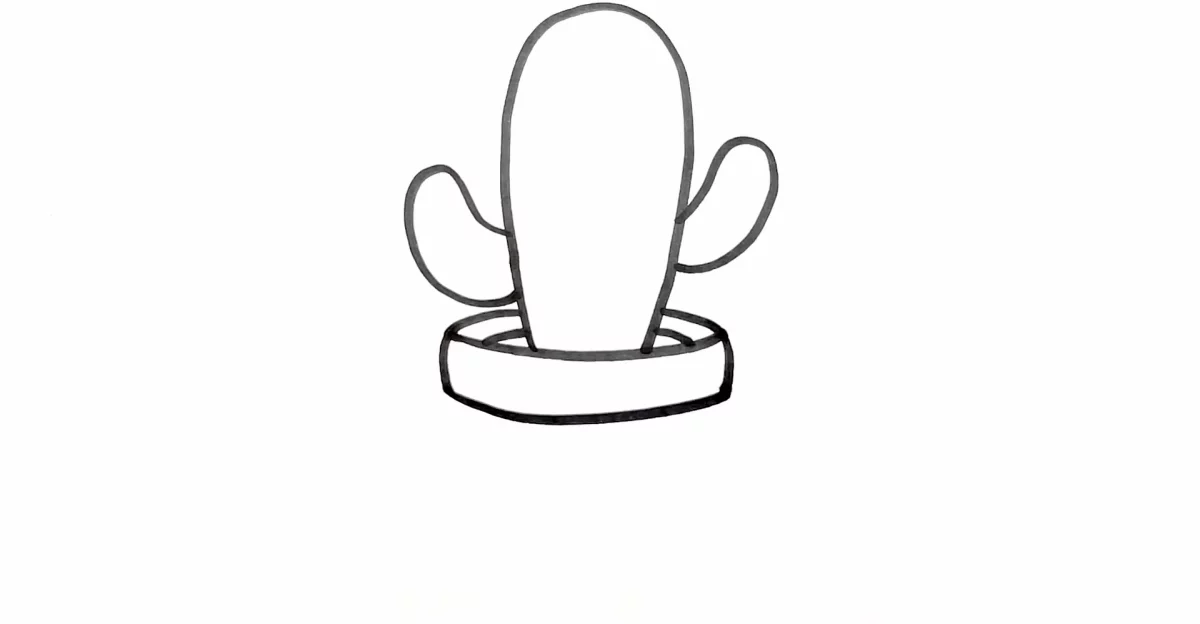
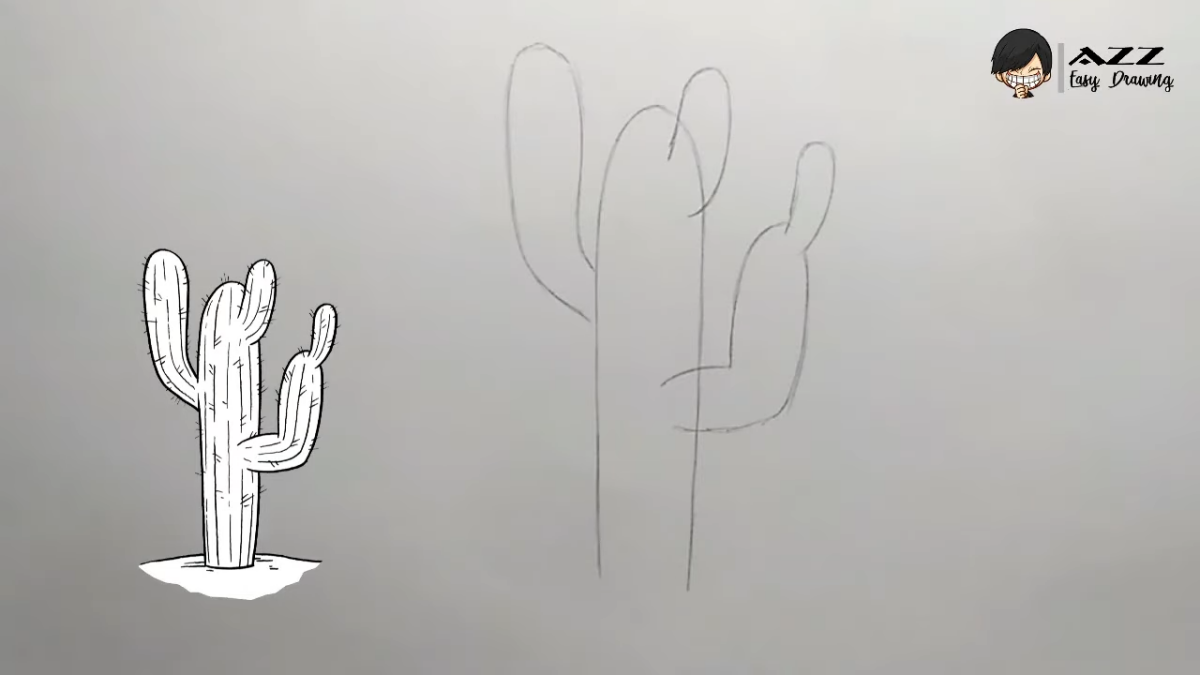
- Block in the Pads: Start with one pad, shaped like a flattened oval. Then draw another one growing from its upper edge, slightly overlapping. Sketch a little group of 3 or 4 connected, overlapping pads to create depth.
- Define the Overlap: This is crucial. Where one pad sits in front of another, make that line a little darker and sharper. Then add a small cast shadow where the front pad falls on the one behind it. This tiny detail instantly pushes them apart in space.
- Place Areoles & Glochids: Lightly mark a grid-like pattern of areoles on the pads. Now, use that stippling technique: use the sharp tip of your pencil to tap in a little cluster of dots at each areole. Voila, you’ve got those fuzzy, dangerous patches.
- Add Main Spines (If Any): Some prickly pears have big spines, some don’t. If yours does, draw a few long ones poking out from some of the areoles.
- Add Some Age: Older prickly pear pads get a tough, woody, bark-like texture at their base. You can show this by using messy, cross-hatched lines near the bottom of the plant. It adds a great sense of history and realism.
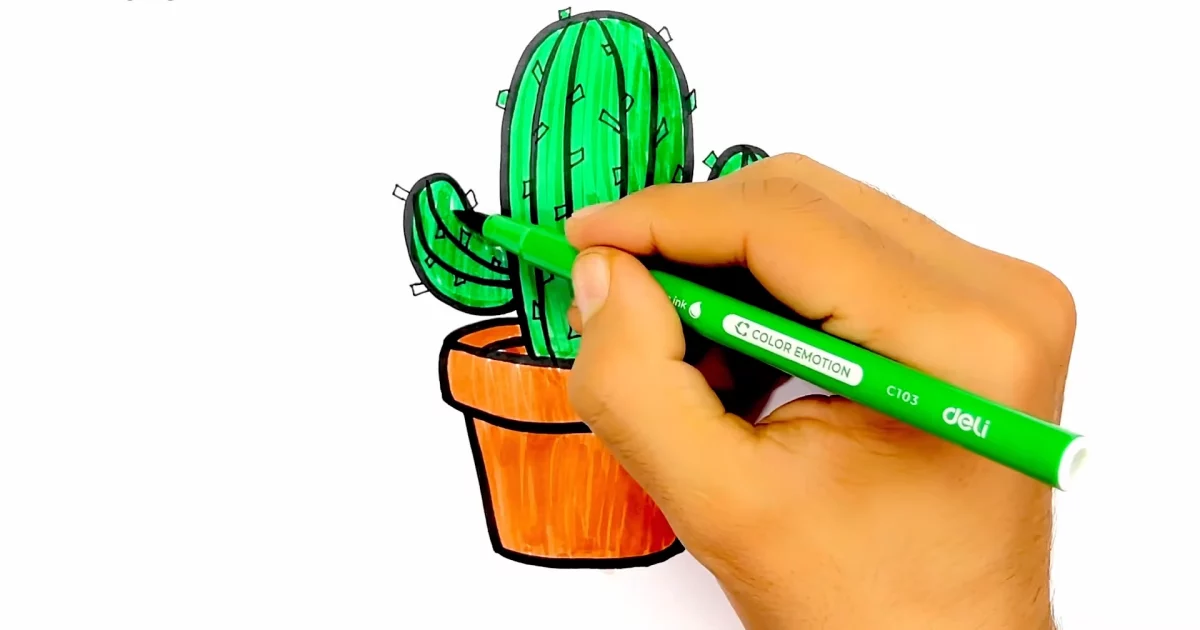
Bringing Your Cactus to Life with Color
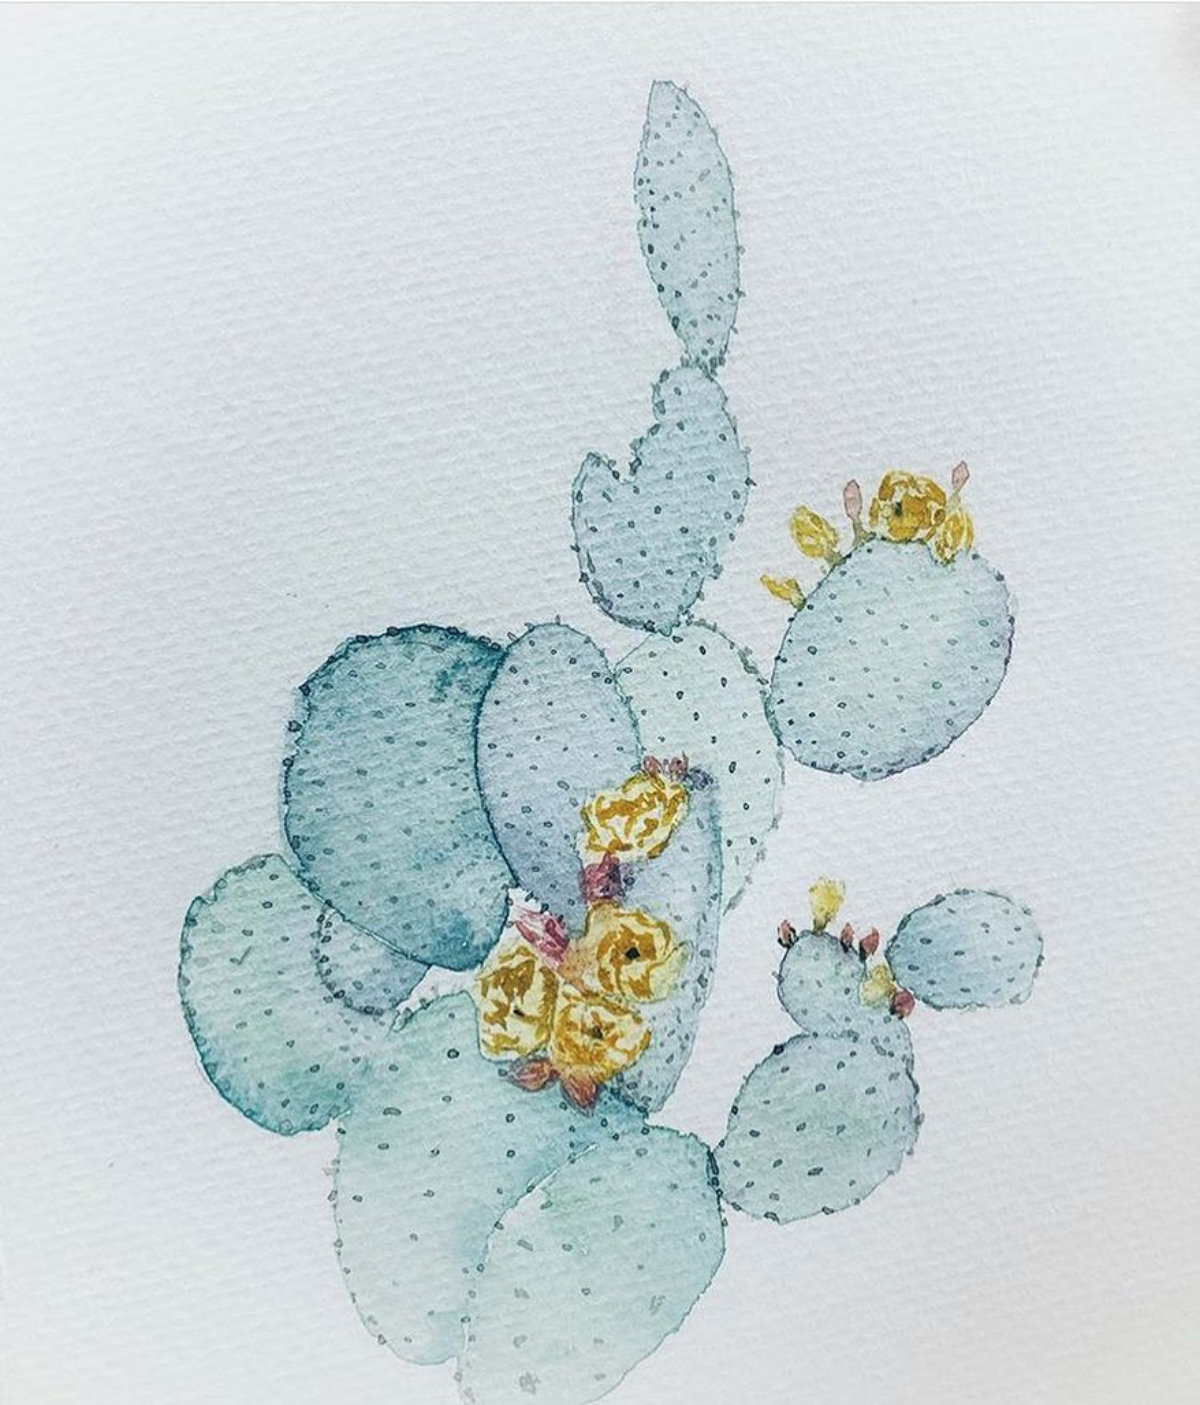
Adding color is a whole new level of fun. And guess what? Cacti aren’t just plain green. They can be blue-green, gray-green, or even get reddish or purplish tints from sun stress.
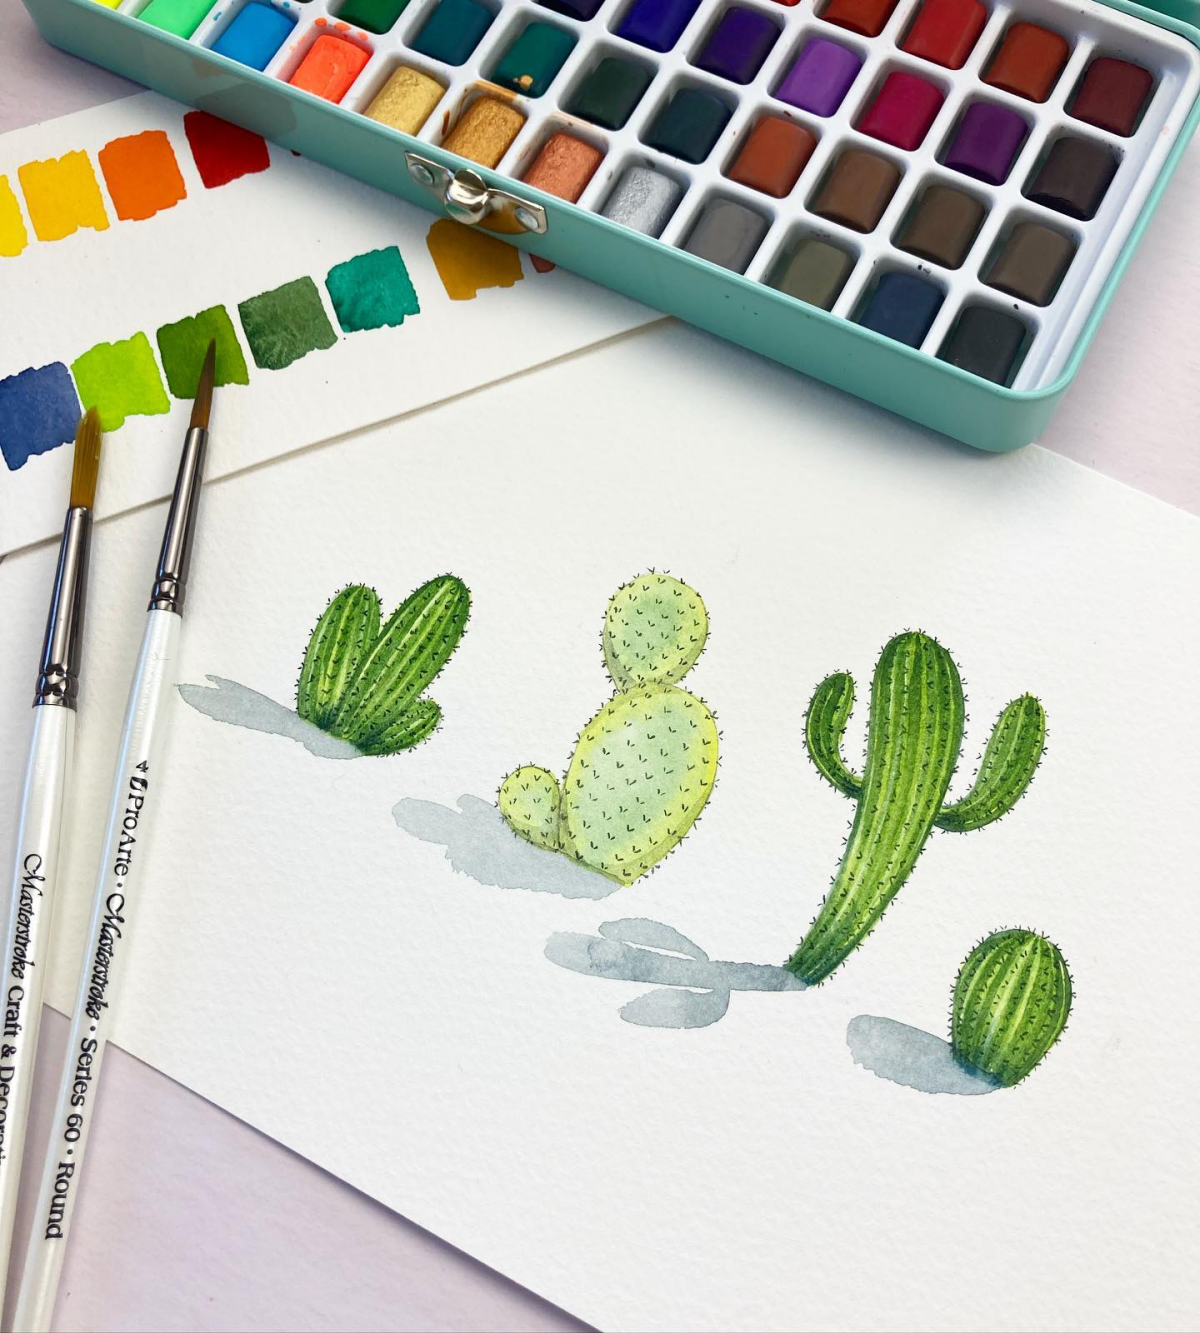
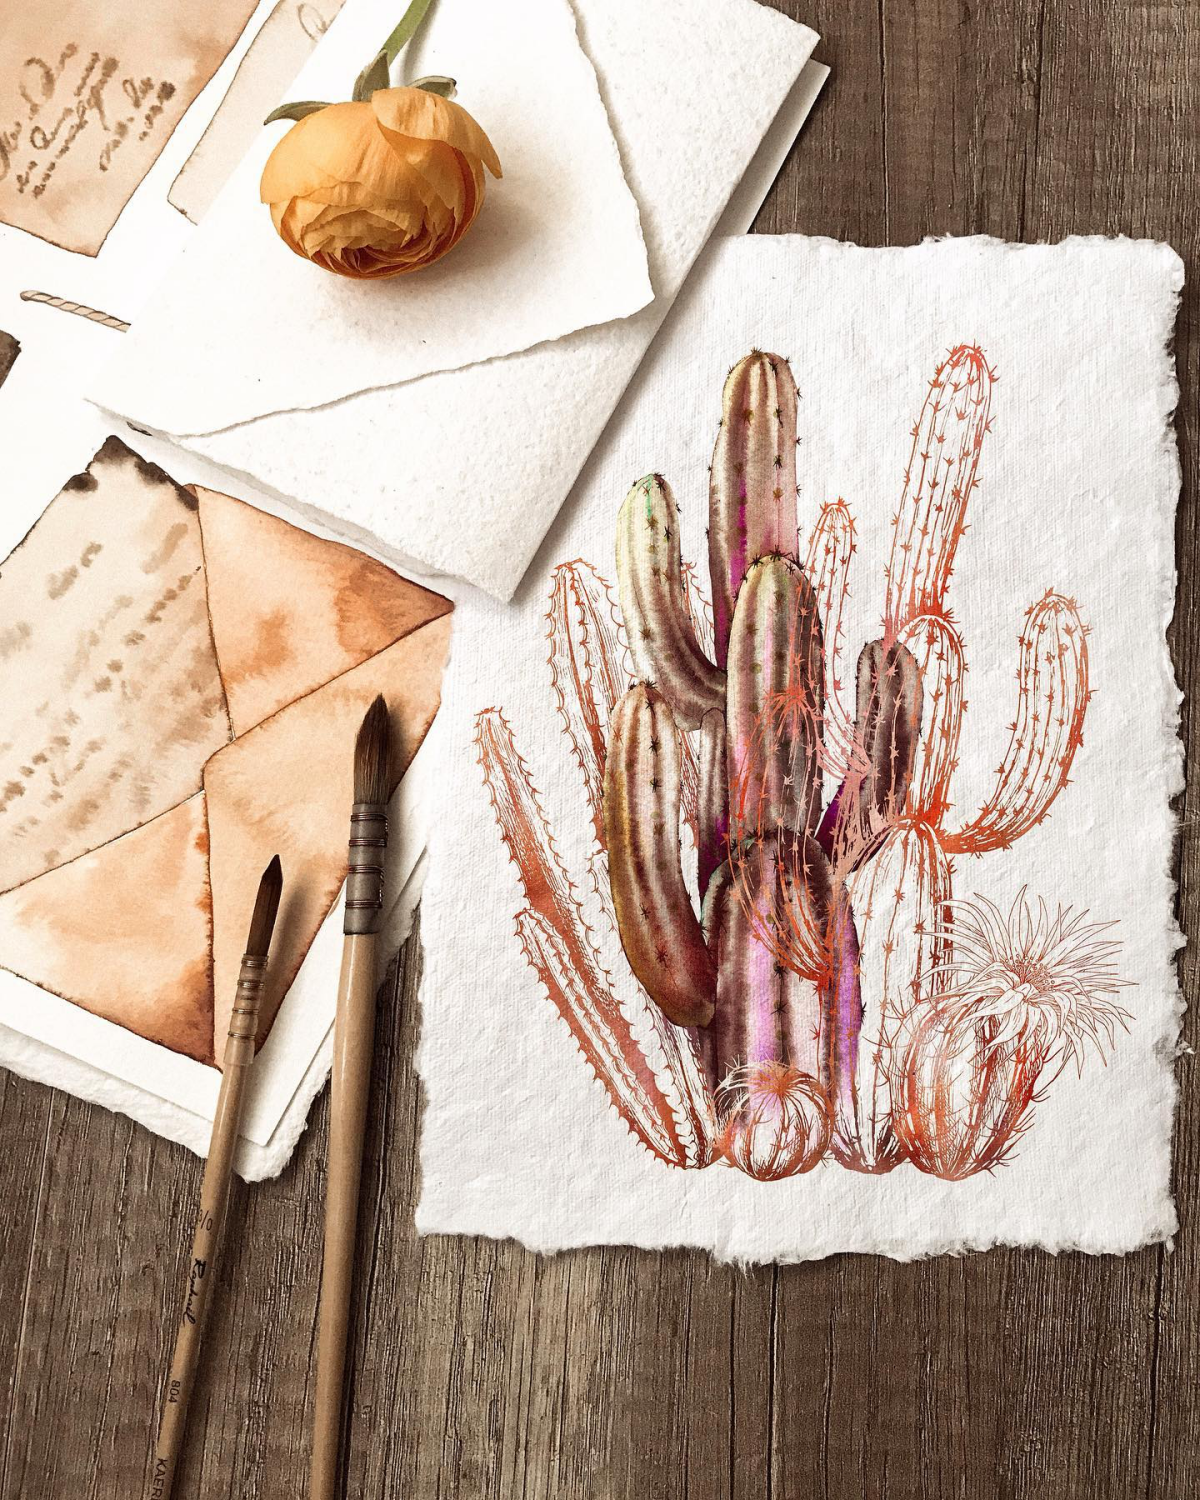
Watercolor Tips
Watercolor is fantastic for this. Quick tip: Avoid using green straight out of the paint tube, as it usually looks too bright and artificial. Mix your own! My go-to recipe for a natural desert green is about two parts Yellow Ochre to one part Ultramarine Blue. It creates a much more subtle, earthy color.
To get that waxy cactus skin look, first wet an area of your drawing with clean water, then touch your mixed green into it. The color will spread softly. Once that’s dry, you can use a smaller brush with a more concentrated color to paint the crisp shadows between the ribs.
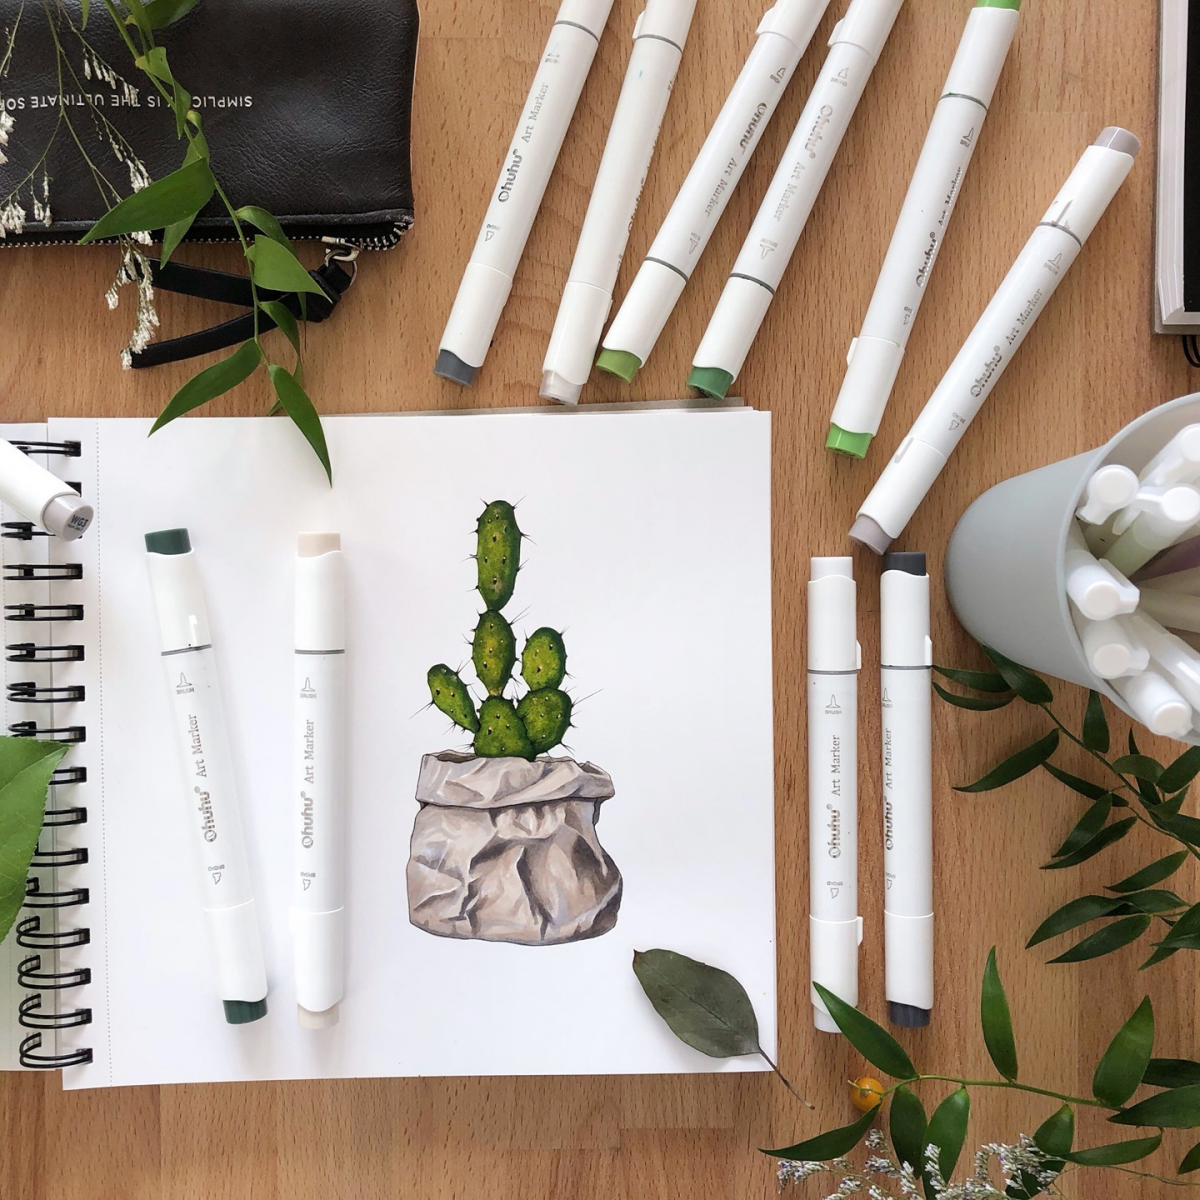
Colored Pencil Tricks
With colored pencils, the secret is to work in light layers. Don’t press hard right away. For a green cactus, you might start with a layer of light green, then add a grayish-blue for the shadows, and maybe a touch of yellow for the highlights.

Here’s a lesser-known trick for creating perfect white spines. It’s called ‘impressing.’ Before you add any color, take a dead ballpoint pen or a stylus and firmly draw your spine lines right into the paper, denting it. Then, when you color over the area with the side of your pencil, the pigment will magically skip over the indented lines, leaving them as crisp, clean white marks. It works like a charm.
A Few Final Good Habits
When you start making art you’re proud of, you’ll want to protect it and be respectful of your sources.
If you’re working with pencil, your drawings can smudge. A can of spray fixative is great for protecting them, but heads up! The fumes are no joke. Always use it in a well-ventilated area, preferably outside.
For references, it’s always best to work from real life or your own photos. If you need to use photos from the internet, look for copyright-free sources. Websites like Unsplash and Pexels are full of them. (Try searching for “cactus close up” or “saguaro detail” to get some great textures). It’s fine to be inspired by other artists, but it’s a huge no-no to copy someone’s work directly and pass it off as your own.
Drawing is a skill you build over time, just like anything else. Don’t get bummed out if your first few drawings are a little wobbly. Every single one is a step in the right direction. Truly, the best thing you can do for your art is to just go look at a cactus. Visit a nursery or a botanical garden. Sit with one for a while and just notice things. How does the light hit it? Where are the spines thickest? That patient observation will teach you more than any tutorial ever could.
Galerie d’inspiration
Don’t get stuck on one shade of green! Real cacti are a tapestry of color. Look closer and you’ll find dusty blues, subtle purples, and even sun-stressed reds and oranges at the tips. Try layering a light ochre or a cool grey under your greens to instantly add depth and realism to your drawing.
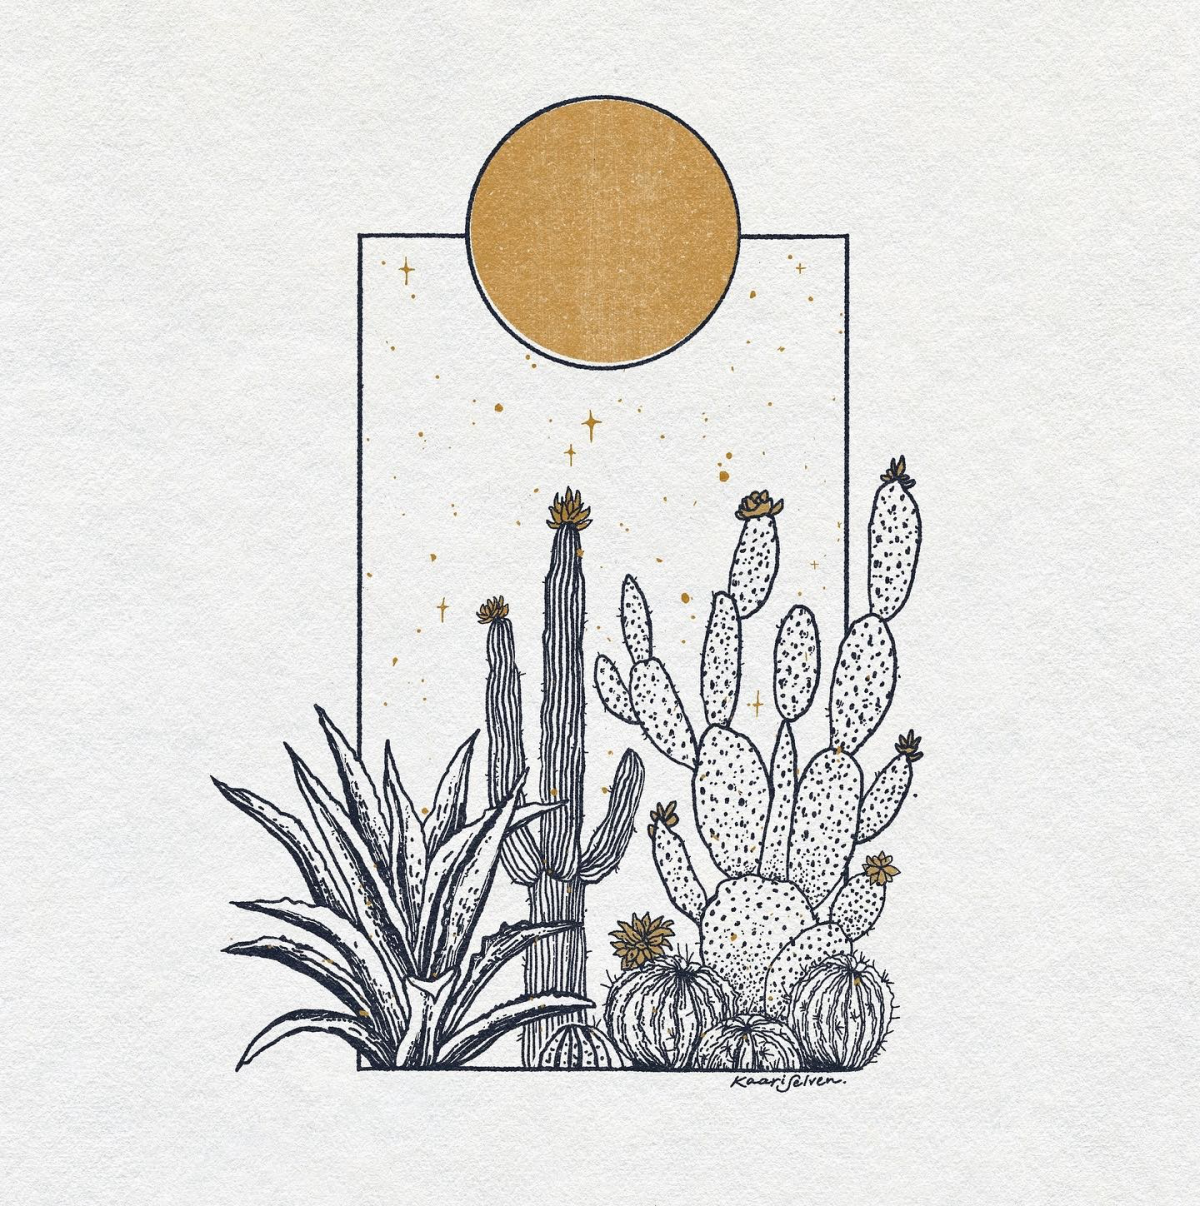
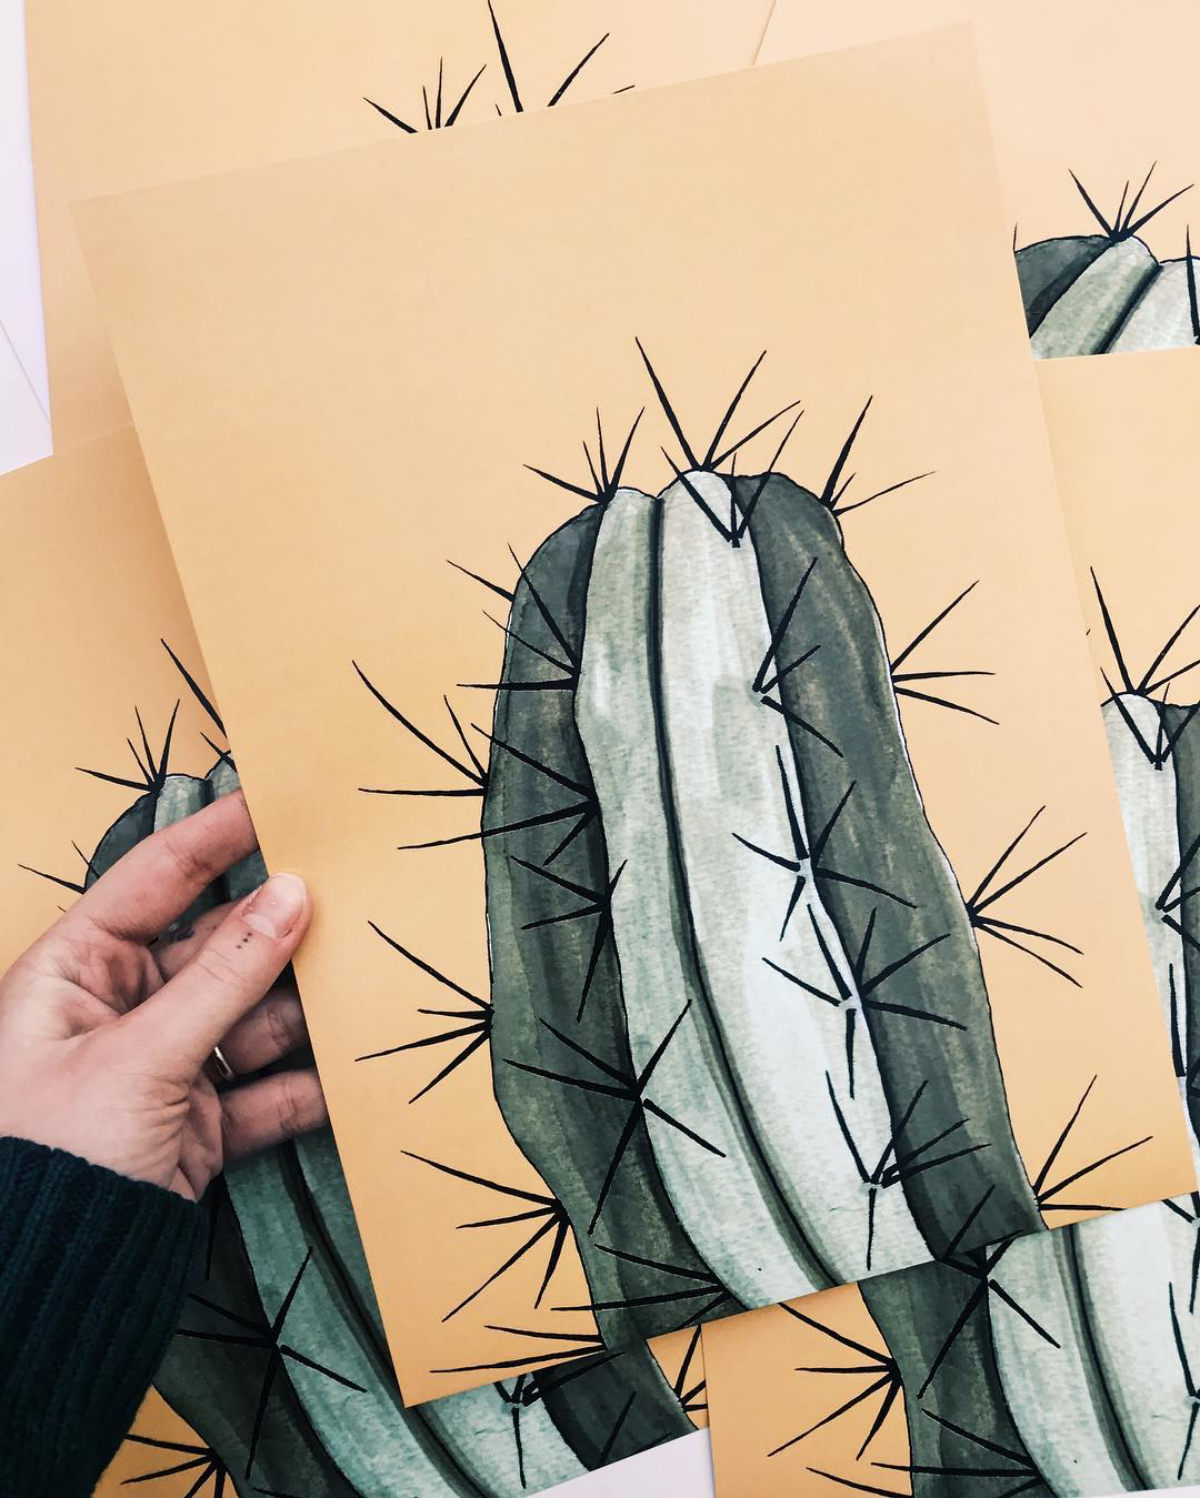
- Draws sharp, precise spines ideal for detailed botanical work.
- Allows for expressive, varied line weights with a flick of the wrist.
- Creates a high-contrast look that stands out on the page.
The secret? A high-quality fineliner pen. The Sakura Pigma Micron in a 005 or 01 size is perfect for capturing the delicate yet fierce nature of cactus spines.
There are over 1,750 known species of cacti in the world, ranging from the tiny Blossfeldia liliputana (the size of a thimble) to the giant Saguaro.
This incredible diversity is a goldmine for artists. Before you draw another classic barrel cactus, look up species like the ‘Old Man of the Andes’ (Oreocereus celsianus) with its woolly hair, or the geometric ‘Star Cactus’ (Astrophytum asterias). Each offers a completely new challenge of texture and form.
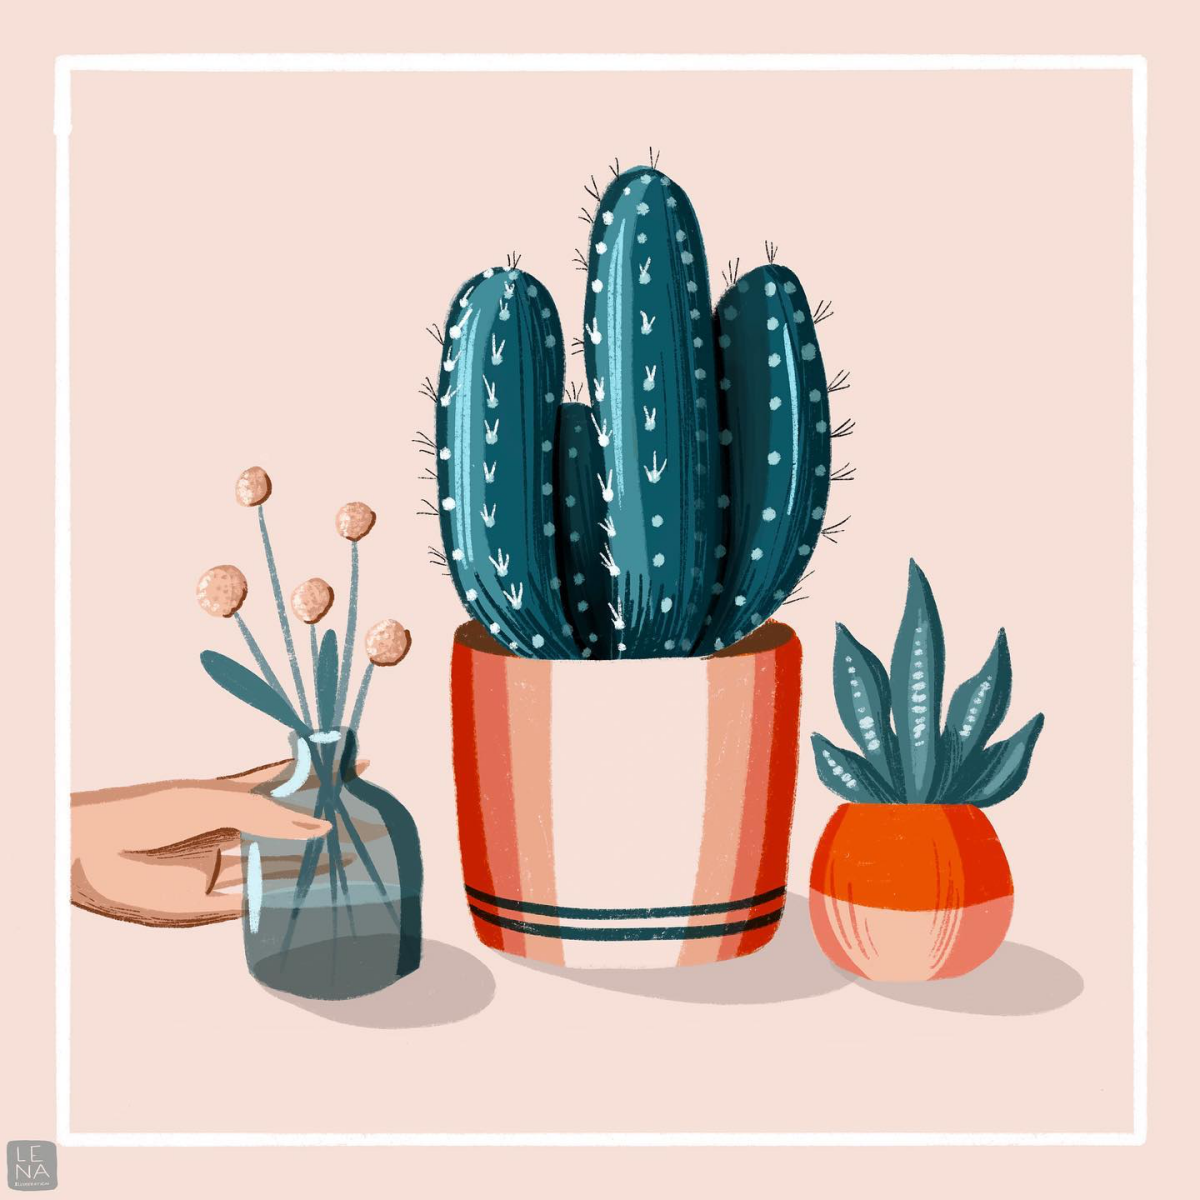
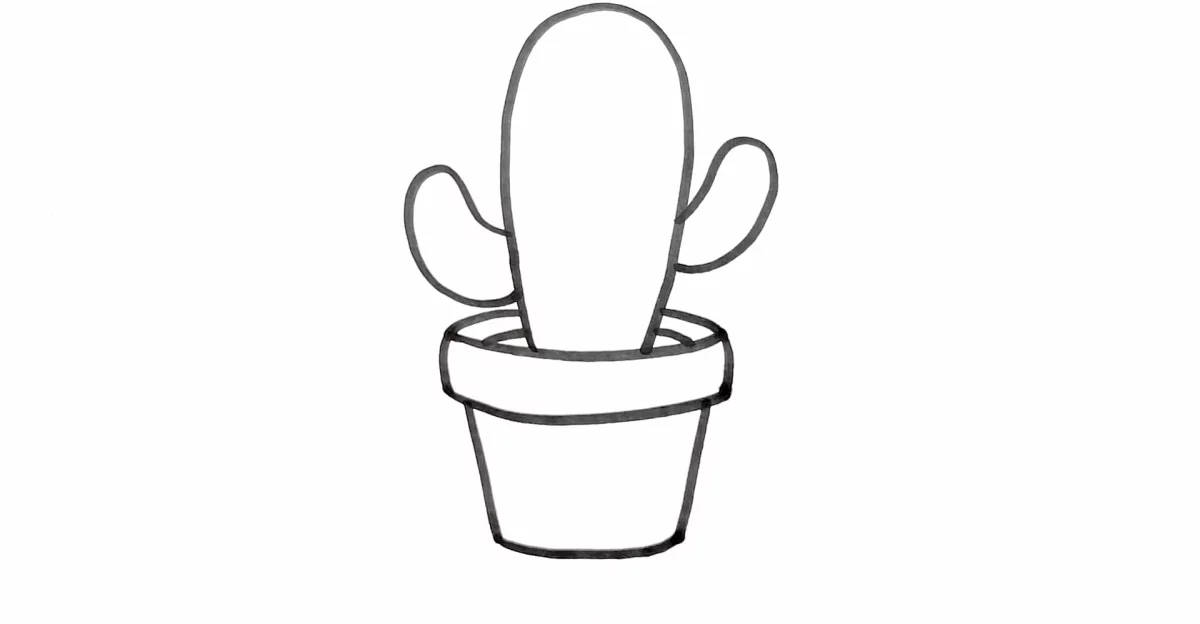
How do you make a cactus look truly three-dimensional?
It’s all about the cast shadow. Once your cactus is drawn, take a light grey marker (like a Copic N2) or a soft 2B pencil and add a small, soft shadow on the ‘ground’ where the cactus meets the pot’s soil. This simple touch instantly anchors your drawing in space, making it feel heavy and real instead of floating on the page.
The right paper matters: A smooth paper, like Bristol board, is excellent for crisp ink drawings and markers. However, for pencil work that captures the gritty, organic texture of a cactus, choose a paper with a little ‘tooth’. A vellum surface or a hot-press watercolor paper like Canson or Arches gives your graphite something to grab onto, allowing for richer shading and more convincing textures.

Graphite Pencils: Offer incredible control over value and shading. Perfect for soft, realistic textures and subtle gradients on the cactus body.
Inktense Pencils: These pencils, like Derwent’s line, can be used dry for vibrant color, but then activated with water to create a vivid, ink-like effect that’s fantastic for colorful cactus flowers.
Choose graphite for realism and Inktense for expressive, colorful pieces.
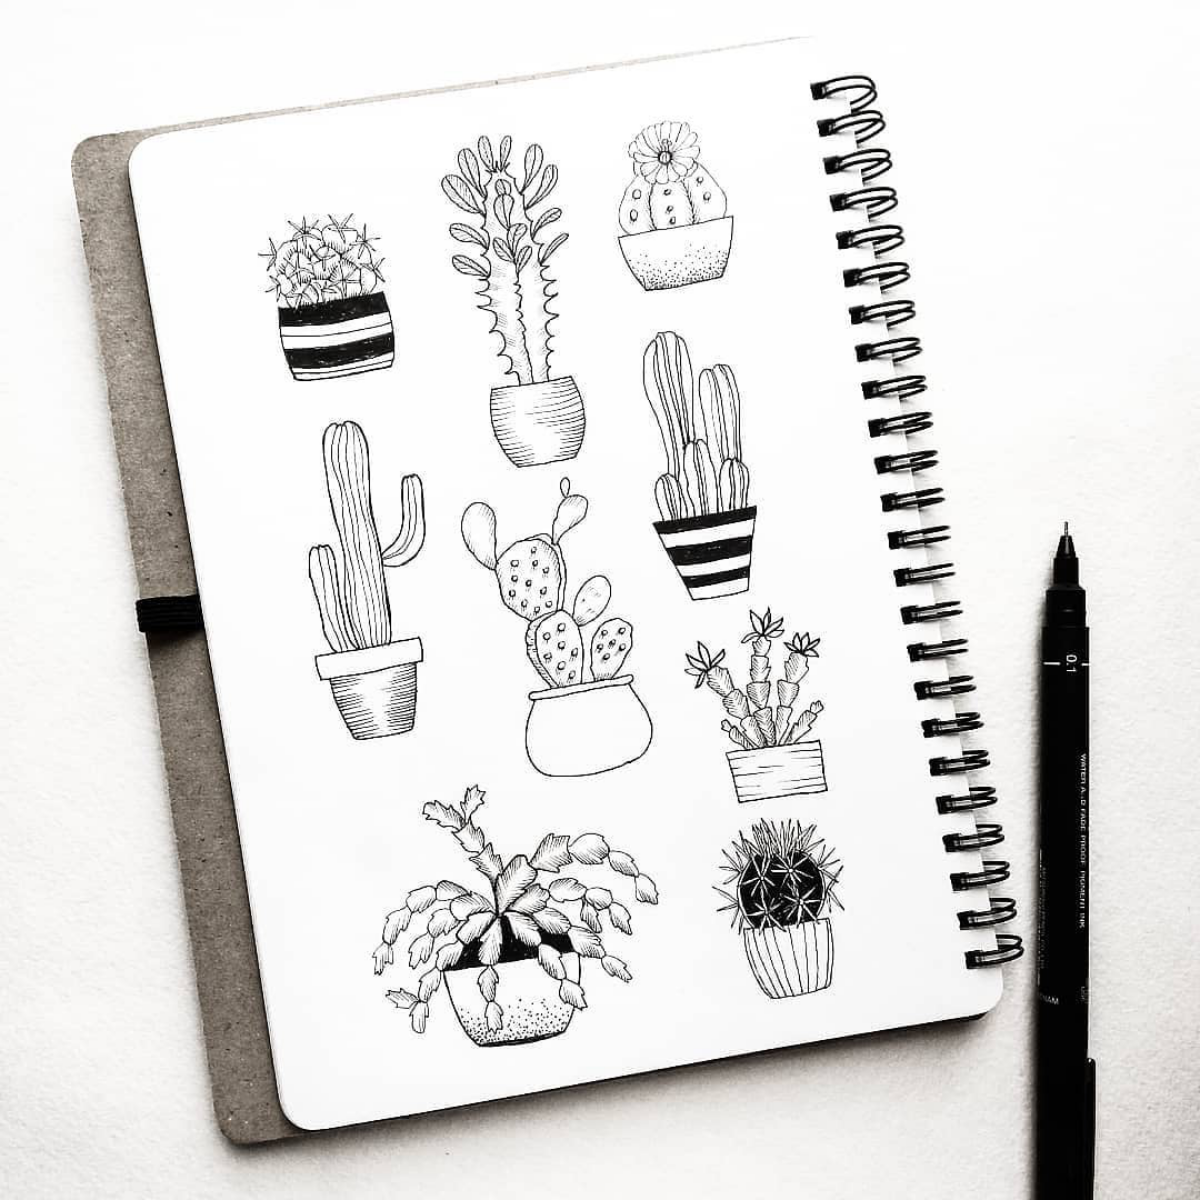
Creating a ‘Cactus Study Sheet’ is a fantastic exercise. Dedicate a page in your sketchbook to one species. In the center, draw the full plant. Then, fill the surrounding space with detailed studies:
- A close-up of an areole, showing how the spines emerge.
- A sketch of its unique flower.
- A cross-section showing the shape of its ribs.
- Color swatches using your colored pencils or watercolors.
“The artist’s world is limitless. It can be found anywhere, far from where he lives or a few feet away. It is always on his doorstep.” – Paul Strand, Photographer known for his starkly beautiful plant studies.
To achieve that powdery, pale green or blue coating seen on many succulents (called epicuticular wax), avoid using a heavy hand. Instead, use a very sharp, hard pencil like a 2H for your base layer. Then, gently glaze your colored pencils over the top. The wax is a delicate layer, and your drawing technique should reflect that. A final, gentle scumbling with a white colored pencil, like a Faber-Castell Polychromos, can perfect the effect.
- Uniform Spines: Avoid drawing every spine as an identical, straight line. Vary their length, thickness, and angle slightly. Some should overlap. This creates naturalism.
- Ignoring the Areole: Spines don’t just poke out of the skin; they grow from a specific spot called an areole. Drawing this tiny, often fuzzy dot as a base makes your spine placement logical and realistic.
- Outlining in Black: Unless you’re going for a comic book style, avoid a hard black outline. Let light and shadow define the edges of your cactus.
Important point: Don’t draw the spines last. Instead, map out their placement and direction early on. This helps you ‘sculpt’ your shadows around the spine clusters, making them look integrated with the cactus body rather than just stuck on top. It forces you to see the plant as a complete, textured object from the beginning.
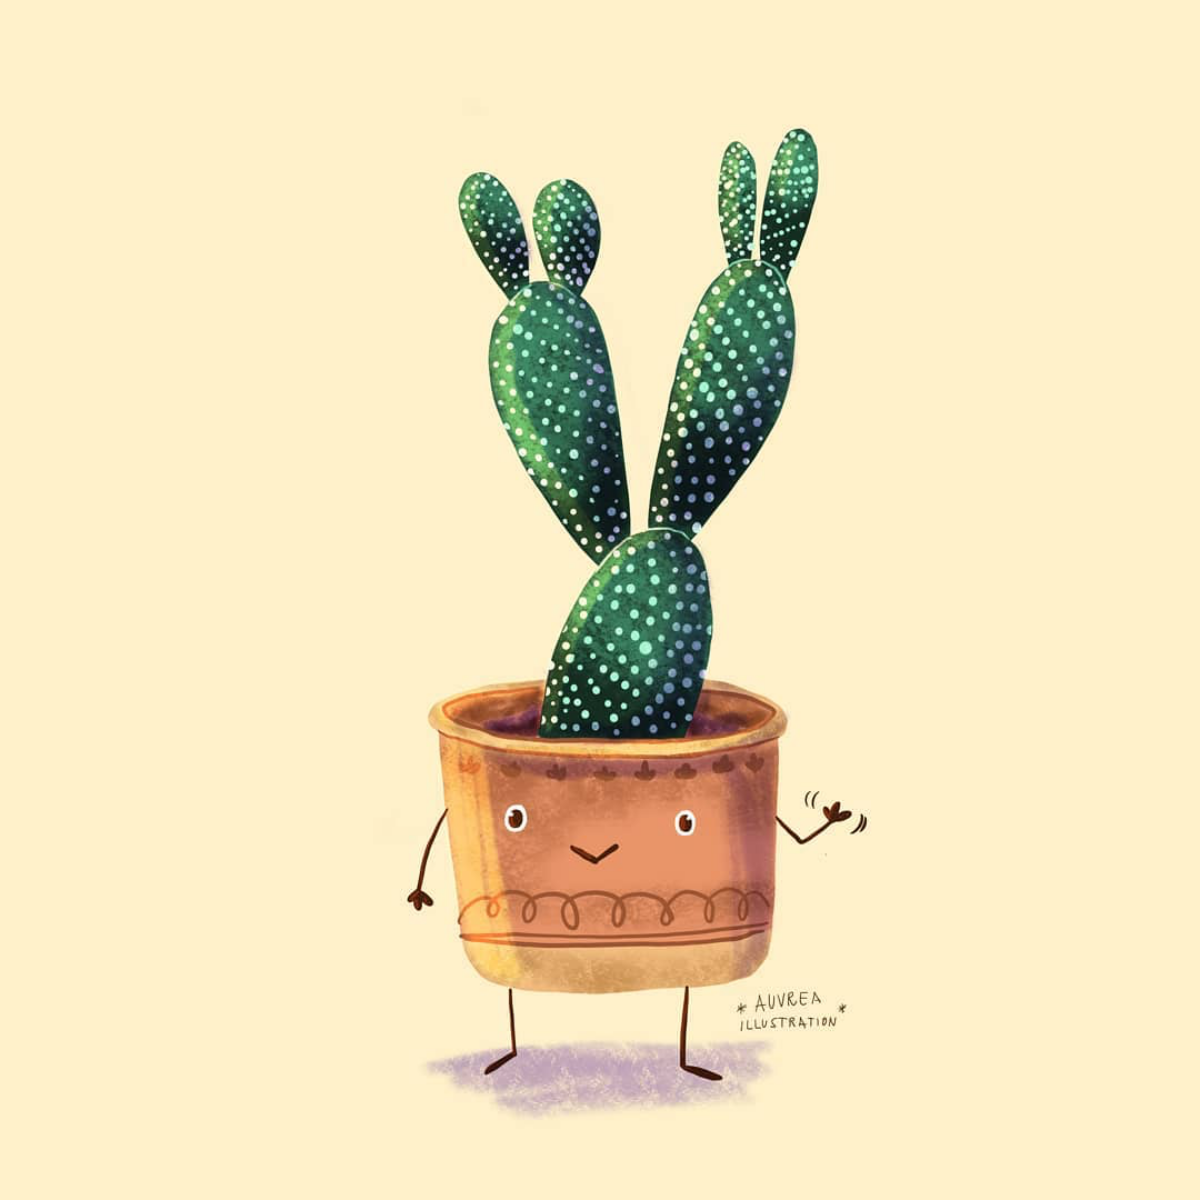
Want to draw that soft, hairy texture of a cactus like the ‘Bunny Ears’ or ‘Old Man’ cactus?
The trick is to use negative space and soft graphite. Instead of drawing hundreds of white hairs, shade the cactus body with a soft 4B pencil, leaving very thin, empty lines where the brightest hairs are. Then, use a tortillon or blending stump to soften the graphite around these ‘hair’ lines. This gives the illusion of soft fuzz without a single drawn line.
Go beyond the pot. Create a scene. Place your cactus drawing on a windowsill with light streaming in. Draw it next to other objects with contrasting textures, like a smooth ceramic mug or a rough terracotta shard. Context tells a story and makes your drawing far more engaging than a simple plant portrait.
- A bright, almost magical highlight on a spine’s tip.
- A crisp white edge on a cactus flower petal.
- The illusion of a glint of light on a glossy pot.
The tool? A white gel pen. The Uni-ball Signo Broad is a favorite among illustrators for its opaque ink that writes smoothly over pencil and even watercolor. It’s the final 5% of effort that adds 50% of the sparkle.
Working on a budget? You don’t need a 120-pencil set to create beautiful cactus art. A simple set of student-grade pencils, like those from Prismacolor Scholar or Arteza, can be very effective. The key is to also invest in a single, high-quality white pencil (like a Caran d’Ache Luminance) for blending and highlighting. This one professional tool can elevate the performance of the entire budget set.
For digital artists using Procreate or Photoshop, layering is key for cacti. Start with a base layer for the main green color. On a new layer above, set to ‘Multiply,’ use a soft airbrush to add shadows following the ribs. Create a third layer for highlights, using a light color on a ‘Screen’ or ‘Add’ blend mode. Finally, put the spines on their own, separate top layer for maximum control and crispness.
A 2015 study found that just looking at complex, fractal patterns in nature—like the repeating ribs and spine clusters on a cactus—can reduce stress levels by up to 60%.
So, the very act of closely observing your cactus to draw it is a form of relaxation. Embrace the intricate details not just for the sake of realism, but as a mindful practice. Your focus on the patterns can be as rewarding as the final drawing.
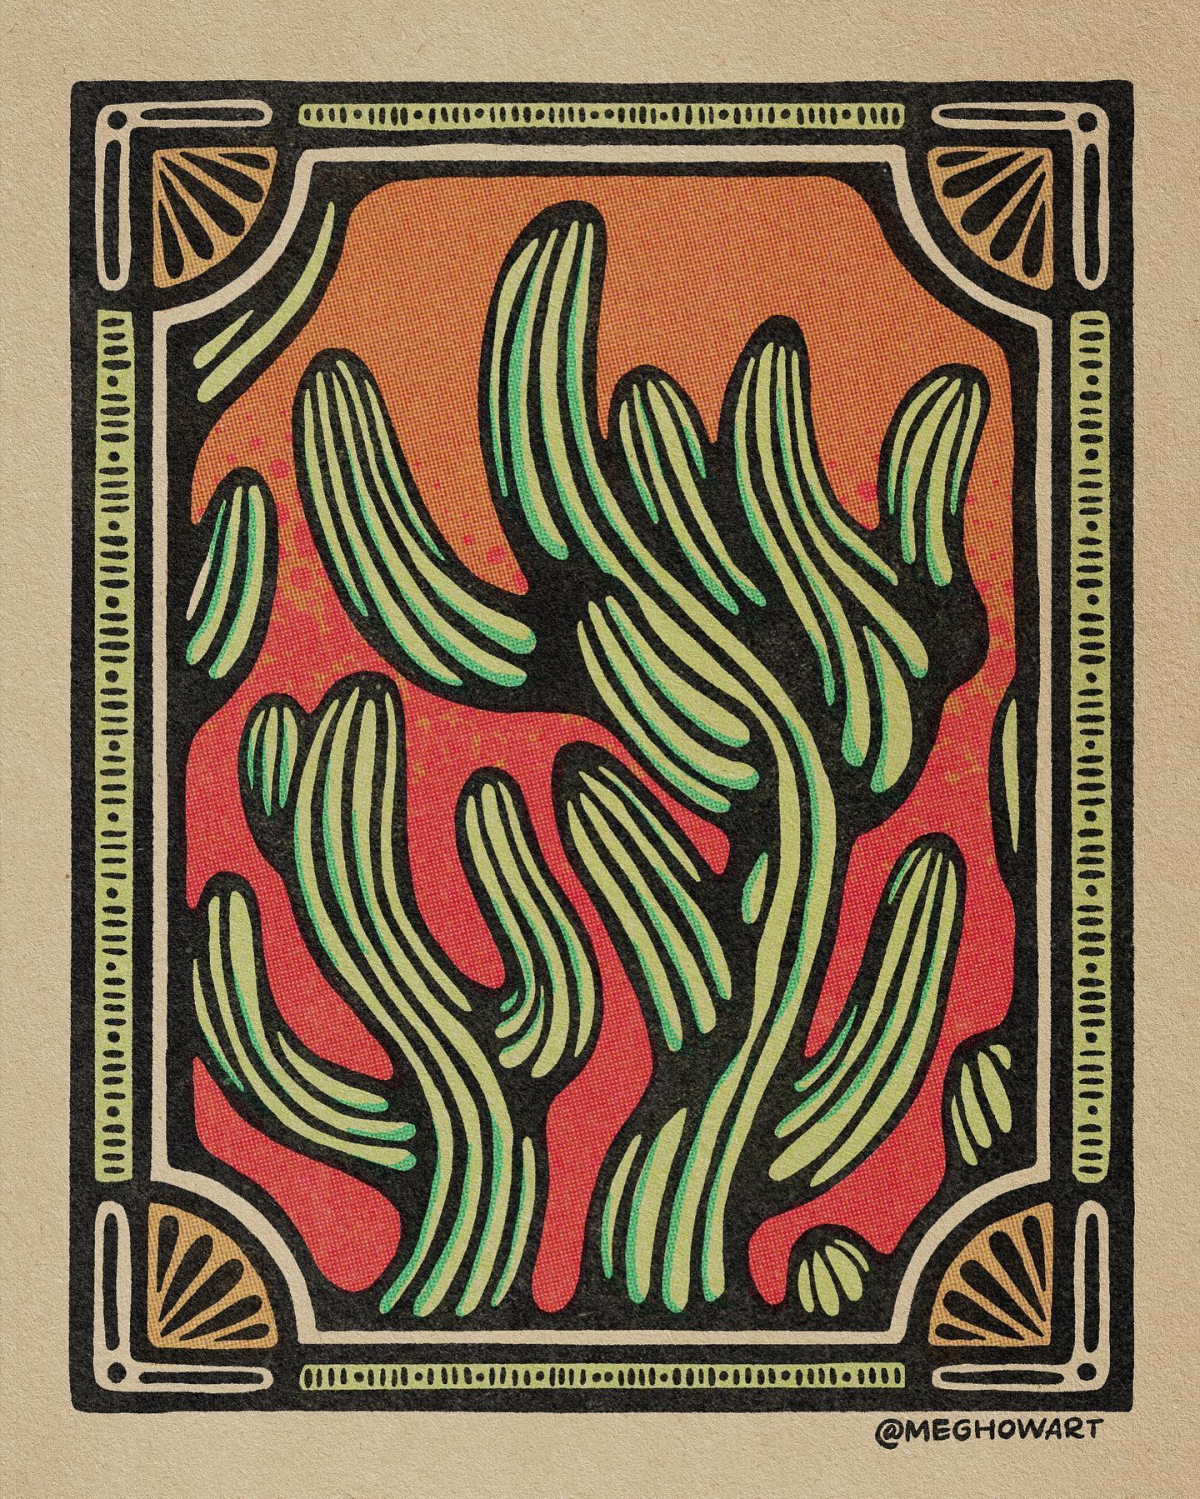
Cross-hatching: Involves layering sets of parallel lines in different directions. This technique gives a sense of sharp, defined texture and is excellent for cacti with very angular, geometric ribs.
Stippling: Creating tone and texture with thousands of tiny dots. It’s more time-consuming but is unmatched for rendering the subtly rough, sandy skin texture of many desert plants.
Try cross-hatching for the body and stippling for the soil to create a powerful textural contrast.
Think beyond Saguaro and Prickly Pear. Challenge yourself with these fascinating forms:
- Mammillaria: Perfect globes or cylinders covered in intricate spiral patterns of tubercles. Great for practicing precision.
- Lithops (Living Stones): The ultimate camouflage challenge. Drawing these is more about stone texture than ‘plant’ texture.
- Epiphyllum (Orchid Cactus): Features long, flat, trailing stems. An exercise in drawing flowing lines and dramatic, oversized flowers.
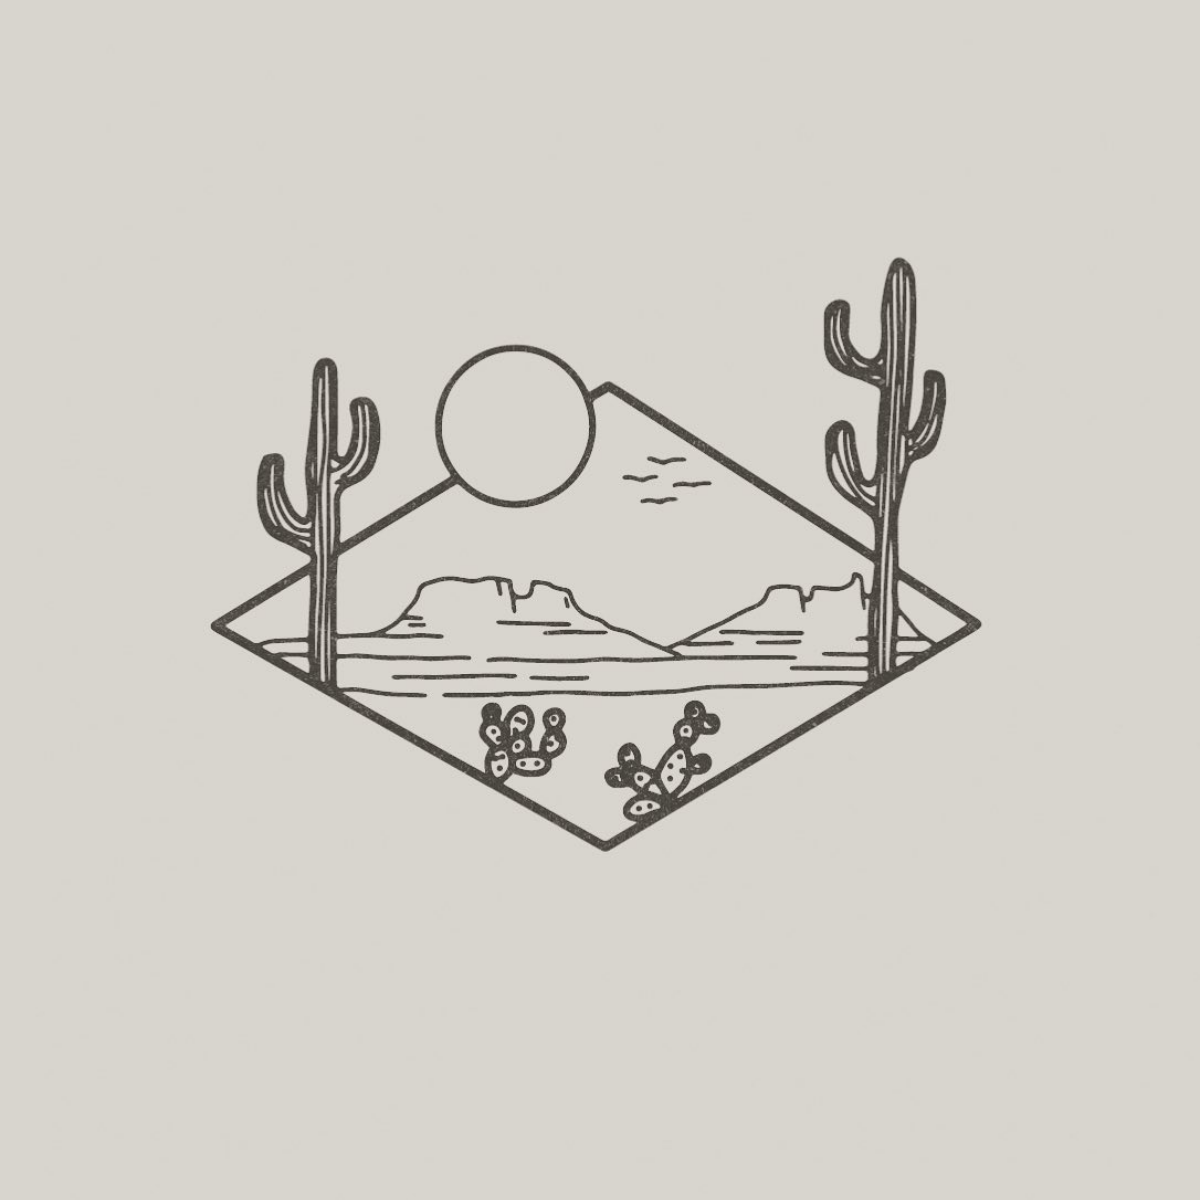
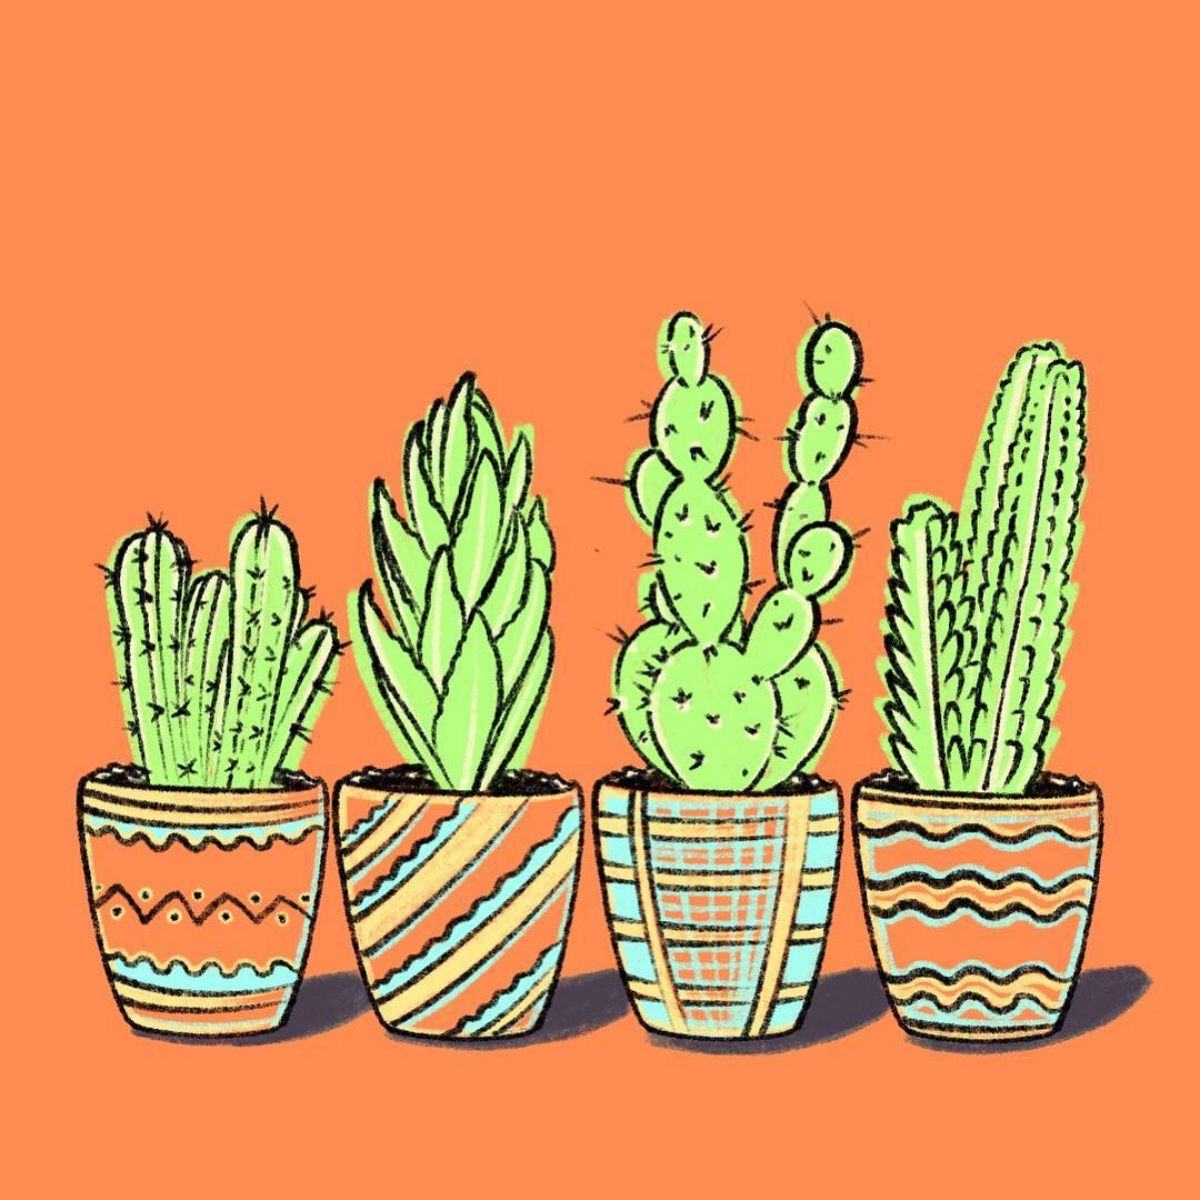
Feeling creatively blocked? Give yourself a simple, fun assignment: design a set of three minimalist cactus icons. Use simple shapes—circles, ovals, lines—and just two or three colors. Focus on capturing the ‘essence’ of a cactus in as few marks as possible. It’s a low-pressure way to explore composition and style.


