Forget Perfect Crafts: Here’s How to Actually Help Your Preschooler’s Brain Grow
I can still smell the glue from my first week as an early childhood educator. I planned this brilliant craft—colorful paper mosaics—and handed out pre-cut squares, paper, and those little bottles of liquid glue. Total rookie mistake. Five minutes in, it was pure chaos. Glue was everywhere, kids were covered in sticky paper, and I spent more time on damage control than anyone spent on creating. I had focused entirely on the cute end product, not the kid or the process.
In this article
After more than a decade in the trenches, I learned the most important lesson: crafting with little ones isn’t about making fridge art or just killing time. It’s one of the best tools we have for building a child’s brain, body, and confidence. A good, messy project can teach more than a stack of worksheets ever could. This guide is all about sharing what I’ve learned—from the sticky failures to the quiet wins—so you can see a simple craft for what it really is: a powerhouse of learning.

The Real Work Happening When They Craft
Before you even think about breaking out the glitter, let’s talk about what’s going on in that little brain. This isn’t just fun and games; it’s serious developmental work. When you understand the ‘why’ behind it, you get so much better at picking the right activities.
Fine Motor Skills (The Foundation for Writing)
This is the one most people know about. Fine motor skills are all about the tiny muscles in the hands and fingers. Every single time your child peels a sticker, squeezes a glue bottle, or snips with scissors, they’re doing a workout. That pincer grasp they use to pick up a tiny pom-pom? That’s the exact same grip they’ll need to hold a pencil correctly later on. Honestly, an hour of cutting and gluing can be way more valuable for pre-writing skills than an hour of tracing letters on a worksheet.
Brain-Building and Problem-Solving
Think of a craft as a kid’s first lesson in project management. They have to follow steps. First the paper, then the glue, then the decorations. If they skip a step, the result changes, teaching them about cause and effect. They’re also constantly making choices—which color to use, where to put the googly eye—that build their decision-making muscles. And when the paper rips or the yarn gets tangled? That’s a real-world problem to solve. Helping them through it (or letting them figure it out) builds resilience and teaches them not to panic when things don’t go as planned.
Building Confidence and Managing Emotions
There’s a special kind of magic that happens when a child successfully finishes a project, no matter how simple. You can see it in their posture when they hold it up. That look says, “I made this myself,” and it’s a huge boost to their self-esteem. Crafting also teaches patience. Seriously, waiting for paint to dry is a masterclass in impulse control for a four-year-old. When a project doesn’t turn out perfectly, it’s a safe, low-stakes way to experience disappointment. Your calm reaction shows them that mistakes are just part of the learning journey.
A Feast for the Senses
Little kids learn about their world through their senses. A good craft project is a full-on sensory experience. Think about the rough texture of a cardboard tube versus the slick, cool feeling of finger paint. The crinkle of tissue paper, the snip of scissors, the squish of play-doh—these are all data points the brain is collecting to understand the physical world. It’s a core principle of many highly-regarded educational philosophies for a reason!
Setting Yourself Up for Success (and Less Mess)
The difference between a joyful craft session and a stress-fest almost always comes down to prep work. Pros in a kitchen call it ‘mise en place’—everything in its place. I apply the same idea to the art table. Taking ten minutes to get ready beforehand can honestly save you 30 minutes of cleanup and frustration later.
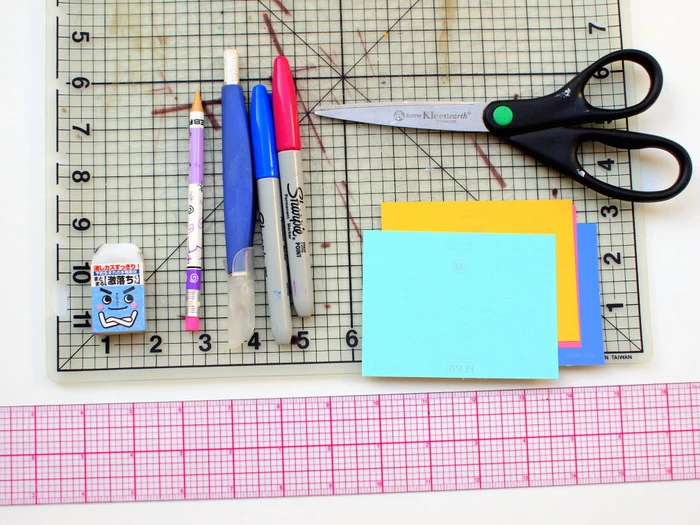
Your First Craft Kit Shopping List
Not all supplies are created equal, and using the right tool for the job can prevent a lot of tears. Here’s a rundown of what I’d put in a starter kit. You can find most of this at places like Target, Walmart, or even a dollar store.
- Adhesives: You need a few types. A basic glue stick is your best friend for paper-on-paper projects and is perfect for toddlers (ages 2+). It’s low-mess and easy to handle. White school glue gives you a stronger bond and the squeezing motion is fantastic for building hand strength, but expect more mess (best for ages 3+). And then there’s the hot glue gun—an instant, super-strong bond for 3D projects, but it is an ADULT-ONLY TOOL. I’ve seen some nasty burns; never let a child use one.
- Cutting Tools: For the little ones (2-3 years old), start with plastic safety scissors that only cut paper. Around age 4, they can graduate to small, blunt-tipped metal scissors. A good pair will run you about $5. Always teach the rules: we only cut paper, and we sit down when we cut.
- Paint: Washable tempera paint is a must. A basic set of colors costs around $10. Quick tip: This is not the place to cheap out. The extra dollar or two for a brand that is truly washable will save your clothes and your sanity.
- Surfaces & Fun Stuff: Get a big pack of construction paper ($5-8), some washi tape from the dollar store ($1-2 a roll), and some stickers. By the way, peeling stickers is an amazing fine-motor workout!
- The “Treasure Box”: This is my secret weapon and it’s free! It’s a big bin filled with clean, safe recyclables: toilet paper tubes, egg cartons, plastic bottle caps, yogurt cups, and small cardboard boxes. It teaches resourcefulness and is perfect for open-ended projects. Heads up: Always wash and thoroughly dry any food containers before tossing them in the box to keep things clean and pest-free.
Create a “Yes, You Can Be Messy” Zone
You don’t need a dedicated art studio. Just cover the kitchen table with a cheap plastic tablecloth or some old newspaper. This visually defines the workspace and makes cleanup a breeze. Have an old, oversized t-shirt ready to be a designated art smock. This takes away the worry about stained clothes and lets them get into it. Keep a damp cloth nearby for quick spill management. The goal is to create a space where it’s okay to get a little messy.
Core Projects with a Developmental Twist
Let’s look at a few classic projects, but through a developmental lens. I’ll explain the skills being built and share some pro tips to make them even better.
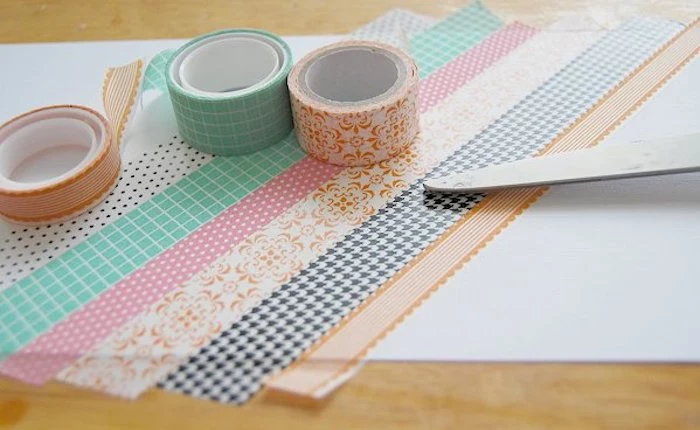
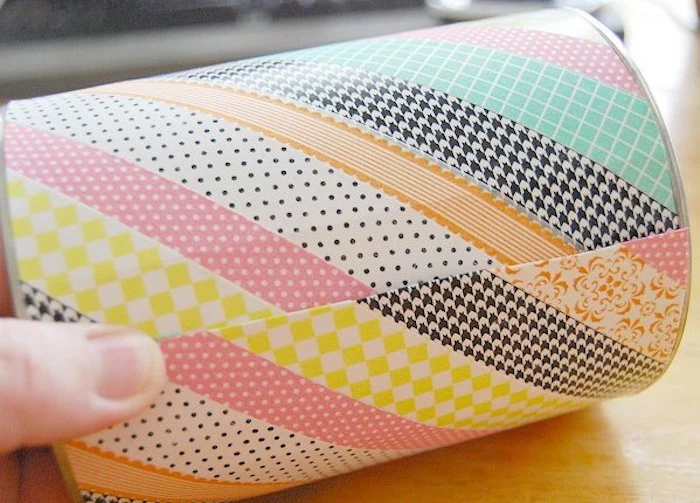
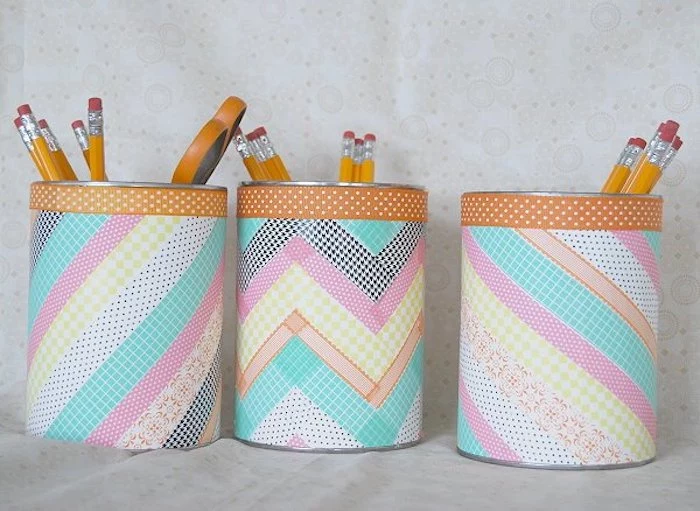
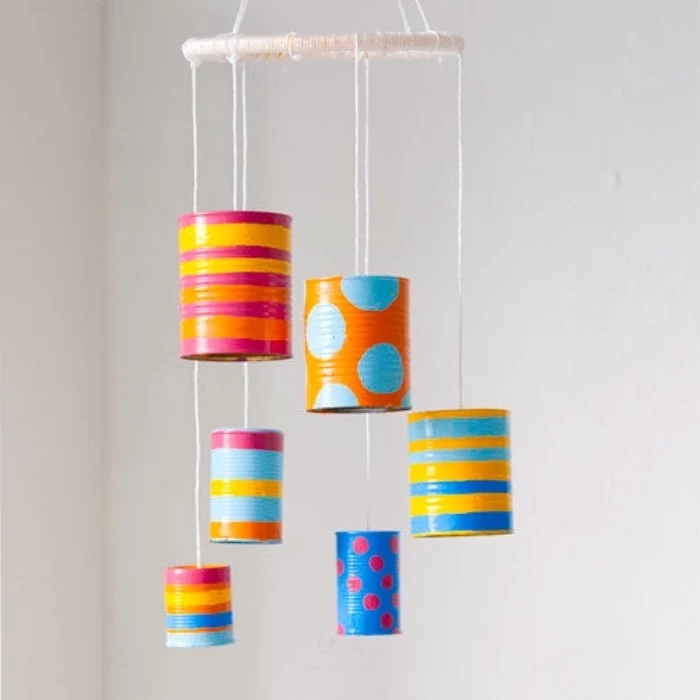
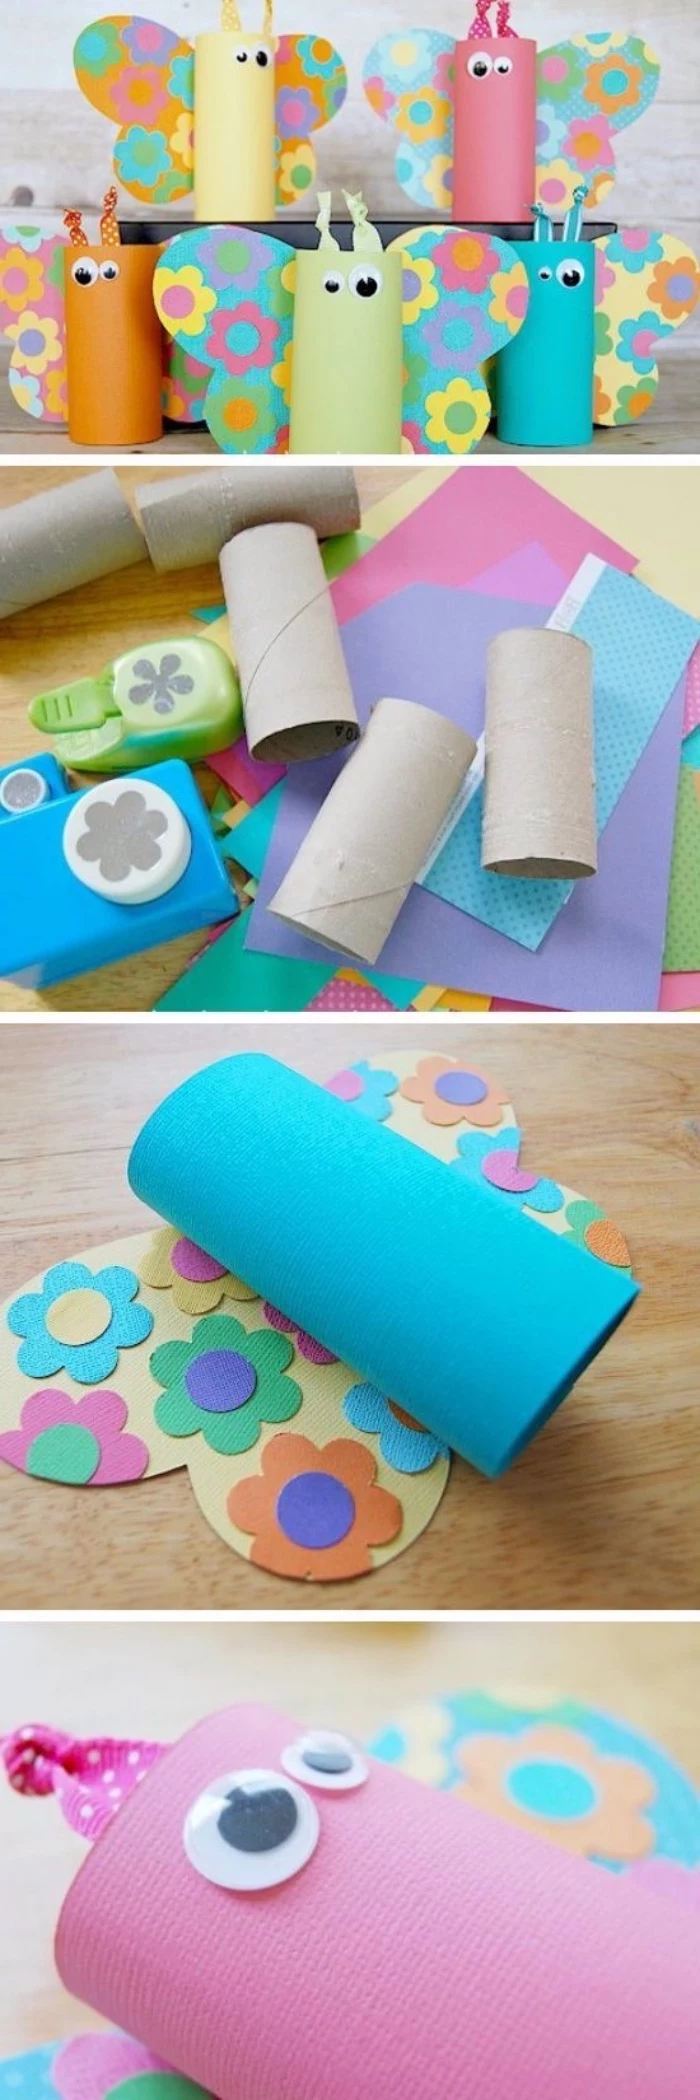
Project 1: The Upcycled Pencil Holder
This turns trash into a useful treasure and is packed with learning.
- Core Skills: Pincer grasp, using both hands together, planning.
- Materials: A clean tin can or a sturdy cardboard tube, decorative tape.
- Safety First: If you use a tin can, check for a sharp inner lip. You can file it down or, even better, use a can opener that cuts the side of the can, leaving a perfectly smooth edge.
- Pro Technique: Wrapping tape around a can is tricky for little hands. Here’s a better way: cut a piece of cardstock that fits perfectly around the can. Let your child decorate the flat piece of paper with the tape. Then, you can help them glue it onto the can. This breaks the task into manageable steps and sets them up for a win.
- Expected Activity Time: For a 3-year-old, expect 10-15 minutes of focused crafting. A 5-year-old might happily work for 20-30 minutes.
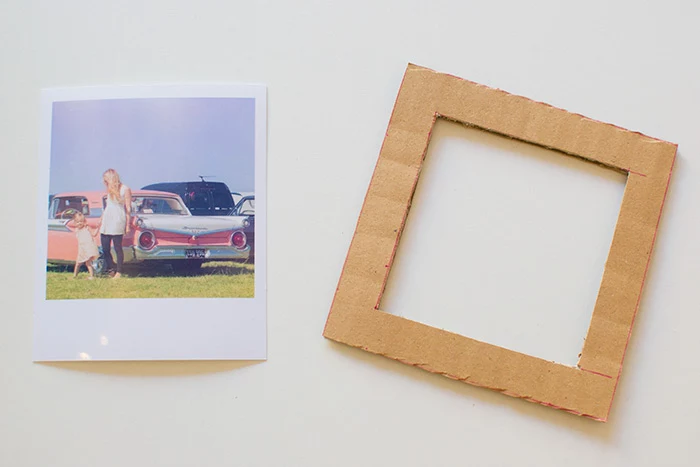
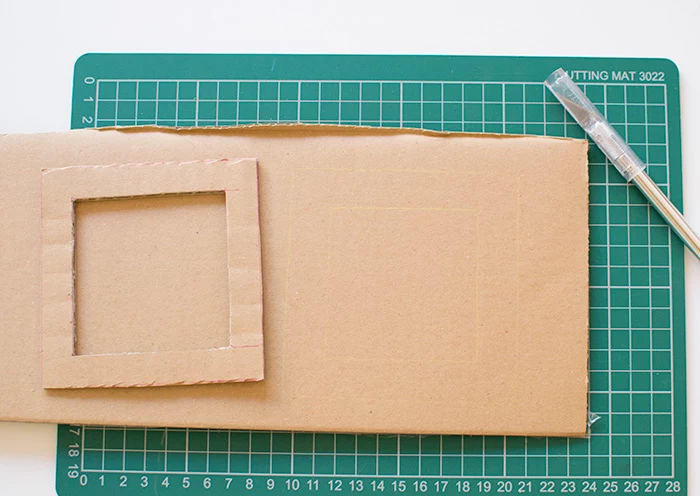
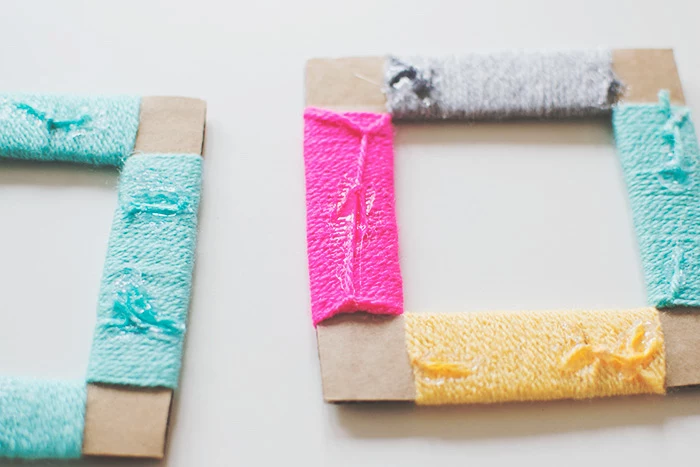
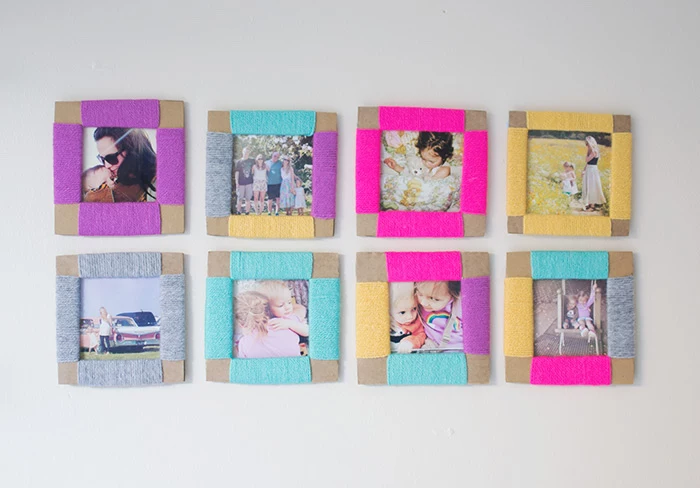
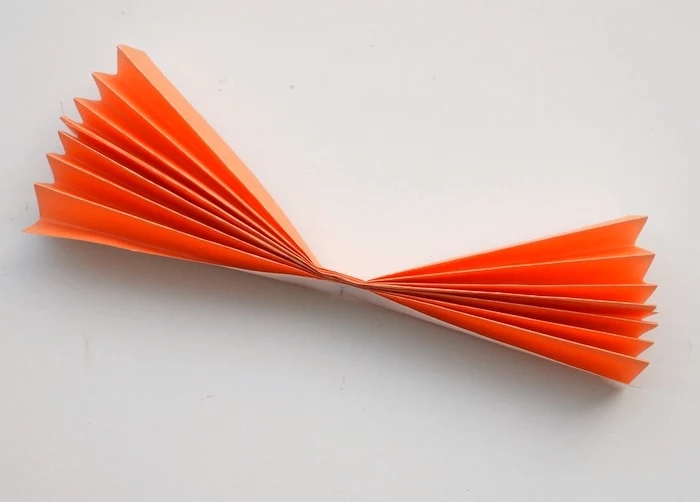
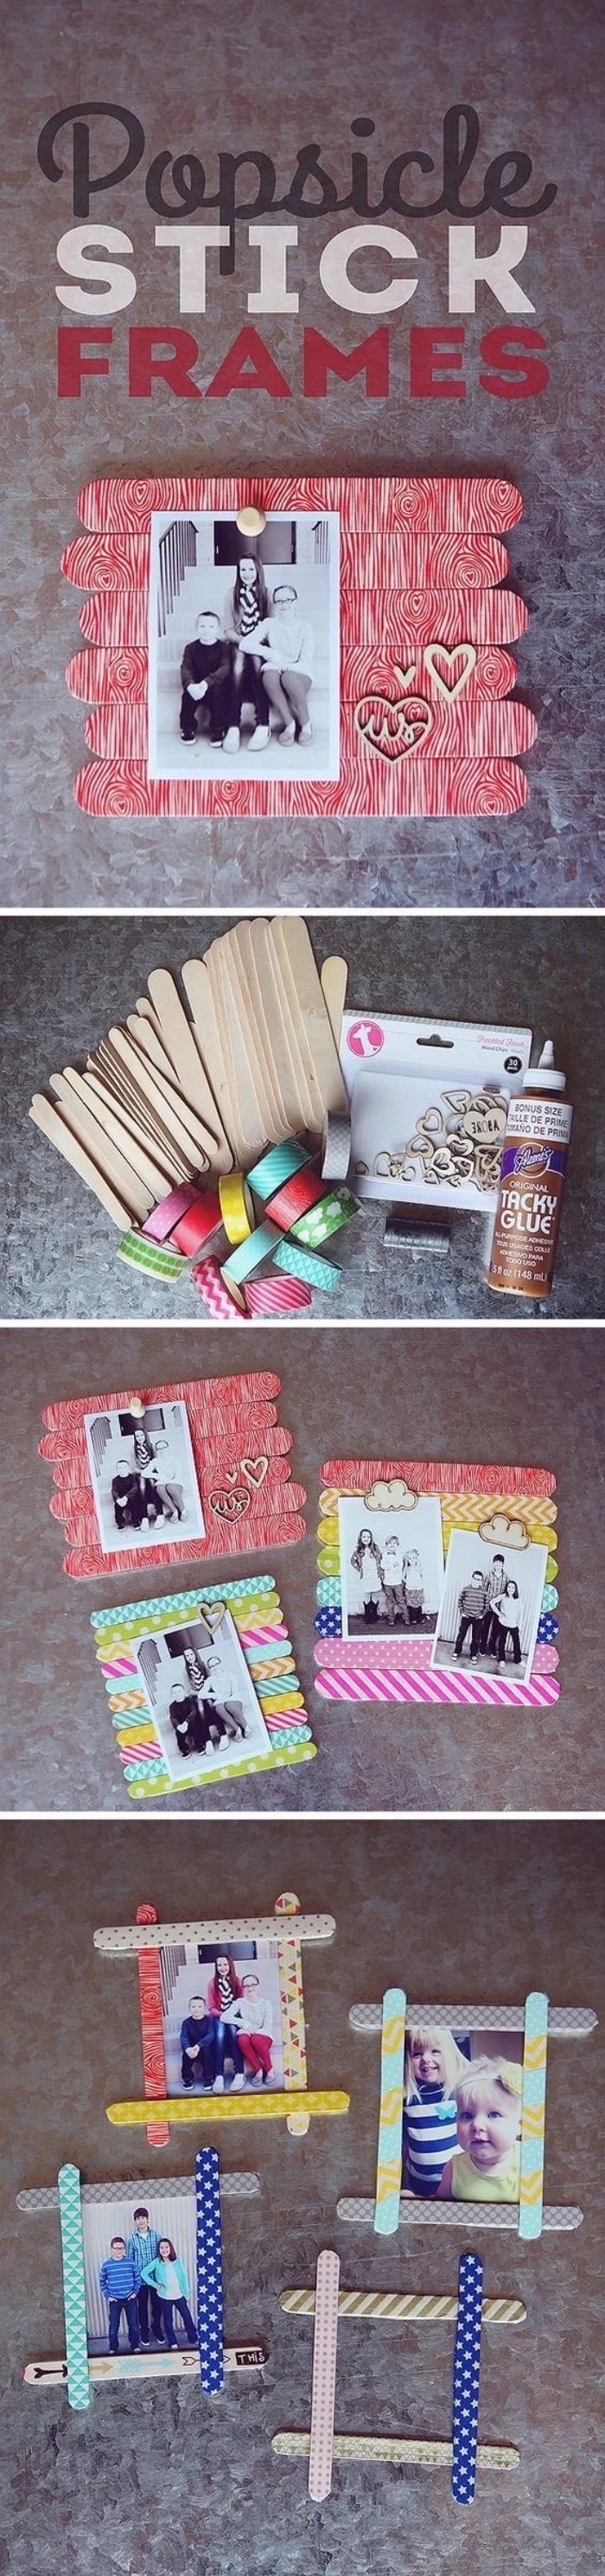
Project 2: Textured Yarn-Wrapped Frame
This is a sensory delight that makes a great handmade gift.
- Core Skills: Hand-eye coordination, patience, sensory exploration.
- Materials: A piece of stiff cardboard, various types of yarn (chunky, thin, multi-colored), scissors, and craft glue.
- Prep is Key: You’ll need to cut the frame out of cardboard first. A 5×7 inch rectangle with a smaller window cut from the middle works well.
- Lesson Learned: Don’t just hand a kid a whole skein of yarn—you’ll get a tangled nightmare. I learned to pre-cut lengths of about two to three feet. It’s so much more manageable. When one piece runs out, just tape the end to the back and start a new one.
- Expected Activity Time: This one takes more patience. 10 minutes for a younger child, maybe up to 20 for an older one who gets into the rhythm of it.
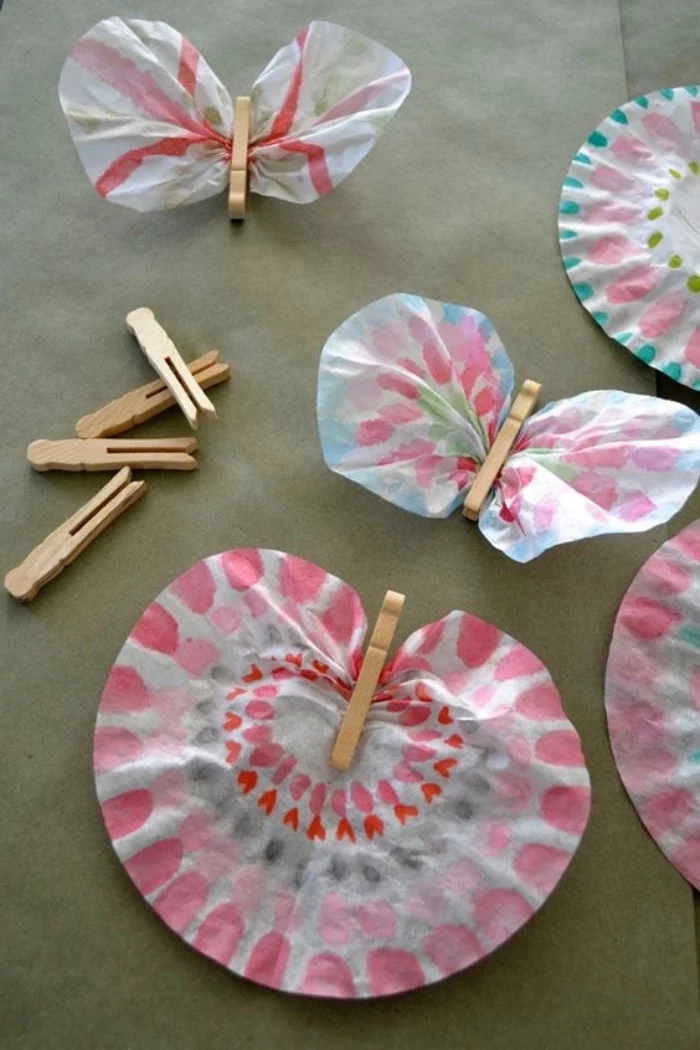
Project 3: Process Art with Found Objects
This is my absolute favorite. It’s not about making a thing; it’s about the experience of exploring paint and texture.
- Core Skills: Cause and effect, color mixing, pure creative expression.
- Materials: A large sheet of paper, washable paint on paper plates, and a collection of weird “paintbrushes”: a fork, a toy car, crumpled foil, a leaf, a sponge cut into shapes.
- The Technique: There is no technique! Just let them dip an object in the paint and see what kind of mark it makes. Talk about what they see: “Wow, the toy car wheels made two long lines!” The goal is to remove the pressure of making the art look like something. It’s just about exploration.
- Expected Activity Time: This can vary wildly! Anywhere from 5 to 25 minutes, depending on their mood and interest level.
Your Role as the Creative Guide
Your role is just as important as the supplies. Knowing when to step in and when to back off is an art in itself.
How to Talk About Their Masterpiece
When they proudly show you their work, try to avoid the default question, “What is it?” That can put them on the spot. Instead, try making observations that invite them to share:
- “Tell me about what you made here.”
- “I see you used a lot of red. That’s so bright!”
- “That part looks really bumpy. How did you make that texture?”
- And my personal favorite: “What was your favorite part of making this?” This shifts the focus from the product to the fun they had in the process.
Okay, But My Fridge is Full… Now What?
Ah, the classic problem: the sheer volume of art. You don’t have to keep every single piece. Here are some great options:
- Go Digital: Take a photo of the art (often with the proud artist) and create a digital album.
- Mail It: Grandparents, aunts, and uncles absolutely love getting handmade art in the mail. It’s a guaranteed day-brightener.
- Repurpose It: Use their paintings as unique wrapping paper for birthday or holiday gifts.
- Create a Portfolio: Get a simple binder or folder and let your child choose their absolute favorite pieces to save for the year. It’s a wonderful keepsake.
The Real Finished Product Isn’t Paper and Glue
I’ve cleaned up more glitter than I can count and untangled miles of yarn. I’ve seen the intense focus on a child’s face as they thread a bead and the pure joy when they finally master scissors. The little creations they make are sweet, but they’re just the artifacts of the real work that’s happening.
The real finished product is the child. It’s the new connection firing in their brain, the new strength in their hands, and that little boost of confidence in their heart. When you prep thoughtfully and guide gently, you’re not just supervising a craft. You’re helping to build a capable, creative, and resilient little person. And that’s a masterpiece worth more than anything you can stick on the fridge.
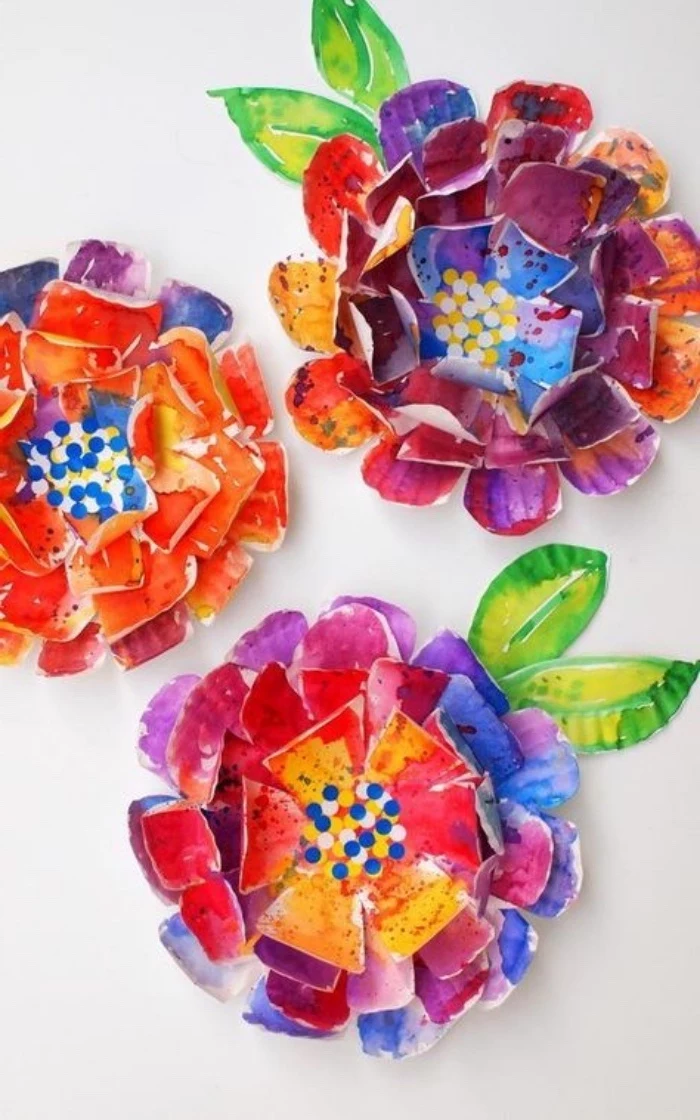
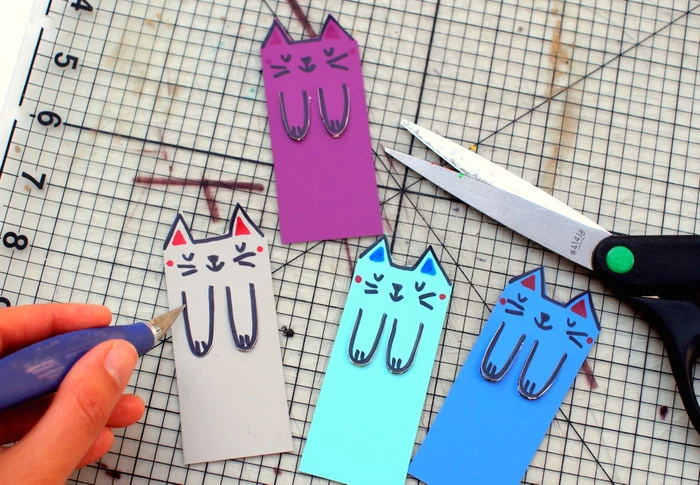
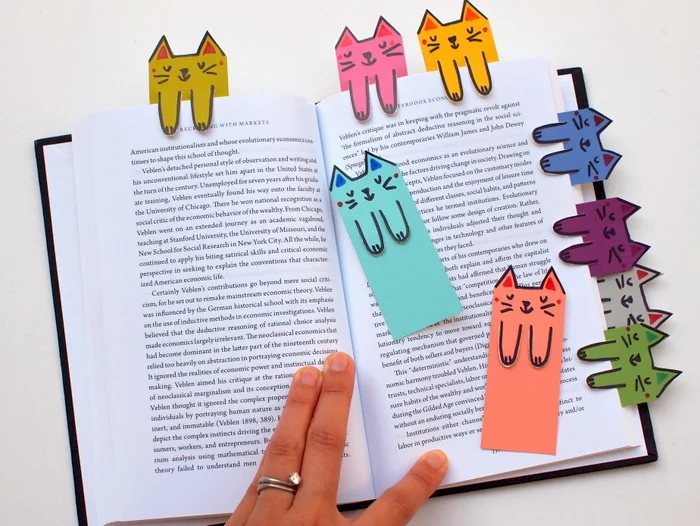
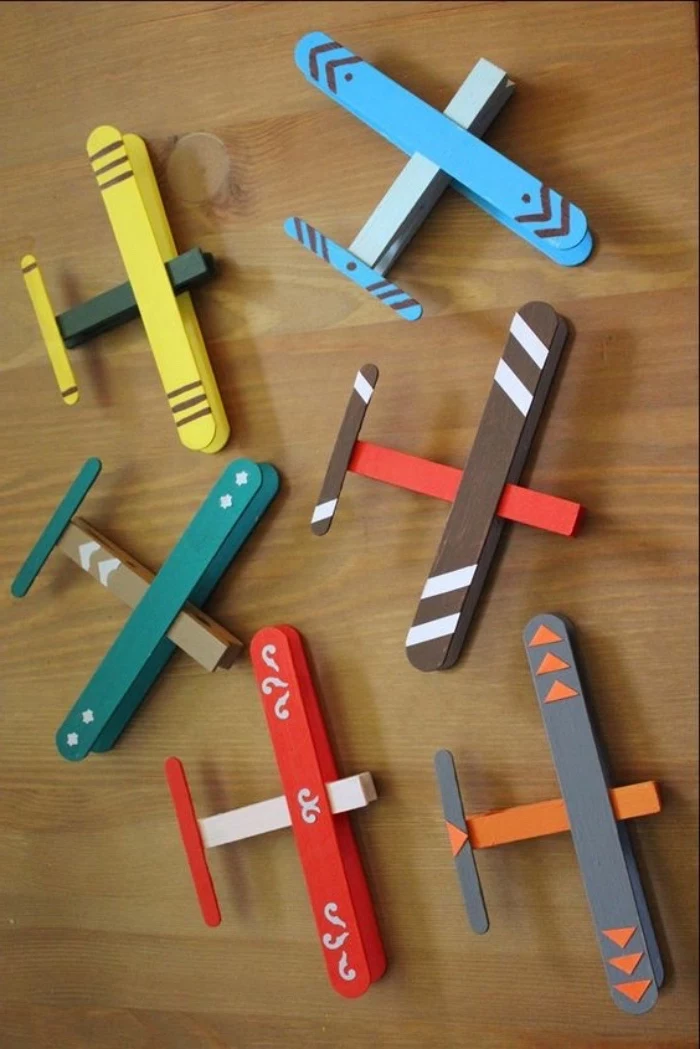
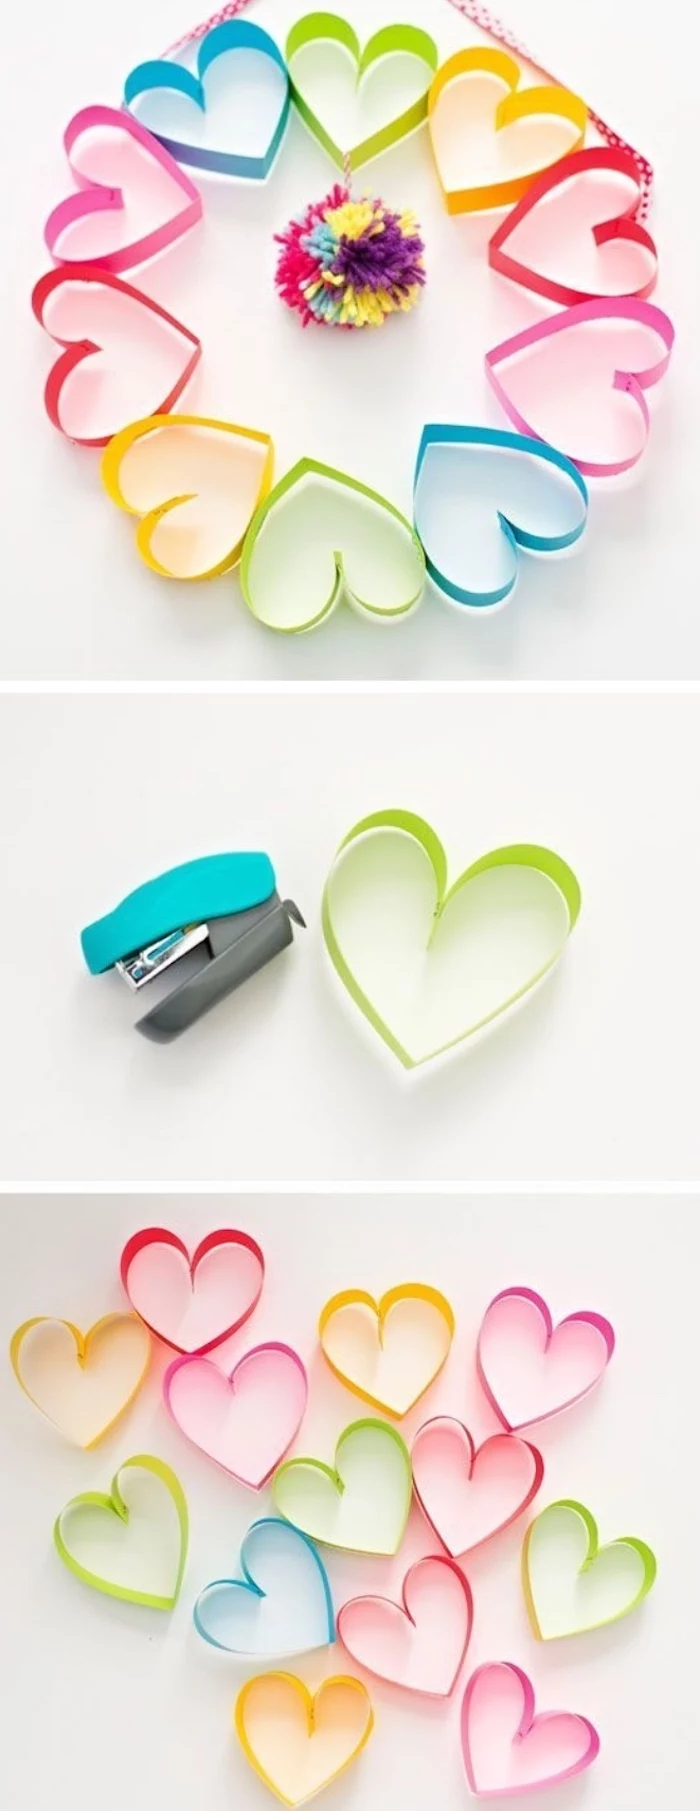
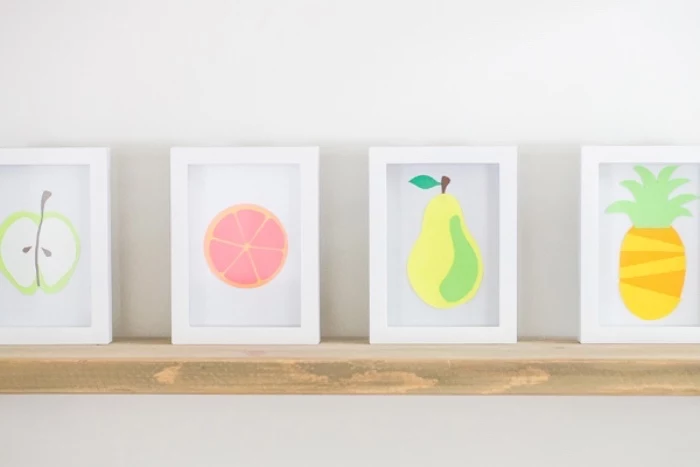
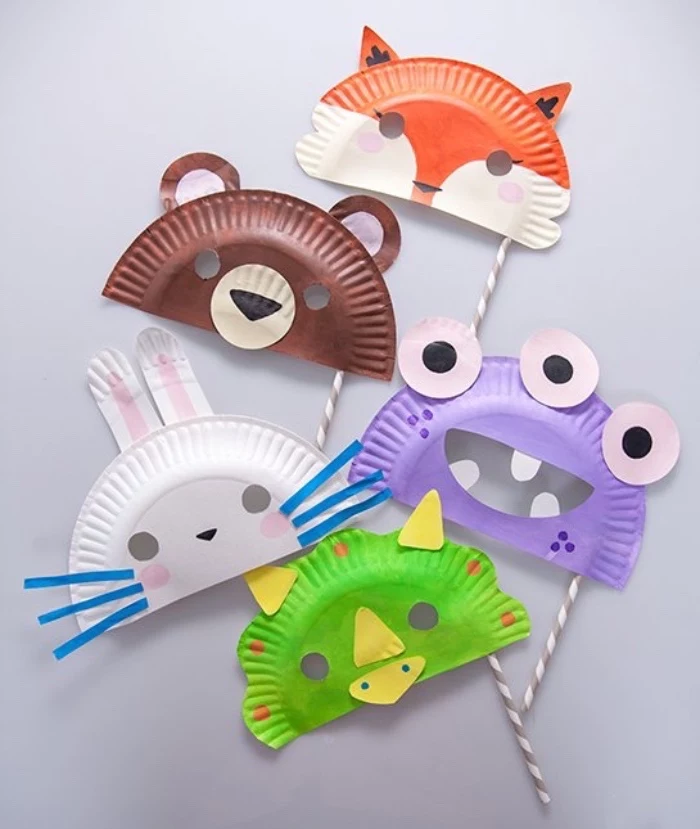
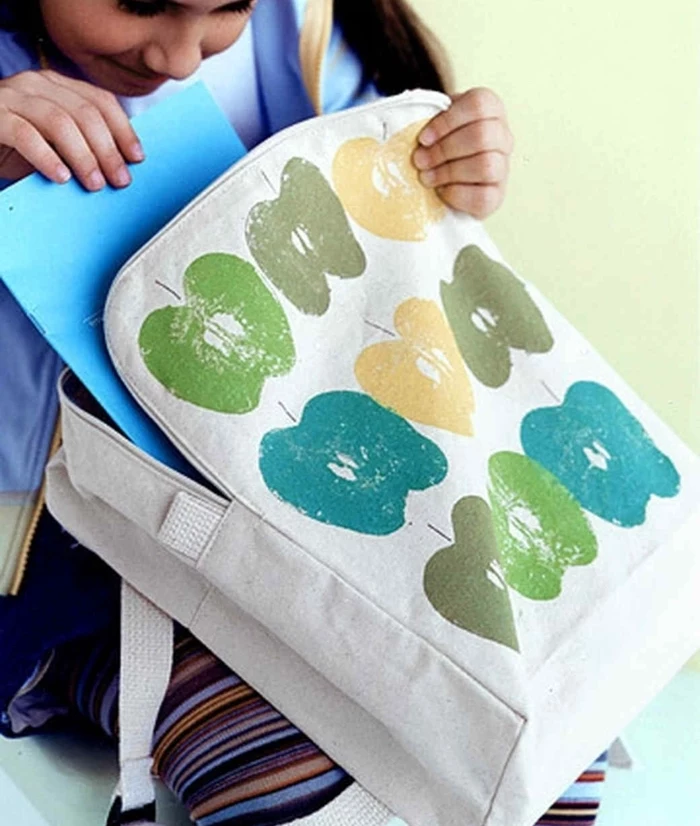
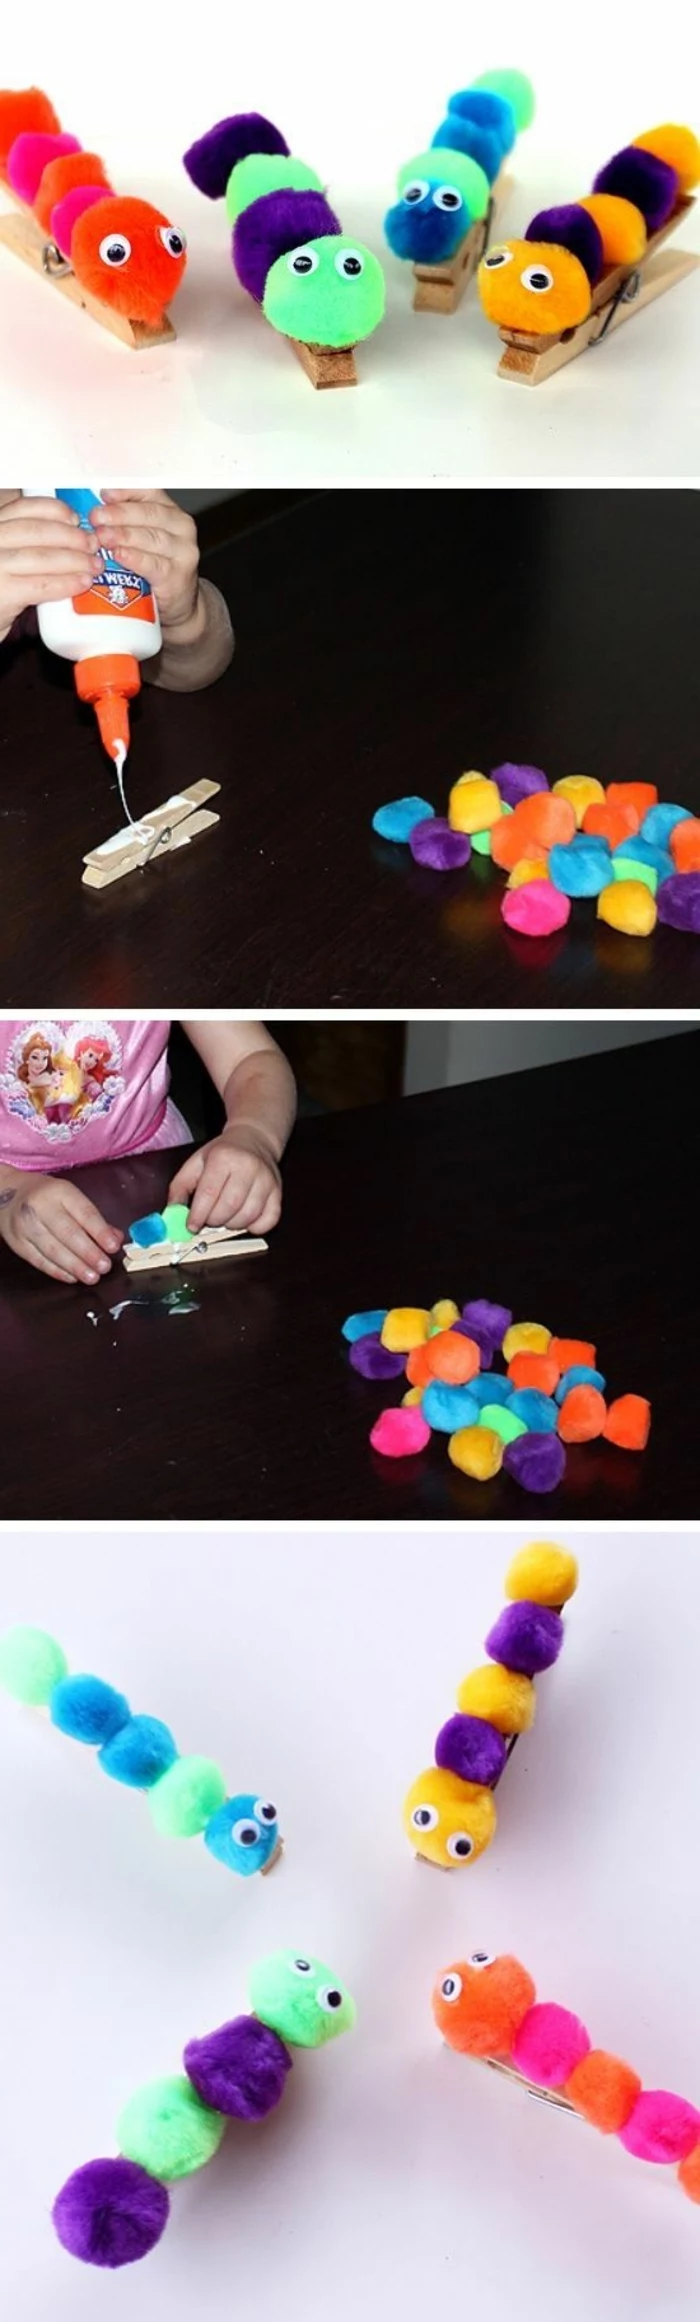
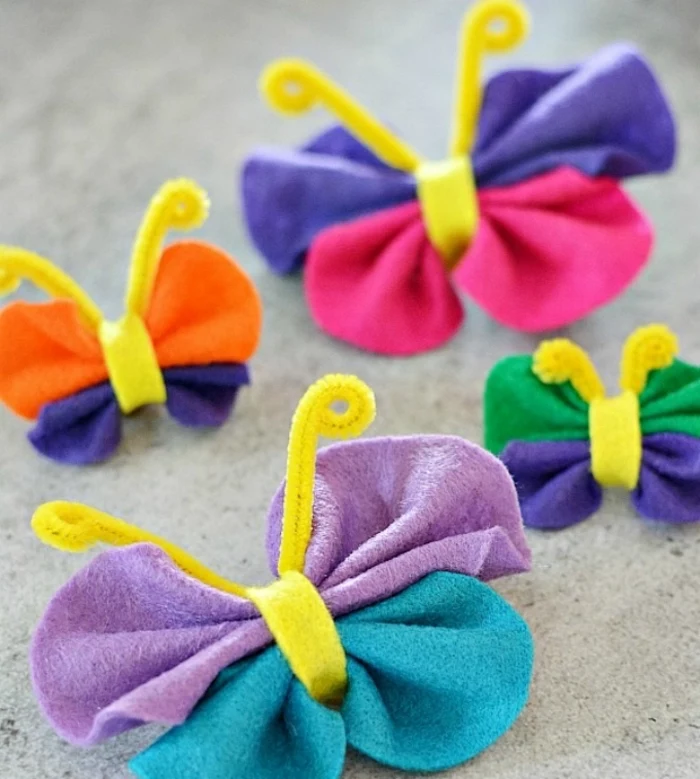
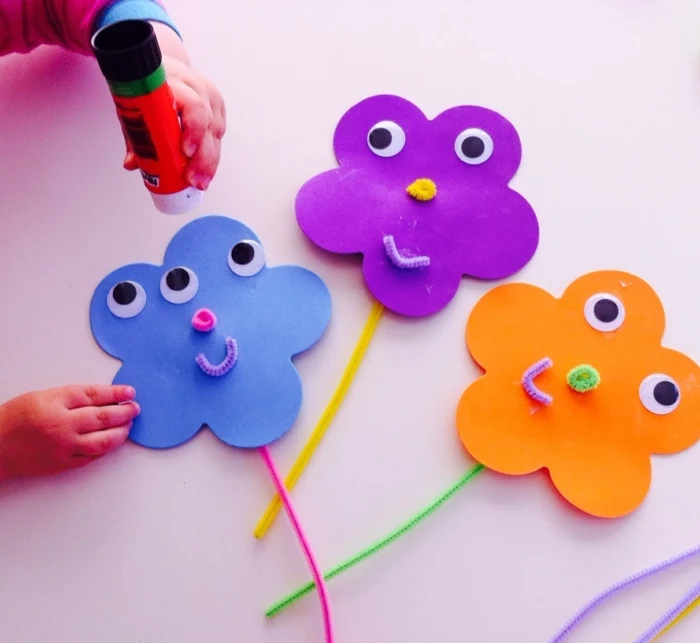
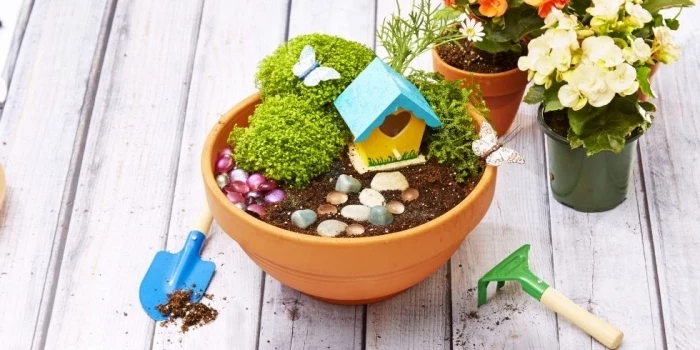
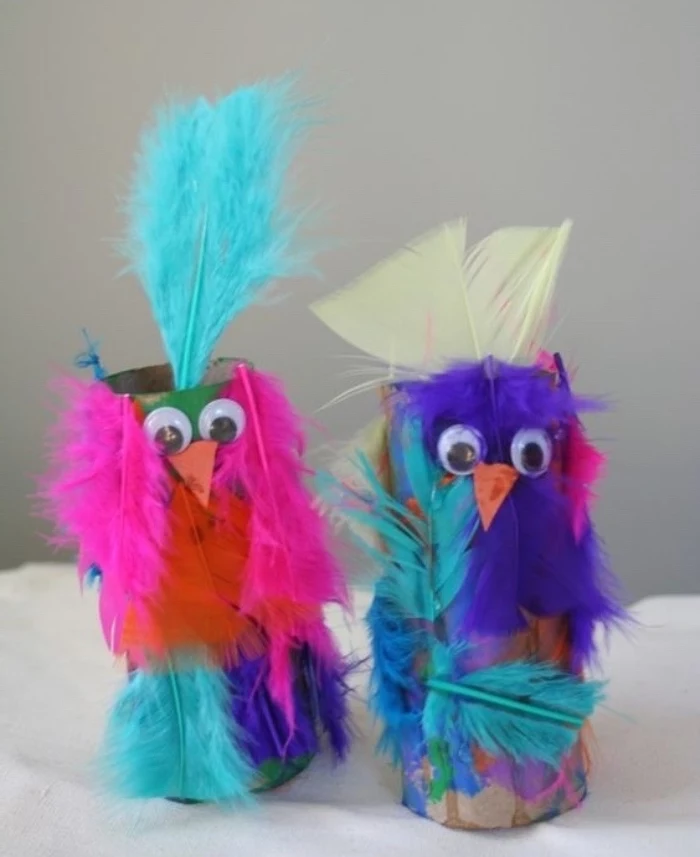
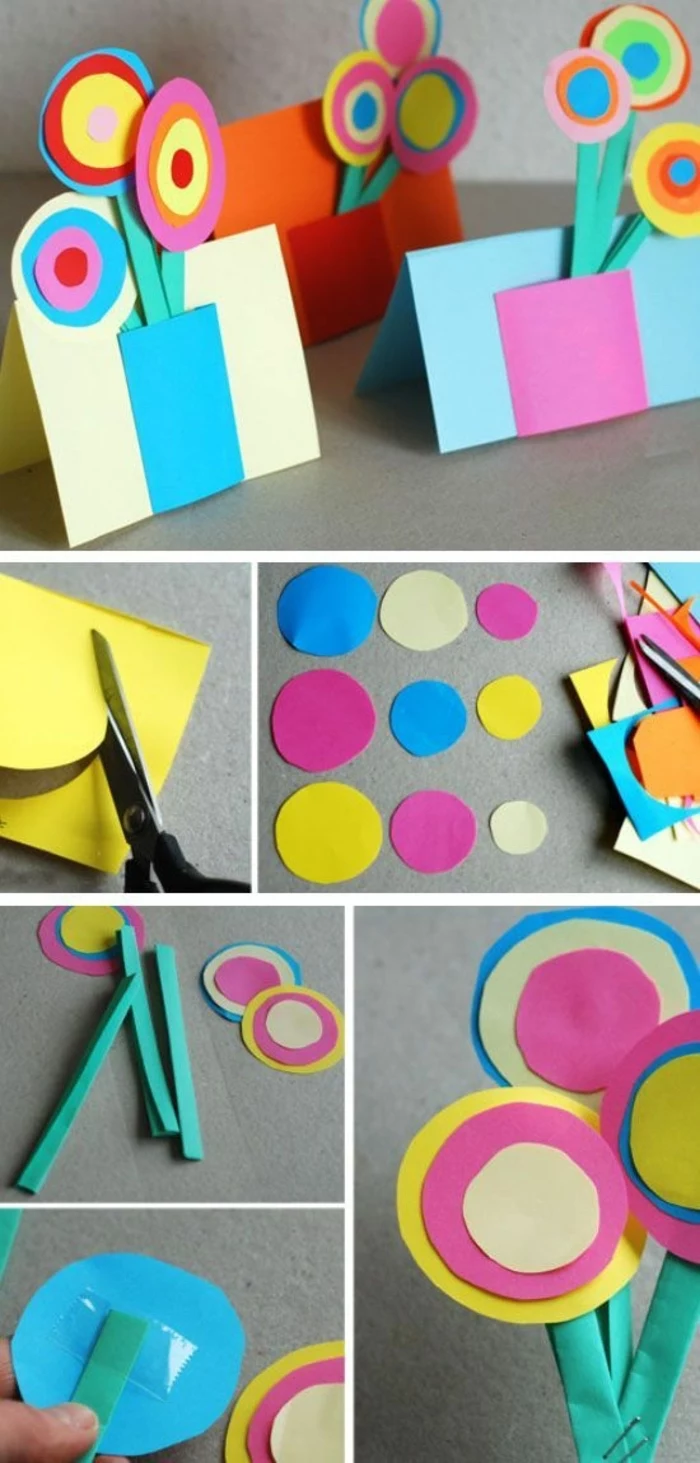
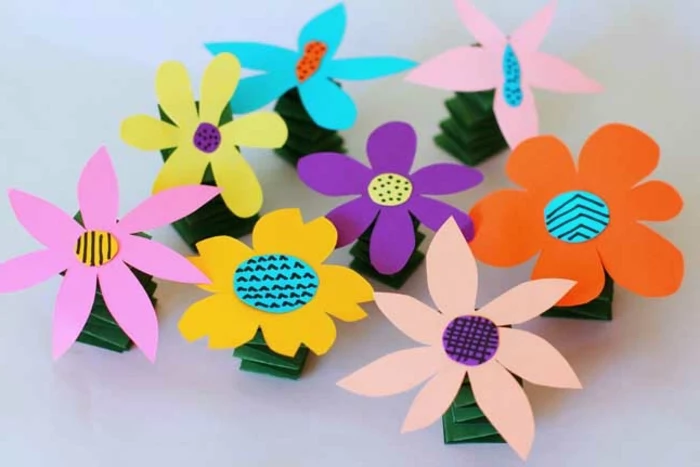
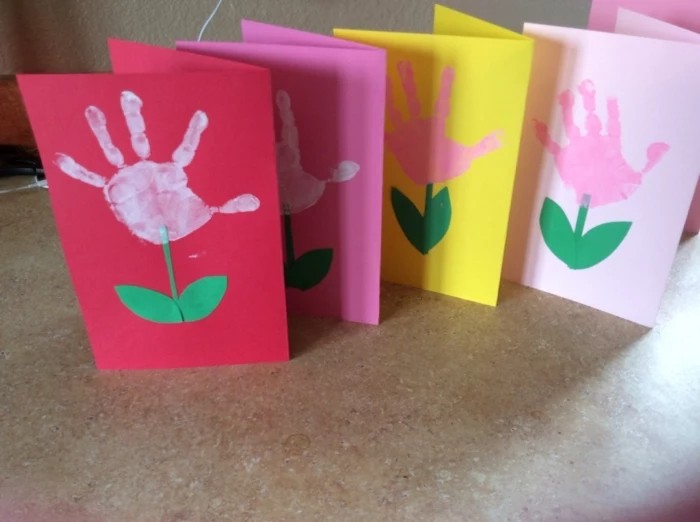
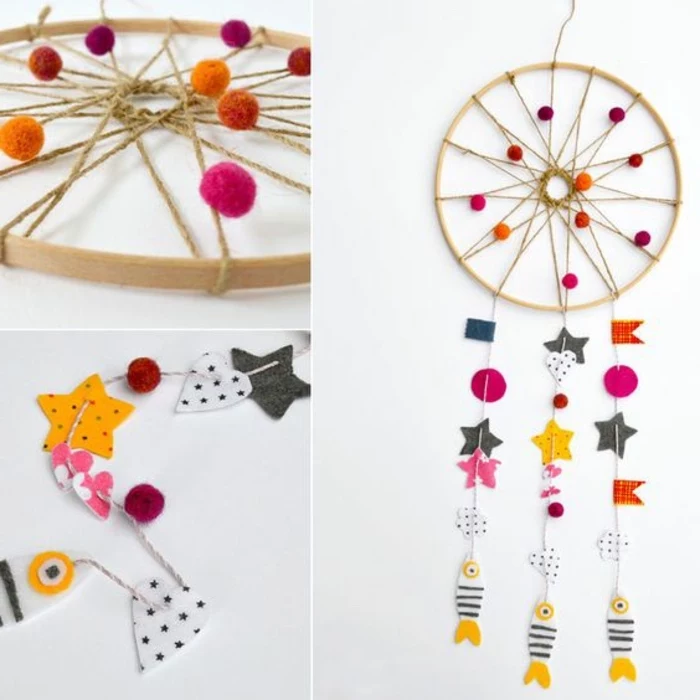
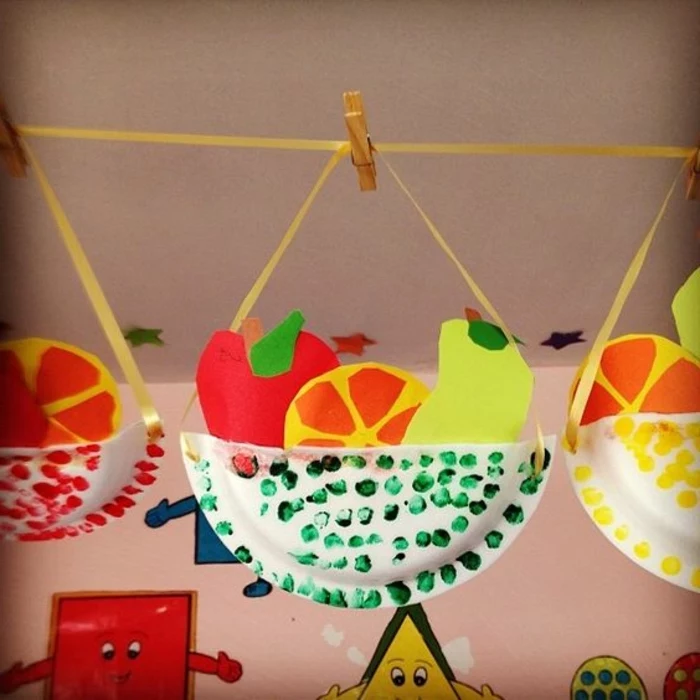
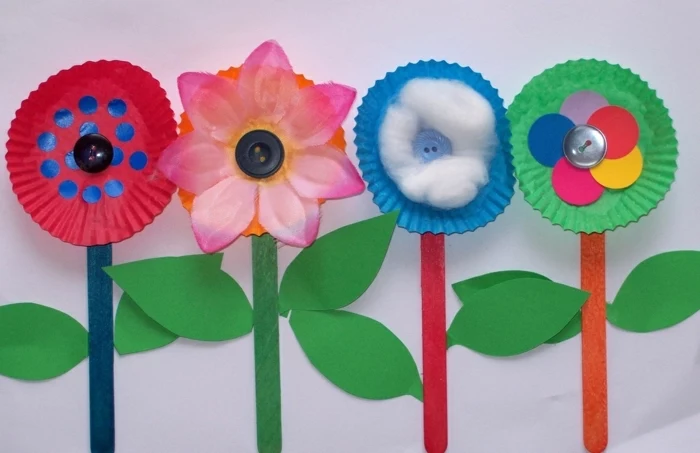
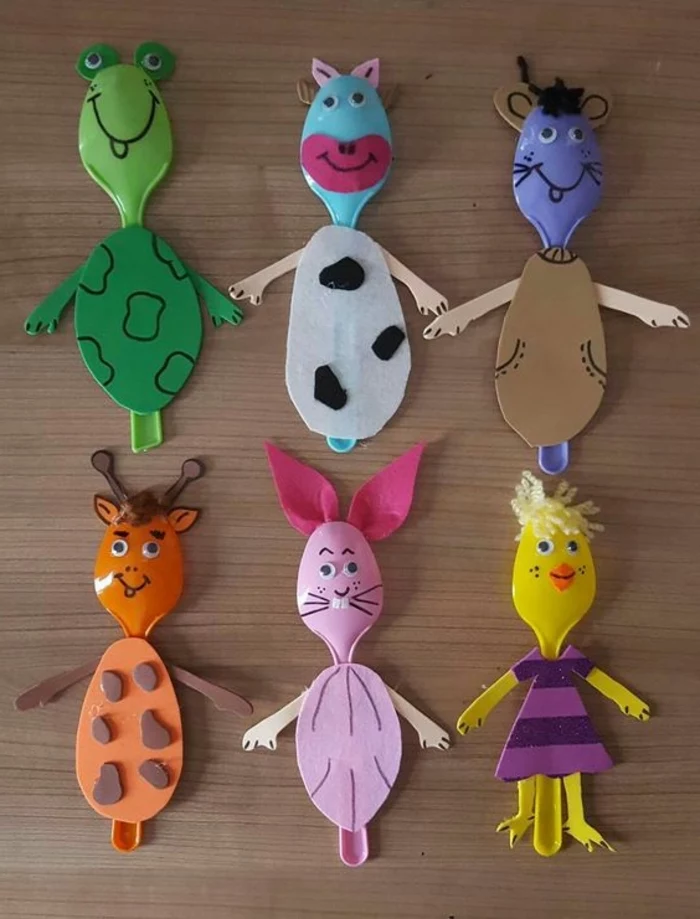
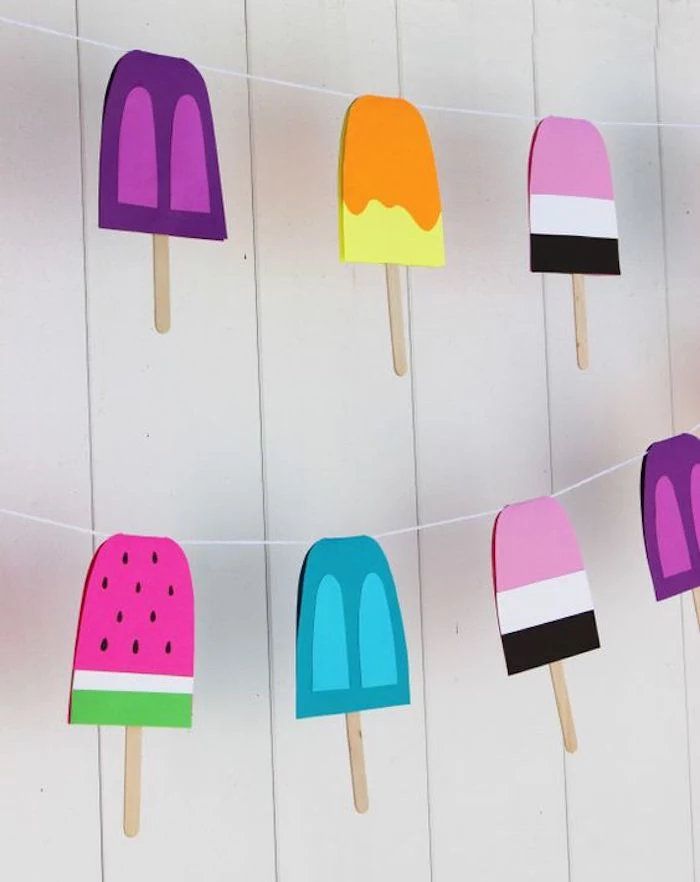
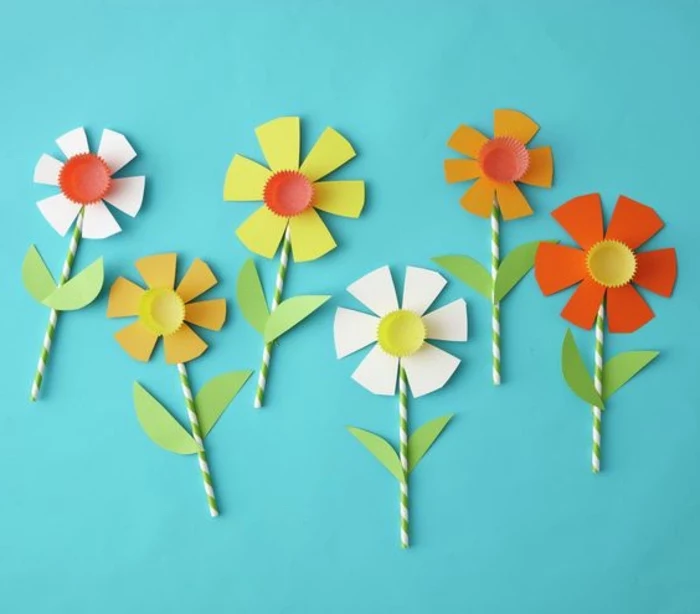
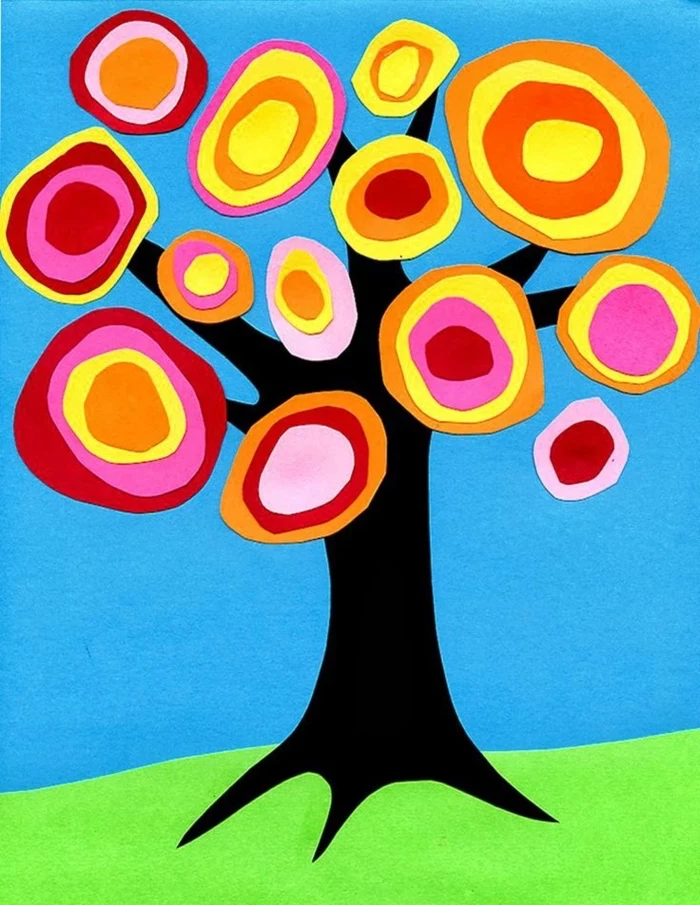
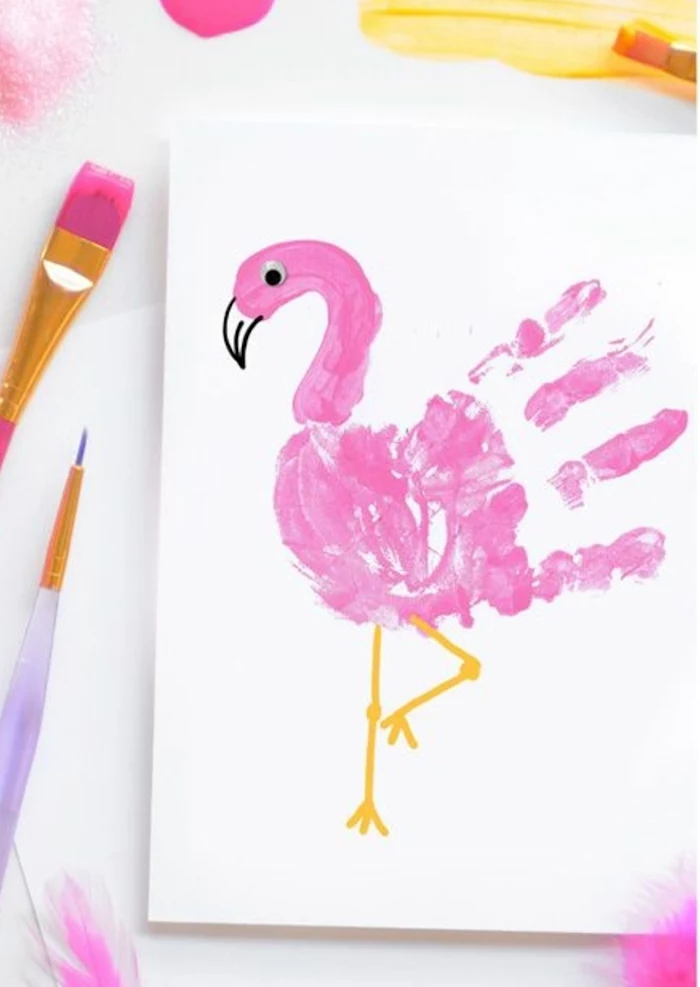
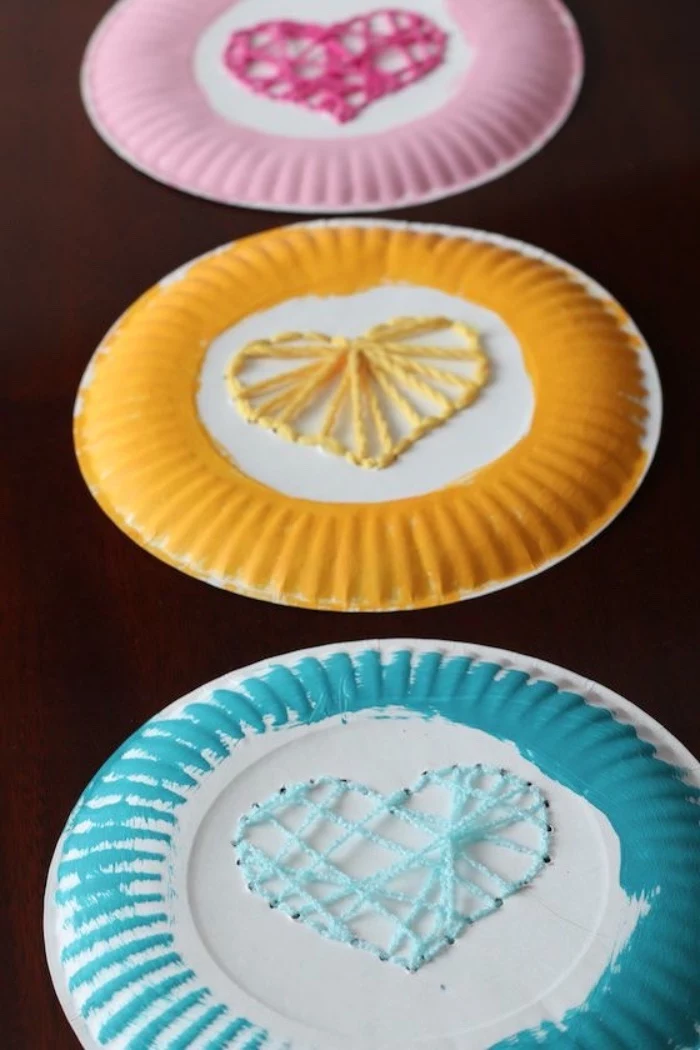
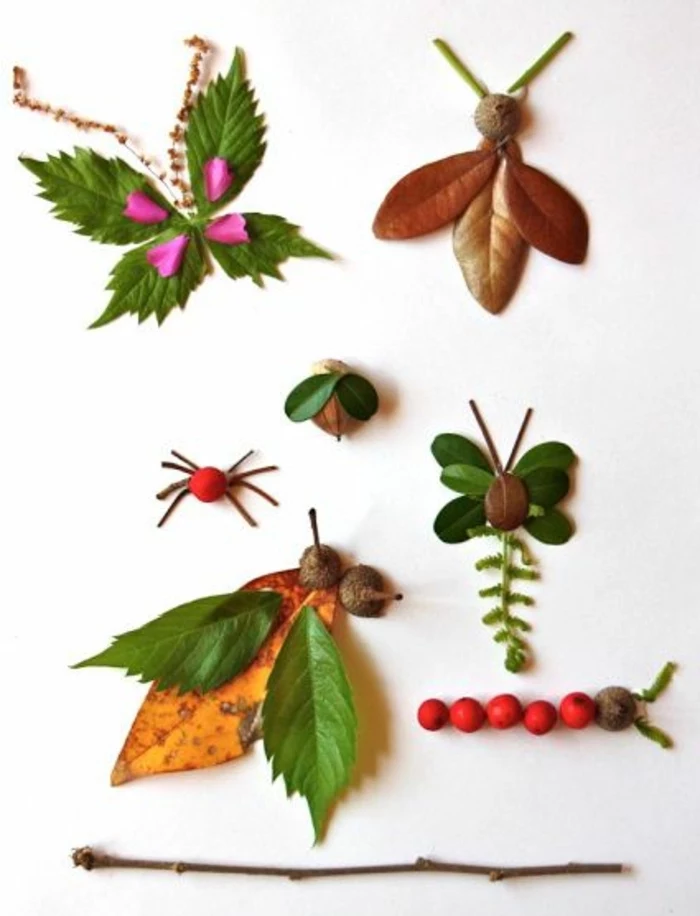
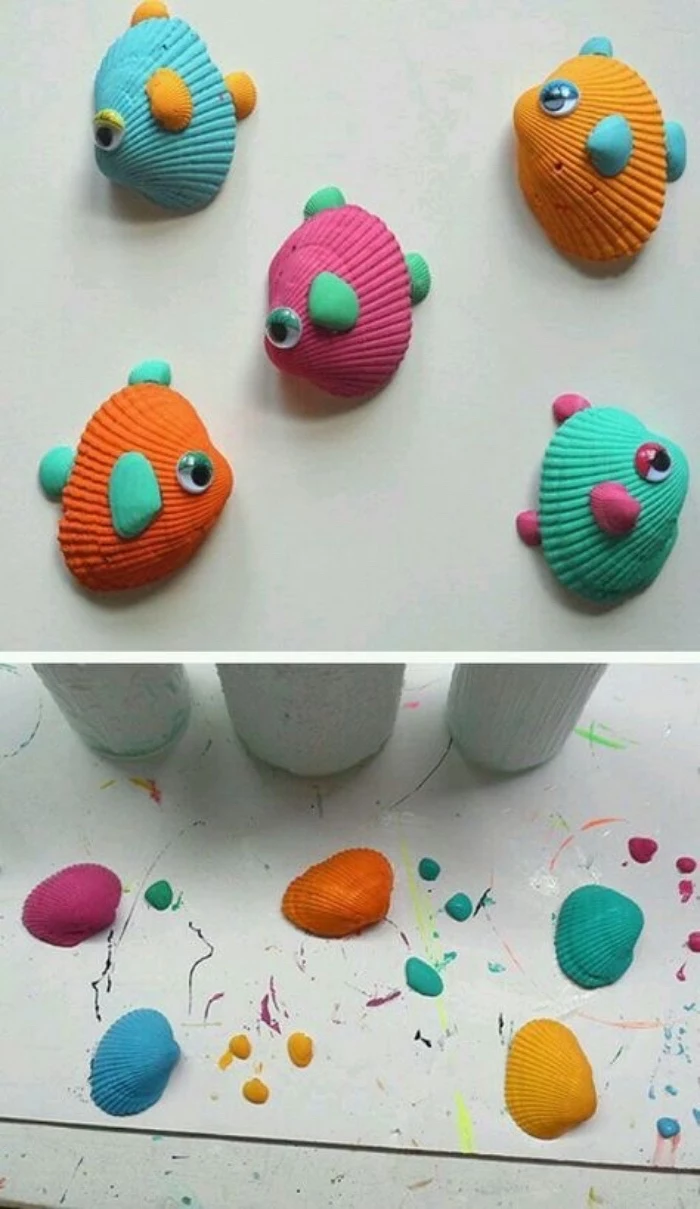
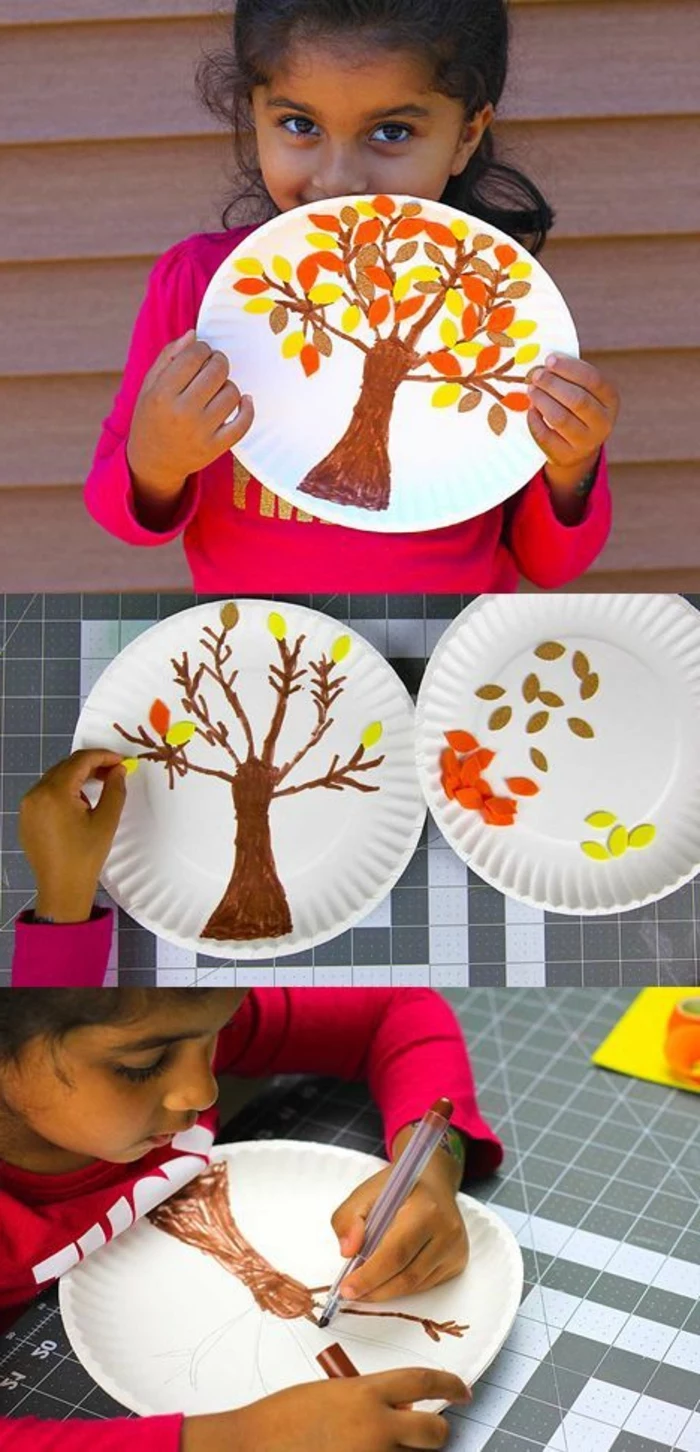
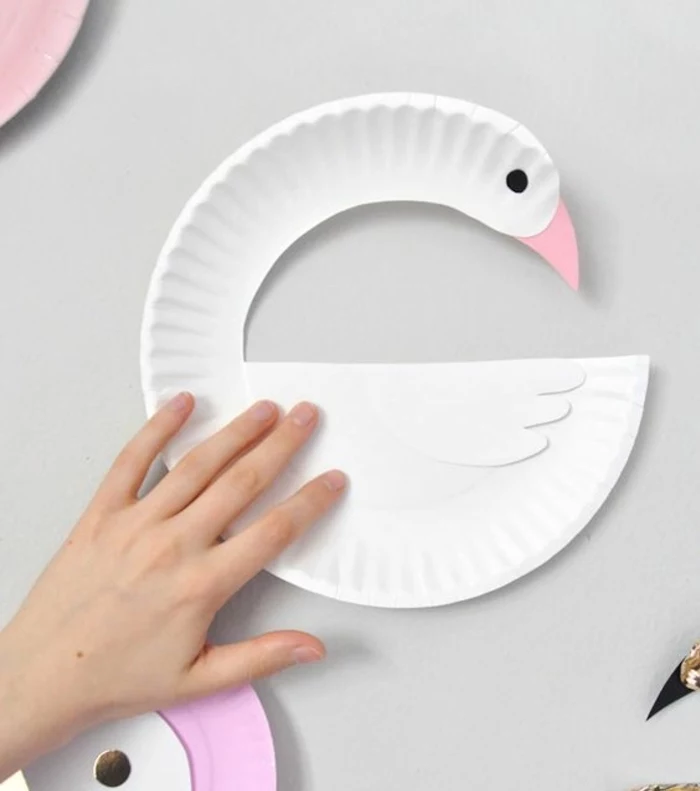
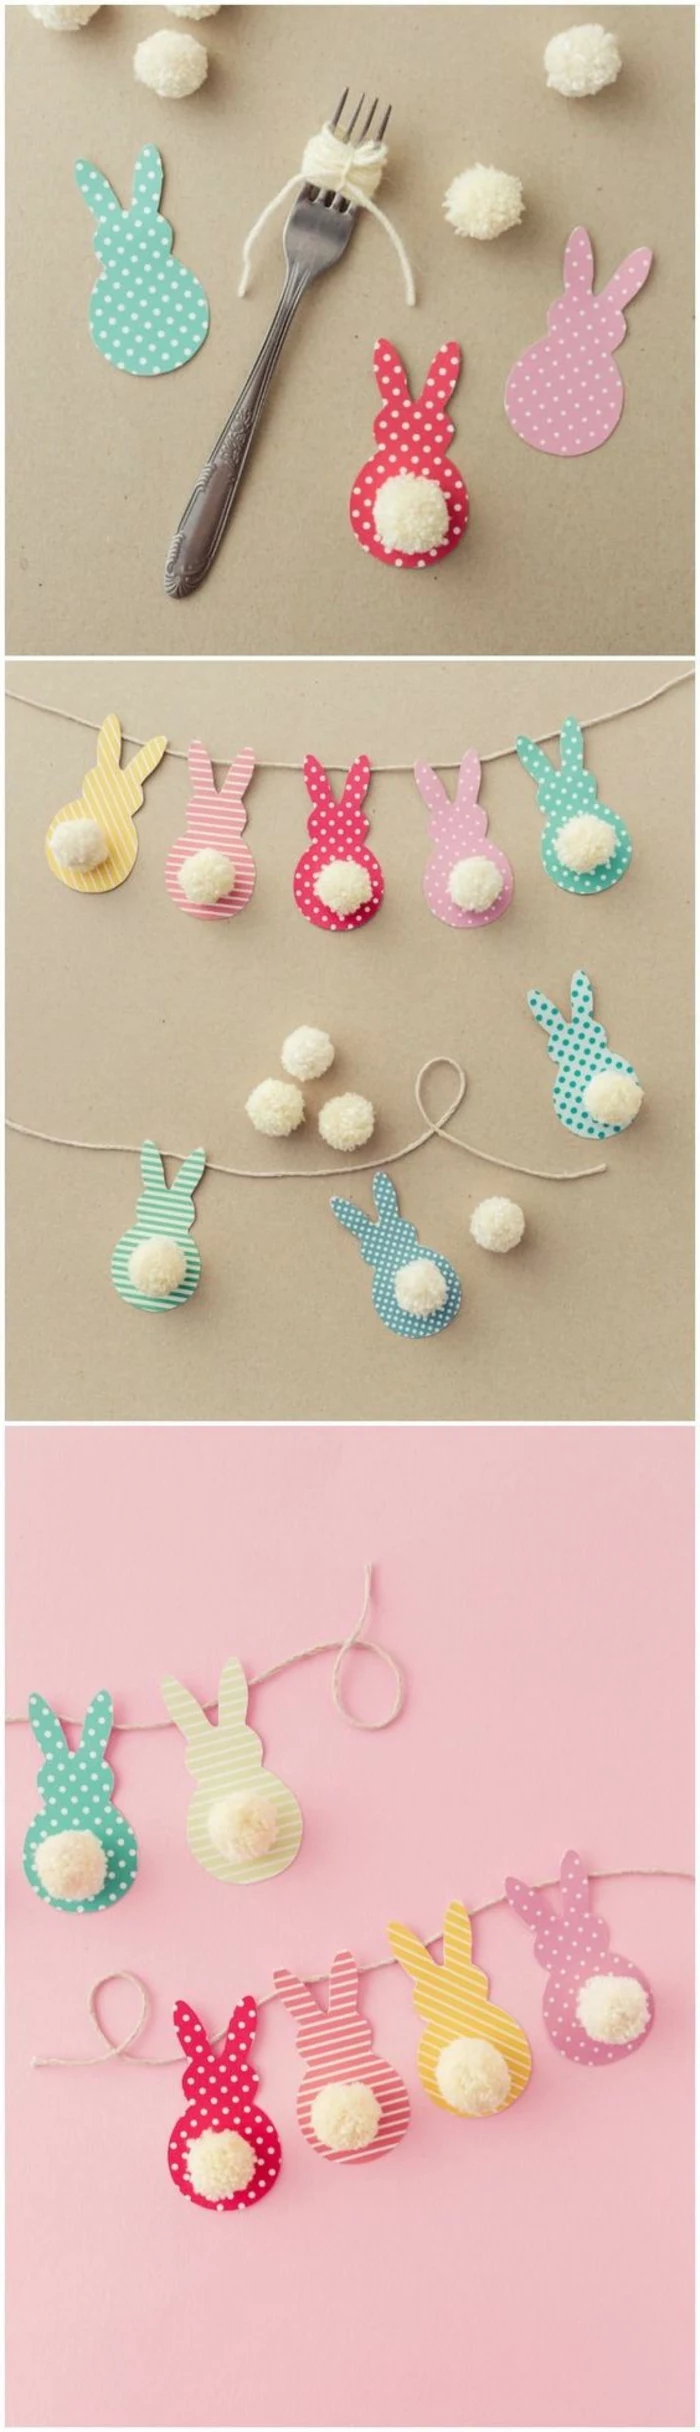
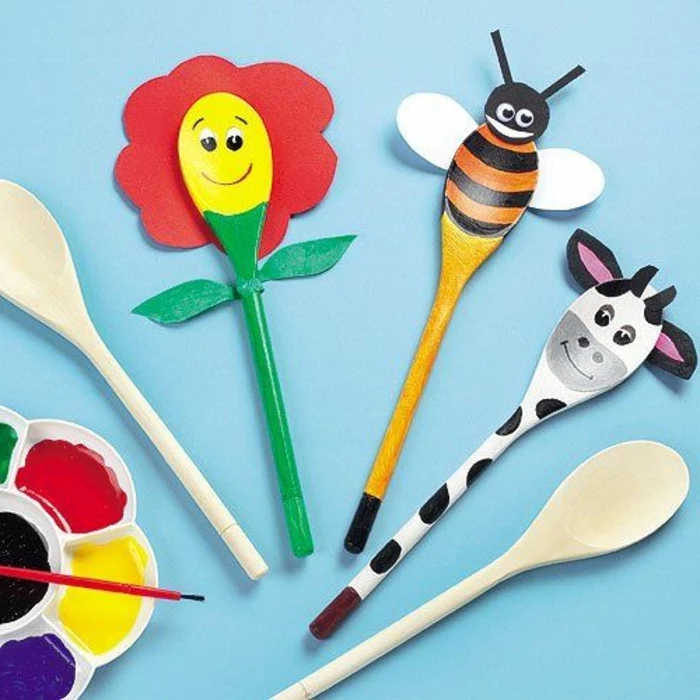
Inspiration Gallery
The unsung hero of the craft box? Your voice. As your child works, narrate their actions: “You are squeezing the glue so carefully,” or “I see you chose the bright yellow paint.” Ask open-ended questions like, “What do you think will happen if we mix these?” This simple chat builds vocabulary, narrative skills, and self-awareness, turning a simple activity into a rich language lesson.
- They build hand strength for future writing.
- They learn about cause and effect.
- They explore concepts like capacity and texture.
The secret? A simple tub of homemade playdough. A basic recipe of flour, salt, water, cream of tartar, and oil is a sensory powerhouse that costs pennies to make.

Did you know a child’s brain forms more than a million new neural connections every second?
Process-focused art is a prime fuel for this incredible growth. When a child explores the cold sliminess of finger paint or the sound of scissors snipping paper, they are creating powerful pathways between their senses, movements, and creative thoughts.
My child gets frustrated when their creation doesn’t look ‘right’. What do I do?
Shift the focus from the outcome to the effort. Instead of saying, “That doesn’t look like a cat,” try, “I love how you used that swirly line,” or, “You worked so hard to glue those pieces on!” Praising their specific choices and their perseverance builds resilience and confidence, teaching them that the value is in the trying, not just the final product.
Create an “Invitation to Create” tray. The idea is to present a limited, curated set of materials that encourages exploration without overwhelming them. Think: a handful of natural clay, a few twigs, and some beads. Or, strips of paper, a child-safe hole punch, and some yarn. The constraints often spark the most amazing creativity.
Glue Stick vs. Liquid Glue: A glue stick, like the classic Elmer’s Disappearing Purple, offers control and less mess, making it perfect for toddlers learning to stick paper. Liquid glue, on the other hand, is a fantastic workout for hand muscles as they squeeze the bottle, and it opens up sensory possibilities for creating raised lines and textures.
According to the National Association for the Education of Young Children (NAEYC), process-focused art “is viewed as a creative experience” where the child is in control, which is crucial for developing autonomy and decision-making skills.
Think beyond paper. Offering a variety of textures is a feast for a developing brain. Set out bumpy corrugated cardboard, smooth tin foil, soft cotton balls, and scratchy sandpaper. Feeling these different surfaces provides rich sensory feedback that is just as important for learning as the visual aspect of the craft.
The “Helping Hand” Trap: It’s incredibly tempting to “fix” a wobbly line or straighten a collage piece. Resist the urge! Every so-called mistake is a learning moment. A crooked cut teaches about hand-eye coordination; a piece that won’t stick is a lesson in problem-solving. Let them own their entire process, bumps and all.

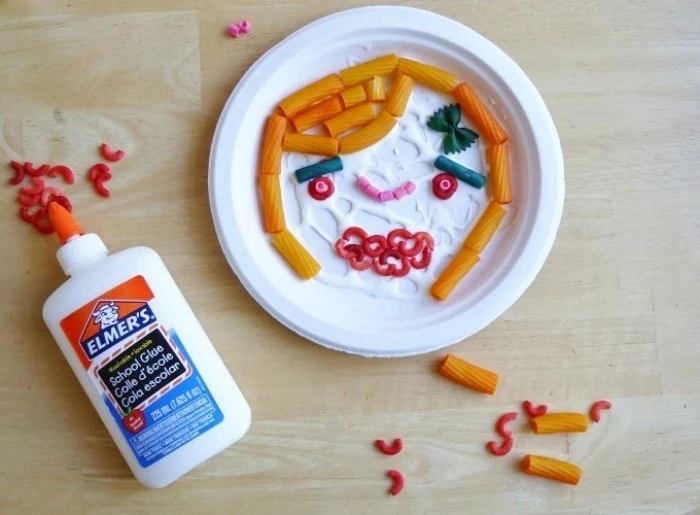
- Uncooked pasta like penne or rotini for threading or mosaics.
- Dried beans and lentils for textured art (on sticky paper or with glue).
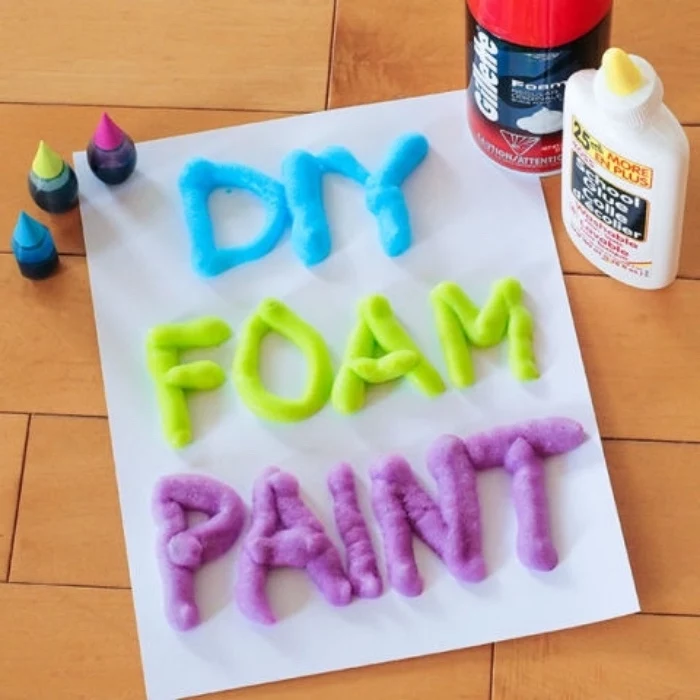
- Shaving cream mixed with a drop of food coloring for fantastically messy and vibrant ‘paint’.
Your kitchen pantry is often the best-stocked, budget-friendly craft store you can find.
Introduce the idea of transient art, inspired by artists like Andy Goldsworthy. Go outside and create with found objects—arranging leaves by color, making spirals from pebbles, or faces from twigs and flower petals. There’s no product to take home, which beautifully reinforces the idea that the joy is in the act of creating itself.
What are the best scissors for a preschooler?
Start with loop scissors or plastic safety scissors that only cut paper, which helps them learn the open-close motion without risk. Once they master that, graduate to a pair of blunt-nosed metal kids’ scissors, like the iconic ones from Fiskars. Always supervise cutting activities, but let them practice—it’s one of the best pre-writing workouts there is.
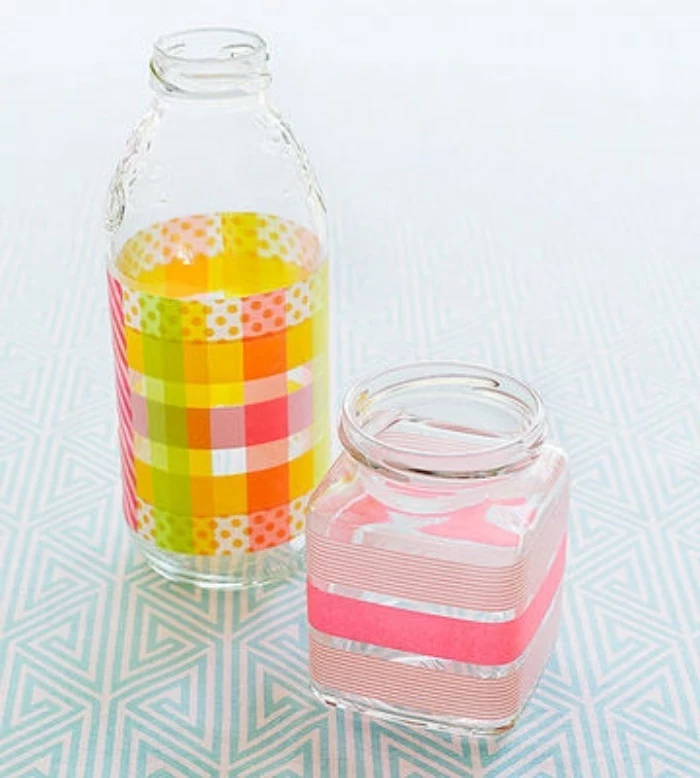
A roll of washi tape is more than just pretty tape.
For a preschooler, it’s a tool for developing fine motor skills as they peel and tear it. Use it to make ‘roads’ on the floor for toy cars, create geometric shapes on paper, or practice patterns. It’s a clean, simple, and surprisingly versatile supply.
Embrace the verbs, not the nouns. Instead of saying, “Let’s make a butterfly,” try, “Let’s see what we can do with folding, scrunching, and gluing today.” Phrasing it this way removes the pressure of a perfect final product and opens the door for pure exploration and imagination.
Make clean-up part of the fun, not a punishment for making a mess. Turn on a special “Clean-Up Song,” give them their own small sponge or dustpan, and talk about “putting the supplies to bed.” It teaches responsibility and the full life-cycle of an activity.
Tempera Paint: Opaque, thick, and vibrant. It’s perfect for stamping, handprints, and projects where you want bold, solid color coverage.
Watercolor Paint: Transparent and fluid. It’s ideal for teaching about color-mixing and water control, creating beautiful, layered effects.
Having both offers completely different sensory and creative experiences.


- A roll of paper towels for big spills.
- A pack of unscented baby wipes for sticky hands and faces.
- An old, oversized t-shirt to use as a dedicated art smock.
Keep this simple kit handy, and you’ll feel much more relaxed about letting them explore (and make a mess).
Don’t underestimate the power of a sheet of clear contact paper. Tape it to a table or a low window, sticky-side up, and provide scraps of tissue paper, yarn, feathers, and leaves. It allows for mess-free sticking and un-sticking, focusing purely on placement, color, and texture.


How do I handle the mountain of artwork?
You are not obligated to keep every single piece! Snap a quick photo of your child proudly holding their creation—the memory is often more important than the artifact. Then, create a “gallery” with a simple string and clothespins to display a few rotating favorites.
Take it outside! An old shower curtain liner or vinyl tablecloth on the grass creates the perfect, worry-free art zone. The natural light makes colors pop, and you can get much messier with things like splatter painting or mud art without stressing about the floor.
A study in the journal *Early Childhood Education* found a direct correlation between the complexity of a child’s block-building in preschool and their math scores in high school.
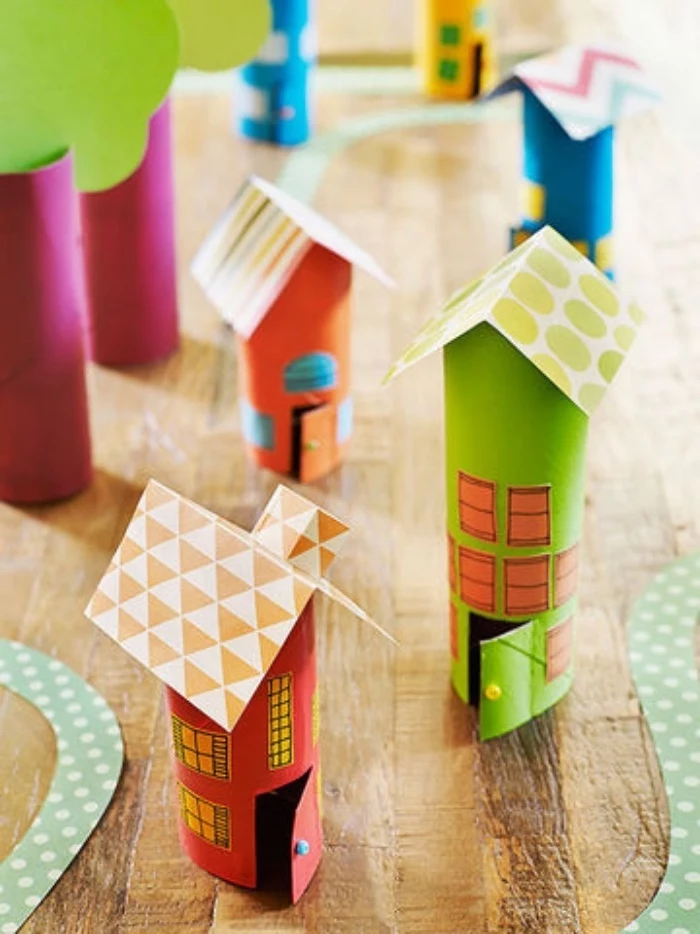
Crafting with 3D materials like cardboard boxes, tubes, and clay is a playful introduction to spatial reasoning, the very foundation of these critical skills.
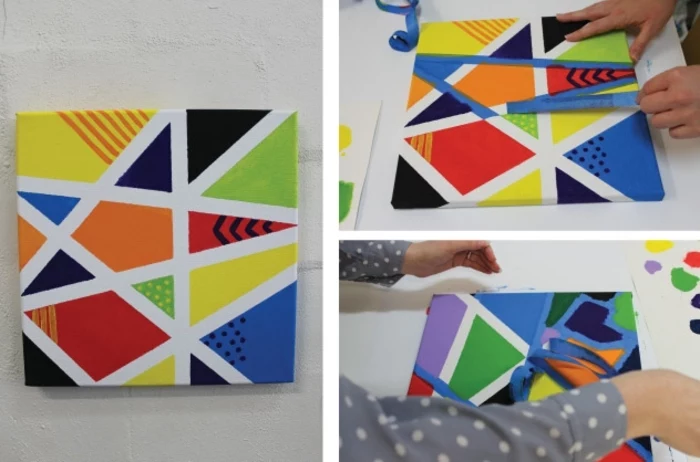
Let famous artists be your guide for process-based fun. Unroll a large sheet of paper outside for a Jackson Pollock-inspired “splatter session” using watered-down tempera paint. Or, use black masking tape and squares of primary-colored paper for a Mondrian-style composition. It connects their play to a bigger world of creativity.


Think in 3D: While drawing is great, building is essential for developing spatial awareness. Provide a box of “valuable junk”—egg cartons, yogurt cups, toilet paper rolls, and small cardboard boxes—along with some masking tape. The challenge of figuring out how to connect and balance pieces is a powerful brain-builder.

- They develop focus and concentration.
- They practice color and pattern recognition.
- They strengthen the pincer grasp needed for writing.
The secret? A simple bowl of beads and some pipe cleaners. Threading is a classic, calming activity that packs a huge developmental punch.

Sometimes the best creative tool is water. A bowl of water, a few drops of food coloring, and a turkey baster or pipette can keep a preschooler engaged for ages. They’re exploring color mixing, cause and effect, and strengthening their hand muscles, all without a single piece of paper involved.


