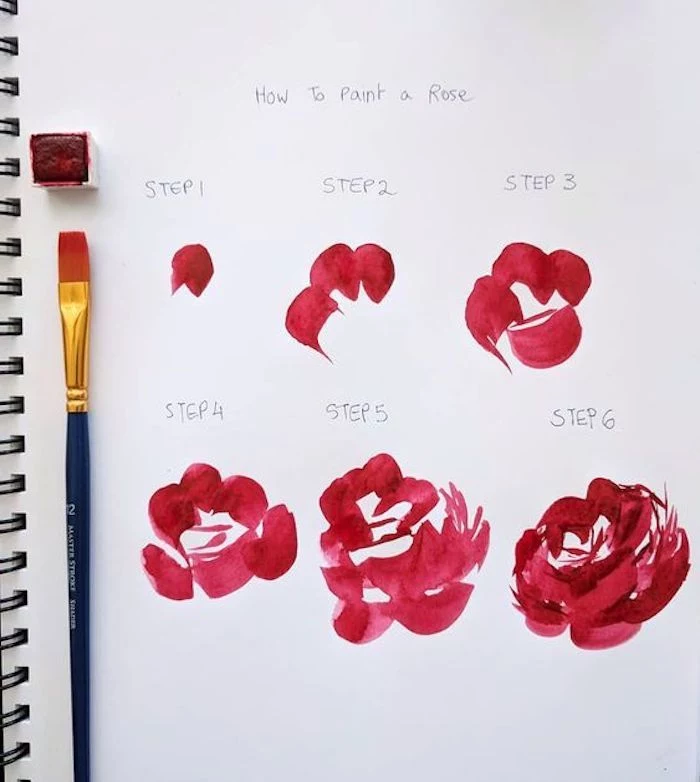
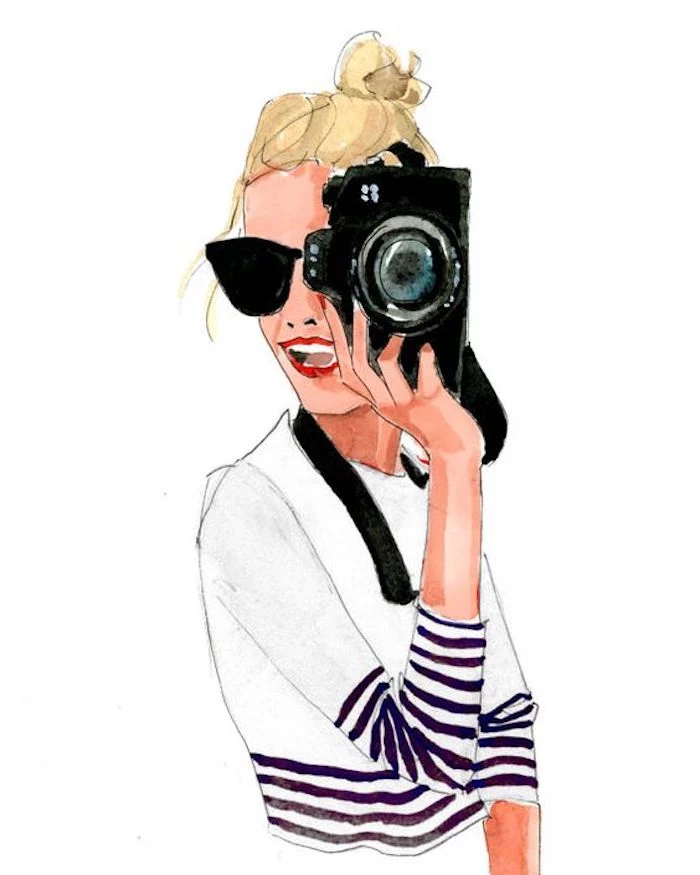
Tracing Isn’t Cheating: How to Get Perfect Linework for Your Art
I’ve been teaching art in workshops for a long time, and I see the same thing over and over: the fear of the blank page. That pressure to nail a perfect drawing on the first try can be totally paralyzing. So, let’s talk about one of the most misunderstood tools in an artist’s kit: tracing.
In this article
For some reason, there’s this weird debate about whether tracing is ‘cheating.’ Let me just settle that right now. It’s not. It’s a tool, just like a specific paintbrush or a tube of expensive paint. The pros do it all the time. Think about professional illustrators or tattoo artists—lightboxes are a standard piece of equipment in their studios. Tracing is simply a bridge. It gets your core idea onto the surface so you can pour your energy into the stuff that really matters, like bringing the drawing to life with form, shadow, and color. It’s all about building confidence and muscle memory.
Why This Actually Works (It’s More Than Copying)
When you’re tracing, you’re not just mindlessly following a line. You’re actively training your hand, eye, and brain to work together. Understanding this helps you use the technique with purpose.
It Builds Muscle Memory
Remember learning to sign your name? At first, you probably copied the letter shapes slowly and deliberately. Now, you can do it without even thinking. Drawing is exactly the same. Tracing the graceful curve of a leaf or the sharp angle of a roofline teaches your hand the physical motion. Every time you follow that line, you’re reinforcing a pathway in your brain. The goal isn’t to trace forever, but to internalize these movements so you can eventually draw them freehand. It’s just smart practice.
You Learn Composition and Proportion
Honestly, getting proportions right is one of the hardest parts of drawing. Is the head too big? Are those buildings the right distance apart? Tracing a solid reference photo or a well-composed sketch takes that initial struggle off the table. It lets you place the main elements correctly from the start so you can focus on how they relate to each other, without the endless cycle of drawing and erasing. This is how you develop an instinct for what good composition feels like.
The Simple Physics of It All
There are basically two ways to transfer an image: with light or with pressure. A lightbox is all about light. It shines an even glow through your reference image and your final paper, making the lines visible enough to follow. Newer LED lightboxes are fantastic because they provide consistent, bright light without getting hot.
Graphite paper, on the other hand, works with pressure. The paper is coated with a fine graphite powder. When you press on it with a stylus or pen, that pressure transfers the powder onto your drawing surface. Heads up! How hard you press directly controls how dark the line is. Too much pressure creates a dark, waxy line that can be impossible to erase and can even indent the paper. I learned this the hard way on a gorgeous, expensive sheet of watercolor paper. The groove I’d pressed into the paper collected the paint in a dark line, completely ruining the smooth wash I was going for. A mistake you only make once.
The Artist’s Toolkit: Four Great Tracing Methods
Depending on your project and budget, you’ve got a few solid options. I use different methods for different tasks, from quick sketches to big canvases. Here’s a breakdown of what works best and what it’ll cost you.
1. The Lightbox: The Studio Go-To
This is my most-used tool for anything on paper. It offers amazing precision. A good LED lightbox is thin, lightweight, and—this is important—has adjustable brightness. You’ll need to crank up the light to see through thicker paper, like a heavy 140 lb (300 gsm) watercolor sheet. For beginners, a simple A4-sized LED lightbox from a brand like Huion or LitEnergy on Amazon runs about $25-$40, which is a fantastic starting point.
- How to use it: Tape your reference image to the lightbox with low-tack artist’s tape. Then, place your final paper over it and tape that down too, so nothing shifts. Use a hard pencil (like a 2H) and press gently. You just need a faint guideline. Pro tip: work in a dimly lit room. It makes a huge difference.
2. Graphite Transfer Paper: The Most Versatile Option
This stuff is magic for transferring designs onto surfaces where a lightbox won’t work, like wood panels, canvas, or dark paper. The key is to get wax-free graphite paper. Brands like Saral or Royal & Langnickel are excellent and produce a clean, erasable line for about $8 a pack. Cheap office-supply carbon paper is often waxy and will leave a greasy residue that repels paint. Avoid it!
- How to use it: Make a ‘sandwich’: your final surface on the bottom, then the graphite paper (dark side down), and your reference drawing on top. Tape it all together. To trace, use a ballpoint pen (I like using a red one to see where I’ve already been) or a stylus (a pen-like tool with a rounded metal tip, you can find them in any art store for a few dollars).
- Good to know: A single sheet of professional graphite paper can be reused many, many times. You’ll know it’s time for a new one when the transfers get too faint. Oh, and did you know it also comes in white, yellow, and blue? This is perfect for tracing onto dark surfaces.
- DIY Option: In a pinch, you can make your own. Just grab a piece of tracing paper and scribble all over one side with a soft graphite pencil (a 6B works great). Rub it with a paper towel to create a smooth layer. It works surprisingly well.
3. The Window Method: The $0 Solution
Before I bought a lightbox, I just used a bright window. Tape your papers to the glass and let the sun do the work. It’s simple, free, and effective for basic transfers on standard paper. The main drawbacks? You can only work during the day, and your arm might get tired from drawing on a vertical surface. But hey, for zero cost, it’s a great way to start.
4. The Projector: For Going BIG
When I need to get a sketch onto a large canvas, I use a digital art projector. This lets me scale a small drawing up to mural size. It’s a real investment, with decent ones starting in the few hundred dollar range and going up from there. But if you’re a muralist or large-scale painter, it saves an incredible amount of time. You just project the image, being careful to keep the projector perfectly level to avoid distortion, and trace the lines with charcoal or a light pencil.
Your First Tracing Toolkit (For Under $50)
Feeling ready to jump in? You can get completely set up with high-quality gear for less than a nice dinner out. Here’s a quick shopping list:
- A4 LED Lightbox: Around $25-$40 online.
- Pack of Saral Transfer Paper: About $8.
- Low-Tack Artist’s Tape: Around $5.
- A 2H Pencil: About $2.
- Kneaded Eraser: About $2.
So for around $40-$50, you have a professional-level tracing setup ready to go, available at places like Blick Art Materials, Jackson’s, or Amazon.
The Right Materials for the Final Artwork
Your traced line is just the foundation. The paper and media you use on top of it will make or break the final piece.
Paper Matters. A Lot.
Seriously, don’t trace onto cheap printer paper and expect great results. Invest in proper art paper. For pencil or ink, a smooth hot press paper or Bristol board is perfect. For watercolors, you absolutely need 100% cotton paper that’s at least 140 lb (300 gsm) to prevent buckling. For acrylics or oils, you can trace directly onto a gessoed canvas or wood panel.
Working with Different Media After Tracing
Here’s how to handle your traced line with different art supplies:
- For Pencils: After tracing, use a kneaded eraser to gently ‘pounce’ (press and lift, don’t rub) the line until it’s very faint. It should be just visible enough to guide you as you start shading.
- For Watercolor (The Ghost Line Technique): This is a pro-level trick for perfectly clean paintings. A heavy pencil line will turn into mud when wet paint hits it. Here’s how to avoid that:
1. Trace your design very lightly with a hard (2H) pencil.
2. Go over the pencil line with a waterproof ink pen (a Sakura Pigma Micron 005 is perfect).
3. Let the ink CURE, not just dry. I give it at least a couple of hours, but overnight is safest!
4. Use a kneaded eraser to completely lift away the original graphite line.
5. You’re left with a faint, clean, permanent ink outline that won’t smudge or bleed when you paint. It’s a game-changer. - For Acrylics: Acrylics are opaque and forgiving. The paint will cover your lines easily. I often use a white chalk pencil to trace onto a dark-painted canvas so I can see the lines better.
Bringing It to Life: From Trace to Art
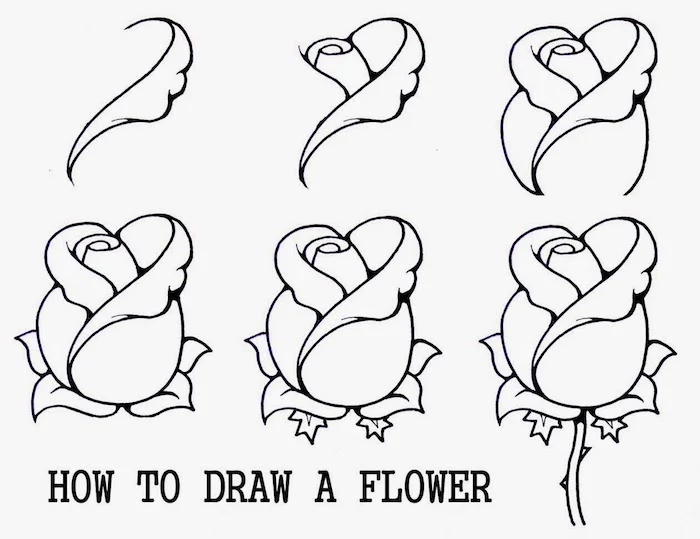
This is where the magic happens. A trace is just an outline. Your job as an artist is to give it form, depth, and personality. If you just color inside the lines, the result will always look flat.
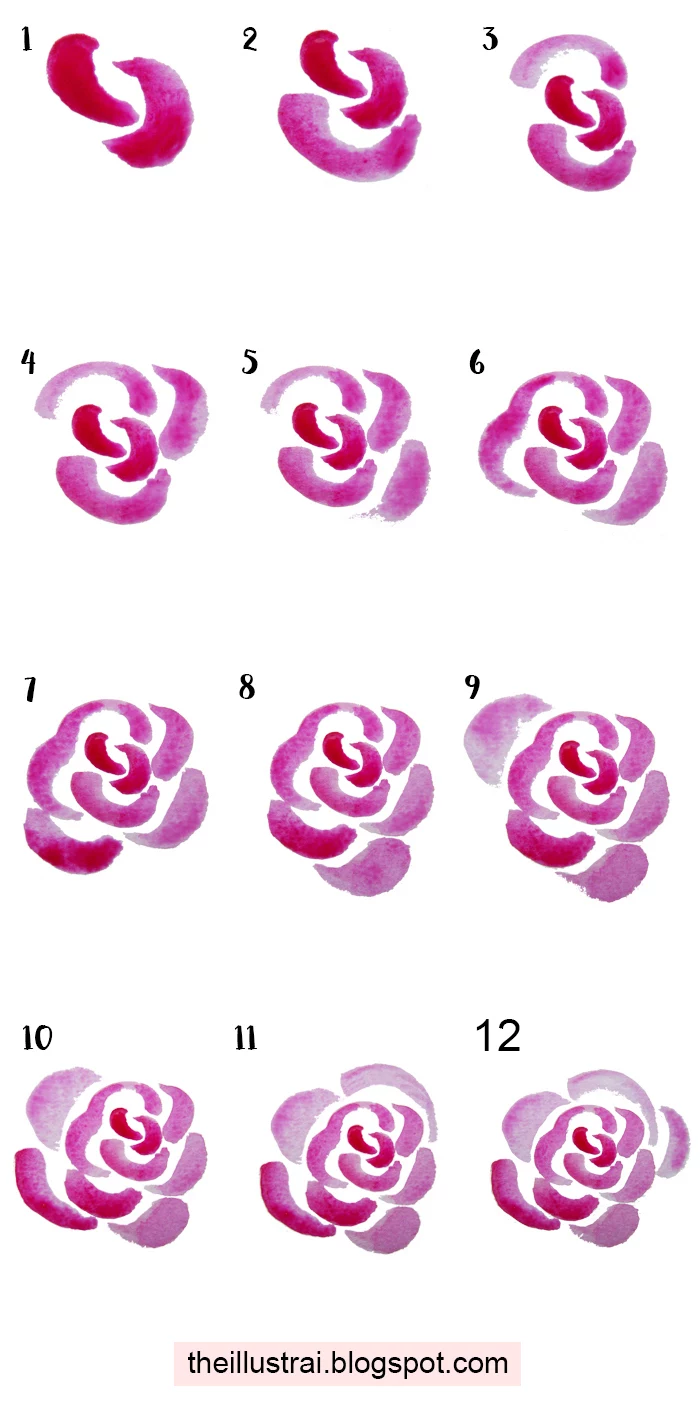
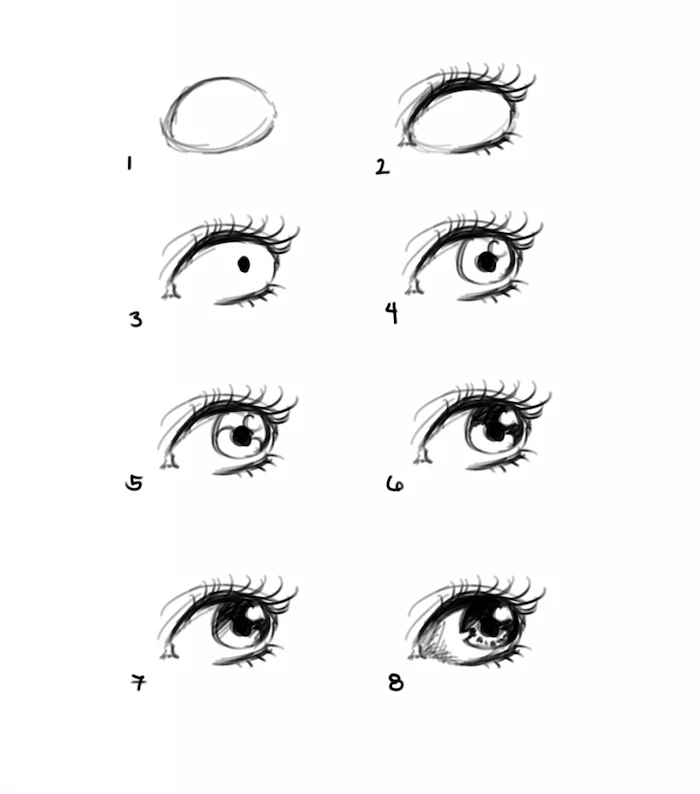
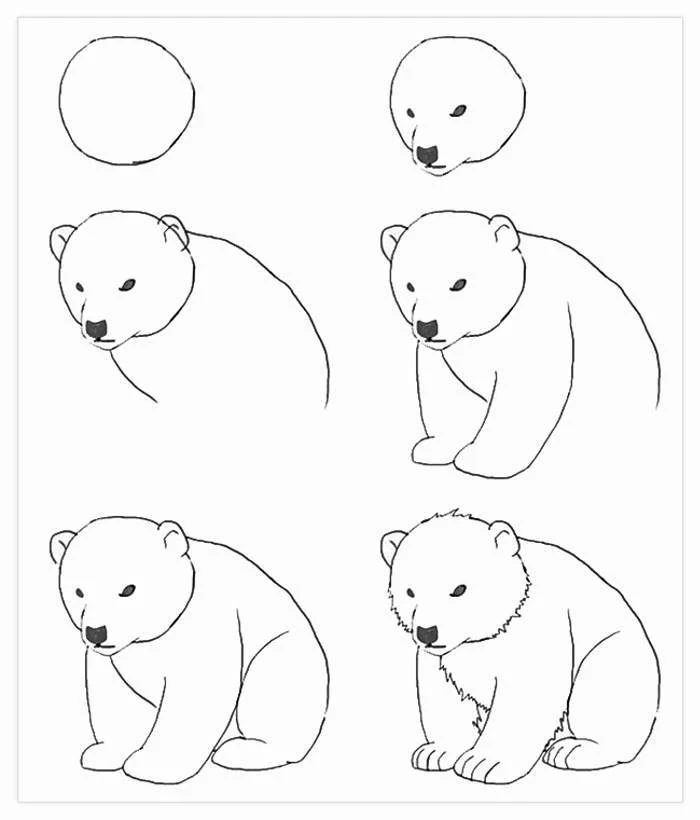
First, refine the line itself. Go back over your faint guideline and vary the weight. Make some parts thicker and others thinner. This one step adds immediate dimension. Then, use shading to create form. Figure out your light source and add shadows and highlights. A traced circle is flat; a shaded circle becomes a sphere. Finally, use color to tell a story. Don’t just copy the colors from a photo. Choose a palette that creates a mood. These choices are what transform a copy into a piece of art.
Troubleshooting Common Problems
- Problem: The transfer line is way too dark and smudges everywhere.
Solution: You’re pressing too hard. Use a lighter touch. Or, your transfer paper might be too soft. Pounce the line with a kneaded eraser to lift the excess graphite without smearing. - Problem: I dented the paper with my tracing tool!
Solution: Prevention is the only cure here. This usually happens from pressing too hard with a sharp tool. Always use a smoother tip, like a stylus or a dead ballpoint pen, and always use light pressure. - Problem: I can’t see the lines through my thick paper on the lightbox.
Solution: Turn up the brightness and make sure you’re in a dark room. If it’s still not visible, your paper is just too thick. Time to switch to the graphite paper method.
Using This Tool Responsibly
Just a couple of final thoughts. First, a quick word on copyright. Tracing is a tool for transferring your own designs or for practice. It is unethical and often illegal to trace someone else’s art or photo and pass it off as your original work, especially if you try to sell it. Always use your own photos, buy licensed references, or get permission. Be honest and give credit where it’s due.
Finally, know when to let go. Tracing is an amazing bridge, but you don’t want to live on it forever. The goal is to build the skill to draw freehand. After you get comfortable with tracing, challenge yourself.
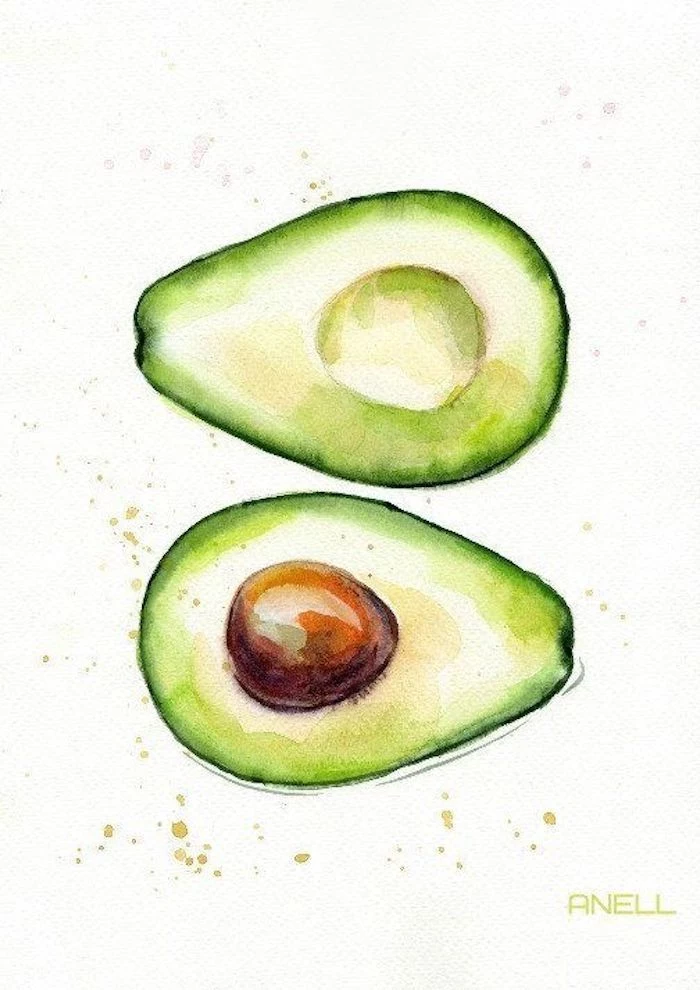
Your Turn: Grab a photo of a simple piece of fruit, like an apple. Use the window method to trace its outline. Now, set the photo aside and try to shade the apple to make it look 3D. It’s a perfect first exercise to bridge the gap between tracing and freehand drawing.
In the end, tracing just gets the first decision—the outline—out of the way quickly and accurately. This frees up your creative brain for all the other decisions that follow. That’s where the real art begins.
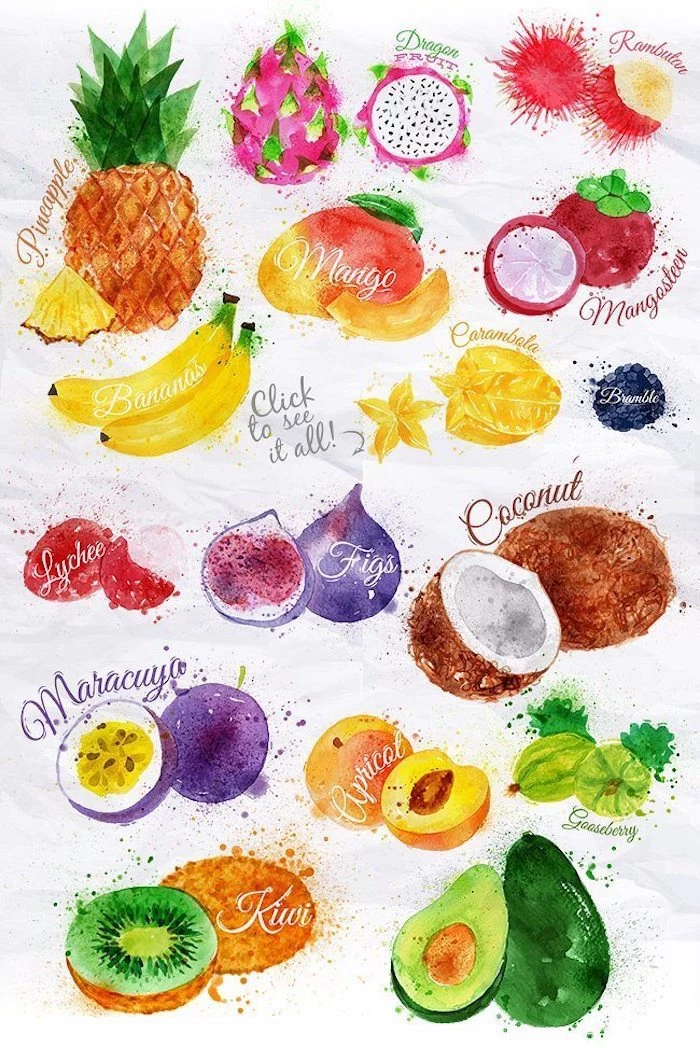
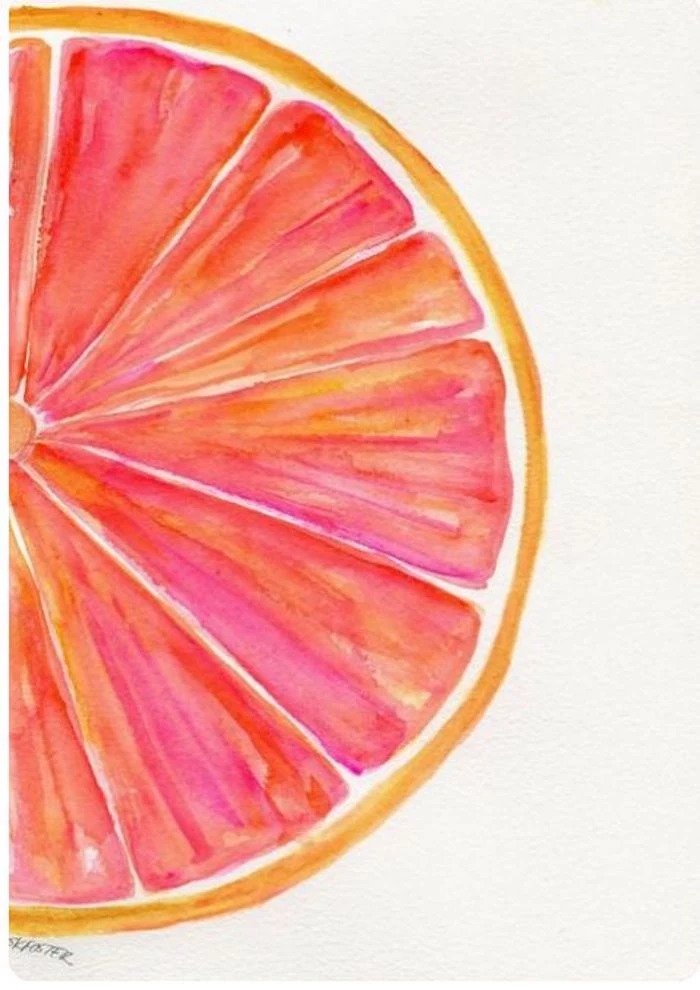
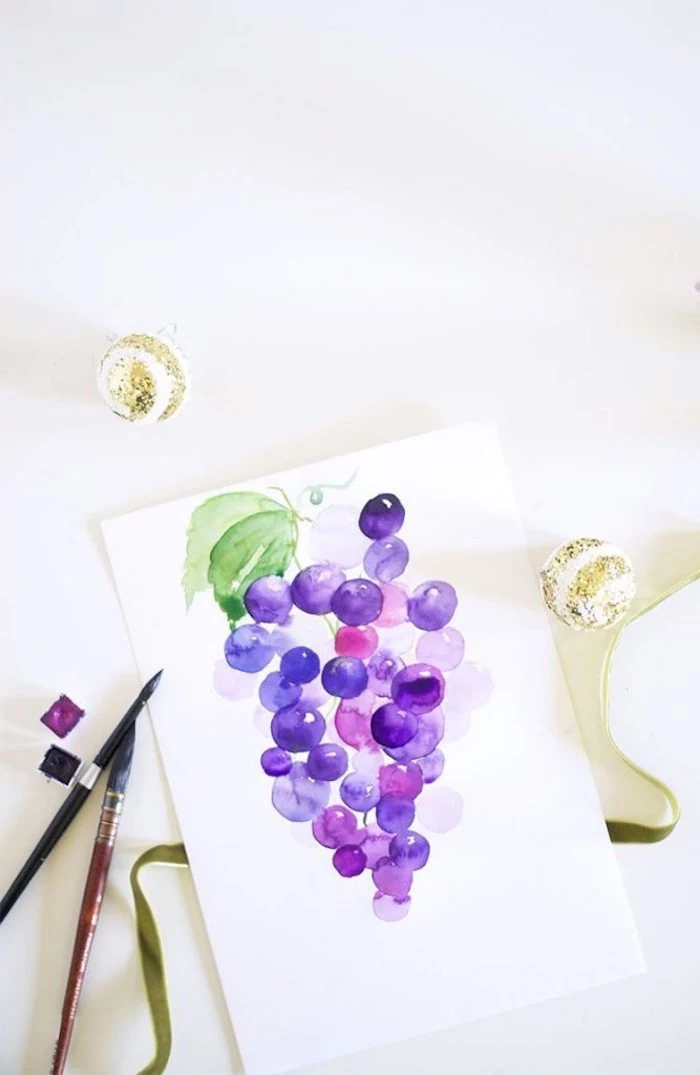
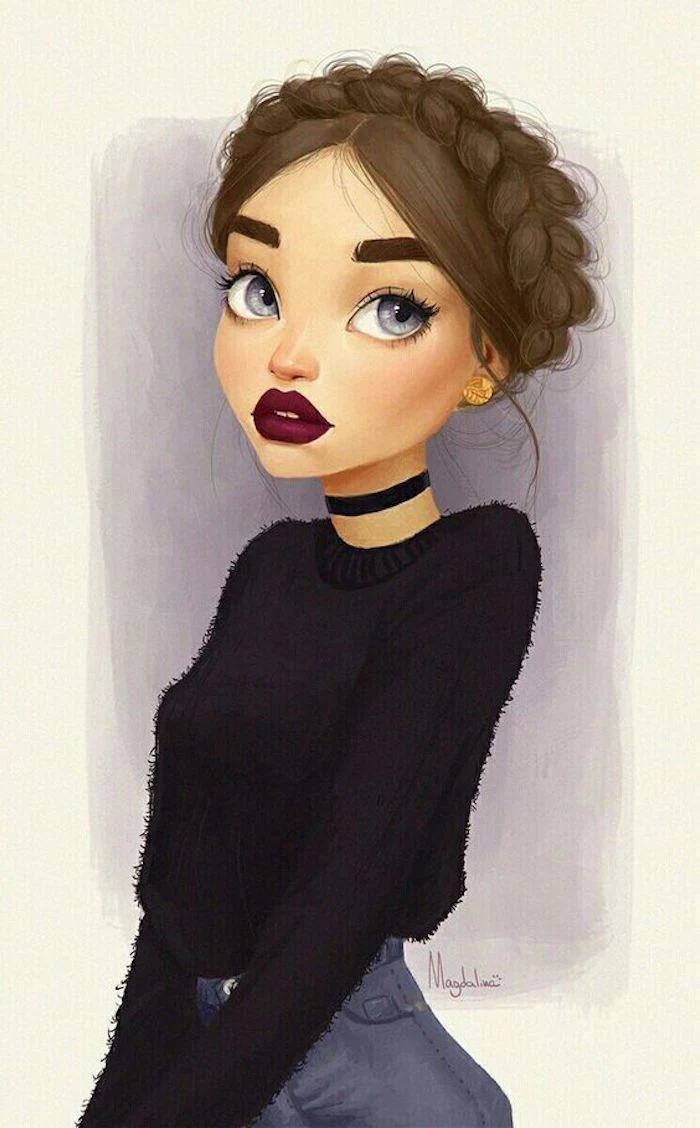
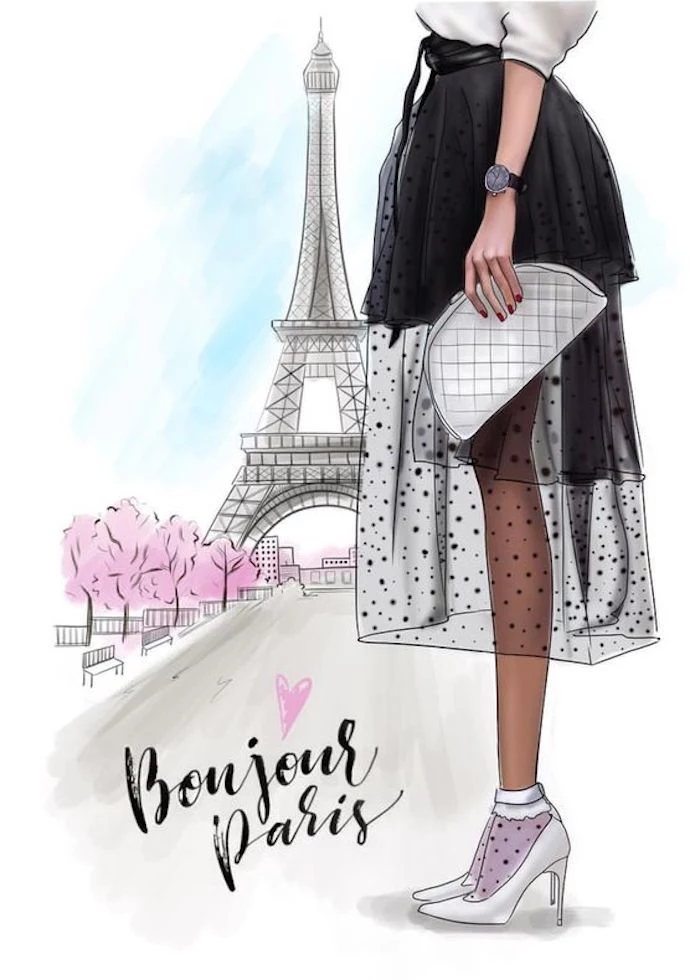
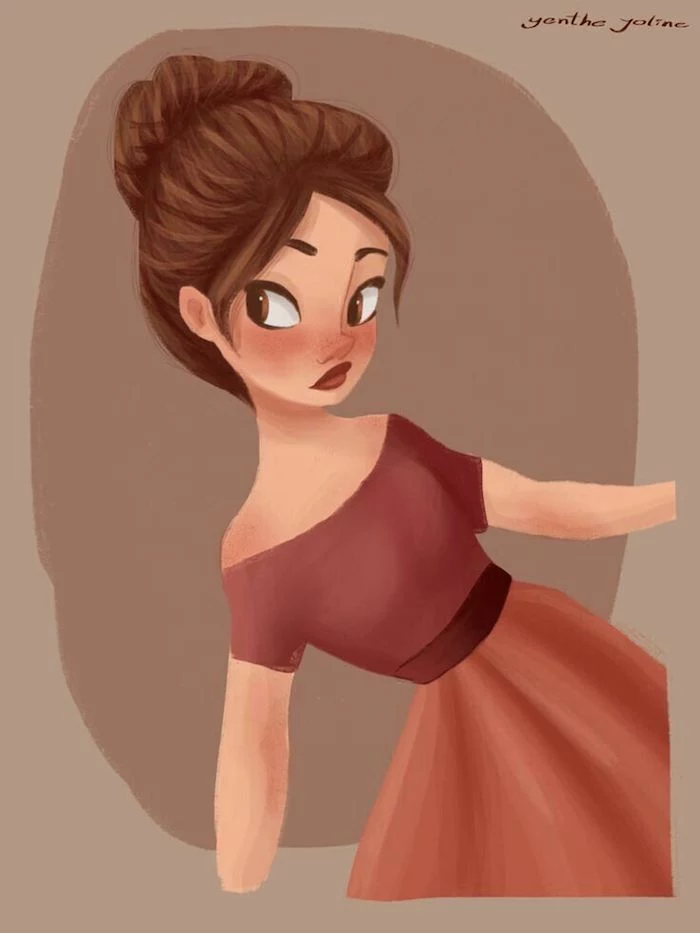
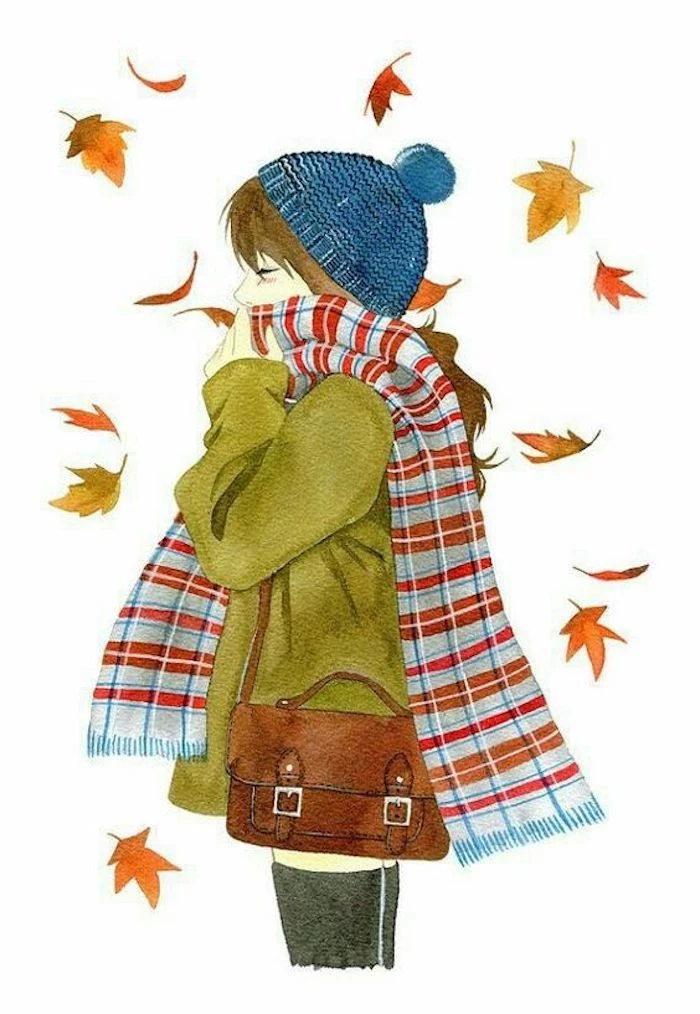
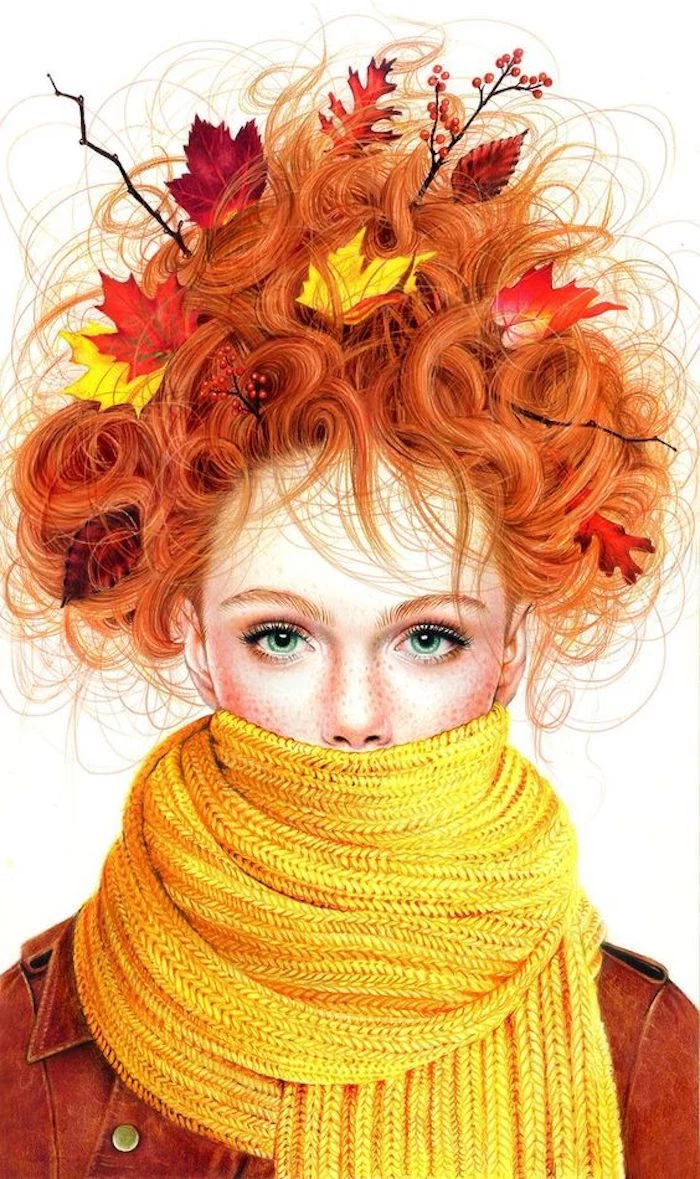
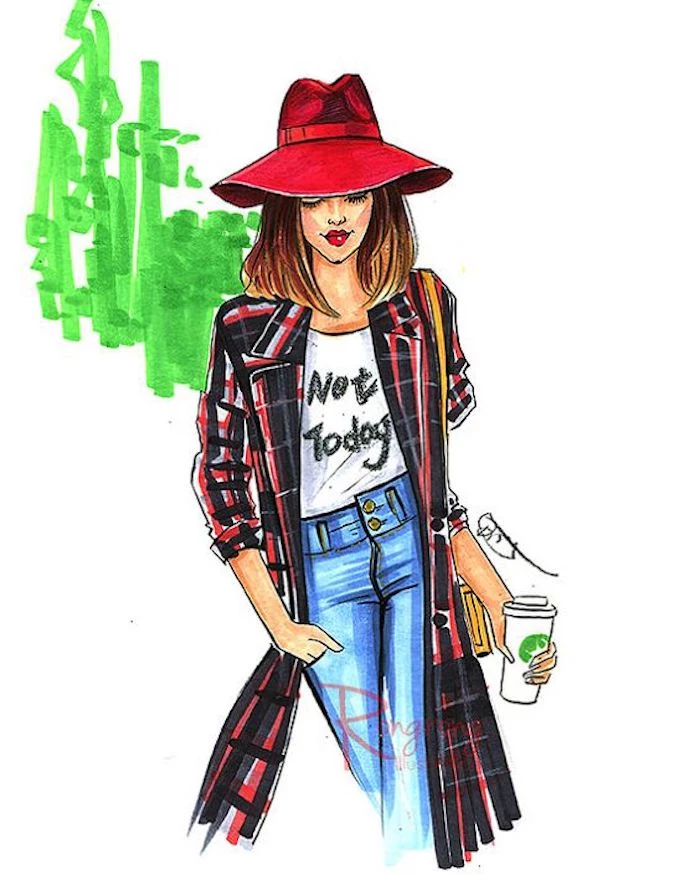
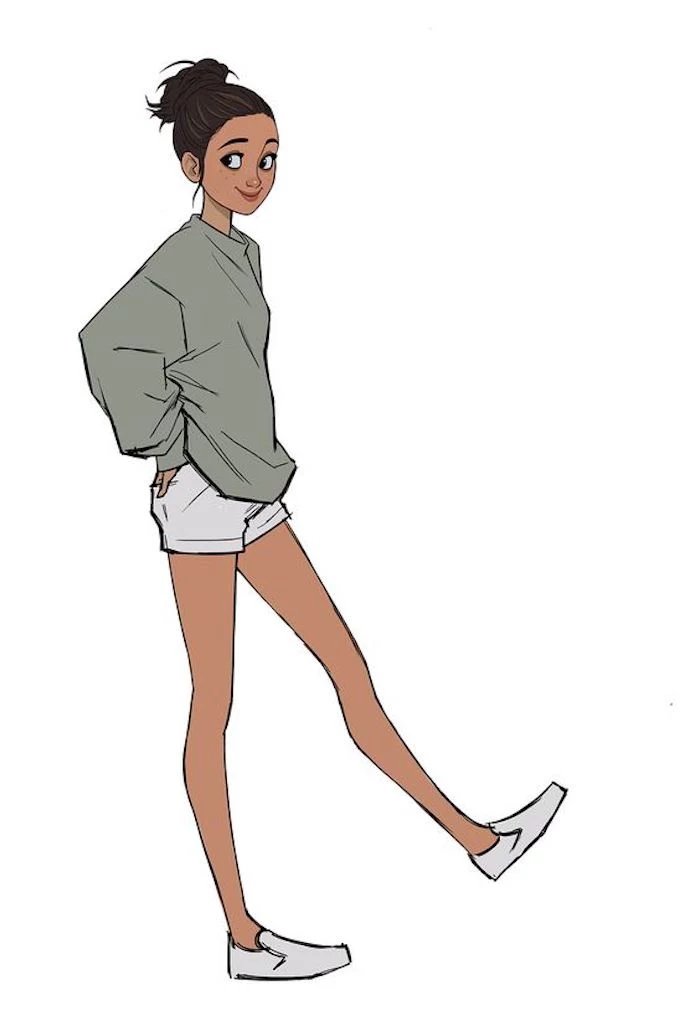
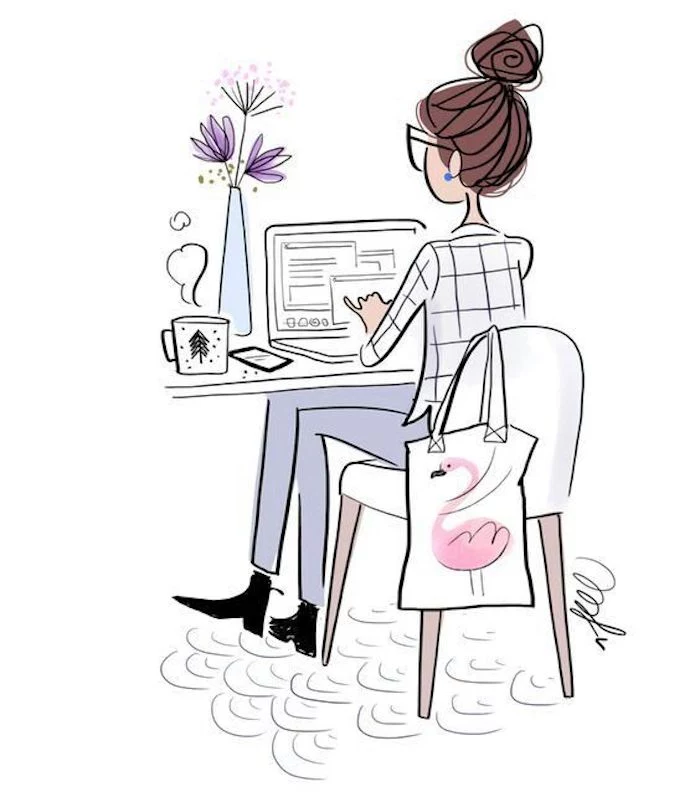
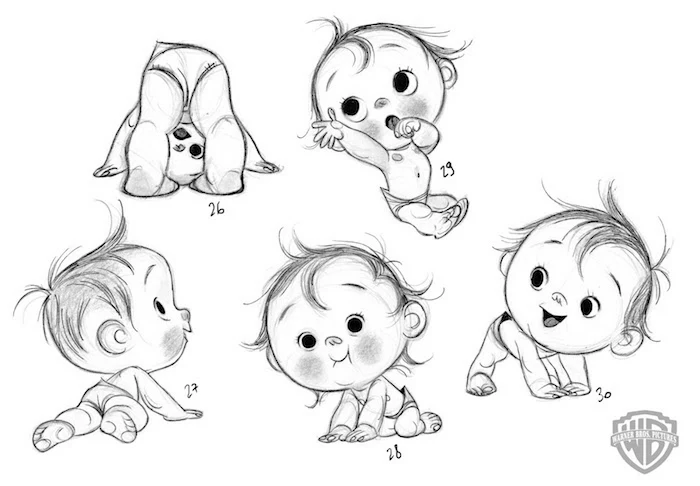
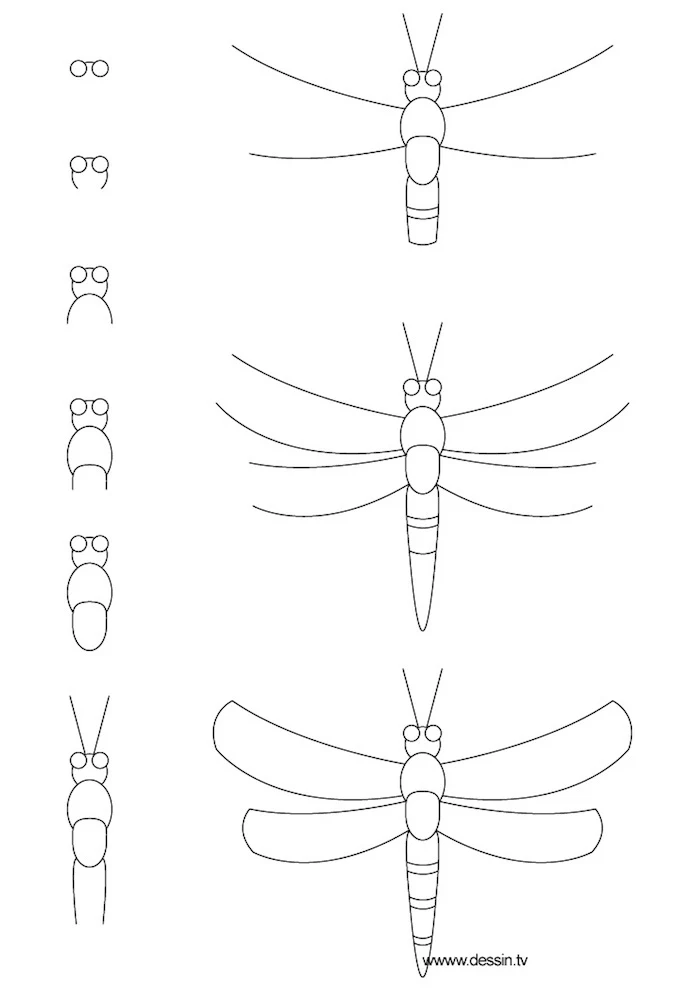
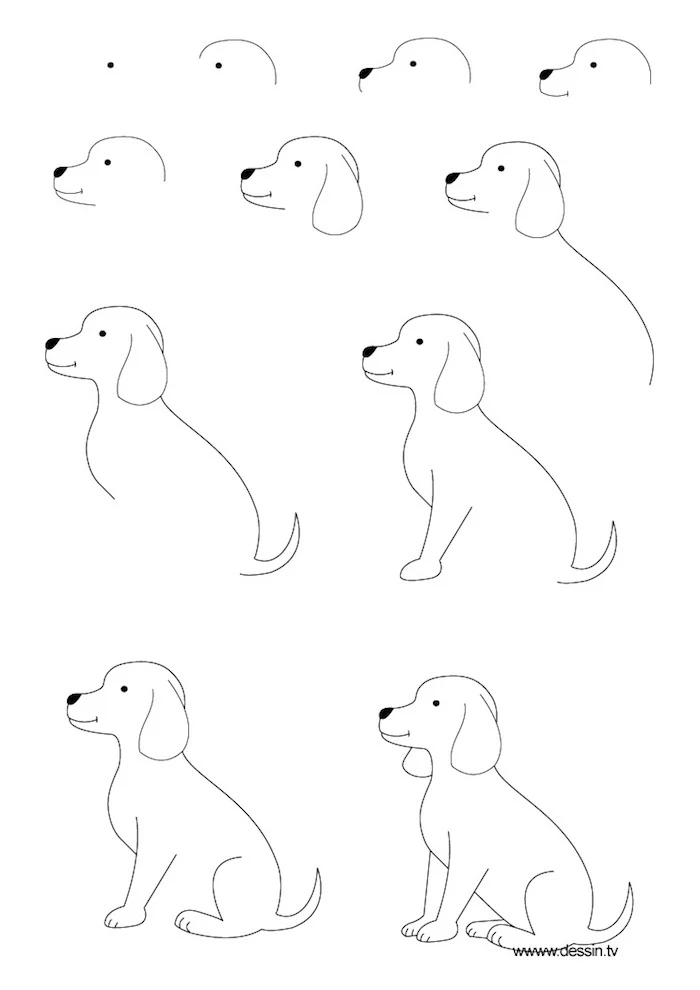
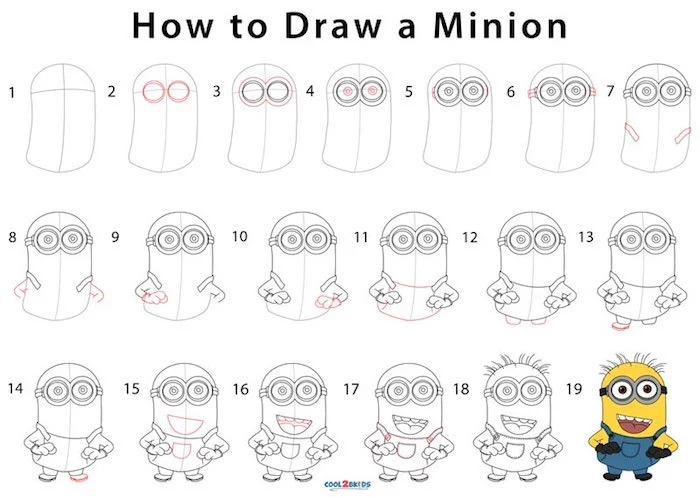
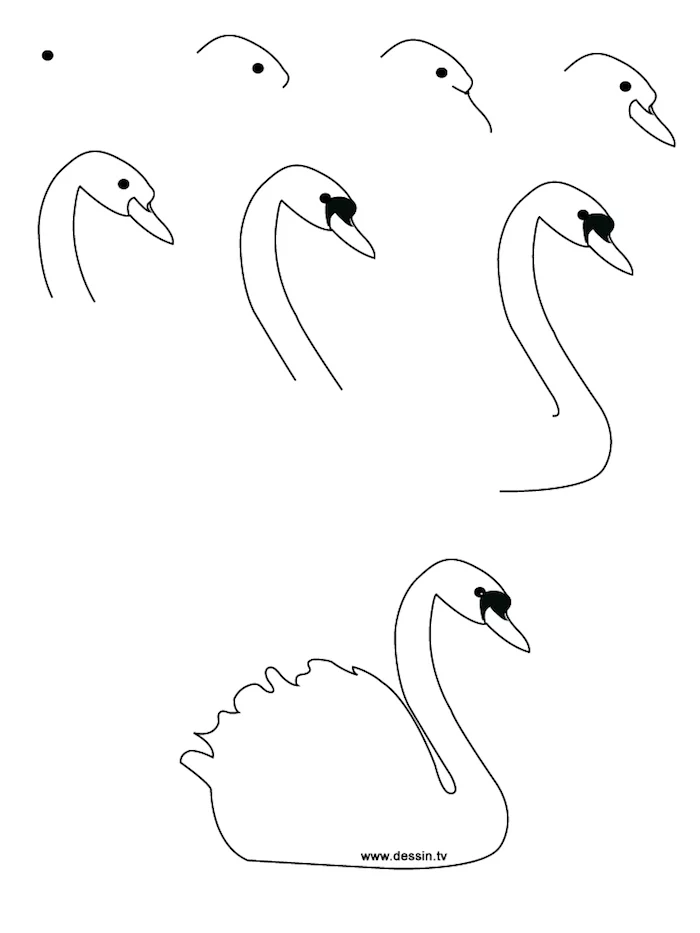
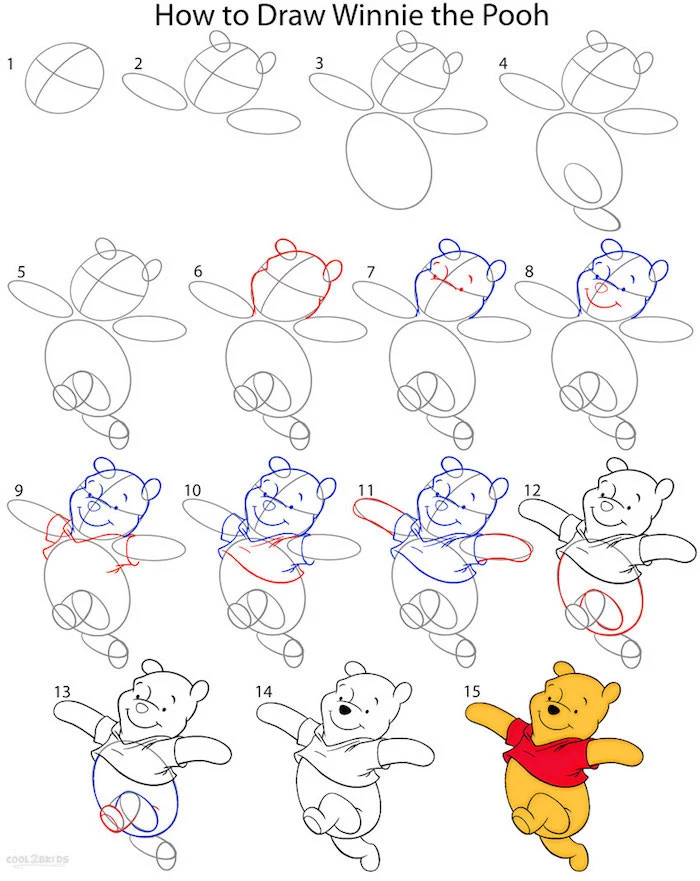
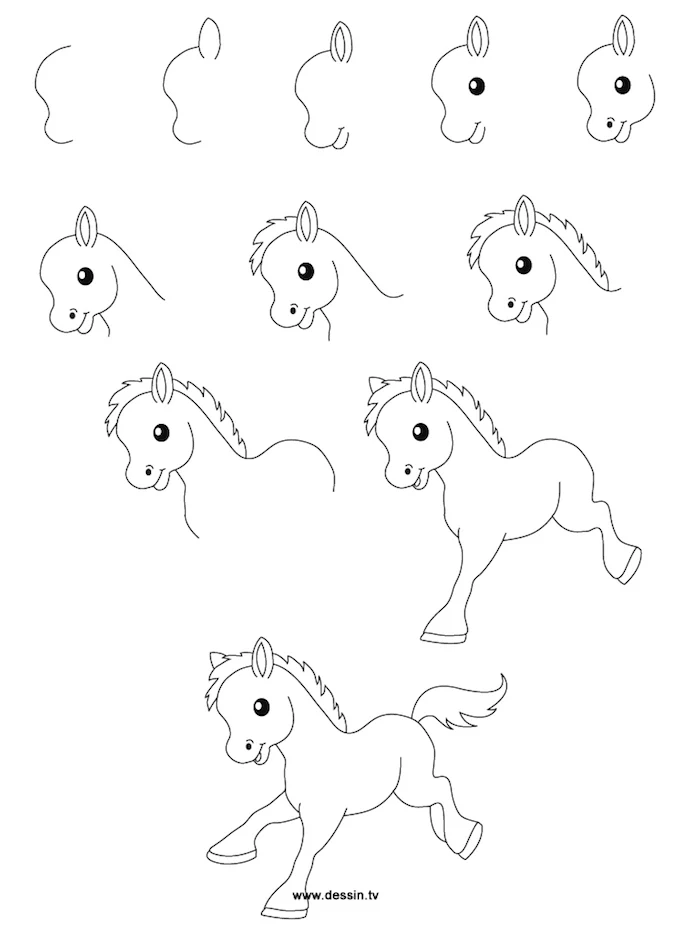
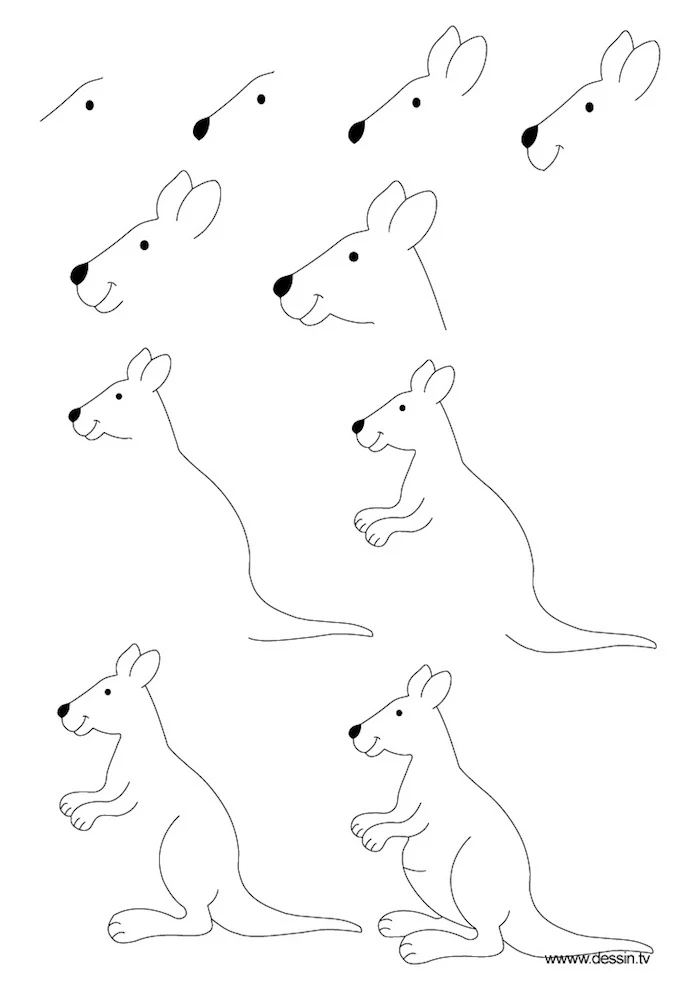
Inspiration Gallery
The Window Trick: No lightbox? No problem. The oldest trick in the book still works perfectly. Simply tape your reference image to a sunny window, place your drawing paper over it, and let the daylight illuminate the lines. It’s a free, effective method that artists have used for generations.
Did you know? The Renaissance master Albrecht Dürer created devices to help with perspective and proportion, essentially early forms of mechanical tracing. The quest for accurate linework is centuries old!
What’s the best pencil for making my own transfer paper?
For the DIY pencil-and-paper method, a soft graphite pencil is your best friend. Look for a 6B or 8B pencil. The soft graphite transfers easily without requiring too much pressure, which prevents you from indenting your final artwork paper. Just scribble thoroughly on the back of your drawing, then flip it and trace.

Once your lines are transferred, the real art begins. A traced line is just a guide. Go over it with intention:
- Vary your line weight, making some lines thicker and others whisper-thin.
- Use a kneaded eraser to soften or ‘fade’ parts of the outline.
- Add texture and personality. Make the line sketchy, smooth, or broken.
This is how you transform a ‘copy’ into your own unique creation.

Graphite Paper: The pro choice for clean transfers. Unlike DIY pencil methods, professional-grade paper like Saral Transfer Paper is wax-free. This means it transfers a clean, grease-free line that’s easy to paint or ink over and erases cleanly without smudging your surface.
Carbon Paper: An old-school option often found in office supply stores. Be cautious: many carbon papers are waxy and permanent, making the lines difficult to erase or paint over. Always test on a scrap piece first!
“I don’t believe in the ‘no-work’ artist. I believe in the ‘smart-work’ artist.” – Chuck Close
This perfectly captures the spirit of using tools like projectors and tracing. Close, a master of photorealism, famously used projection to scale his portraits. It wasn’t a shortcut to avoid work; it was a method to achieve his vision with precision.
A lightbox is a game-changer, but not all are created equal. When shopping for one, consider brands like Huion or the Cricut BrightPad. Look for:
- Adjustable Brightness: Essential for tracing through thicker paper like watercolor stock.
- Even Illumination: No ‘hot spots’ of light, ensuring you can see every detail clearly.
- USB-Powered: For portability and convenience, allowing you to work anywhere.

Don’t kill the life in your line. A common mistake is to trace every line with the same uniform, mechanical pressure. The result can feel stiff and lifeless. Remember, tracing is for placement and proportion. Once the guides are in, approach the final linework with the same energy you would a freehand drawing.
For large-scale work like murals or oversized canvases, tracing isn’t practical. This is where projectors shine. A pico projector like the Artograph Flare450 can cast your digital sketch onto a wall, allowing you to work big while maintaining perfect proportions. It’s the modern-day equivalent of the Old Masters’ camera obscura.
Can I trace directly onto canvas?
Yes, but it requires the right tools. A lightbox won’t work through thick, primed canvas. The best method is to use transfer paper. Place a sheet of graphite paper (like Saral) between your sketch and the canvas, then trace over your drawing’s lines with a stylus or a hard pencil (like a 2H) to transfer the image.
- Get crisp, clean lines on watercolor paper.
- Transfer designs onto wood panels for pyrography.
- Avoid smudges and greasy residue.
The secret is using a stylus instead of a pencil for tracing over transfer paper. A simple embossing stylus, or even a dry ballpoint pen, provides firm, consistent pressure without smearing the graphite or marking your original drawing.
Your iPad or tablet is a brilliant, built-in lightbox. Just turn the screen brightness all the way up, lock the screen rotation, and place your paper on top. For extra protection, you can use a drawing app with a ‘canvas lock’ feature to avoid accidentally touching buttons while you trace.
Over 60% of professional illustrators regularly use digital layers for sketching and inking. The base layer often starts as a rough photo composite or a scanned sketch that is essentially traced over to create the final, clean linework.
This workflow, standard in comic books, animation, and concept art, shows how tracing is an integral part of modern creative industries. It’s all about efficiency and achieving a polished result.
The right paper matters. For tracing directly, a dedicated tracing paper like those from Canson or Strathmore is ideal. It’s thin, smooth, and transparent. For transferring the final image, choose your destination paper carefully. A hot-press watercolor paper is smooth and perfect for detailed ink work, while a cold-press paper offers texture that can beautifully break up your lines.
Feeling stuck on a portrait? Try ‘selective tracing.’ Instead of tracing the whole photograph, focus only on the key landmarks: the corners of the eyes, the tip of the nose, the parting of the lips, and the jawline. This gives you an accurate structural ‘scaffold,’ leaving you free to render the rest of the features with more artistic expression.

My transferred lines are too dark and show through my paint! What can I do?
This is a common issue. Before painting, gently dab the graphite lines with a kneaded eraser. Don’t rub—just press and lift. This will lighten the line to a faint grey guide that’s visible to you but won’t be noticeable through layers of watercolor or acrylic paint.
For the digitally inclined: Tracing in an app like Procreate is a powerful technique. Start by importing your reference photo on one layer. Create a new layer on top and drop the opacity of the photo layer to about 50%. Now you can draw on the new layer, using the photo as a guide without ever ‘damaging’ the original. Experiment with different brushes to find your perfect inking style.
Andy Warhol’s famous pop art prints weren’t drawn freehand. He used an opaque projector to blow up photographs and then traced the outlines directly onto his canvases before applying his iconic colors.
Think of tracing as learning a dance. First, you follow the instructor’s steps precisely to understand the form and rhythm. Once you’ve learned the moves, you can add your own flair, emotion, and style. Tracing is your instructor; your final artwork is the dance.
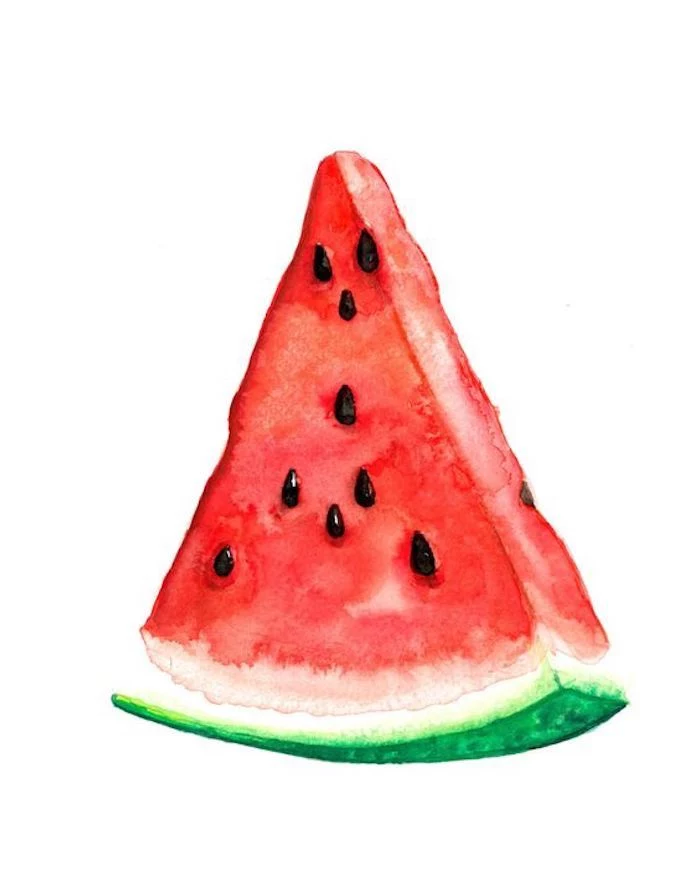
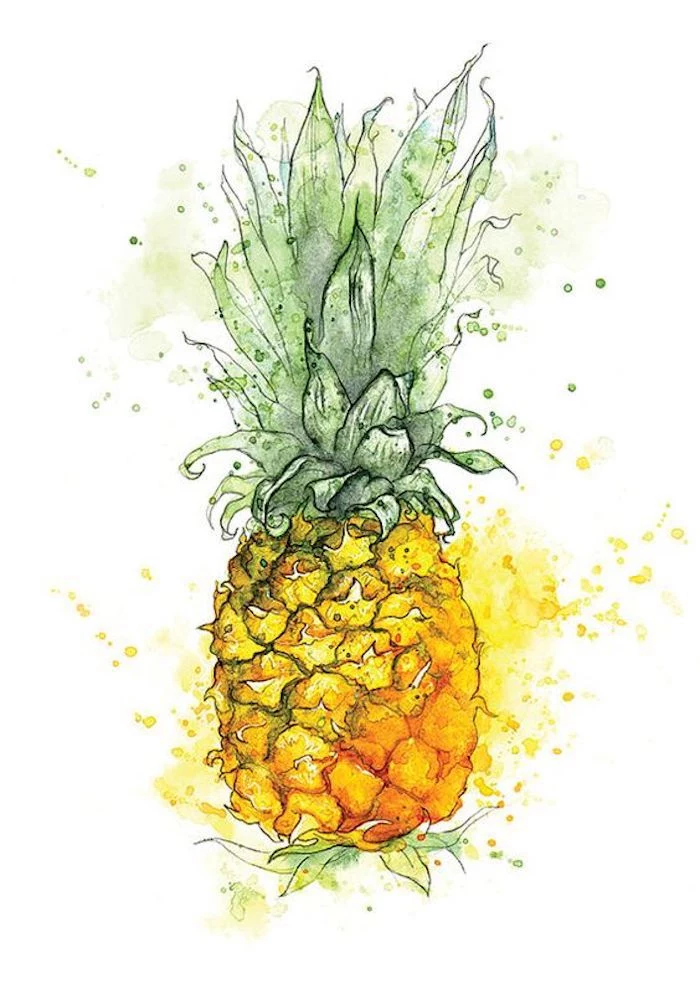
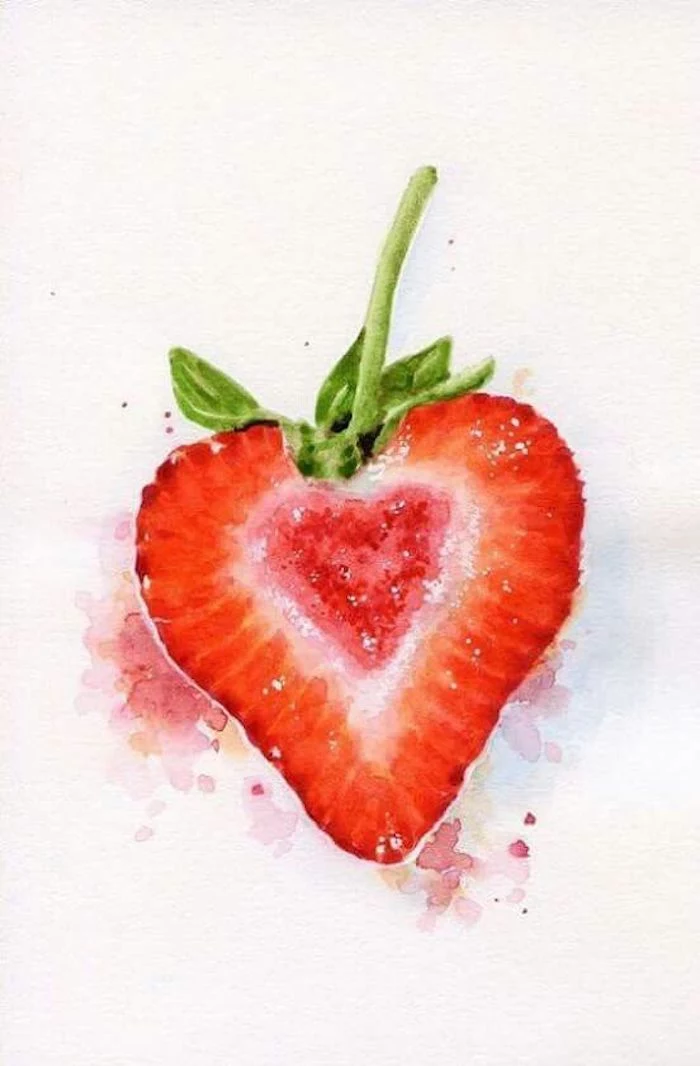
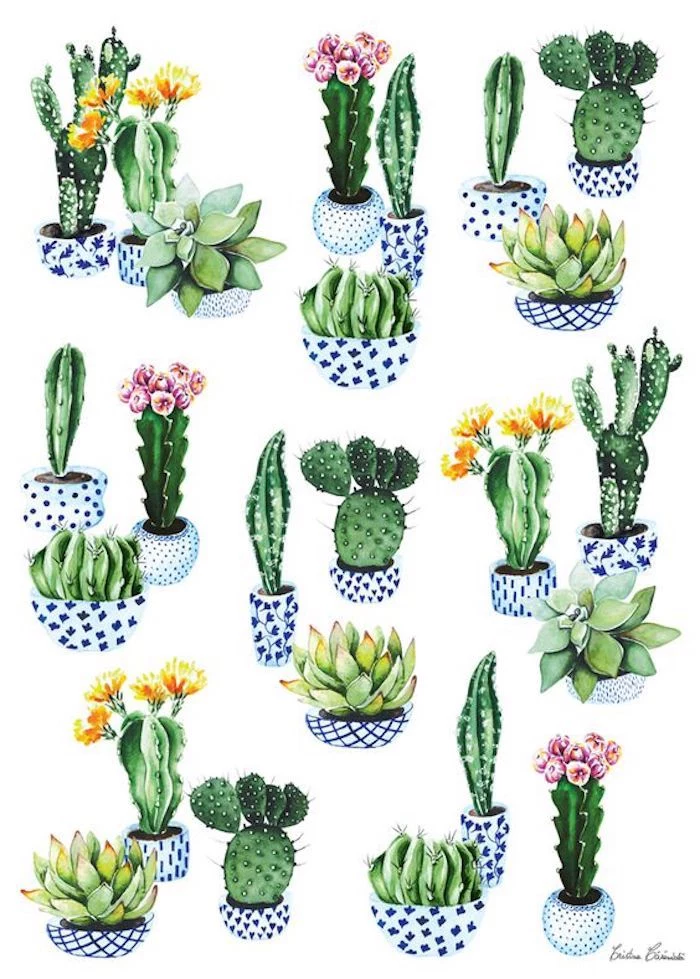
- Create stunning minimalist portraits.
- Design clean, modern logos.
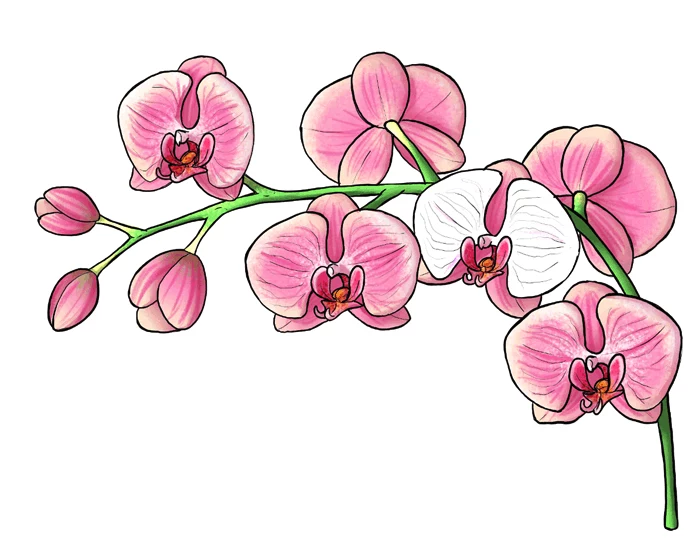
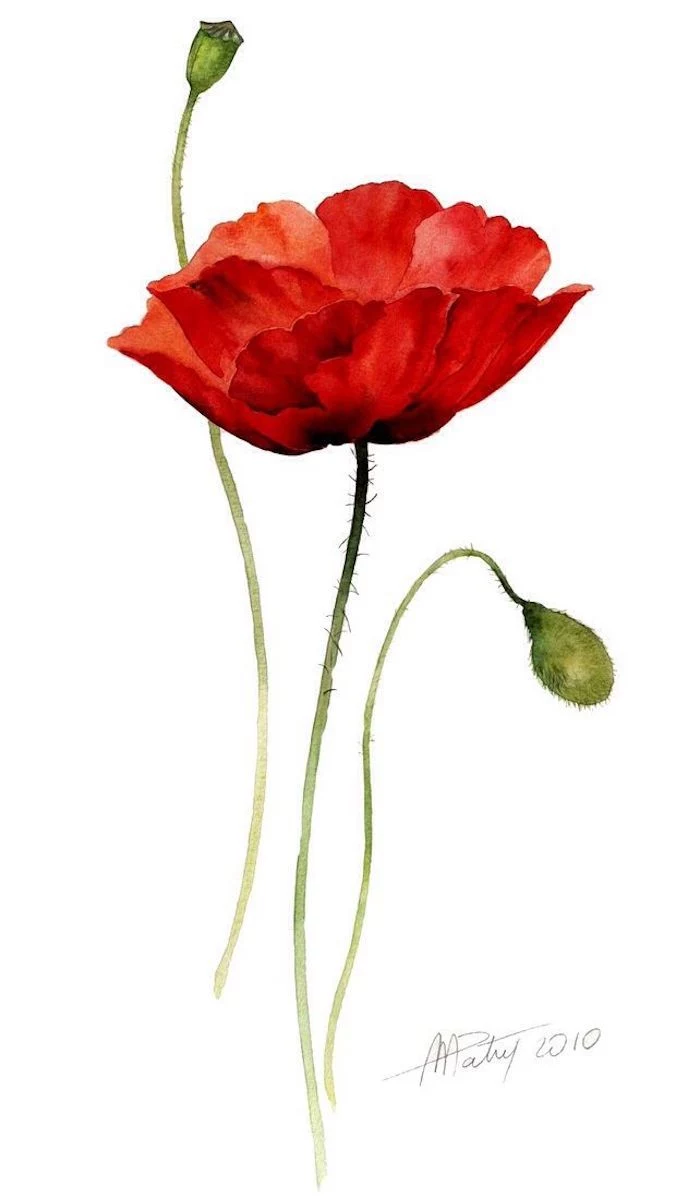
- Develop elegant botanical illustrations.
The key is using tracing to capture the essential form. By focusing only on the most important contours of your subject, you can create powerful, uncluttered art where every single line counts.
DIY Lightbox in 5 Minutes:
- Find a clear plastic storage bin.
- Place a light source inside (an LED strip, a strand of holiday lights, or even your phone’s flashlight).
- Put the lid back on, and you have a diffused, illuminated surface ready for tracing.
Pressure control is everything. When using transfer paper, the goal is to apply just enough pressure to transfer a light, visible line. Pressing too hard will not only make the line difficult to erase but can also emboss a groove into your paper that will show up even after erasing.
Tattoo artists are masters of the trace. They create the design on paper, then use a thermal machine to create a stencil. This stencil is applied to the skin, transferring the essential linework. It guarantees the client gets the exact design they approved and allows the artist to focus on skillful needlework, shading, and color. It’s a high-stakes, practical application of tracing.
Tracing Paper: Thin, transparent, designed for drawing over an image. Best for practice and developing sketches.
Transfer Paper: Coated with graphite or carbon, it’s used as a ‘copying’ layer between your sketch and your final surface. It’s for getting the drawing onto canvas, wood, or high-quality paper.
One is for seeing through, the other is for transferring through.
Going digital with an app like Adobe Fresco or Procreate is the ultimate sustainable tracing method. There’s no paper waste from drafts, no used-up transfer sheets. You can create, erase, and restart infinitely with zero material cost, making it as friendly for the planet as it is for your wallet.


