I can still vividly remember one of my first paid gigs. It was for a small, regional wildlife guide, and my job was to create a bunch of black and white illustrations of local bugs and critters. In that list was the humble garden snail. I figured, “How hard can it be?”
Turns out, it was incredibly hard. Trying to capture the perfect geometry of the shell, the squishy texture of the body, and the way light plays across its slimy surface taught me a huge lesson. Snails aren’t simple. They’re a masterclass in drawing form, texture, and organic shapes. They literally force you to slow down and pay attention.
Over the years, I’ve come to realize the snail is the perfect subject for teaching art. It’s got a hard, geometric part and a soft, organic part, all in one package. It makes you think about light, shadow, and surface quality. So whether you’re a total beginner just learning to see shapes or a seasoned pro honing your skills, the snail has something for you. This isn’t a quick cartoon tutorial; it’s a detailed look at how to really see, understand, and draw snails that feel real and alive.
First, Let’s Get to Know Our Subject
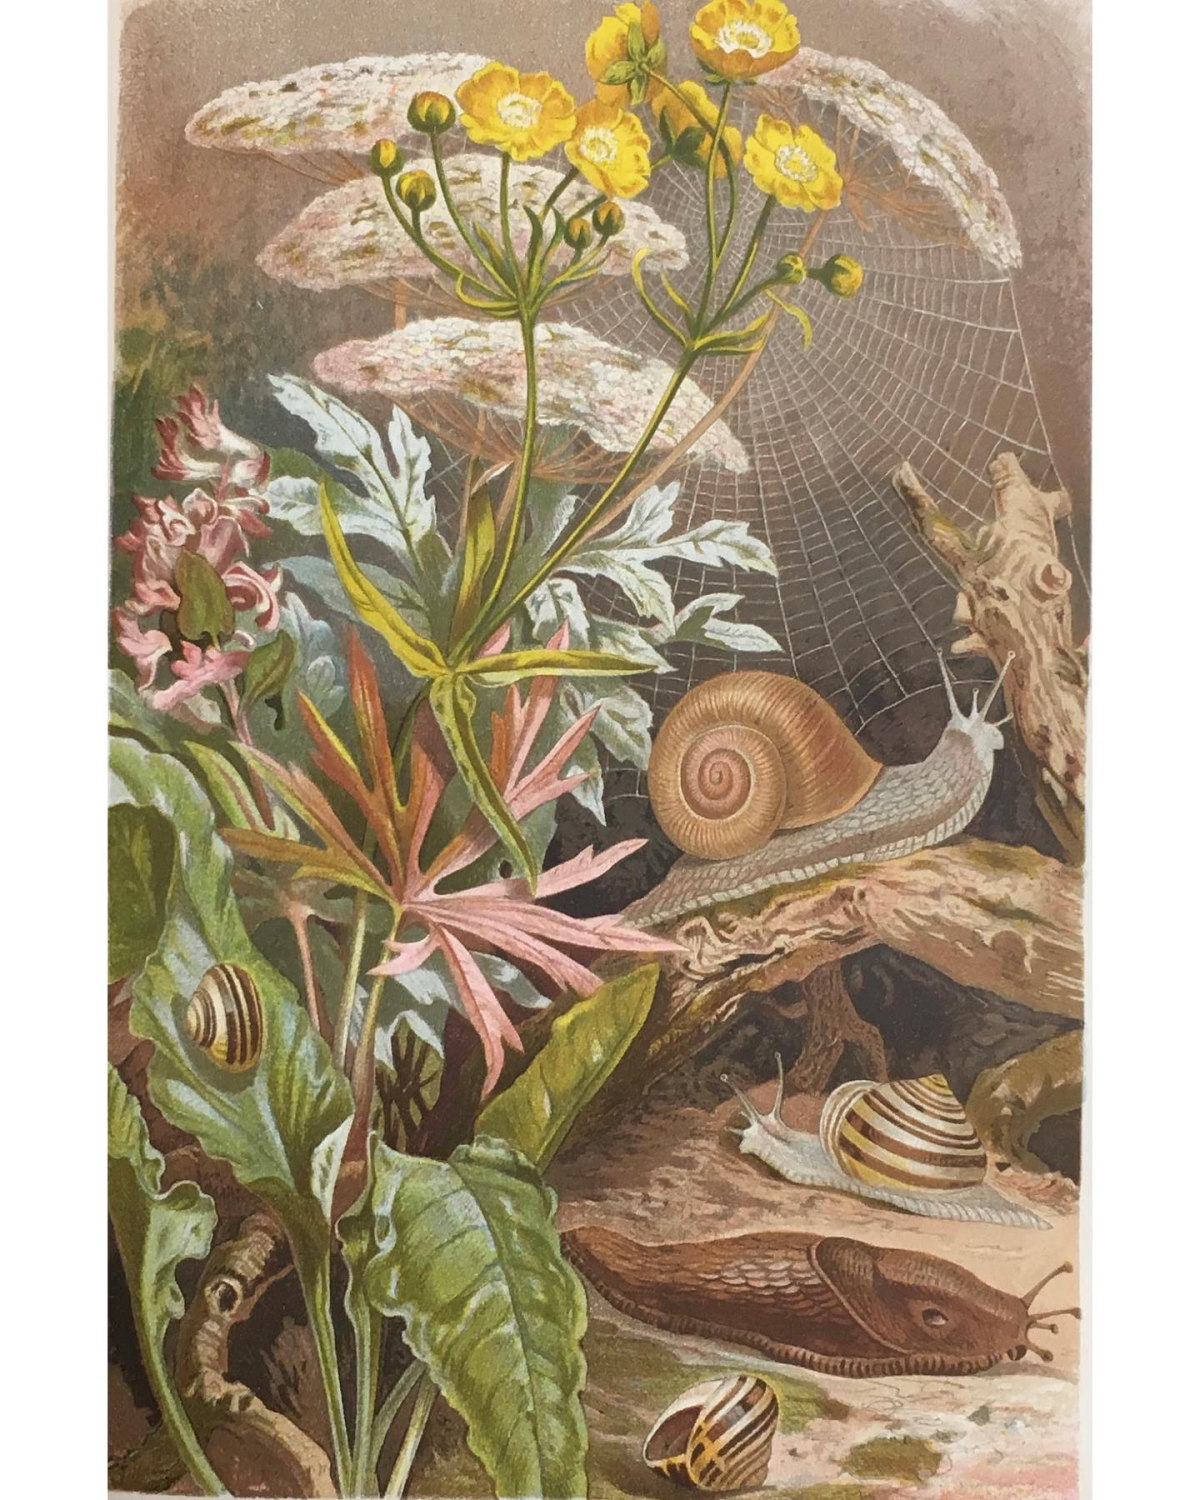
Before you even think about putting pencil to paper, you need to understand what you’re drawing. A convincing drawing comes from knowledge, not just from blindly copying a photo. I probably spend just as much time researching an animal as I do drawing it. That knowledge guides every single line you make.
The Shell: Nature’s Little Architect
The shell is obviously the star of the show. But it’s not just a random swirl—it’s a logarithmic spiral, a shape that follows a famous mathematical pattern you also see in things like pinecones and sunflower heads. Knowing this little tidbit helps you make the form believable.
Here are the key parts you need to know, and it might help to sketch this out as you read:
The Apex, Whorls, and Sutures: Imagine a simple diagram. The very tip of the spiral, its oldest and smallest point, is called the apex. Each full 360-degree turn of the shell is a whorl. And the faint, indented lines that separate one whorl from the next? Those are the sutures. Getting those lines right is crucial for making the shell look three-dimensional.
Righty-Tighty (Usually): Here’s a cool detail for you. Most snail shells coil to the right (this is called dextral). If you hold the shell with the pointy apex facing up, the opening will be on the right side. A few rare snails have shells that coil to the left (sinistral). It’s a small thing, but details like this add a ton of realism.
The Aperture: This is simply the main opening where the snail’s body pops out.
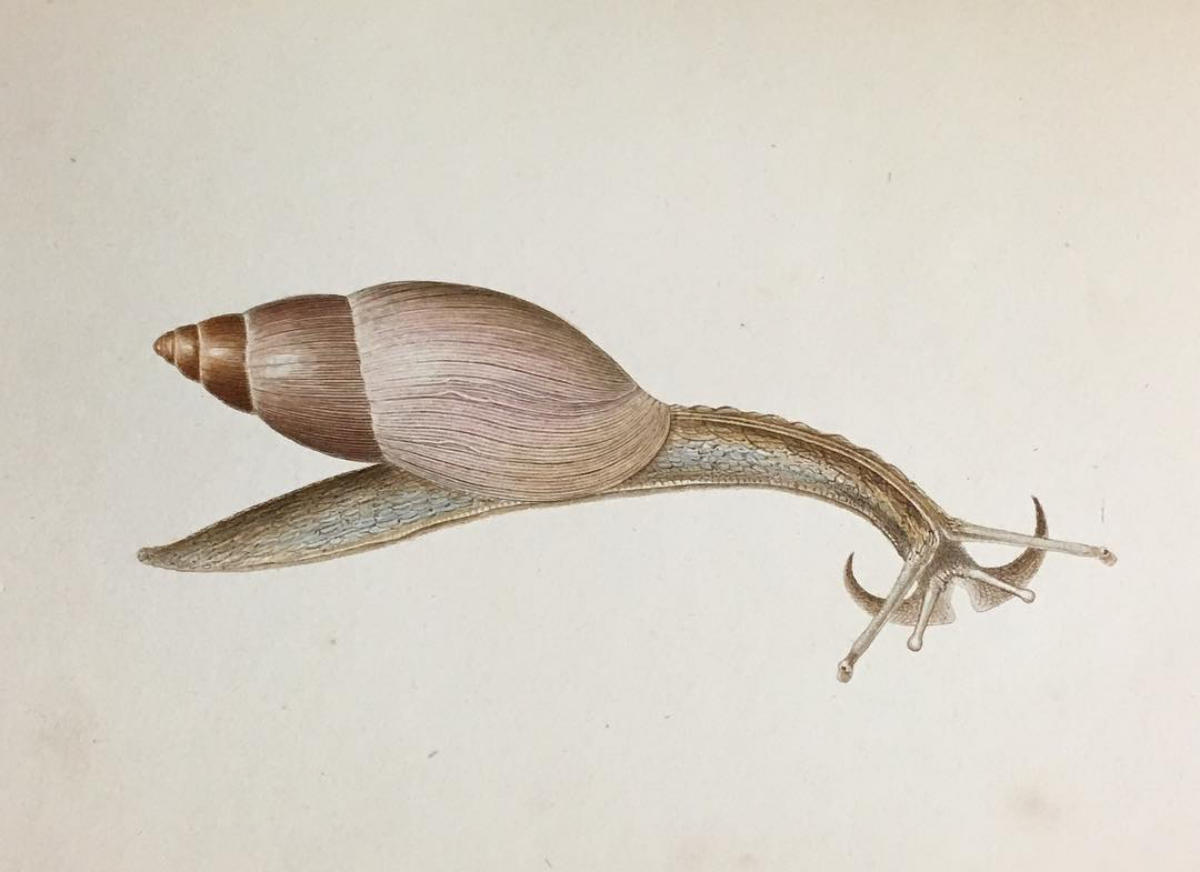
The Body: A Challenge in Softness
The soft body is a whole different ball game. It has no hard edges. Its entire form is defined by muscle, moisture, and the subtle play of shadows.
The Foot: This is the big, muscular part the snail glides on. It’s not just a smooth blob! It actually moves with tiny, muscular waves that ripple from back to front. Hinting at these ripples with your shading can make your snail look like it’s actually in motion.
The Mantle: This is the part that builds the shell. Right where the body meets the shell, you’ll see a slightly thicker ring of tissue. That’s the mantle collar. Drawing this little “lip” is the single most important detail for making the snail look like it belongs in its shell, rather than just being glued to it.
The Tentacles: Snails have two pairs. The upper, longer ones have simple eyes on the tips—they’re for seeing light and dark. The lower, shorter pair is for touching and smelling, constantly tapping the ground. Showing this difference in length and how they move (some extended, some pulled in) makes your drawing much more dynamic.
Honestly, just spending ten minutes watching a snail in your garden will teach you more than any photo ever could. Notice how its slime trail glistens. That’s your best reference material, right there.
Gearing Up: The Tools You Actually Need
You don’t need a pro-level studio, but the right tools really do make a difference. I’ve found that a few quality items are way better than a drawer full of junk. These are my go-to’s.
For Drawing
Graphite Pencils: Don’t just grab any old #2. A small range is all you need. I suggest a 2H for the initial light sketch (it erases easily), a B or 2B for building up shadows, and maybe a 4B for those super dark accents. A good mechanical pencil is also great for clean lines.
Inking Pens: If you want a sharp, finished look, you’ll want some technical pens. I swear by Sakura Pigma Microns or Copic Multiliners. A starter set of three (like a 01, 03, and 05 size) will run you about $8 to $12 at most art stores or online at places like JetPens. Using different line weights is a classic trick to make your drawings pop.
Paper and Erasers
The Right Paper: Your paper choice matters. A lot. For pencil work, a medium-tooth paper like the Strathmore 400 Series is a great choice; it has enough texture to grab the graphite for rich shading. A pad usually costs around $10-$15. For ink, you want something super smooth, like Canson Bristol Board, so the ink doesn’t bleed.
Heads up for beginners: Don’t let fancy paper stop you! Any $5 sketchbook is perfectly fine for practice. The important thing is to just start drawing.
Better Erasers: A kneaded eraser is a must-have. You can mold it into a fine point to lift out tiny highlights. For ultra-precise erasing, I use a Tombow Mono Zero. It’s shaped like a pen and is a lifesaver for cleaning up tight corners.
Building Your Snail, Step-by-Step
Pros don’t start by drawing the final outline. They build up from big, simple forms to small, complex details. This process guarantees your proportions are right before you commit to dark, hard-to-erase lines.
Imagine a simple three-panel guide. Here’s what’s in each panel:
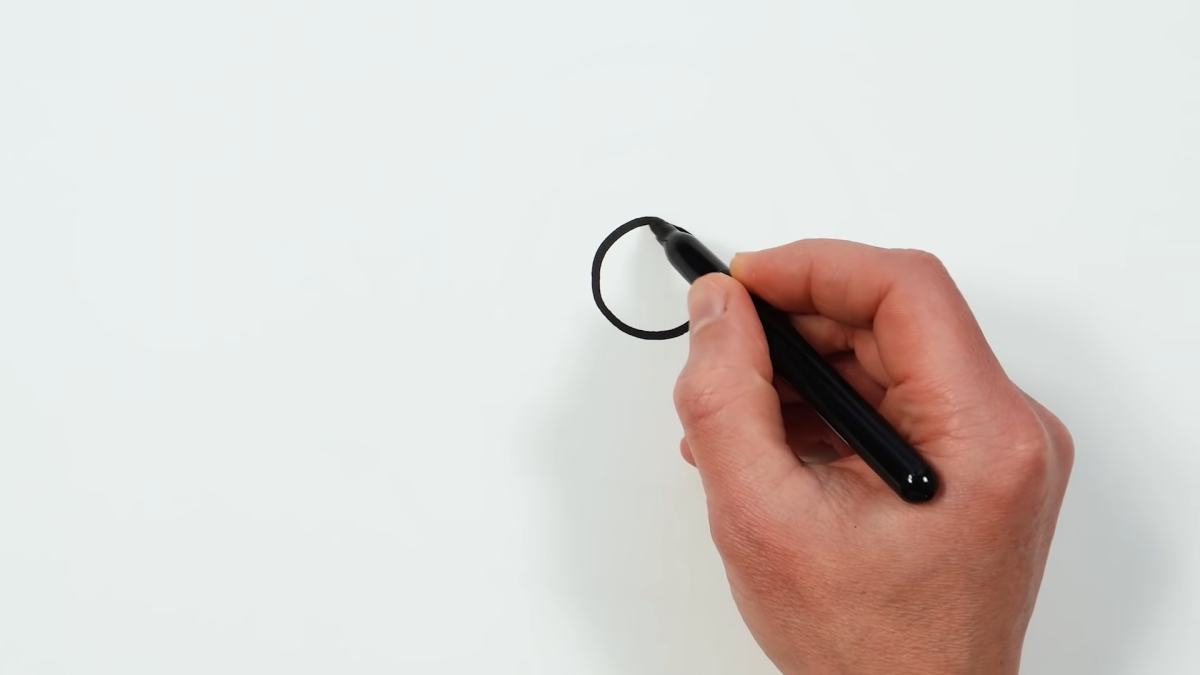
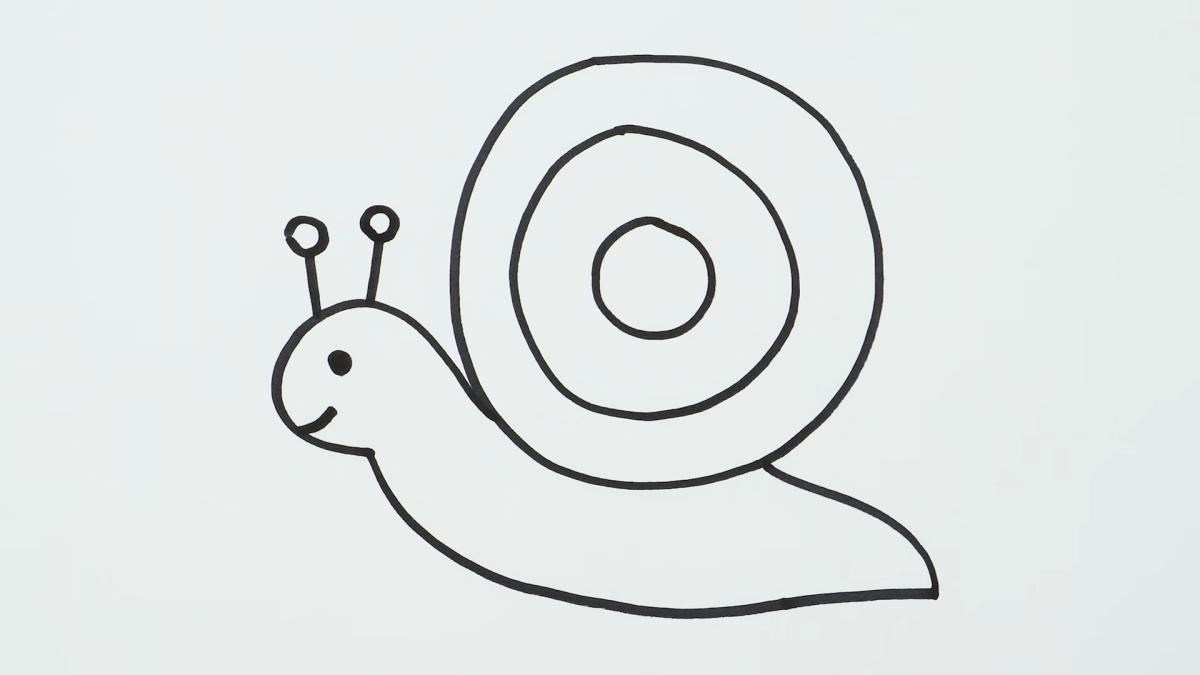
Step 1: Block-In the Basic Masses. Forget it’s a snail for a second. With a light 2H pencil, just draw a tilted oval for the shell’s general shape and a soft, long rectangle underneath for the body. That’s it. This is your blueprint. Make sure you like the size and placement on the page.
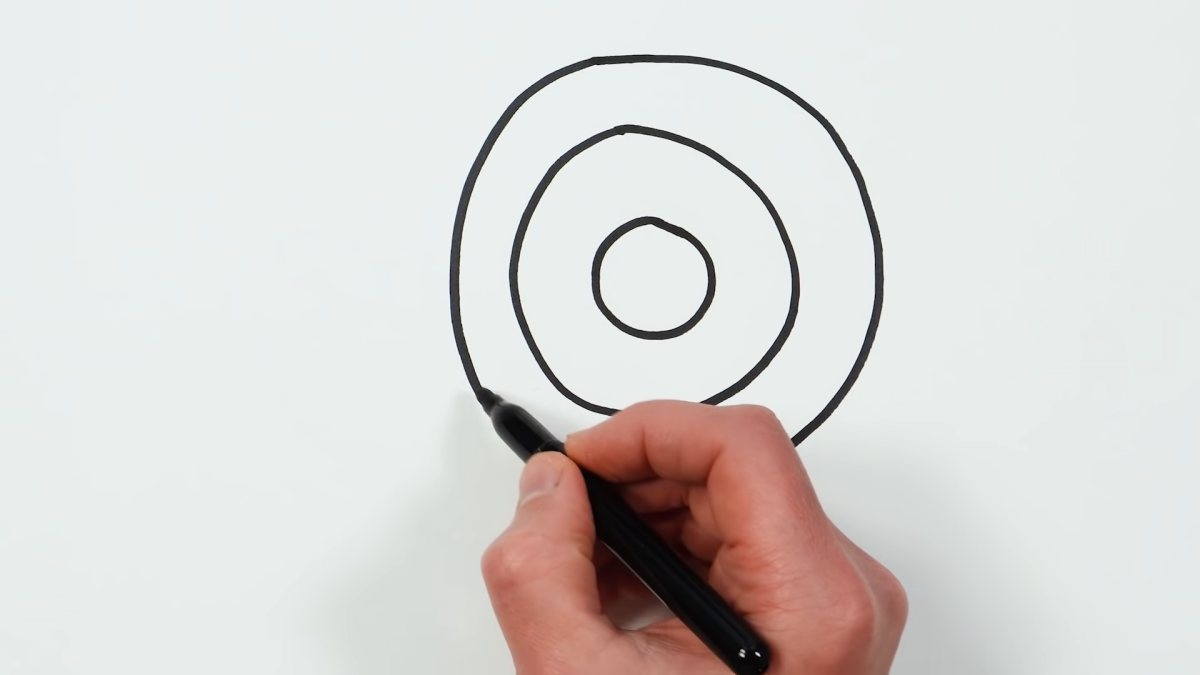
Step 2: Construct the Shell’s Spiral. Now, let’s build the shell on top of that oval guide. Find the center point (the apex) and lightly draw a line that spirals outward, following the curve of your oval. Then, draw the inner lines for the other whorls, making sure the space between them gets smaller and tighter as you approach the center. This is tricky, so don’t be afraid to use a reference photo!
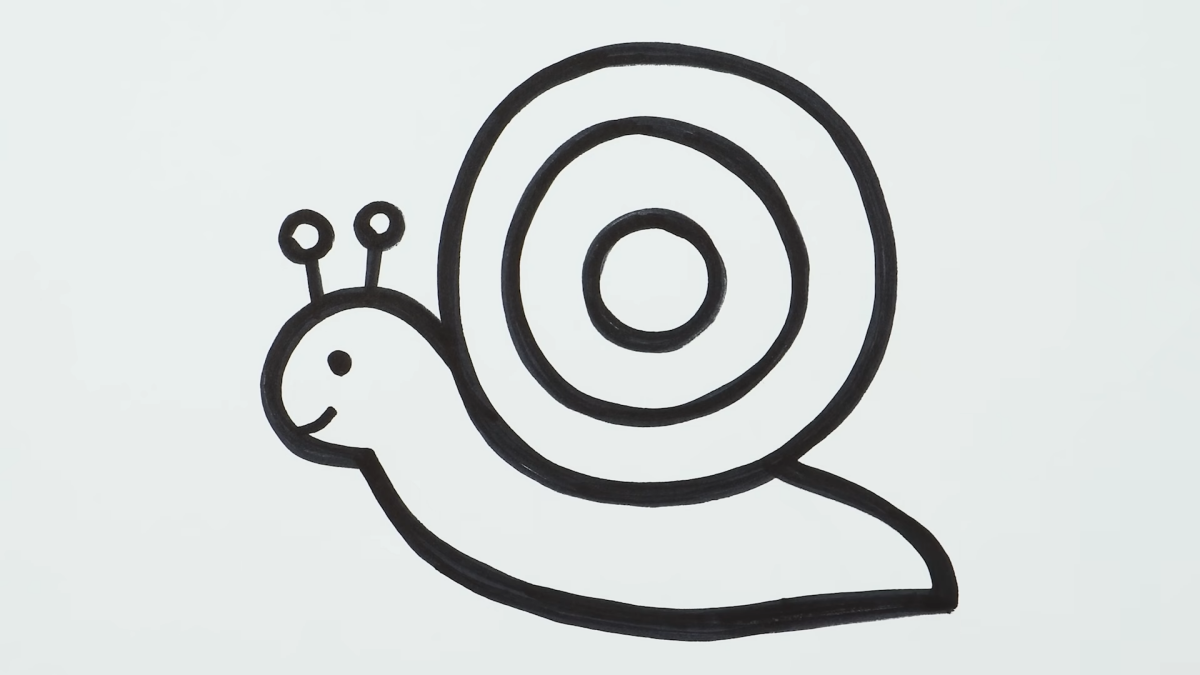
Step 3: Refine the Body and Connect It. This is where it all comes together. Draw that soft mantle collar right at the opening of the shell. This tiny detail is what visually anchors the body to the shell. Refine the shape of the foot, giving it a flat bottom. Finally, lightly sketch in the two pairs of tentacles, paying attention to their different lengths.
At the end of this stage, you should have a clean, light line drawing of the entire snail. Now for the fun part.
Bringing It to Life: Shading and That ‘Wet’ Look
Rendering is what turns a flat outline into a three-dimensional object. The shell and the body need totally different approaches.
Rendering the Hard Shell
A snail shell is hard, curved, and often a little glossy. Your shading needs to show that.
First, decide where your light is coming from and stick with it. Use the side of a B pencil to gently shade the parts of the shell turned away from the light. Build up the shadows with smooth strokes that follow the curve of the whorls—this really sells the roundness. A little trick? Leave a thin, slightly lighter band inside your main shadow. This is called reflected light, and it makes the shell feel solid.
For the final touch that makes it look glossy, use your kneaded eraser to lift out a sharp, bright highlight where the light hits most directly. To really get it, picture a drawing with just flat shading… it looks okay. Now picture that same drawing after adding one crisp white highlight. Boom. It suddenly looks shiny and real. That’s the magic.
Rendering the Soft Body
The body is all about soft, subtle shading. But the absolute key to making it look ‘wet’ is the highlights. A snail’s body is covered in reflective mucus. Use your eraser to lift out bright, wet-looking highlights all along the top of the body and on the tentacles. You can even add a few extra-sharp glints with a white gel pen like the Uni-ball Signo. Don’t forget to suggest the slime trail on the ground with a couple of faint lines and some broken, glossy highlights inside them.
Quick Fixes: Avoiding Common Snail Drawing Mistakes
Over the years, I’ve seen a few common problems pop up again and again. Here are the big ones and how to fix them.
The Problem: My snail looks flat and dry. The Fix: Don’t be shy with your highlights! The difference between a
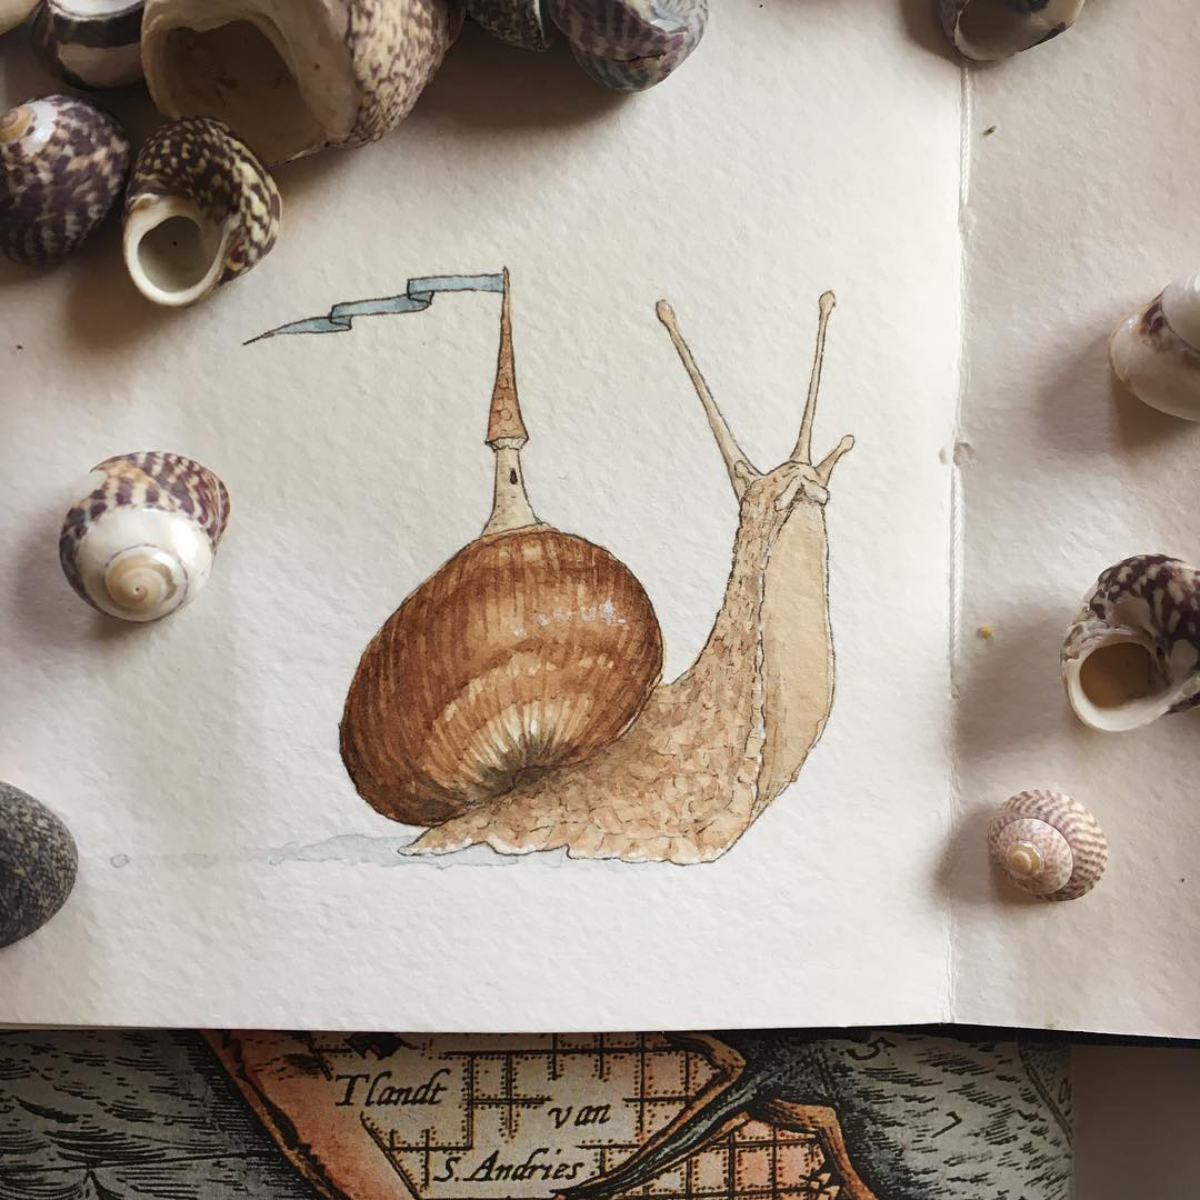
Galerie d’inspiration
The Texture Trap: A frequent misstep is rendering the shell and the body with the same texture. Remember, you’re drawing two distinct materials. Use sharp, confident lines and cross-hatching for the hard, rigid shell, but switch to soft, blended graphite or stippling for the squishy, pliable body to create a convincing contrast.
How do you capture that signature slimy, wet look?
The key isn’t to draw the slime itself, but how light interacts with it. First, establish your base colors and shadows on the snail’s body. Then, use a sharp eraser or a white charcoal pencil to lift out soft, blended highlights along the body’s curves. For that final, glistening pop, add a few sharp, bright-white specks and lines with a Sakura Gelly Roll pen or a fine-tipped brush with white gouache. These represent direct light reflections and will instantly sell the ‘wet’ effect.
In Henri Matisse’s late work,
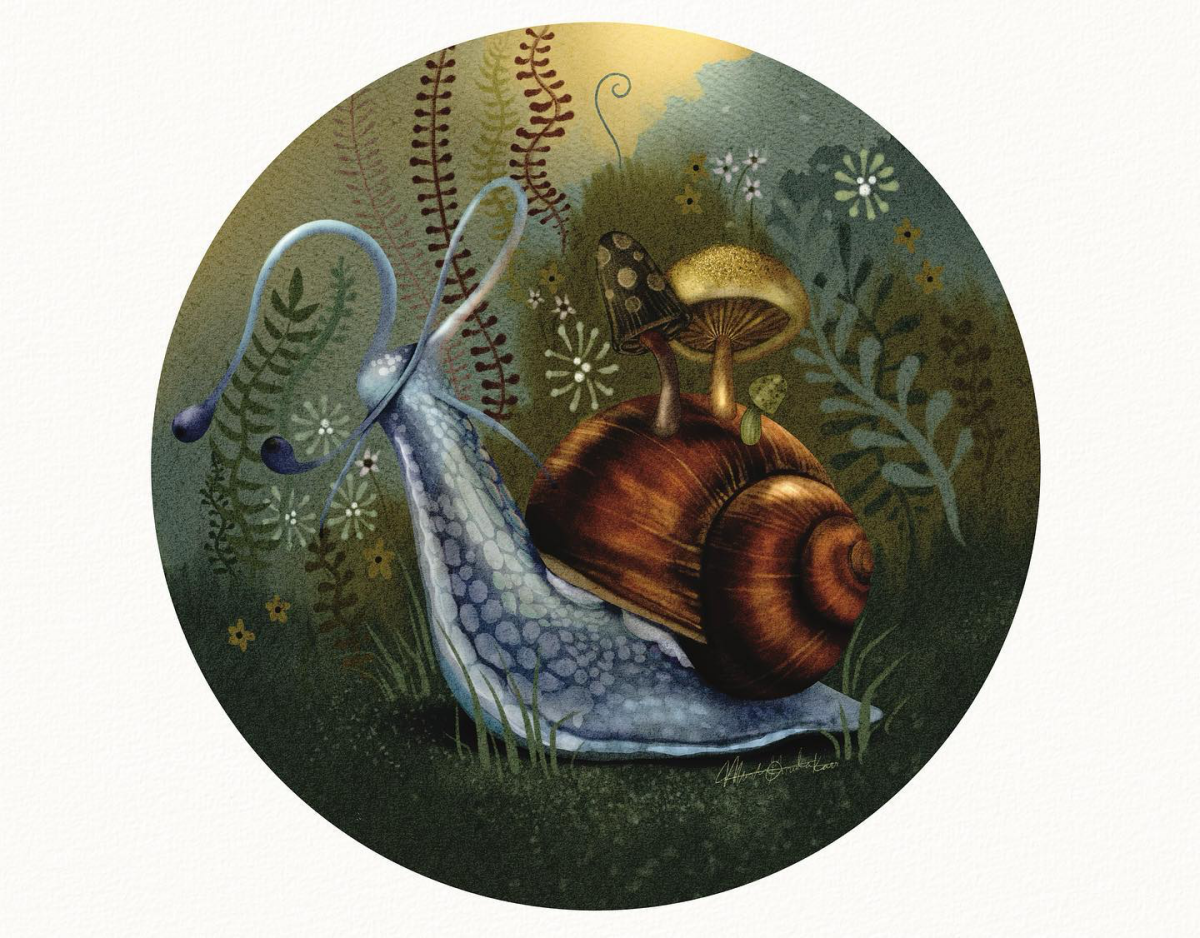
A snail rarely exists in a vacuum. To bring your drawing to life and tell a story, add environmental details:
A glistening trail left on a dark, textured leaf.
Tiny droplets of morning dew collected on its shell.
The soft, out-of-focus background of a garden bed.
A curious ant investigating its new neighbor.
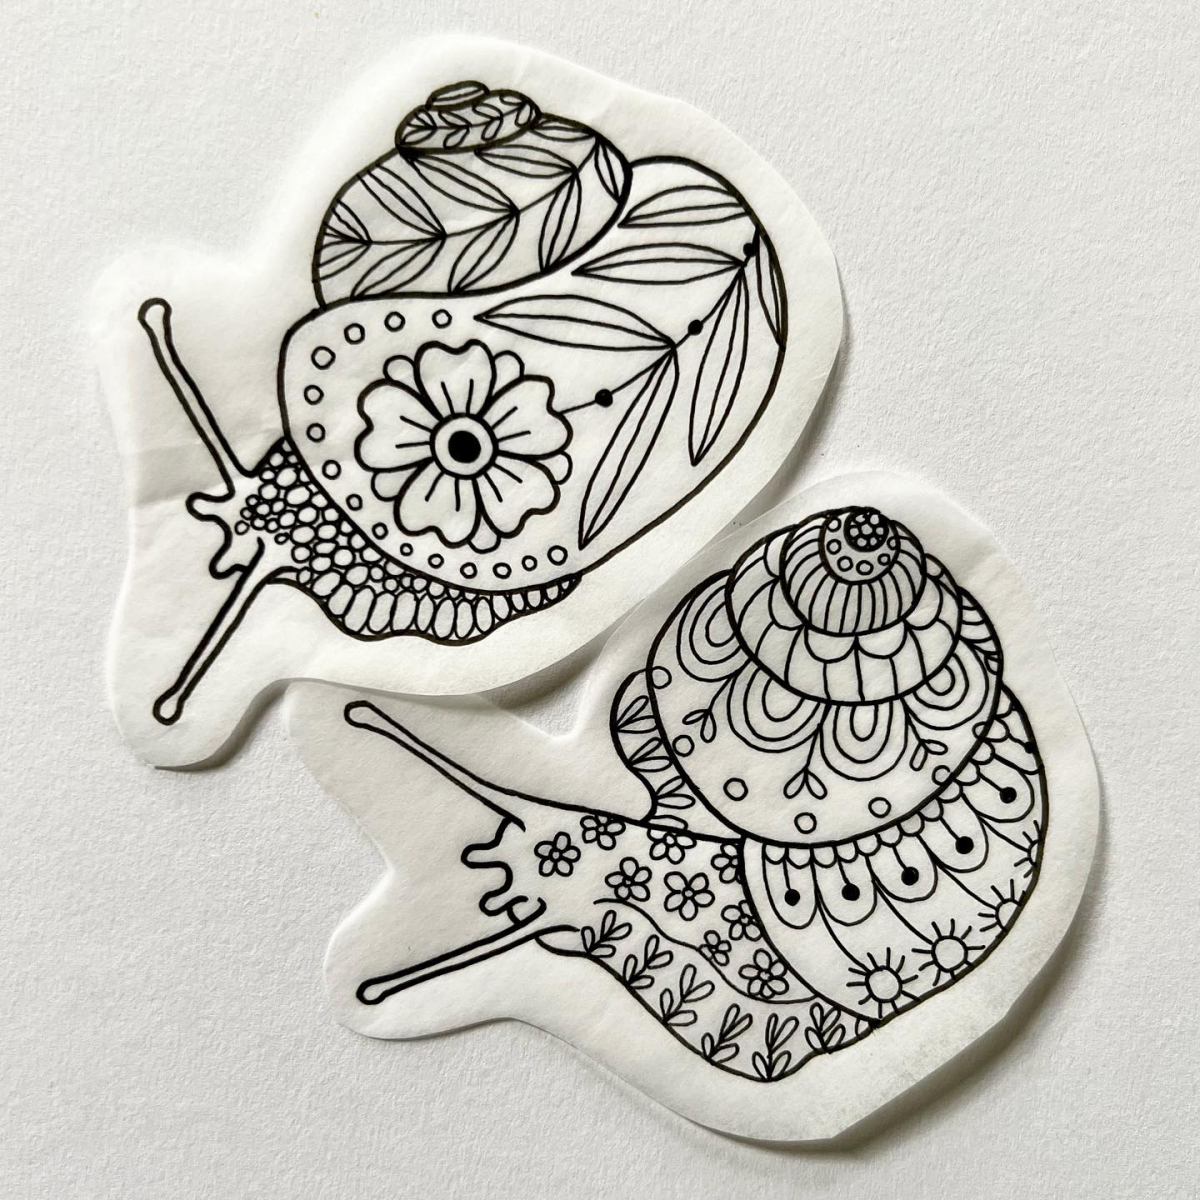
For the Final Outline:
Sakura Pigma Micron Pen: Offers consistent, crisp lines perfect for a clean, graphic look. Its archival ink won’t bleed when you add color washes.
Fountain Pen (e.g., Lamy Safari): Using a fountain pen with waterproof ink like De Atramentis Document Ink allows for expressive, variable line weights. The slight feedback from the nib can connect you more deeply to the drawing process.
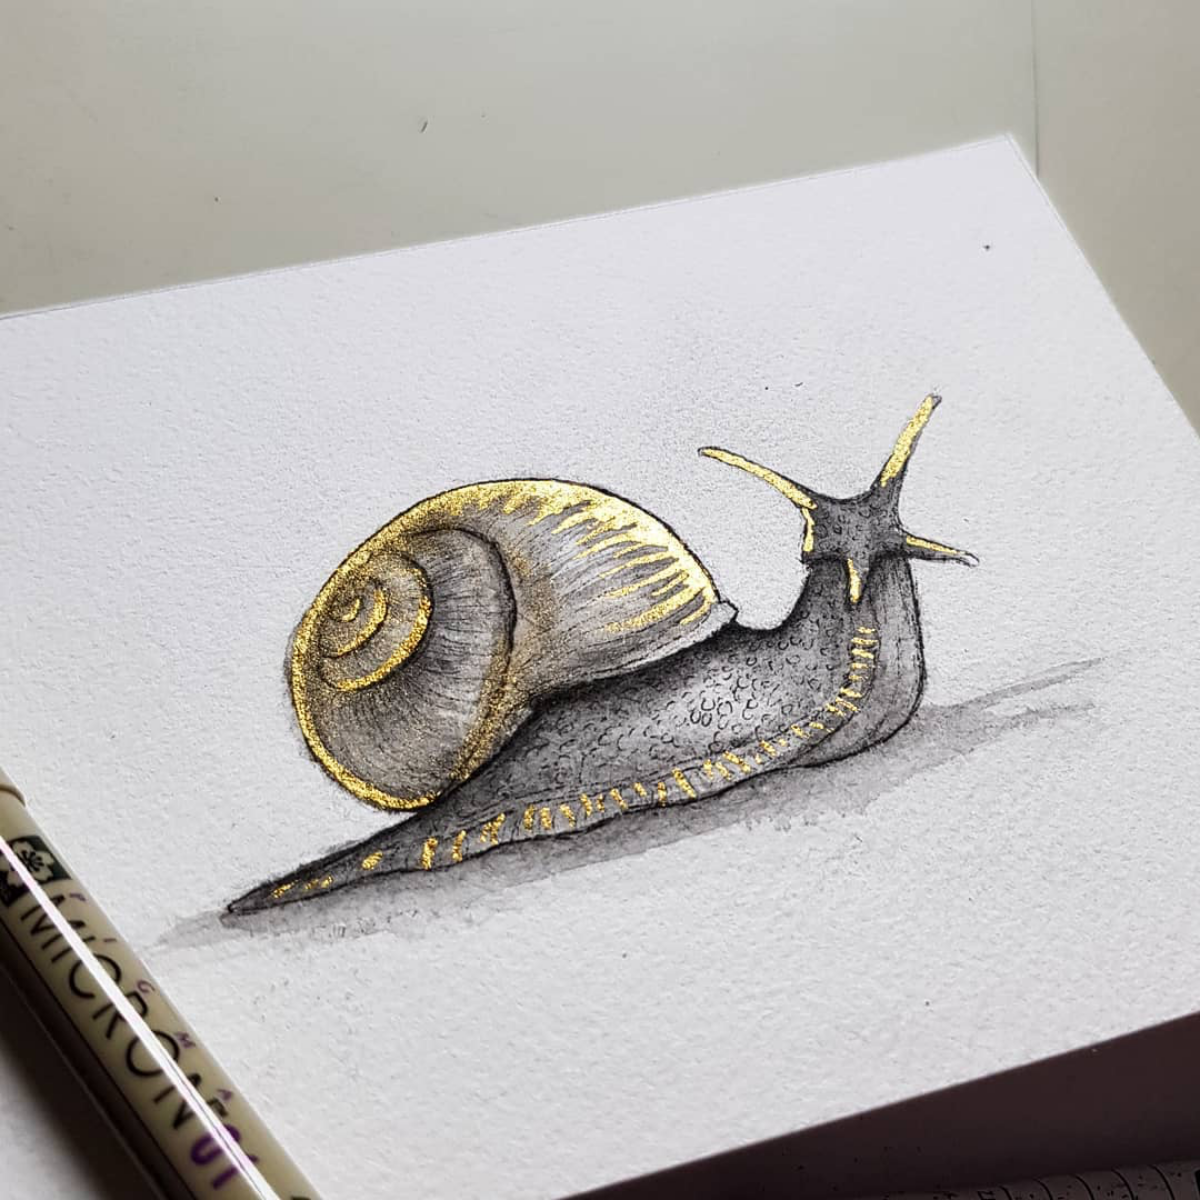
There’s a meditative quality to drawing a snail. You must slow your hand to match the pace of your subject. The deliberate act of tracing the logarithmic curve of the shell and shading the soft folds of the body becomes a practice in mindfulness, forcing you to observe deeply and appreciate the beauty in the slow and steady.
A shell that looks truly three-dimensional and solid.
Clear separation between each turn of the spiral.
A subtle sense of the shell’s weight resting on the body.
The secret to achieving this? Master the shadows within the sutures. These thin, recessed lines between the whorls aren’t just outlines; they catch deep, dark shadows that carve the form out of the page. Deepening these grooves is what gives the shell its convincing volume.
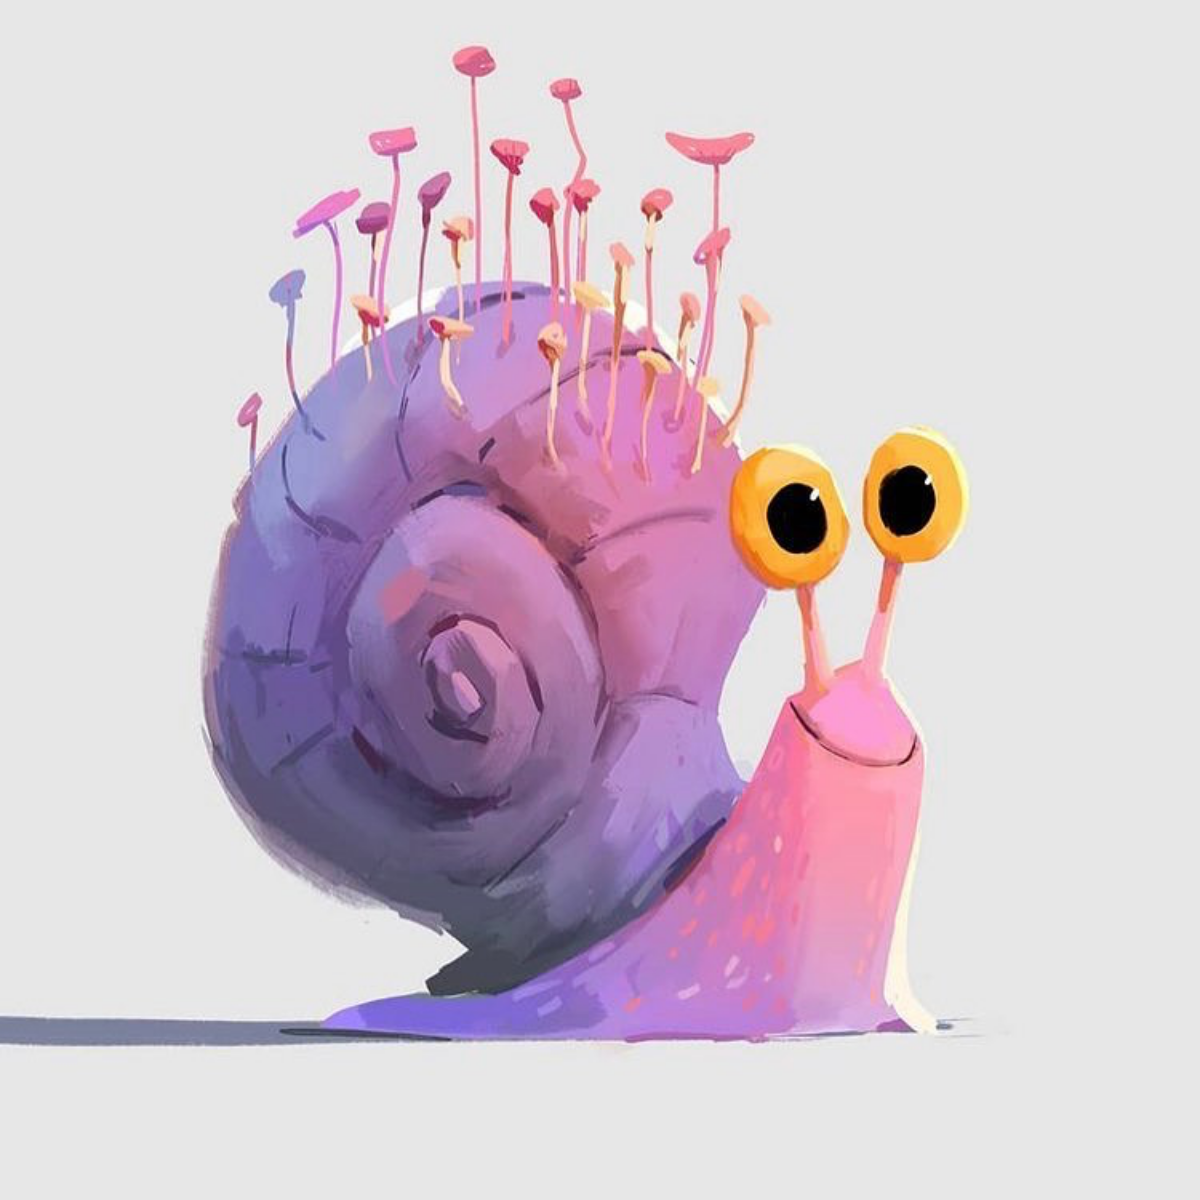
The snail has historically symbolized everything from laziness to perseverance and even rebirth.
Today’s digital artists and illustrators have embraced this dual meaning. You’ll find snail art used to represent the importance of
John combines 12 years of experience in event planning, interior styling, and lifestyle curation. With a degree in Visual Arts from California Institute of the Arts and certifications in event design, he has styled luxury weddings, corporate events, and celebrity celebrations. John believes in creating memorable experiences through innovative design and attention to detail.
To provide the best experiences, we use technologies like cookies to store and/or access device information. Consenting to these technologies will allow us to process data such as browsing behavior or unique IDs on this site. Not consenting or withdrawing consent, may adversely affect certain features and functions.
Functional
Always active
The technical storage or access is strictly necessary for the legitimate purpose of enabling the use of a specific service explicitly requested by the subscriber or user, or for the sole purpose of carrying out the transmission of a communication over an electronic communications network.
Preferences
The technical storage or access is necessary for the legitimate purpose of storing preferences that are not requested by the subscriber or user.
Statistics
The technical storage or access that is used exclusively for statistical purposes.The technical storage or access that is used exclusively for anonymous statistical purposes. Without a subpoena, voluntary compliance on the part of your Internet Service Provider, or additional records from a third party, information stored or retrieved for this purpose alone cannot usually be used to identify you.
Marketing
The technical storage or access is required to create user profiles to send advertising, or to track the user on a website or across several websites for similar marketing purposes.