Forget ‘Talent’: Your Practical Guide to Actually Learning Pencil Drawing
I’ve had a pencil in my hand for what feels like my entire life. I still remember sitting in a dusty corner of my grandfather’s workshop, trying my best to copy the shapes of his old hand tools. My first drawings? They were clumsy, flat, and honestly, pretty terrible. But something about dragging that graphite point across a piece of paper just felt… right. After years of practice and thousands of hours in the studio, that simple tool is still the one I trust most.
In this article
So many people get hung up on the idea that drawing is some magical talent you’re either born with or you’re not. That’s just not true. Drawing is a skill. It’s a craft that you can learn, practice, and get good at, just like cooking or learning an instrument. It just takes a bit of patience and a solid understanding of your tools.
This isn’t about finding shortcuts. It’s about building a real foundation. We’re going to cover the gear you need, the core techniques for making marks that look great, and how to start thinking like an artist. My goal is to pass on the practical, no-fluff knowledge that helps you go from feeling frustrated to feeling confident.
Let’s Get to Know Your Gear
Before you can make magic happen, you need to know what you’re working with. A pencil isn’t just a stick of wood with “lead” in it (by the way, there’s zero actual lead in there). Understanding the simple physics of your materials gives you control. It’s the difference between guessing and making marks with intention.
The Heart of the Pencil: Graphite and Clay
It all comes down to a simple recipe: graphite and clay. Graphite is a form of carbon that’s naturally soft and leaves a dark, slightly shiny mark. Clay acts as a binder. The ratio between these two is everything.
- More Clay, Less Graphite means you get a harder pencil. The point is stronger, the mark is lighter, and it’s less prone to smudging. These are your ‘H’ grade pencils.
- More Graphite, Less Clay gives you a softer pencil. The point wears down faster, but oh, the rich, dark marks it leaves. These are the ‘B’ grade pencils.
This little piece of science is a game-changer. Ever had a drawing look pale and scratchy, no matter how hard you pressed? You were probably using an H-grade pencil. The solution isn’t more pressure (which just dents the paper); it’s switching to a softer, B-grade pencil.
Decoding the H and B Scale
The letters on your pencils aren’t random. ‘H’ stands for Hardness, and ‘B’ stands for Blackness. An ‘HB’ pencil is right in the middle, a perfect balance of both, making it the standard for writing. The numbers just tell you how hard or soft it is. A 4H is harder than a 2H, and a 6B is much softer than a 2B.
Here’s how to think about them in practice:
- The H Pencils (Hard): Think of these as your precision tools. A 2H is fantastic for laying out your initial sketch. The lines are light, easy to erase, and won’t smear all over the place. They force you to keep a light touch. Anything harder, like a 4H or 6H, is usually for technical drafting—they can feel scratchy and even damage your paper if you’re not careful.
- The B Pencils (Soft/Black): This is where the fun really starts. A 2B gives you a beautiful range of tones just by changing your pressure. For deep, dramatic shadows, you’ll reach for a 4B, 6B, or even an 8B. These pencils feel buttery smooth on the paper and create velvety, rich blacks that make your drawings pop. Heads up: they smudge easily, so you have to be mindful.
You don’t need a massive, expensive set to start. Honestly, it’s better if you don’t. You’ll learn more by mastering just a few.
Quick Tip: Your First $25 Art Haul
You can get everything you need to start for about the price of a couple of movie tickets. Head to an art supply store or look online.
- A Few Core Pencils: Grab a 2H, an HB, a 2B, and a 6B. Brands like Faber-Castell or Tombow are excellent and consistent. This will set you back about $8-$12 for four quality pencils.
- A Decent Sketchbook: Don’t use printer paper! Get a real drawing sketchbook. A Strathmore 400 Series sketchbook (around 9×12 inches) is a fantastic, reliable choice for about $10-$15.
- Two Kinds of Erasers: You’ll want a gray, squishy kneaded eraser and a white vinyl eraser (like the Staedtler Mars Plastic). Together, these should only cost you $4-$5.
Paper ‘Tooth’ and Why It Matters
Paper isn’t just a blank slate; it has a texture, which artists call “tooth.” Imagine a microscopic landscape of tiny peaks and valleys. When you draw, graphite scrapes off onto those peaks. The more tooth a paper has, the more graphite it can hold, which is perfect for layering and shading. A standard drawing paper, sometimes called cold-press, has a medium tooth and is a great all-rounder. Super smooth paper (hot-press or bristol board) is better for ink or very fine, detailed line work.
Erasers Are Drawing Tools, Not Just for Mistakes
Let’s get this straight: an eraser isn’t just for fixing screw-ups. It’s a creative tool. You can use it to draw highlights, soften edges, and create textures. It makes white marks just like a pencil makes black ones.
- Kneaded Eraser: This is my absolute favorite. It’s a soft, pliable putty that you can shape to a fine point for lifting out tiny highlights (like the glint in an eye) or flatten to lighten a whole area. It works by lifting graphite off the paper, so it doesn’t damage the surface. To clean it, you just knead it like dough.
- Vinyl Eraser: This is your cleanup crew. It’s a hard, white eraser that removes graphite completely, leaving sharp, crisp edges. It’s more abrasive, so be gentle to avoid tearing your paper.
Making Marks That Matter: Your Core Techniques
Alright, you’ve got the gear. Now let’s talk about how to use it. These are the fundamental skills that, with a little practice, will completely change your drawings.

First, Let’s Talk Sharpening (It’s a Bigger Deal Than You Think!)
Most beginners just use a standard pencil sharpener. That’s fine for writing, but for drawing, it gives you a very short point that breaks easily and is terrible for shading. The pros do it differently.
A lesser-known trick: Use a simple craft knife or utility knife. Carefully shave away the wood to expose about half an inch of the graphite core. Then, use a small sandpaper pad or a piece of fine-grit sandpaper to shape that exposed graphite into a long, sharp point. Why bother? This long point lets you use the very tip for fine details and the side of the lead for broad, smooth, even strokes of shading. It’s a total game-changer for getting beautiful, consistent tones. It takes a minute to learn, but it’s a skill that will serve you forever. (And of course, be careful with the knife!)

How You Hold the Pencil Changes Everything
Stop using just your writing grip! Artists use different holds for different jobs.
- The Tripod Grip: This is your standard writing grip. It gives you fine-motor control for details and sharp lines because you’re using your fingers and wrist.
- The Overhand Grip: Lay the pencil in your palm and hold it gently with your thumb and fingers. This grip forces you to draw from your elbow and shoulder, not your wrist. The result? Looser, more confident strokes. It’s perfect for sketching and for laying down big areas of tone with the side of your long, sharpened pencil lead.
Building Tone with Lines and Shading
Shading is what turns a flat circle into a sphere. It’s all about creating the illusion of light and shadow. A great way to practice is with hatching—it’s clean and disciplined.
- Hatching: A series of parallel lines. Closer together for darker areas, farther apart for lighter areas. Simple and effective.
- Cross-Hatching: You just add another layer of lines going in a different direction. More layers = darker tone.
- Contour Hatching: This is a bit more advanced but so powerful. Your lines follow the curve of the object. For a sphere, your lines would curve around its surface. This not only adds shading but screams “this object is round!” to the viewer’s eye.
A critical warning I give every student: Please, please do not use your fingers to blend or smudge your drawings. I see this all the time. The natural oils on your skin will mix with the graphite, creating a greasy, blotchy mess that you can’t erase or draw over. It’s a habit that will ruin your work. If you want to blend, use a paper towel, a Q-tip, or a special tool called a blending stump.

Let’s Draw Something! Your First 3D Sphere
Theory is one thing, but practice is where the learning happens. Let’s draw a simple sphere. This one exercise covers almost all the fundamentals.
First, set up your model. An apple or a ping pong ball works great. You need a single, consistent light source. A simple desk lamp with the shade on, placed a couple of feet to one side, is perfect. Avoid having light coming from all directions, as that kills the shadows.
- Block-In (2H pencil): Using a light touch and the overhand grip, sketch a circle. Don’t worry about perfection; use loose, flowing lines. Also, lightly sketch the shape of the shadow it casts on the table.
- Map Your Shadows: Look closely at the sphere. You’ll see different zones of light. Lightly outline the core shadow (the darkest part on the sphere itself) and the cast shadow (the shadow on the table). Don’t forget to locate the highlight (the brightest spot) and the reflected light (a subtle light area on the dark side of the sphere, caused by light bouncing back from the table).
- Build Mid-Tones (HB or 2B): Switch to a softer pencil and start filling in the sphere with light, even strokes—everywhere except the highlight. Build the tone slowly. Let the pencil do the work, don’t press hard.
- Add the Darks (4B or 6B): Now grab your soft pencil and build up the core shadow and the cast shadow. Notice the cast shadow is darkest right next to the sphere. Don’t be shy! Contrast is what creates realism.
- Refine and Lift: Take your kneaded eraser and shape it to a point. Gently dab the highlight to make it pop. You can also lightly dab the area of reflected light to separate it from the core shadow. This little detail makes a huge difference.
Expect this to take at least 30-60 minutes. Speed isn’t the goal. Observation and control are. When you’re done, step back and squint your eyes. This simplifies the image and helps you see if your darks are dark enough.

Fixing Common Frustrations (and a Modern Hack)
Everyone runs into the same roadblocks. Here are the most common ones I see and how to fix them.
- Problem: “My drawings look flat and washed out.”
Solution: This is almost always a value problem. You’re not using enough contrast. Be brave! Take that 6B or 8B pencil and make your darkest shadows really dark. A drawing needs a full range, from the pure white of the paper to the richest black you can make. - Here’s a great modern hack: Take a photo of your drawing with your phone and turn it to grayscale or black and white. Your phone’s camera doesn’t lie. It will immediately show you if your values are too similar and your drawing looks flat. It’s an amazing tool for checking your progress.
- Problem: “My shading looks streaky and uneven.”
Solution: You’re likely pressing too hard or using a pencil that’s too hard for the job. Try a softer pencil and build up the tone in very light layers. Overlap your strokes carefully. Or try using tiny, overlapping circles (sometimes called circulism) for a smoother look, which is fantastic for skin textures. - Problem: “I overworked an area and now it’s shiny and won’t take any more graphite.”
Solution: Ah, yes, burnishing. You’ve pressed so hard you’ve flattened the paper’s tooth. It’s very difficult to fix, so prevention is key. Always build up your darks in layers, letting the pencil’s softness do the work, not your pressure. This is a lesson every artist learns the hard way, so don’t feel bad!
The Not-So-Glamorous Stuff: Safety and Care
A little professional housekeeping goes a long way. Taking care of your work and yourself is part of the craft.
Using Spray Fixative Safely
Finished graphite drawings are delicate and can smudge if you just look at them wrong. To protect them, artists use a spray called fixative. Workable fixative provides a light coat that you can still draw over, while final fixative provides a permanent seal.
SAFETY WARNING: I can’t stress this enough—spray fixative is toxic and flammable. NEVER use it indoors unless you have a professional ventilation system. I’ve seen people get awful headaches from using it in a small room. Always take your work outside or into a well-ventilated garage. Stand upwind and spray in light, sweeping motions from about a foot away. A few light coats are much better than one heavy, drippy one.
The journey from a blank page to a drawing that feels alive is one of the most rewarding things you can do. The key is to just keep drawing. Fill sketchbooks, observe the world around you, and be patient with yourself. You’ve got this.
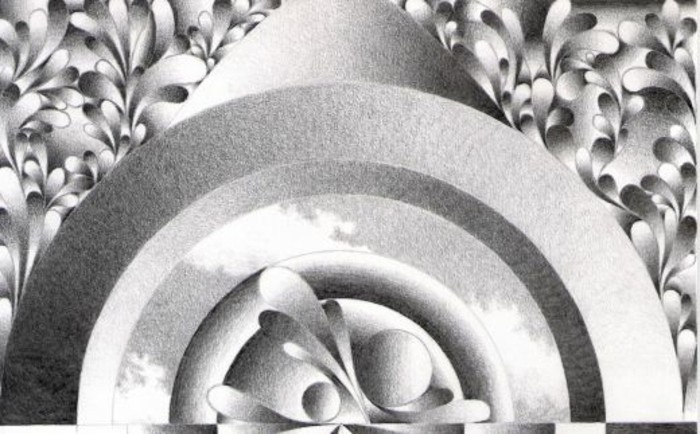
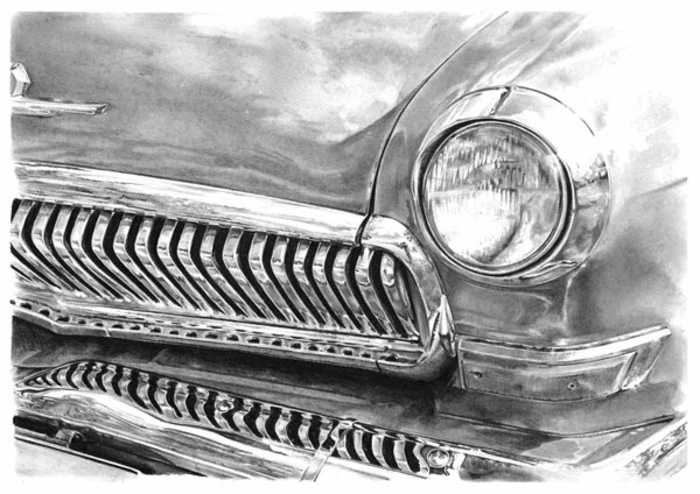
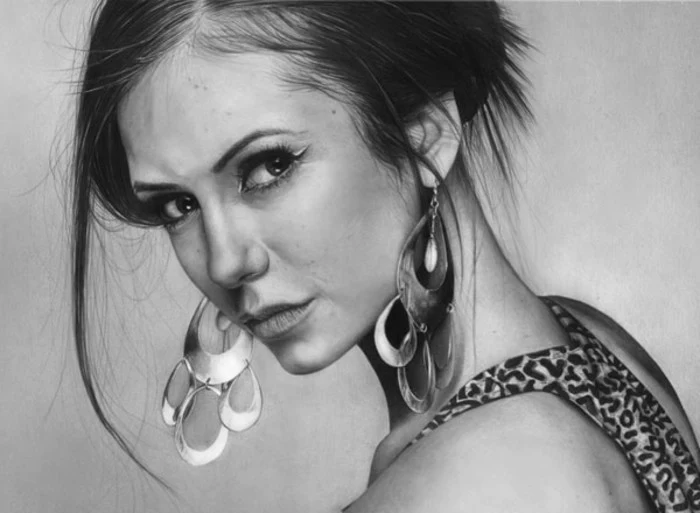
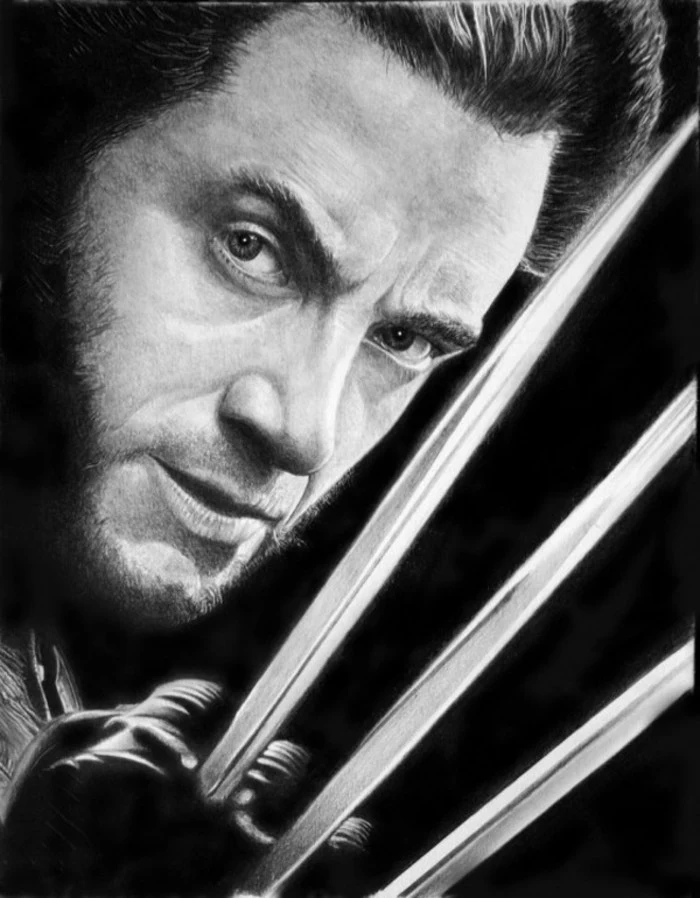
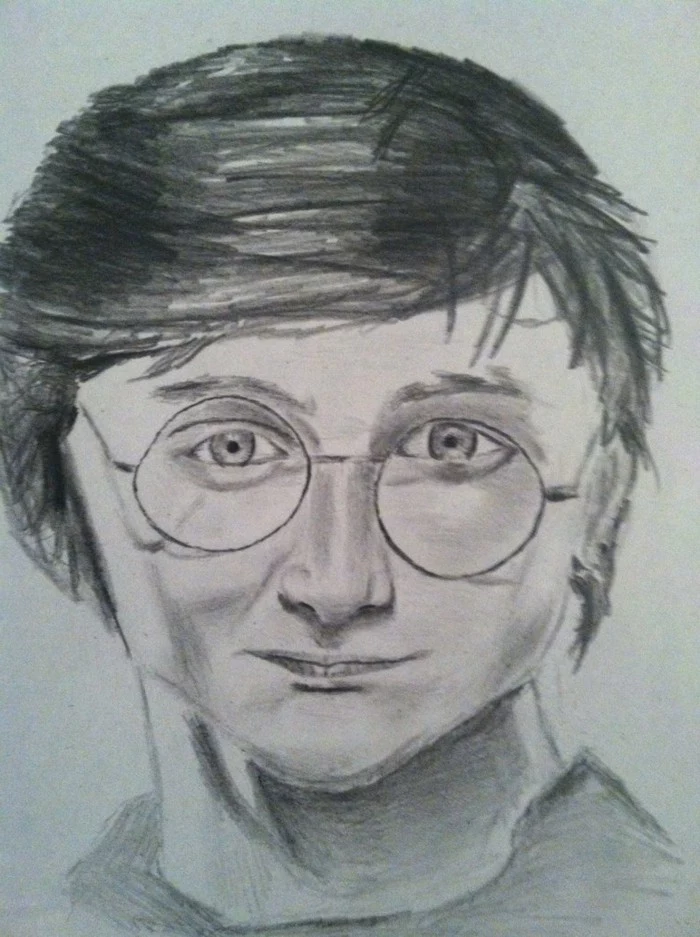
Inspiration Gallery
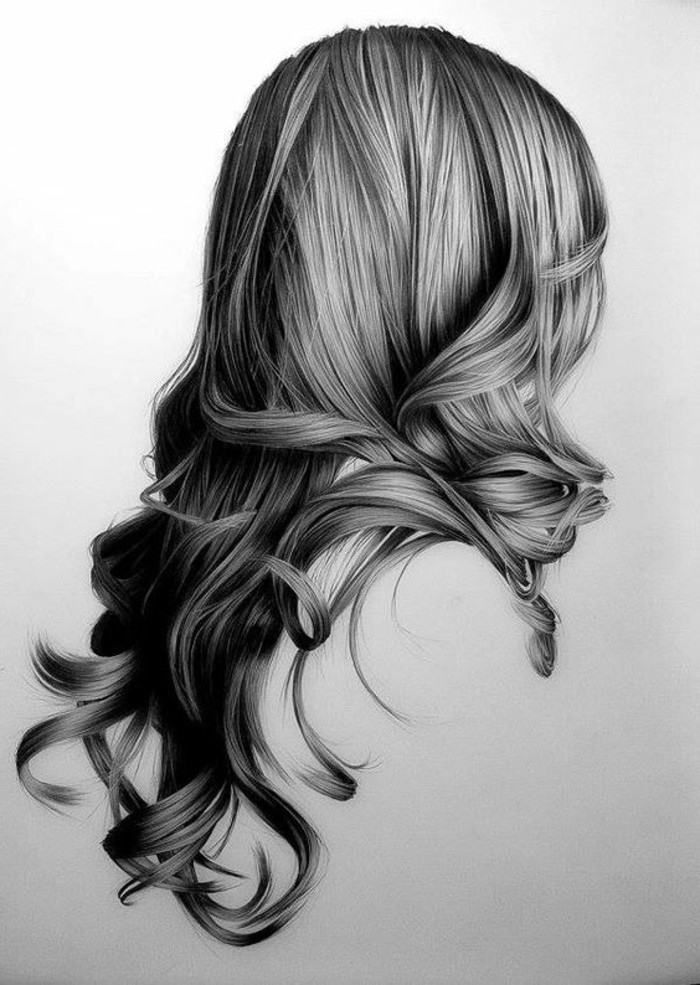
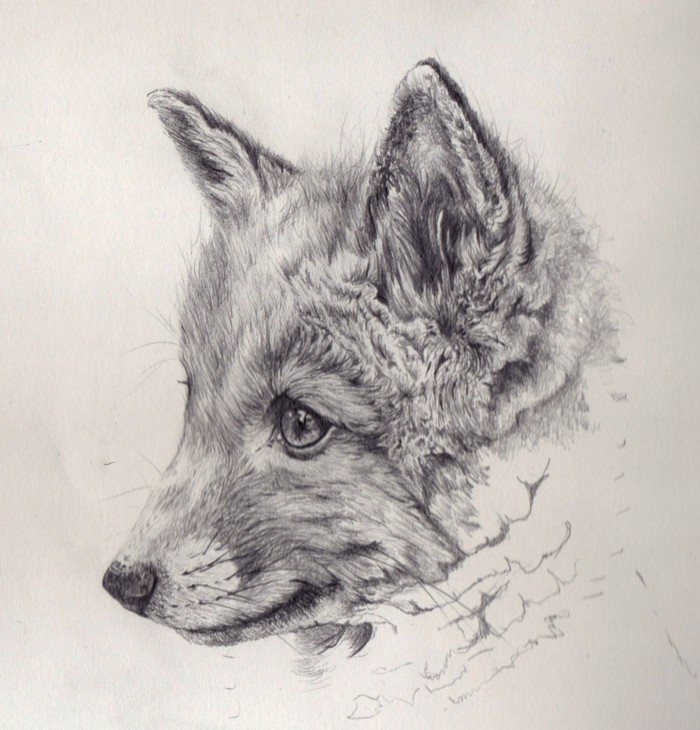
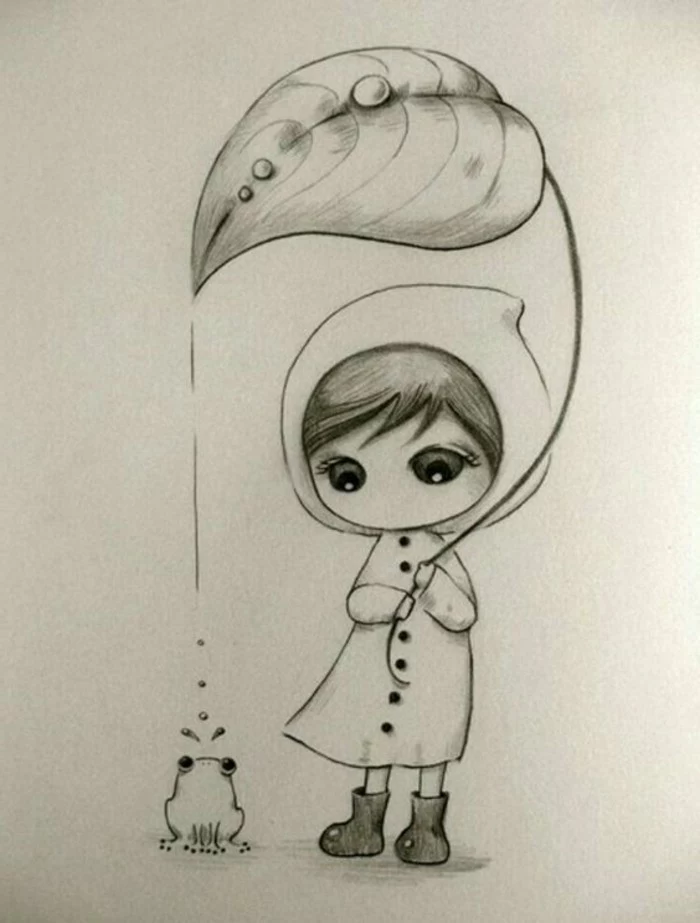
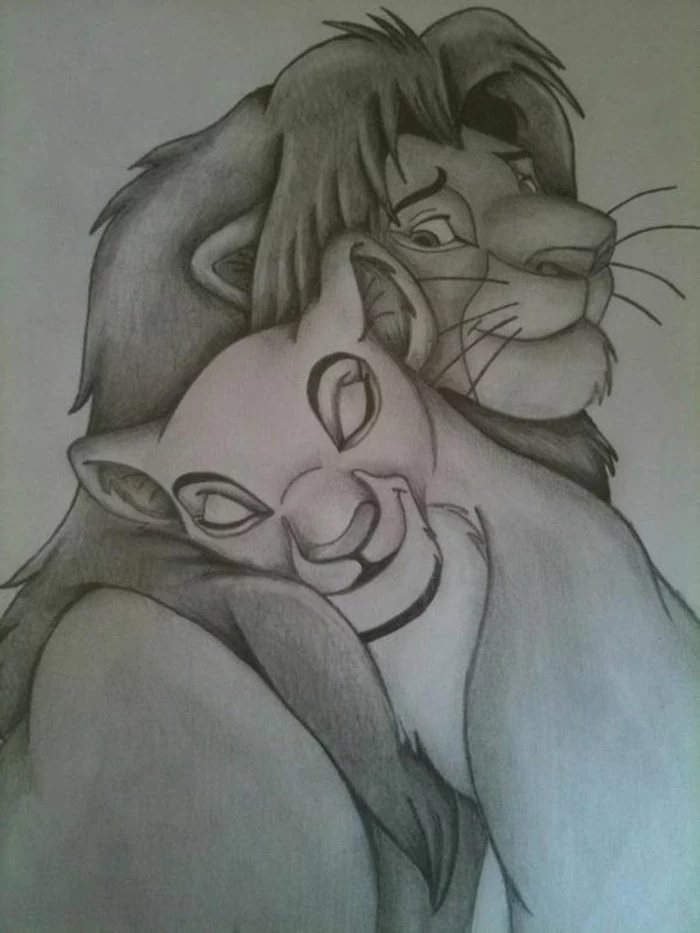
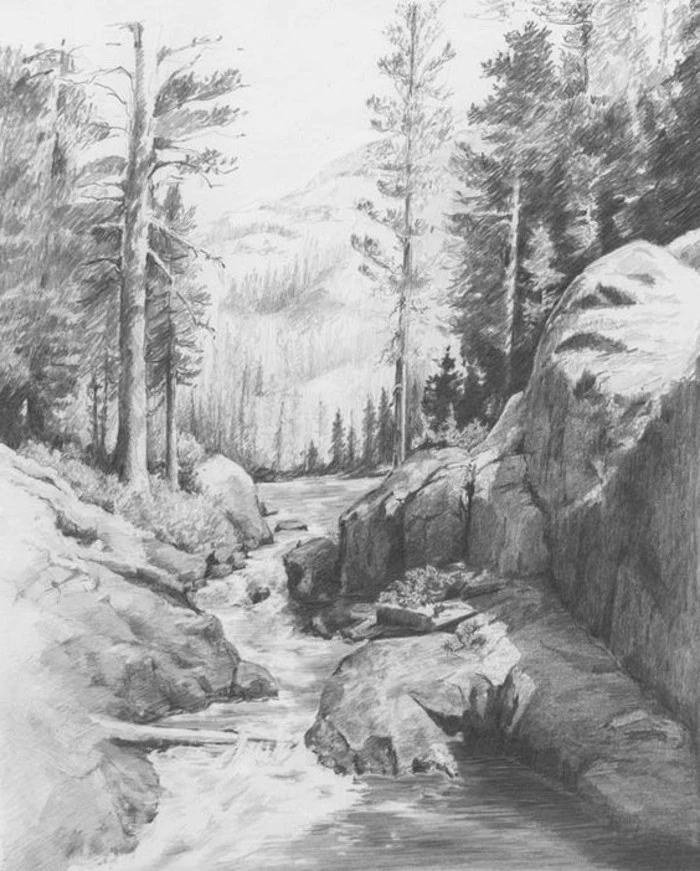
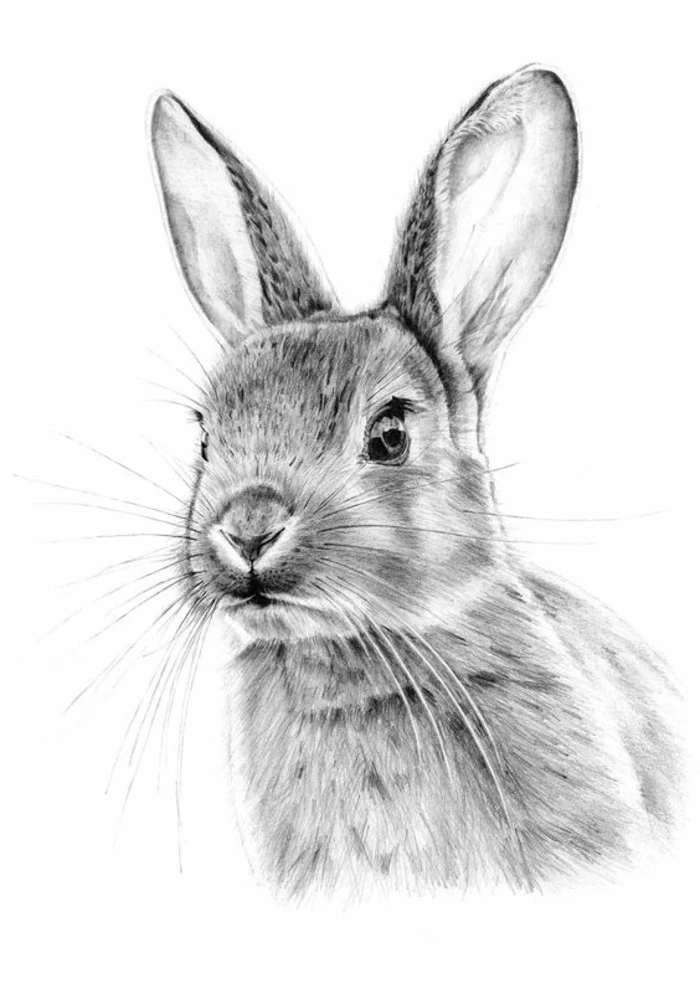
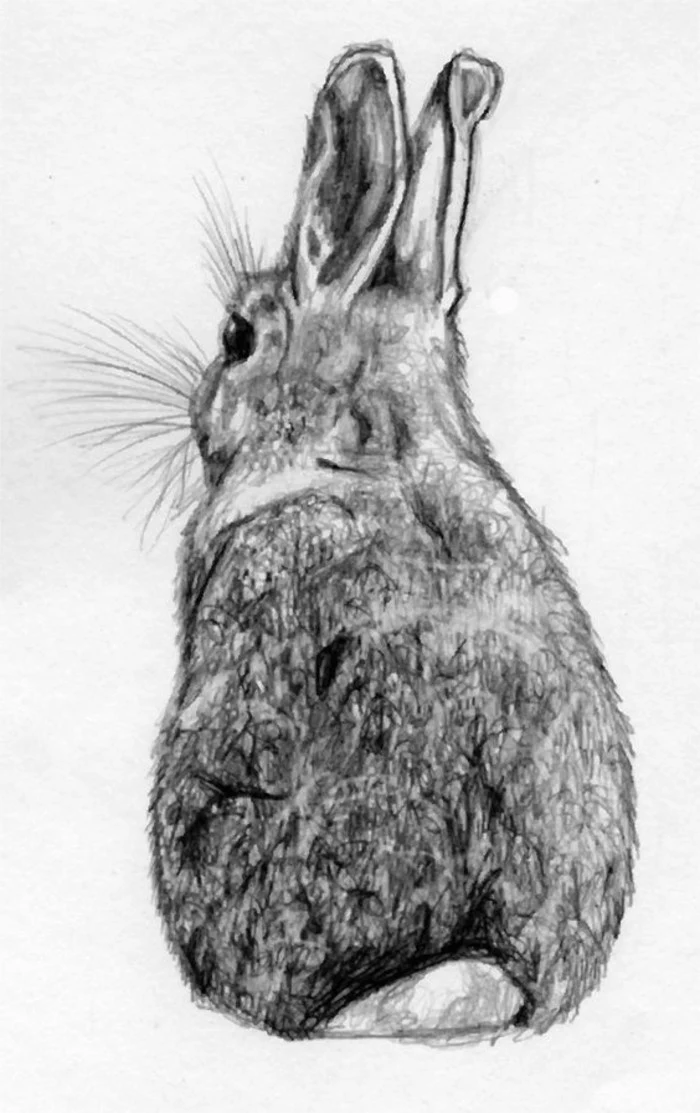
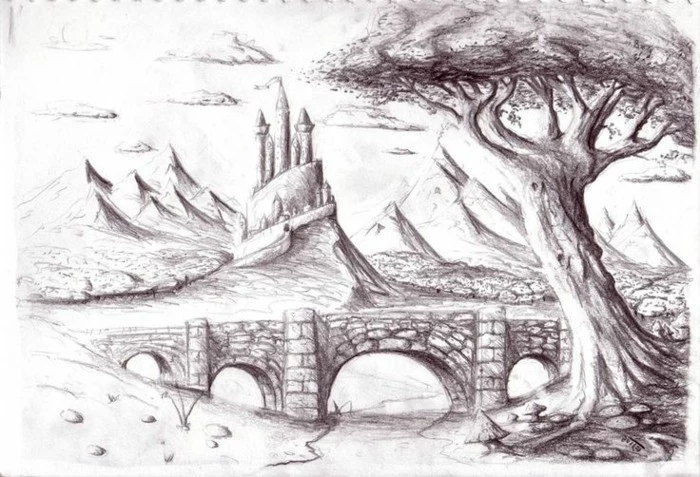
The human brain is wired to complete shapes and fill in the gaps.
This is a superpower for an artist. You don’t need to draw every single eyelash or blade of grass. By using suggestive lines and well-placed details, you can hint at texture and form, allowing the viewer’s mind to do the rest. This creates a more engaging and often more realistic-feeling drawing than one that is over-rendered.
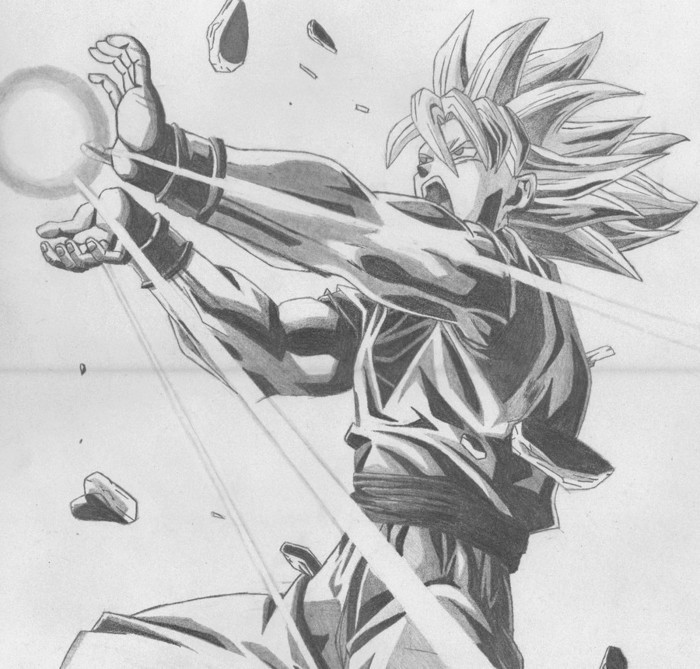
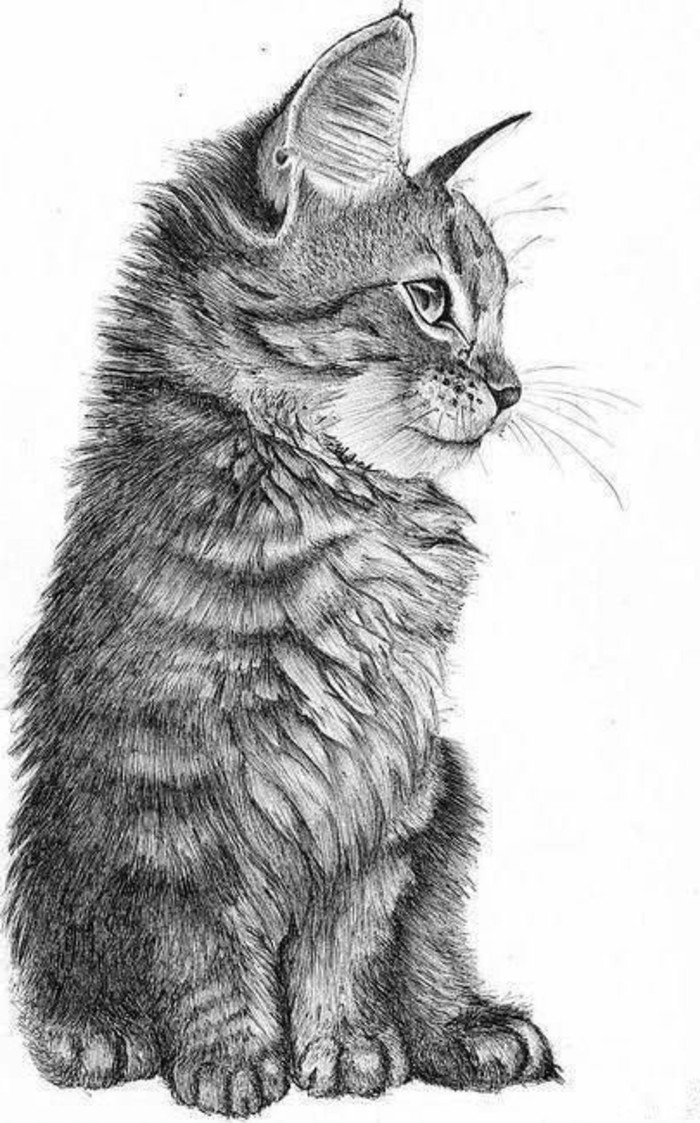
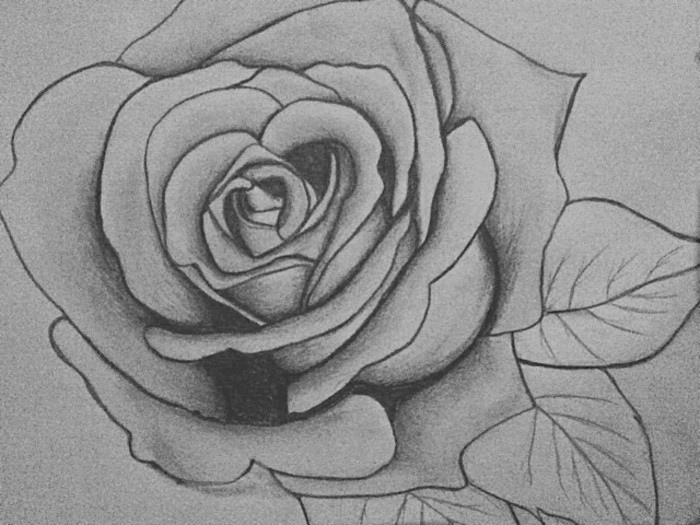
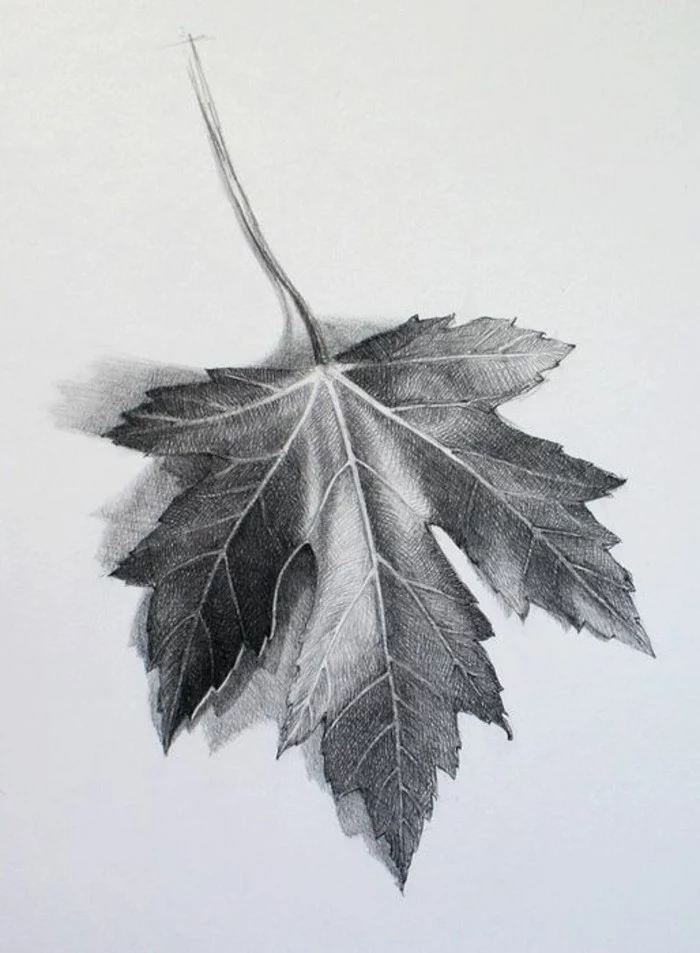
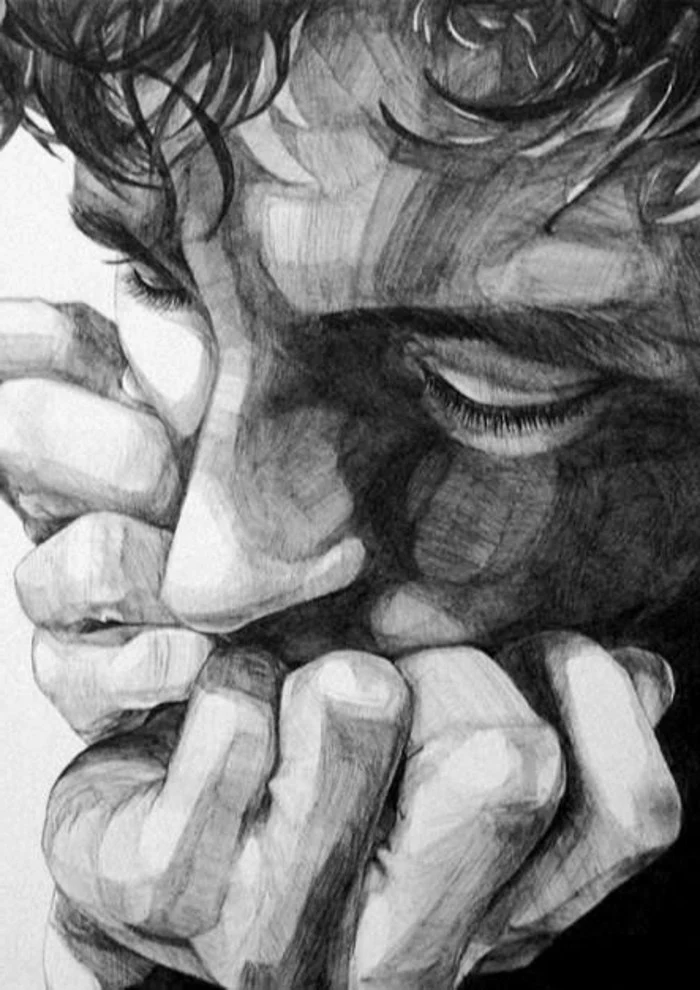
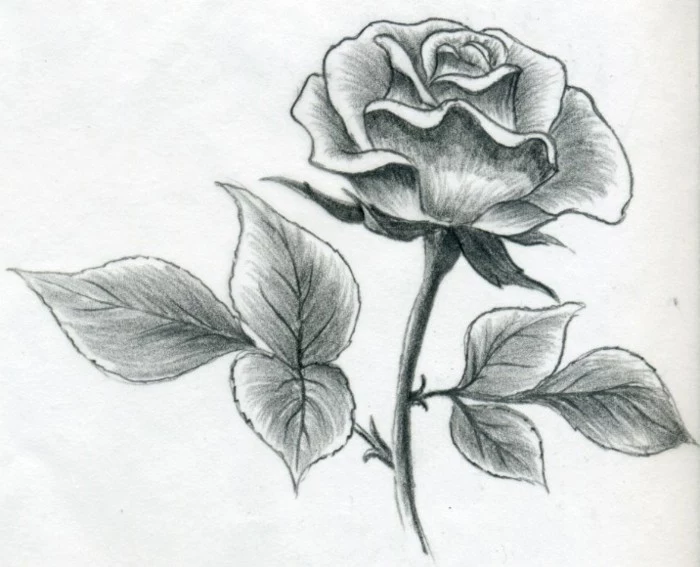
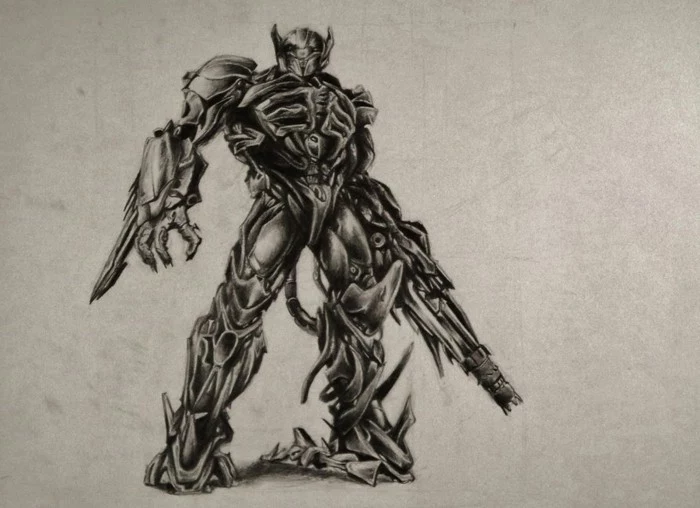
Are your drawings looking a bit flat? The secret to creating depth and realism isn’t just about shading, it’s about the range of your values. Think of it as a scale from 1 (pure white of the paper) to 10 (the darkest black your 8B pencil can make). A compelling drawing will use the full scale. Don’t be afraid to push your darks to create dramatic contrast and make your highlights pop.
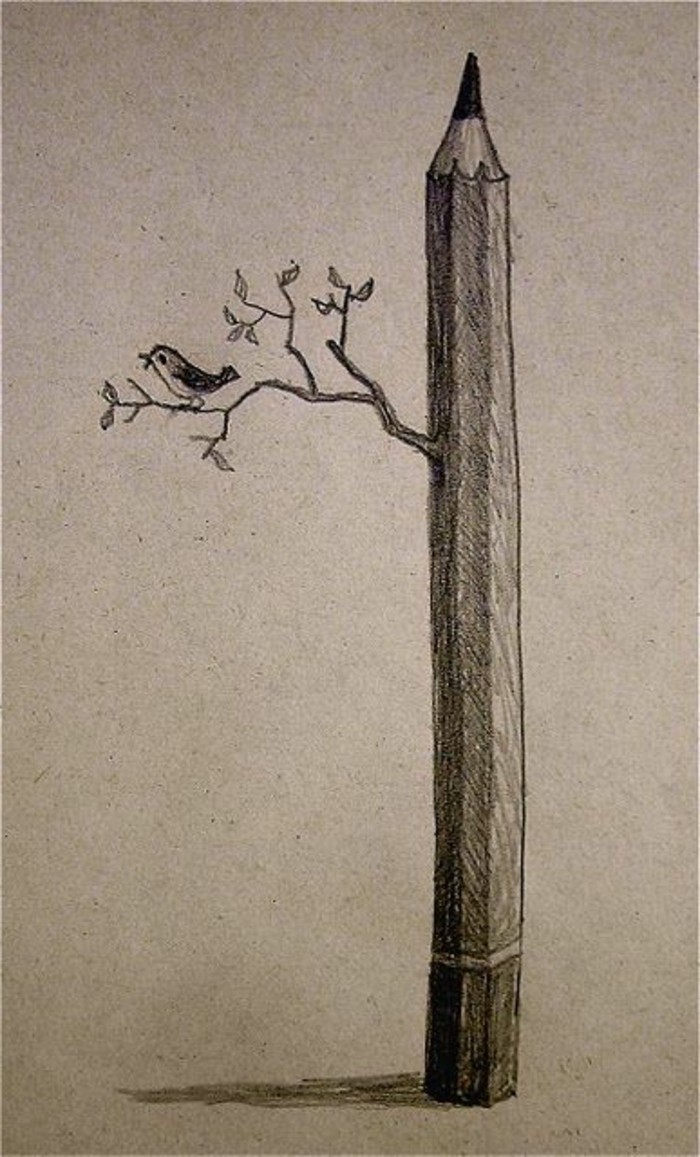
Mechanical Pencil: Offers a consistently sharp point, perfect for precise details and technical lines. No sharpening needed. Great for controlled hatching.
Traditional Wood Pencil: Allows for expressive, varied line width by simply changing the angle and pressure. The side of the lead is perfect for broad shading. The classic choice for life drawing.
There’s no single winner; many artists use both—a mechanical pencil like a Pentel P205 for fine details and a set of Faber-Castell 9000 wood pencils for everything else.
How do I hold the pencil for better control?
Most beginners use the familiar ‘writing grip,’ which is great for small, tight details. But for expressive shading and loose sketching, try the ‘overhand grip.’ Hold the pencil almost parallel to the paper, nestled in your palm with your index finger extended for guidance. This uses your entire arm, not just your wrist, leading to smoother, more confident strokes.
- Work from left to right if you’re right-handed (or right to left if you’re a lefty).
- Place a clean, spare sheet of paper under your drawing hand to rest on.
- Use a mahl stick or a drawing bridge for elevated control on large, detailed pieces.
- Apply a workable fixative spray in light layers as you complete sections.
The goal? To prevent the frustrating smudges that can muddy your highlights and details.

The kneaded eraser is your best friend for subtle work. Unlike a standard vinyl eraser that removes graphite through friction, a kneaded eraser (like the grey, putty-like ones from Faber-Castell) *lifts* graphite off the paper. You can shape it to a fine point to pull out tiny highlights in hair or eyes, or flatten it to gently lighten a large area without damaging the paper’s surface.

Consider starting on toned paper. Working on a mid-tone surface—like a Canson Mi-Teintes in grey or tan—radically simplifies your process. The paper itself serves as your mid-value, so you only need to add the darkest shadows with a soft graphite pencil (like a 4B) and the brightest highlights with a white charcoal or pastel pencil. It’s an instant way to make your drawings pop.
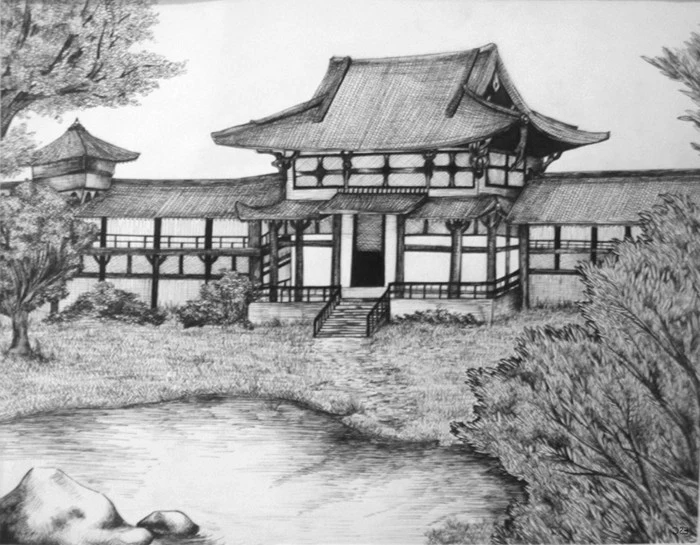
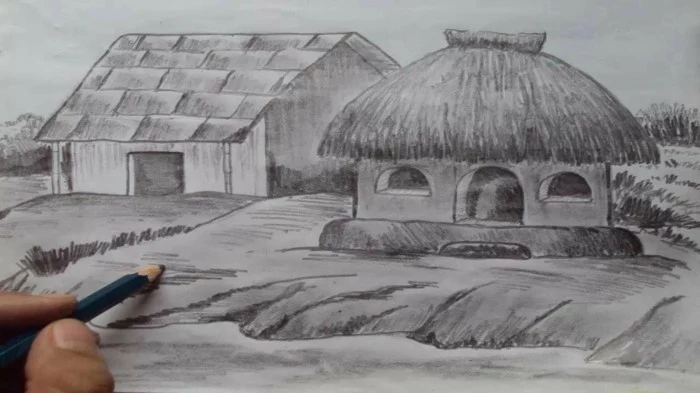
- It forces your brain to stop identifying objects and start seeing pure shapes.
- It dramatically improves your ability to judge angles and proportions accurately.
- It breaks you out of drawing memorized symbols (like for an eye or a nose).
The secret? Turn both your reference photo and your drawing paper upside down. It feels strange at first, but it’s one of the most effective exercises for learning to draw what you truly see.
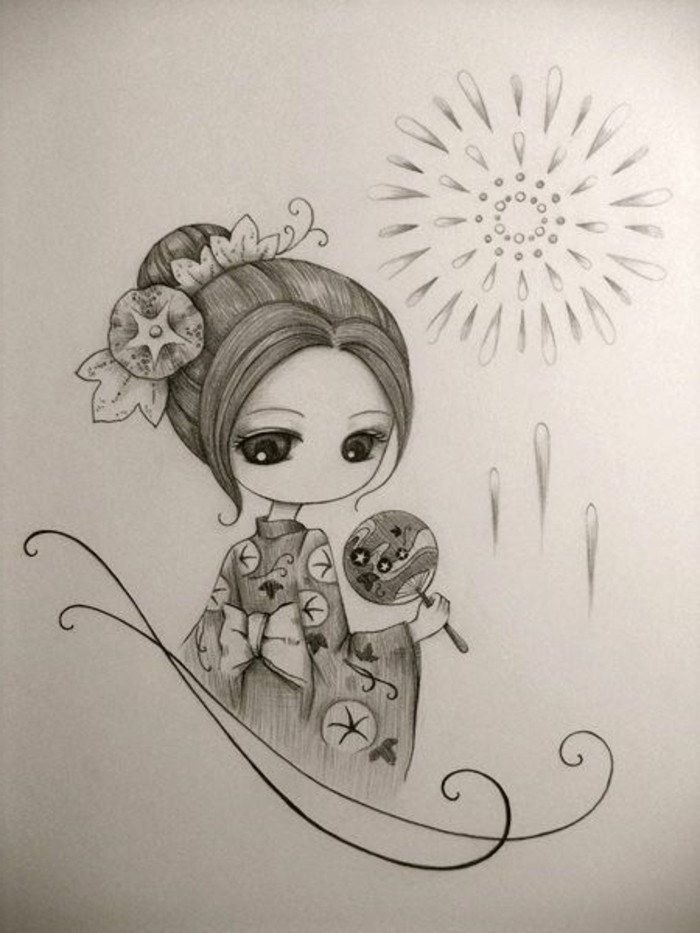
A 2016 study published in the journal Art Therapy found that just 45 minutes of making art, including drawing, can significantly reduce levels of the stress hormone cortisol, regardless of a person’s perceived skill level.
This means the very act of drawing, of focusing on the line and shade, is beneficial. It’s not about the finished product; it’s a form of active meditation available to anyone with a pencil and paper.
Paper isn’t just a surface; it’s part of the tool. The texture of the paper, known as its ‘tooth,’ determines how it grabs and holds the graphite. A paper with more tooth, like a cold-press watercolor paper or a dedicated drawing paper like Strathmore 400 Series, is fantastic for building up layers of tone. A smooth paper, like Bristol Board, is better for crisp lines and fine, photorealistic detail.
My drawings always look messy. How can I get those smooth, clean blended areas?
The key is to use a dedicated blending tool instead of your finger, which has oils that can stain the paper. A ‘tortillon’ or a ‘blending stump’ (found in any art supply store) is perfect for this. They are essentially tightly rolled paper tools that let you precisely push graphite into the grain of the paper, creating seamless gradients without mess.
Stop drawing things, start drawing shapes. This is the most crucial mental shift for any aspiring artist. When you look at a face, don’t think

Don’t just draw lines. To create the illusion of form, you need to master different ways of building value. Practice these essential strokes:
- Hatching: A series of parallel lines. The closer they are, the darker the value.
- Cross-Hatching: Hatching in one direction, then layering another set of lines over it at an angle.
- Stippling: Building tone with countless tiny dots. Time-consuming but offers incredible control.
- Scumbling: A ‘scribble’ or random, circular mark-making to build up textured value.
Graphite is not lead. It’s a crystalline form of pure carbon, just like diamonds. The only difference is the arrangement of the atoms—a hexagonal lattice in graphite makes it soft and slippery, while a tetrahedral lattice in diamonds makes them the hardest natural material.
Protect your finished work. A soft pencil drawing, especially one using the rich darks of B-grade pencils, is fragile. A light coat of spray fixative will lock the graphite particles in place and prevent smearing. Use a ‘Workable Fixative’ like Krylon’s if you plan to continue drawing on it, or a ‘Final Fixative’ to permanently seal and protect a completed piece from UV light and smudging.
What is ‘negative space’ and why do artists talk about it so much?
Negative space is simply the area *around* and *between* the subjects of your drawing. Instead of trying to draw the complex shape of a chair, try drawing the shape of the floor visible through its legs. Our brains are surprisingly good at judging these ’empty’ shapes, and when you draw them accurately, the ‘positive space’ (the chair itself) magically falls into place with correct proportions.
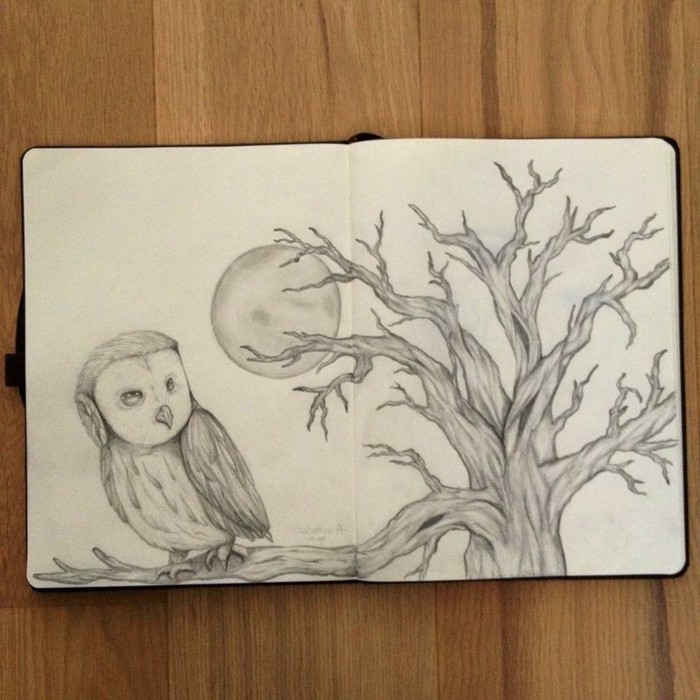
A sketchbook isn’t a gallery for your best work; it’s a gym for your drawing muscles. Fill it with ‘bad’ drawings, quick observations, messy experiments, and notes. The goal is mileage, not masterpieces. A portable sketchbook, like a classic Moleskine or a Leuchtturm1917, lets you capture ideas and practice anywhere, turning waiting time into drawing time.
Hot-Press Paper: Has a smooth, hard surface. It’s ideal for fine, crisp lines and intricate detail work. Graphite glides over it, making it a favorite for hyperrealism and technical illustration.
Cold-Press Paper: Has a noticeable texture, or ‘tooth’. This texture is excellent at grabbing pigment from the pencil, making it perfect for expressive shading, building up layers, and achieving a more ‘painterly’ look with graphite.
For beginners, a medium-surface paper like a Strathmore 300 Series Bristol offers a great compromise.
Important point: You do not need a massive 24-pencil set to start. In fact, it can be overwhelming. A small, curated selection will teach you more about value control. A fantastic starting kit would be a 2H (for light sketches), an HB (the all-purpose middle ground), a 2B (for mid-tones and shading), and a 6B (for your deepest shadows). This simple quartet can create nearly any effect you need.
Before you even start on your main piece, warm up your hand and eye on a scrap piece of paper for five minutes. Fill it with loose circles, straight lines in every direction (without a ruler!), and most importantly, create a few small value scales. Practice blending smoothly from the lightest tone you can make with a hard pencil to the darkest black of your softest pencil. It’s like stretching before a run.
Did you know Leonardo da Vinci’s famous notebooks contain over 7,000 surviving pages filled with drawings and notes?
He used drawing not just to create art, but as a primary tool for scientific inquiry, invention, and understanding the world. This is a powerful reminder that drawing is a form of thinking—a way to observe and analyze everything from the swirl of water to the anatomy of a bird’s wing.

Want to create incredibly soft, smooth shading that looks like an airbrush? Try using pure graphite powder. You can buy it in small jars or create your own by sanding the tip of a soft B-grade pencil on a piece of sandpaper. Apply it with a soft tool—a cotton ball, a Q-tip, or a large, fluffy makeup brush—to gently build up even layers of tone. It’s a game-changer for portraits and realistic skies.
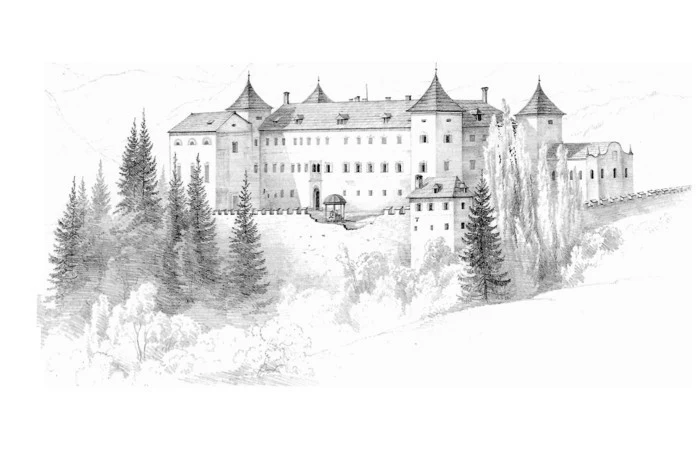
Your most powerful drawing tool is free: squinting. When you squint at your subject, you filter out distracting details and simplify the world into large, basic shapes of light and dark. This makes it far easier to see the underlying value structure and to block in your composition accurately before you get lost in the weeds of texture and detail.
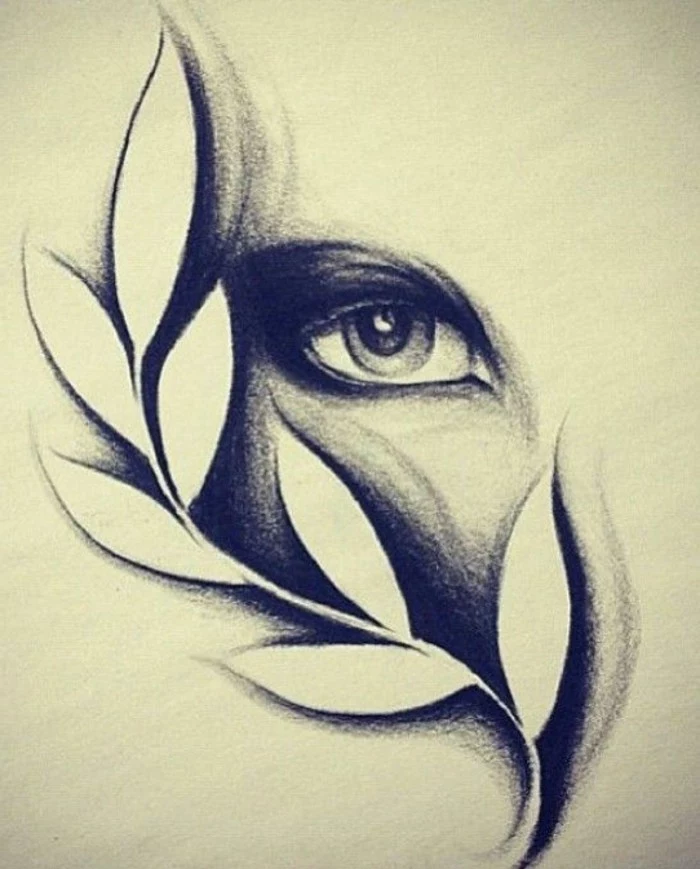
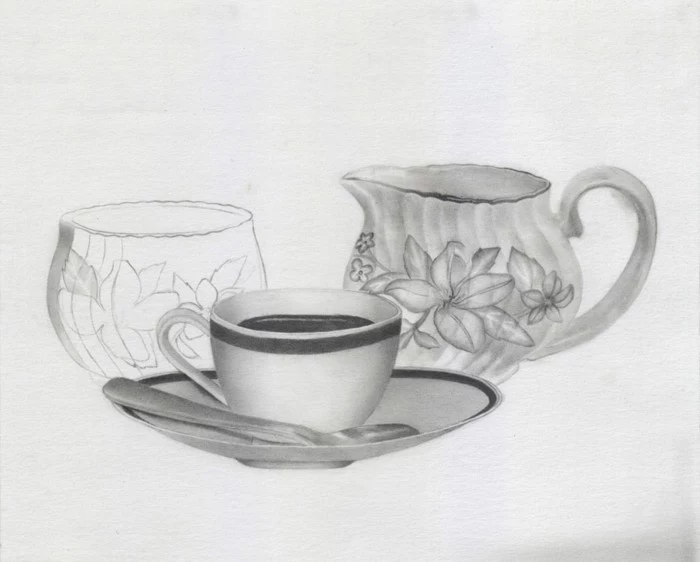
Look for the light. When drawing a reflective or wet surface, like an eye or a drop of water, the key isn’t to draw the object itself, but to accurately render the reflections on its surface. Notice the shape of the main light source—a window might appear as a bright square, a lamp as a soft circle. These ‘specular highlights’ are often pure white paper, and placing them correctly is what sells the illusion of wetness and shine.


