Your Guide to Fixing Clothes: How to Mend Holes and Tears Like a Pro
I’ve spent what feels like a lifetime with a needle in my hand, first learning the ropes in a bustling tailor shop and now running my own little studio that focuses on bringing clothes back from the brink. The most important lesson I ever learned wasn’t about fancy stitches or complicated patterns. It was about respect. My mentor handed me a client’s well-loved wool coat with elbows worn paper-thin and said, “This coat has a history. Your job is to give it a future.”
In this article
Honestly, that idea changed everything for me. Mending isn’t just about patching a hole; it’s about preserving something you love. It’s a quiet little rebellion against our throwaway culture, and a skill that genuinely connects you to the things you own.
So, let’s get into the practical side of things. I want to share the real-deal knowledge that comes from thousands of hours of repairs. We’re going to look at why your clothes are tearing in the first place, get the right tools for the job (without breaking the bank), and learn the techniques that make a repair actually last.

First, Why Did It Even Rip?
Before you thread a needle, you have to play detective for a second. Understanding how a hole happened is the key to fixing it properly. From my experience, it almost always comes down to one of three things.
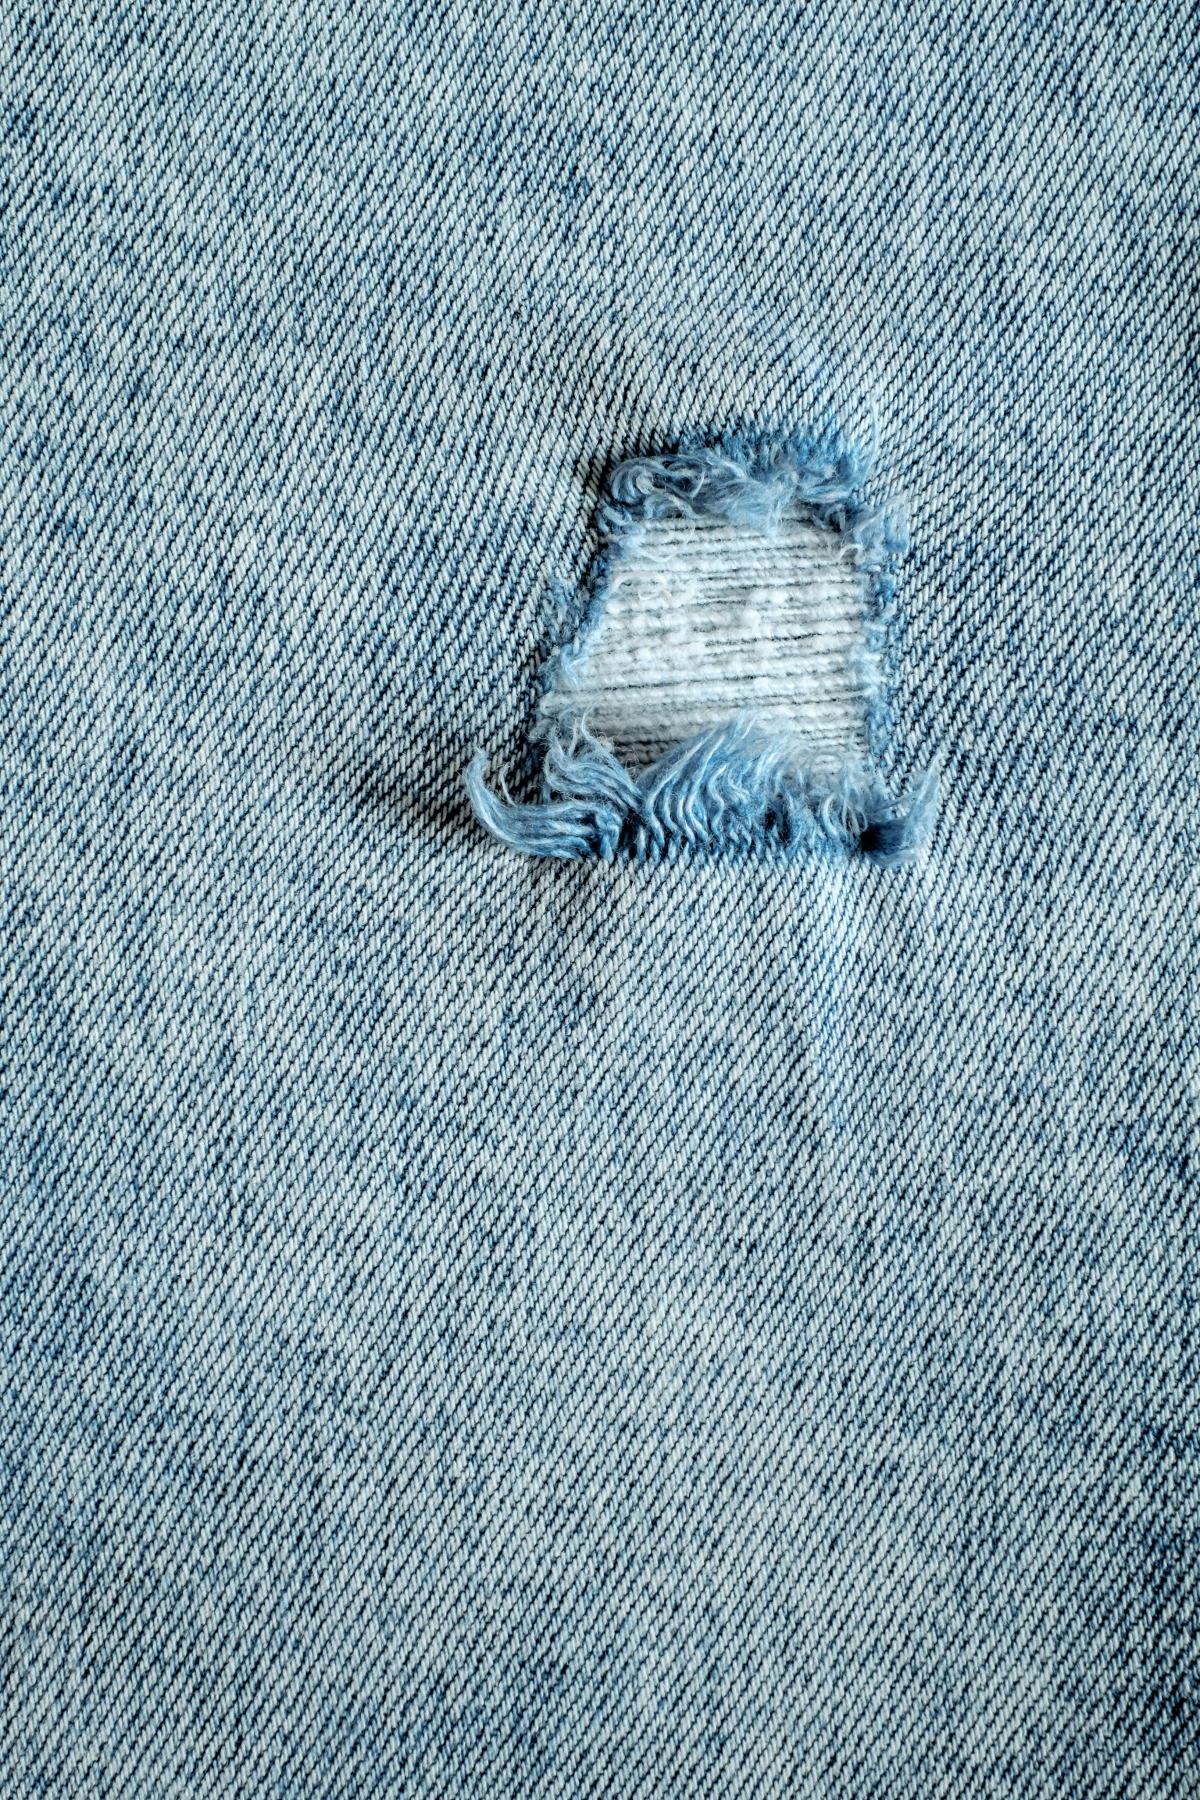
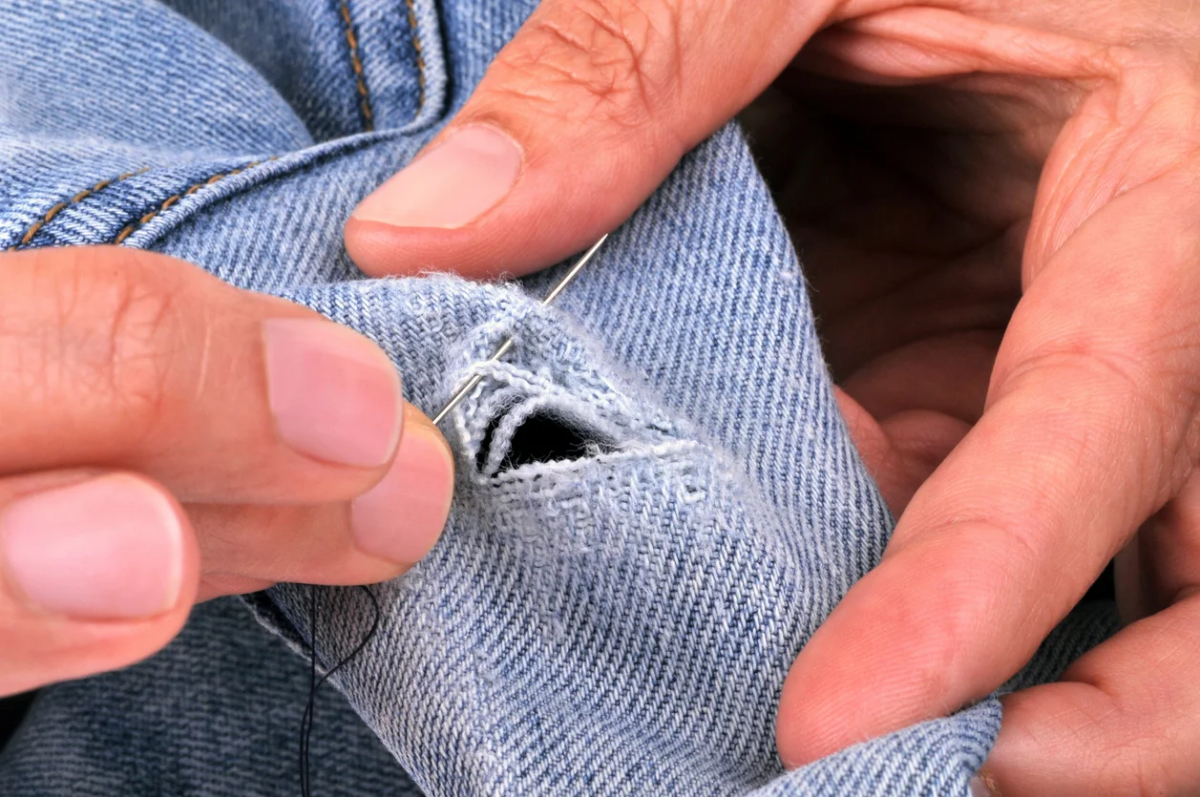
The first culprit is abrasion. This is that slow, sneaky wear and tear from friction. Think about the inner thighs of your favorite jeans, the elbows on a jacket, or the seat of your work pants. The fibers just get rubbed away until they give up, creating a fuzzy, thin patch that eventually turns into a hole with soft, frayed edges.
Next up is a snag or a tear. This is sudden, brute-force damage—like catching your sleeve on a doorknob or splitting a seam when you bend over. These are usually clean, straight, or L-shaped rips. The good news? The fabric around the tear is typically still strong, which often makes for a simpler fix.
The third one is tension failure, which is unique to knits like t-shirts, leggings, and sweaters. In a knit, one single yarn is looped over and over. If that one yarn breaks, it can create a run or a hole that unravels and grows shockingly fast. This is why repairing a t-shirt requires a totally different mindset than patching denim.
Quick tip: Look closely at the hole. Are the edges soft and thinning out? That’s abrasion, and you’ll probably need to reinforce the area. Is it a clean line? That’s a tear, and a technique like the ladder stitch we’ll cover below is perfect for it.
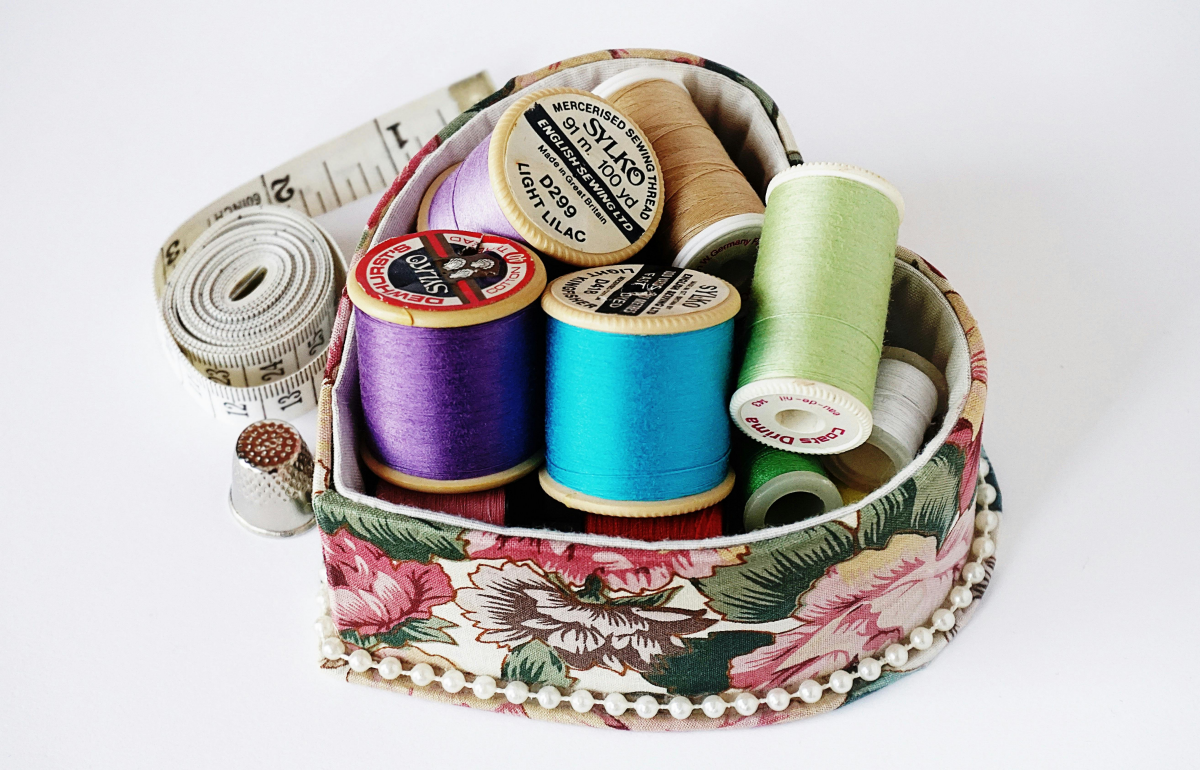
Building Your Mending Kit (Without Spending a Fortune)
You can’t do a good job with junk tools. It’s that simple. While any old needle and thread can technically close a hole, the right tools make the work easier, neater, and way more durable. And you don’t need to spend a lot to get started.
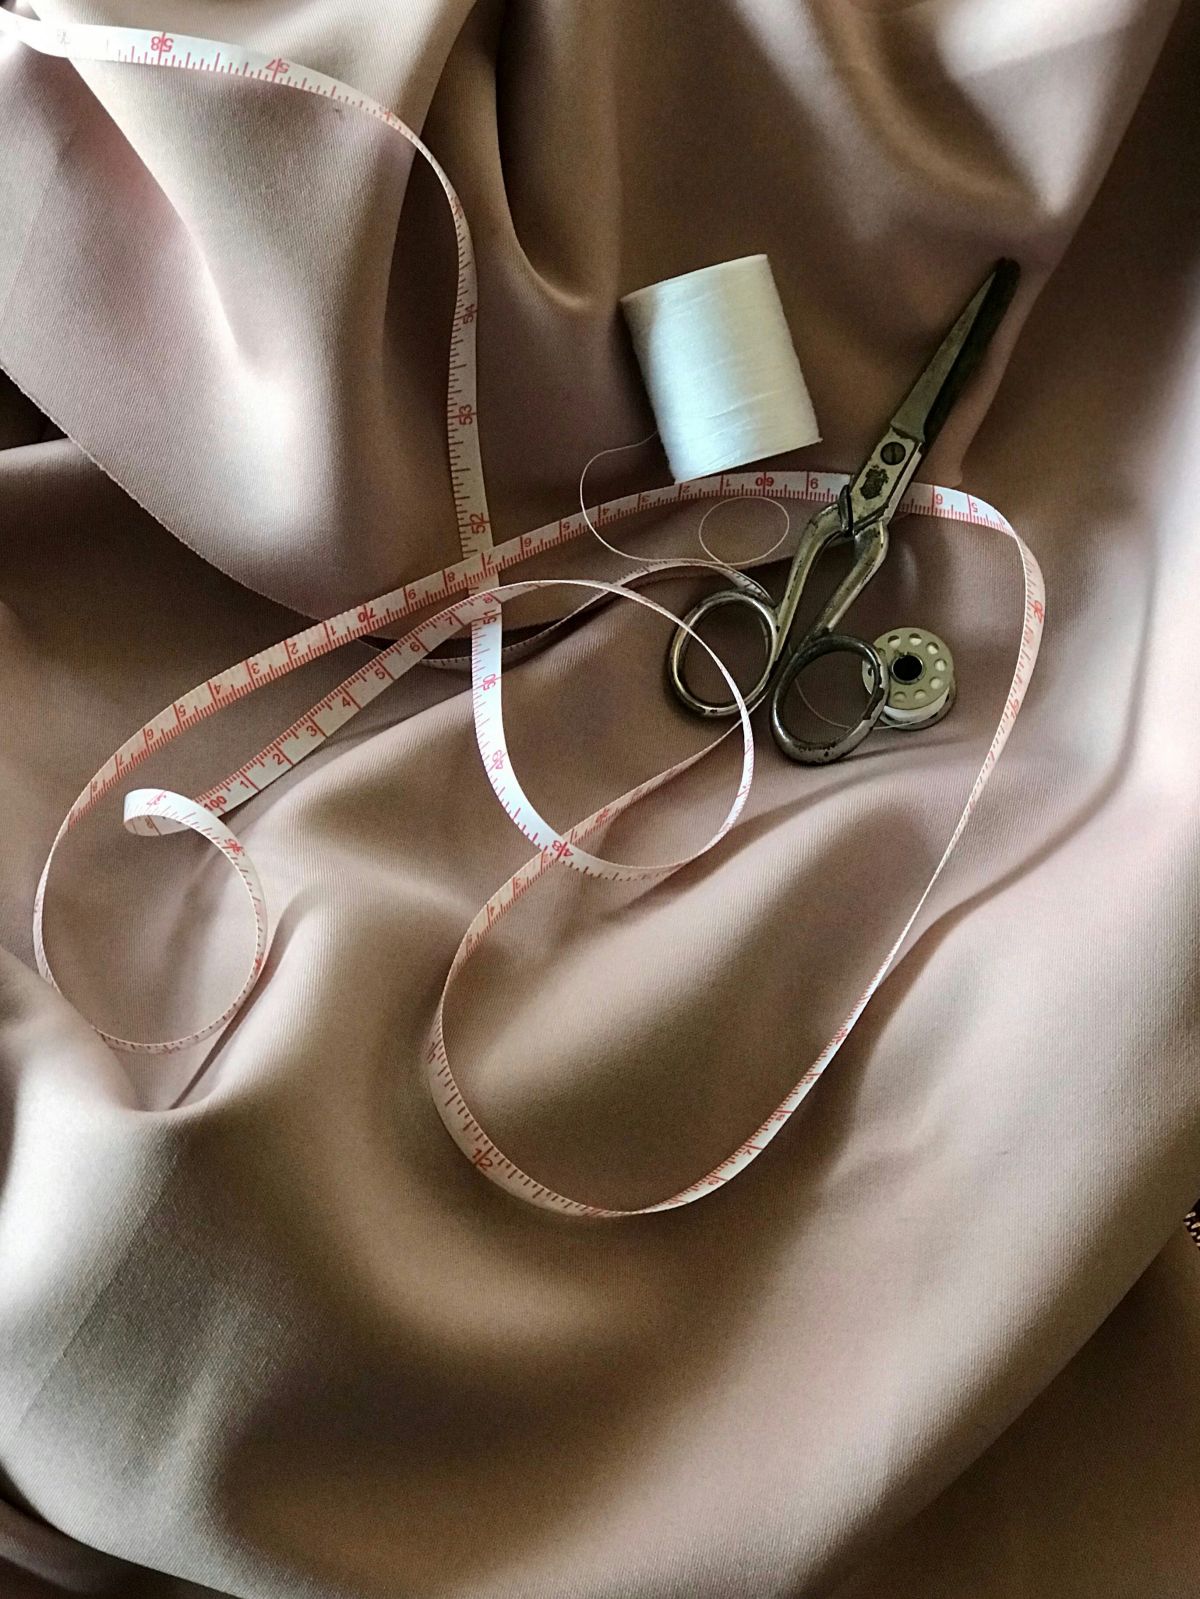
Here’s a great beginner’s mending kit you can put together for under $20. You can find all of this at a craft store like Jo-Ann, or even on Amazon.
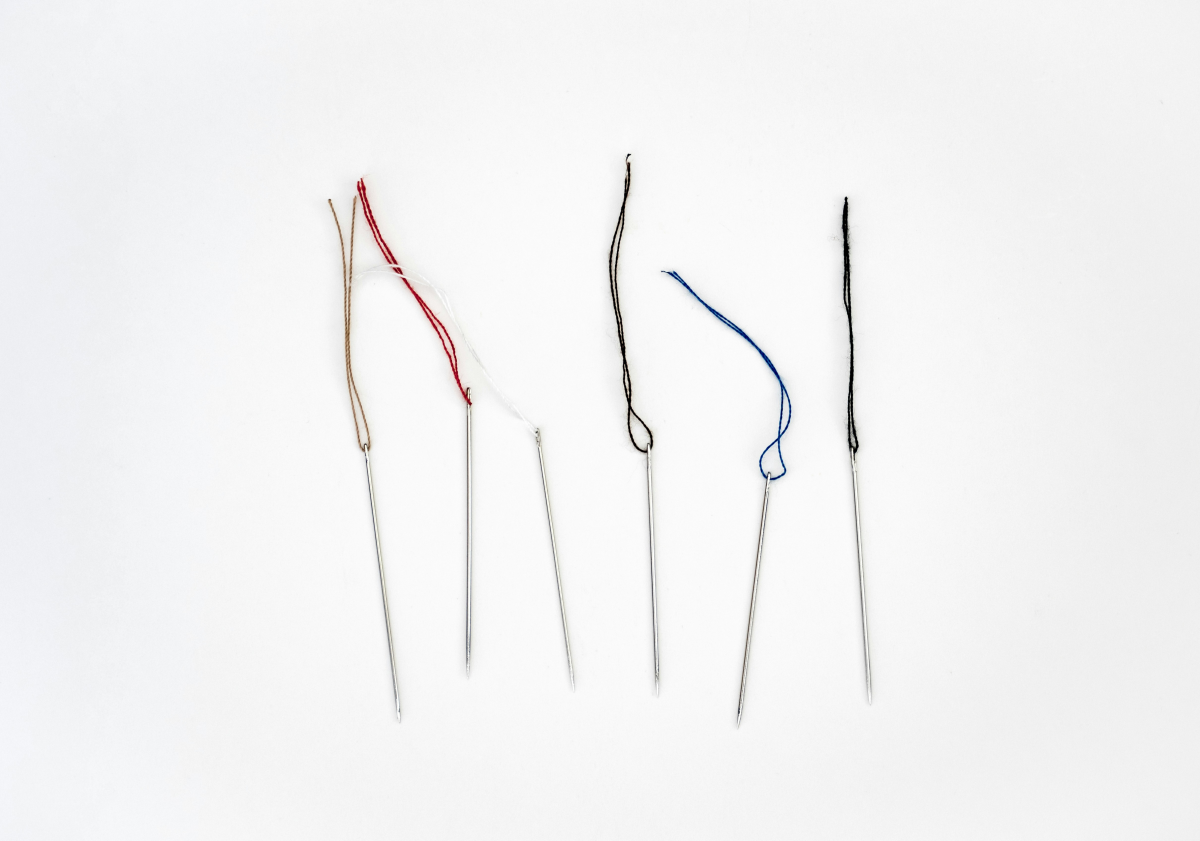
- A small pack of “Sharps” needles: Get an assorted pack (sizes 5-10). These are your all-purpose needles for most woven fabrics. A higher number means a finer needle. For a regular cotton shirt, a size 9 is usually my go-to. This should only cost about $3.
- A spool of all-purpose polyester thread: Start with a neutral color like gray, black, or cream. It’s strong and has a tiny bit of stretch, making it very forgiving. A quality spool is about $4.
- A simple metal thimble: Please, please get a thimble. Pushing a needle through denim or canvas without one is a recipe for disaster. I’ve seen people push a needle straight through a fingernail. A basic metal one is about $2.
- A pair of thread snips: These are small, sharp scissors used only for thread. They let you cut right next to your knot for a clean finish. They run about $5-$8.
As you get more advanced, you can expand your collection.
For your thread stash, think beyond just color. Using the wrong type of thread is a classic rookie mistake. For instance, using stiff cotton thread on a stretchy knit t-shirt is a guaranteed fail—the thread will snap the second the fabric stretches. On the other hand, that same cotton thread is perfect for crisp, 100% cotton shirts because it has no give, just like the fabric.
And here’s a common problem: what if you can’t find a perfect color match? Always go for a thread that’s a shade darker than your fabric, not lighter. A darker thread tends to recede and blend in, while a lighter one stands out.
By the way, here’s a lesser-known trick the pros use: coat your thread with beeswax. Just run your cut thread over a little cake of beeswax a couple of times. It strengthens the thread, prevents tangles, and helps it glide through fabric. It’s a tiny step that makes a huge difference.
As for other handy tools, a darning egg or mushroom is amazing for mending socks or elbows. It’s just a chunk of wood that gives you a firm, curved surface to work on. In a pinch, a tennis ball or even a lightbulb can work. Heads up, though! If you use a lightbulb, be incredibly gentle and make sure it’s a sturdy old-fashioned one, not a fragile modern bulb. A tennis ball is a much safer bet, to be frank.
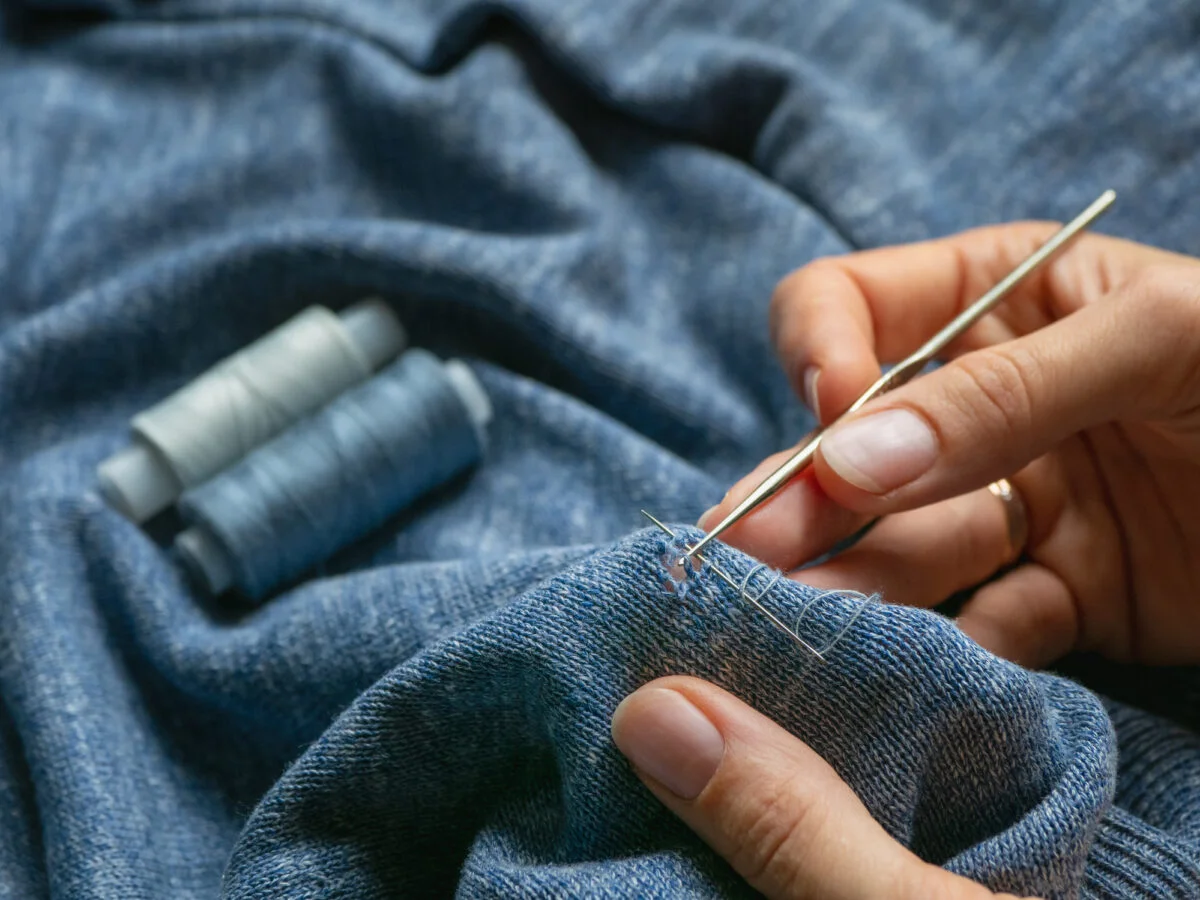
The Pro Technique for a Clean Tear: The Ladder Stitch
Let’s start with the most common fix you’ll probably need: a split seam on a pillow, a coat lining, or the leg of your trousers. Our goal is to make the stitches completely disappear. For this, we use the ladder stitch (some people call it the invisible stitch).
Once you get the hang of it, this should only take about 15-20 minutes for a few inches of repair. It feels a little weird at first, but trust me, it’s magic.
- Prep the Area: If you can, turn the garment inside out. Iron the seam allowances flat to get a crisp, clean edge to work with. Trim away any frayed threads.
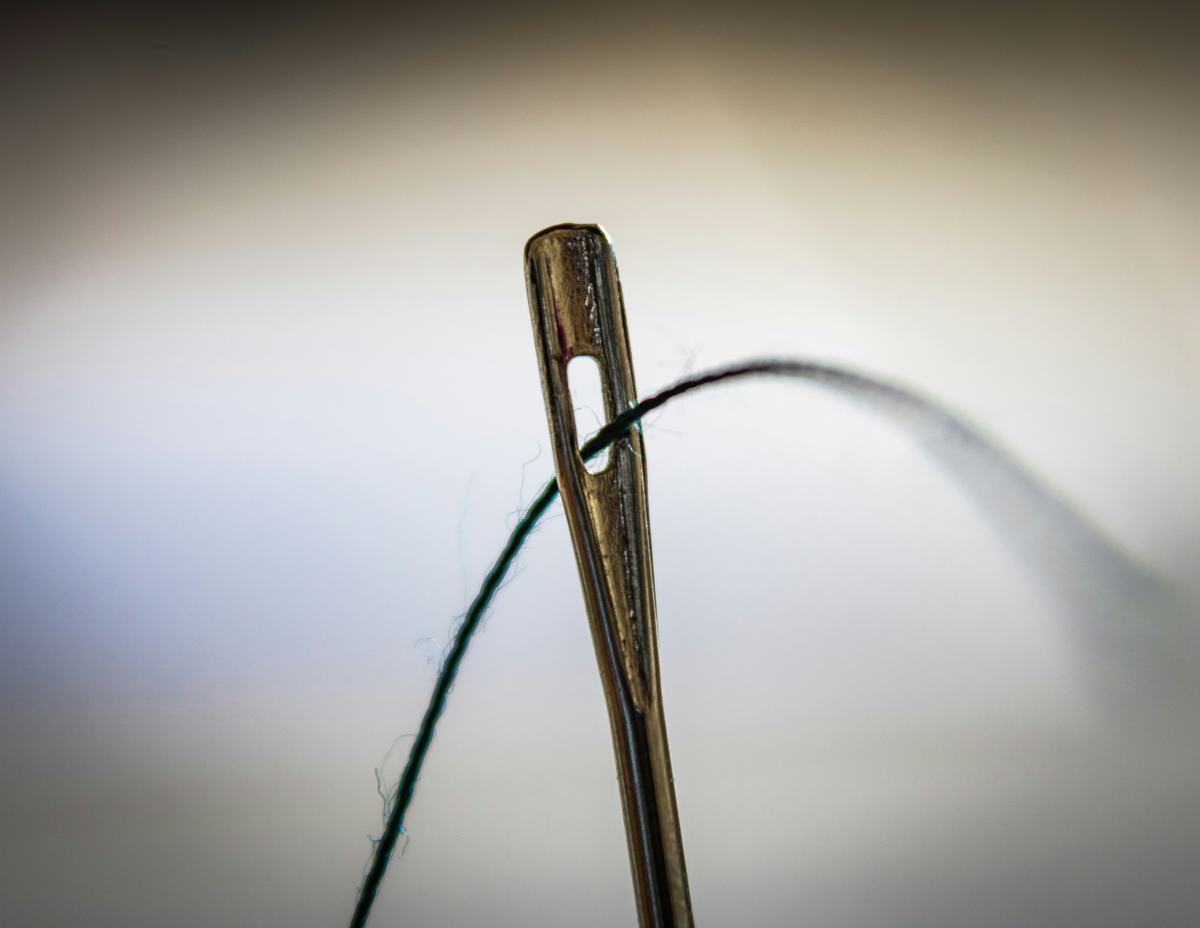
- Thread Your Needle: Cut a piece of thread about 18 inches long (any longer and it will just get tangled, I promise). Knot the end securely.
- Start the Stitch: Hide your knot by bringing the needle up from the inside of the folded seam on one side. Your needle should pop out right on the crease.
- Create the “Rungs”: Go directly across to the other side of the tear. Pick up just a tiny bit of fabric with your needle, right on that folded edge. Then go back to the first side, a little further down, and do the same thing. You’re basically creating small, straight stitches that go back and forth across the gap—like the rungs of a ladder.
- The Big Reveal: After you have about an inch of these “ladder rungs,” gently pull your thread. The two sides of the fabric will draw together and the stitches will vanish inside the seam. It’s so satisfying!
If you’re more of a visual learner, just search for a “ladder stitch tutorial” on YouTube. Seeing it done once makes it click instantly. A common mistake for beginners is pulling the thread too tight, which makes the fabric pucker. You want the thread to be snug, not strangling the fabric.

Know When to Call for Backup
Can you fix anything? Maybe. Should you? Not always. It’s important to know when a project is better left to a professional tailor.
I’d suggest taking it in if:
- The item is made of a very delicate or tricky fabric like silk chiffon, velvet, or leather.
- The tear is in a super high-stress structural spot, like the armhole of a tailored blazer.
- The garment is incredibly sentimental or valuable. A botched repair can sometimes be worse than the original damage.
- The hole is huge and you’re just not feeling confident. There’s no shame in it!
Sometimes, paying a pro $20 to fix it perfectly is better than struggling for an hour and being unhappy with the result.
Ready for Your First Mend?
The best way to learn is by doing. A fantastic first project is fixing a split seam on a throw pillow. It’s low-stakes, the fabric is usually easy to work with, and it’s a perfect opportunity to practice that ladder stitch without any pressure. Give it a shot—you might just discover how amazing it feels to save something you love.
Galerie d’inspiration
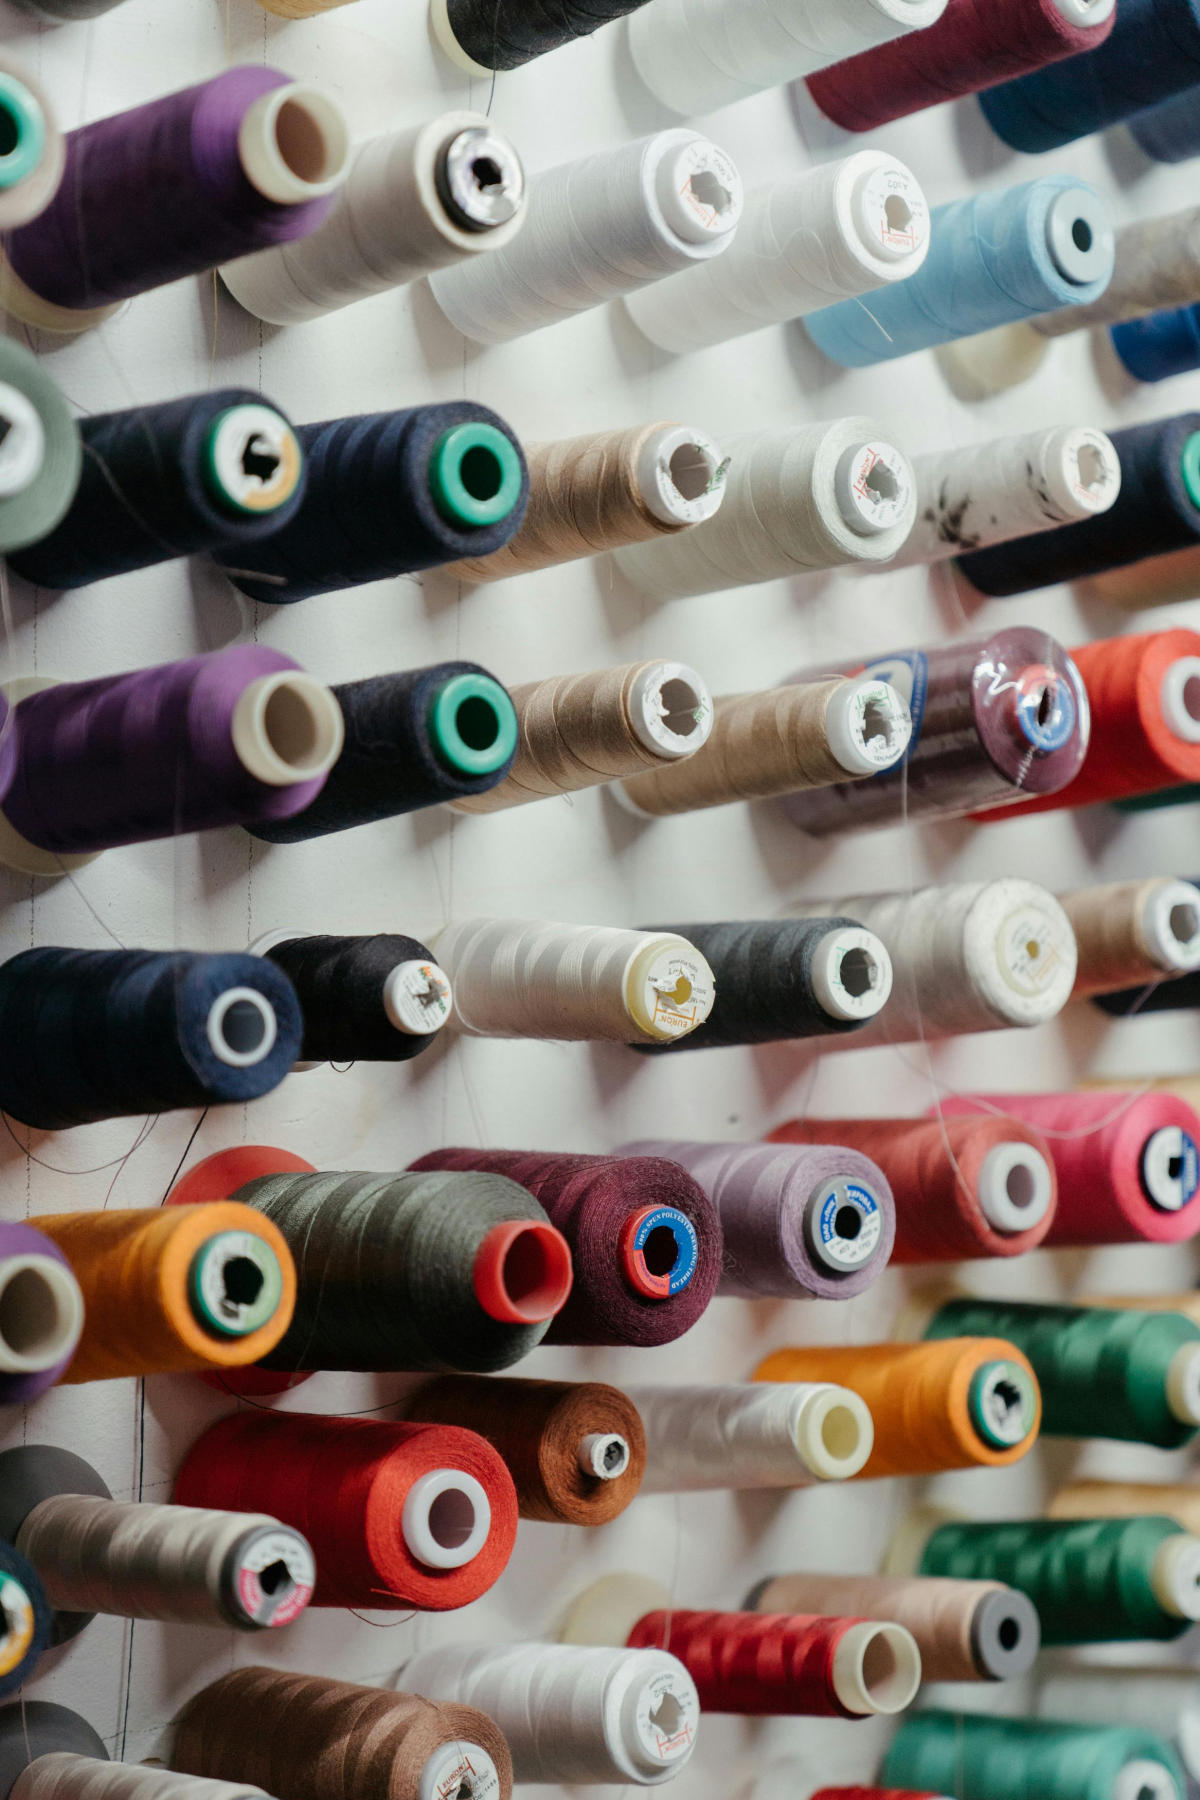
Choosing the right thread is as crucial as the stitch itself. Using the wrong type can cause the fabric to pucker or the repair to fail prematurely. Here’s a quick guide to building a versatile thread collection:
- All-Purpose Polyester: This is your reliable workhorse. A thread like Gütermann’s Sew-All is strong, has a slight stretch, and works beautifully on most woven fabrics, synthetics, and blends.
- 100% Cotton: Ideal for mending natural fiber garments (cotton, linen). It has no stretch and will age and wear at the same rate as the fabric, creating a more cohesive, long-lasting repair. Brands like Coats & Clark are a great starting point.
- Heavy-Duty or Upholstery Thread: Essential for tough repairs on denim, canvas, or outdoor gear. It’s thicker and far stronger, preventing seams under high tension from splitting again.
Want to make your repair a statement instead of hiding it?
Explore the Japanese art of Sashiko. This traditional mending technique uses simple, elegant running stitches to reinforce worn areas, often creating stunning geometric patterns. Originally done with white cotton thread on indigo-dyed fabric, modern Sashiko embraces all colors. It’s perfect for giving worn-out denim a new, artistic life, turning a simple patch into a celebrated feature that tells a story of care and creativity.


