Forget Chapped Lips: How to Make a Pro-Level Lip Scrub at Home
So, let’s talk about one of the most frustrating skin issues out there, especially when the weather turns cold: dry, flaky, and downright painful lips. For years, I’ve seen people try every balm under the sun, only to find the relief is temporary. Why? Because they’re just slathering product on top of a layer of dry, dead skin. That’s where a good lip scrub comes in, but honestly, most people get it wrong.
In this article
Making a truly effective lip scrub isn’t just about dumping some sugar and oil in a bowl. It’s a bit of a science, balancing just the right amount of exfoliation with real, deep nourishment. A poorly made scrub can actually make things worse, leaving your lips feeling raw and even more sensitive. This isn’t about making a cute product for a social media post; it’s about understanding what your lips truly need to be healthy.
In this guide, I’m going to walk you through the exact principles the pros use. We’ll get into why your lips are so unique, how to pick the perfect ingredients (and where to find them), and the right way to use your scrub for lasting results.
First, Why Are Lips So Needy?
Before we even think about mixing, you’ve got to understand why lip skin is so different from the rest of your face. It’s not just regular skin, and knowing the ‘why’ is the key to treating it correctly.
For starters, the skin on your lips is incredibly thin—we’re talking only 3 to 5 layers of cells compared to the 15 or 16 layers pretty much everywhere else. That thinness is why you can see the blood vessels underneath, giving them their pinkish color. It also means their natural protective barrier is pretty weak.
But here’s the real kicker: your lips have zero oil glands. None. The rest of your skin has sebaceous glands that produce natural oils (sebum) to keep things moisturized. Your lips are on their own, relying completely on you for moisture, whether that’s from saliva (which actually makes things worse by evaporating) or the products you apply.
To top it off, they don’t have sweat glands either. This makes them super susceptible to what’s called transepidermal water loss—a fancy term for moisture evaporating right off the surface. Cold wind, dry indoor heat, and sun exposure speed this process up, leaving you with a cracked, dehydrated mess.
A good scrub gently buffs away that outermost layer of dead, dry skin. This single step allows the good stuff—the oils, the butters, your favorite lip balm—to actually penetrate and do their job. Otherwise, you’re just moisturizing flakes.
The Anatomy of a Great Lip Scrub
Every effective lip scrub is built on three pillars: an exfoliant, an emollient, and a humectant. The classic starting ratio is a simple 2:1:1 blend—that’s two parts exfoliant to one part emollient (oil) and one part humectant. It’s a fantastic starting point.
1. The Exfoliant (The Gritty Stuff)
This is what does the heavy lifting, manually sloughing off dead skin. The key is to be gentle. Particles that are too big or sharp can cause micro-tears, which is the last thing you want.
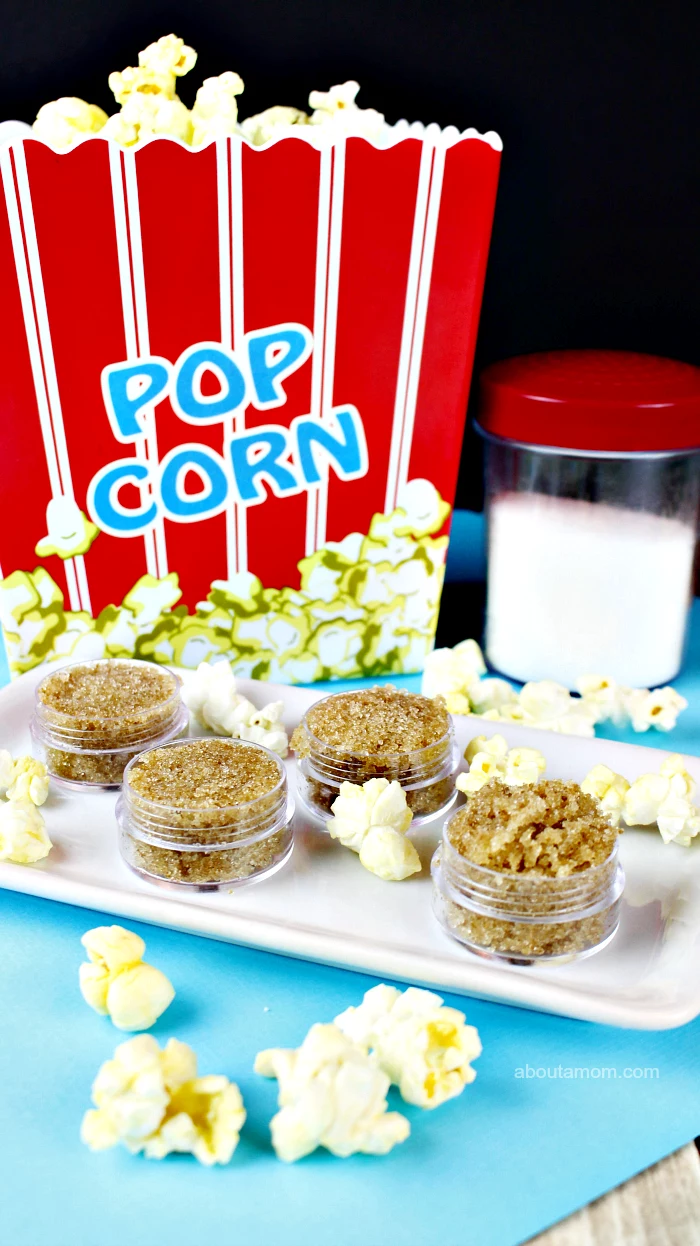
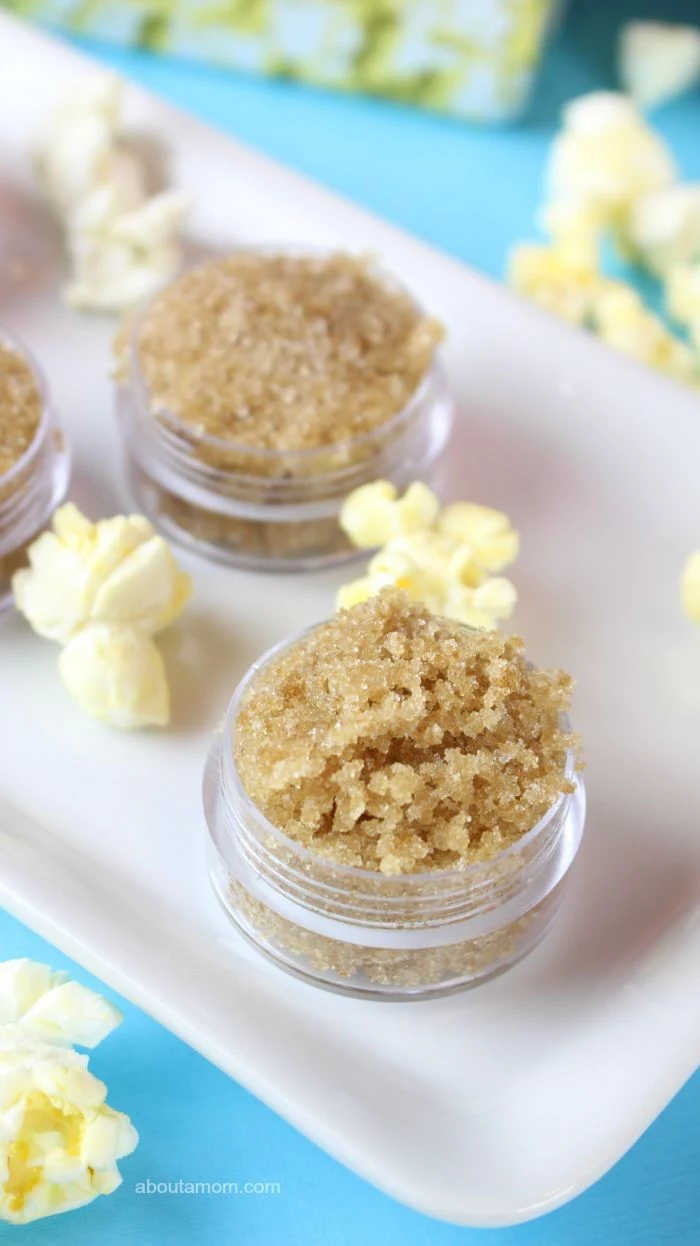
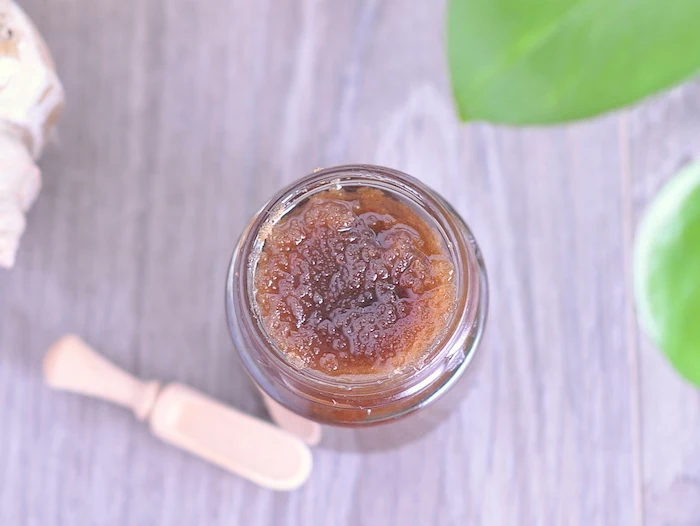
- Brown Sugar: This is my absolute favorite for general-purpose scrubs. The crystals are finer and softer than regular white sugar because they’re coated in molasses. By the way, that molasses also contains natural alpha-hydroxy acids (AHAs), which give you a tiny, bonus chemical exfoliation.
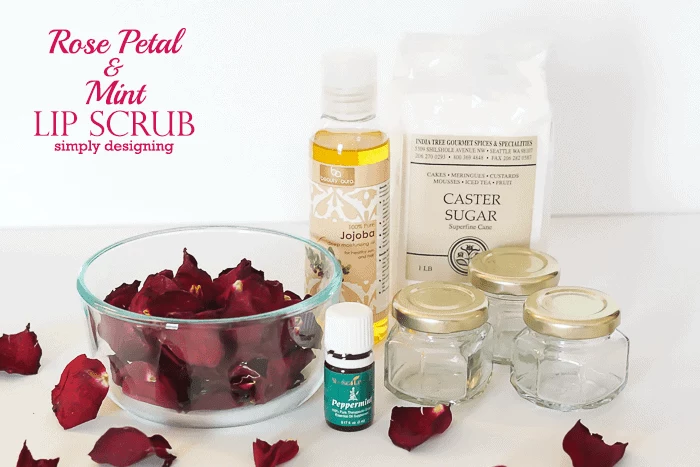
- Fine White Sugar (Caster Sugar): If you need a little more oomph and your lips aren’t super sensitive, this is a great choice. The crystals are a bit sharper and more uniform. Just never, ever use coarse raw sugar—it’s way too aggressive for delicate lip skin.
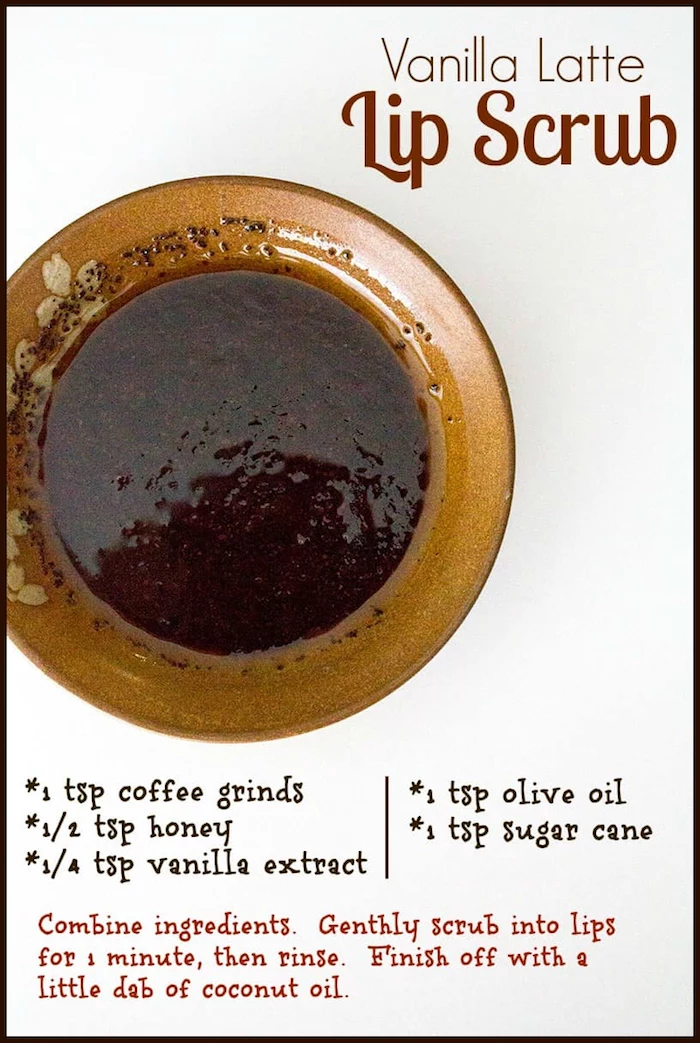
- Fine Coffee Grounds: An amazing option, especially for a morning routine. The grounds are soft and rounded, making them very gentle. Plus, the caffeine can temporarily boost circulation, making lips look a little fuller and pinker. Quick tip: For the best texture, use fresh, dry grounds (like for espresso). Used grounds from your coffee maker can work, but they’re often wet and can make your scrub a bit mushy.
Heads up! Avoid using salt. I see this recommended all the time and it makes me cringe. Salt is hygroscopic, meaning it literally pulls moisture out of your skin. It’s incredibly dehydrating and will sting like crazy if you have any small cracks.
2. The Emollient (The Protective Oil)
Emollients are the oils that soften and smooth everything out. They fill in the tiny gaps between skin cells, creating that silky feeling and forming a protective barrier to lock moisture in. Quality really matters here.
- Coconut Oil: Super popular and for good reason. It’s solid at room temperature, which gives your scrub a lovely, thick body. It’s super moisturizing, but a word of caution: coconut oil can clog pores. It’s rarely an issue on the lips themselves, but if you’re prone to breakouts around your mouth, maybe skip this one. If you do use it, go for virgin, cold-pressed oil.
- Jojoba Oil: Technically speaking, this is one of the best choices you can make. It’s not really an oil but a liquid wax ester, and its molecular structure is incredibly similar to our skin’s own natural sebum. This means it absorbs beautifully and is fantastic for sensitive skin.
- Sweet Almond Oil: A perfect all-arounder and the one I usually suggest for beginners. It’s lightweight, absorbs easily, and is rich in antioxidant Vitamin E. It’s way less greasy than something like olive oil.
- Olive Oil: A totally fine choice if it’s what you’ve got in your kitchen. It’s nourishing, for sure. Just make sure it’s extra virgin olive oil. Some people find it a bit heavy and don’t love the strong flavor in a lip product, but it’ll get the job done.

3. The Humectant (The Moisture Magnet)
Humectants are ingredients that literally attract water, pulling moisture from the air and deeper in your skin to hydrate the surface. This is a game-changing addition.
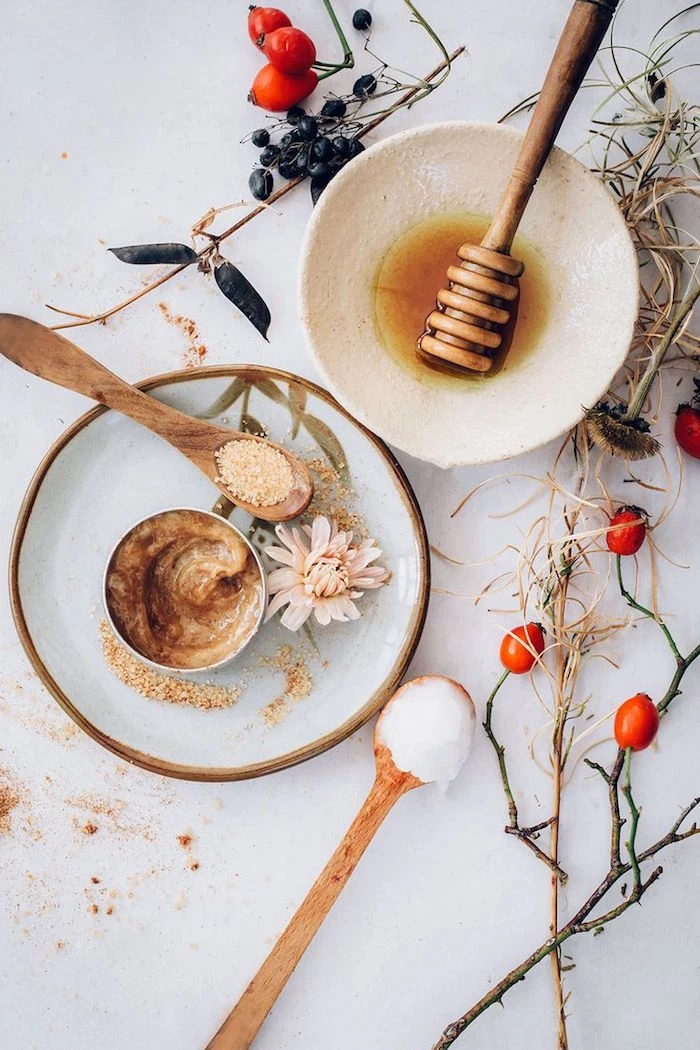
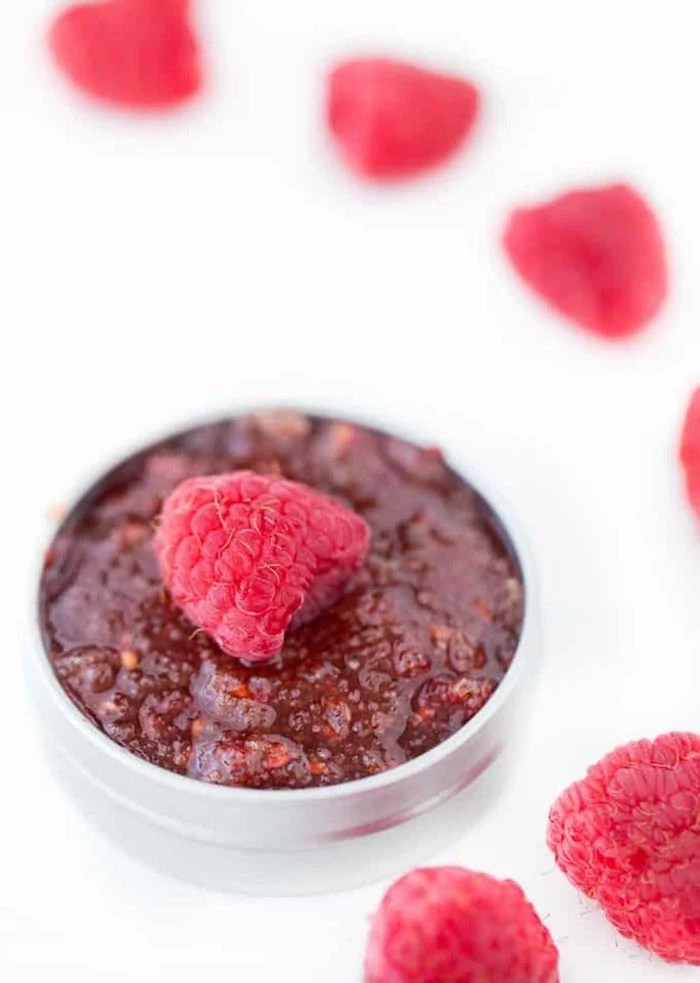
- Raw Honey: This is the gold standard for a lip scrub humectant. It draws in moisture and is also a natural antiseptic with anti-inflammatory properties, so it helps soothe irritation. Always try to use raw, unfiltered honey; pasteurization can destroy its beneficial enzymes. Manuka honey is pricier, but it’s a powerhouse for healing seriously chapped lips.
- Pure Maple Syrup: A great vegan alternative. It has some humectant properties and contains antioxidants. Just make sure you’re using 100% pure maple syrup, not breakfast syrup, which is just corn syrup and fake flavors.
Your Lip Scrub Shopping List
Before you start mixing, let’s talk about where to get this stuff and what you should expect to spend. It’s surprisingly affordable!
- Your Exfoliant: You probably already have sugar or coffee at home! If not, it’s just a few bucks at any grocery store.
- Your Oil: A 4oz bottle of high-quality Jojoba or Sweet Almond oil will run you about $10 to $20. Look for it in the natural skincare aisle at places like Whole Foods, Sprouts, or online. Virgin Coconut Oil is usually around $8-$12 a jar.
- Your Humectant: A jar of good Raw Honey costs between $8 and $15. Look for “raw” and “unfiltered” on the label at Trader Joe’s, a local farmer’s market, or any health food store.
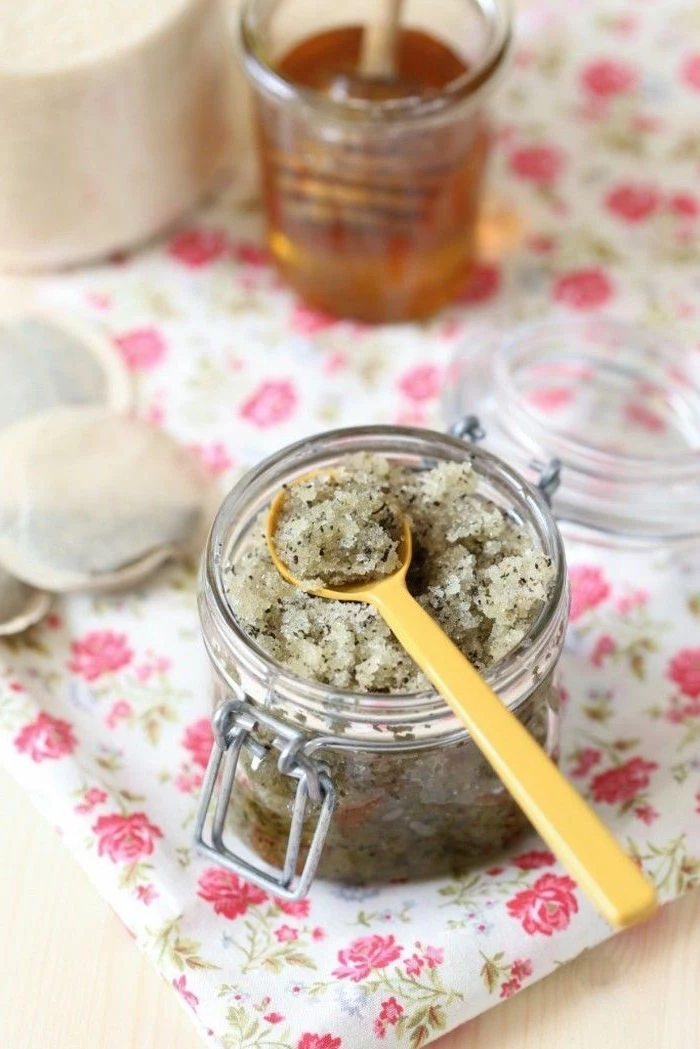
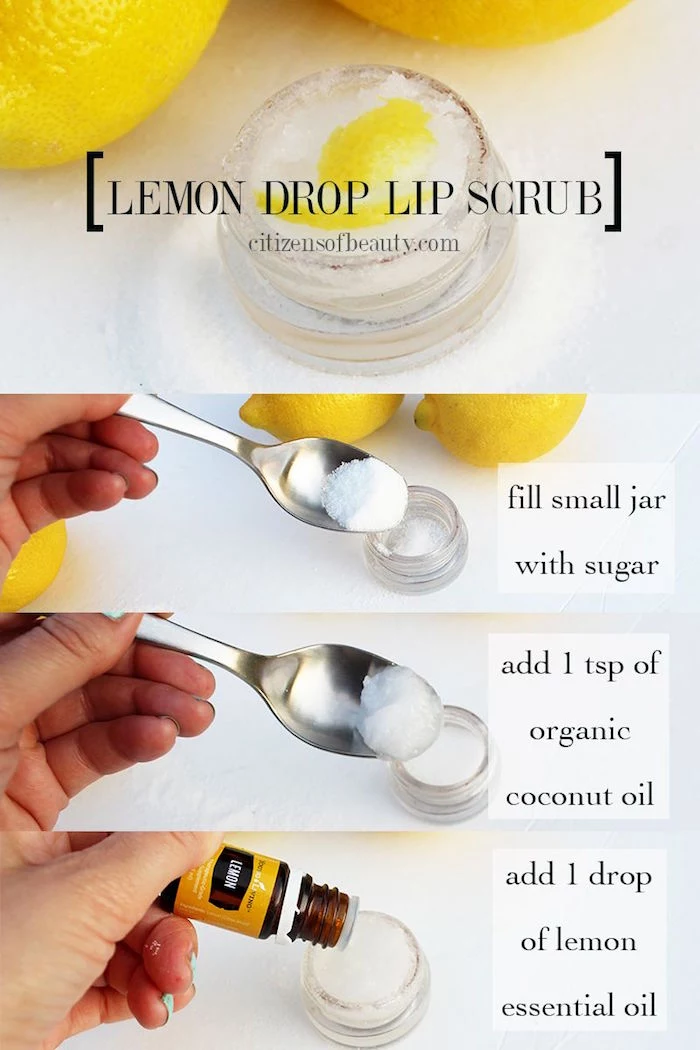
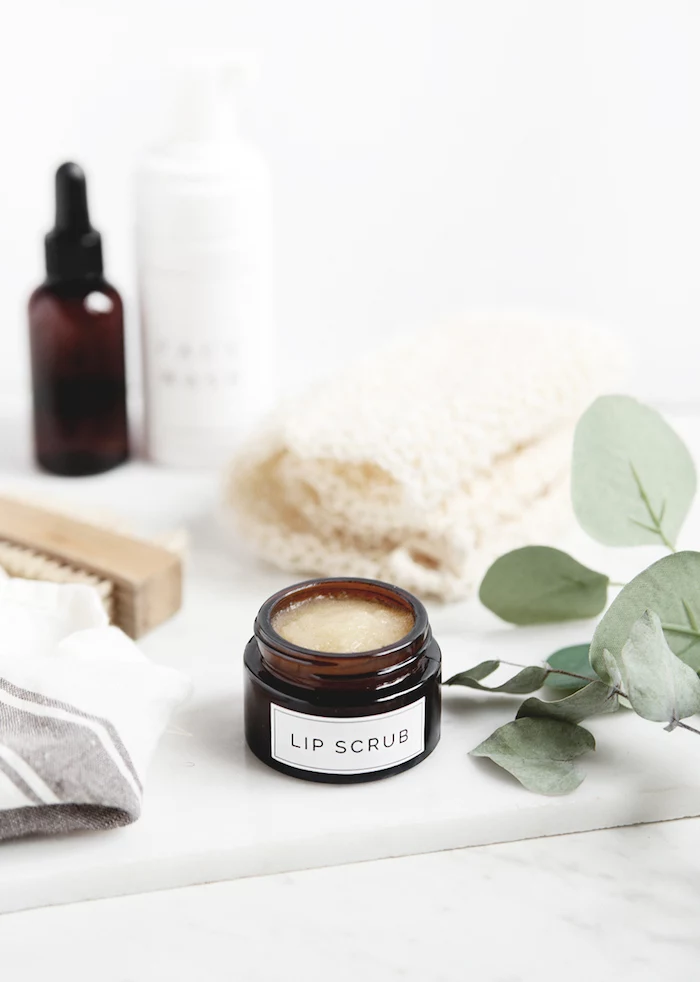
- Your Containers: You need a small, airtight jar. I recommend 1-ounce glass or PET plastic cosmetic jars. A pack of six is usually under $10 on Amazon or at a craft store. Remember to sterilize them first by running them through the dishwasher or washing in very hot, soapy water.
Let’s Make a Scrub: Pro-Level Recipes
Okay, time to put it all together. Think about your goal—do you need gentle soothing or an energizing boost?—and choose your ingredients from there.
Good to know: Each of these recipes makes about a quarter-cup of scrub, which should be enough for 10-15 uses.
Formula 1: The Everyday Soothing Scrub
This is the classic for a reason. It’s perfect for general upkeep and soothing mildly chapped lips.
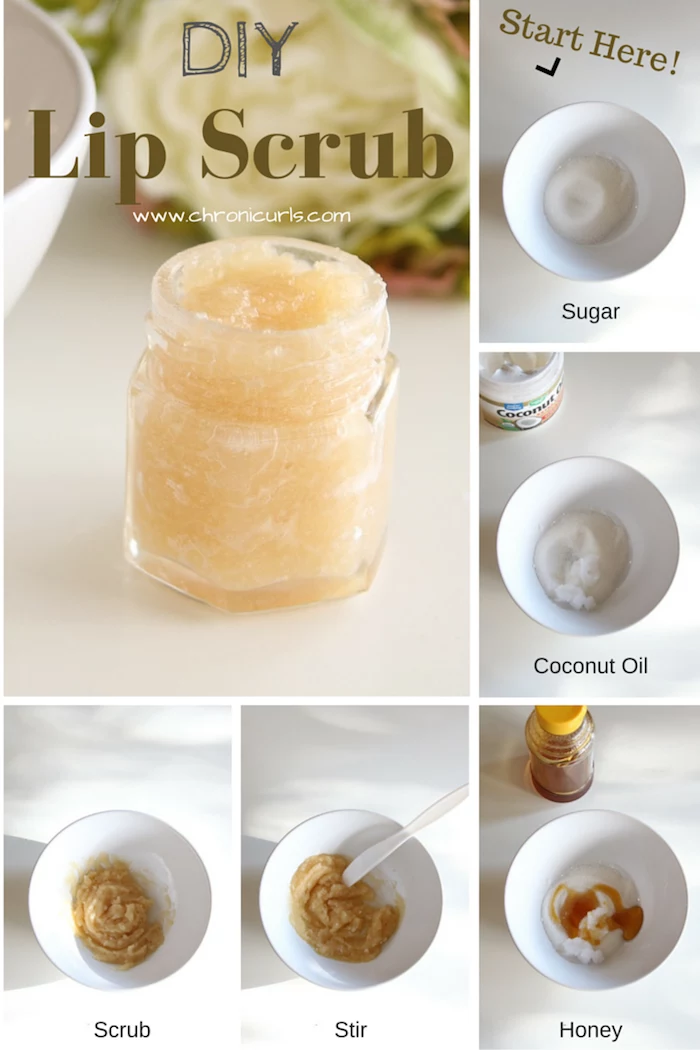
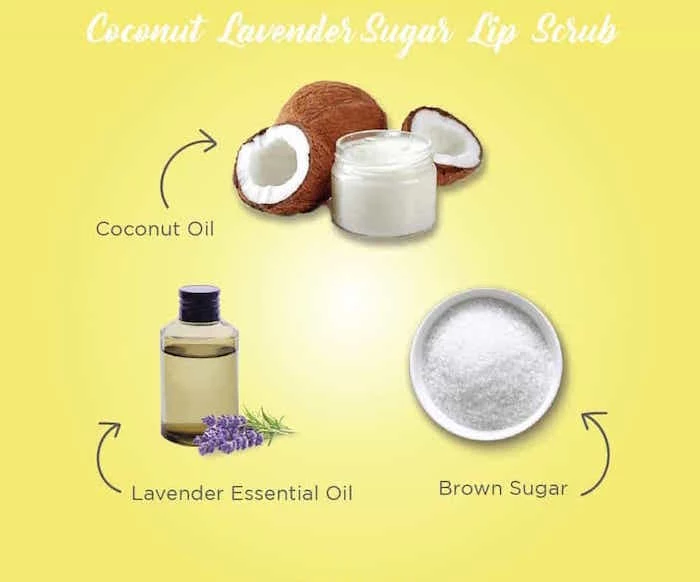
- You’ll Need: 2 tablespoons brown sugar, 1 tablespoon sweet almond oil, and 1 tablespoon raw honey.
- Optional: 1-2 drops of lavender essential oil for extra calming vibes.
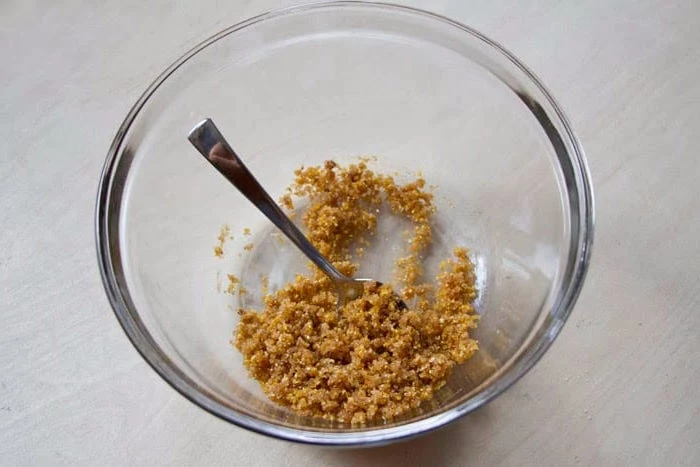
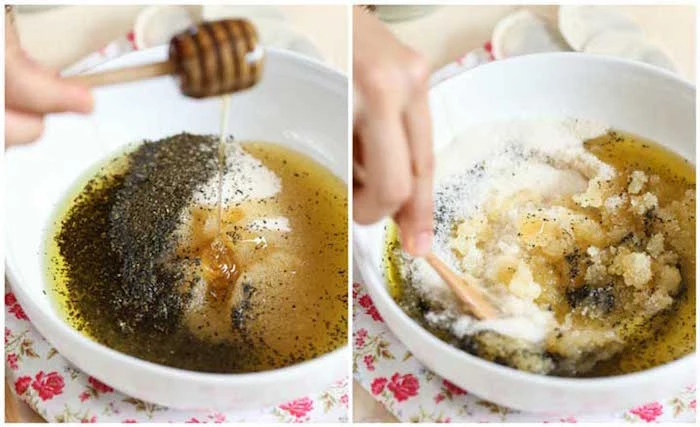
- Method: In a small, clean bowl, mix the honey and almond oil together first. This helps the sugar incorporate more evenly. Then, stir in the brown sugar until you have a thick, grainy paste. Add your essential oil last, if using.
Formula 2: The Energizing Morning Scrub
A little wake-up call for your lips. The coffee exfoliates gently while the peppermint gives a refreshing tingle.

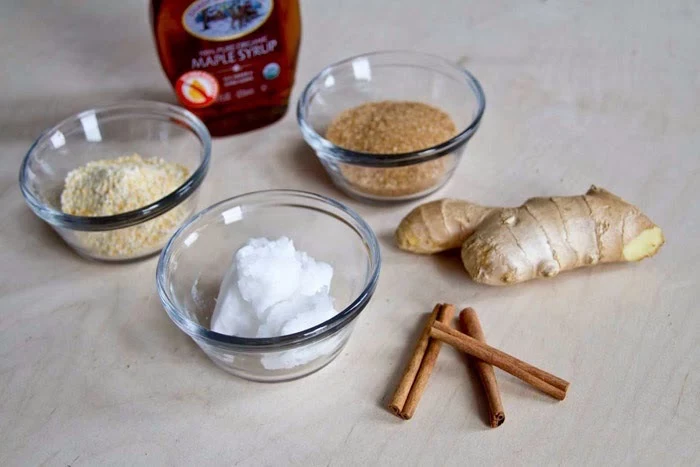
- You’ll Need: 2 tablespoons finely ground coffee, 1 tablespoon melted coconut oil, 1 tablespoon pure maple syrup, and 2 drops peppermint essential oil.
- Method: Gently melt the coconut oil. The best way to do this is in the microwave for 5-second bursts, stirring in between. You want it just liquid, not hot! Combine it with the maple syrup, then add the coffee grounds and mix. Stir in the peppermint oil at the very end. The mix will firm up as the coconut oil cools.
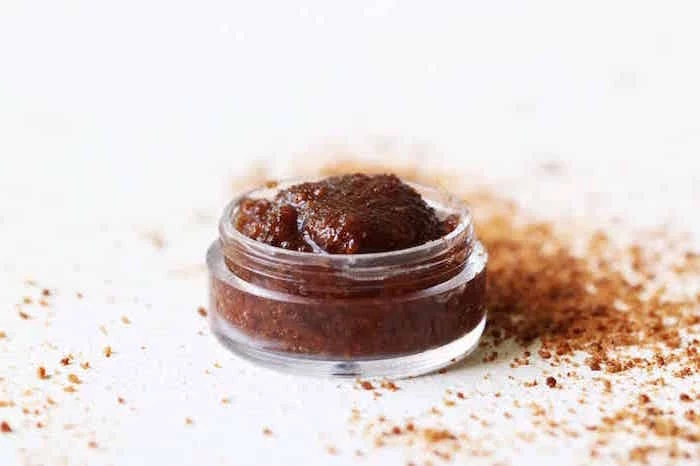
Formula 3: The Deeply Nourishing Cacao Scrub
This one is a treat for very dry lips, packing an extra antioxidant punch.
- You’ll Need: 2 tablespoons brown sugar, 1 tablespoon jojoba oil, 1/2 tablespoon raw honey, 1/2 tablespoon raw cacao powder, and 1/4 teaspoon vanilla extract.
- Method: Cacao powder can be a bit drying, so we adjust the ratios here. In one bowl, combine the jojoba oil, honey, and vanilla. In another, mix the brown sugar and cacao powder. Slowly pour the wet ingredients into the dry, stirring until just combined.
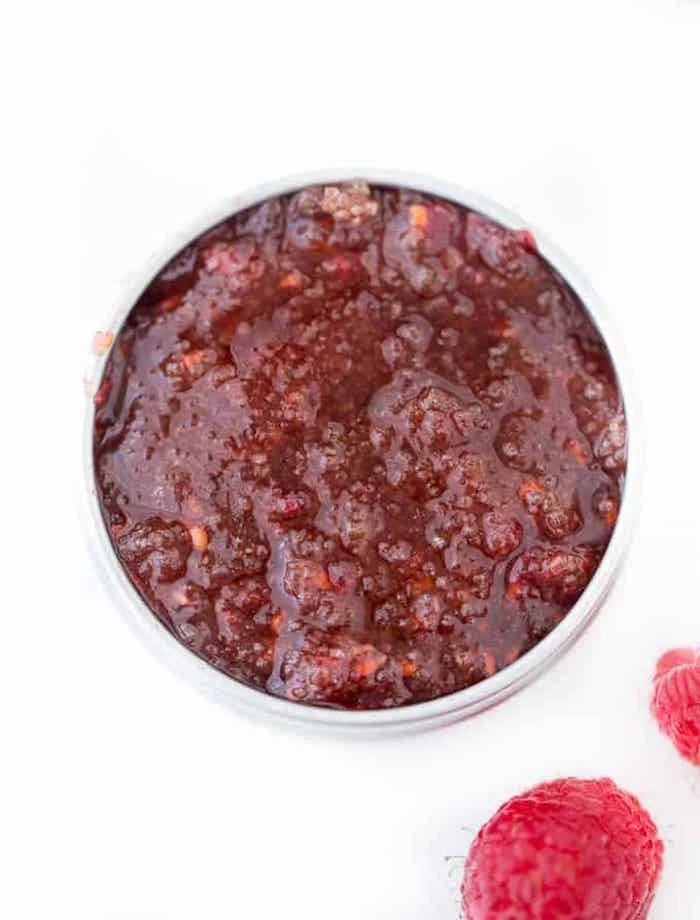
Quick tip for consistency: Is your scrub too runny? Add a tiny bit more sugar. Too dry and crumbly? A few more drops of oil will fix it right up.
How to Use It: Technique Is Everything
You can make the world’s best scrub, but if you use it wrong, you’ll just irritate your lips. Here’s the right way to do it.
- Prep Your Lips: Start with clean, makeup-free lips. Dab them with a little warm water to soften the skin.
- Apply a Small Amount: Scoop up a pea-sized amount with a clean finger or a tiny spatula.
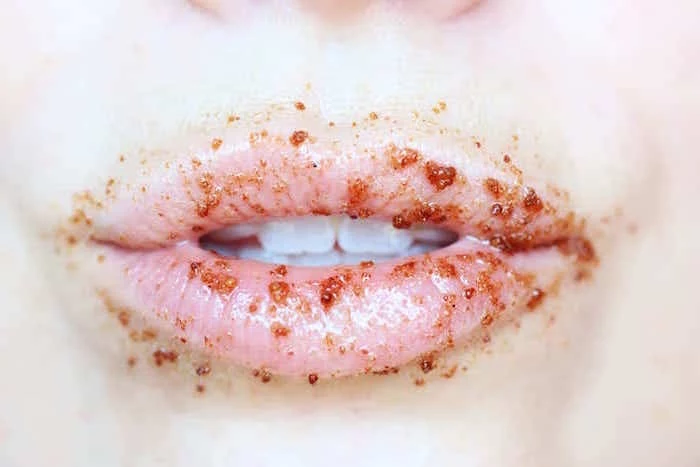
- Massage Gently: Using your ring finger (it naturally applies the least pressure), massage the scrub in small, slow circles for about 30-60 seconds. Don’t press hard! Let the granules do the work.
- Remove with Care: Don’t just wipe it off with a dry tissue—that’s way too harsh. Instead, press a soft, warm, damp washcloth against your lips for a few seconds, then gently wipe everything away. This leaves a light layer of nourishing oil behind.
- THE MOST IMPORTANT STEP: Immediately—and I mean immediately—apply a high-quality, protective lip balm. This is non-negotiable. You need something with occlusive ingredients like beeswax, shea butter, or lanolin to seal in all that goodness.
The Fine Print: Safety, Storage, and When to Stop
Homemade products are amazing, but they don’t have preservatives, so you have to be smart.
- How Often?: Less is more. For most people, twice a week is the absolute max. If you have sensitive skin, once a week is plenty. If your lips feel tender after, you’re scrubbing too hard or too often.
- When NOT to Scrub: Never use a scrub if your lips are actively sunburned, cracked and bleeding, have a cold sore, or are severely windburned. You’ll just make it all worse. Wait until they’re fully healed.
- Storage and Shelf Life: Keep your scrub in that airtight jar. At room temperature, it’ll last 2-3 weeks as long as you don’t get any water in it. To be safe, I like to store mine in the fridge, where it can last up to a month. Always use a clean finger or a spoon to scoop it out. If it ever smells weird, changes color, or looks spotty, throw it out immediately.
And for a final quick win… In a pinch and don’t have time to make a scrub? After brushing your teeth, gently buff your lips with your damp toothbrush for about 5 seconds. It’s not as luxurious, but it works. Just be sure to follow up with a thick balm right away for instant smoothness!
Finally, remember that a scrub is for common dryness. If you have lips that are constantly peeling, cracked, or painful no matter what you do, it’s time to see a dermatologist. It could be a sign of something else, and it’s always best to get an expert medical opinion when something feels off.
Inspirational Gallery
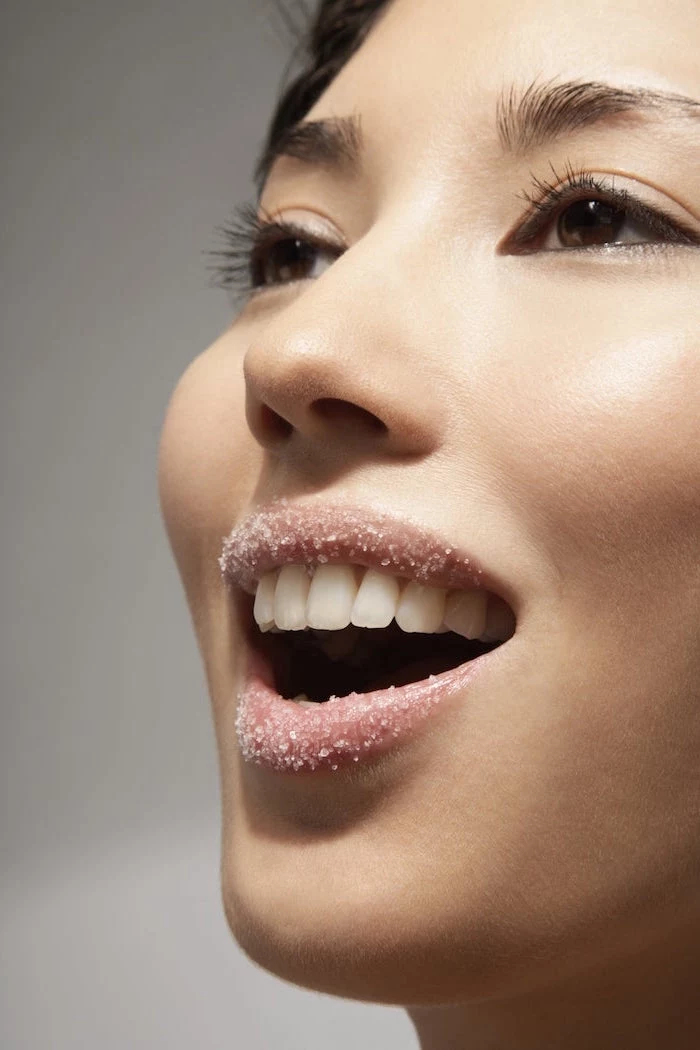
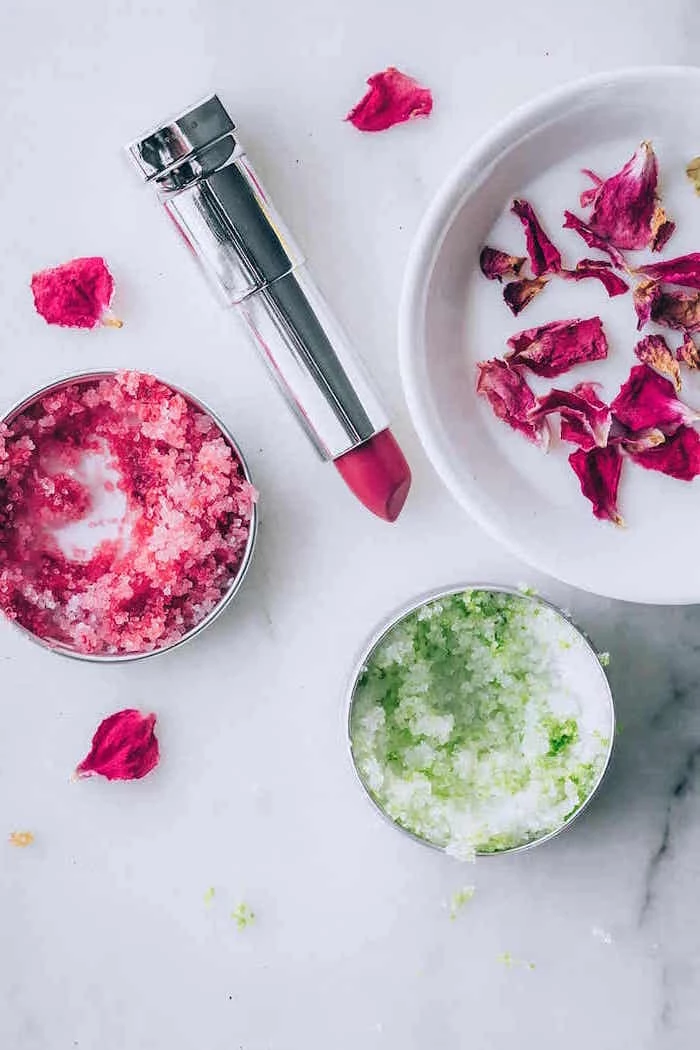
- Creates a perfectly smooth canvas for lipstick.
- Allows lip balms and treatments to penetrate deeper.
The secret? Exfoliating at night. Your body goes into repair mode while you sleep, making it the ideal time to buff away dead skin and apply a nourishing balm, allowing your lips to heal undisturbed.
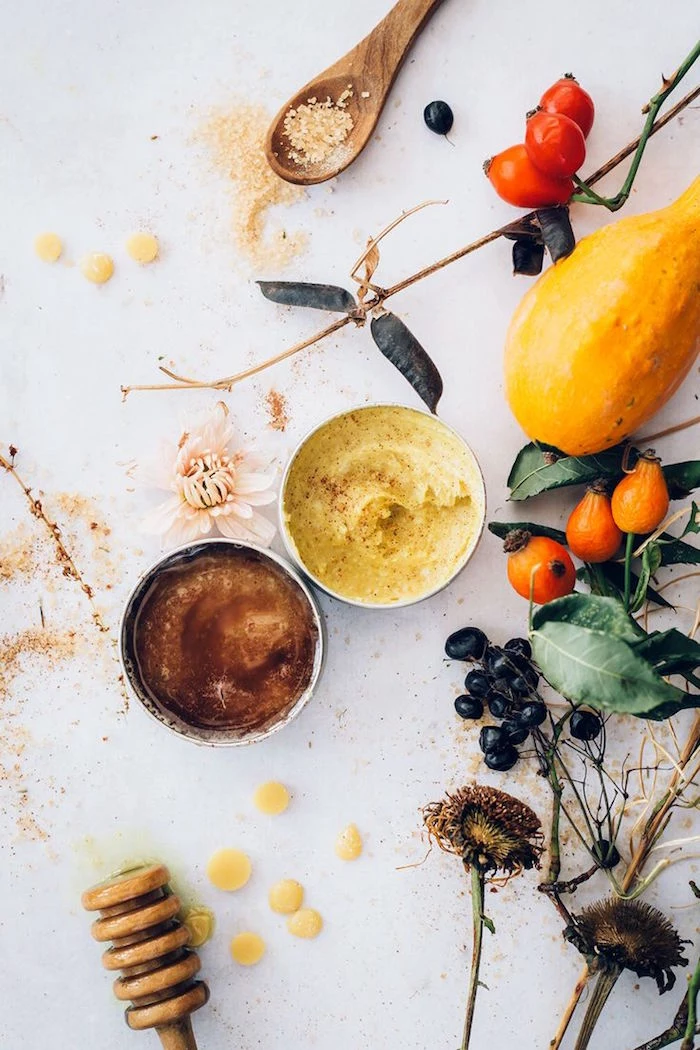
The great oil debate: When it comes to the carrier oil in your scrub, not all are created equal. Jojoba Oil: Its molecular structure is incredibly similar to our skin’s natural sebum, meaning it’s absorbed beautifully without a greasy feel. Coconut Oil: It’s intensely moisturizing and antibacterial, but can feel heavier and may clog pores around the mouth for some skin types. For a lightweight, pro-level feel, jojoba is often the winner.
The skin on the lips is some of the thinnest on the entire body, making it exceptionally vulnerable to transepidermal water loss.
This means moisture evaporates from your lips much faster than from your cheeks or forehead. A good scrub removes the dry barrier, but following up with an occlusive balm (containing ingredients like shea butter or beeswax) is crucial to lock that precious moisture in.
Can I use salt instead of sugar in my lip scrub?
While it might seem like a good swap, it’s best to stick with sugar. Salt crystals, especially coarser varieties like sea salt, have sharp, irregular edges that can create micro-tears in the delicate lip skin, leading to irritation and inflammation. Fine brown or caster sugar provides effective yet gentle exfoliation, dissolving as you scrub.
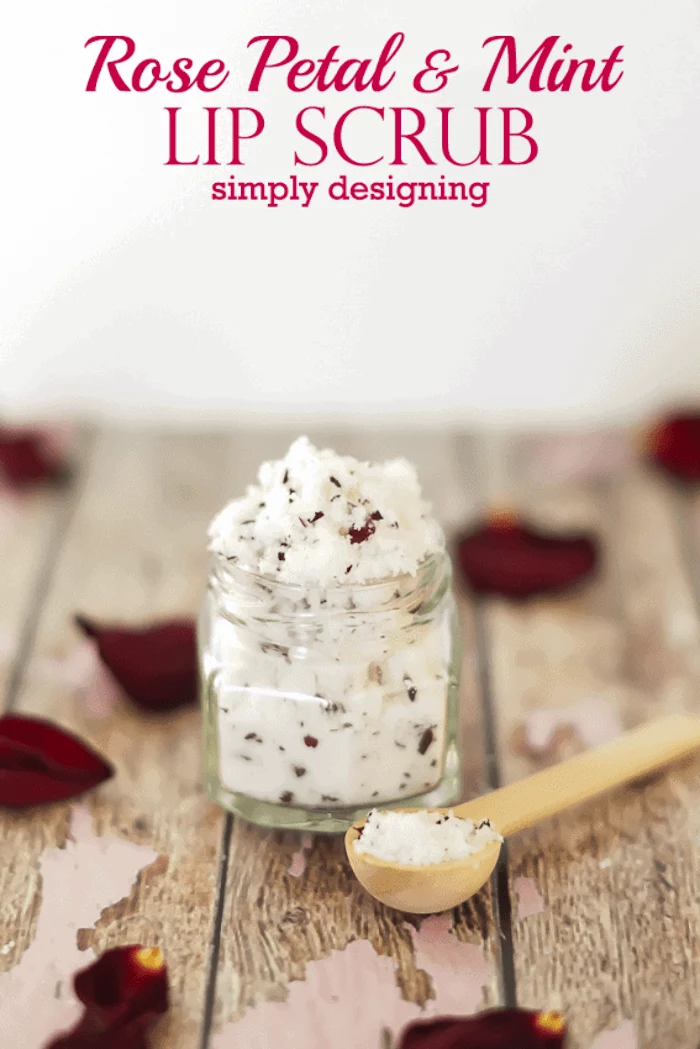
Give your scrub a ‘sensory’ theme. For a morning pick-me-up, combine finely ground coffee beans with a hint of vanilla and sweet almond oil. For a relaxing evening ritual, try mixing lavender essential oil (just one drop!) with chamomile-infused oil and fine sugar. It transforms a simple routine into a moment of self-care.
Don’t let your creation spoil: Your homemade scrub is free of synthetic preservatives, so storage is key.
- Keep it in a small, airtight container. A tiny glass jar from Muji or a repurposed Le Creuset mini cocotte works beautifully.
- Store it in a cool, dark place like a medicine cabinet, not in the steamy shower.
- Always use a clean fingertip or a small spatula to scoop out the product to avoid introducing bacteria.
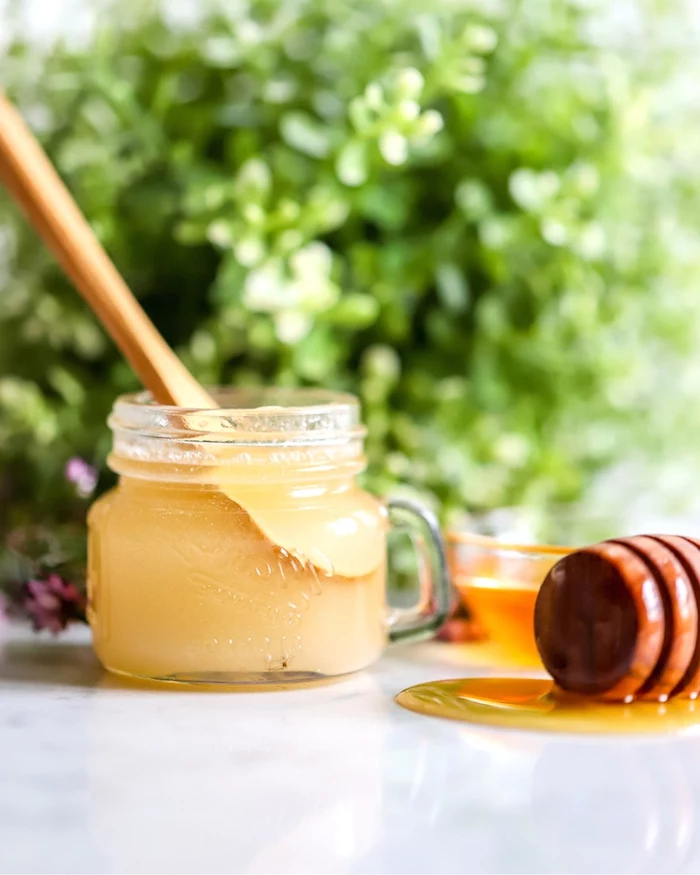
A 2012 study in the International Journal of Cosmetic Science found that honey not only provides moisture but also promotes skin cell regeneration.
This is why adding a dash of raw Manuka honey to your scrub does more than just bind the ingredients. It acts as a natural humectant, drawing moisture to the lips, and its enzymes offer a mild chemical exfoliation to complement the physical scrubbing of the sugar.
Think beyond basic sugar and oil. A single drop of peppermint essential oil can create a wonderfully cooling sensation and temporarily boost circulation for a subtle plumping effect. It’s the perfect addition for a pre-makeup scrub to prep your lips for color.
A common mistake: scrubbing too hard or too often. Over-exfoliation strips the lips’ fragile protective barrier, leaving them raw, sensitive, and even more prone to dryness. Limit your scrub session to once or twice a week, using gentle, circular motions for about 30 seconds.
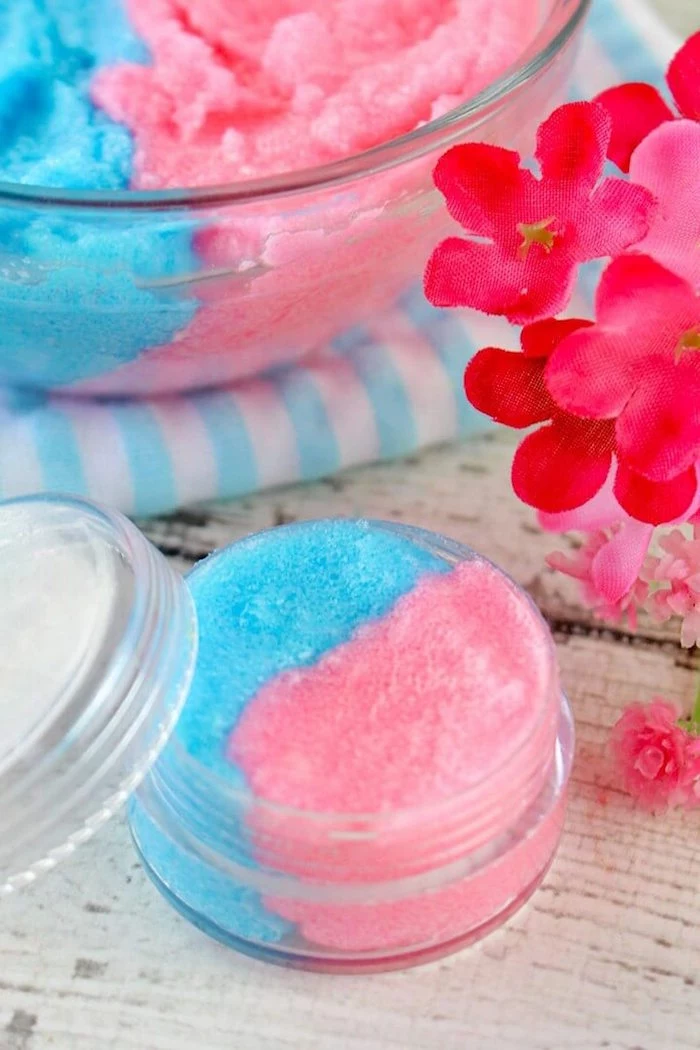
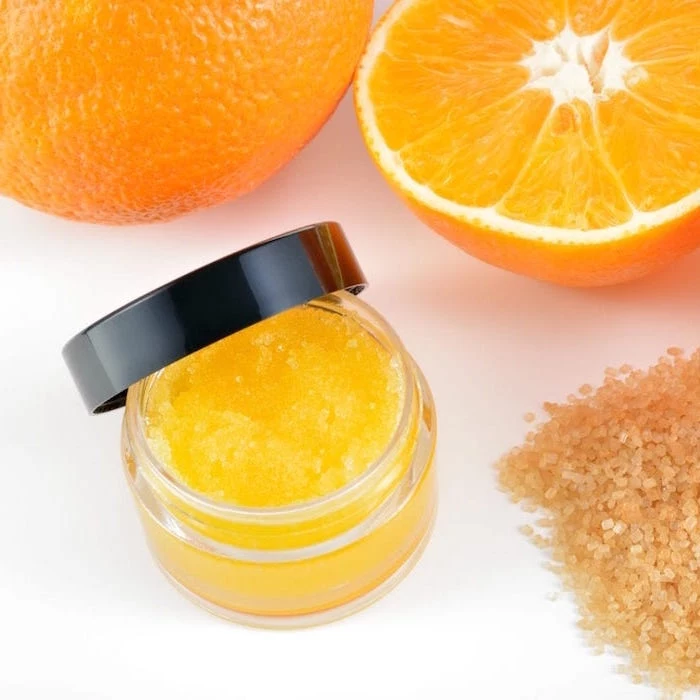
Want to add a hint of color naturally? Skip the food coloring, which can stain. Instead, infuse your oil beforehand. Gently warm your oil (like sweet almond or grapeseed) with a pinch of beetroot powder for a rosy tint or a tiny amount of turmeric for a golden hue. Let it infuse for an hour, then strain it through a cheesecloth before mixing it with your sugar.
- It extends the shelf life of your scrub.
- It provides powerful antioxidant protection against environmental damage.
The secret? Adding a capsule of Vitamin E oil. Simply pierce a standard Vitamin E supplement capsule (like those from Solgar or Nature’s Bounty) and squeeze the oil into your mixture. It acts as a natural preservative and gives your lips an extra dose of nourishment.
Your post-scrub routine is just as important as the scrub itself. After rinsing, immediately apply a thick, hydrating lip mask to seal in the benefits. For an intensive treatment, slather on a product like the LANEIGE Lip Sleeping Mask, leaving it on overnight. You’ll wake up with incredibly soft, rejuvenated lips.
The global lip care products market is projected to reach $2.98 billion by 2028.
This huge market shows just how universal the quest for healthy lips is. But you don’t need to spend a fortune. A well-made DIY scrub using quality pantry ingredients often outperforms expensive store-bought options because you control the freshness and ingredient ratios.
My scrub feels too dry and crumbly, what did I do wrong?
It’s an easy fix! This just means your ratio of dry to wet ingredients is off. Simply add your chosen oil, drop by drop, and mix until you reach a wet-sand consistency that’s easy to scoop and spread. If it’s too oily, just add a bit more sugar. The beauty of DIY is that it’s fully adjustable.
Brown Sugar: Contains molasses, which is a natural source of glycolic acid (an AHA) that helps dissolve dead skin cells. Its crystals are softer and less abrasive than white sugar. Perfect for sensitive lips.
Fine Caster Sugar: The smaller crystals provide a more gentle physical exfoliation. It’s a great option if you find brown sugar a bit too coarse.
For the best of both worlds, try mixing them half-and-half.
Don’t throw out your used coffee grounds! They make a fantastic, zero-waste lip exfoliant. The fine grounds are gentle on the skin, and the residual caffeine can help stimulate blood flow, giving your lips a vibrant, healthy look. Just mix a teaspoon of used, dried grounds with a bit of coconut oil for an instant, eco-friendly scrub.
Go beyond the kitchen and create a truly ‘pro’ blend by adding a few drops of a hyaluronic acid serum, like The Ordinary’s Hyaluronic Acid 2% + B5, into your scrub mixture. This super-hydrator will help plump the lips with moisture from the inside out as you exfoliate, giving you a double-duty treatment in one step.
Honey: A natural humectant and antiseptic, it draws moisture into the lips and helps heal cracks. Its thick texture is perfect for binding scrubs.
Agave Nectar: A great vegan alternative to honey. It’s also a humectant with a similar consistency, though it lacks the same antibacterial properties.
Both are excellent choices for adding moisture and hold to your recipe.
Get creative with ‘cocktail’ inspired flavors for a fun twist.
- Mojito: Fine white sugar, a drop of peppermint oil, a drop of lime essential oil, and light grapeseed oil.
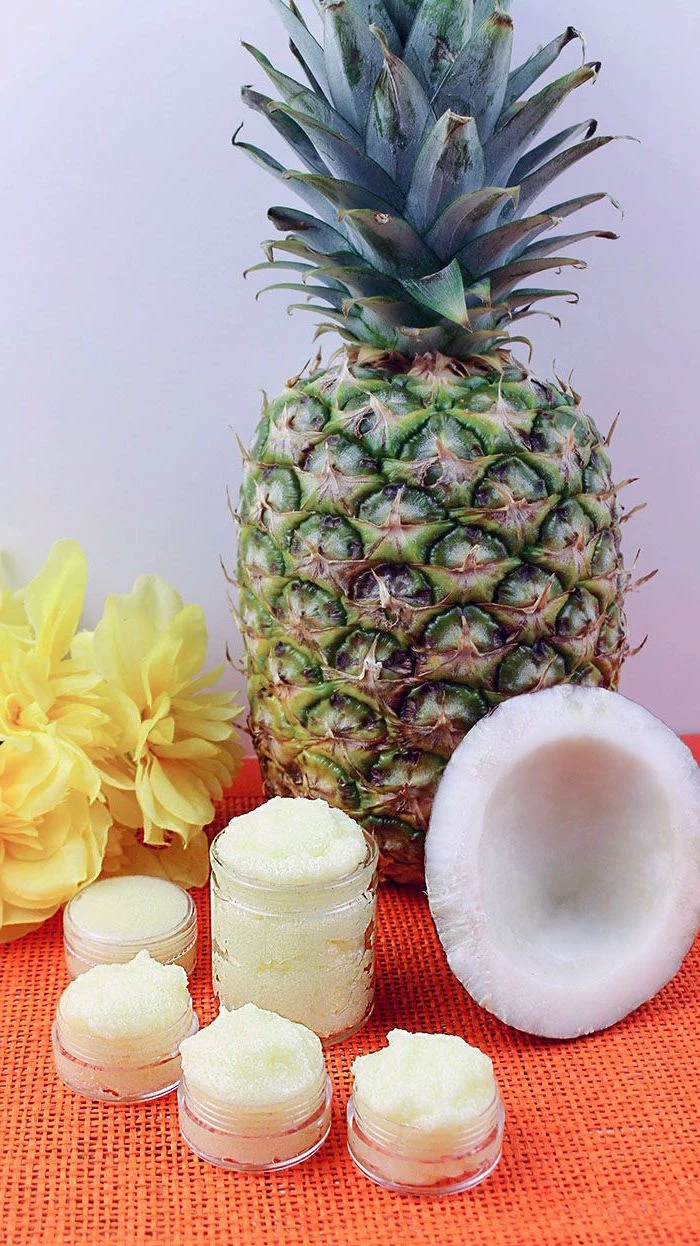
- Piña Colada: Coconut oil, a dash of pineapple juice (use immediately!), and sugar.
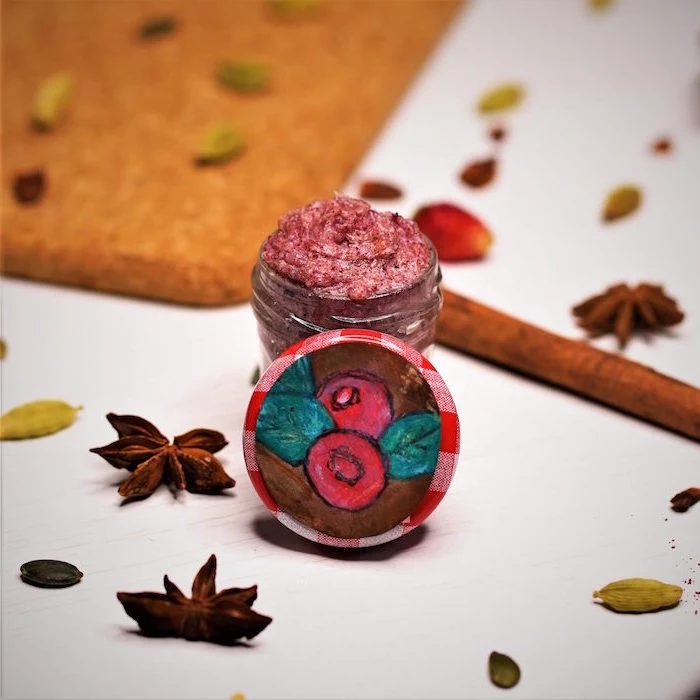
- Spiced Chai: Brown sugar, almond oil, and a pinch of cardamom and cinnamon powder.
A little-known fact: Ancient Egyptians, renowned for their cosmetics, used a mixture of red ochre, iodine, and bromine mannite to color their lips. While effective, this combination was highly toxic. Thankfully, our modern DIY approach focuses purely on health and nourishment!
For an ultra-gentle exfoliation that’s more chemical than physical, look to fruit enzymes. Mashing a tiny piece of pineapple or papaya and mixing it with honey creates a potent scrub. The enzymes (bromelain in pineapple, papain in papaya) dissolve dead skin cells without any harsh scrubbing needed. Use this type of scrub immediately, as the enzymes are most active when fresh.
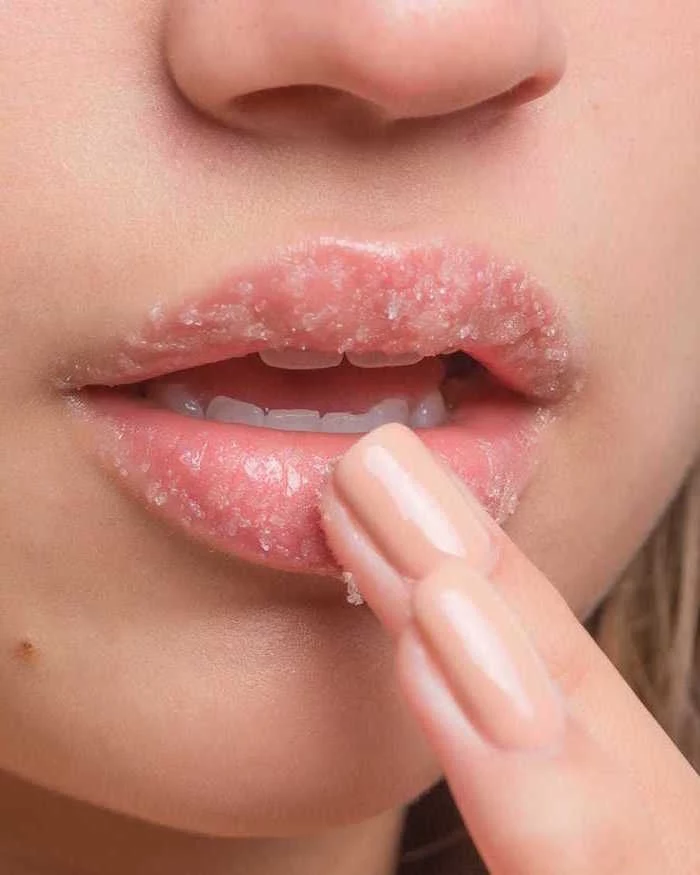
What’s the best way to apply the scrub for maximum effect?
Use your ring finger, as it naturally applies the gentlest pressure. Scoop a pea-sized amount and apply it to clean, dry lips. Use small, slow, circular motions to massage the product for about 30 seconds. This lifts the dead skin without causing irritation. Let it sit for another minute to allow the oils to penetrate, then rinse with lukewarm water.
No fancy ingredients? No problem. The simplest and most effective scrub can be made with two things you definitely have: brown sugar and olive oil. Mix a teaspoon of sugar with just enough olive oil to form a paste. It’s a classic for a reason—it works perfectly to soften and smooth in a pinch.
The trend in advanced skincare is moving towards polyhydroxy acids (PHAs) for gentle exfoliation. While not a typical DIY ingredient, you can mimic the principle by choosing exfoliants that also hydrate. Ingredients like finely ground oats or almond flour mixed with honey can provide a much milder buffing action than sugar, ideal for extremely reactive or damaged lips.
Think about the container as part of the experience. Storing your scrub in a beautiful, non-plastic container feels more luxurious and is better for the environment. Look for tiny empty cosmetic pots on sites like Etsy, or repurpose a small, sterilized jam jar or spice container. It makes your homemade product feel like a high-end purchase.


