Why I Stopped Buying Chalk Paint (And How to Make It Better for Pennies)
I’ve been breathing new life into old furniture for a long time, and I’ve seen a lot of trends come and go. But let’s be honest, the arrival of chalk-style paint really shook things up for everyone, from pros to weekend DIYers. I can still picture the first time I used a brand-name version on a sad little pine dresser. The way it just gripped the surface was wild, and that matte finish was a game-changer. But the price? Ouch. A quart can easily set you back $40 or more, and the color choices often felt… limited.
In this article
That’s what sent me back to my workshop to figure it out for myself, leaning on old-school techniques for mixing paints from scratch. And here’s what I learned: making your own isn’t just about saving a ton of money (though you absolutely will). It’s about having total control. You get to perfect the texture, nail the exact custom color you need, and create a finish that’s uniquely yours. This guide is all my trial and error rolled into one, so you can skip the mistakes and get right to the good stuff.
Your Simple Shopping List
Before we dive in, let’s get you set up. Having everything on hand makes the process so much smoother. Here’s what you’ll generally need:
- Flat Latex Paint: A small sample pot ($5-$8) is often enough for a small project. Any brand like Behr, Sherwin-Williams, or Benjamin Moore works great.
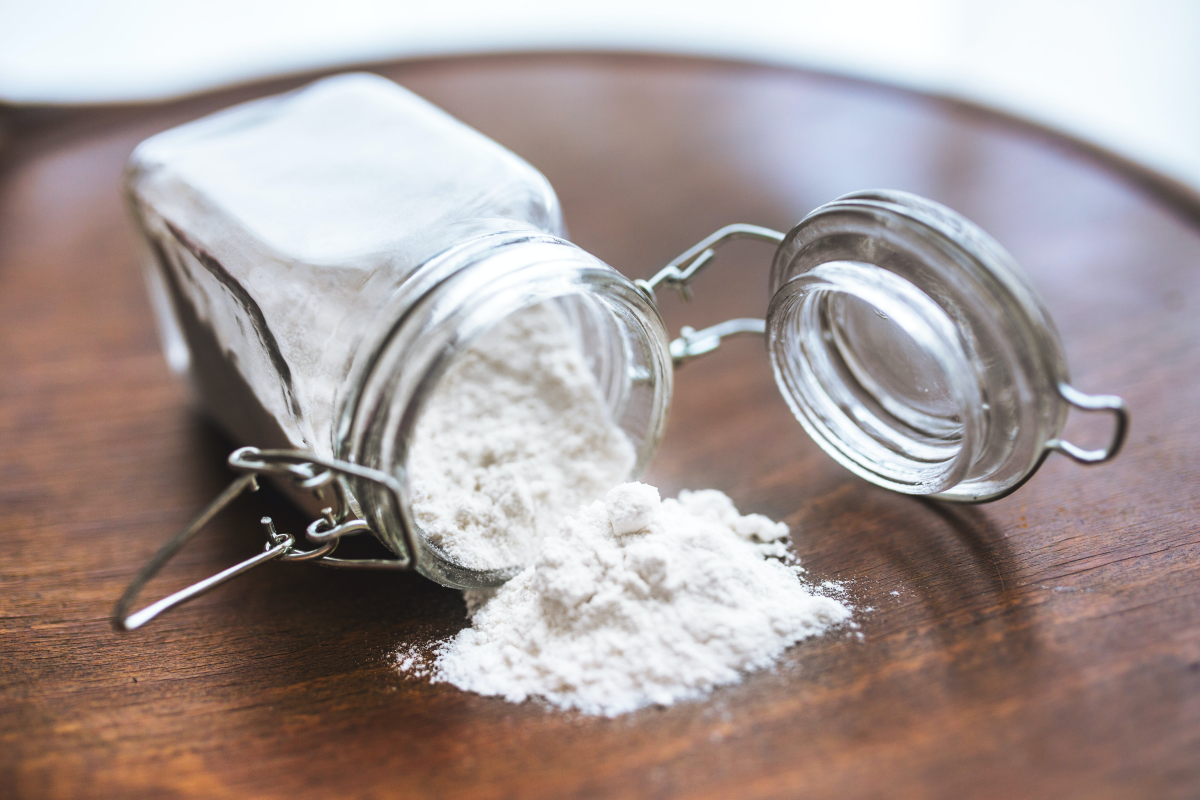
- Your Additive: We’ll cover these in a second, but Calcium Carbonate is my top pick. You can get a huge bag from a pottery supply store or online for about $10-$15, and it will last you for dozens of projects.
- Mixing Supplies: A few disposable cups, a paint stir stick (or a small whisk), and some warm water.
- An Airtight Container: If you plan on saving your paint, a small mason jar or a tupperware container works perfectly.
So, What’s the Secret Sauce in Chalk-Style Paint?
Before we start mixing, it helps to know why this stuff works so well. The magic is all about loading up regular latex paint with a fine, mineral-based powder. In normal paint, the binders create a smooth, plastic-like film as the water evaporates. By dumping in a bunch of powder (like calcium carbonate), you create a super porous, almost microscopic honeycomb texture.
This rough surface is what gives the paint its signature velvety-matte look and incredible grip. It’s not just sticking; it’s physically grabbing onto any tiny imperfection on the furniture. This is why you can often skip heavy-duty sanding, but it’s also why the paint is so thirsty and needs a top coat to protect it from stains and moisture.
Choosing Your Ingredients: The Foundation of Your Paint
Your finished paint will only be as good as the stuff you put in it. This is probably the most important decision you’ll make.
The Paint Base
Always start with a good quality, water-based latex paint with a flat or matte finish. It seems obvious, but using a semi-gloss or satin paint is like trying to swim upstream; you’re fighting the very shine you’re trying to eliminate. I’ve found that the paints you’d buy for your walls, like those from Home Depot or a dedicated paint store, have better pigments and binders than the cheap, watery contractor-grade stuff. This results in a much more durable final product.
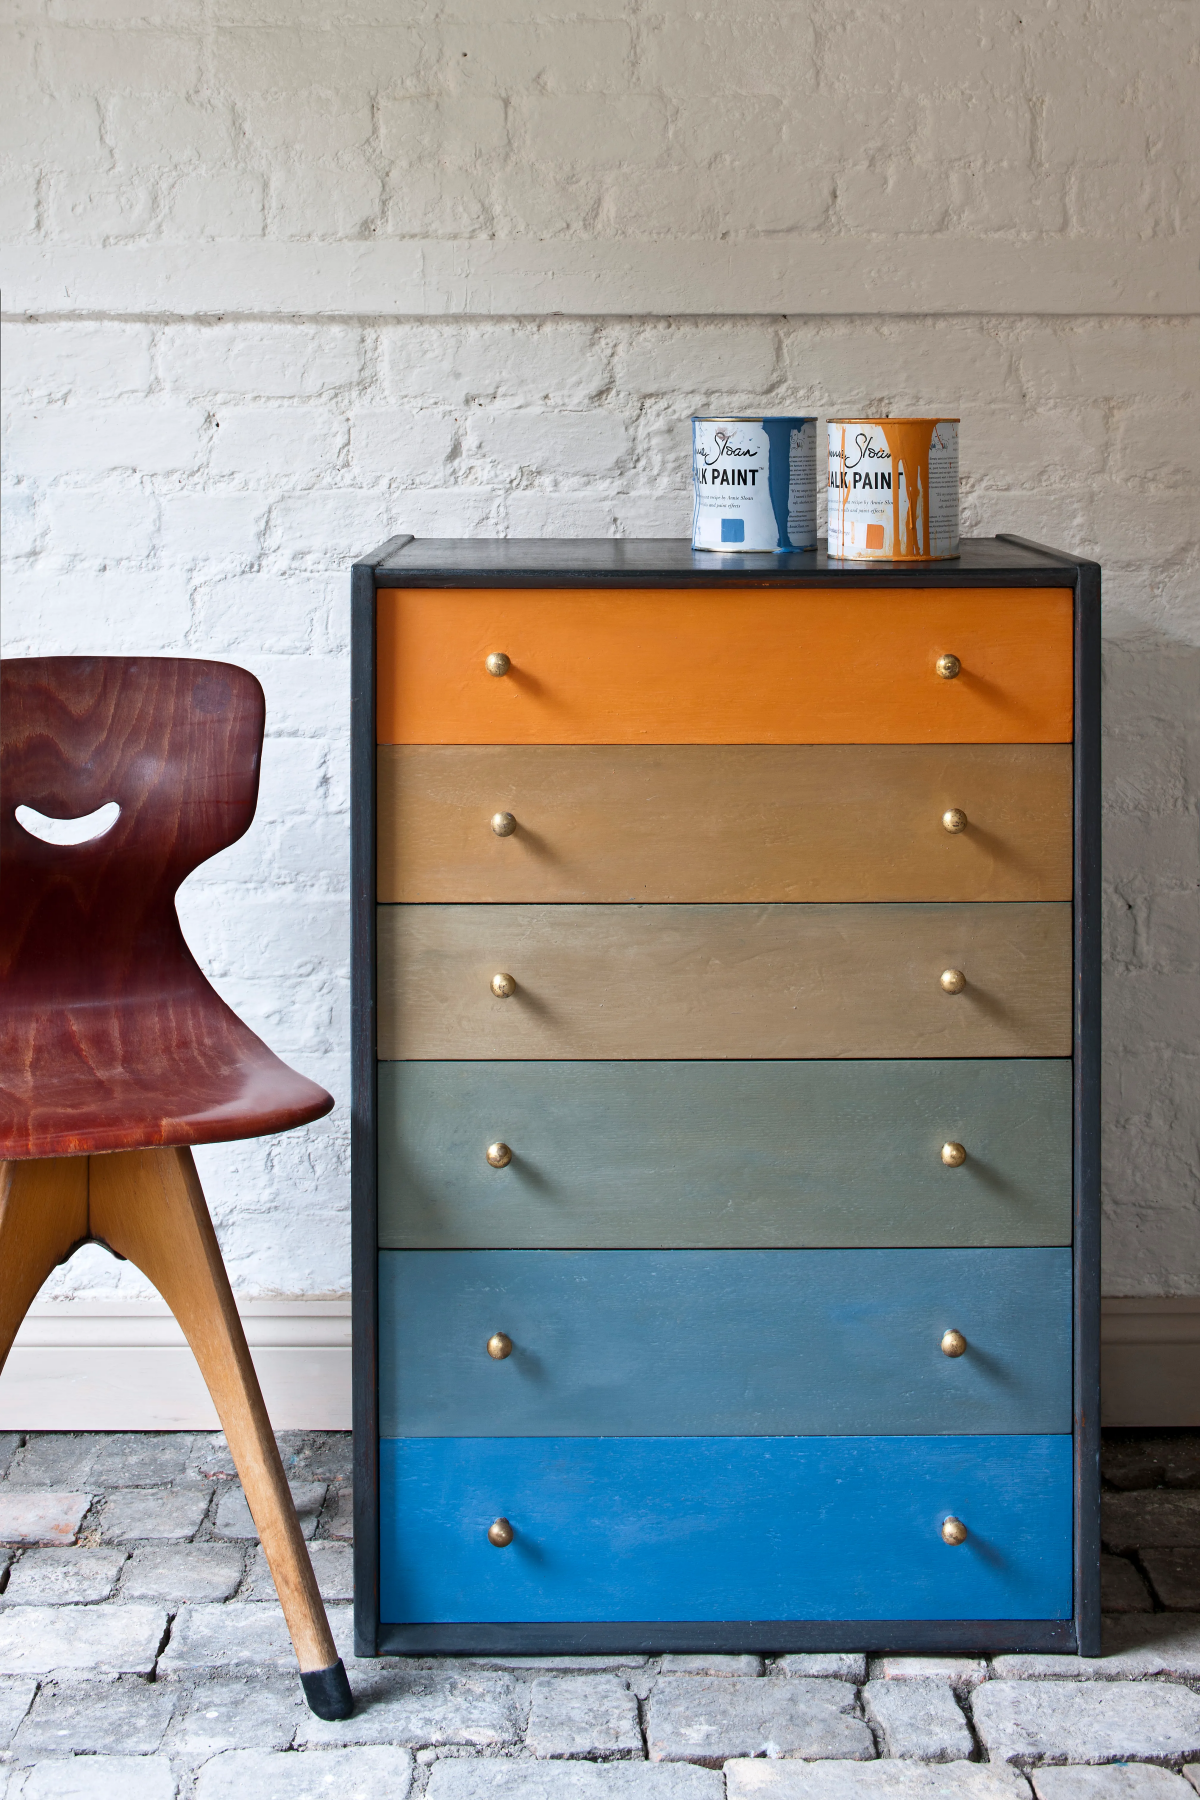
A quick tip on color: You can start with any color you like! Or, for ultimate control, buy a quart of white or light-base flat paint and use universal color tinters (those little squirt bottles at the hardware store) to mix the exact shade you want. It’s a game-changer for custom work.
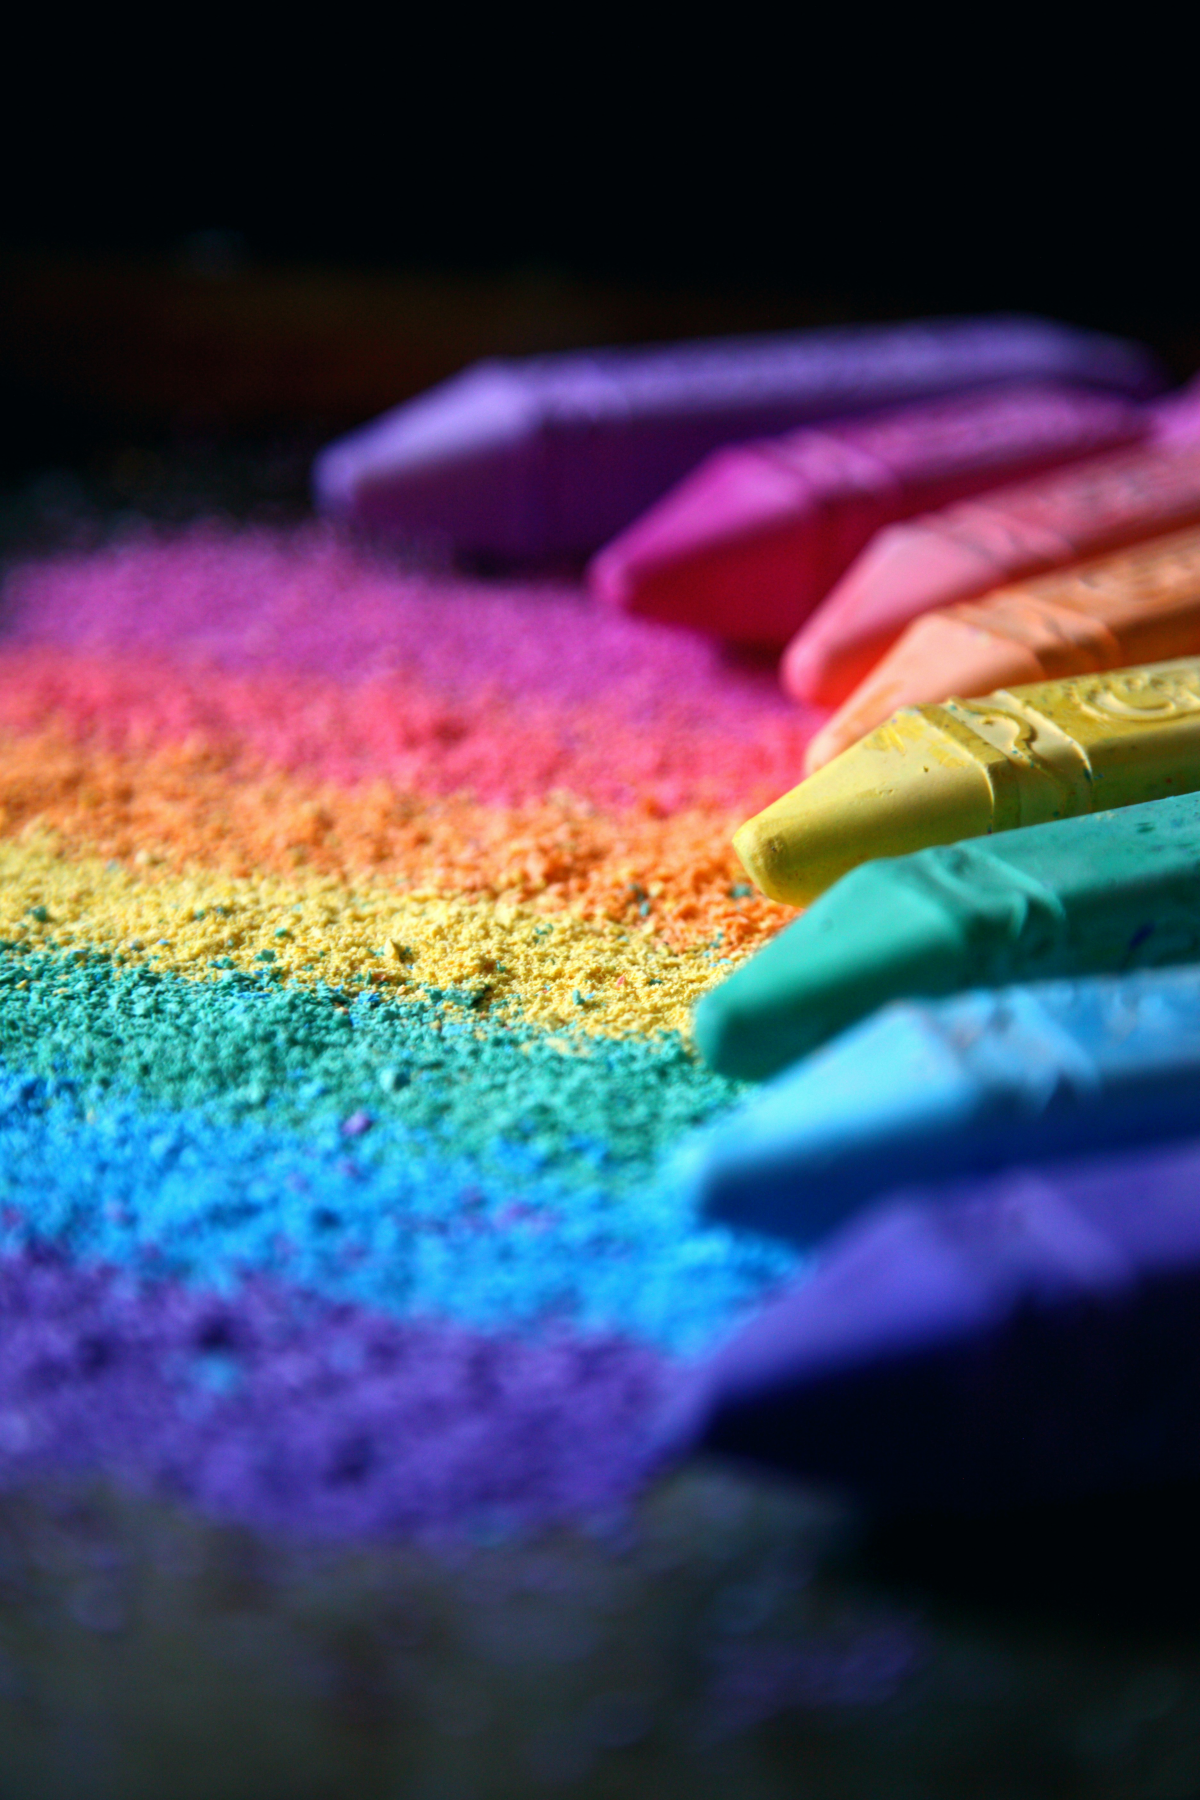
The Powder Additives: The Good, The Bad, and The Gritty
This is where the real character of your paint comes from. I’ve tried them all, and here’s my honest breakdown.
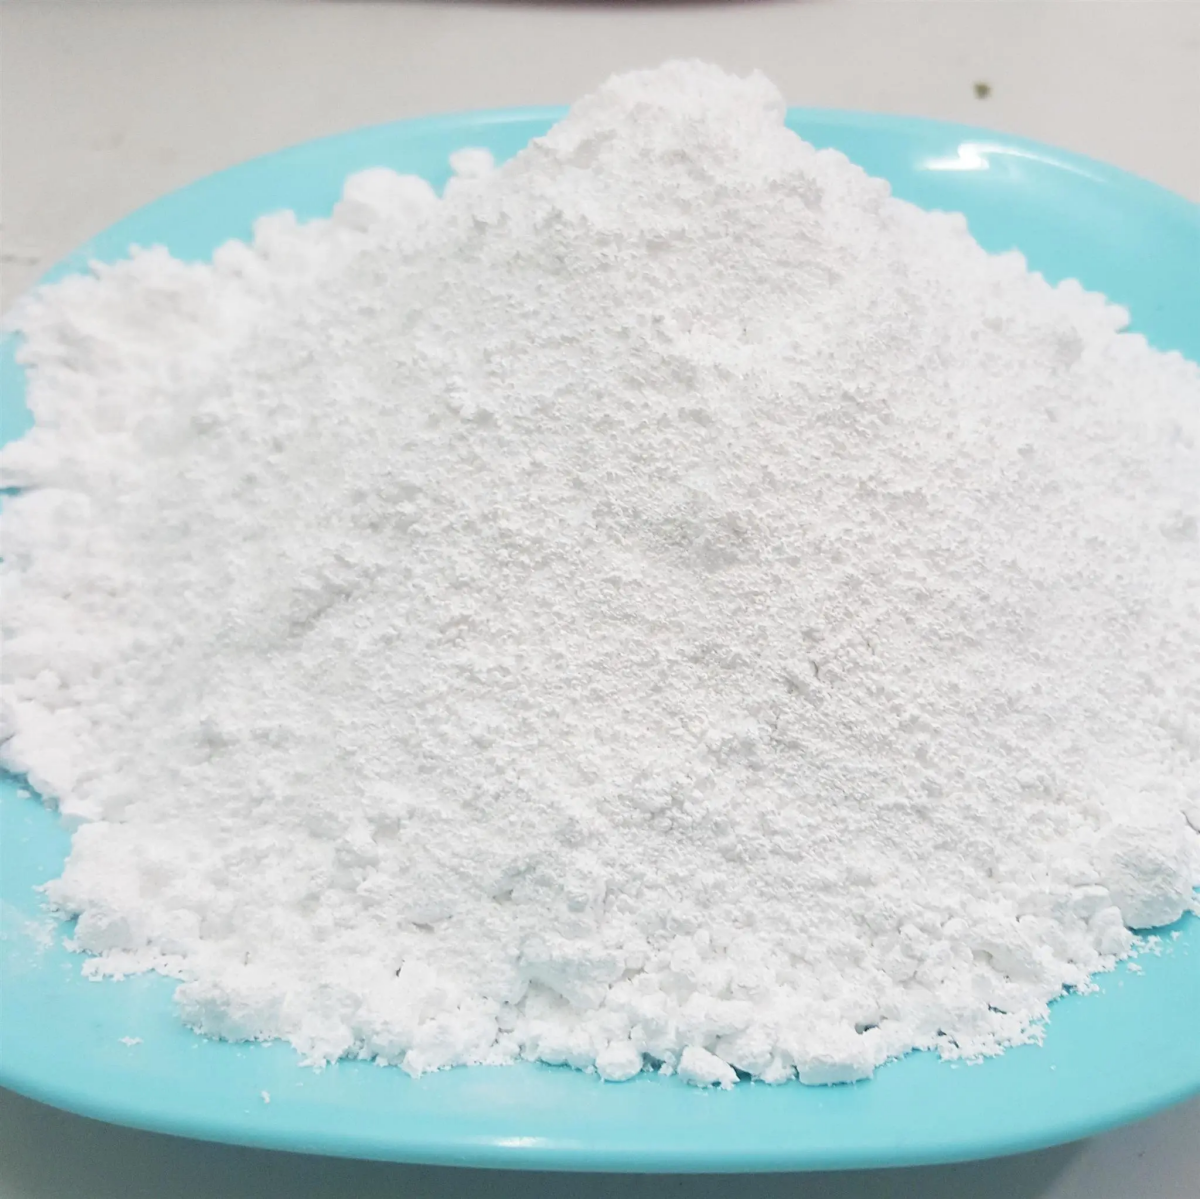
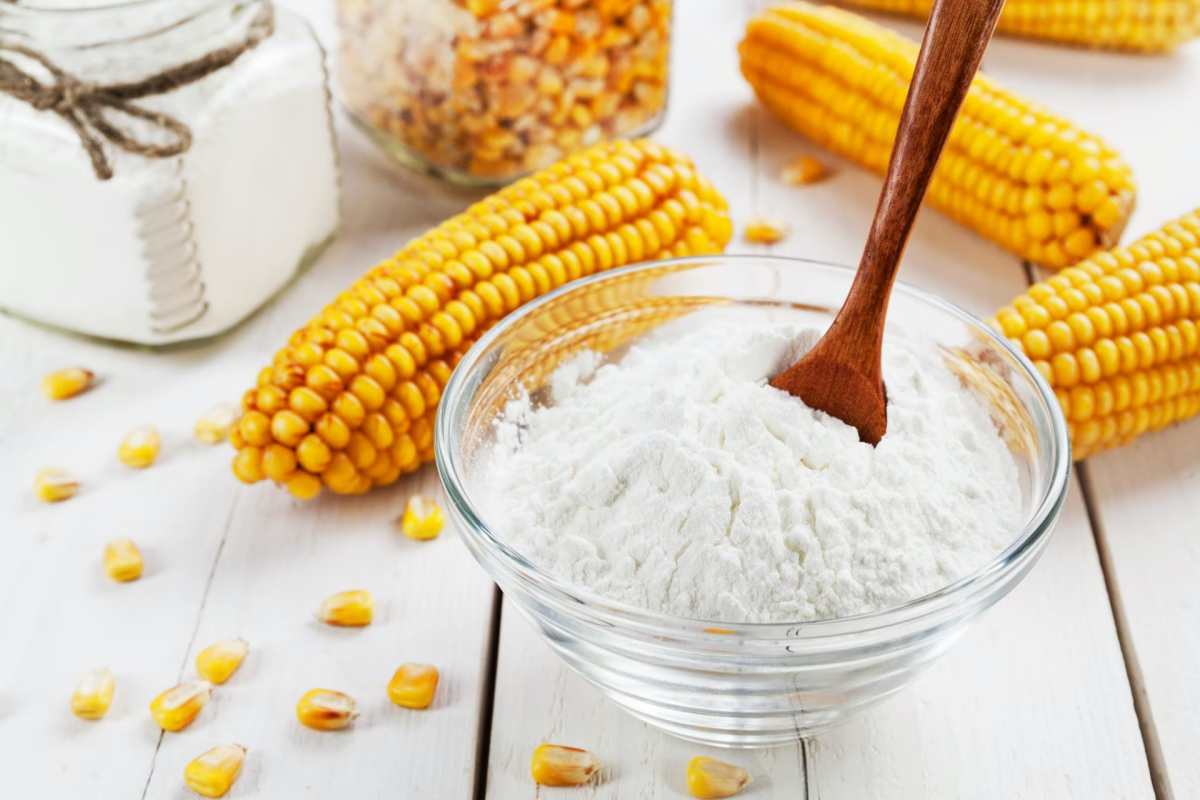
Calcium Carbonate (My Top Choice)
This is the workhorse ingredient for classic, high-end chalk-style paint. It’s super fine, non-toxic, and mixes into a beautiful, silky-smooth paint. Did you know the pure stuff is the same primary ingredient used in antacids? Pretty cool, but don’t eat the paint!
- Texture & Finish: Creates a velvety, soft matte finish that’s a dream to sand for distressing.
- Durability: Good for most furniture projects.
- Best For: Dressers, side tables, picture frames—basically any standard furniture piece where you want that authentic, aged look. You can find it sold as “whiting” at pottery supply shops or as a food-grade powder online.
Plaster of Paris (The Tough Guy)
Made from gypsum, this stuff chemically hardens when mixed with water, creating an incredibly durable surface. This is my go-to for pieces that are going to take a beating.
- Texture & Finish: A harder, slightly less smooth finish than calcium carbonate.
- Durability: Excellent. Much more resistant to scuffs and scratches.
- Best For: Kitchen cabinets, tabletops, and chairs.
- Heads up! This stuff has a very short working time. Once you mix it, you’ve got maybe 30-60 minutes before it starts setting up in your cup. I once lost half a quart of a perfect custom blue because I took a phone call. Mix only what you can use immediately.
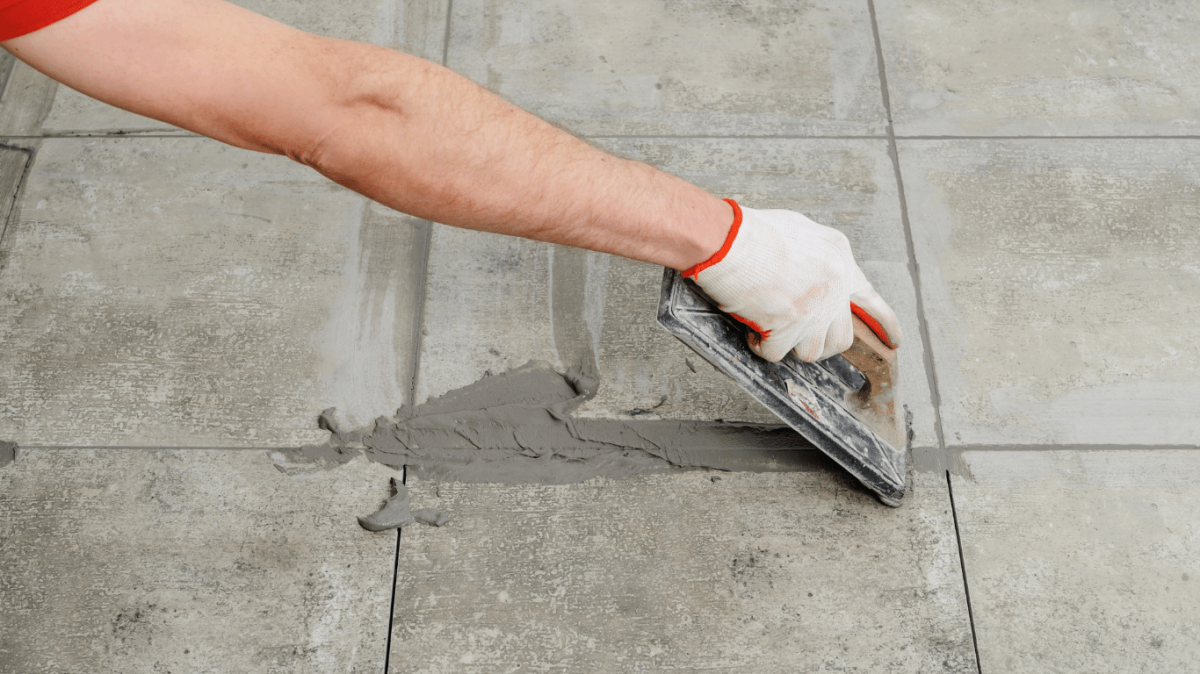
Unsanded Grout (The Rustic One)
Grout contains cement and fine aggregates, which results in a noticeably thicker, more textured paint. It’s fantastic for a certain style and for hiding lots of surface flaws.
- Texture & Finish: A distinct, slightly gritty texture. Think old-world European or industrial farmhouse.
- Durability: Very tough, but also abrasive.
- Best For: Creating a rustic, tactile finish. I wouldn’t use it on something that might snag clothes, like the inside of a drawer.
Baking Soda & Cornstarch (The Last Resort)
You’ll see these all over the internet, and to be frank, I don’t recommend them for any furniture you care about. Baking soda can create a brittle finish that sometimes reacts weirdly with top coats, and cornstarch is organic, meaning it can literally become a food source for mold over time. For a small craft project that won’t be handled much? Maybe. For furniture? Just don’t.
How to Mix Your Paint Like a Pro
The difference between a lumpy disaster and a beautiful paint is all in the technique. Rushing this is the #1 mistake I see people make.
The Golden Rule: Make a Slurry First
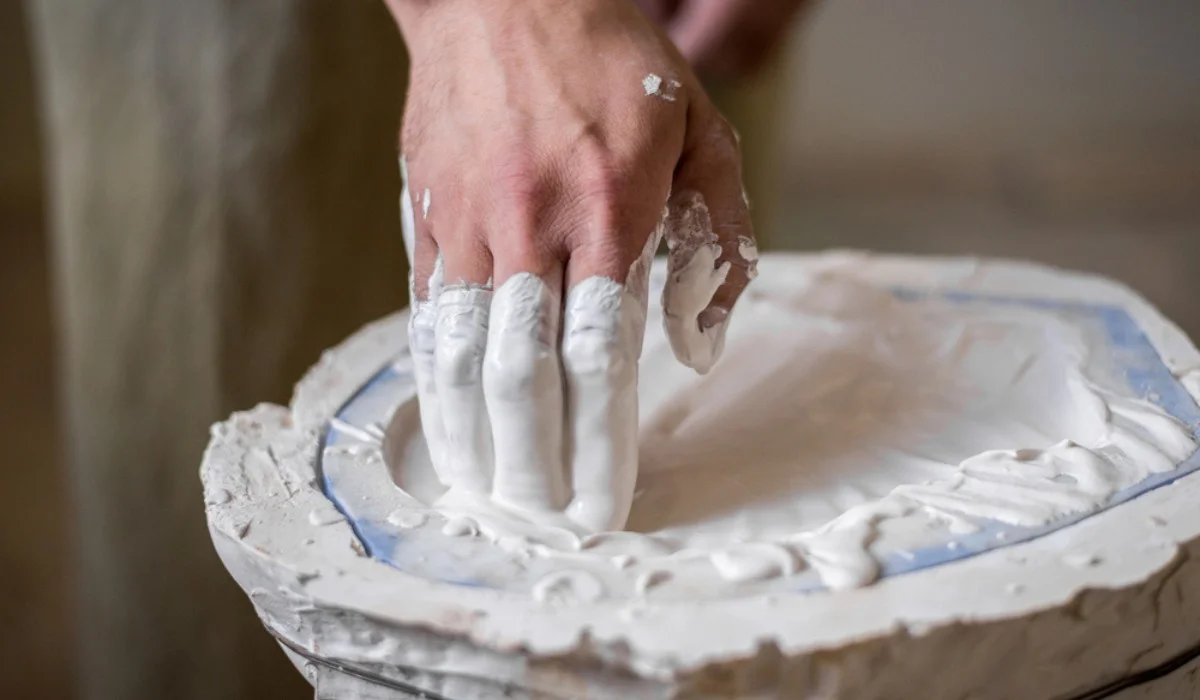
Whatever you do, DO NOT dump the dry powder directly into your paint. You will be stirring out stubborn, rocky clumps for the rest of your life. The secret is to make a slurry.
1. Put your measured powder (calcium carbonate, plaster, etc.) into a separate mixing cup. 2. Slowly add a little bit of warm water. Warm water works wonders here. You’re not trying to make soup, just a smooth, lump-free paste. Think thick pancake batter or smooth yogurt. 3. Stir, stir, and stir some more. Use a paint stick or a tiny whisk. Scrape the bottom and sides. This five minutes of focused stirring is the most important part of the whole process.
Once you have a perfectly smooth slurry, you can slowly pour it into your latex paint while stirring constantly. The two should combine beautifully. For a flawless, spray-gun-ready finish, I pour the final mixture through a mesh paint strainer. It’s an optional step for brushing, but it catches any sneaky lumps and elevates your work.
My Go-To Recipes
Think of these as starting points. If your base paint is extra thick, you might need a splash more water. A 1-cup recipe like these will typically give you enough paint for a small project like a side table, a mirror frame, or a couple of dining chairs.
Recipe 1: The Silky Smooth Finish
- What you need: 1 cup flat latex paint + 3 tablespoons calcium carbonate + 1.5 to 2 tablespoons warm water.
- How to do it: Make a smooth slurry with the powder and water, then mix it into your paint. This mix can be stored in an airtight jar for months! It might separate a bit, but a good stir brings it right back.
Recipe 2: The Hard-Wearing Finish
- What you need: 1 cup flat latex paint + 3 tablespoons Plaster of Paris + 2 tablespoons cool water.
- How to do it: Make your slurry and mix it into the paint, but work fast! Remember, do not store this paint. It will turn into a rock. Only mix what you can use in the next hour.
Recipe 3: The Rustic Textured Finish
- What you need: 1 cup flat latex paint + 3 tablespoons unsanded grout + 2 tablespoons warm water.
- How to do it: Mix a slightly gritty slurry, then combine with your paint. This is best used the same day you mix it. It’s amazing for creating layered, weathered looks.
Application and Finishing: The Final Touches
Okay, you’ve made the perfect paint. Now let’s put it to work.
Let’s Debunk the “No-Prep” Myth
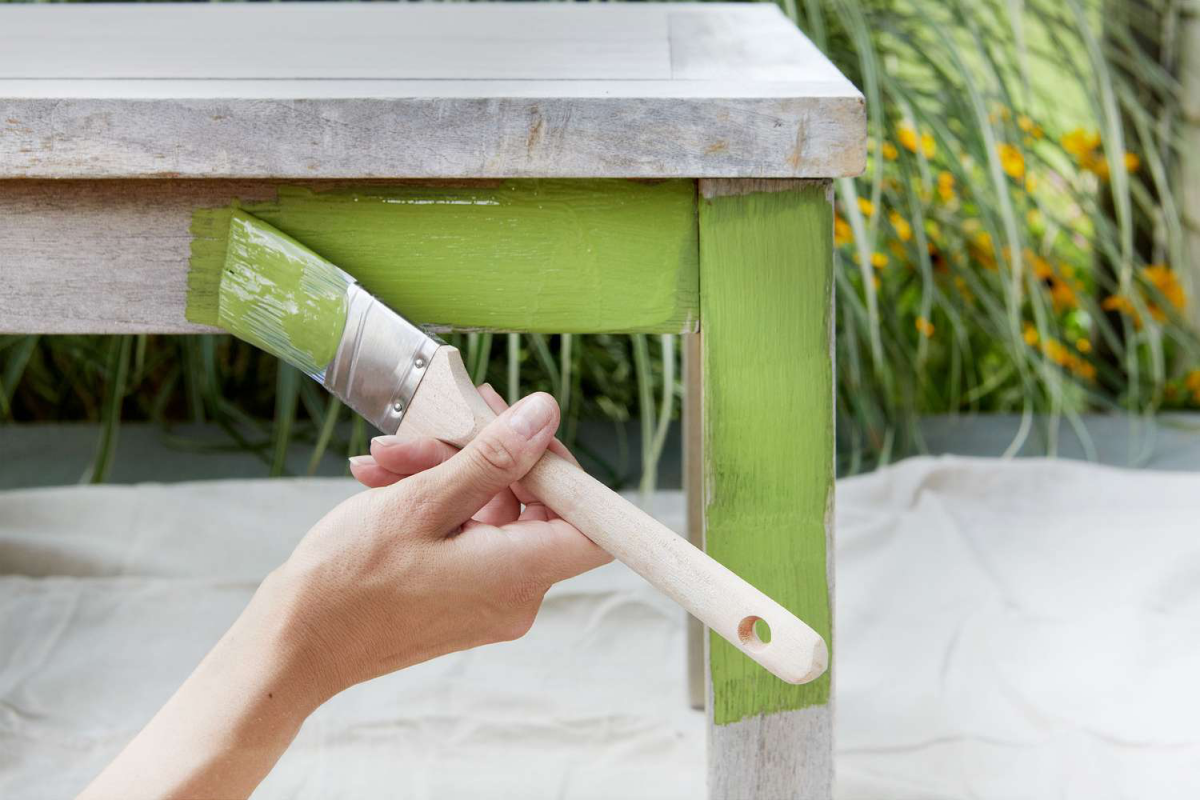
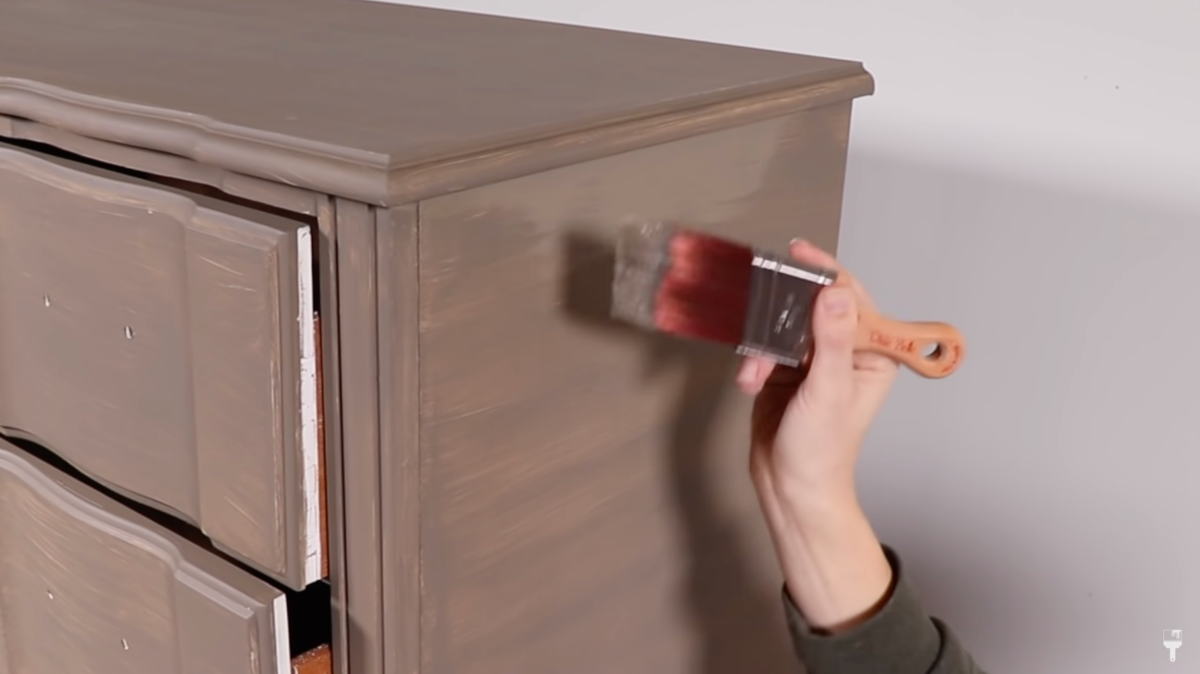
This is a big one. While chalk-style paint is incredibly forgiving, “no prep” does not mean “no cleaning.” I have seen more paint jobs fail because of this than anything else. Every piece of furniture is covered in grime, oils from hands, and residue from furniture polish. Paint will not stick to grease.
Before you do anything else, give the piece a good scrub with a degreaser. A TSP substitute mixed with water is the industry standard. Use a Scotch-Brite pad, get into all the corners, and then wipe it all down with a clean, damp cloth. Let it dry completely. For super slick surfaces like laminate, a quick scuff-sand with 150-grit paper gives the paint some extra bite. It takes ten minutes and is cheap insurance against peeling.
The Essential Top Coat (Don’t Skip This!)
Unsealed chalk-style paint is a magnet for fingerprints and water spots. Because it’s so porous, it will absorb everything. You absolutely must protect your hard work.
- Finishing Wax: This is the traditional choice for that hand-rubbed, mellow sheen. Apply a thin layer with a lint-free cloth, wait 10-15 minutes, and then buff it to a soft glow. The key is THIN coats. A thick coat will stay sticky forever. Wax is great for dressers and side tables but isn’t durable enough for kitchen tables or anything that gets wet. A wax finish takes about 30 days to fully cure and harden.
- Water-Based Polyurethane: For high-traffic surfaces, this is your only real option. It offers amazing protection. I use a high-quality foam brush and apply 2-3 very thin coats, with a light sanding (320-grit) in between. Oh, and make sure it’s a water-based poly. An oil-based version will turn your beautiful white or light-colored paint a nasty yellow over time.
Quick Troubleshooting for Common Headaches
A few pro-tips for when things go sideways.
- Problem: Ugly pink or yellow stains are bleeding through my white paint! That’s tannin bleed from old wood stains (mahogany is famous for this). Your water-based paint can’t stop it. The fix? A shellac-based primer. A spray can of Zinsser B-I-N is your best friend here. A couple of light coats before you paint will stop it cold.
- Problem: My paint feels gritty and lumpy! You rushed the slurry. Sorry, but it’s true. The only fix is to strain the whole batch. Next time, take your time mixing the powder and water until it’s perfectly smooth.
- Problem: My clear top coat looks streaky! You likely applied it too thick or kept brushing over an area that was already starting to dry. Thin coats are the answer. Let each one dry completely before adding the next. If it’s already dry and streaky, you’ll have to sand it smooth and try again.
A Final Word on Safety
Please be smart about this. Always work in a well-ventilated space. When you’re sanding any of these mixes, wear a good quality dust mask. You do not want that fine dust in your lungs.
And this is critical: If you’re working on a piece of furniture made before the late 70s, you have to assume it could have lead paint. You can buy a lead test kit (like the 3M LeadCheck swabs) at any hardware store for a few bucks. If it tests positive, DO NOT SAND IT. The dust is incredibly toxic. Either clean it and paint right over the old finish or consult a pro for safe removal.
Making your own paint is one of the most rewarding skills you can learn. It connects you to your work and gives you endless creative freedom. So grab a small, simple piece to start with, embrace the process, and have fun creating something beautiful and durable that is all your own.
Galerie d’inspiration
How do the pros get that perfectly authentic, distressed look?
It’s less about brute force and more about finesse. After your custom chalk paint has fully dried, skip the power sander. Instead, grab a piece of 150-grit sandpaper and manually scuff the edges, corners, and details where natural wear would logically occur. For an even softer, more blended effect, try “wet distressing.” About an hour after painting, while the paint is still slightly fresh, use a damp (not soaking!) lint-free rag to gently rub the paint away in those same high-contact spots. This lifts the color beautifully without creating any dust.
The Classic Wax Finish: For that authentic, velvety-soft feel, furniture wax is the traditional choice. Applied with a cloth or a specialized brush, a product like Minwax Paste Finishing Wax enriches the color and delivers a hand-rubbed, low-sheen glow. It’s perfect for decorative pieces like bookcases or side tables.
The Durable Polycrylic Seal: When durability is non-negotiable—think tabletops, chairs, or kitchen cabinets—a water-based topcoat is essential. A product like General Finishes High Performance Topcoat in a flat or satin finish will protect against spills and scratches without the yellowing risk of oil-based varnishes.
Choose wax for character and feel; choose polycrylic for hardworking surfaces that need modern protection.


