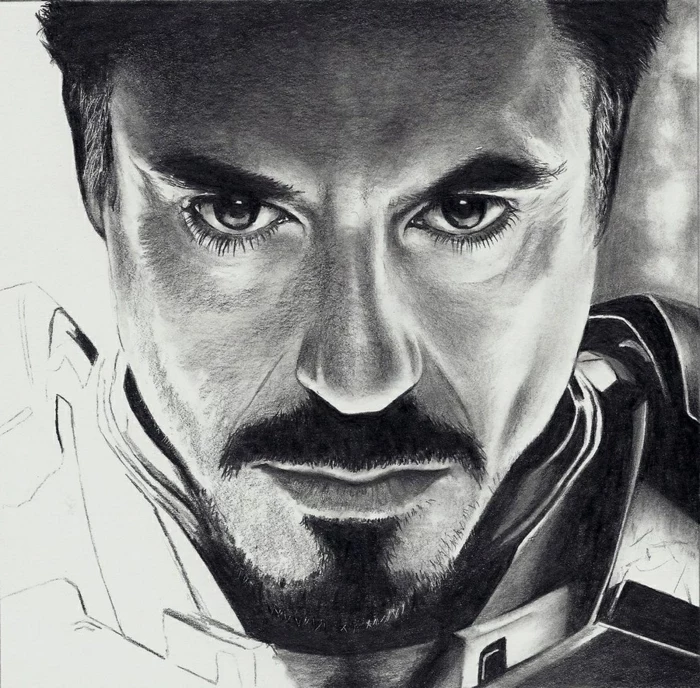
The Secret to Drawing Eyes That Actually Look Real
I’ve been drawing portraits for what feels like a lifetime, and if there’s one thing I’ve learned, it’s this: if you mess up the eyes, the whole drawing is a lost cause. Seriously. You can render a perfect nose and a flawless mouth, but if the eyes are dead, the portrait has no soul. It’s where the entire character of a person comes through.
In this article
I’ve seen it time and time again, both in my own work and with artists I’ve coached. They get so frustrated, erasing the same spot over and over until the paper starts to tear. They think it’s a problem with their hand skills, but honestly, the real issue is how they think about the eye.
So many tutorials show you how to draw a symbol—an almond shape with a circle in it. That’s not what we’re doing here. I’m going to walk you through the method the pros use, one that’s built on understanding the eye as a real, physical object. We’re going to build it from the inside out, almost like a sculptor would. The goal isn’t just to copy what you see, but to finally get it. That understanding is what separates a decent drawing from a breathtaking one.
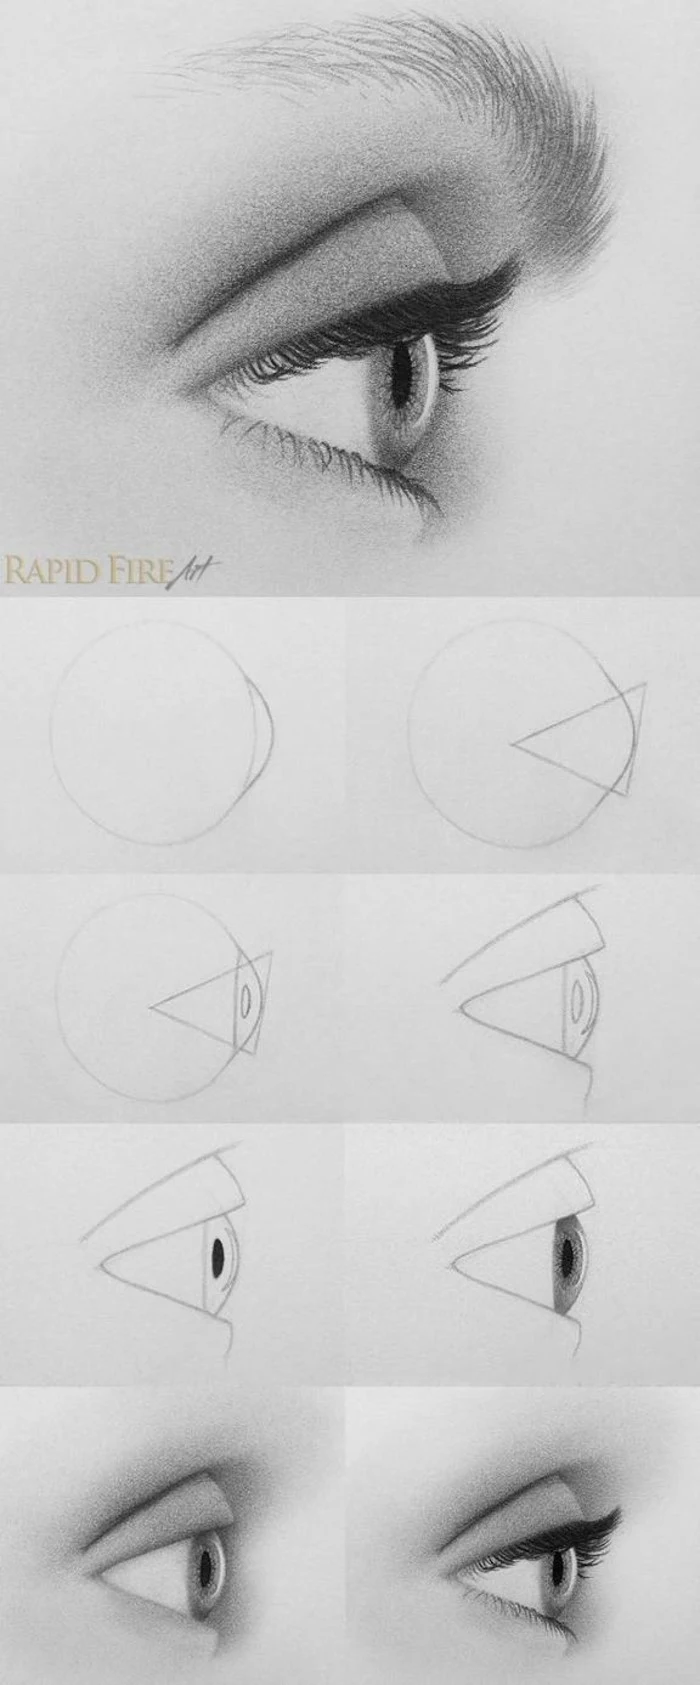
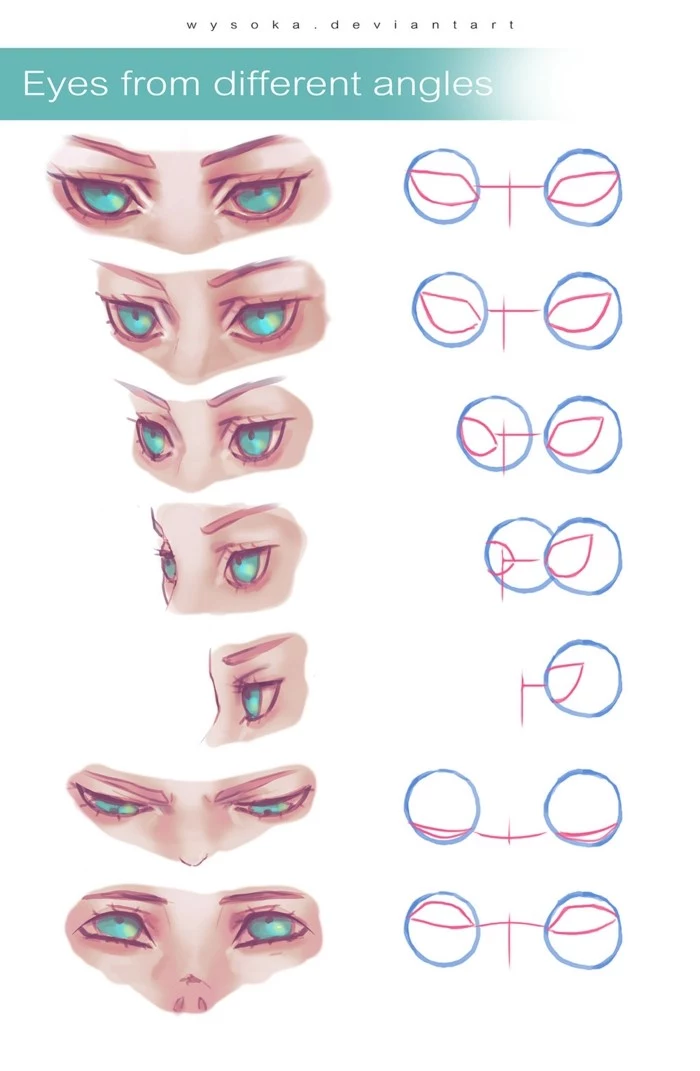
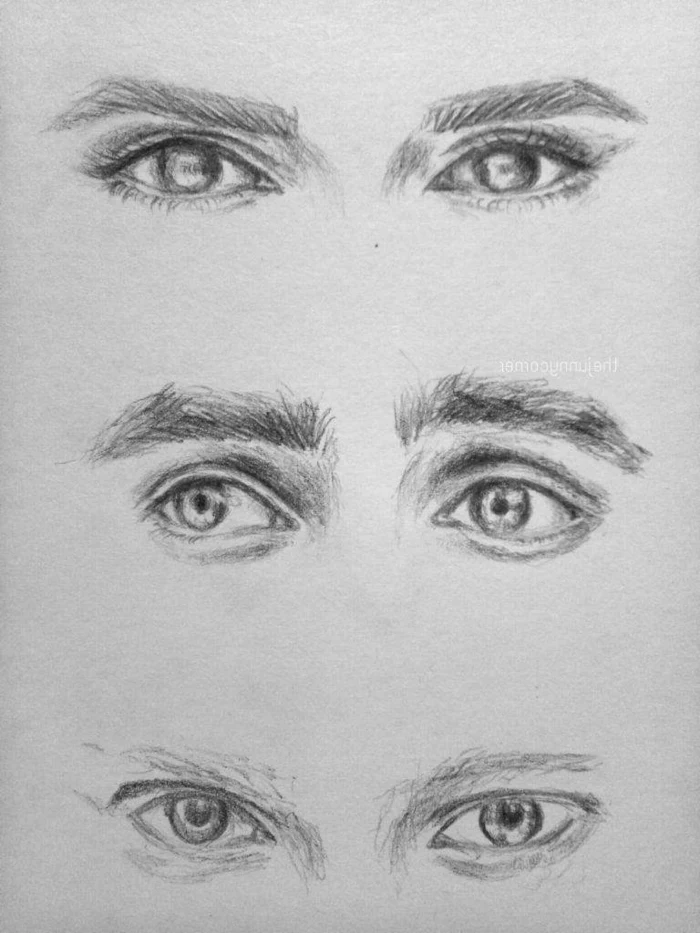
First Things First: It’s a Ball, Not an Almond
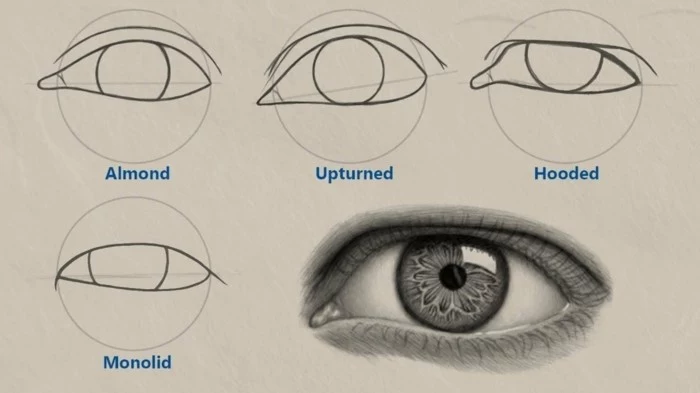
Before you even think about picking up a pencil for the final drawing, you have to get this one concept down. The biggest mistake beginners make is drawing the eye as a flat, almond-shaped cutout. It’s not. The eye is a sphere.
Just let that sink in. It’s a ball tucked into a bony socket in the skull. Shifting your thinking from a flat shape to a round form will revolutionize how you draw, I promise.
You don’t need a fancy anatomical model (though I have an old one in my studio that I love). Just keep these parts in mind:
- The Eyeball: This is your foundational sphere, roughly an inch in diameter. You’ll never draw the whole circle, but knowing it’s there dictates how everything else—especially the eyelids—curves and casts shadows.
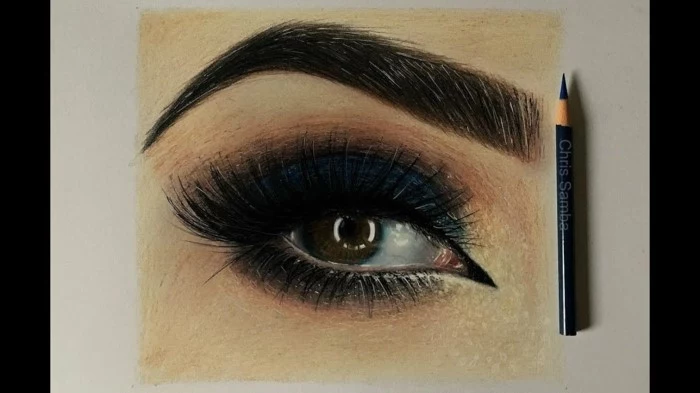
- The Cornea: Now, this is a cool detail. The eyeball isn’t a perfect sphere. It has a clear, dome-like bulge on the front, right over the colored part. Think of it like a tiny watch glass. This little dome is what catches the light and creates that super-bright, wet-looking highlight. Without it, the eye looks dull.
- The Iris and Pupil: The iris, the colored part, isn’t a flat disk either. It’s actually slightly dish-shaped, or concave. The pupil is just a hole in the middle of that dish. Remembering this subtle curve helps you place shadows and light on the iris in a way that feels three-dimensional.
- The Eyelids: These aren’t paper-thin lines. They’re thick, fleshy folds that wrap around the eyeball. Go look in a mirror and gently pull down your lower lid—see that thickness? That’s the waterline. Sketching that in adds a massive dose of realism. The upper lid is almost always larger and casts a very important shadow onto the eyeball, which is key for creating depth.
- The Sclera: This is the “white” of the eye, but here’s a pro tip: it’s almost never pure white. Because it’s part of a sphere, it behaves like a white ball. It will have shadows, especially under the upper lid, and it will be slightly darker as it curves away from the light source.
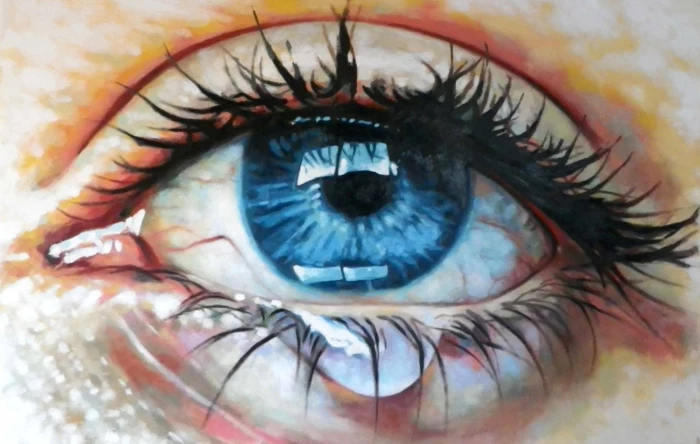
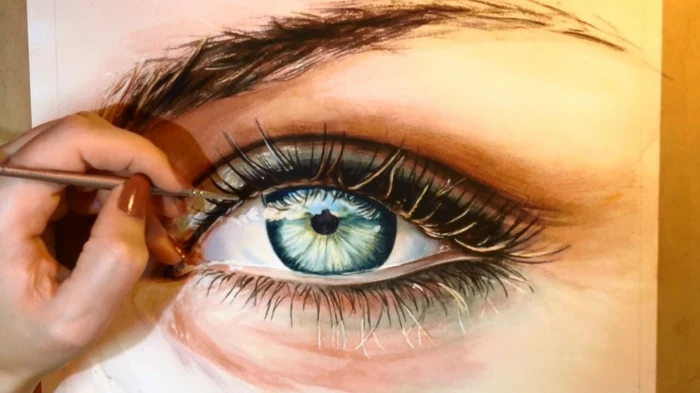
How Light Makes an Eye Look Alive
An eye looks real because of its complex relationship with light. It has wet surfaces, curved forms, and transparent layers. Understanding this is just as important as the anatomy. A fun little exercise? Before you even draw, find a photo of an eye and just try to identify the light source by looking at the highlight. Is it a square from a window? A soft circle from a lamp? This is how you start to see like an artist.
Here’s what to look for:
- The Main Highlight: This is that bright, sharp reflection of the main light source. It’s created by the cornea, and because the cornea is wet and smooth, the reflection is crisp. This highlight sits on top of everything else, including the pupil and iris. Don’t draw around it; add it at the very end.
- Secondary & Reflected Light: Look closer. The iris might have softer glows from other light sources in the room. And here’s a lesser-known trick: light often bounces off the lower eyelid and casts a faint, gentle light on the bottom part of the iris. Adding this keeps the eye from looking flat.
- The Eyelid’s Shadow: As I mentioned, that upper lid casts a soft, arced shadow across the top of the eyeball. This is probably the single most important shadow. Without it, the eye looks startled and seems to pop right out of the head. This shadow grounds the eye and gives it instant depth.
My Go-To Tools (Without Breaking the Bank)
You don’t need a ton of expensive gear, but using a single school pencil just won’t cut it for realistic work. Here’s a simple, effective kit that I rely on. Good news: you can get everything you need to start for under $30.
Here’s your beginner’s shopping list: A small graphite pencil set ($8-12), a good kneaded eraser ($2), a pack of blending stumps ($5), and a decent pad of smooth drawing paper ($10-15). You can find all of this at art supply stores like Blick or just order it online.
- Graphite Pencils: A small range is all you need. I’d suggest grabbing a 2H (a hard pencil for light, erasable layout sketches), an HB (your all-purpose pencil for mid-tones), a 2B (a bit softer and darker, perfect for shadows in the iris), and a 4B or 6B (your heavyweight for the absolute darkest parts, like the pupil). Use the dark ones carefully; they smudge!
- Paper: The texture of your paper, its “tooth,” really matters. For this kind of detailed work, I recommend a smooth surface like a Bristol Board or Strathmore 400 Series paper. A rough paper will create a grainy texture that fights against your smooth shading.
- Erasers are Drawing Tools: Don’t just think of them as mistake-fixers! A kneaded eraser is a must-have. It’s a soft, putty-like eraser you can shape to a fine point to lift graphite for soft highlights. For crisp, sharp details, like the main highlight or tiny reflected hairs, a pen-style eraser like the Tombow Mono Zero is a game-changer.
- Blending Tools: Please, whatever you do, don’t use your fingers to blend. The oils from your skin create greasy smudges you can’t erase. Instead, get a set of blending stumps or tortillons. They’re just tightly rolled paper sticks that let you create beautiful, smooth gradients.
Oh, and a quick heads-up on ergonomics: Make sure you’ve got good light and a comfy chair. I once spent a week with a sore back from hunching over a drawing. Take breaks!
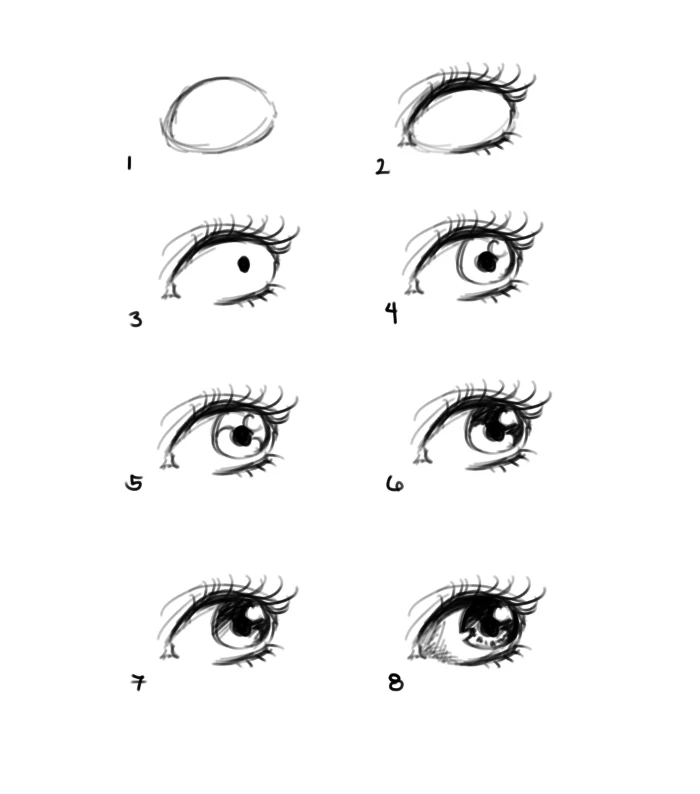
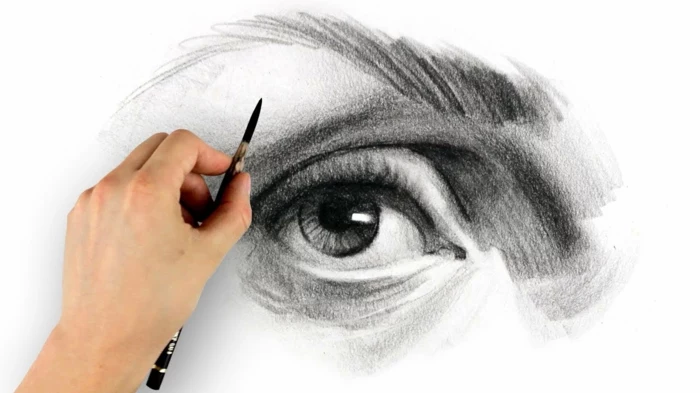
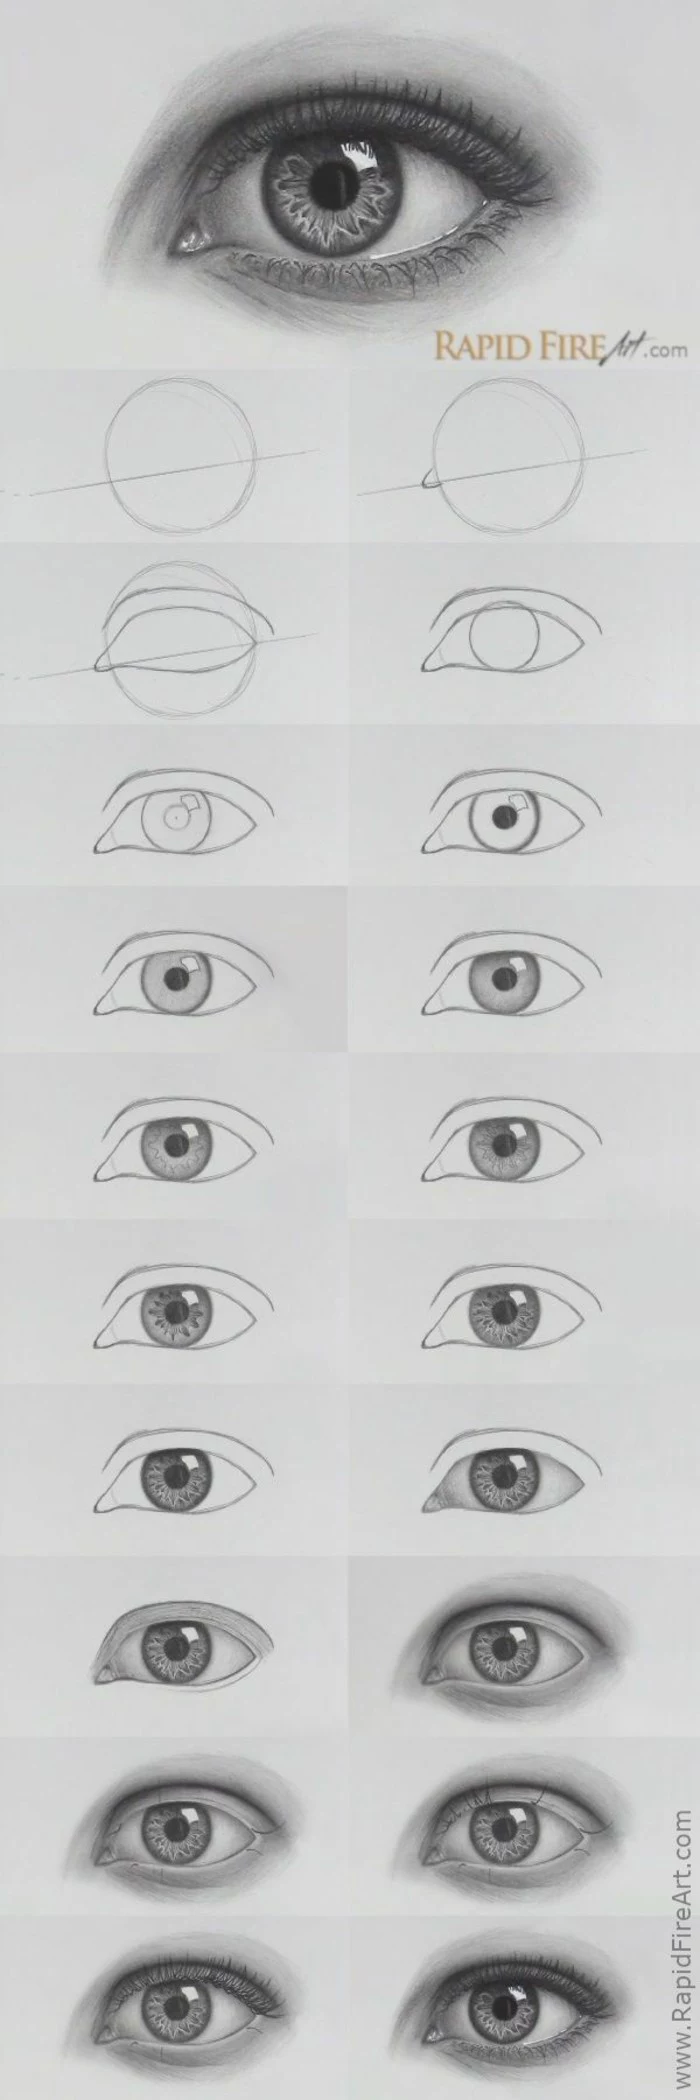
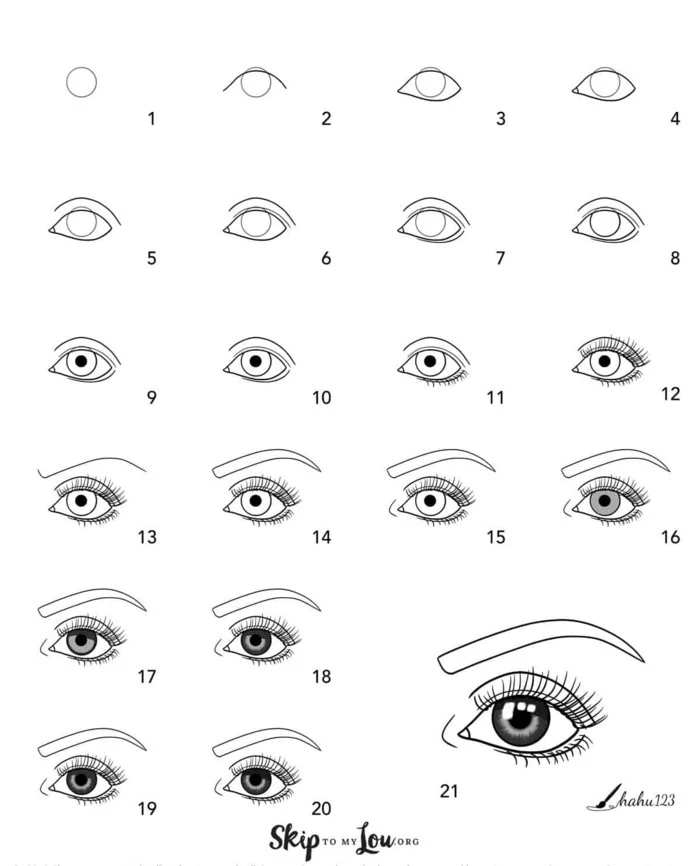
My Step-by-Step Drawing Process
Alright, let’s put it all together. For your first serious attempt, plan to set aside a good 2-3 hours. Don’t rush it. Grab your 2H pencil for the initial layout and keep your touch super light.
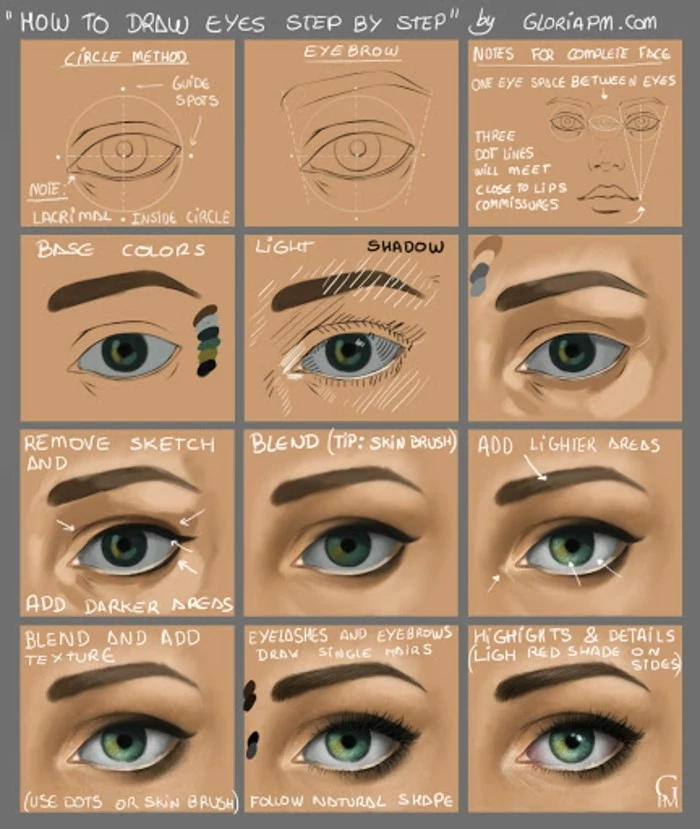
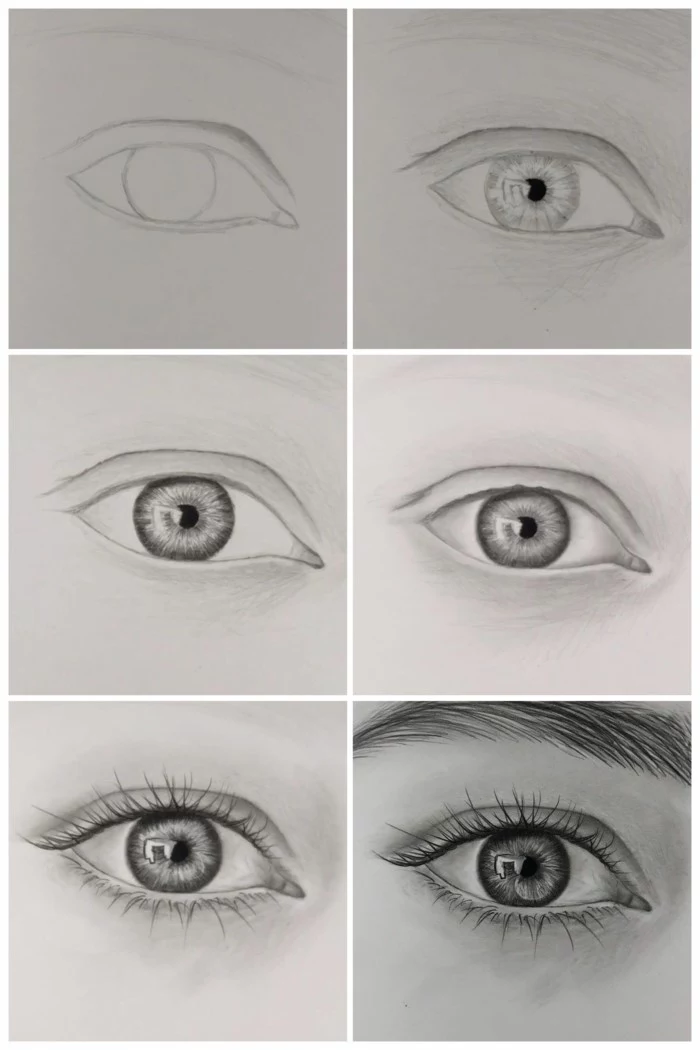
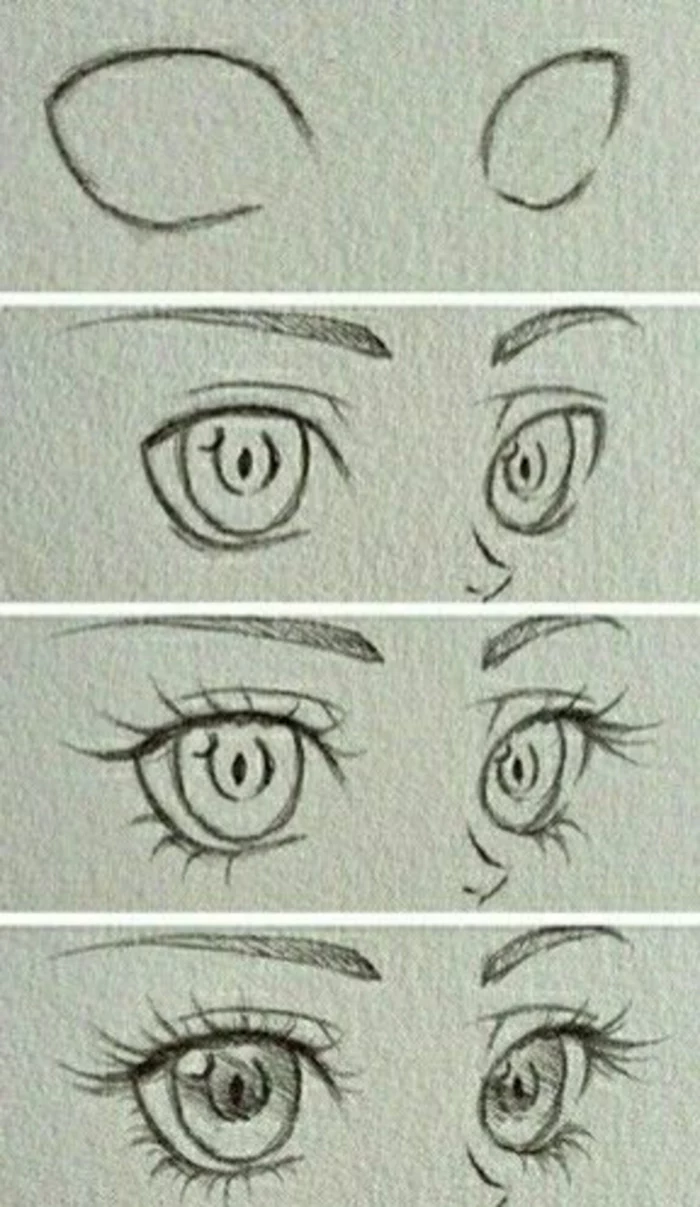
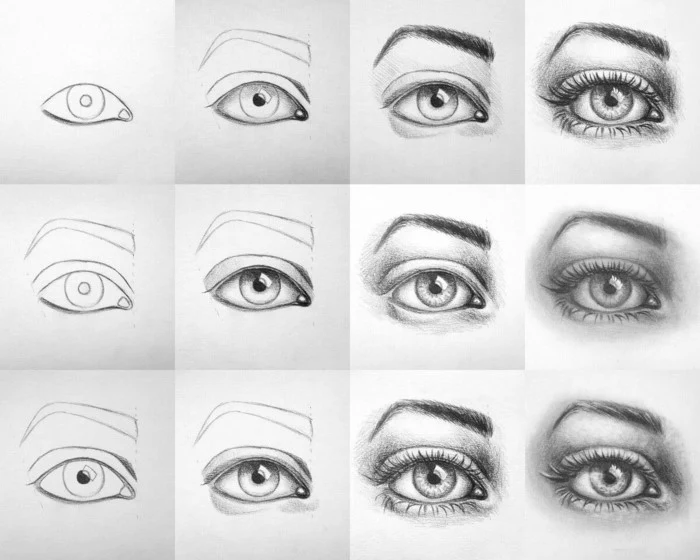
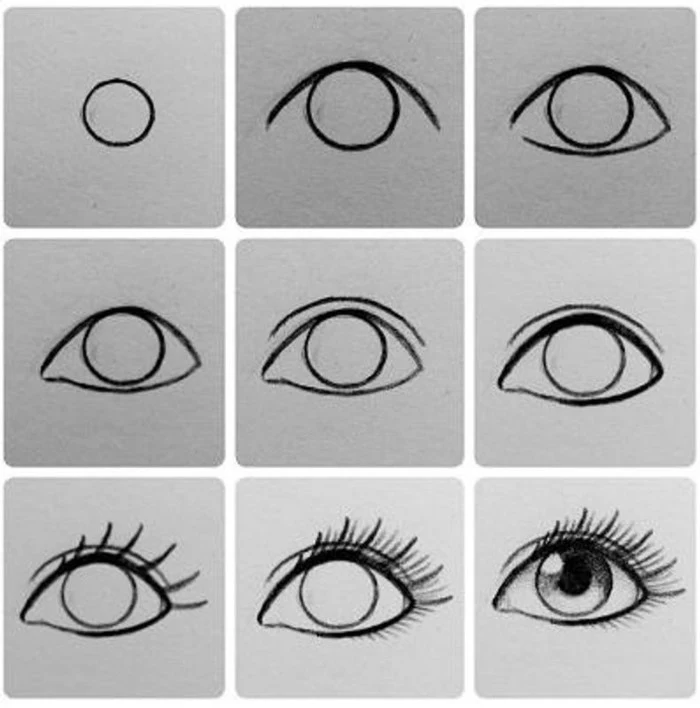
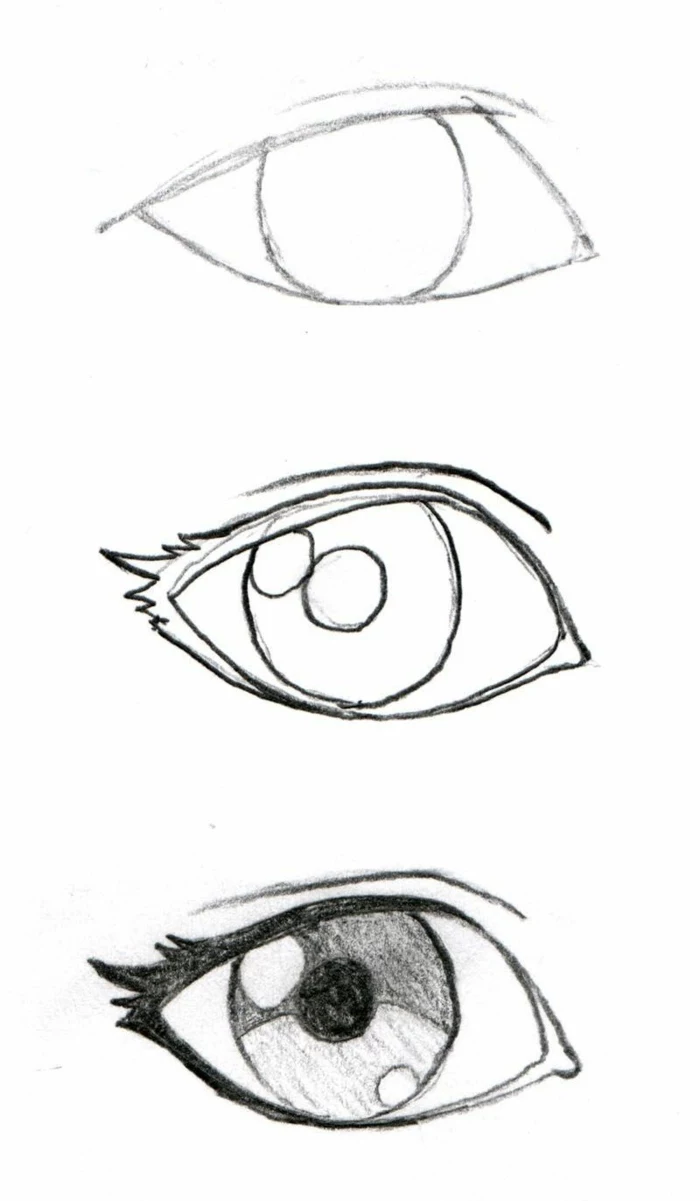
Step 1: The Sphere in the Socket. First, lightly sketch a circle for the eyeball. Then, add lines for the brow ridge above and the cheekbone below. This immediately places the eye inside the head, not just stuck on the surface.
Step 2: Wrap the Eyelids. Now, draw the eyelids wrapping around that sphere. The lines should be curved, not straight. Define the upper and lower lids, the inner corner (where the tear duct is), and the outer corner. Remember to indicate the thickness of the lower lid with two close, parallel lines.
Step 3: Place the Iris and Pupil. Draw the circle for the iris. Heads up: unless you’re looking at the eye straight-on, it will be an ellipse, not a perfect circle. The top and bottom will likely be hidden by the lids. Then, place the pupil right in the center of the iris, matching its elliptical shape.
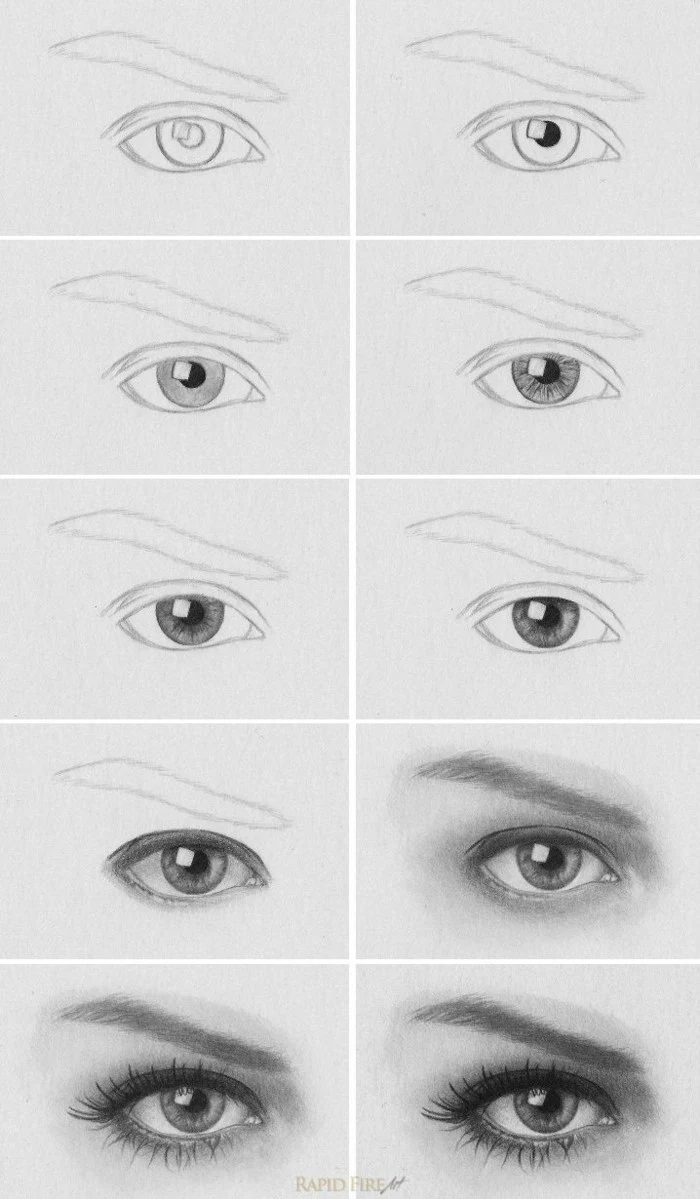
Step 4: Map Your Shadows. Before diving into details, switch to an HB pencil and lightly shade in your main dark areas. Shade the cast shadow from the upper lid onto the sclera. Lightly shade the entire iris. Then, take your 4B or 6B and fill in the pupil. Make it the darkest thing on your page. This value map gives you a clear plan.
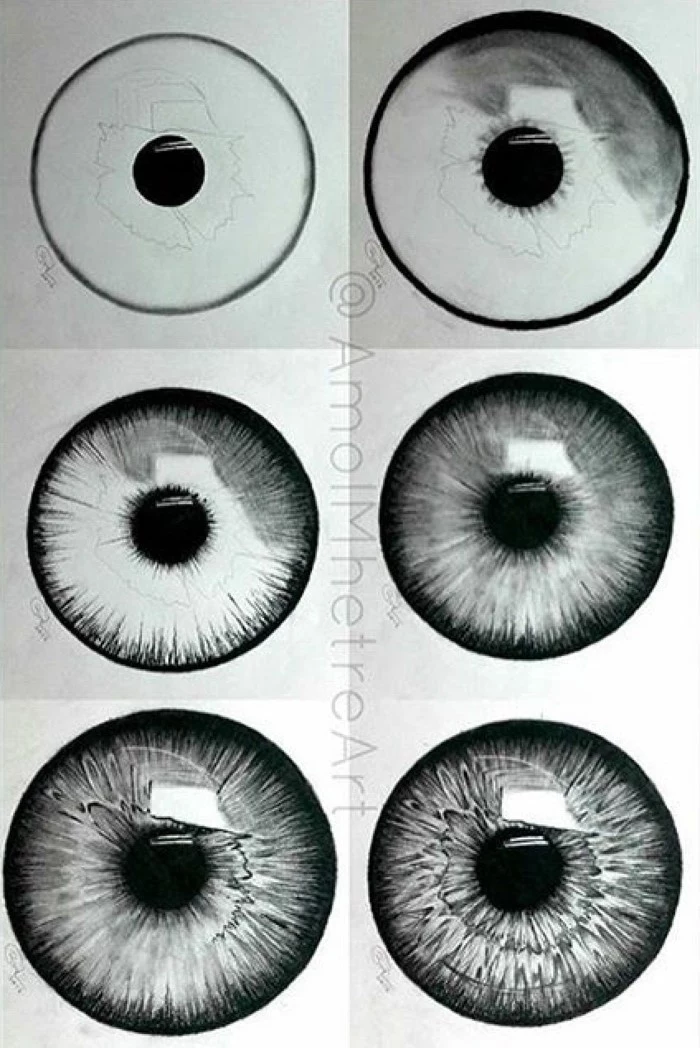
Step 5: Bring the Iris to Life. This is the fun part. Use a sharp 2B to draw the dark ring that most irises have around their outer edge. Then, with an HB or 2B, draw the fibers that radiate out from the pupil—they aren’t straight lines! They are organic, wavy, and they overlap. Use a blending stump to gently soften some areas to create depth, but don’t blend away all the texture.
Step 6: Shade the Sclera. The “white” of the eye gets a very light touch of shading with your HB pencil, darkest right under the upper lid’s shadow. The only pure white on your paper should be the main highlight you’ll add later.
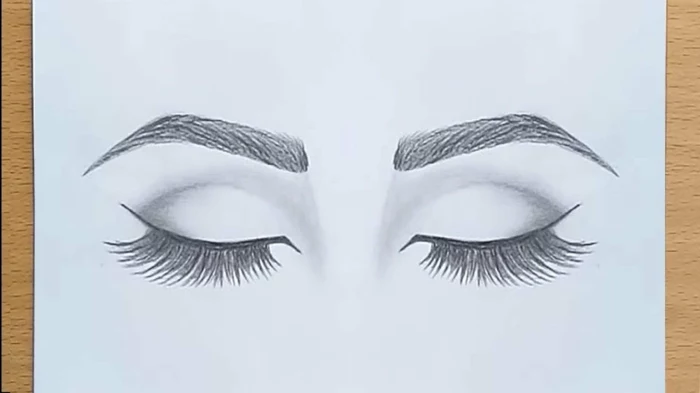
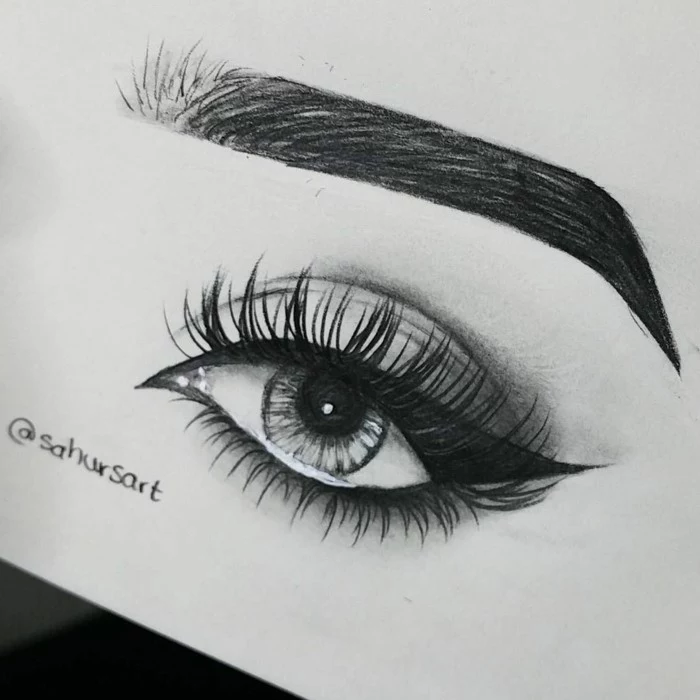
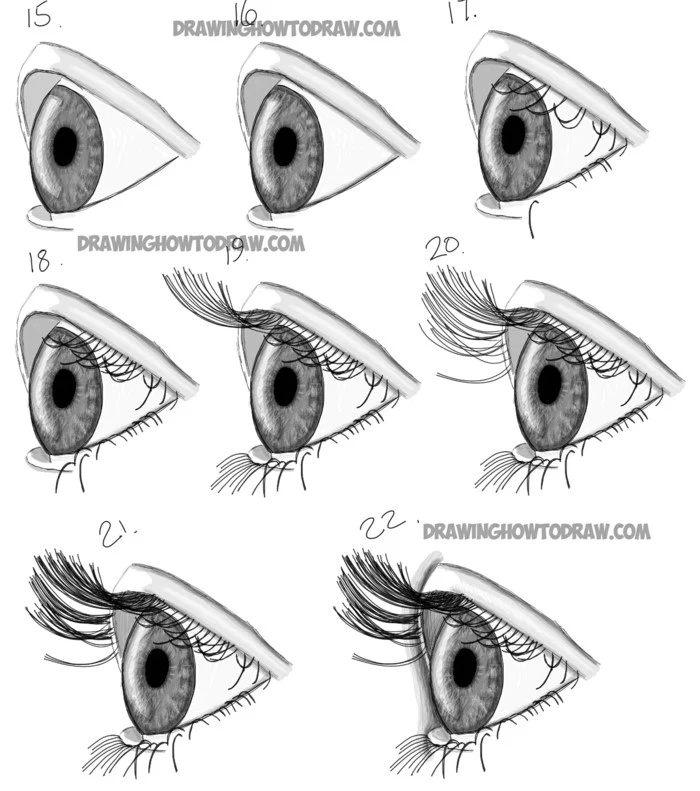
Step 7: The Eyelashes. This is where it often goes wrong. Remember these rules: Lashes grow from the eyelid, not the eyeball. They grow in small, overlapping, V-shaped clumps, not like perfect, evenly-spaced spider legs. Use a sharp pencil and a quick flicking motion, pressing at the base and lifting off. This gives them a natural taper.
Step 8: The Final Touch—Highlights! Now for the magic. Use your fine-tipped eraser to lift out the main highlight. Make its edges sharp and crisp. Notice how it sits right on top of your other lines, proving the cornea is a separate, wet layer. You can even add tiny, curved reflections of eyelashes within the highlight for an insane level of detail. Finally, gently shade the skin around the eye to make it feel connected to the face.
Stuck? Common Problems and How to Fix Them
In my experience, I see the same few problems pop up again and again. If you’re running into trouble, chances are it’s one of these.
Problem: My eye looks flat, like a cartoon sticker.
The Fix: You probably forgot to shade the sclera (the “white” part). It’s a sphere, so it needs shadow to look round. The number one fix is adding that soft, gray shadow cast by the upper eyelid. It will instantly give the eye form and depth. Don’t be afraid to make it a little dark!
Problem: The eyelashes look like creepy spider legs.
The Fix: This is super common. You’re likely drawing each lash as a single, perfect, evenly spaced curve. Real lashes are messy! They clump together in little V-shapes, they cross over each other, and they have different lengths. Focus on drawing the clumps instead of individual hairs, and use that quick flicking motion with a sharp pencil.
Problem: The eye looks startled and is popping out of the head.
The Fix: Two things are probably happening. First, you made the iris and pupil too small for the eyeball, or you didn’t cover enough of the top of the iris with the eyelid. Second, and more importantly, your cast shadow from the upper lid is too light or nonexistent. Darkening that shadow pushes the eyeball back into the socket where it belongs.
Problem: The whole drawing looks muddy and lacks punch.
The Fix: Be brave with your values! You need a full range from light to dark. Most beginners are afraid to use their darkest pencils. Grab that 4B or 6B and make the pupil the absolute blackest point on the page. Then make sure your main highlight is pure, clean white. That strong contrast between the darkest dark and lightest light is what makes a drawing pop.
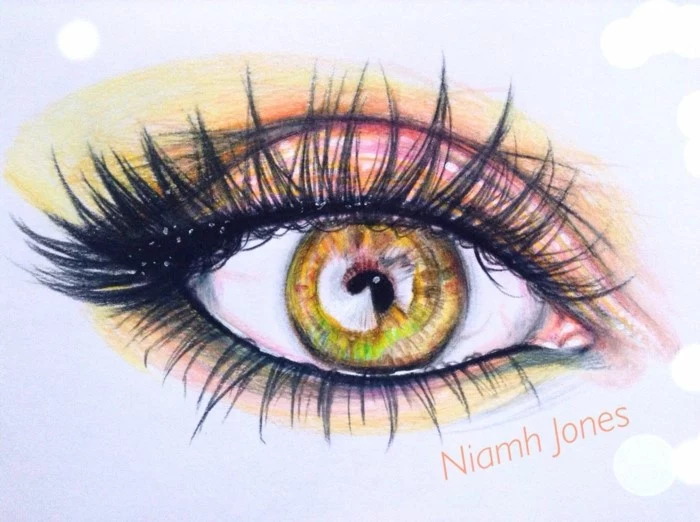
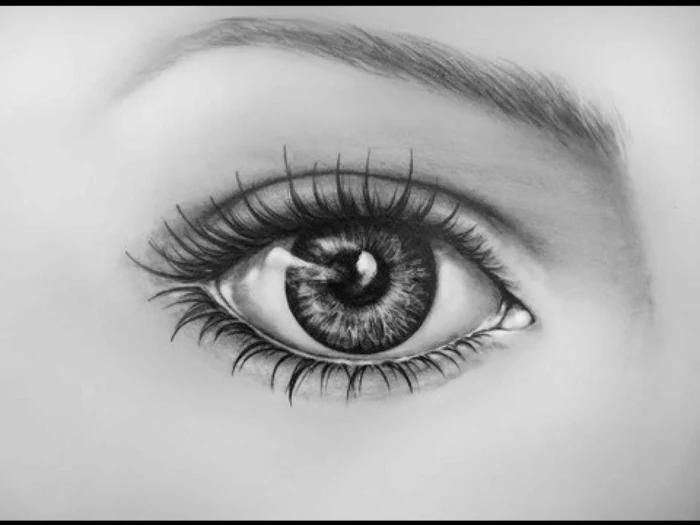
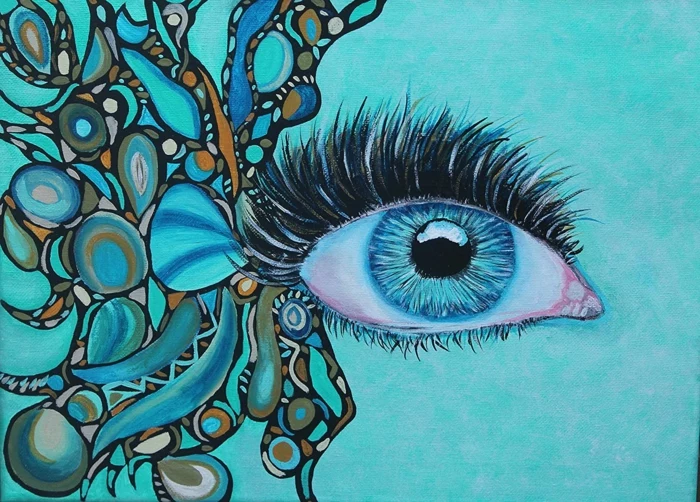
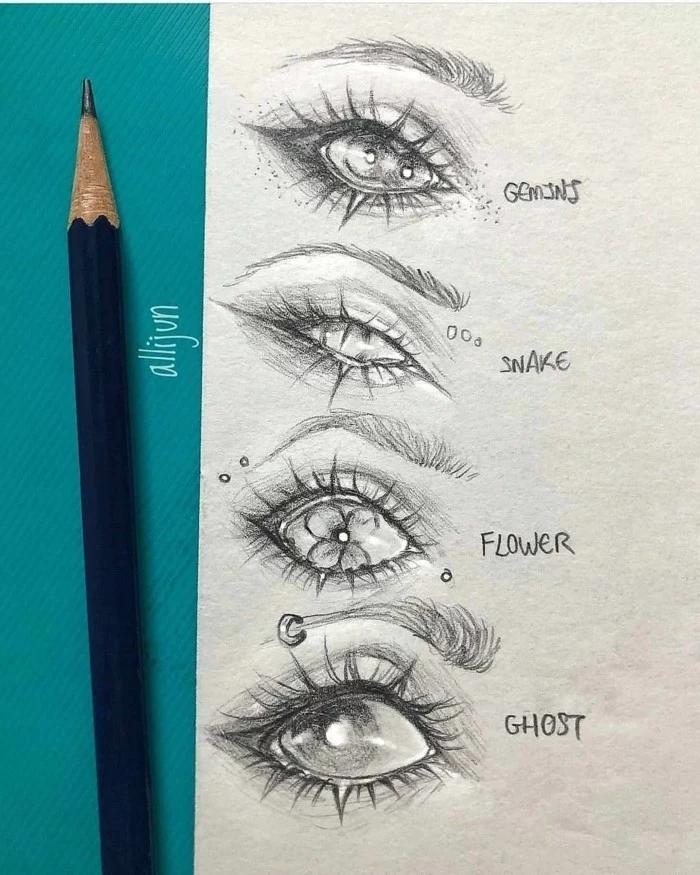
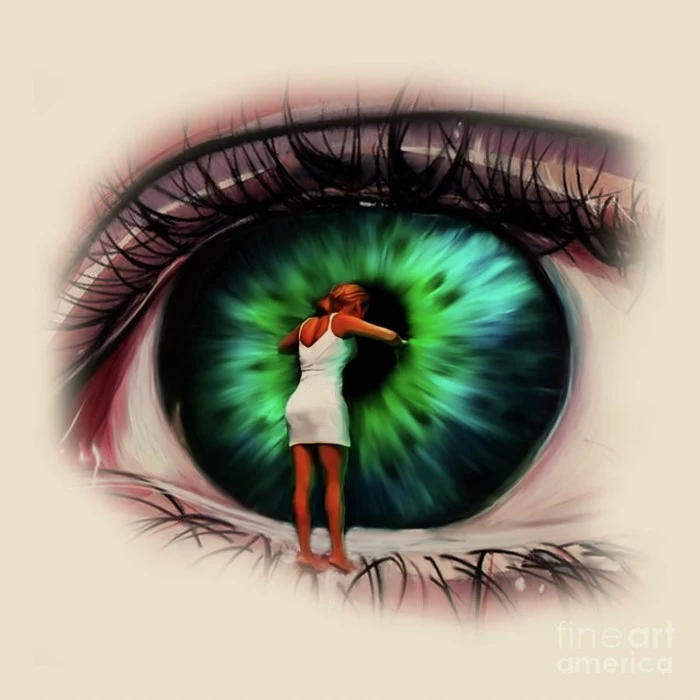
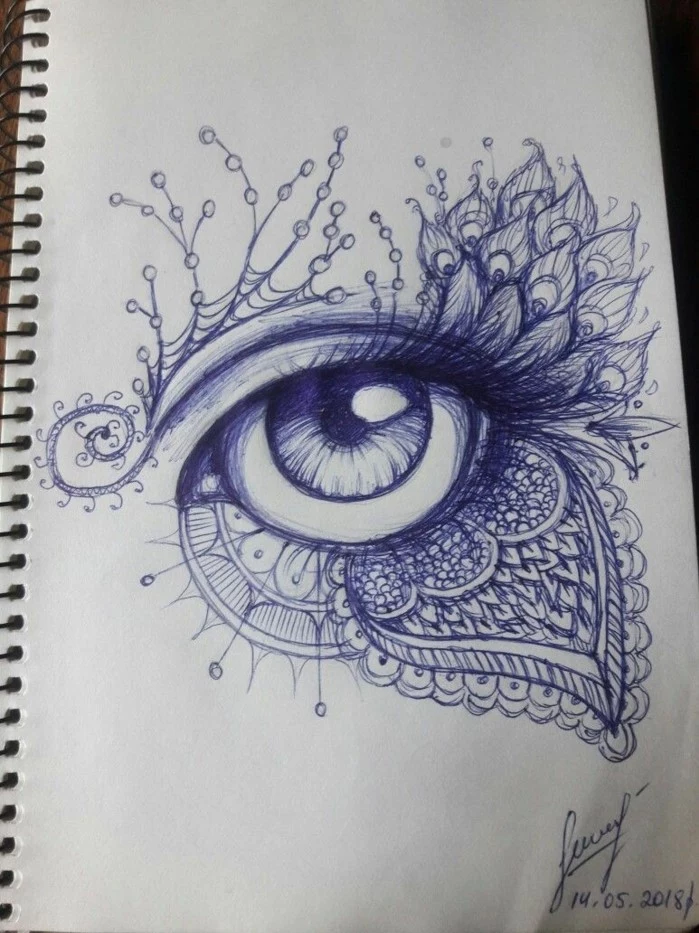
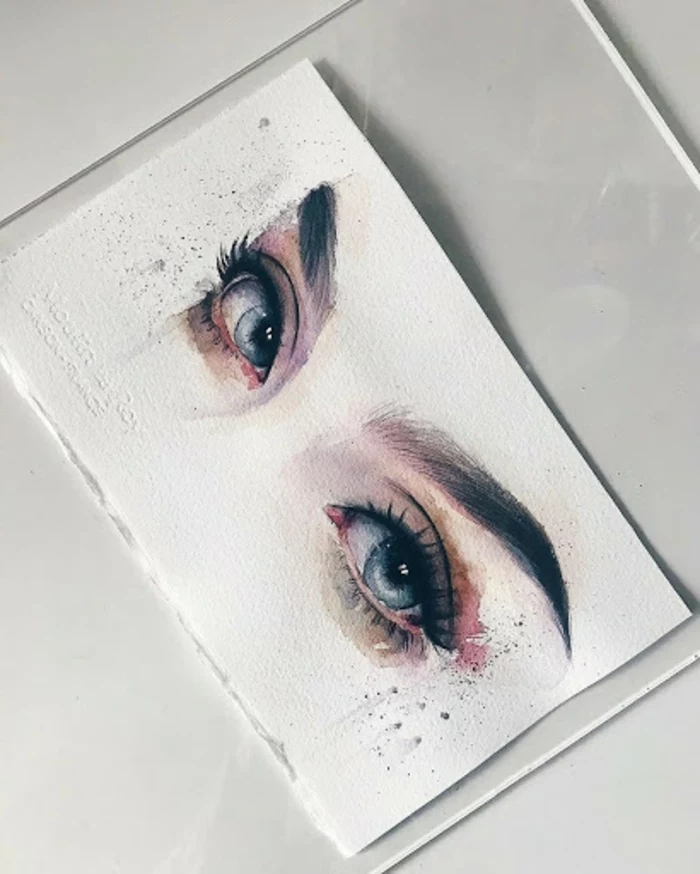
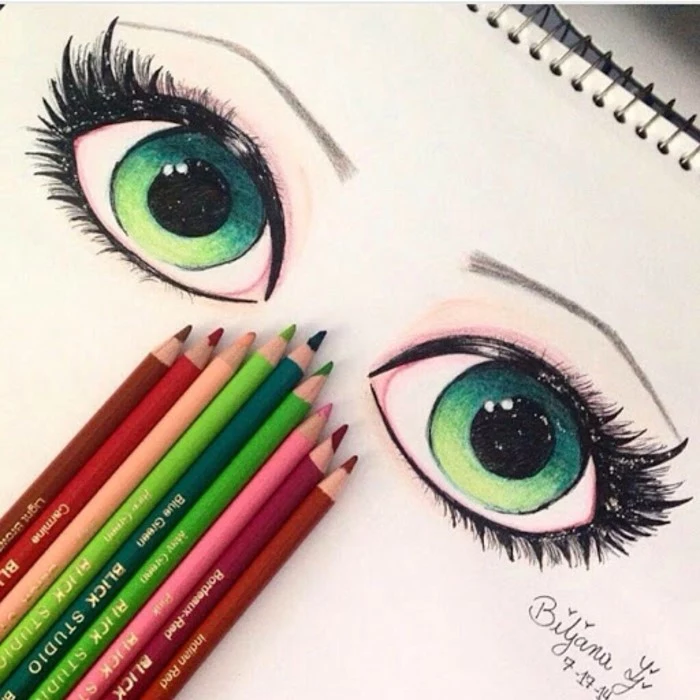
Inspirational Gallery
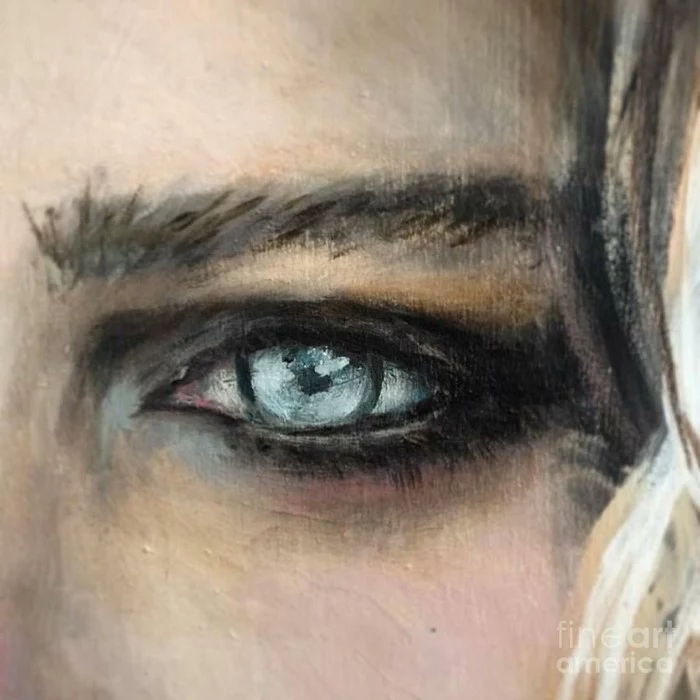
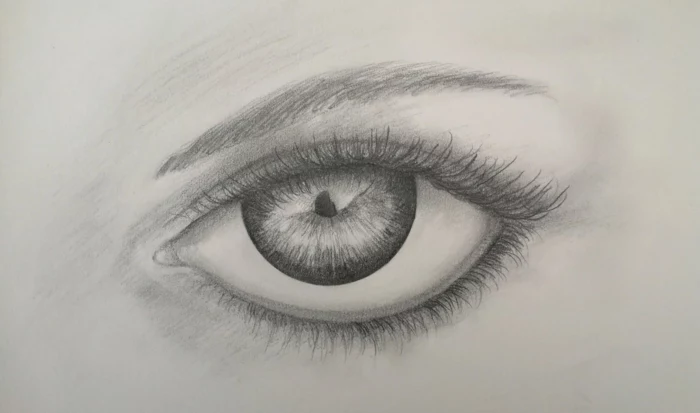
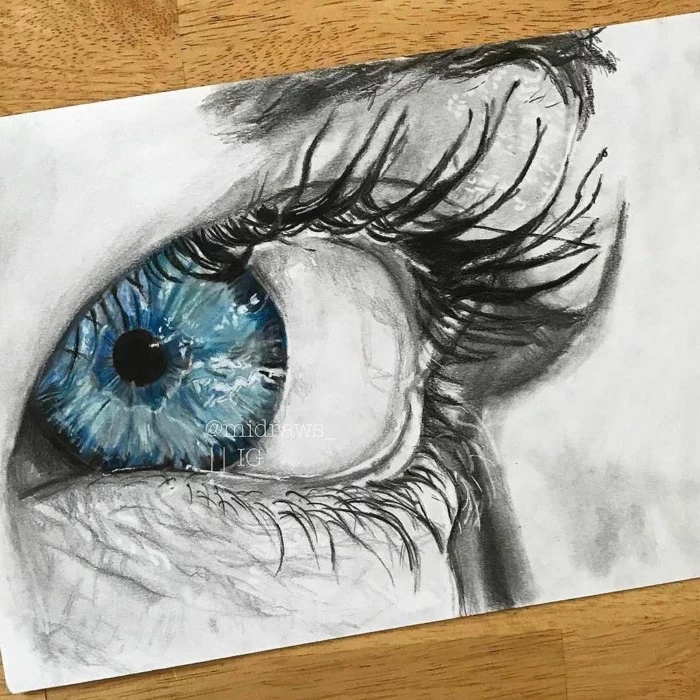
- Create subtle shadows on the sclera (the ‘white’ of the eye) to show its spherical form.
- Add a thin, slightly darker line where the eyelid casts a shadow on the eyeball.
- Reflect a hint of the iris color onto the edges of the highlights.
The result? An eye that feels genuinely round and set within the socket, not just a flat sticker on a face.
The Eyelash Secret: Avoid the ‘picket fence’ look where every lash is perfectly uniform. In reality, eyelashes grow in slightly chaotic, overlapping clusters of varying lengths. Draw them in gentle, curved ‘C’ and ‘S’ shapes, starting from the eyelid. For ultimate realism, make the lashes on the bottom lid sparser and shorter than those on the top.
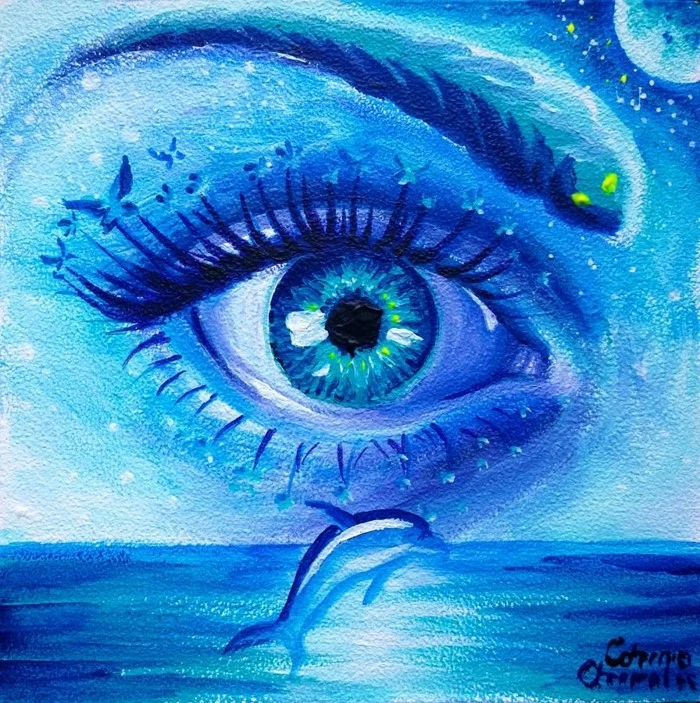
How do I make the eyes look genuinely wet?
The magic is in the highlights. It’s not just one white dot. Observe your reference closely: you’ll often find a main, bright highlight from the primary light source, and then secondary, softer reflections on the lower lid’s waterline or where a tear might be forming. Using a sharp white charcoal pencil, like a General’s Charcoal White, or a fine-tipped gel pen like the Uni-ball Signo Broad, can create these crisp, wet-looking points of light on top of your graphite or charcoal layers.
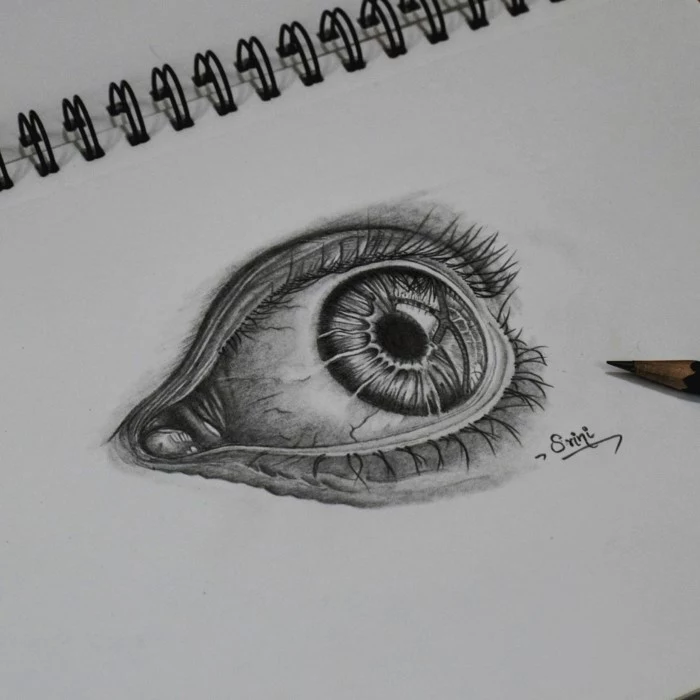
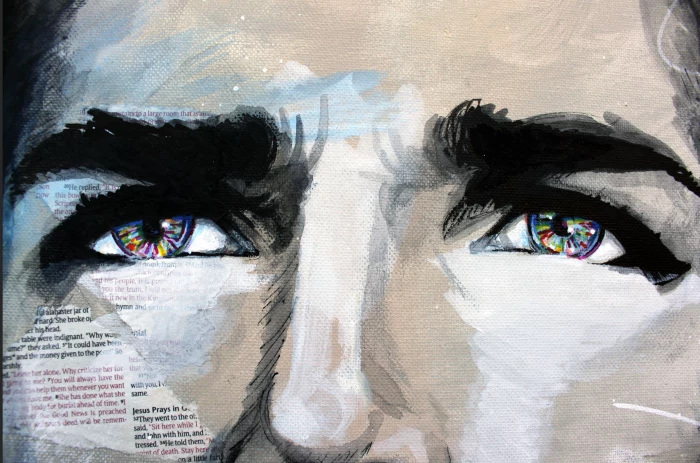
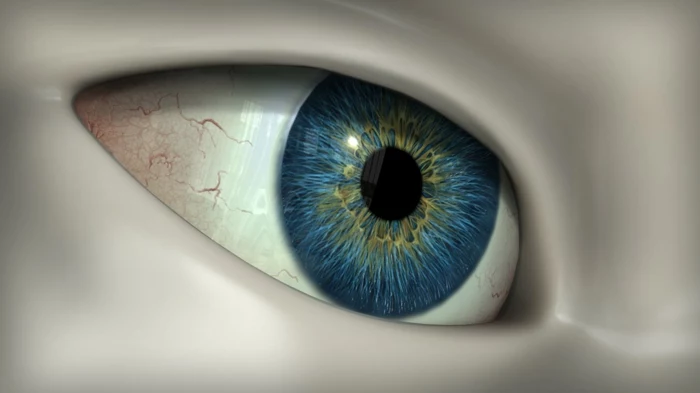
The human iris has a fractal dimension of approximately 2.4, making its pattern more complex than a coastline.
This scientific reality is a goldmine for artists. Instead of drawing simple lines radiating from the pupil, think in layers of texture. Use a sharpened 4H pencil to etch in a base of fine, chaotic squiggles and patterns. Then, build up darker tones with B and 2B pencils, letting some of that initial complex texture show through. This creates the incredible depth seen in a real iris.
Kneaded Eraser: This is your primary tool for lifting graphite gently. Perfect for creating soft, diffused highlights on the iris or softening the skin texture around the eye. You can shape it to a fine point for small details.
Tombow Mono Zero Eraser: This is for precision. With its tiny 2.3mm tip, it’s unbeatable for ‘drawing’ in sharp highlights, like the reflection of a window, or picking out individual white hairs in an eyebrow.
Use both to control light and shadow with the same finesse as your pencil.
Don’t neglect the lacrimal caruncle—the small, pinkish nodule in the inner corner of the eye. It’s a tiny detail, but its inclusion instantly boosts realism. It’s often moist, so a tiny, sharp highlight here can make the entire eye look more alive. Give it a slightly different texture and color from the surrounding skin to make it convincing.
For hyperrealistic textures, the paper you choose is as critical as the pencil. For incredibly smooth skin tones around the eyes, try a hot-press paper like Strathmore 400 Series Bristol Smooth. Its lack of tooth allows for seamless blending with tortillons or blending stumps. If you want to build up many layers of graphite for deep, rich shadows, a paper with more texture (or ‘vellum’ surface) might be a better choice.
“The eye is the window of the soul.” – Leonardo da Vinci
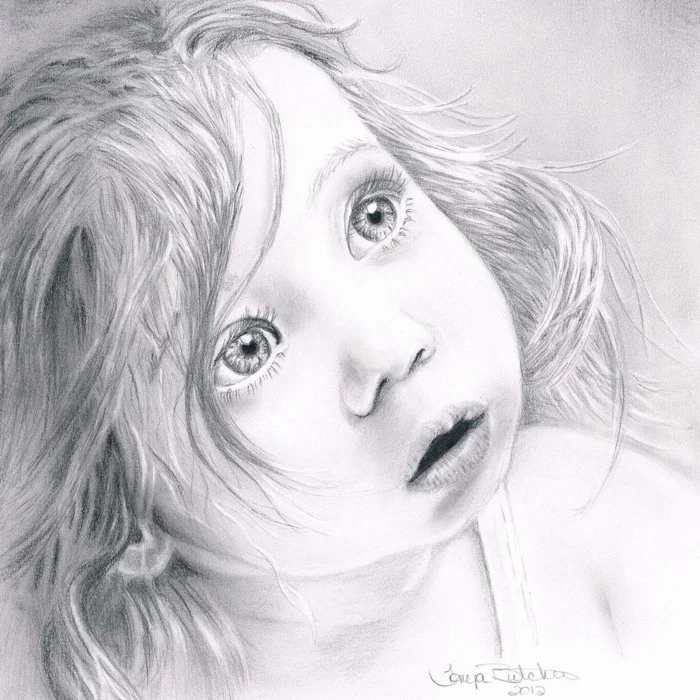
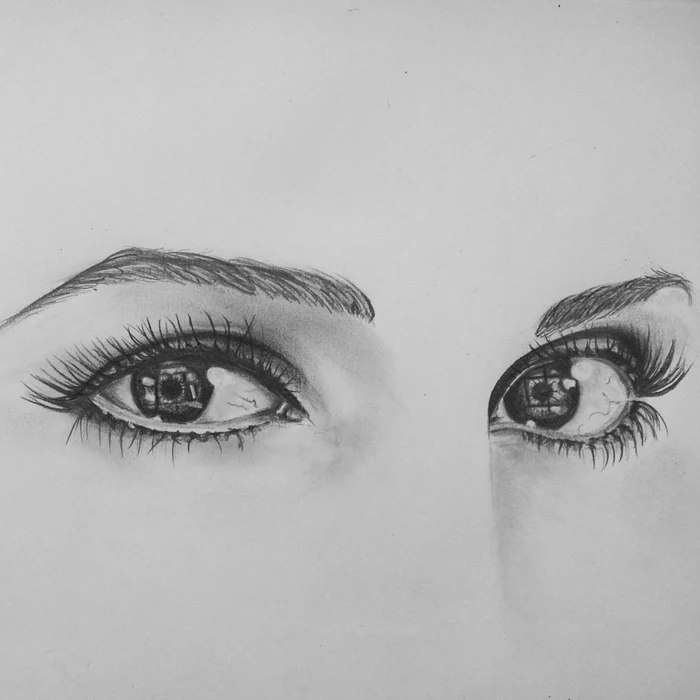
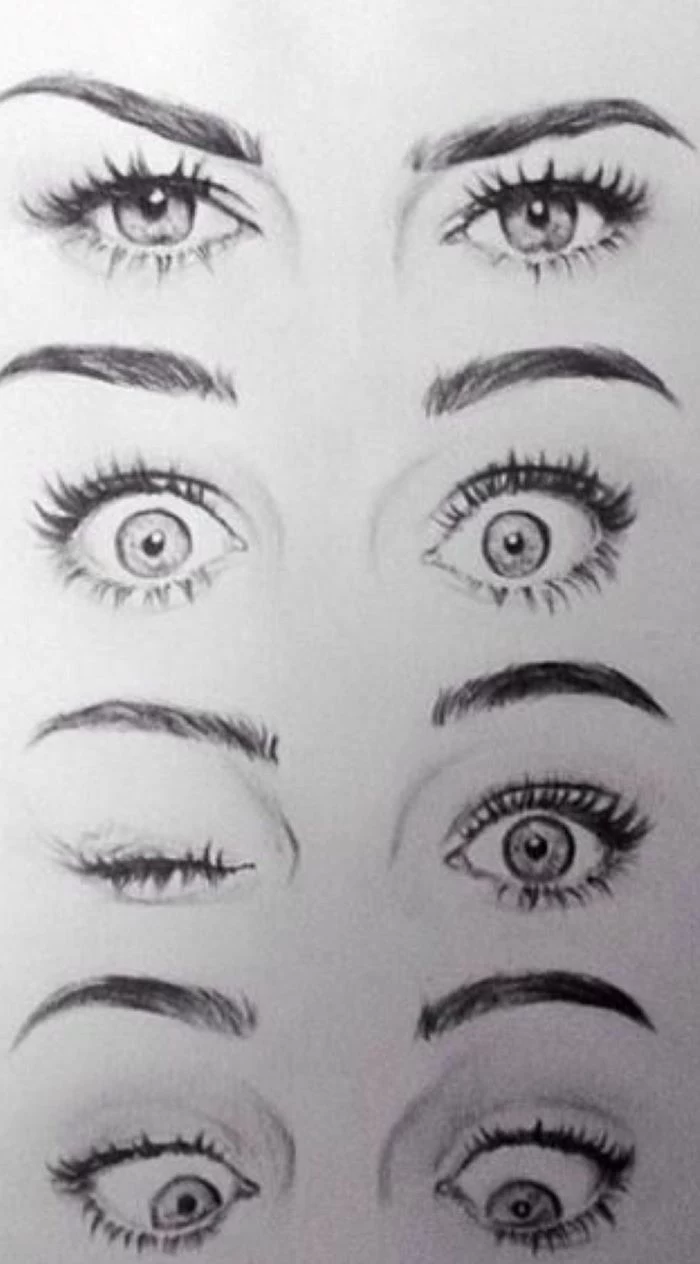
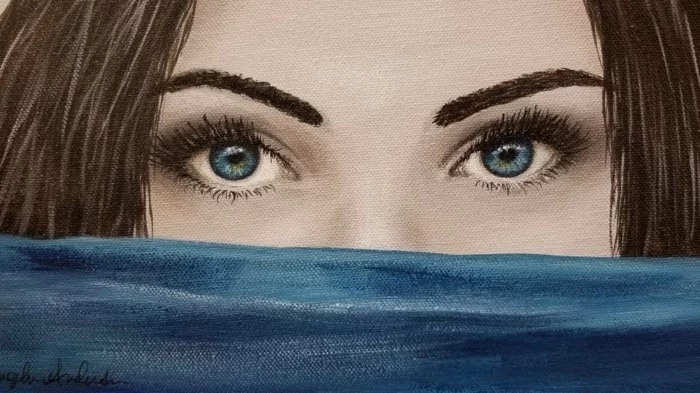
A common pitfall: Making both eyes perfectly identical and symmetrical. In reality, no face is perfectly symmetrical. One eye is often slightly larger, higher, or shaped differently than the other. Capturing these subtle imperfections is a key step toward creating a portrait that feels authentic and human, rather than robotic.
- Start with a base tone of 2H or HB pencil.
- Use a soft 4B or 6B pencil for the darkest areas within the pupil and the eyelid’s crease.
- Keep an F or H pencil sharpened for crisp details like eyelashes.
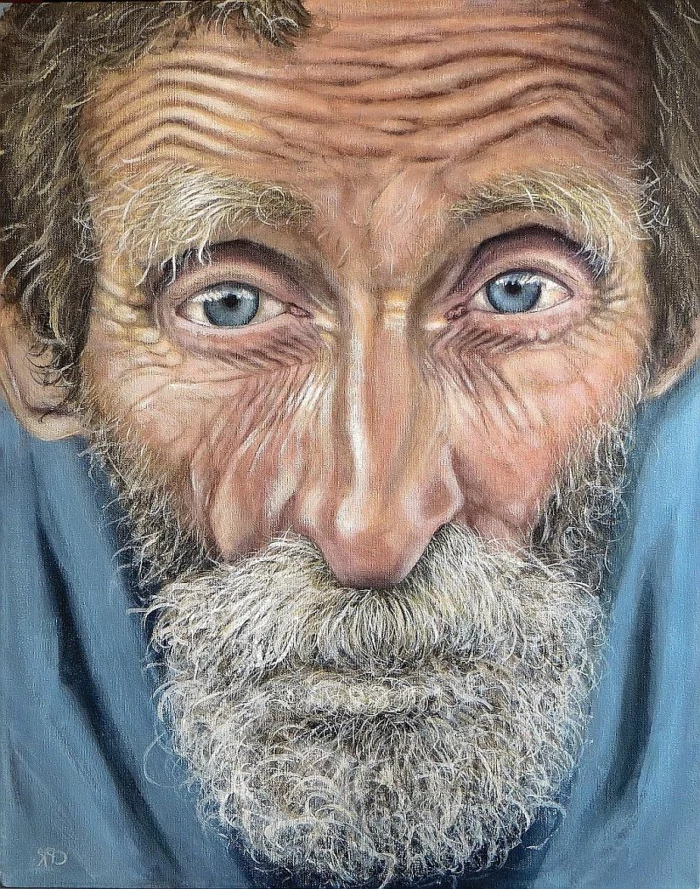
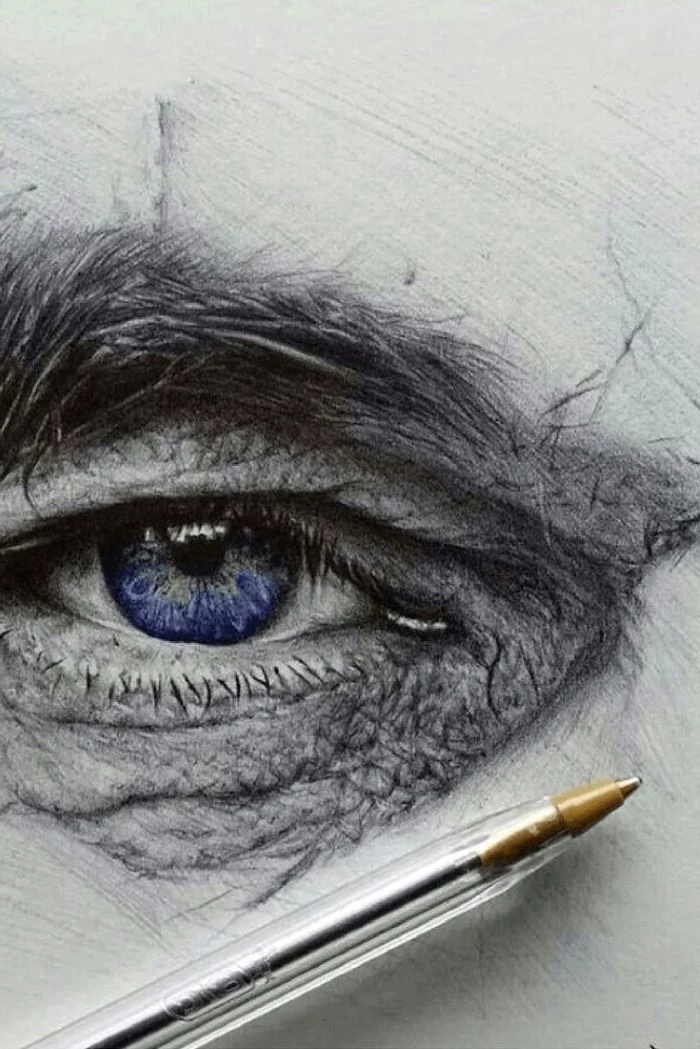
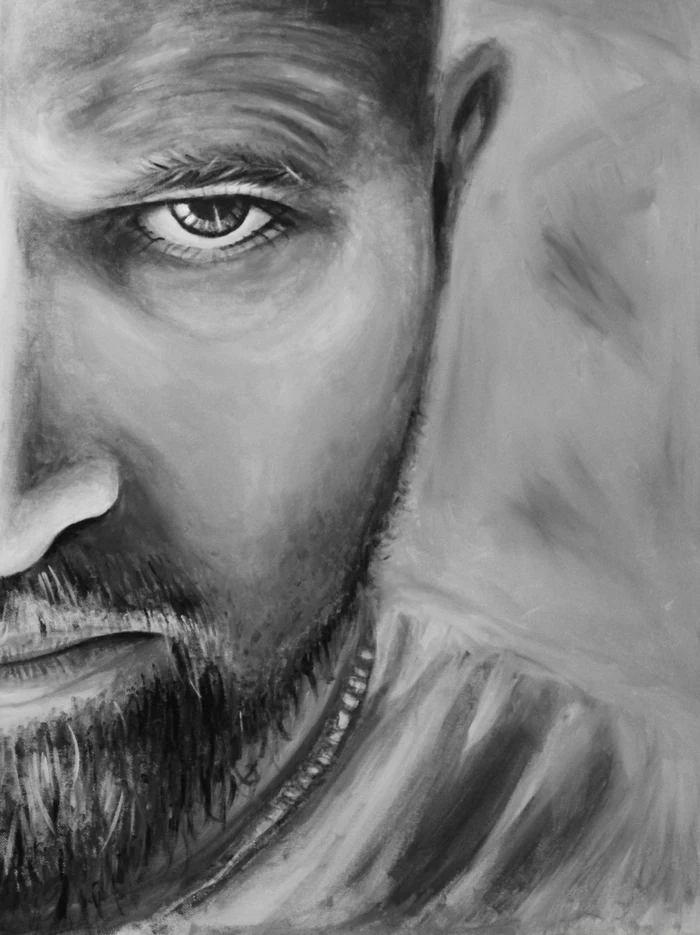
To capture the character in an older person’s eyes, focus on the surrounding skin. The skin here is thinner and tells a story.
- Use fine, cross-hatching lines to suggest ‘crêpey’ texture on the eyelids.
- Observe how fat deposits can create softer, puffier forms above and below the eye.
- Don’t be afraid to draw crow’s feet, but render them as subtle forms with highlights and shadows, not just dark lines.
Important: The pupil is not a black hole. While it’s the darkest element, it will still pick up faint, deep-toned reflections from the environment. Filling it in with your darkest pencil, like a Staedtler Mars Lumograph 8B, and then gently lifting a very subtle, soft highlight with a kneaded eraser can add a surprising amount of dimensional realism.
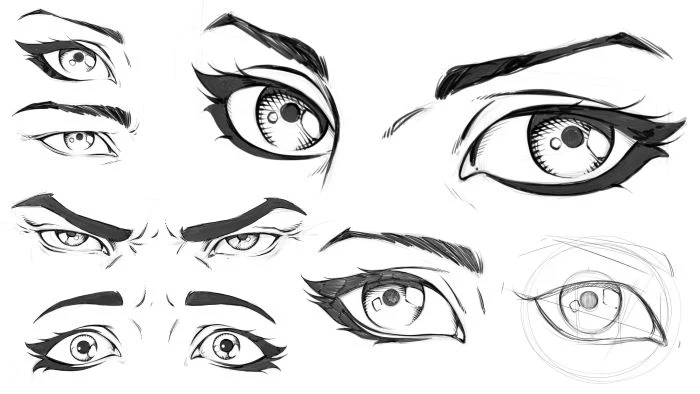
When drawing an eye with an epicanthic fold, a common feature in many East Asian ethnicities, the key is to understand how it affects light and shadow. The fold covers the inner corner of the eye, so the upper eyelid crease will appear to run parallel to the lash line and fade out at the inner corner, rather than tapering into it. This creates a unique and beautiful shadow pattern that is crucial to capture for a good likeness.
Are my colored pencil eyes looking flat and waxy?
This often comes from ‘burnishing’ too early with heavy pressure. Instead, work in light, patient layers. Use a solvent like Gamsol with a small brush to gently dissolve the pencil binder, which blends the colors seamlessly without crushing the paper’s tooth. This allows you to add more layers on top for depth and vibrant color, especially useful for creating those rich, jewel-toned irises.

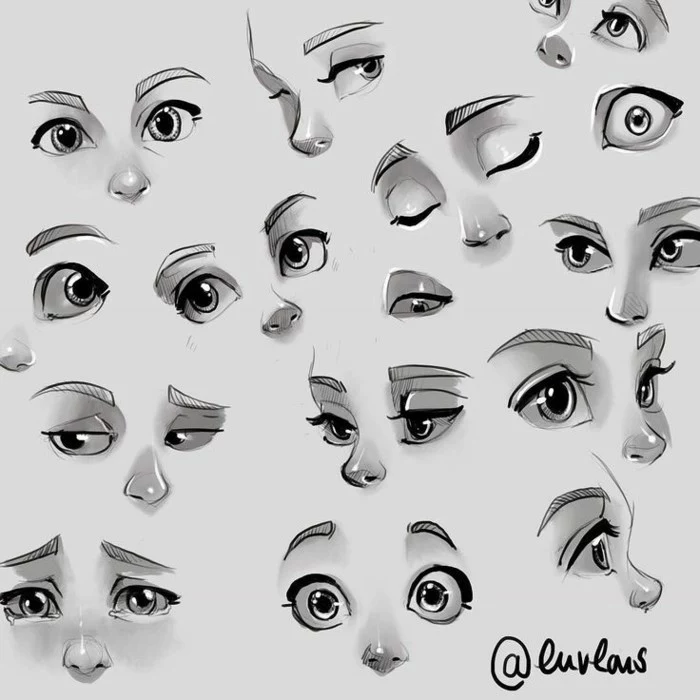
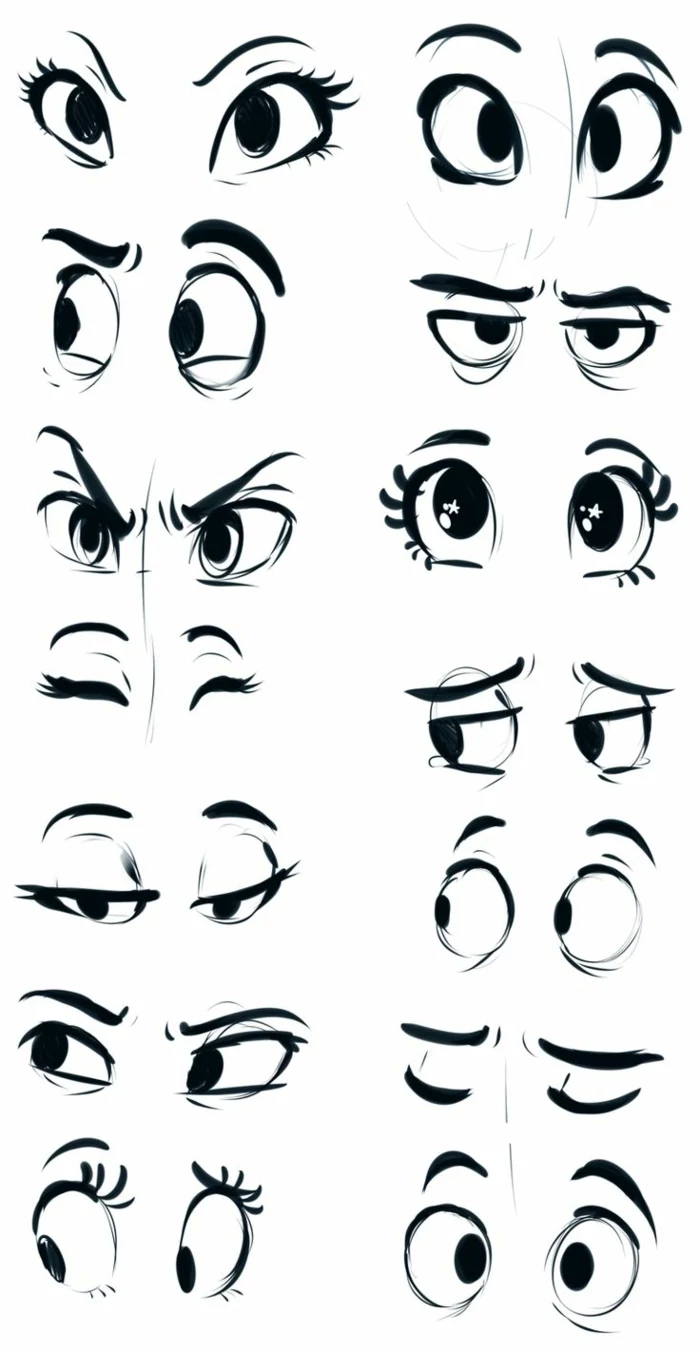
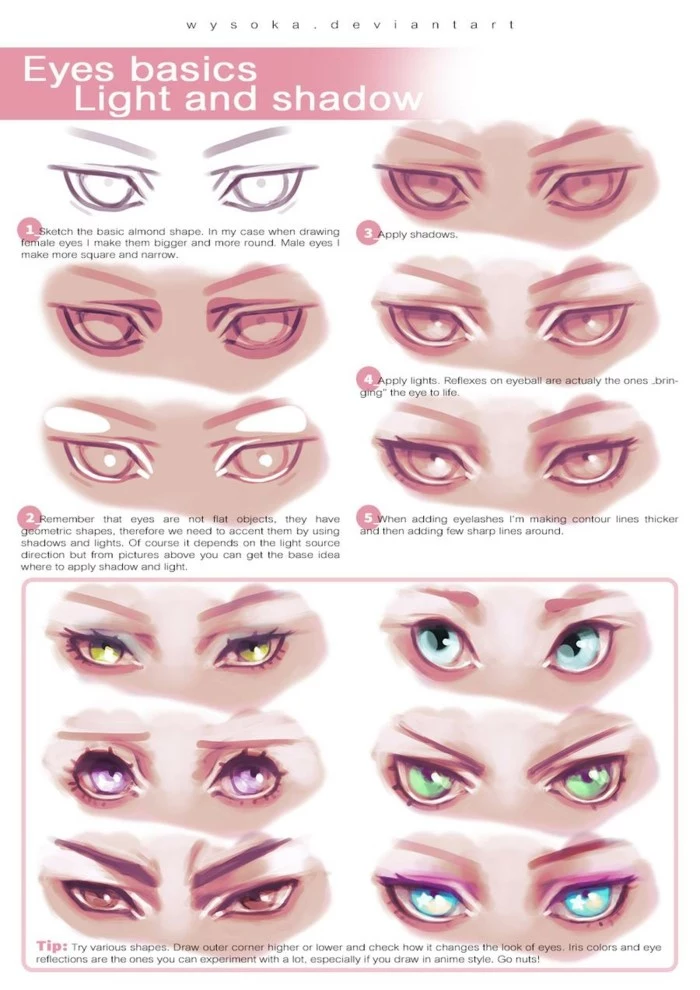
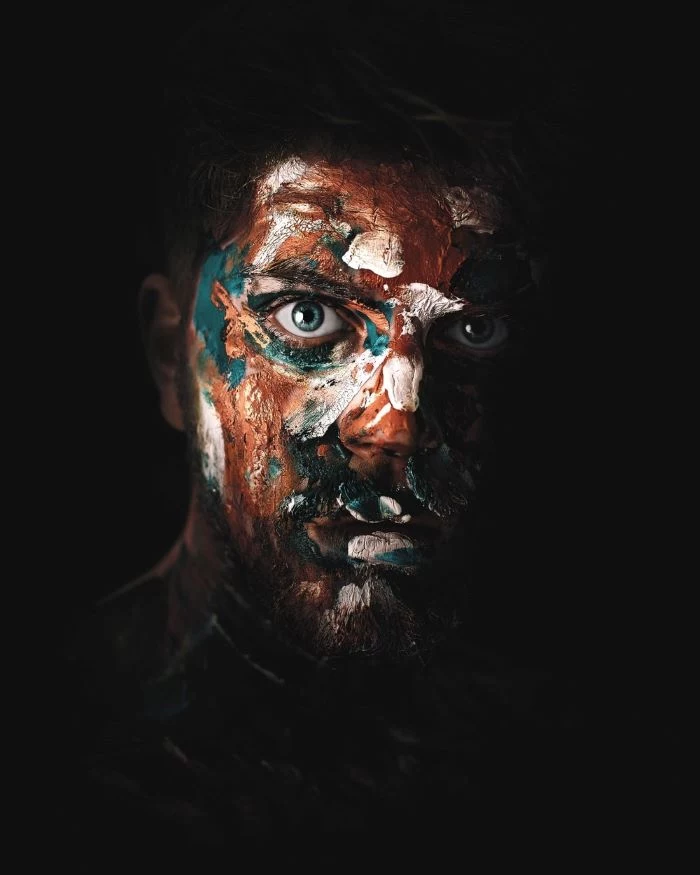
- A slightly raised eyebrow signals surprise or curiosity.
- Squinting the lower eyelid upwards is a key sign of a genuine smile (a Duchenne smile).
- A lowered brow and tensed lids convey anger or intense focus.
The secret is that emotion is shown by the muscles around the eye, not just the eyeball itself.
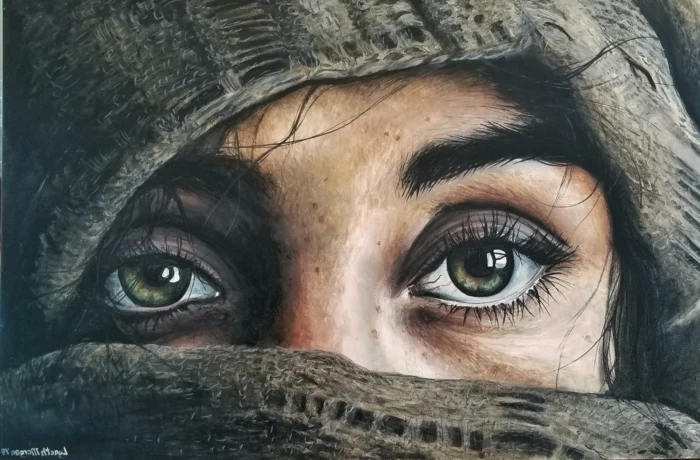
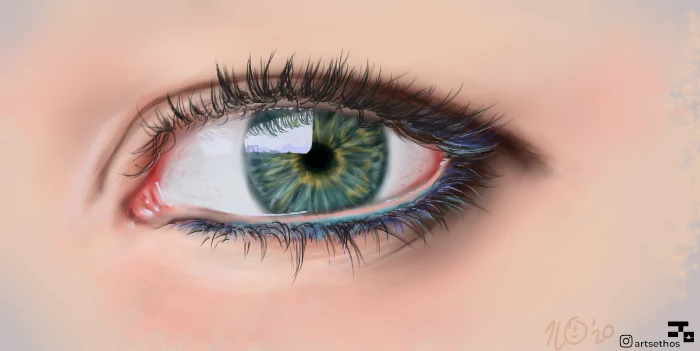
Did you know the sclera (the white part) is almost never pure white? It reflects the ambient light and shadow.
In a warm, indoor setting, shade it with light grays and even hints of yellow ochre or pink. In cool, outdoor light, it will pick up blues and purples from the sky. Leaving the sclera stark white is one of the biggest giveaways of a beginner’s drawing. Use a very light touch with a 2H pencil to gently shade it, making sure it’s still the lightest value in the drawing besides the main highlight.

Graphite: Ideal for crisp, detailed work. The range of hardness from 9H to 9B allows for immense control over values. Perfect for subtle skin textures and sharp eyelashes.
Charcoal: Offers deeper, richer blacks than graphite. It’s fantastic for dramatic, high-contrast portraits. However, it’s much messier and harder to control for fine details. A combination of both can yield stunning results.
Look closely at the lower eyelid. It’s not a simple line; it has thickness. This is called the waterline or tarsal plate. Drawing this small plane, which is often slightly lighter and moister than the surrounding skin, adds a huge amount of three-dimensionality. It’s the surface from which the lower lashes grow.
For digital artists using Procreate, try using the ‘Soft Airbrush’ for the gentle shadows on the sclera and the ‘6B Pencil’ or ‘Narinder Pencil’ brushes for the iris texture and eyelashes. Working on separate layers for the base color, shadows, and highlights will give you the flexibility to make adjustments easily.
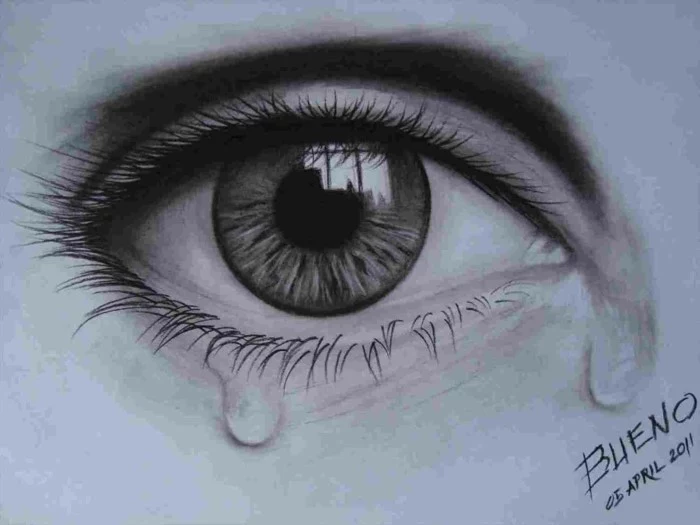
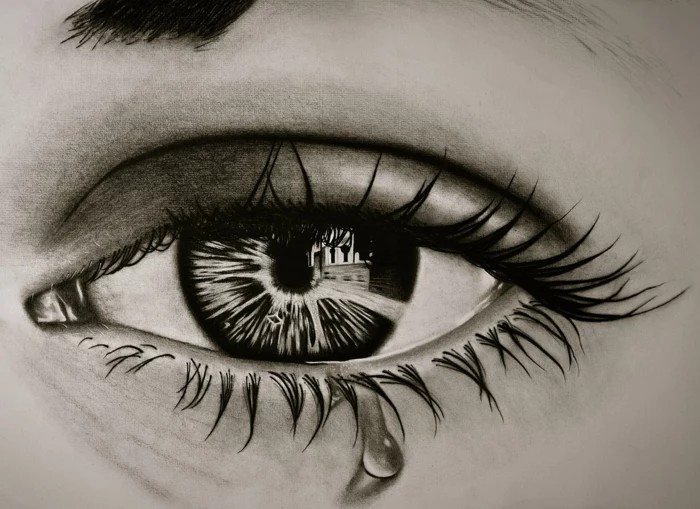
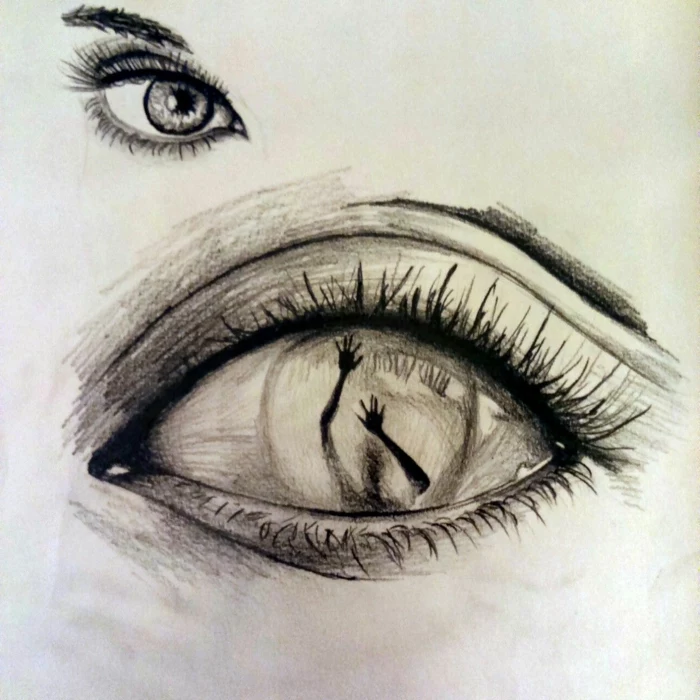
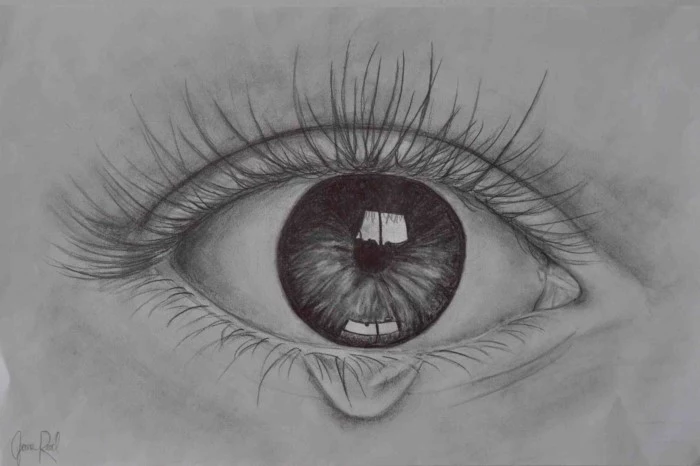
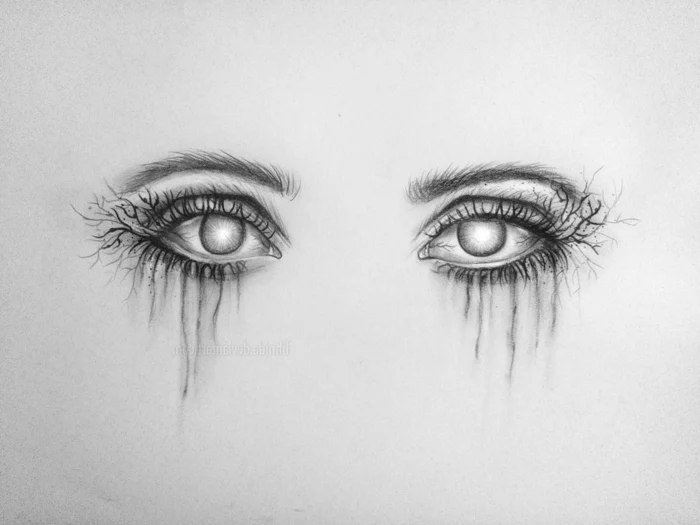
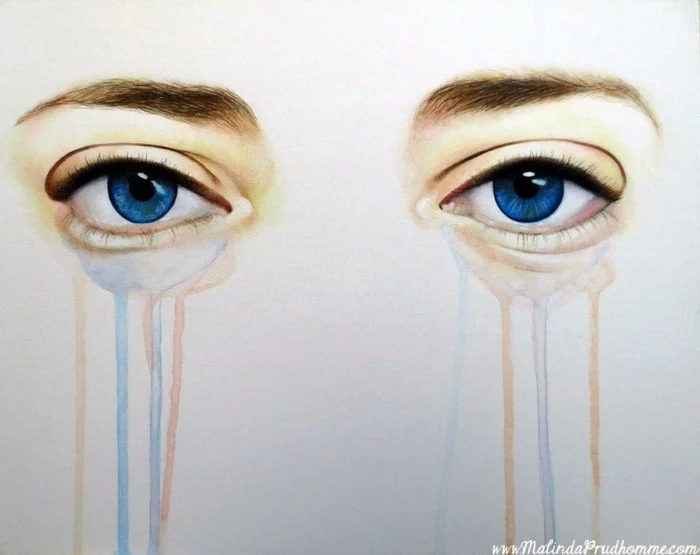
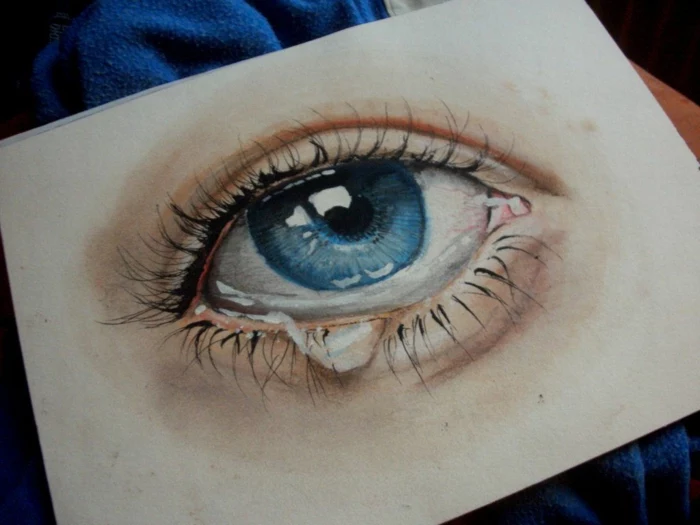
The trick to drawing convincing tears: A tear is a transparent object, so it refracts and distorts whatever is behind it. Draw the iris and pupil as you normally would, then use your eraser and a soft pencil to lightly ‘warp’ the lines that would be seen through the tear. The edges of the tear will have a dark, thin border and a very sharp, bright highlight. It’s a mini lesson in optics!
- A bright, sharp highlight suggests a smooth, wet surface like the cornea.
- A soft, diffused highlight indicates a less reflective surface, like the skin of the eyelid.
The character of your highlights—sharp, soft, large, or small—tells the viewer everything about the different textures in and around the eye.
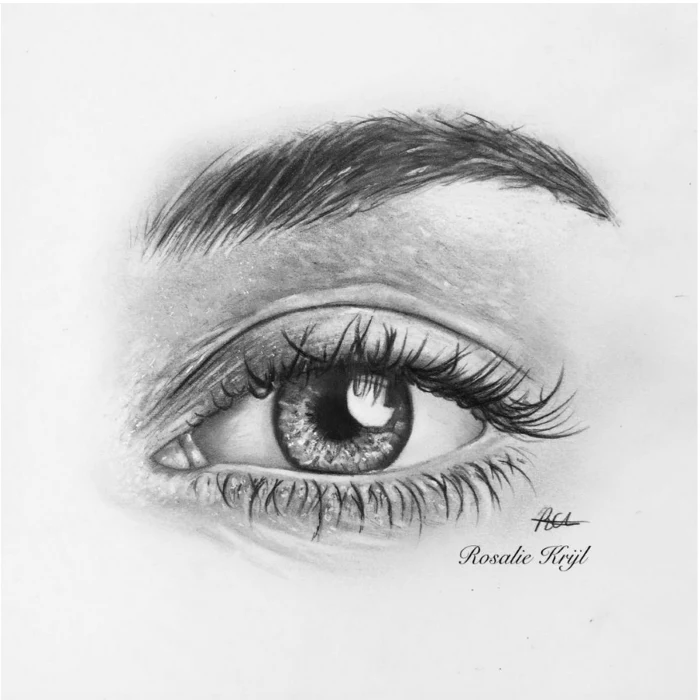
Don’t draw eyebrows hair by hair from the start. First, lightly map out the overall shape and value with the side of your pencil, treating it as a soft mass. Then, go in with a sharpened tip and add individual hairs in the direction of their growth, making them darker and denser where needed. This prevents the brow from looking ‘stuck on’.
“In the midst of chaos, there is also opportunity.” – Sun Tzu
This applies to fixing smudges. Don’t panic! A well-placed smudge can be lifted with a kneaded eraser and then blended into a soft shadow. Sometimes a mistake can be transformed into an unplanned but realistic contour on the brow bone or cheek, adding depth you hadn’t initially considered.
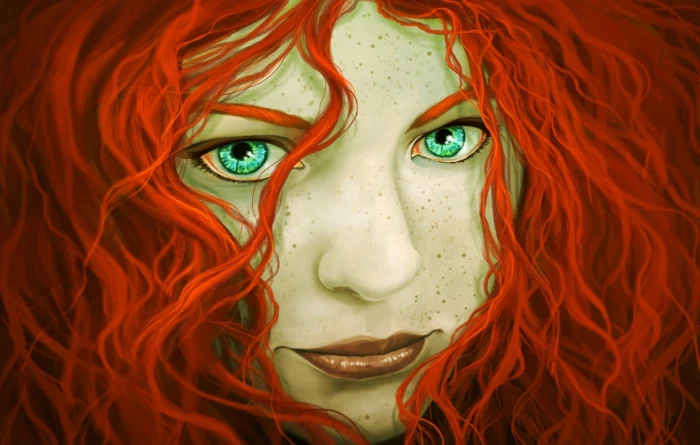
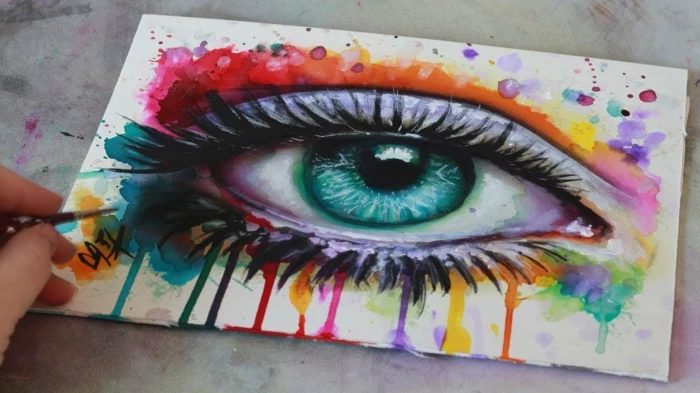
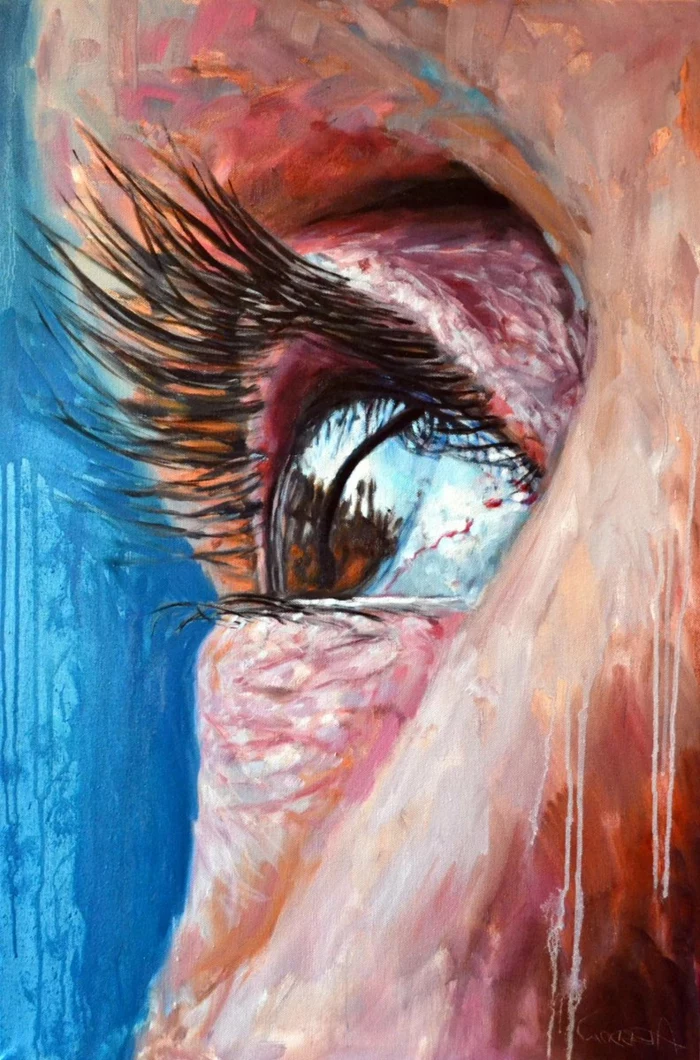
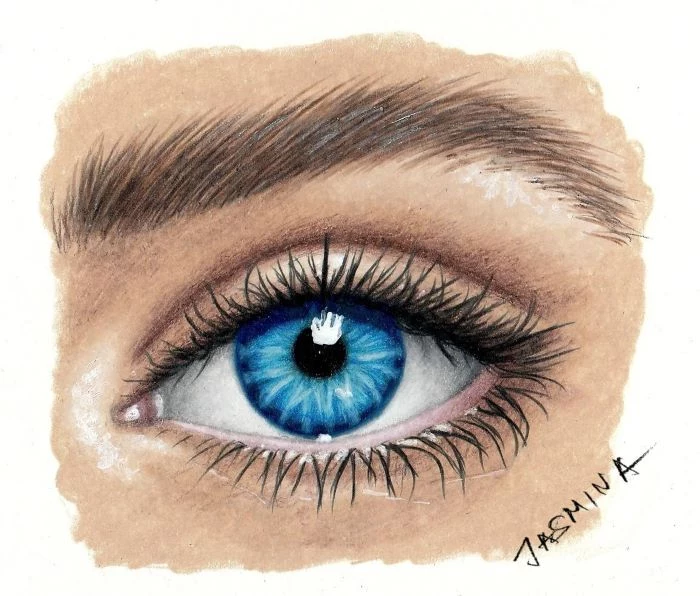
Want to achieve a truly luminous look with colored pencils?
Start with your lightest colors first, even white. For a blue eye, you might start with a layer of sky blue and white across the entire iris, then build up darker blues and purples on top using a light touch. This technique, used by brands like Faber-Castell Polychromos or Caran d’Ache Luminance, lets the light penetrate the layers and reflect off the initial light base, creating a glow-from-within effect.
Before calling it finished, do a final check of your light source. Is the main highlight in the eye consistent with the highlights on the brow bone, cheek, and nose? Is the primary shadow cast by the eyelid pointing away from that light? This single check for consistency is what ties the eye to the rest of the face and makes the entire portrait believable.


