The Secret to Drawing Animals Isn’t Talent, It’s This One Simple Shift
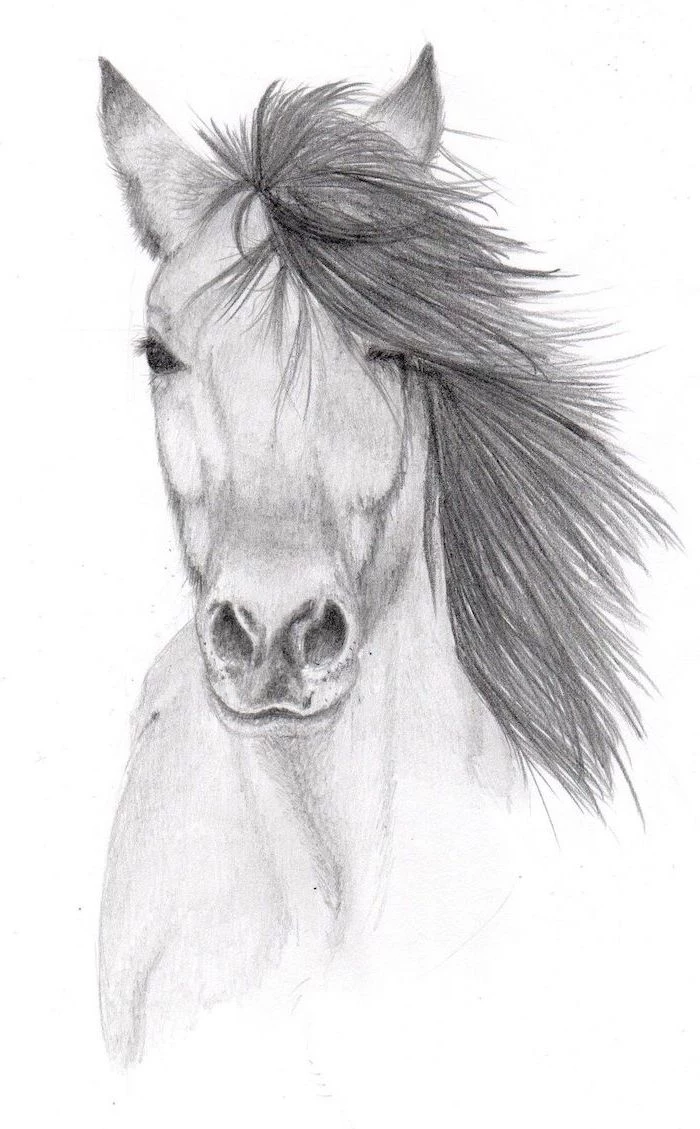
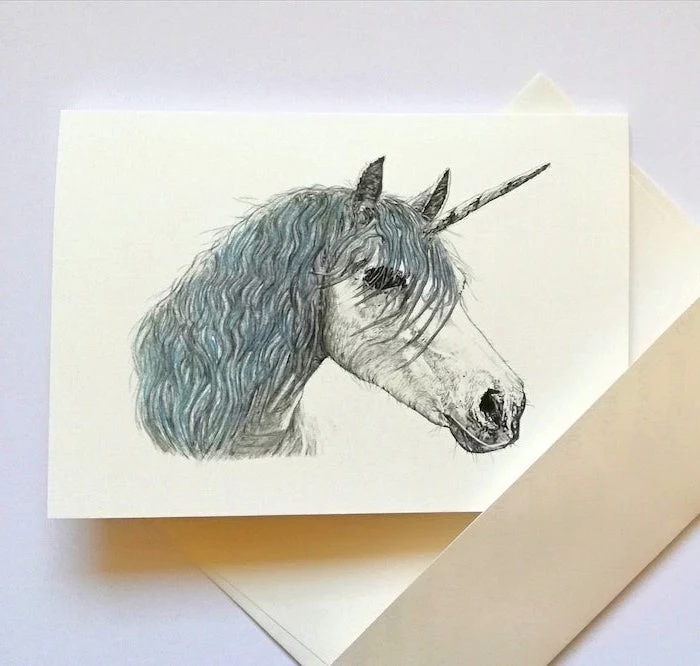
I remember trying to draw a horse when I was a teenager. In my sketchbook, it looked less like a majestic animal and more like a lumpy dog balanced on stilts, with a neck that bent in ways nature definitely never intended. I could see the horse perfectly in my head, but my hand just wouldn’t get the message. Sound familiar? That frustration is something every artist runs into. It’s the gap between just looking at something and truly understanding its form.
In this article
After years of filling sketchbooks and spending countless hours drawing at zoos, farms, and museums, I’ve learned a secret: drawing animals well has almost nothing to do with raw talent. It’s about learning a specific way of seeing. It’s about breaking down the complex, beautiful anatomy of a creature into simple, manageable shapes. This isn’t about shortcuts. It’s the foundational method that professional illustrators and animators rely on. The big idea is this: you don’t draw what an animal looks like on the surface. You draw what it is from the inside out.
Thinking Like a Sculptor, Not a Tracer
The single biggest mistake I see beginners make is focusing only on the outline. They see the silhouette of a dog and try to trace its edge, which almost always results in a flat, lifeless drawing that looks like a cookie-cutter cutout. To draw something with real weight and presence, you have to think more like a sculptor. You need to build it with three-dimensional forms.
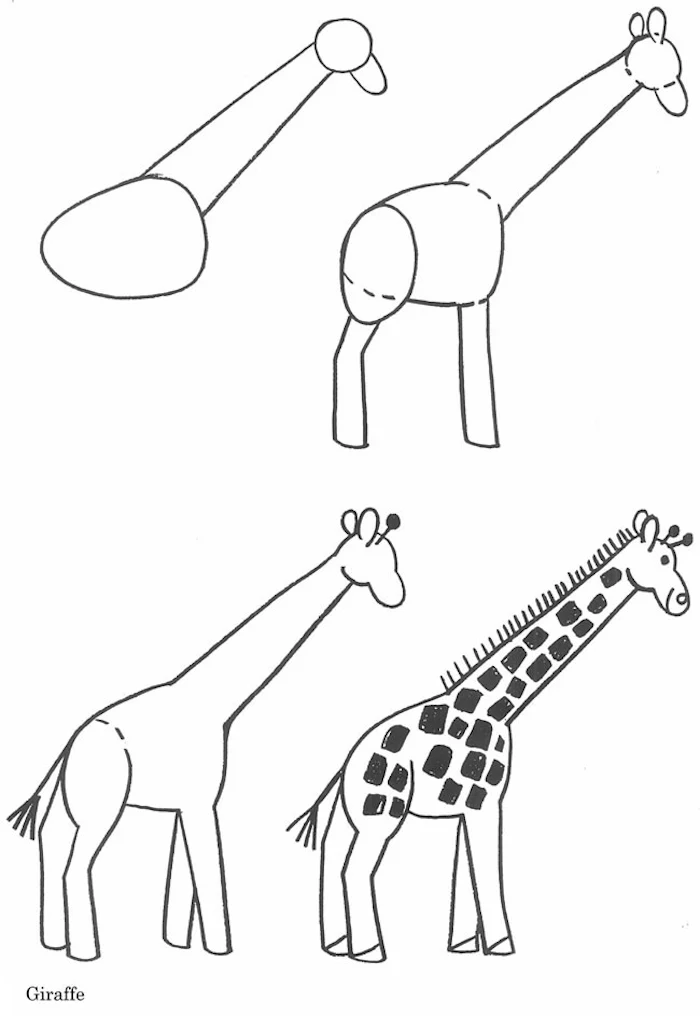
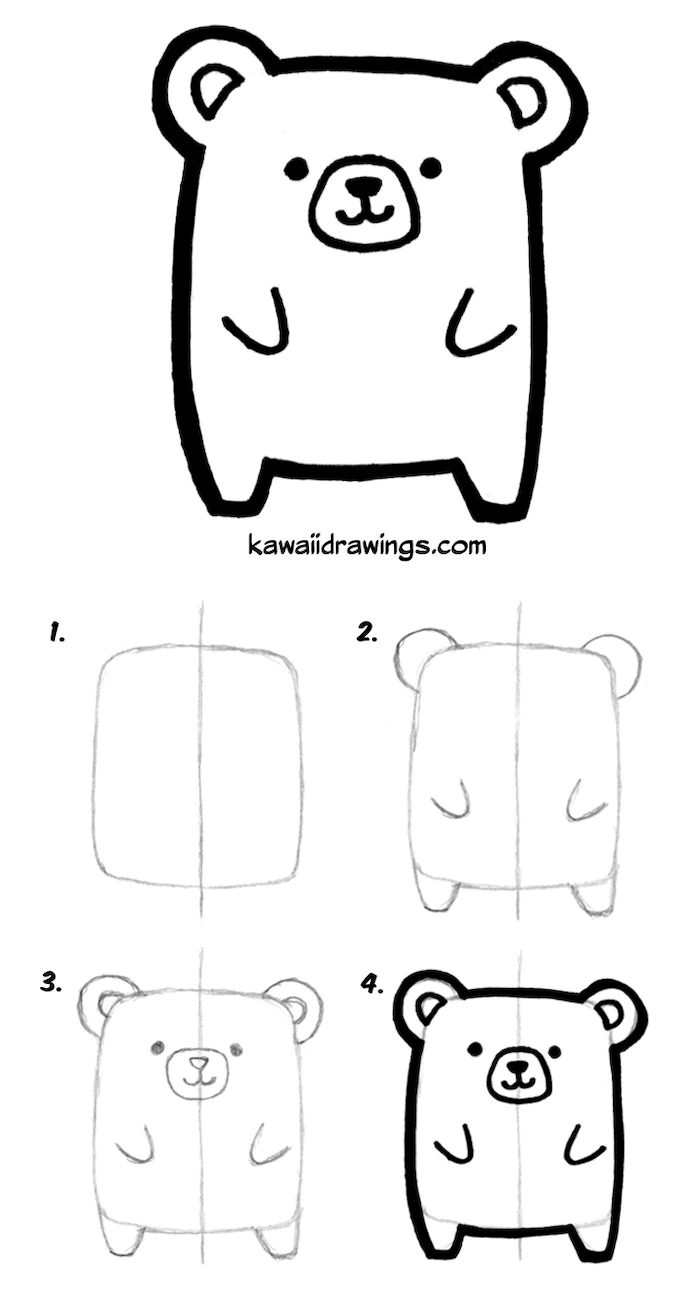
Everything, and I mean everything, can be simplified into three basic building blocks: the sphere, the cylinder, and the box.
- The Sphere: This is your go-to for skulls, major joints like the shoulder, and even the rounded parts of a ribcage.
- The Cylinder: Perfect for necks, tails, torsos, and the long bones in the legs. You can even taper them to show how a leg thins out toward the ankle.
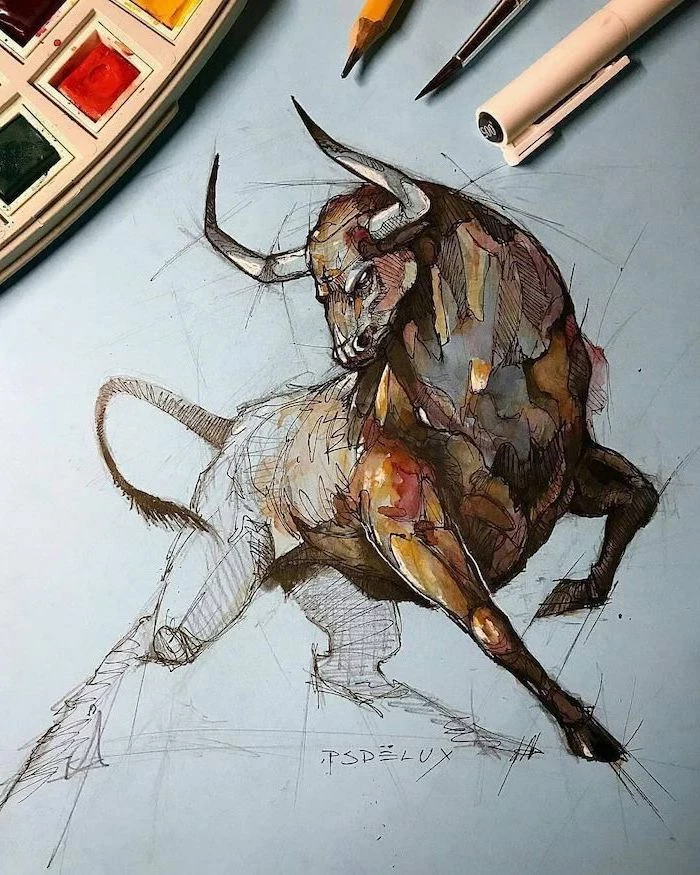
- The Box: Incredibly useful for blocky parts of an animal, like the muzzle on a dog, the powerful chest of a bear, or the solid structure of the pelvis.
Why does this actually work? Because these shapes force you to think about volume. When you sketch a sphere instead of a flat circle, you’re already thinking about how light and shadow will wrap around it. When you connect two spheres (joints) with a cylinder (bone), you’re not just drawing a leg—you’re building a functional part that can bend and rotate in 3D space. You’re constructing a machine.
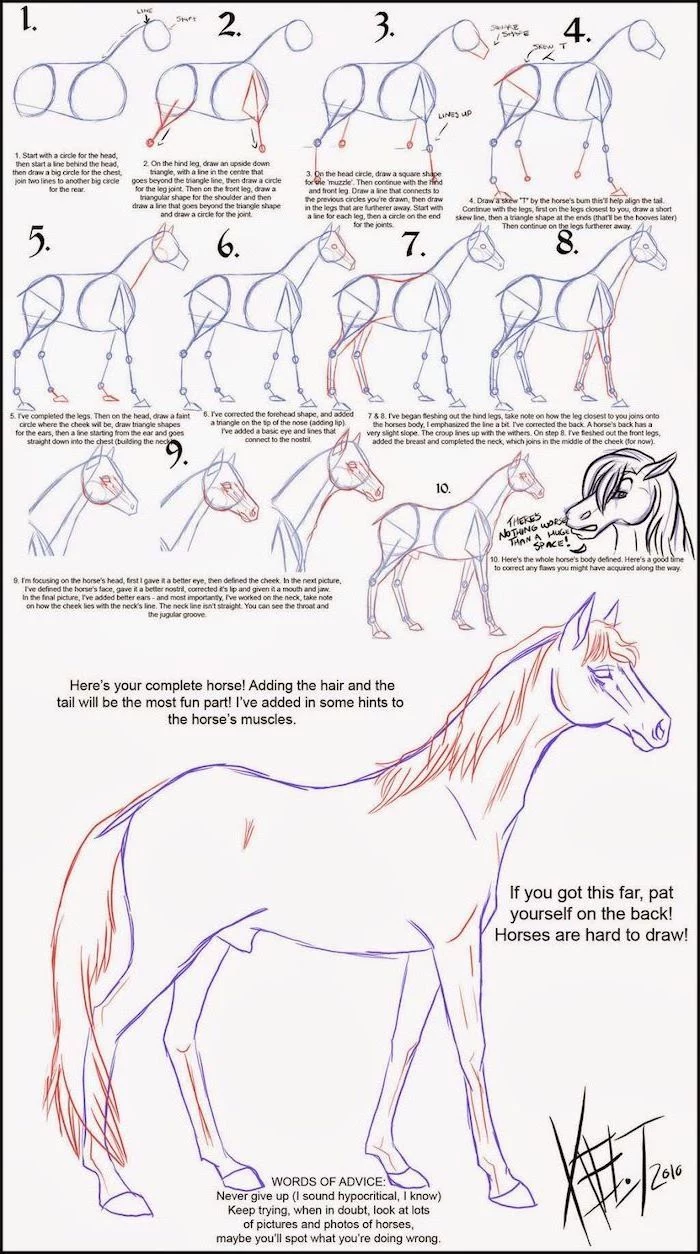
A fantastic exercise is to pull up some animal photos online and literally draw these simple forms right over the top. Don’t worry about any details. Just focus on finding the big, simple masses. You’ll quickly see that a horse’s chest is a huge box, its ribcage is an egg-shaped barrel, and its head is just a sphere connected to a tapered box. This is the first step toward really seeing.
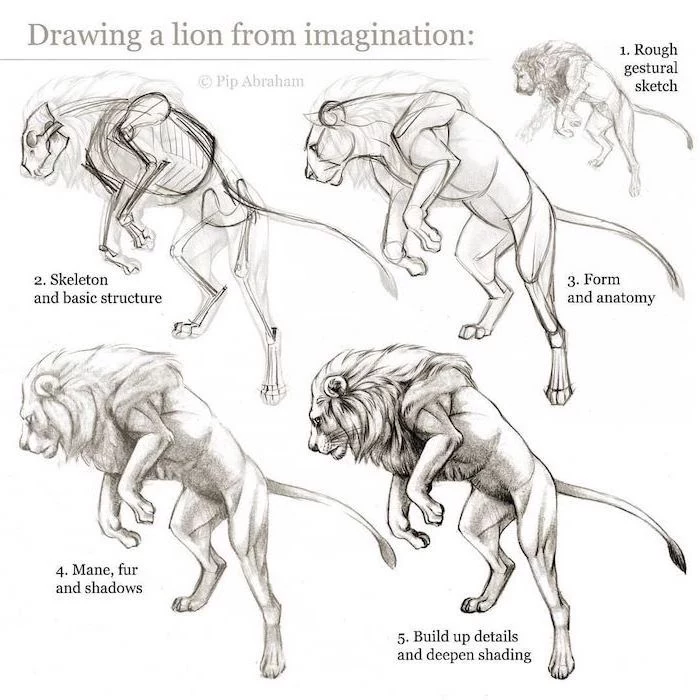
The Pro-Level Process: Gesture, Construction, and Anatomy
Once you get comfortable seeing in forms, you can start using a three-step process to bring your animal drawings to life. Each step builds on the last, so don’t skip ahead!
1. Gesture: Capturing the Energy First
Before you even think about a head or a leg, you have to capture the animal’s energy. This is called gesture drawing, and it’s all about movement, rhythm, and flow—not accuracy. It’s the first impression of the pose. Animators live and die by this skill because a character with perfect anatomy but a stiff gesture feels dead, while a simple character with a strong gesture feels alive.
Here’s how to practice it:
- Go cheap on paper. Grab a big pad of newsprint, the kind you can get for $5-$10 at an art supply store. You want to feel free to be messy without worrying about wasting good paper.
- Use a soft tool. A 6B graphite stick or some vine charcoal is perfect. They encourage you to make broad, confident strokes.
- Draw with your whole arm. Seriously. Lock your wrist and elbow and draw from your shoulder. This creates the smooth, flowing lines you’re after, not the tight, scratchy ones that come from the wrist.
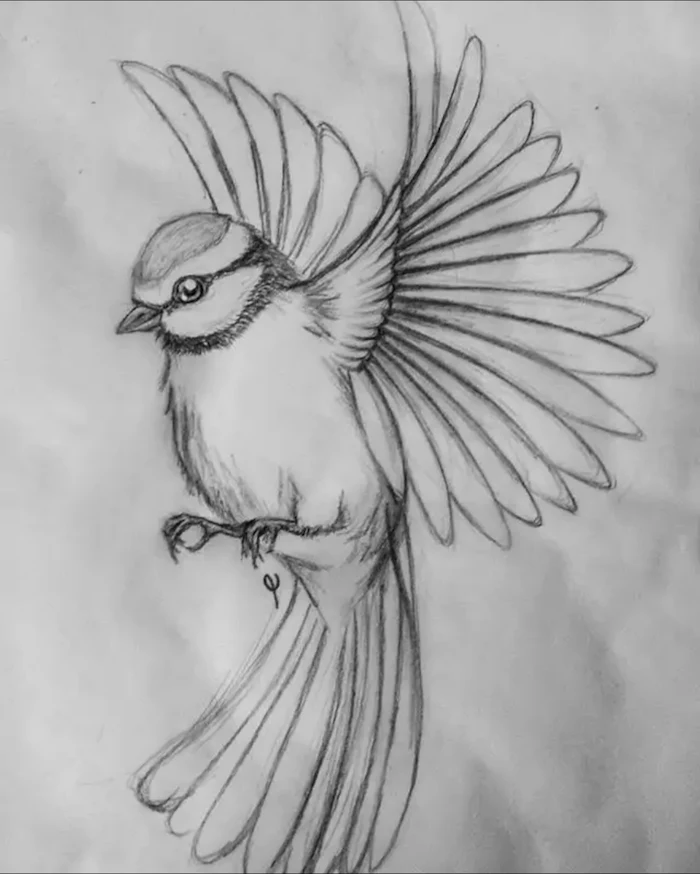
- Find the ‘line of action.’ This is one single, expressive line that sums up the entire pose. For a cat leaping, it might be a big C-curve. For a bird standing, it might be a series of S-curves. Start your drawing with just that line.
- Use a timer. Give yourself just 30 to 60 seconds per drawing. This forces you to ignore all the distracting details and focus only on the essential movement.
Honestly, your first hundred gesture drawings will probably look like a bunch of scribbles. That’s not just okay—it’s the whole point. You’re training your eye to see the most important information first.
2. Construction: Building Your Mannequin
Got a loose, energetic gesture? Great. Now you build the animal’s structure on top of it using those spheres, cylinders, and boxes. Think of it as creating a simple wooden artist’s mannequin of the animal. This is where you establish volume and proper proportions.
Let’s try it with a dog. Pause here for a second. Go to a free stock photo site like Pexels or Unsplash, search for
Inspirational Gallery
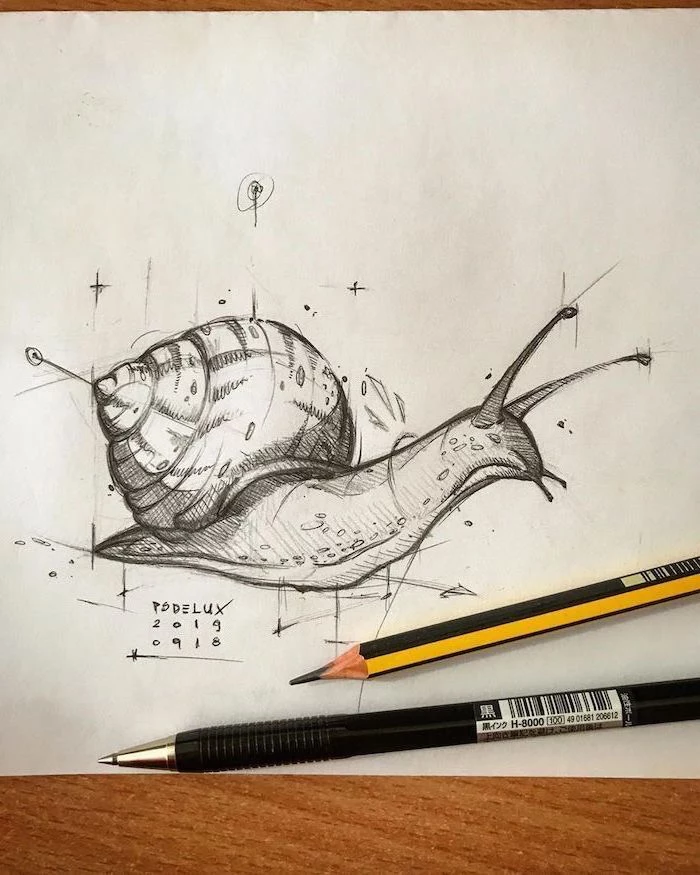
Don’t underestimate the power of a good pencil. While any pencil can work, investing in a small set of graphite pencils, like the Faber-Castell 9000 series, gives you incredible control. Start with an HB for initial construction lines, a 2B for defining forms and adding mid-tones, and a 6B for deep, rich shadows that make your animal drawings pop off the page. The harder leads (like HB) are lighter and easier to erase, perfect for finding those initial shapes.
- They create rich, dark blacks that graphite can’t match.
- They blend beautifully to create soft fur or hide textures.
- They encourage a bolder, more expressive approach to drawing.
The secret? Using compressed charcoal sticks for large, gestural animal studies.
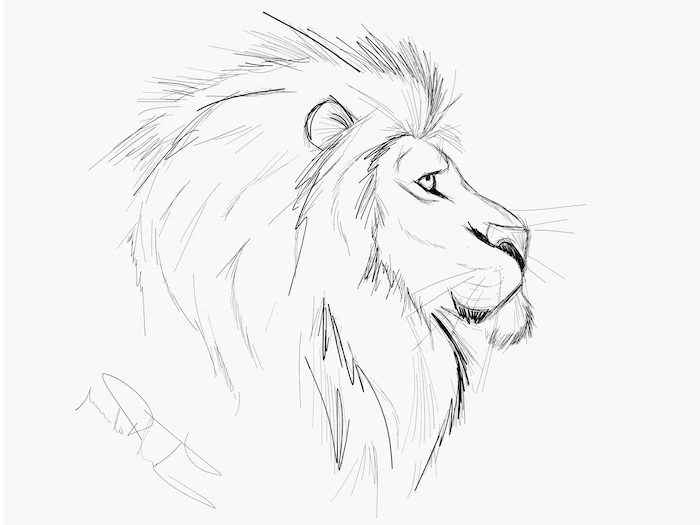
“The first step to becoming a good animal artist is to stop thinking of a ‘dog’ or a ‘cat’ and start thinking of a collection of spheres, boxes and cones.” – Aaron Blaise, former Disney Animator (‘The Lion King’, ‘Brother Bear’)

How can I draw fur and feathers without getting lost in the detail?
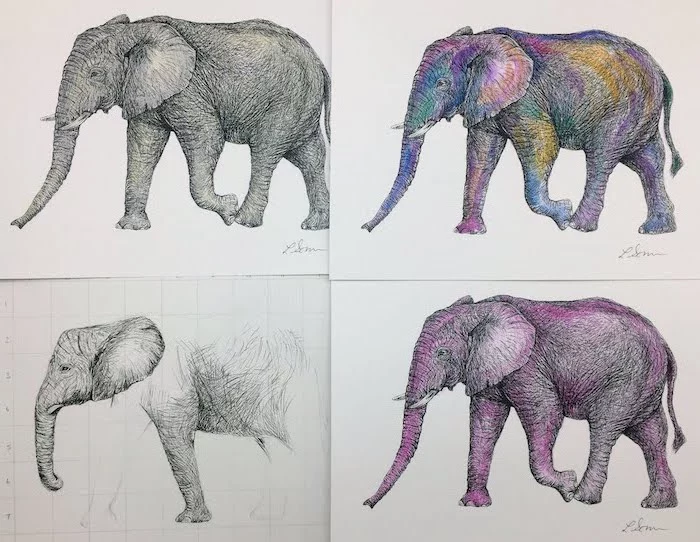
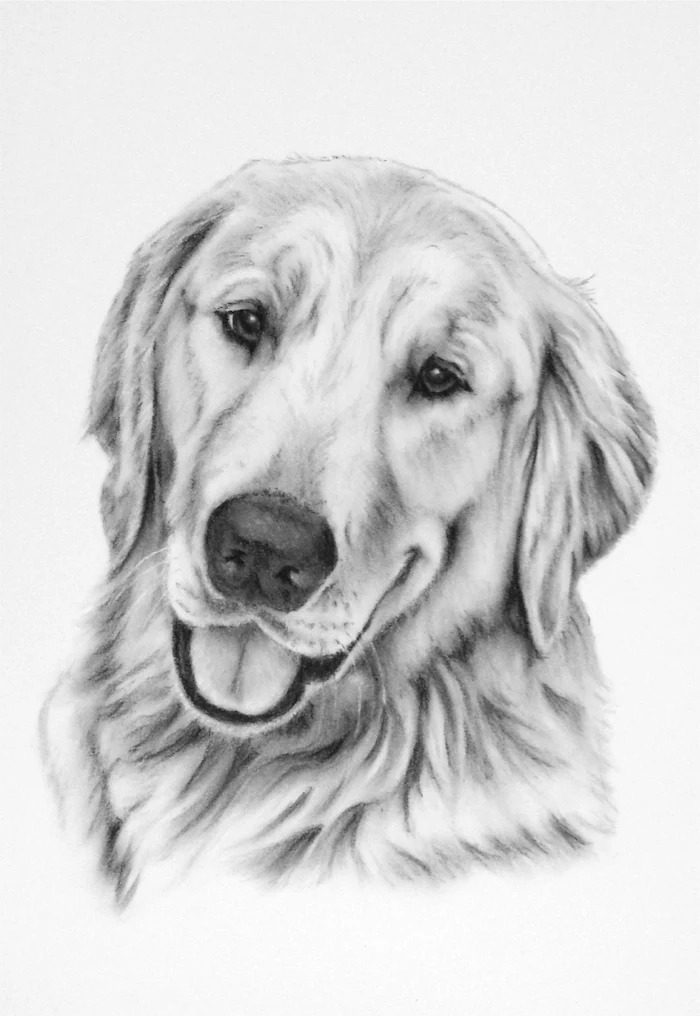
Think in clumps and patterns, not individual strands. Squint your eyes and observe the major areas of light and shadow on the coat or plumage. Use the side of your pencil to block in these large value shapes first. Then, add a few well-placed, directional lines to suggest the texture and flow of the fur. A kneaded eraser is your best friend here—you can lift out highlights to create a soft, glistening effect.
Your First Field Kit: You don’t need a massive art store haul to start. A simple, effective kit for drawing animals on the go fits in a small bag.
- A spiral-bound sketchbook (Canson or Strathmore are great). The spiral lets it lie flat.
- A 2B and a 4B graphite pencil.
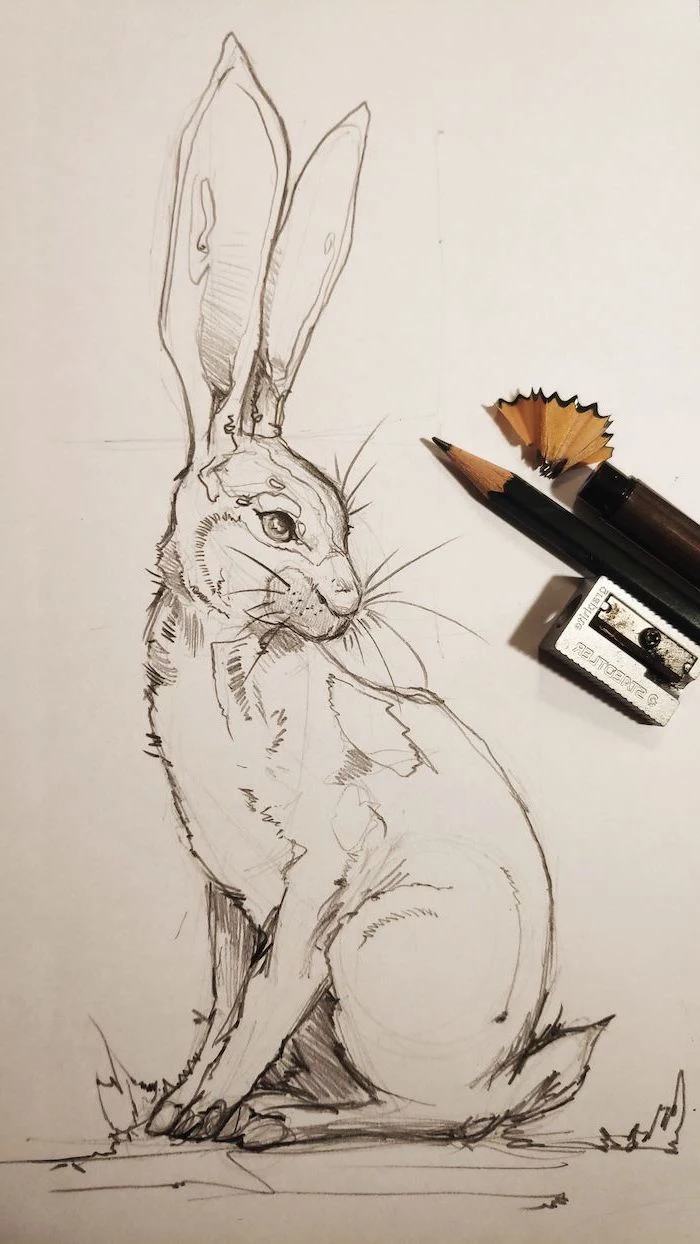
- A kneaded eraser (it won’t leave shavings).
- A small, portable pencil sharpener.
Graphite Pencil: Clean, precise, and excellent for detailed anatomical studies. Perfect for rendering the subtle muscle shifts on a short-haired animal like a whippet or a horse.
Charcoal Stick: Bold, expressive, and a bit messy. Ideal for capturing the raw energy and shaggy texture of a bear or bison. It forces you to focus on big shapes rather than tiny details.
For beginners, starting with graphite builds discipline, but don’t be afraid to experiment with charcoal to loosen up.
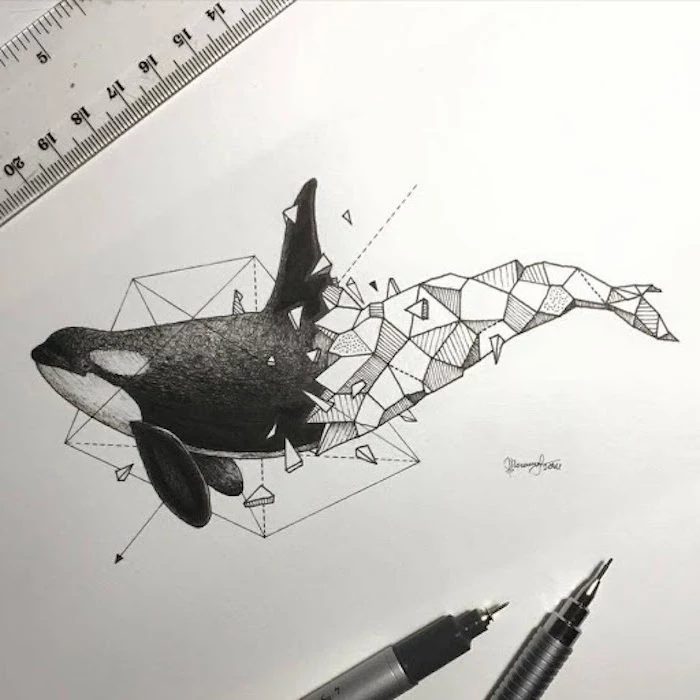
A surprising number of mammals, from a bat’s wing to a human hand to a whale’s flipper, share the exact same underlying bone structure.
This biological concept, called homologous structures, is a goldmine for artists. Once you learn the basic skeletal structure of one mammal’s leg (upper bone, two lower bones, wrist/ankle complex, digits), you can adapt that knowledge to draw almost any other. It’s the ultimate artistic shortcut, grounded in science.
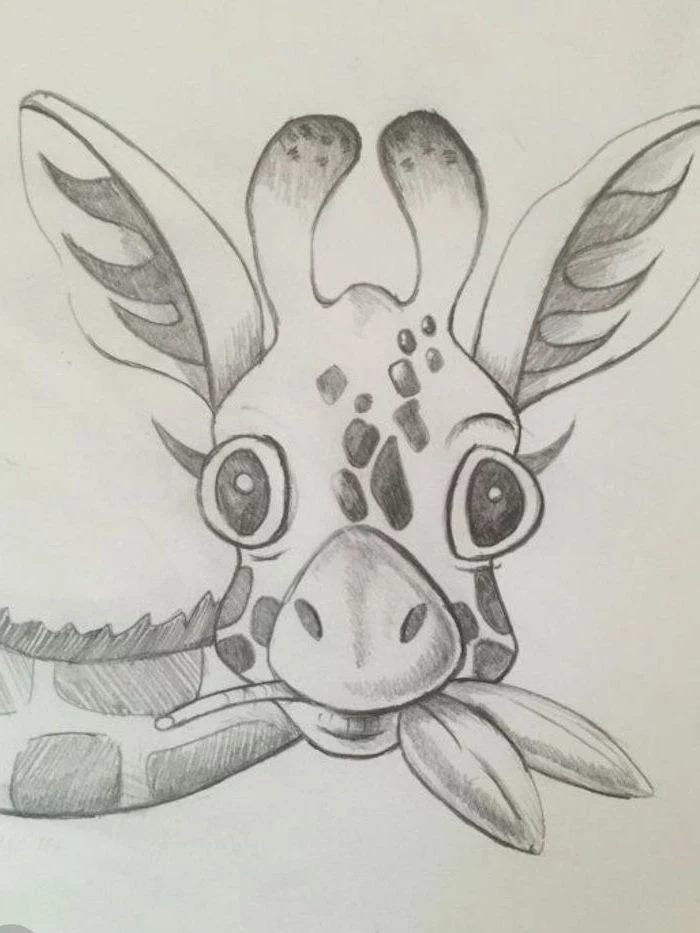
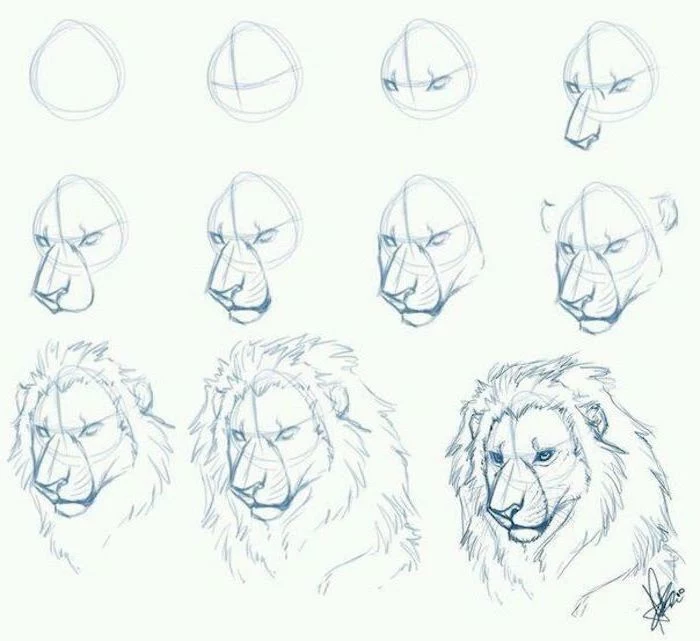
Important: Watch out for ‘symbol drawing’. This is when your brain substitutes a generic symbol for what you’re actually seeing—like drawing a cartoon almond shape for an eye instead of observing its true shape, angle, and the way the eyelids wrap around the sphere of the eyeball. To break this habit, try drawing an animal upside down. This forces you to see only shapes and lines, not a ‘cat’ or a ‘dog’.
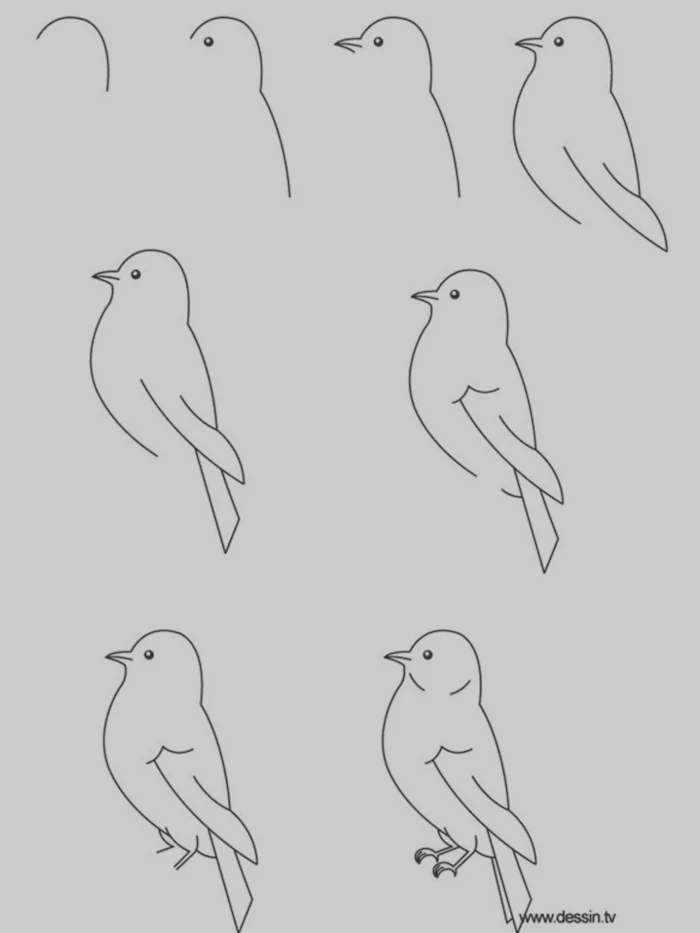
One of the best ways to understand animal form is gesture drawing. The goal isn’t a finished piece, but to capture the energy and movement in just a few seconds.
- Set a timer for 30 or 60 seconds.
- Find a video of an animal in motion (a galloping horse, a pouncing cat).
- Focus on the ‘line of action’—a single, flowing line that represents the main thrust of the pose from head to tail. Build a quick stick-figure skeleton on top of it.
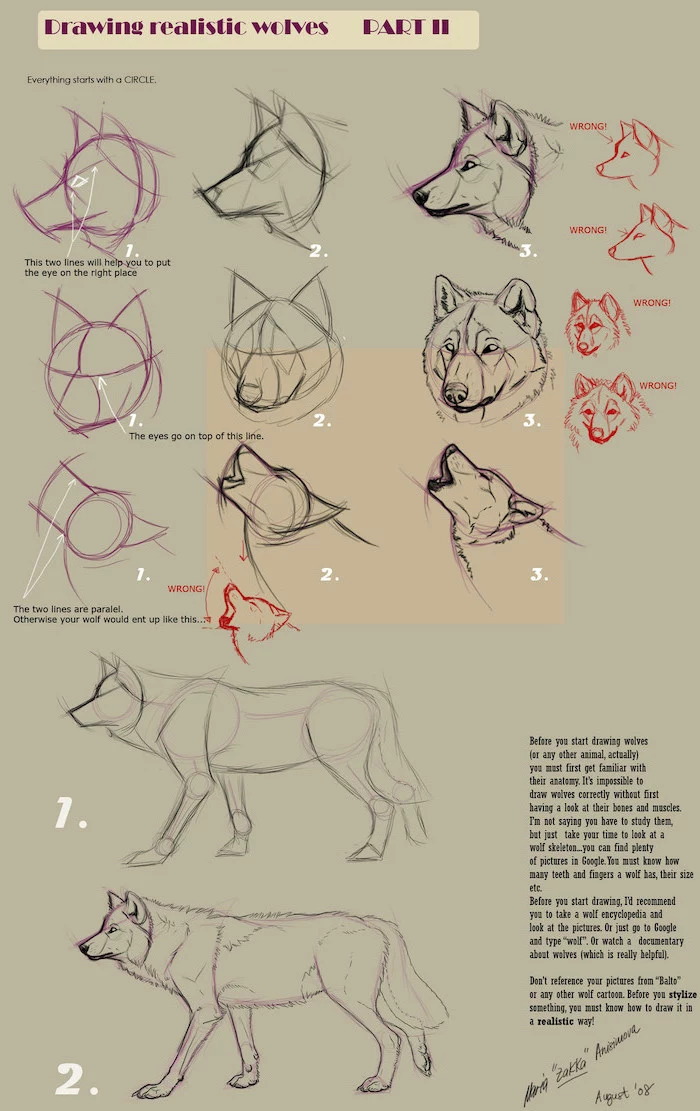
Digital tools can revolutionize how you learn. In apps like Procreate on the iPad, use layers to your advantage. Do your rough construction shapes on one layer with a light blue or red color. Then, lower the opacity of that layer and create a new one on top for your refined line art. This mimics the traditional animation process and keeps your final drawing clean while preserving the foundational work underneath.
- They give a drawing a sense of life and energy.
- They immediately establish the animal’s mood and posture.
- They serve as the backbone for your entire construction.
The key? Starting every drawing with a ‘line of action.’ This single, expressive curve dictates the flow of the pose before you even draw a single shape.
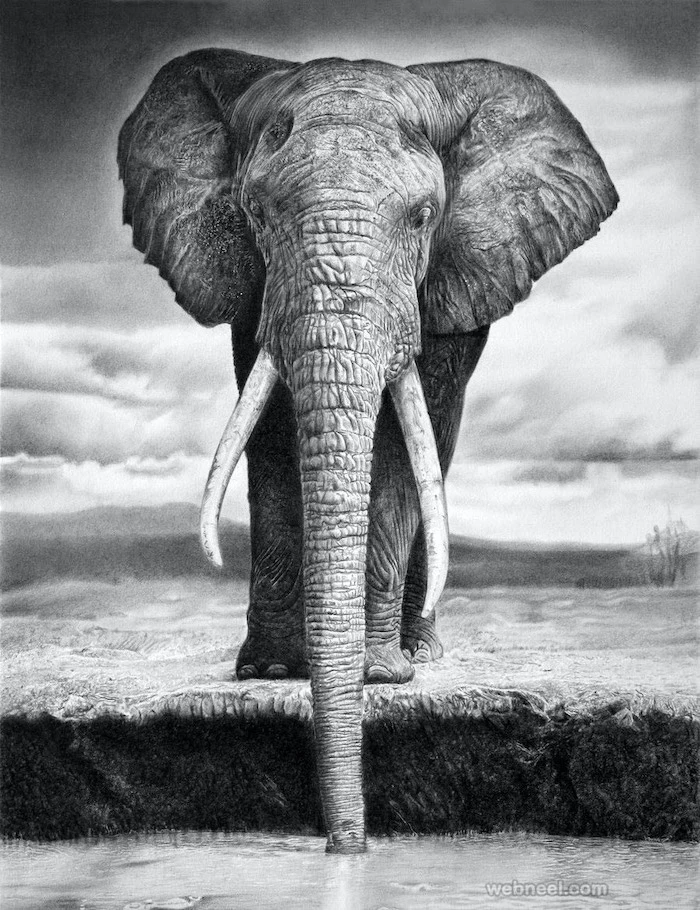
A horse has no muscles in its lower legs, from the knees and hocks down. It’s all bone, tendon, and ligament.
Understanding this is crucial for artists. It explains why a horse’s lower legs are so slender and defined, yet incredibly strong. When you draw them, think of them as elegant, mechanical struts, not fleshy limbs. This prevents you from adding non-existent, bulky calf muscles.
My animals often look flat and stiff. What am I doing wrong?
This usually happens when you draw shapes side-by-side instead of overlapping them. Remember, an animal’s body has depth. The ribcage sphere should partially cover the pelvic box. The sphere of the shoulder joint sits in front of the ribcage. Overlapping these simple forms is the fastest way to create a sense of three-dimensional space and turn a flat cutout into a believable creature.
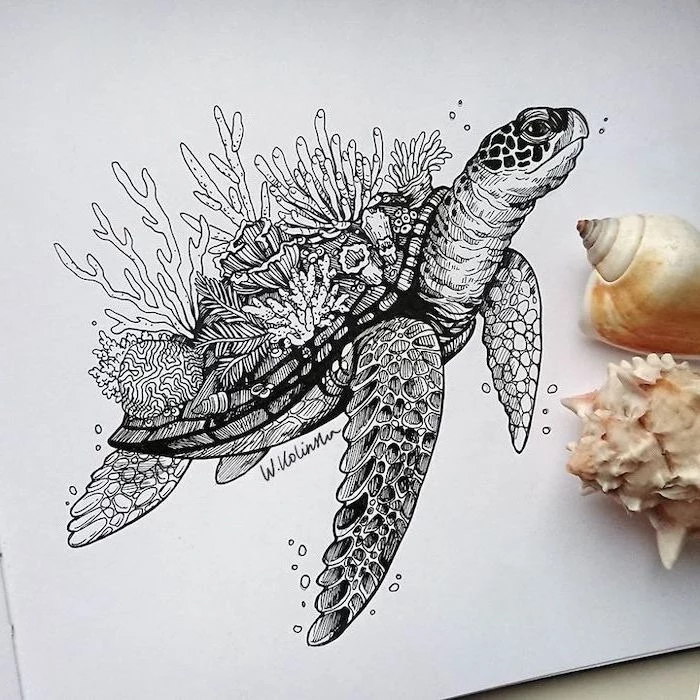
Smooth Bristol Paper: Its ultra-smooth surface is perfect for fine pen and ink work or highly detailed pencil drawings where you want crisp, clean lines. Think scientific illustrations or delicate insect drawings.
Vellum or Medium Tooth Paper: A bit more versatile, this paper has a slight texture (or ‘tooth’) that grabs graphite and charcoal, allowing for richer shading and softer transitions. Ideal for most animal sketches.
For the techniques discussed in this article, a medium-tooth sketchbook paper from a brand like Strathmore is your most reliable choice.

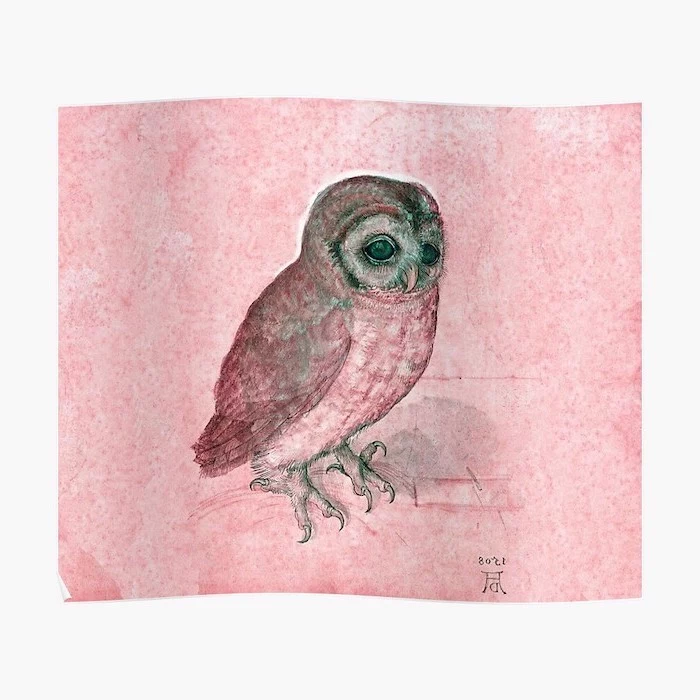
Look beyond photographs and study the old masters. Leonardo da Vinci’s horse studies and Albrecht Dürer’s
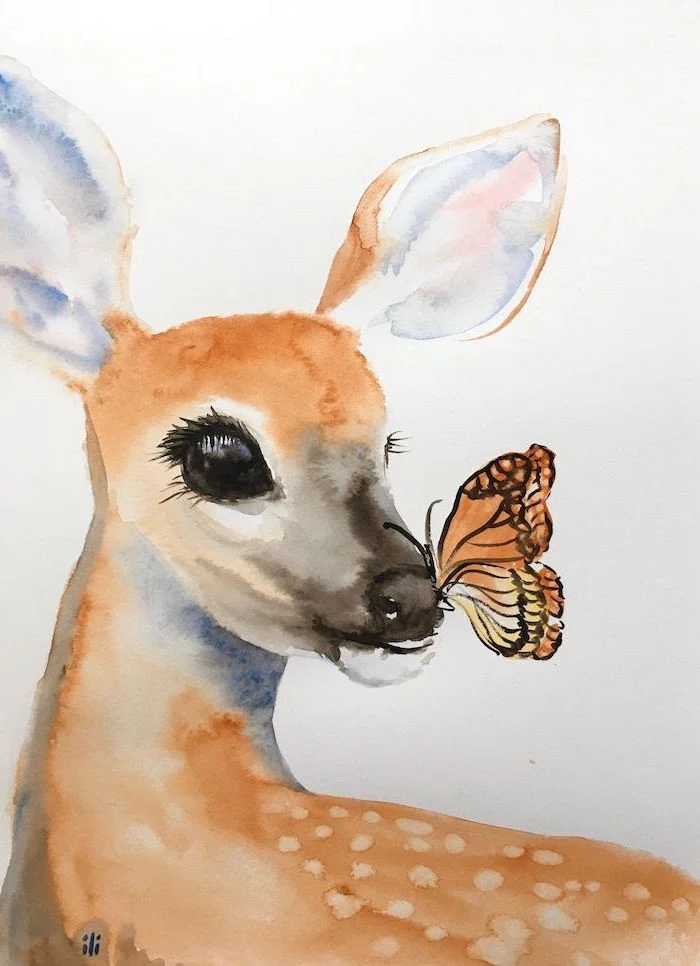
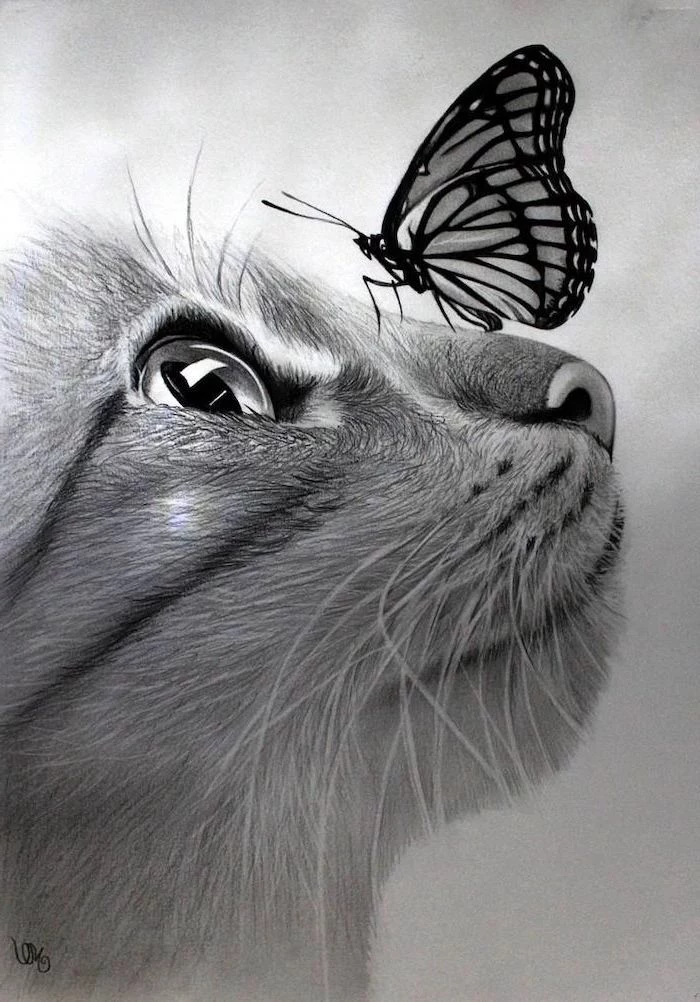
- It creates a believable spark of life.
- It conveys emotion and focus.
- It anchors the entire portrait.
The trick to a realistic eye? Always add a highlight, or ‘specular reflection’. It’s the tiny dot of bright light that shows the eye is wet and reflecting the world. Place it carefully, following the curve of the cornea.
You don’t need expensive gear. For centuries, masters created breathtaking works with the basics. A simple pack of office paper and a standard No. 2 pencil are more than enough to practice the foundational shape-based method. The principles of construction, form, and volume are universal, regardless of the tools you use. Focus on filling pages, not on acquiring supplies.
Crucial concept: Negative Space. Instead of focusing on the animal itself, draw the shape of the space around it. Look at the triangle formed between a deer’s legs, or the empty shape created by a cat’s curled tail. Drawing these ’empty’ shapes accurately forces your brain to see the animal’s proportions correctly, bypassing your preconceived notions of what it *should* look like.
The ‘gesture’ is the most important element in your drawing. The pose is what tells the story. Everything else is just dressing. – Glen Keane, Disney Animator (‘The Little Mermaid’, ‘Tarzan’)
Is a digital drawing tablet like a Wacom or Huion worth it?
For learning the core principles of form and shape, a pencil is perfect. However, a tablet offers unique advantages for practice. You have an ‘undo’ button for fearless experimentation, the ability to zoom in on details, and endless layers for practicing construction. A budget-friendly option like the Wacom Intuos or a Huion H610 Pro is an excellent gateway into the world of digital animal art without a huge investment.
Once you’re comfortable with basic construction, shift your focus to capturing personality. Is the animal proud, timid, curious, or lazy? The angle of the head, the droop of the ears, or the curve of the spine can say more than a perfectly rendered anatomical drawing. Observe animal behavior. The anatomy is the ‘how’, but the personality is the ‘why’ your drawing will connect with people.

Build your own visual encyclopedia. Dedicate pages in your sketchbook to deconstructing different animal types into their basic shapes.
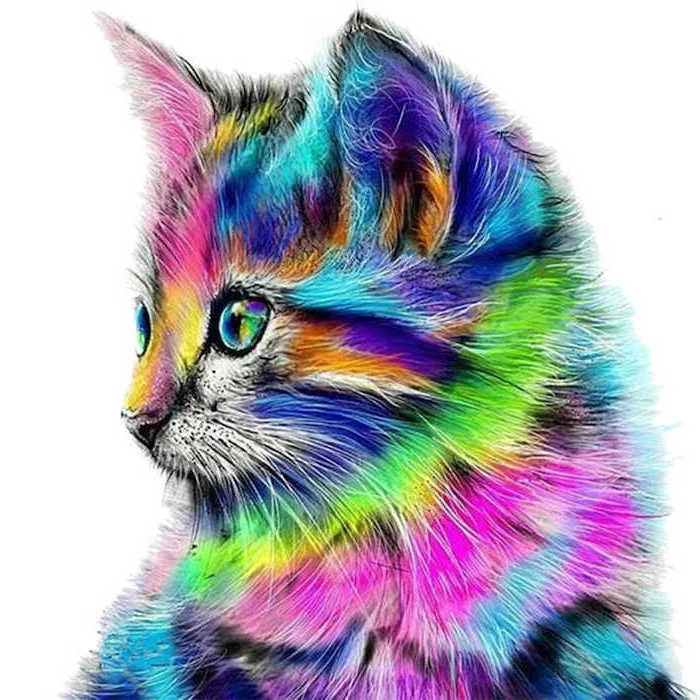
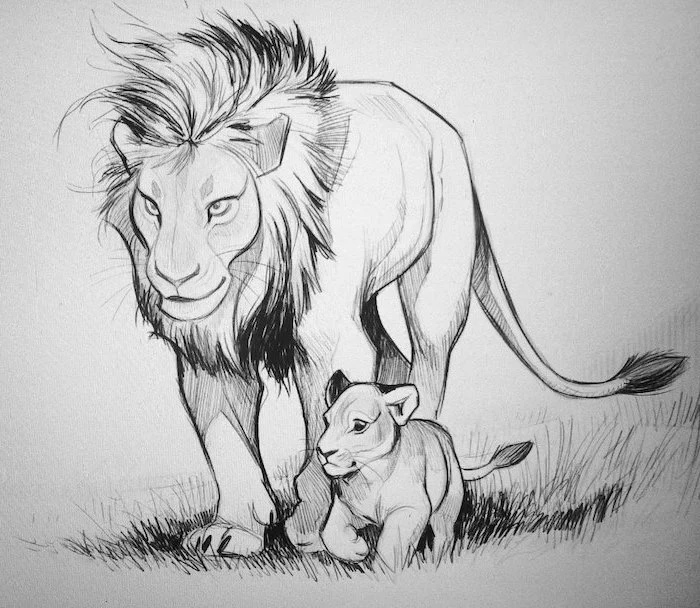
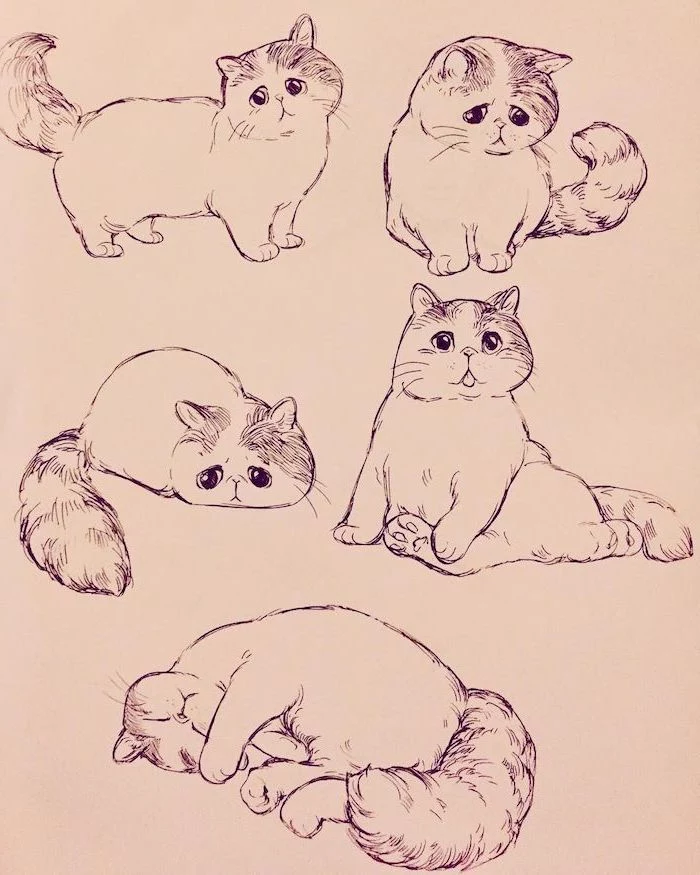
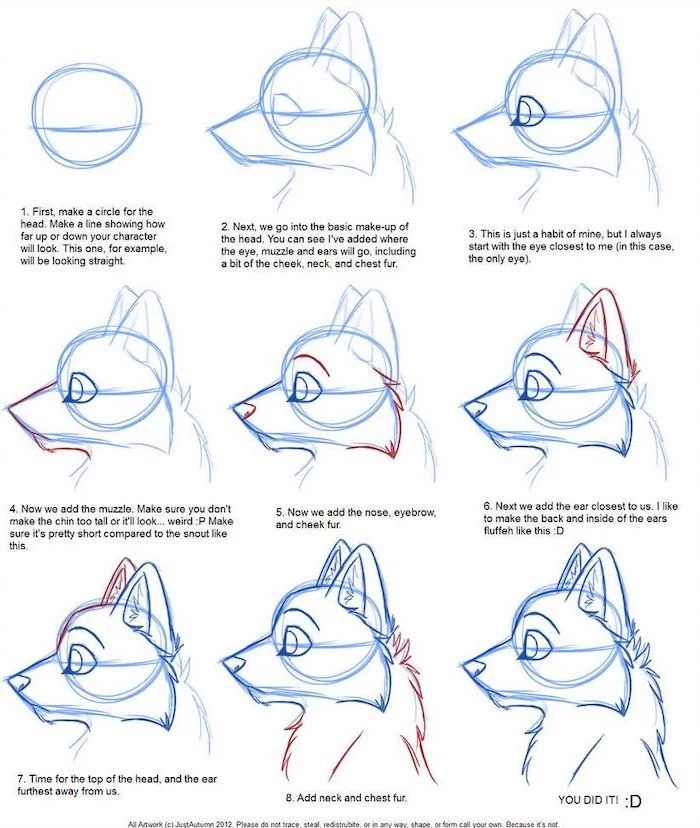
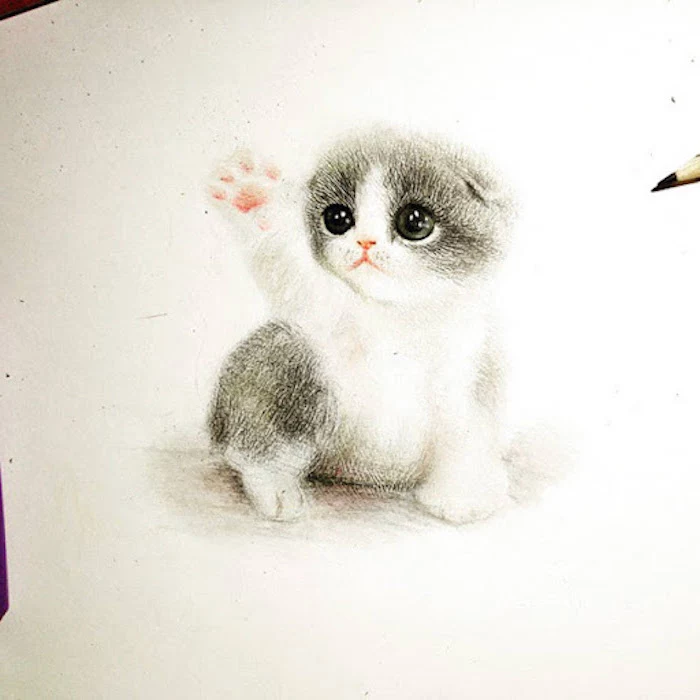
- Felines (cats, lions): Predominantly soft spheres and long, flowing cylinders.
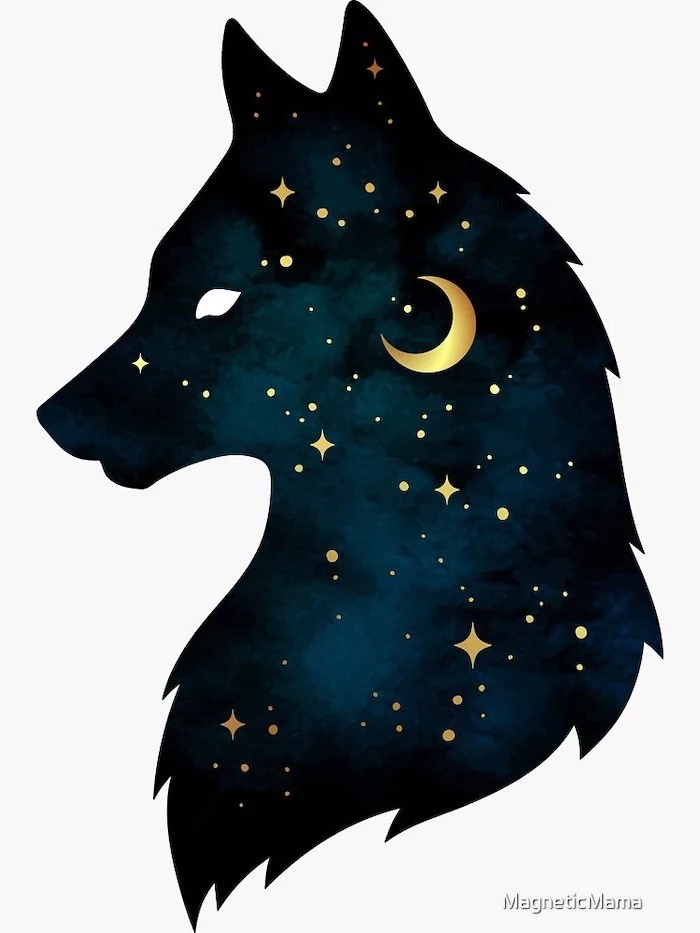
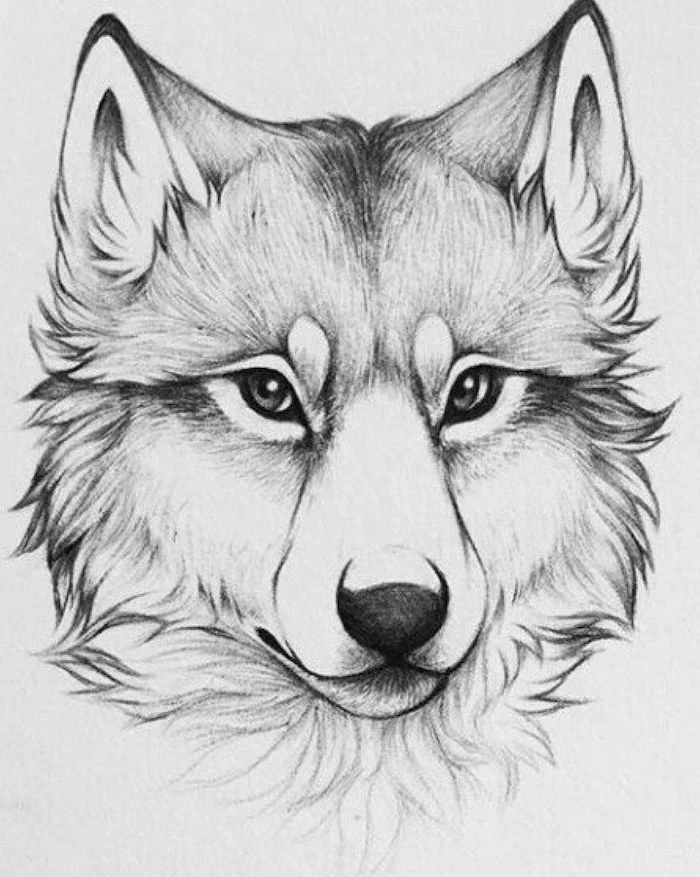
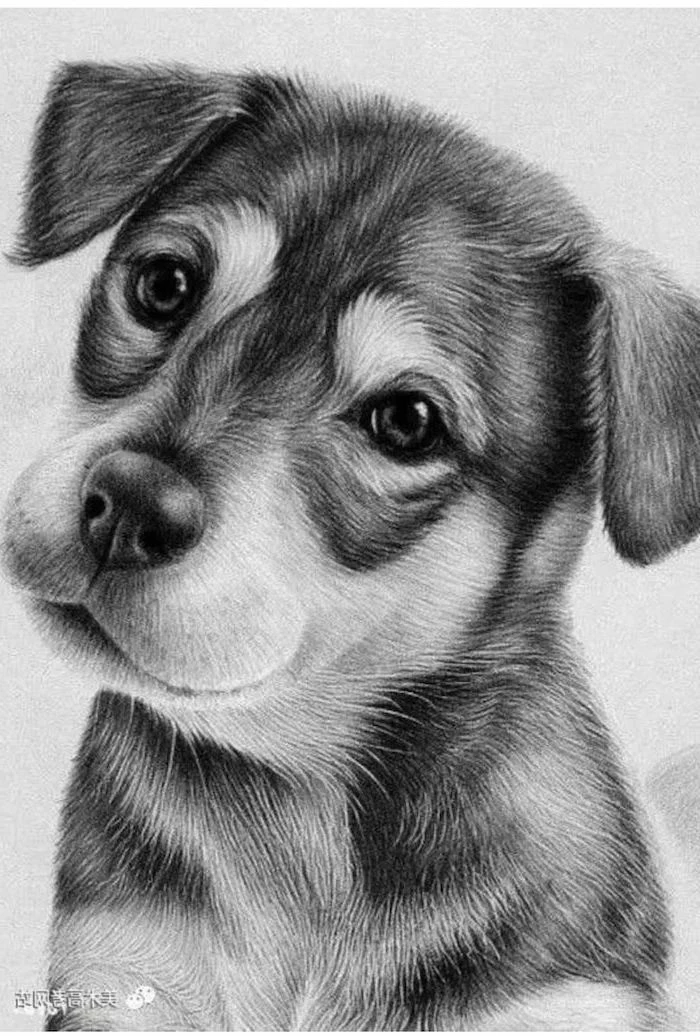
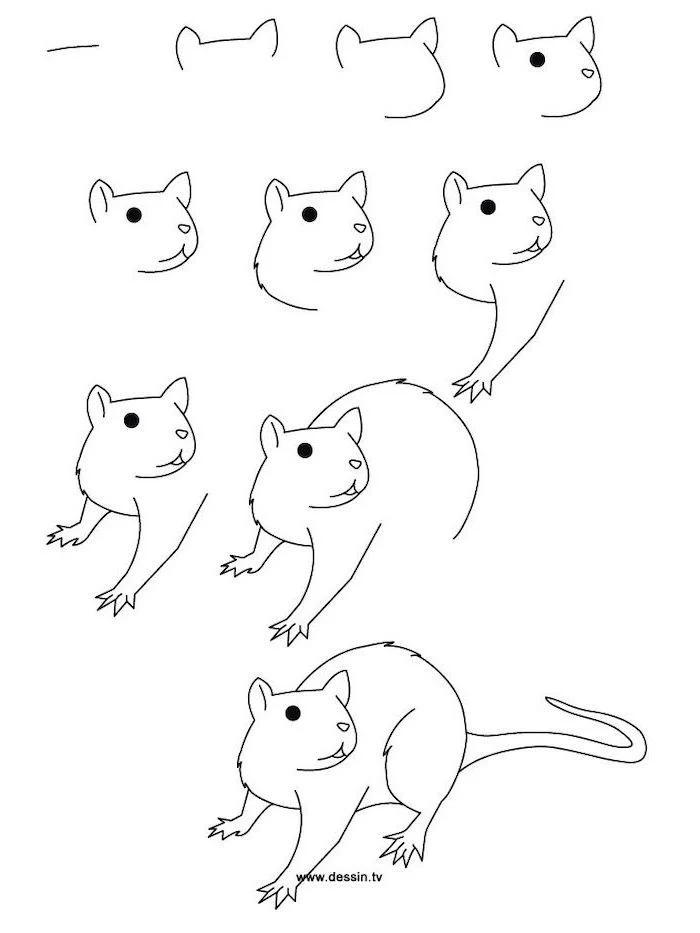
- Canines (dogs, wolves): More angular, with boxy muzzles and chests.
- Ungulates (horses, deer): A combination of a large barrel-like cylinder for the torso and elongated boxes/cylinders for the limbs and head.
In a study of animal locomotion, it was found that a cheetah’s spine can flex and extend so much during a full sprint that it acts like a giant spring, launching the animal forward with each stride.
When you draw a running cheetah, don’t just draw the legs moving. The real key is the incredible C-curve of the spine as it bunches up and the reverse curve as it stretches out. Capturing this spinal flexion is what will give your drawing explosive energy.

To protect your best pencil and charcoal drawings from smudging, you need a fixative. But you don’t need to buy expensive art supplies right away.
- Workable Fixative: A spray like Krylon Workable Fixatif allows you to lightly ‘fix’ a drawing in place, but you can still erase and draw on top of it.
- Final Fixative: This provides a permanent, protective top coat.
- DIY Alternative: In a well-ventilated area, a light, even coat of aerosol hairspray (the cheapest, firm-hold kind) can work as a basic final fixative in a pinch.
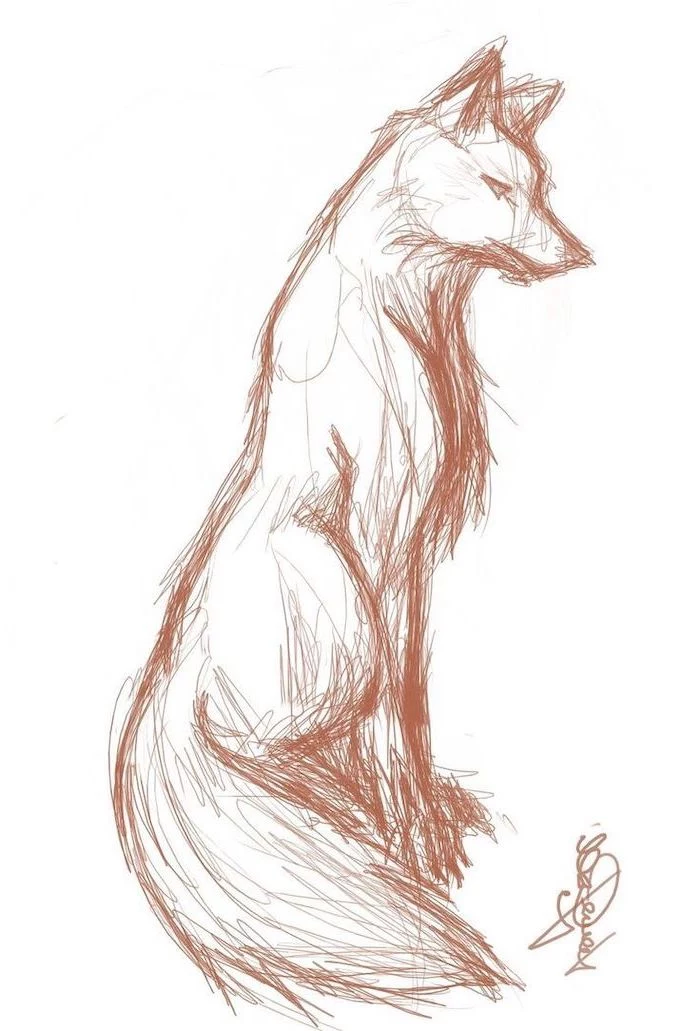
Try this 30-day challenge to rapidly improve. Pick one animal—say, a fox. For 30 days, draw that same fox every single day, but in a new pose each time.
- Day 1: Standing profile.
- Day 7: Curled up asleep.
- Day 15: In a dynamic pounce.
- Day 30: A complex foreshortened view.
This repetition will force you to internalize its core shapes and understand how they move and relate to each other in three-dimensional space.


