I’ve spent most of my life drawing weird and wonderful creatures for everything from book covers to games. And you know the one creature everyone asks for? The unicorn. It sounds easy, right? It’s just a horse with a horn. But drawing one that feels like it has weight and presence, that could actually walk off the page—that’s a whole different ballgame. It honestly took me years of practice and countless sketchbooks to get it right.
A lot of people start by copying a picture they like, which is totally fine for getting your feet wet. But it doesn’t teach you how to invent your own. If you want to draw a unicorn straight from your imagination, you first have to understand the animal it’s based on. The big secret? The best fantasy creatures are built on a solid foundation of reality.
So, let’s go beyond just tracing steps. We’re going to cover the anatomy, the right tools (that won’t break the bank), and the techniques you need to draw a unicorn that feels truly believable.
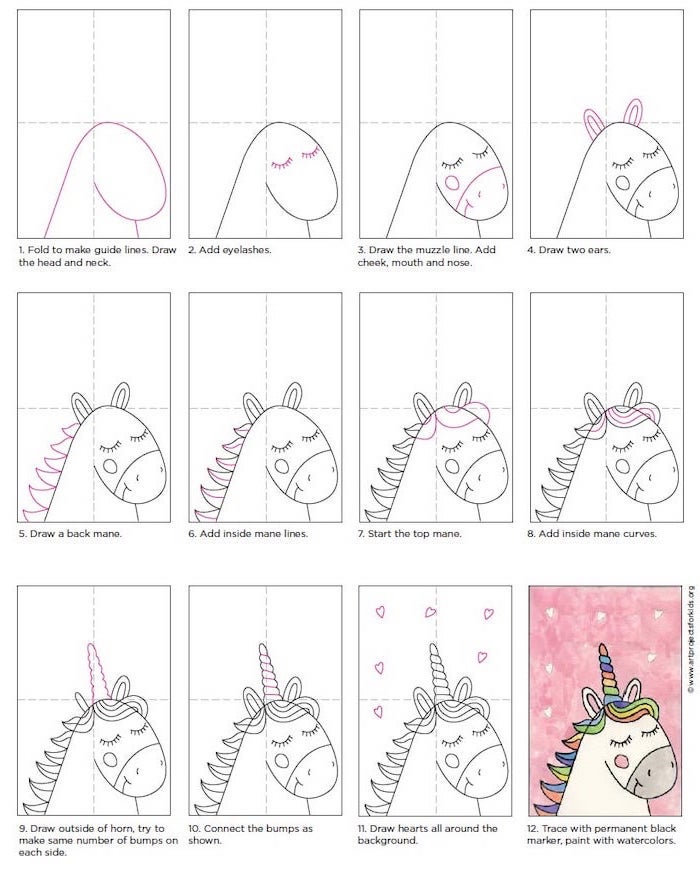
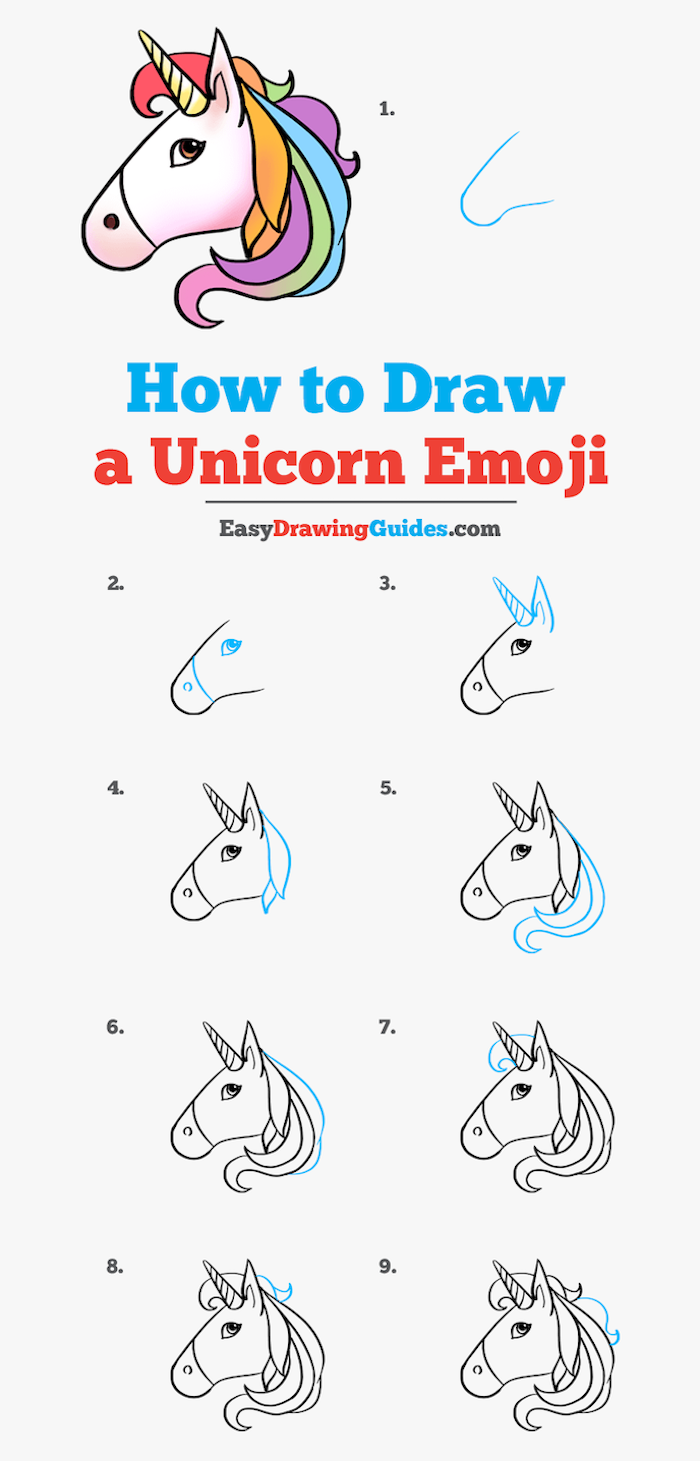
Your First Win: Sketch a Unicorn Head in 5 Minutes
Before we dive deep, let’s get a quick win. It’ll show you how simple this can be. Grab a pencil!
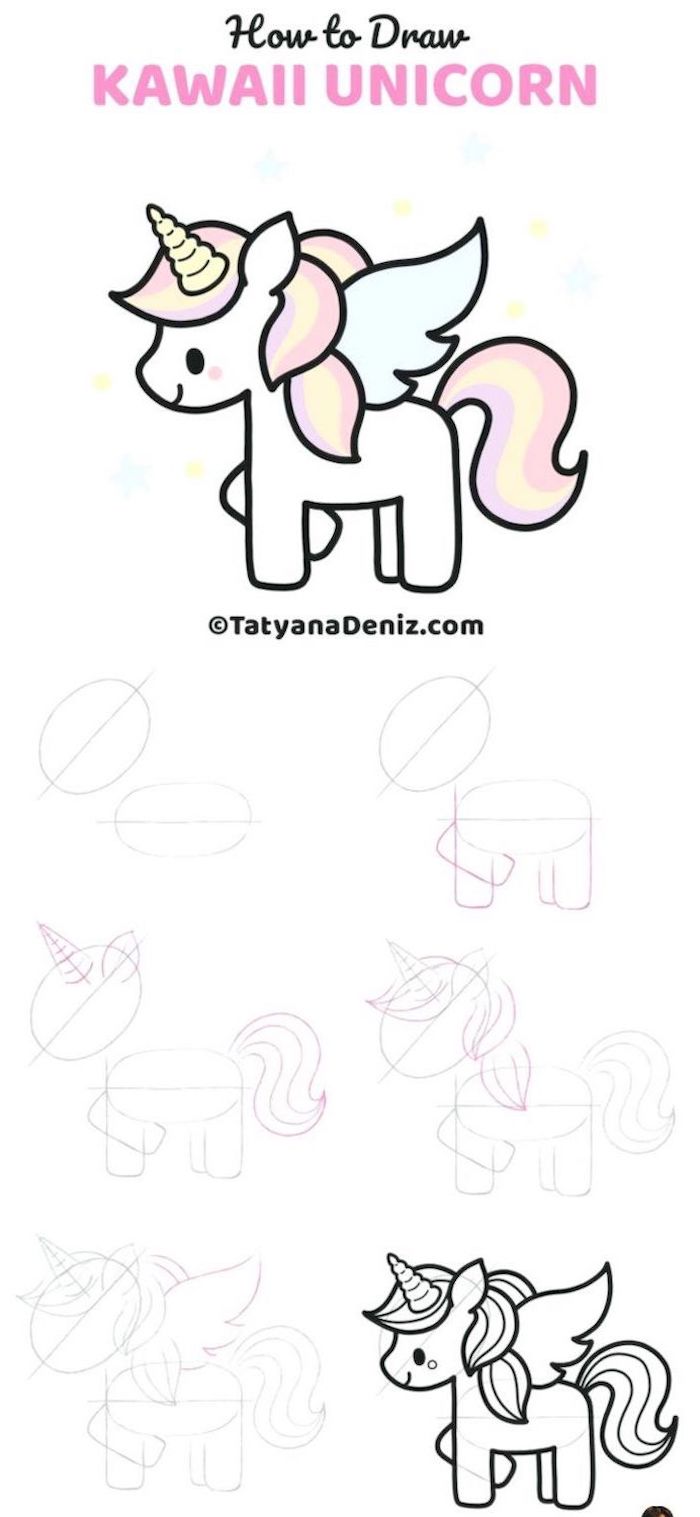
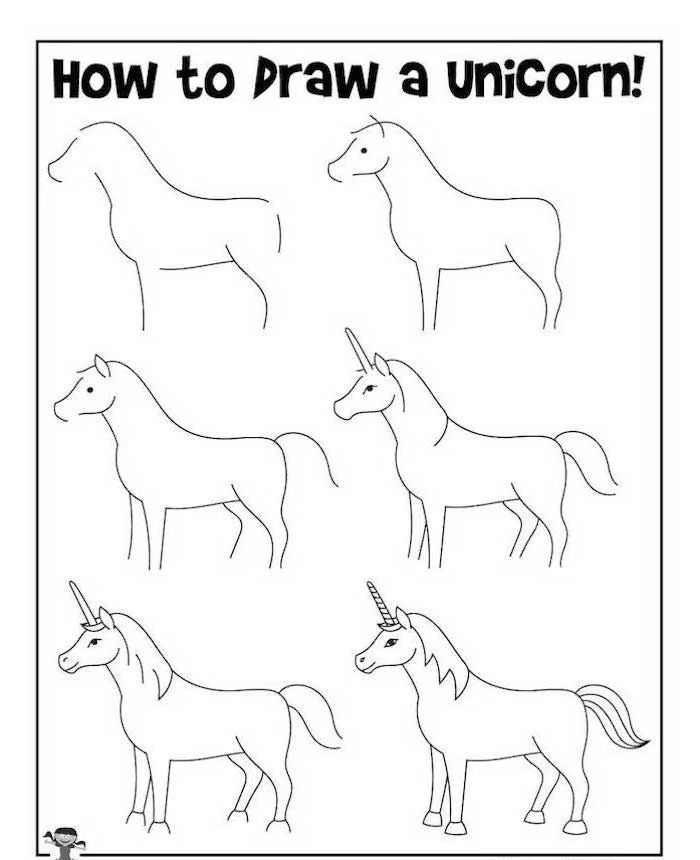
Start with a long, slightly tapered wedge shape for the main part of the head.
Attach a smaller, softer box shape to the narrow end for the muzzle and jaw.
Now, for the magic. Draw a simple, slightly curved cone shape on the forehead, right between where the eyes would be.
Add a quick triangle for an ear on top, and you’ve got the basic structure of a unicorn head!
See? You can do this. Now let’s build the rest of it.
The Foundation: It All Starts with the Horse
You simply cannot draw a convincing unicorn without knowing how to draw a horse. I learned this the hard way. My early drawings had wobbly legs and really weird proportions. Things only clicked after I committed to just studying horses. I used to go to a local stable, but honestly, you don’t have to. The internet is your best friend here. Hop on Pinterest or a stock photo site and search for “horse anatomy,” “horse skeletal diagrams,” and “horses in motion.” You’ll find a goldmine of references.
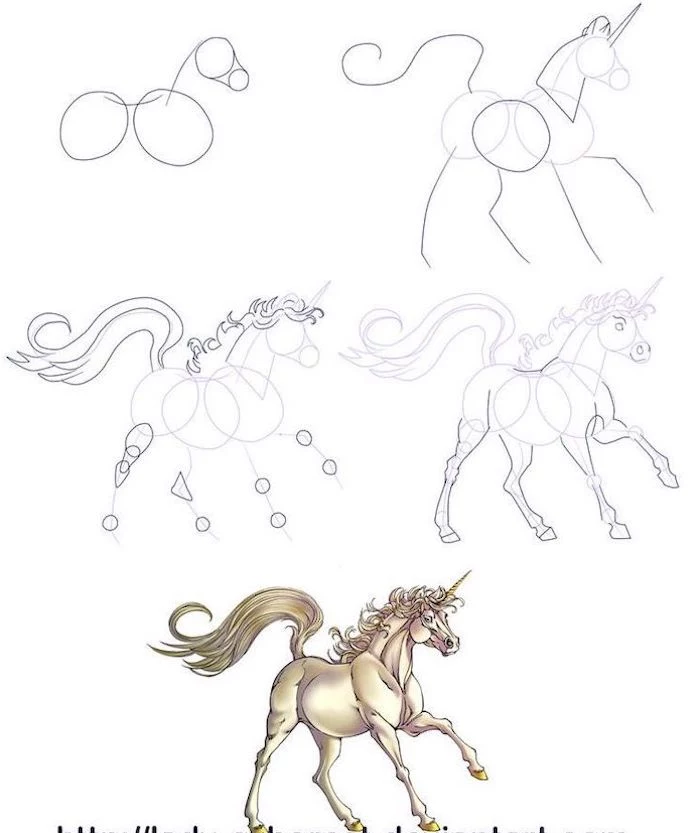
Breaking Down the Body into Simple Shapes
Pros don’t start by drawing a perfect outline. We start with simple, 3D shapes to build a kind of skeleton. It’s called constructive drawing, and it’s the key to getting your proportions right before you get lost in the details.
Think of the horse’s body in three main chunks:
The Chest and Ribcage: Picture a big, egg-shaped oval. It’s wider at the front for the shoulders and gets a bit narrower toward the back. This isn’t a flat circle; it’s a barrel that holds the lungs and heart.
The Hindquarters: This is a smaller, rounder shape, almost like a soft wedge. This is the engine, where all the power for running and kicking comes from.
The Head: We already roughed this out, but it’s basically a long wedge with a smaller box for the muzzle.
Connect these big shapes with a simple, curved line for the spine. This “line of action” gives the pose life. A dead-straight line will make your drawing look like a wooden toy.
Quick tip: A great way to check your proportions is to use the head as a unit of measurement. A typical horse is about 7.5 heads tall from hoof to the top of the head. It’s a fantastic little trick for making sure everything looks right.
The Challenge of Drawing Legs
Legs are where most drawings fall apart. Beginners often draw them like simple tubes, which makes the unicorn look like it has no joints. Horse legs are complex, but we can simplify them.
Each leg has key joints you need to show. For a front leg, you have the elbow tucked up close to the chest, the big bony knee (which is roughly level with the bottom of the chest), and the lower fetlock joint, which is like an ankle. The back legs are different, featuring a sharp, backward-pointing hock joint. This is what gives the horse its jumping power. Again, looking at a few skeletal diagrams online will make this make SO much more sense.
An Illustrator’s Toolkit: What You Actually Need
The right tools won’t magically make you a better artist, but the wrong ones can be seriously frustrating. The good news? You don’t need to spend a fortune. Here’s what I recommend for a solid starter kit.
A Decent Sketchbook: Forget cheap printer paper; it smudges and tears way too easily. Look for a sketchbook with medium-weight paper, something around 120 gsm. It should have a little texture, or ‘tooth,’ to grab the pencil graphite. You can find a good one for about $10 to $20 at any art supply store or online.
A Few Good Pencils: You don’t need a 50-pencil set. Just get three basics: an HB for light construction lines, a 2B for refining your drawing, and a 4B for rich, dark shadows. A small set like this will only set you back $5 to $10. And please, keep them sharp! I use a simple craft knife for a longer point, but any sharpener will do.
The Right Erasers: An eraser is a drawing tool, not just for mistakes. Get a kneaded eraser (the grey, putty-like kind). You can shape it to a point and it lifts graphite gently without roughing up the paper. They cost about $2 to $5 and last forever. A standard white vinyl eraser is also good for getting rid of lines completely.
Blending Stumps: You can use your finger to blend, but it leaves oils that can ruin a drawing. A blending stump is just tightly rolled paper that lets you smudge and blend with precision. They’re super cheap and worth it.
By the way, if you plan on drawing for hours, pay attention to your body! I once got some nasty wrist pain from a big project. Sit in a good chair, take breaks, and stretch your hands and neck. Taking care of yourself is just as important as buying the right paper.
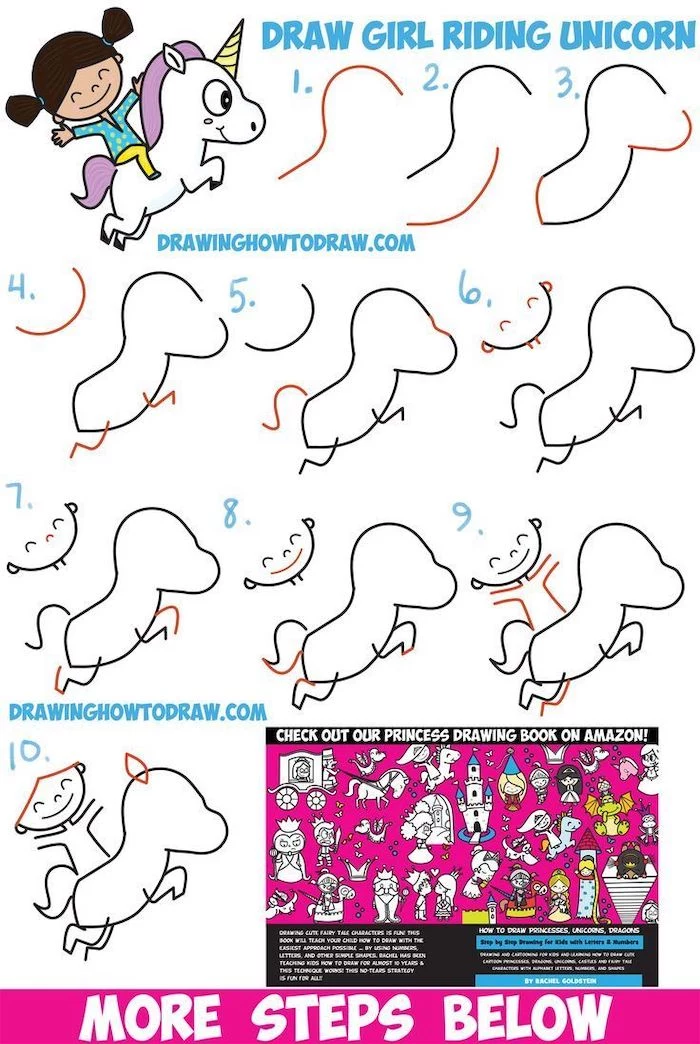
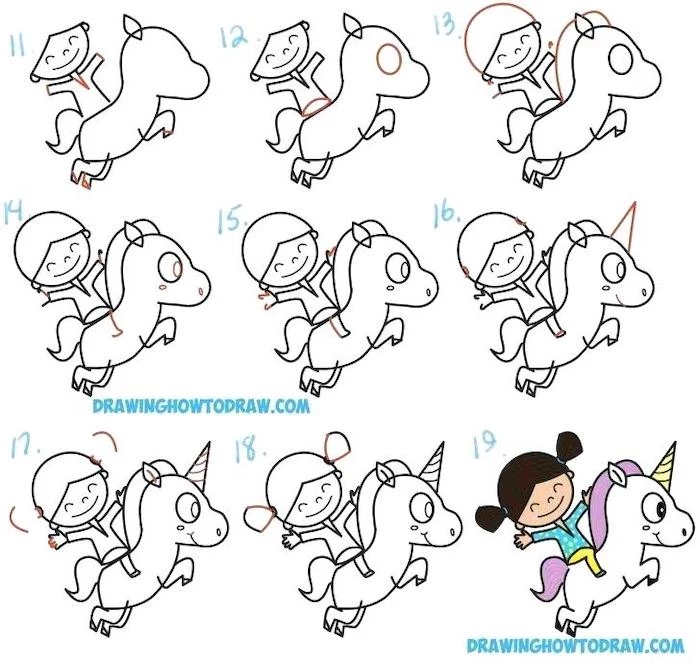
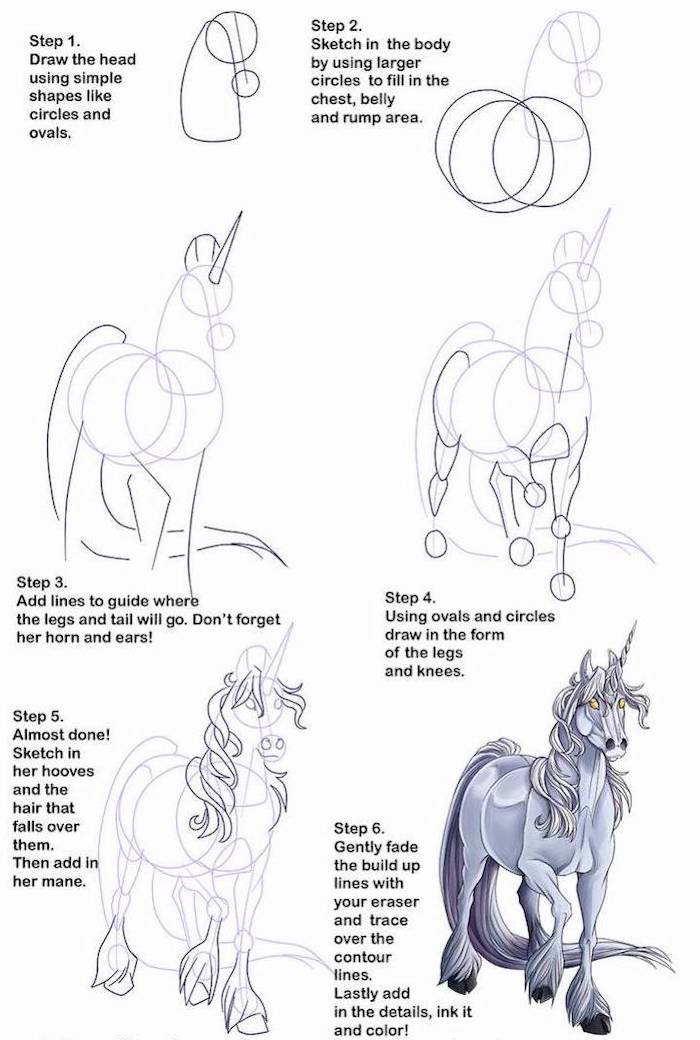
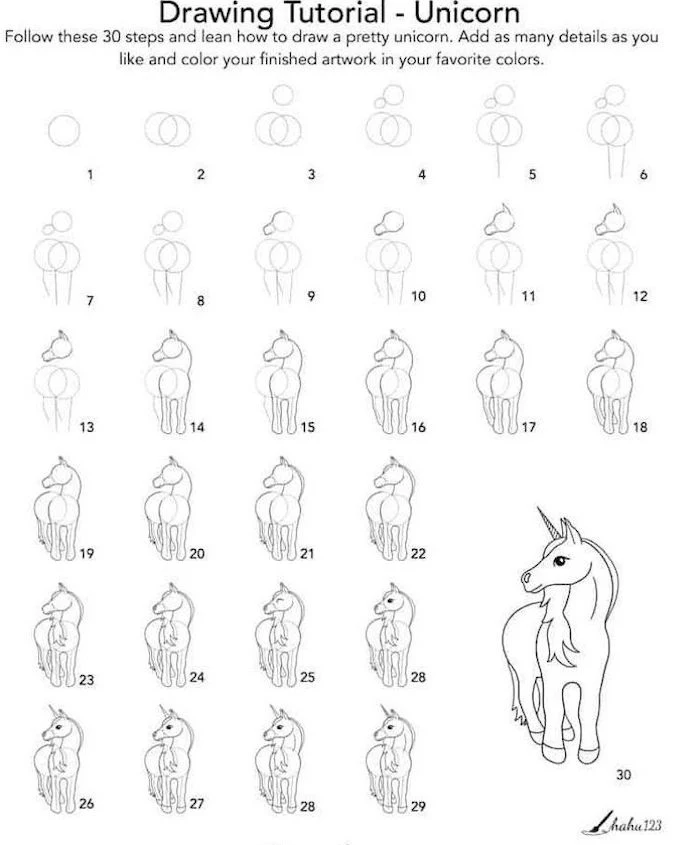
The Drawing Process: A Step-by-Step Method
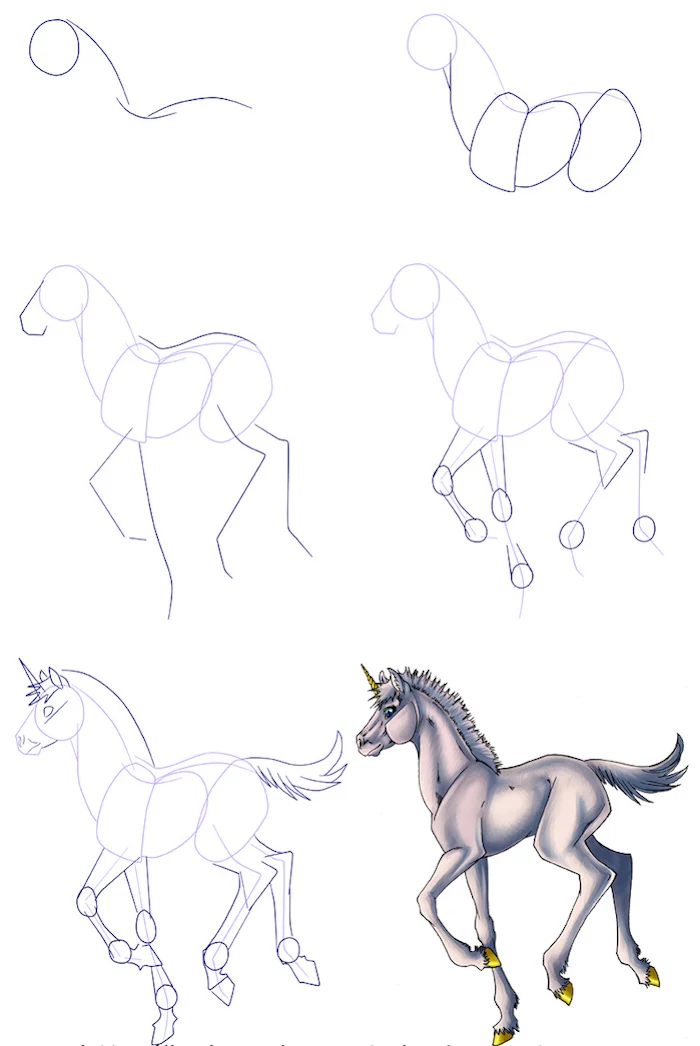
Okay, let’s put it all together. Here’s how I’d approach drawing a unicorn in a simple standing pose.
Gesture Sketch (30-60 seconds): Start with that single, flowing line of action we talked about. For a standing horse, it’s a gentle S-curve. Use your whole arm, not just your wrist, to keep it loose and energetic.
Construct the Form (2-3 minutes): Lightly sketch your big egg and wedge shapes over the gesture line. Add the head. Don’t press hard! These are just guides you’ll erase later.
Place the Legs: Use simple lines to map out the angles and joint placements first. Then, build the muscle shapes (think cylinders and cones) around those lines. Check your references—are the legs the right length?
Refine the Outline: Now, connect your shapes into one flowing contour. This is where it starts to actually look like a horse! Use a darker pencil, like a 2B, and gently erase your initial construction lines.
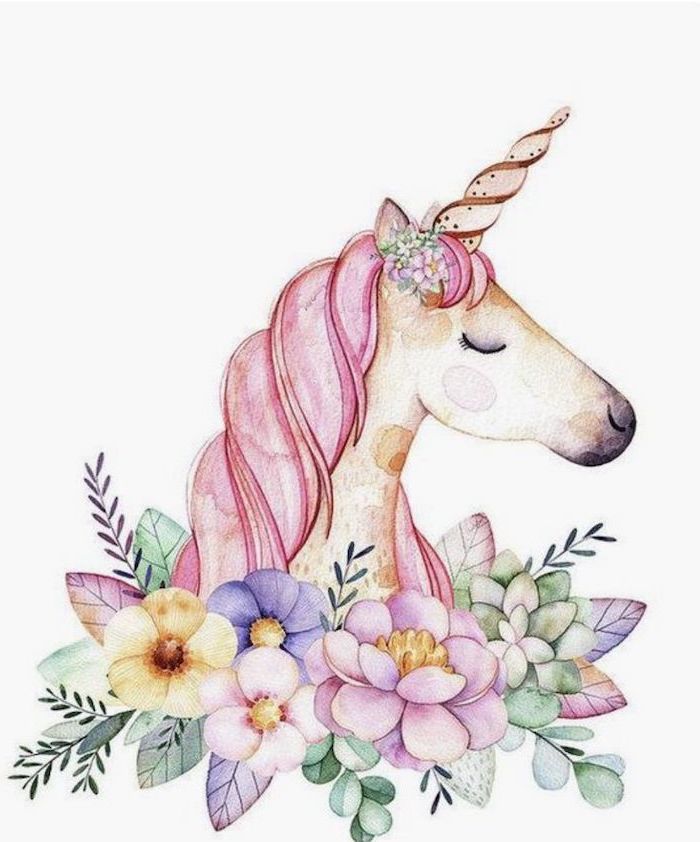
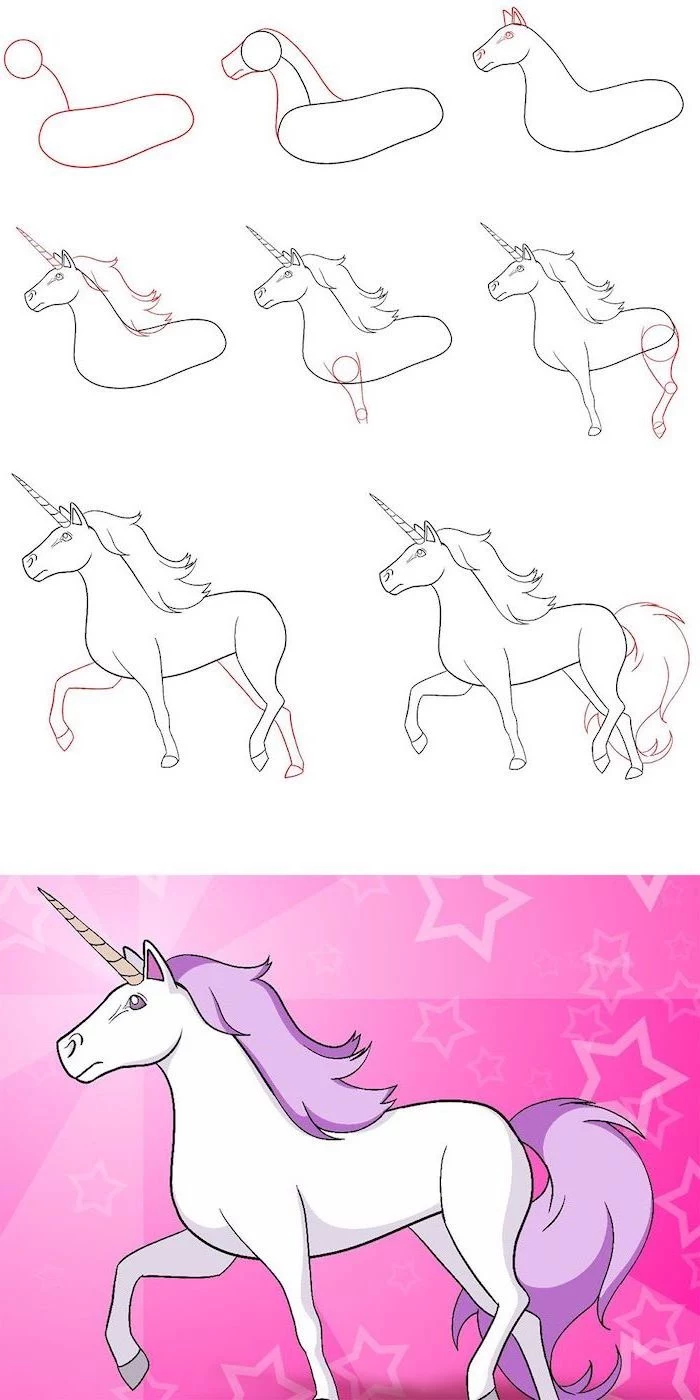
Add Personality: Time for the head, mane, and tail. Place the eye on the side of the head, high up. For the mane and tail, don’t draw every single hair. Instead, draw the big, ribbon-like clumps and how they flow.
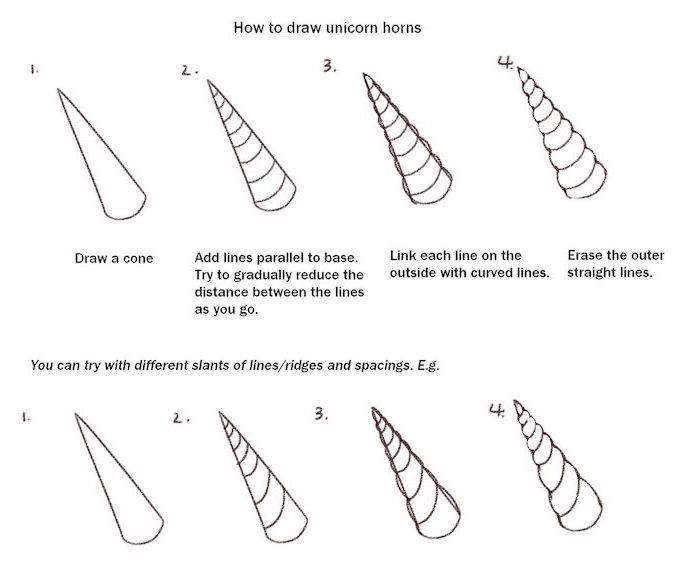
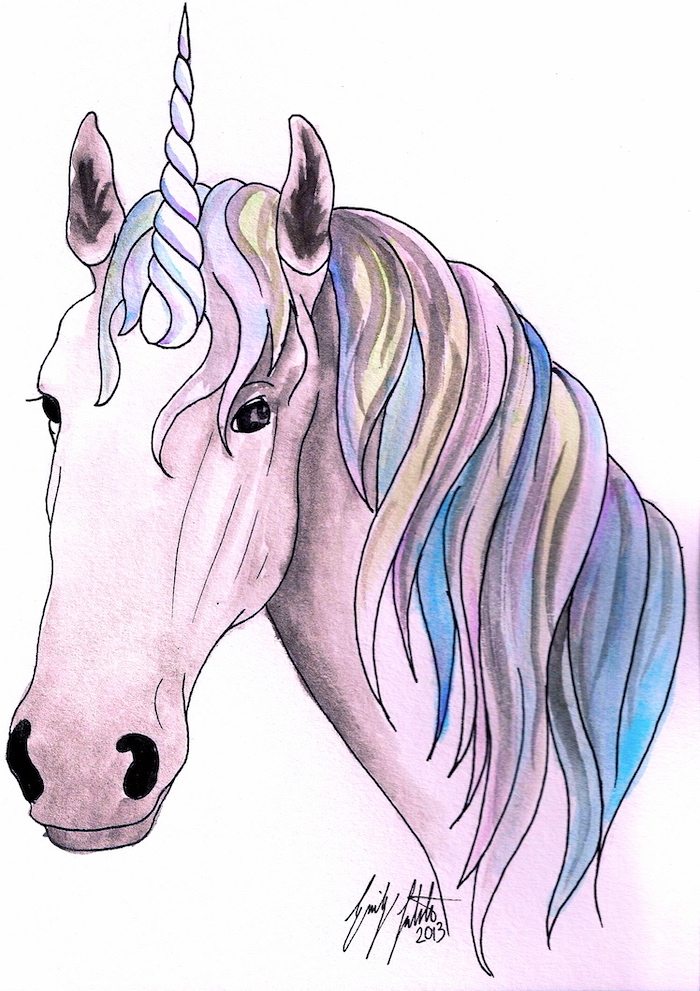
The Horn: This is the magic touch. It should grow from the forehead, slightly above and between the eyes. To get that classic spiral, try this: First, draw a light, slightly curved cone. Then, sketch a faint centerline down the middle. Now, draw C-shaped curves that wrap around the cone, making sure they cross that centerline. Make the curves wider at the base and tighter at the tip. Boom—a 3D-looking horn.
Creating Depth with Shading
A good outline is only half the battle. Shading is what makes your drawing look solid and three-dimensional.
Before you start, just decide where your light is coming from. Top left? Top right? That one decision determines where all your highlights and shadows will be. Every part of the unicorn will have a bright highlight, a dark core shadow where the form turns away from the light, and a cast shadow on the ground.
Here’s a trick: think of the unicorn’s body as a collection of simple shapes. The ribcage is a barrel, the legs are cylinders. Shade those simple forms first. It’s way less intimidating. Use your 4B pencil for the darkest shadows and build up your tones in light layers. It’s always easier to make an area darker than it is to make it lighter, so be patient!
Exploring Different Styles
Since the unicorn isn’t real, you have incredible creative freedom. Once you have the anatomy down, you can play with different styles and your creature will still feel believable.
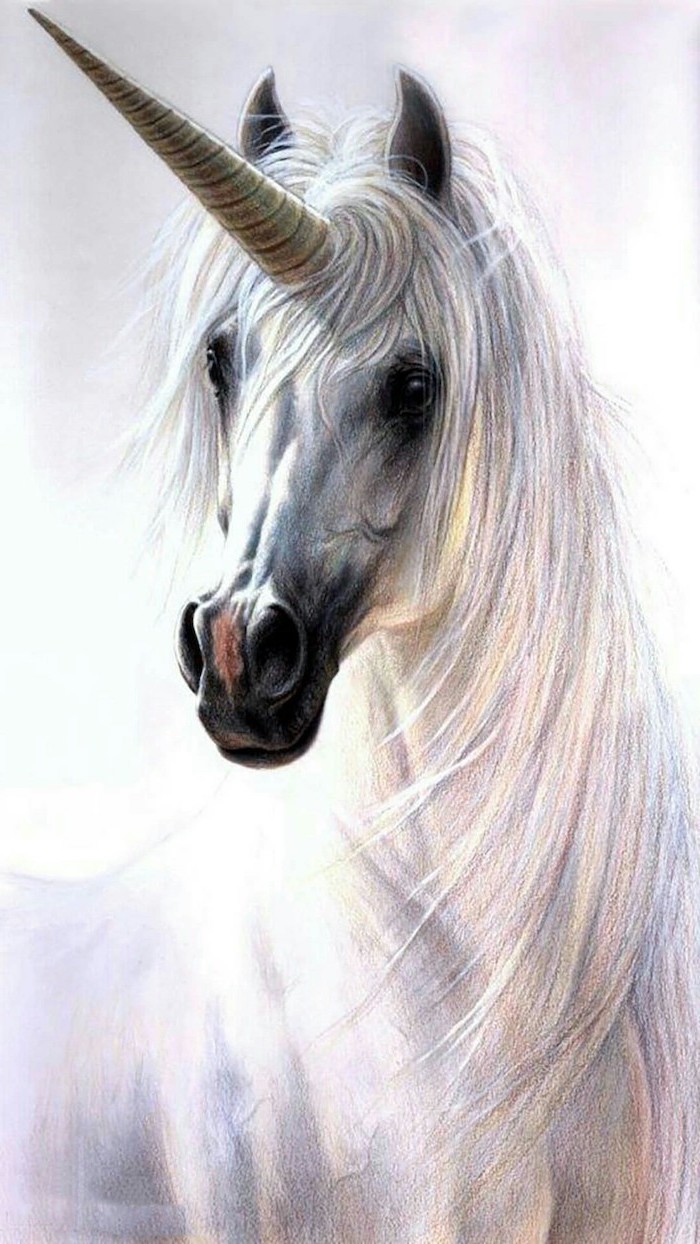
The Traditional Look: If you look at very old tapestries and art, unicorns were often slender and graceful, sometimes with a goat’s beard and cloven hooves. The horn was long and thin. Fun fact: for centuries, the tusk of the narwhal (a real-life whale!) was often sold as a unicorn’s horn for a massive price. That might be where that long, slender horn idea came from!
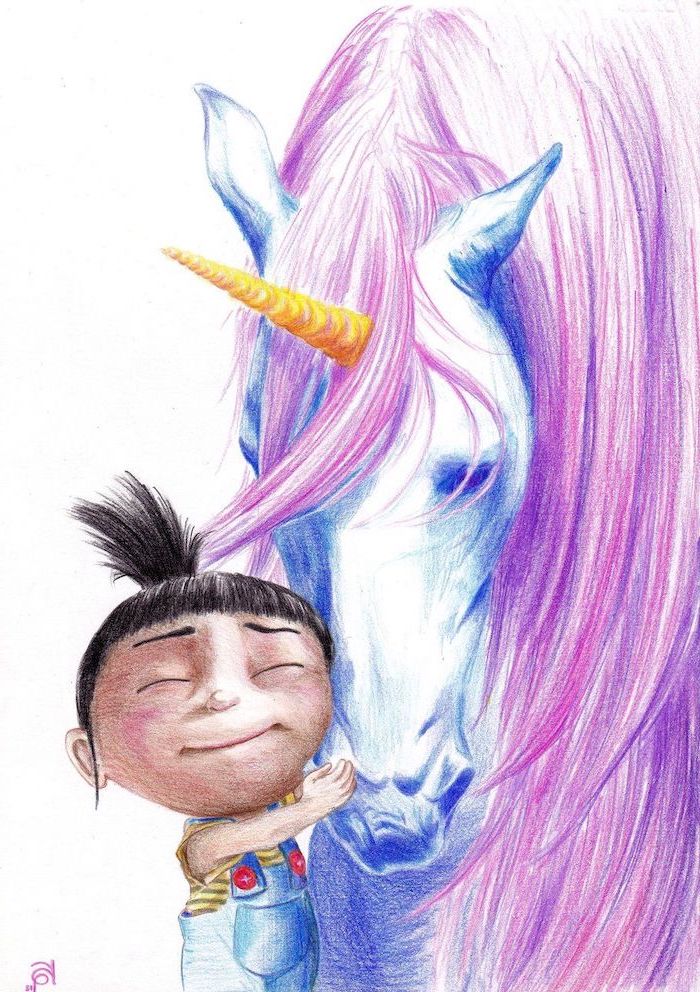
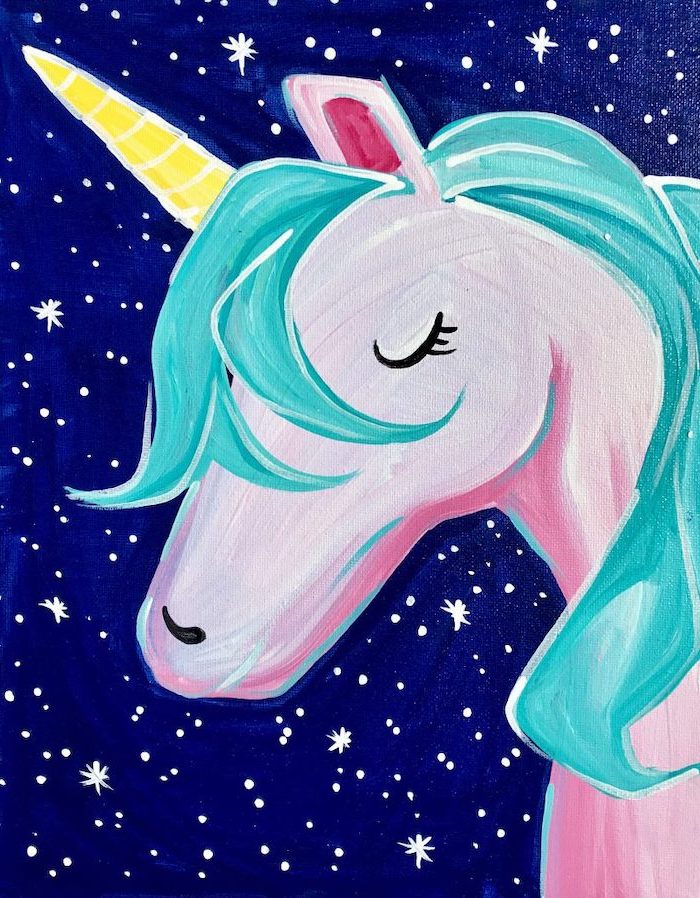
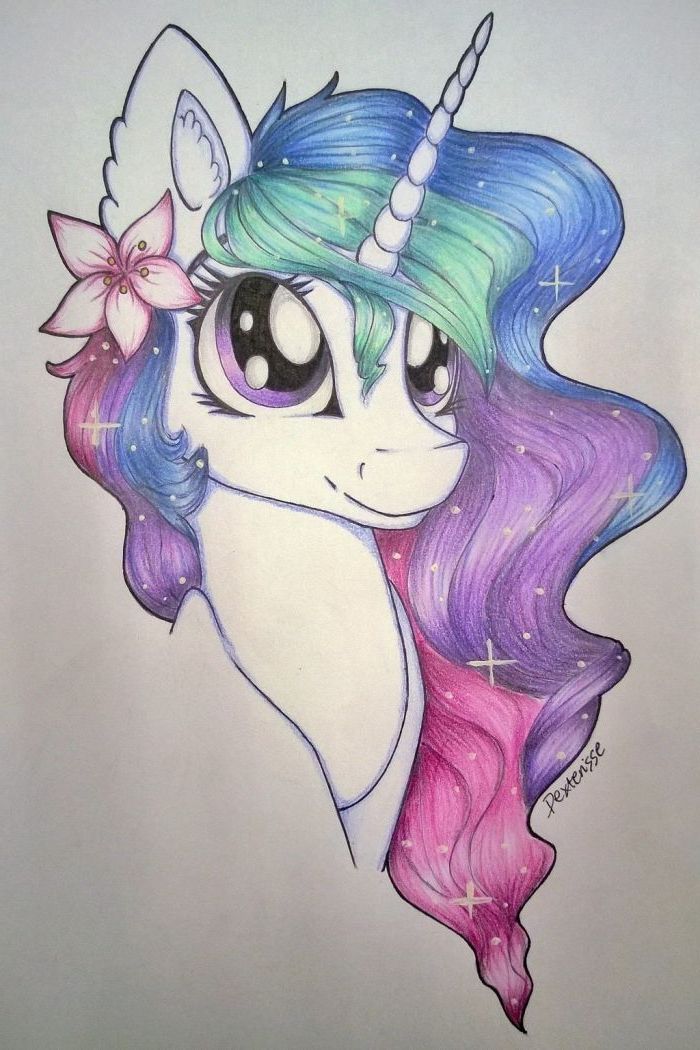
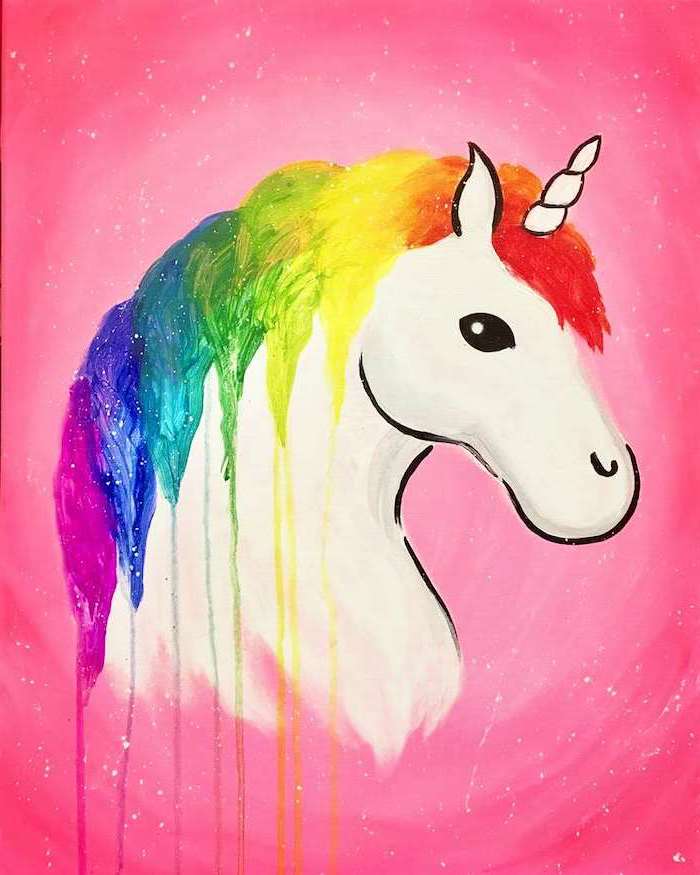
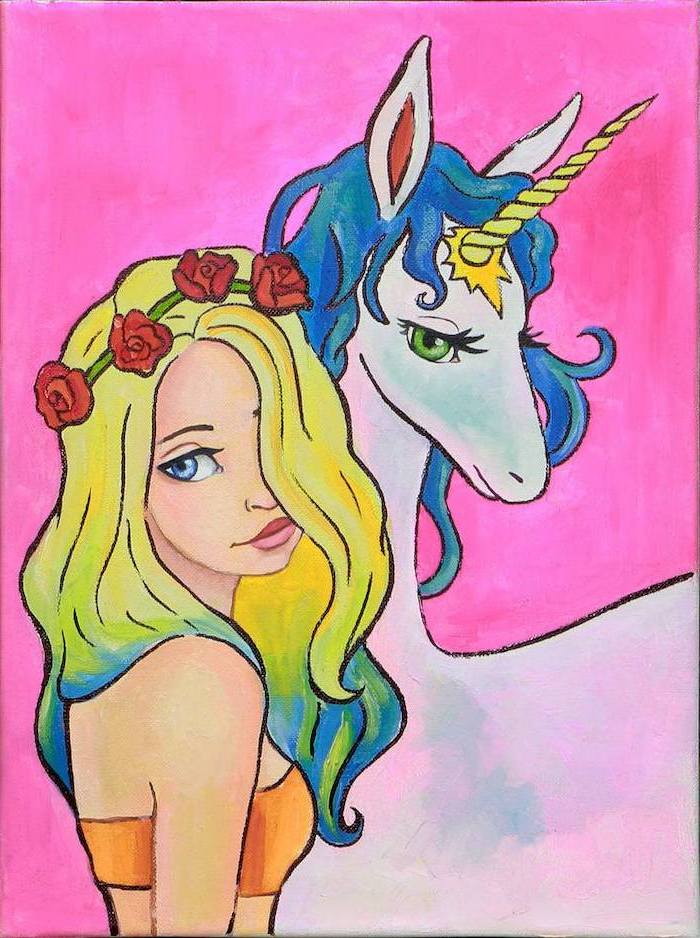
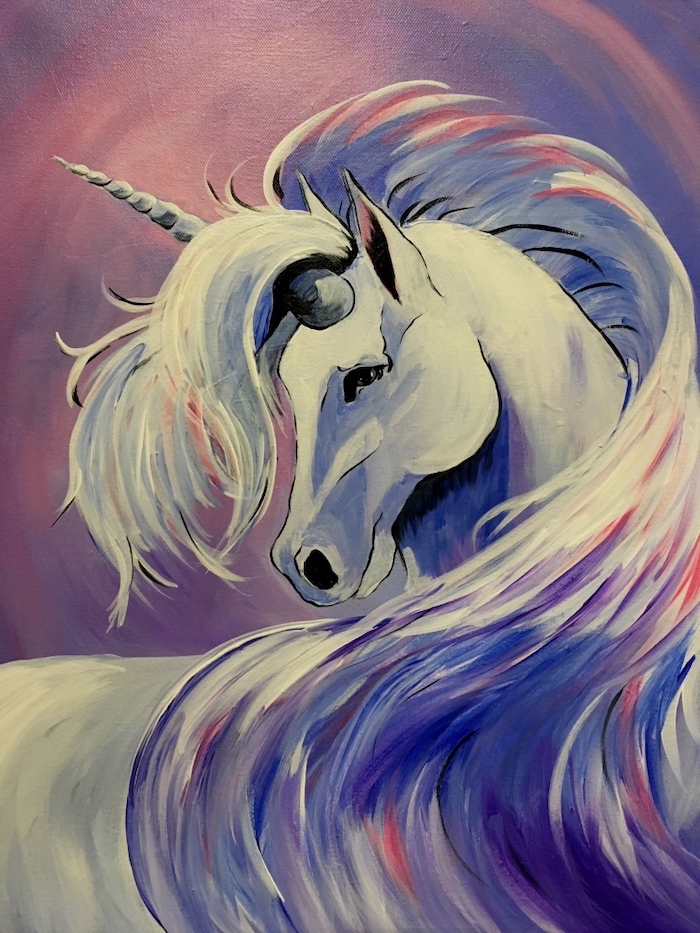
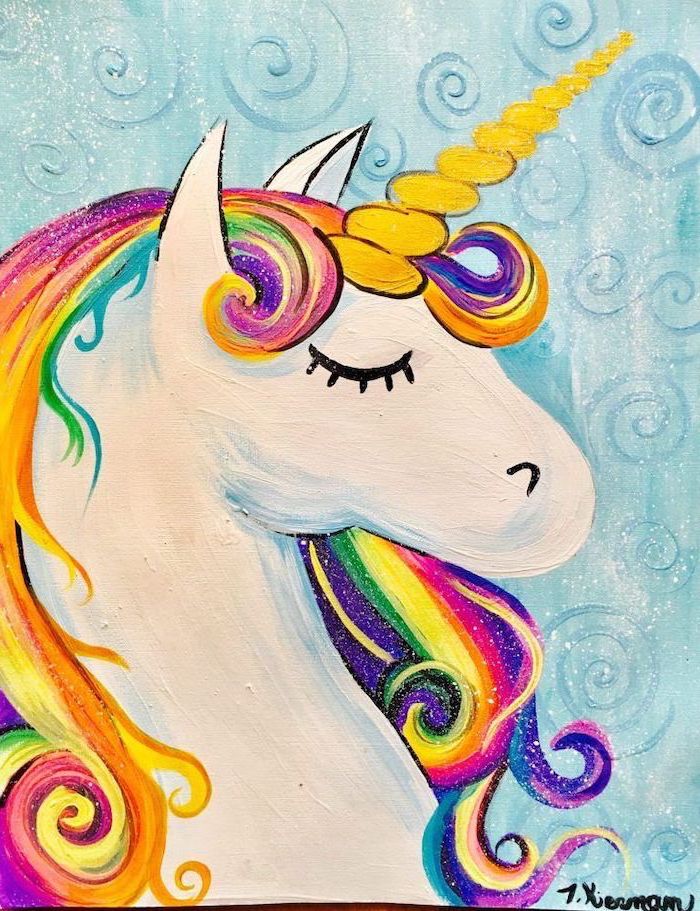
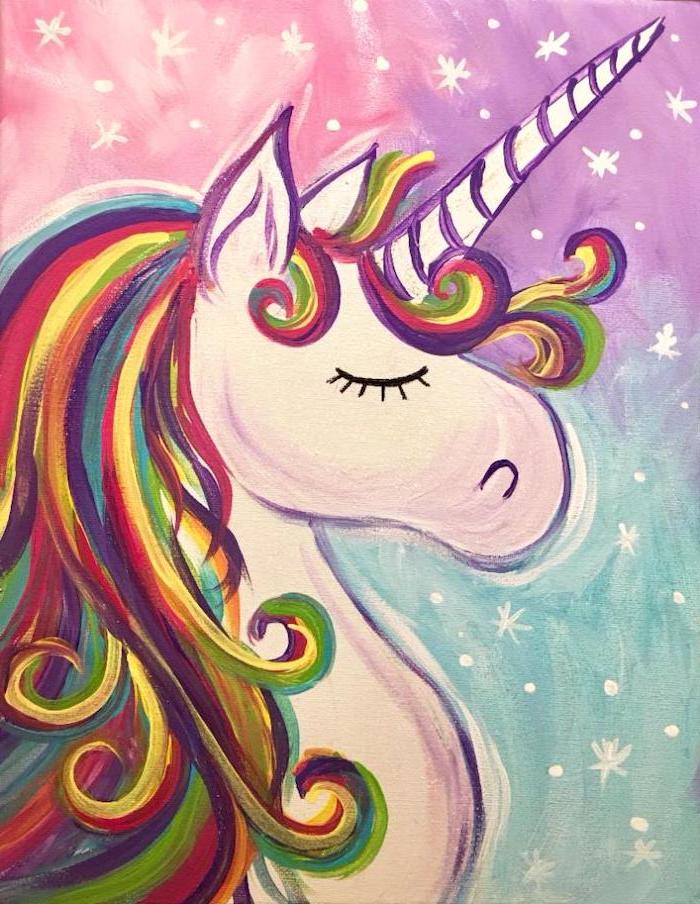
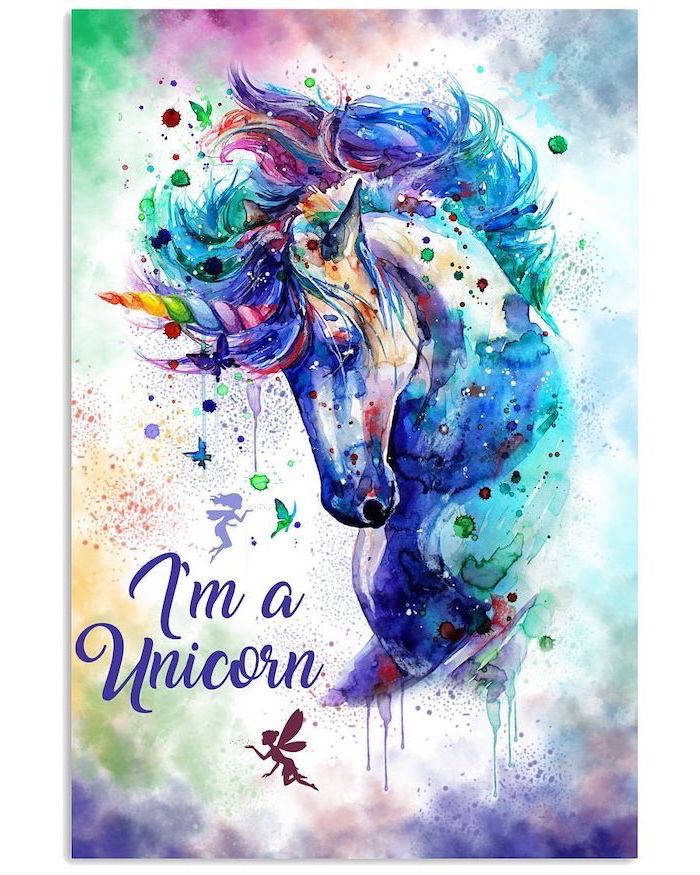
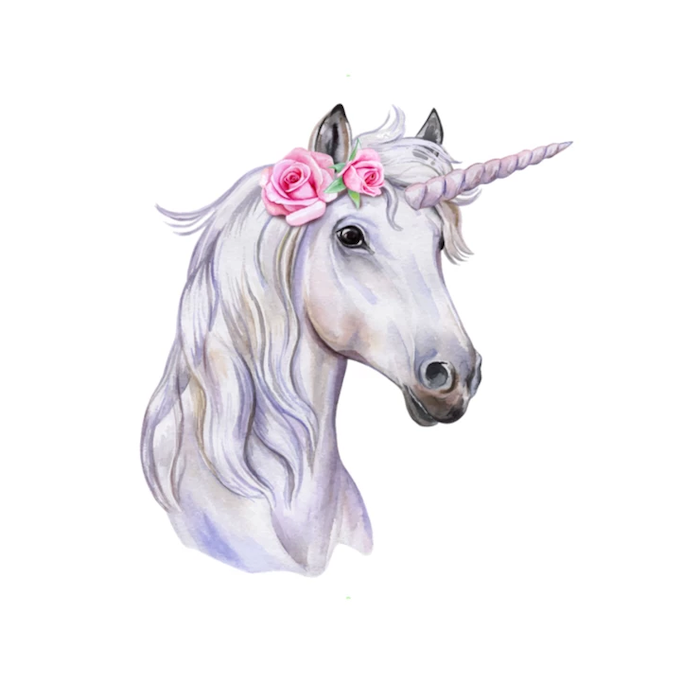
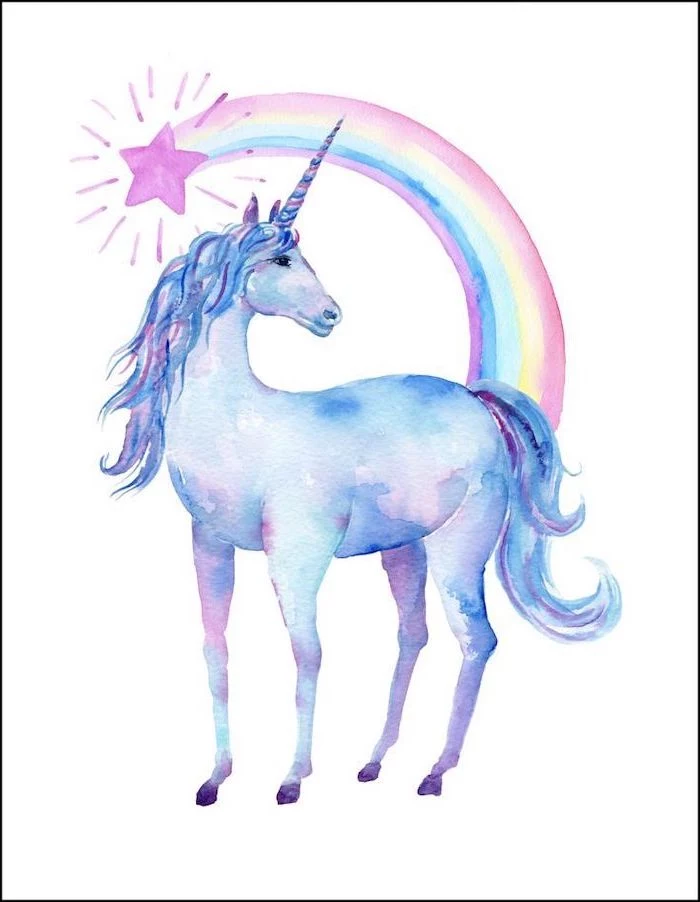
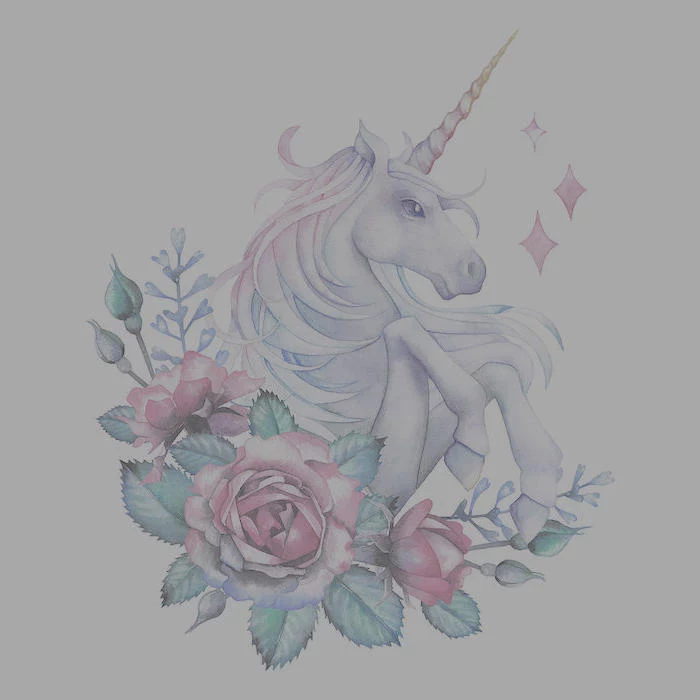
The Modern Powerhouse: Today’s unicorn is usually based on a powerful, muscular horse breed. They have flowing manes and tails, and this is where you can have fun with rainbow colors and sparkle. You can exaggerate features like making the eyes a little bigger for effect.
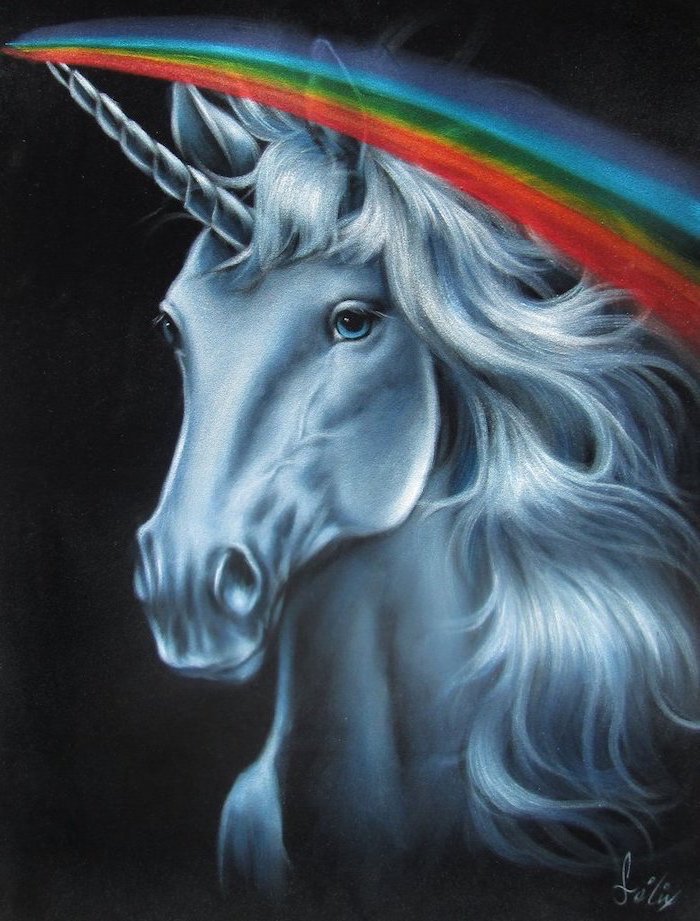
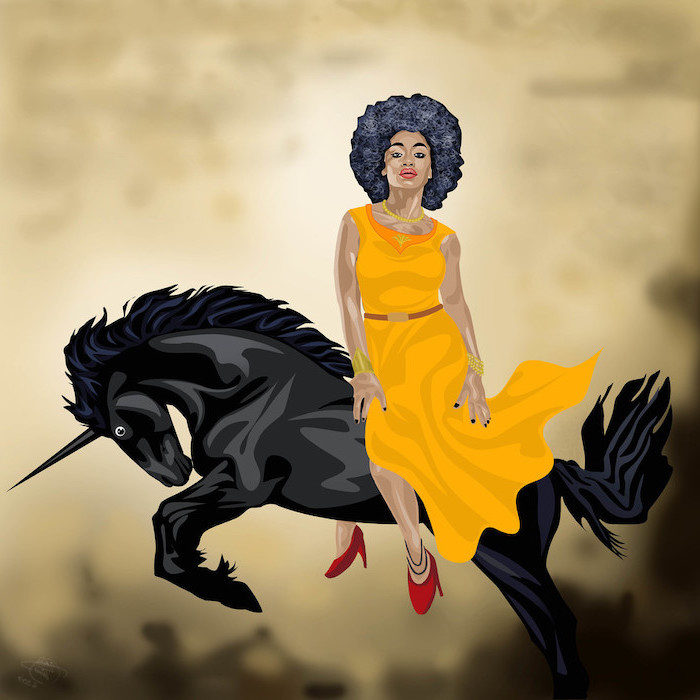
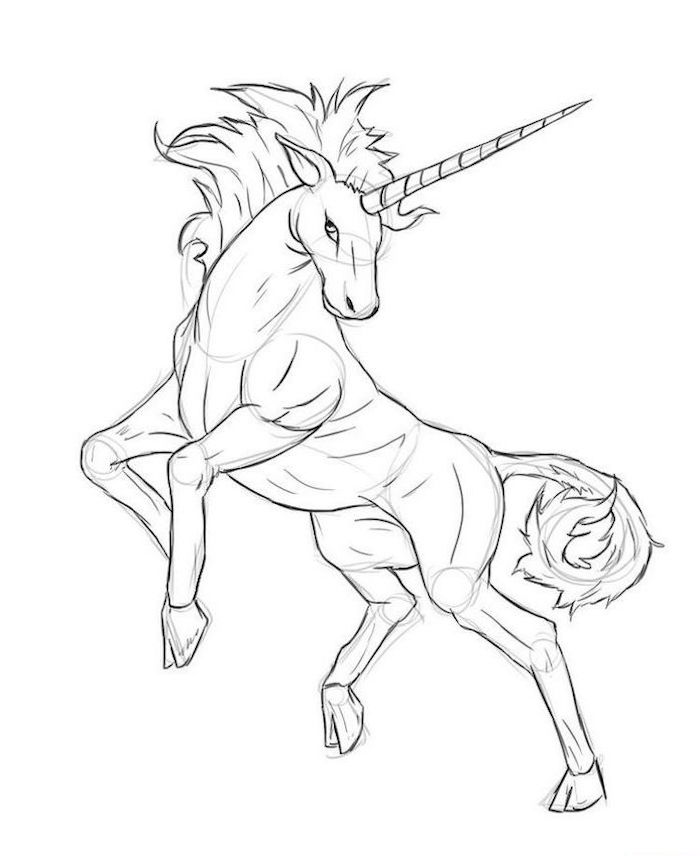
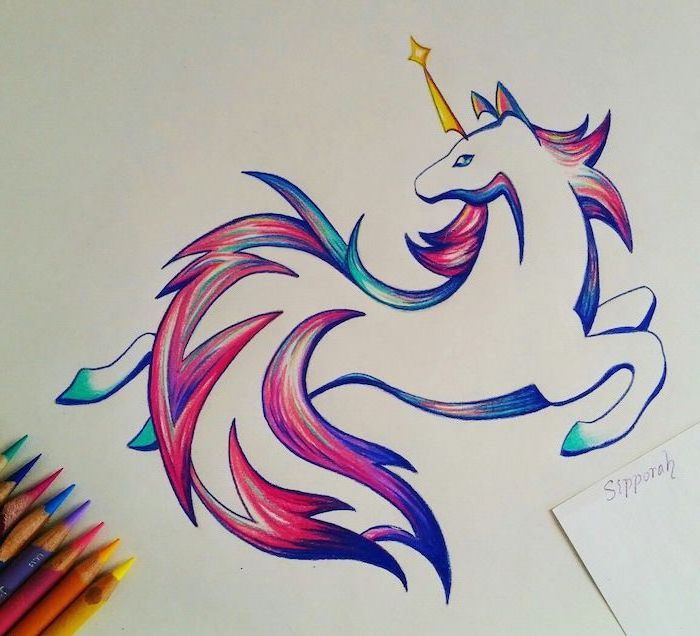
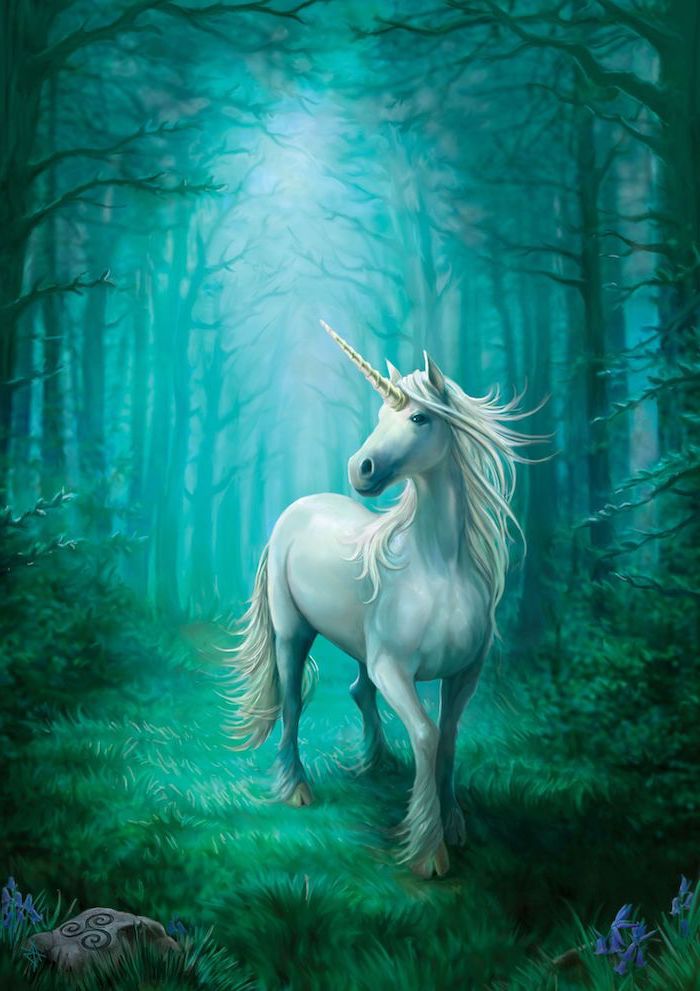
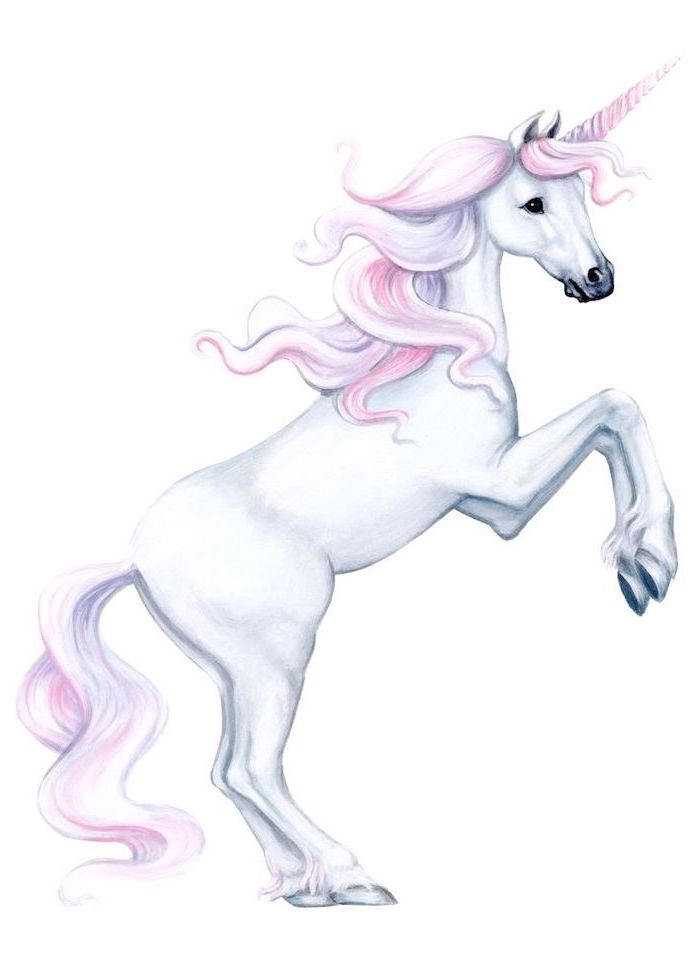
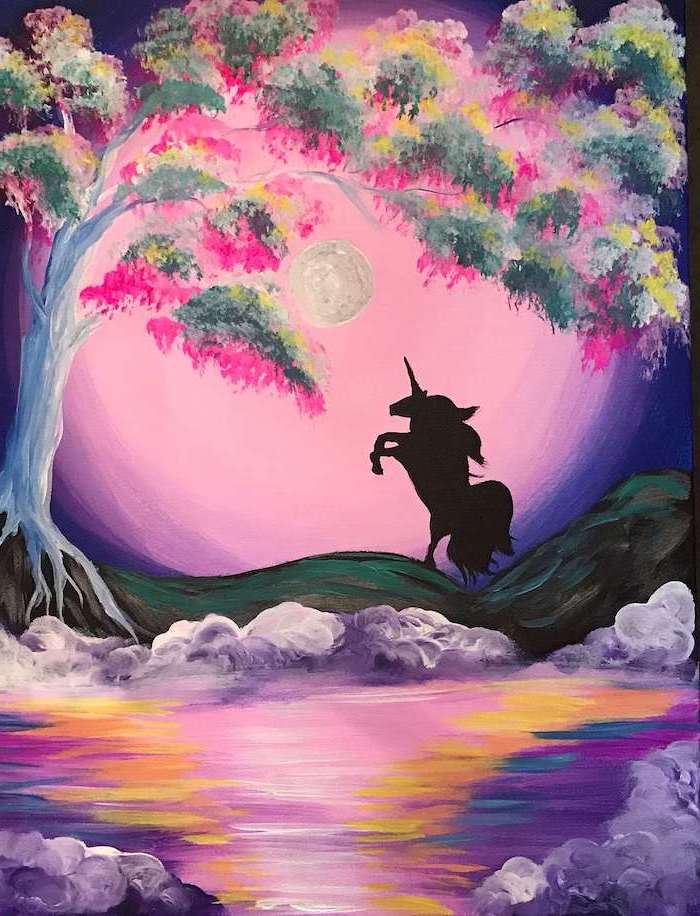
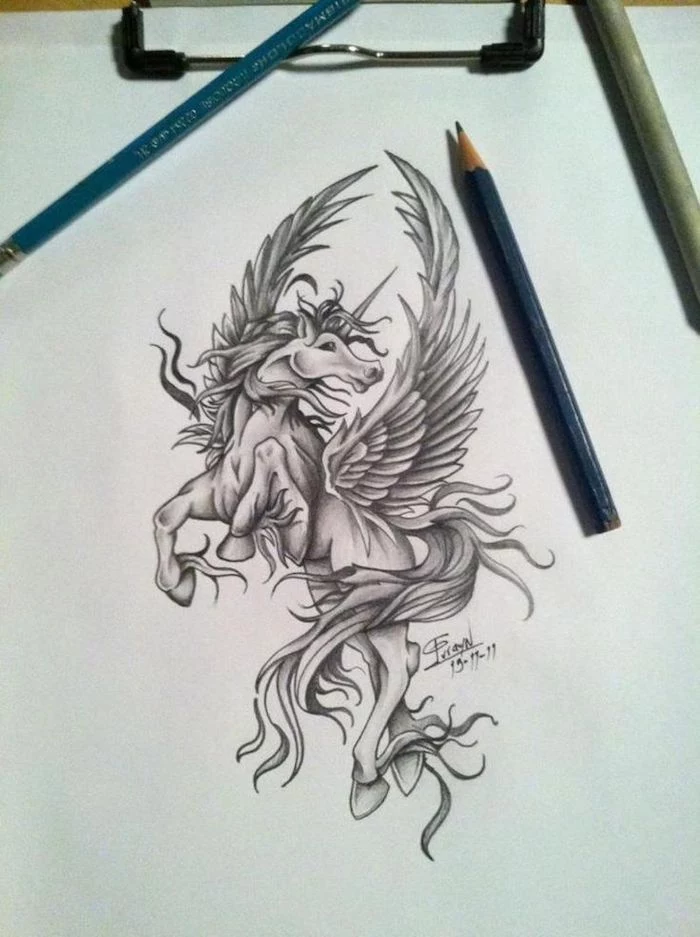
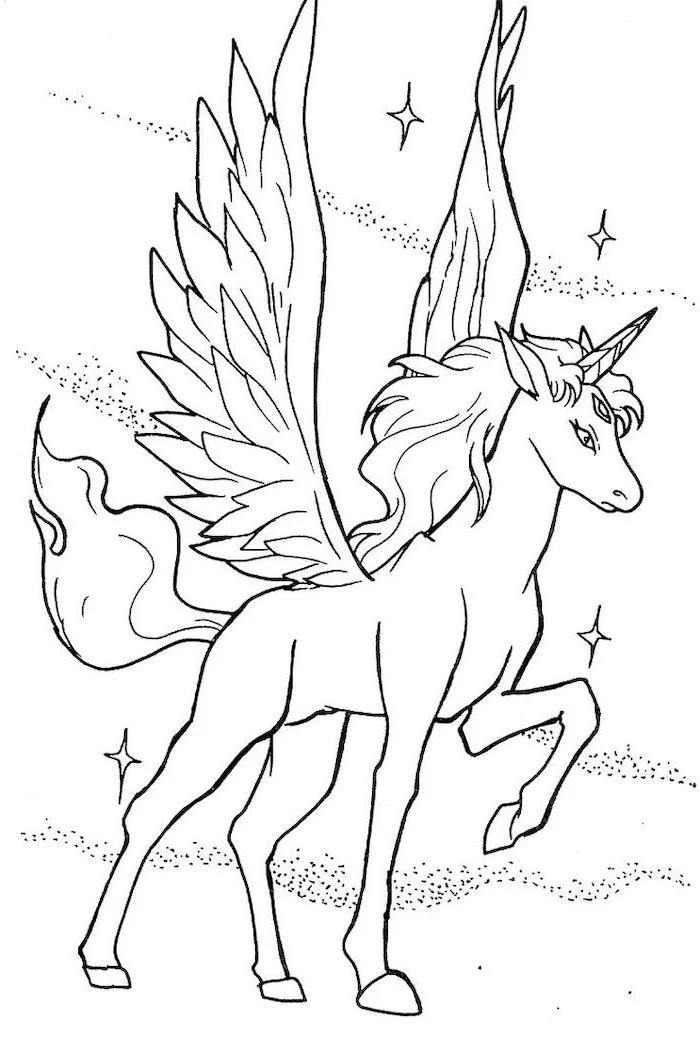
The Epic Fantasy Style: This style is all about power and magic. The unicorn might be rearing up, with defined muscles and a glowing horn. To pull off these dramatic poses, studying photos of horses running and jumping is a must.
Troubleshooting and Next Steps
I’ve seen a lot of students run into the same roadblocks. Here are a few common ones and how to fix them.
“My drawing looks stiff and wooden.” This almost always means you rushed the gesture sketch. Go back to that first step! Also, try this exercise: set a timer for 30 seconds and just draw the horse’s line of action. Do this 10 times. It forces you to feel the motion instead of overthinking it.
“The legs look broken.” Anatomy problem. Pull up a reference photo of a real horse and compare your joint placement. Seriously, there’s no shame in looking!
“My shading looks muddy.” This happens from over-blending or using a dull pencil. Keep your pencil point sharp and build up shadows with fine lines (called hatching). Only blend small, specific areas to soften them.
As you improve, you might want to add color. The good news is that your shaded drawing is a perfect roadmap. The dark areas in your sketch will be dark colors, and the light areas will be light colors.
A quick heads up: if you get into paints, be aware that some professional pigments can contain toxic stuff. It’s always a good idea to work in a room with good airflow and to avoid eating or drinking at your art desk. It’s just basic studio safety.
The Artist’s Path: Final Thoughts
Whether you want to draw for fun or for a living, the way forward is the same: consistent practice. Try to draw every day, even if it’s just for 15 minutes.
Don’t be afraid to make bad drawings. I have stacks of them. Those aren’t failures; they’re lessons. The goal isn’t to draw one perfect unicorn. The goal is to become an artist who can draw any unicorn you can dream up.
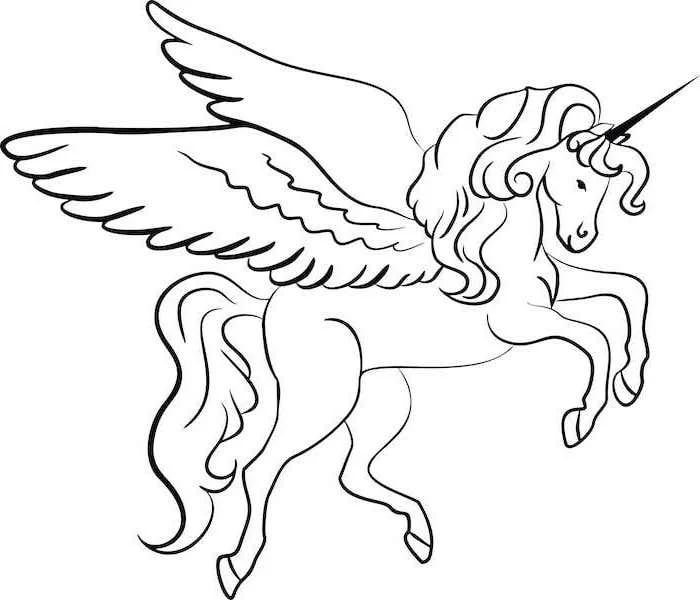
And if you ever want to sell your art, remember to be original. Learn from others, but never copy their work directly. Take this foundation in reality, and then let your imagination run wild. Maybe your unicorn has wings, or a horn made of crystal. That’s where your unique voice as an artist comes through.
Inspiration Gallery
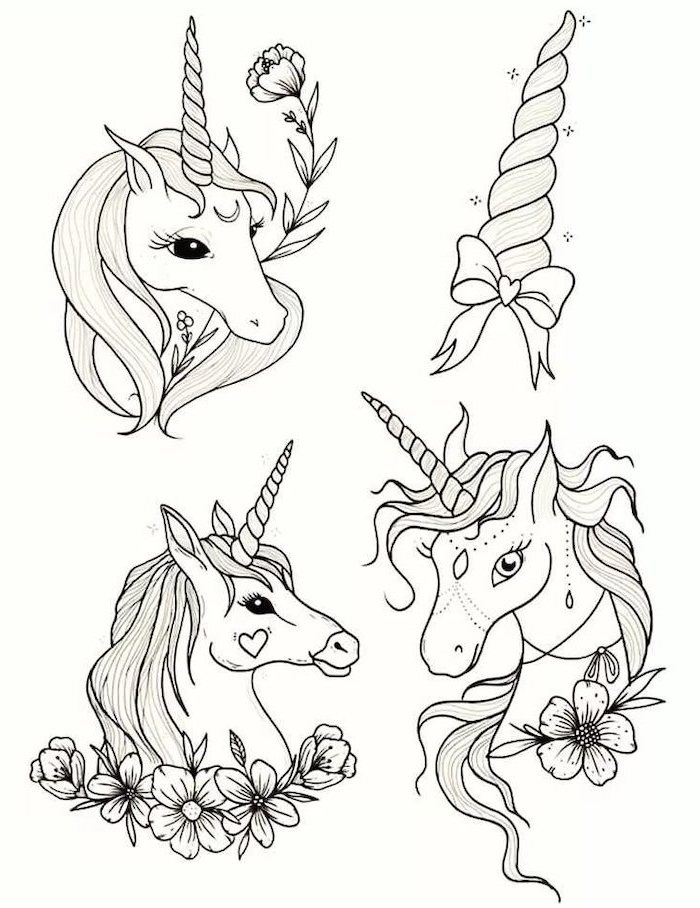
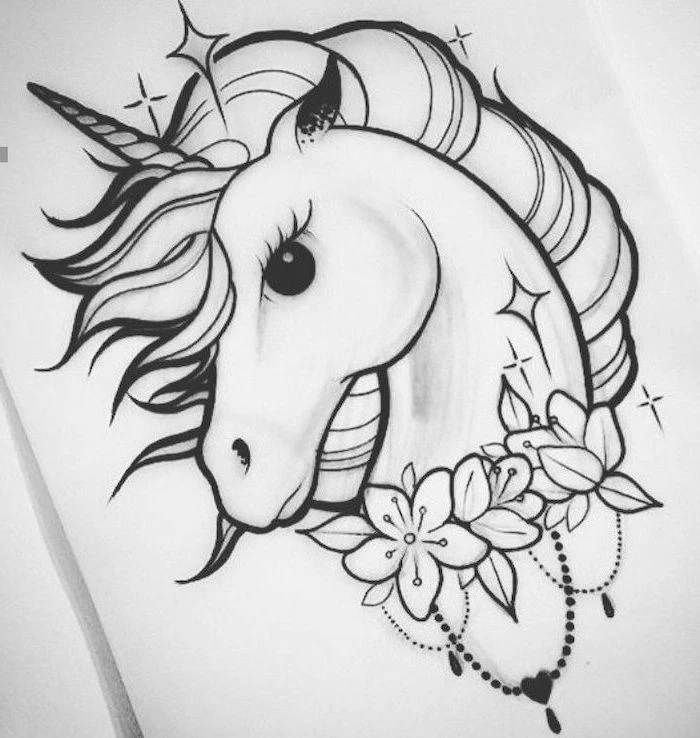
The flat horn trap: A common mistake is drawing the horn as a simple cone attached to the forehead. To give it three-dimensional form, think of its base as integrated into the skull. Draw faint contour lines wrapping around the horn to suggest its roundness, even before you add the classic spiral. This ensures it looks like it grew there, not like it was glued on.
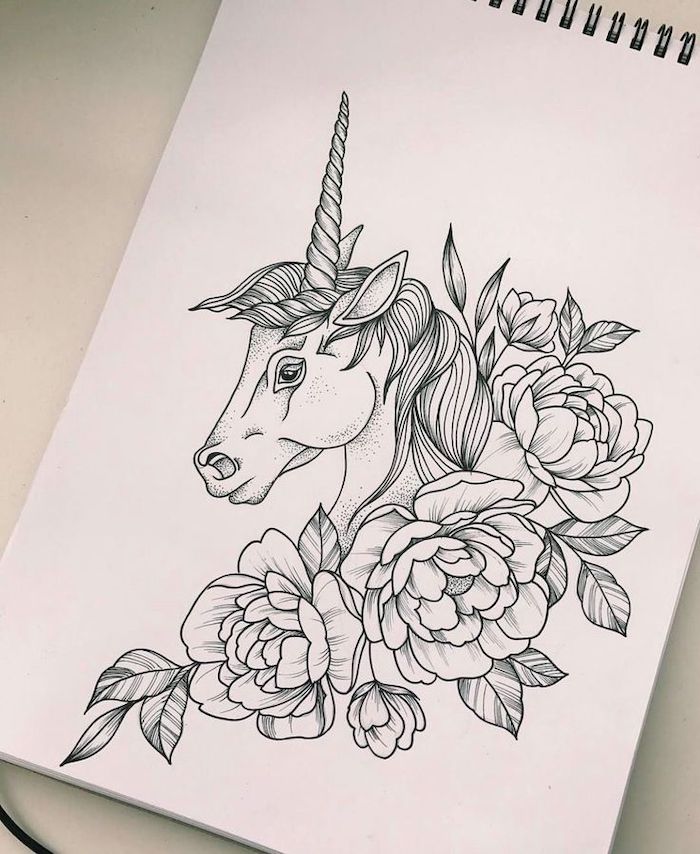
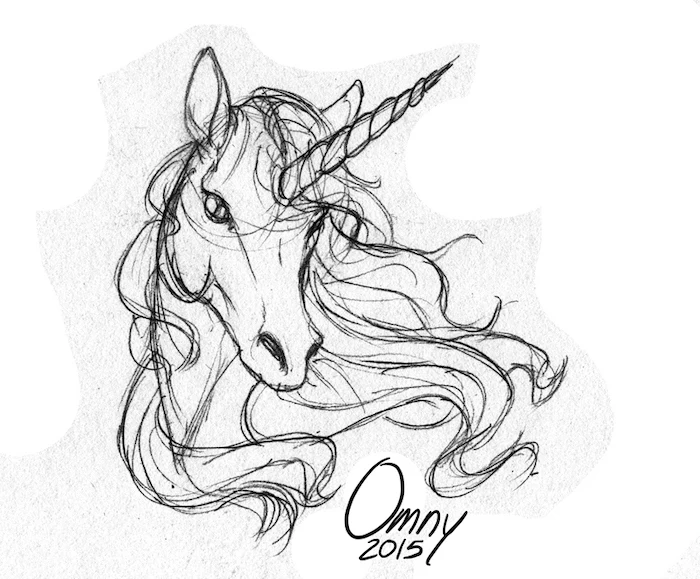
Draw the mane with long, confident strokes to suggest flow and movement.
Vary your line weight; press harder at the roots and lift the pencil for wispy ends.
Don’t draw every single hair. Focus on creating clumps and locks that overlap.
The secret? Suggesting texture is more effective than detailing everything.
The choice of paper can dramatically change your drawing’s final look. For detailed pencil work, a smooth surface like Bristol Board (Strathmore 300 Series is a great start) allows for crisp lines and seamless blending. If you’re aiming for a softer, more atmospheric piece with graphite or charcoal, a paper with a slight ‘tooth’ or texture, like Canson Mi-Teintes, will grab the pigment beautifully.
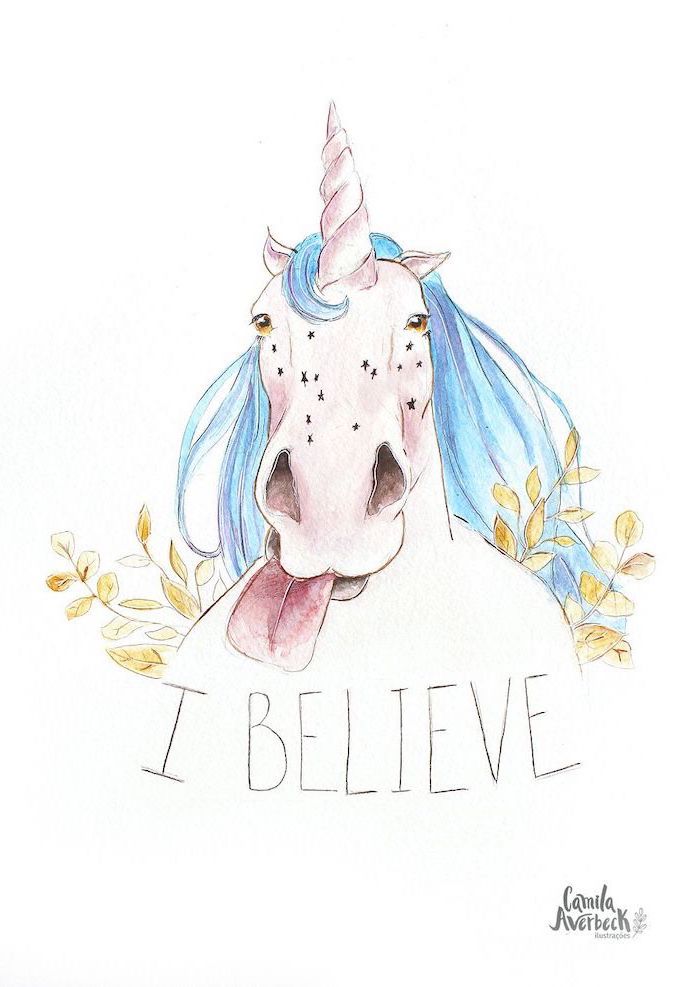
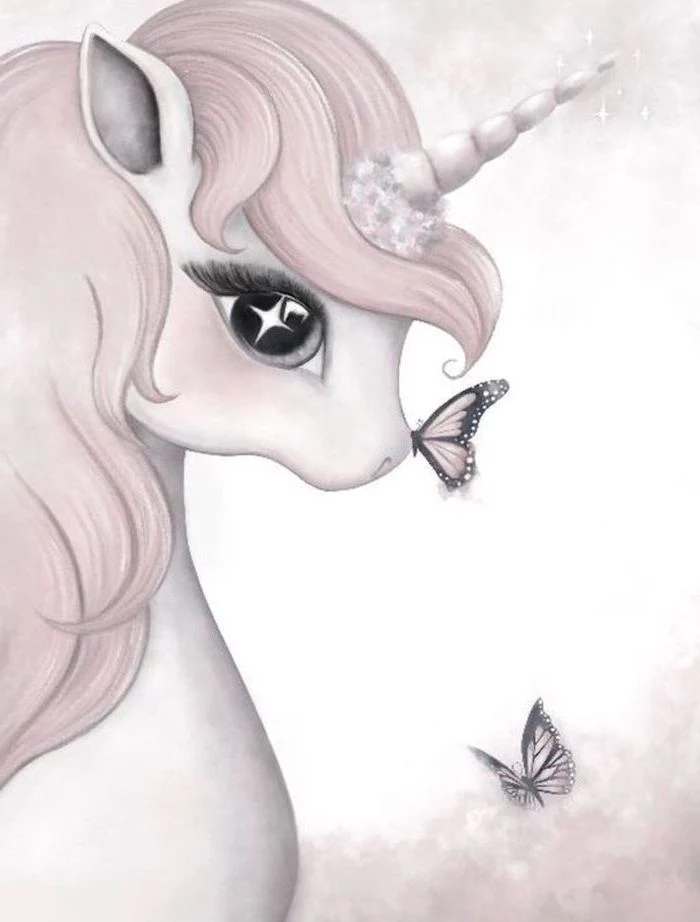
How do I make the coat shimmer without using glitter?
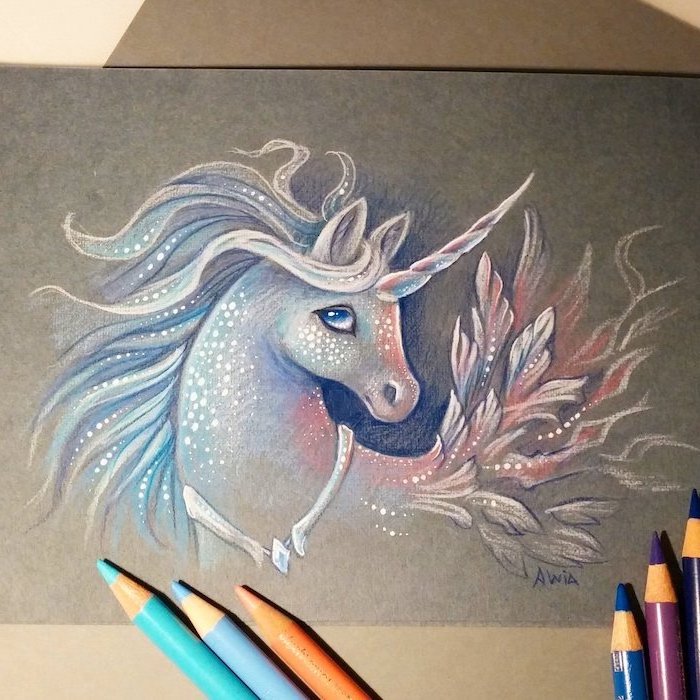
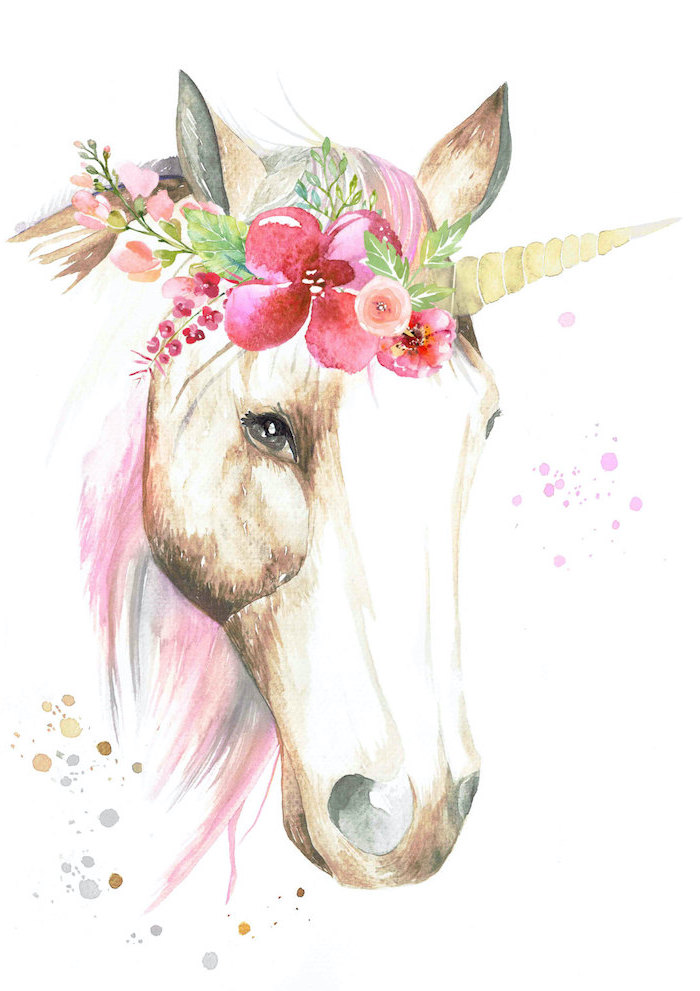
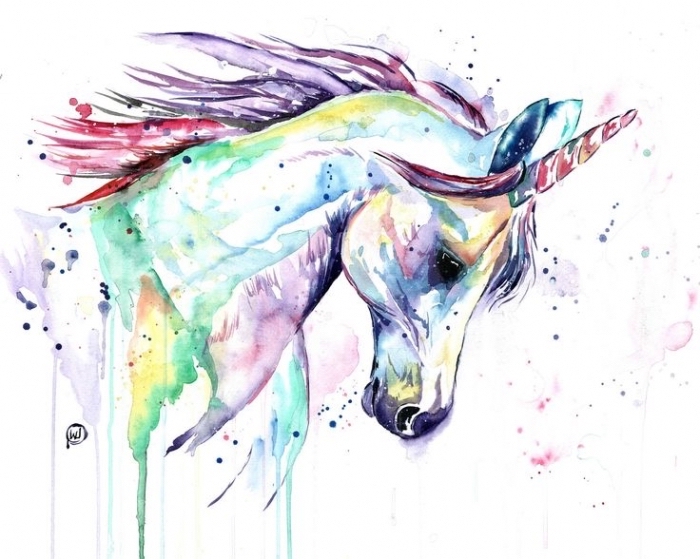
The trick is masterful highlighting and subtle color shifts. On a white coat, use very light cool greys or pale blues (like a hint of Cerulean Blue from a Prismacolor Premier set) for the shadows. Then, use a kneaded eraser to lift pigment from the high points—the curve of the flank, the cheekbone, the shoulder. For the final ‘pop’, add sharp, bright highlights with a white gel pen like the Sakura Gelly Roll 08. This contrast creates a believable, magical sheen.
Let’s talk about eyes. They are the key to your unicorn’s personality. Don’t just draw a circle with a dot. Observe horse eyes: they are large, dark, and set on the sides of the head, giving them a wide field of vision. They have a gentle, slightly almond shape. To add that spark of intelligence and magic, make the reflection (the ‘catchlight’) crisp and clear.
Graphite Pencils: Inexpensive and versatile. A simple set from Faber-Castell gives you a range of hardness (from a hard 2H for light sketches to a soft 6B for deep shadows).
Mechanical Pencils: Excellent for consistent, fine lines. A 0.5mm Pentel P205 is a classic for a reason. Great for details like individual hairs or the sharp edges of a horn, but less ideal for broad shading.
For beginners, starting with a good set of traditional graphite pencils offers more learning opportunities in pressure control.
Beyond the classic European unicorn, why not find inspiration in other mythologies?
The Kirin (or Qilin): An East Asian creature, sometimes depicted with a single horn. It has a dragon-like head, a deer’s body covered in scales, and an ox’s tail. Drawing one combines different animal anatomies.
The Karkadann: A fierce, territorial unicorn from Persian legends, described as being able to fight an elephant. This inspires a more powerful, muscular, and wild interpretation.
In medieval lore, the horn of a unicorn, called an alicorn, was believed to instantly neutralize poison and purify diseased water.
You can translate this idea visually. Draw the horn with clean, sharp lines. When coloring, keep its texture smooth and pearlescent, perhaps with a subtle inner glow. This contrasts with the softer, more organic texture of the horse’s body, visually communicating its magical, pure quality.
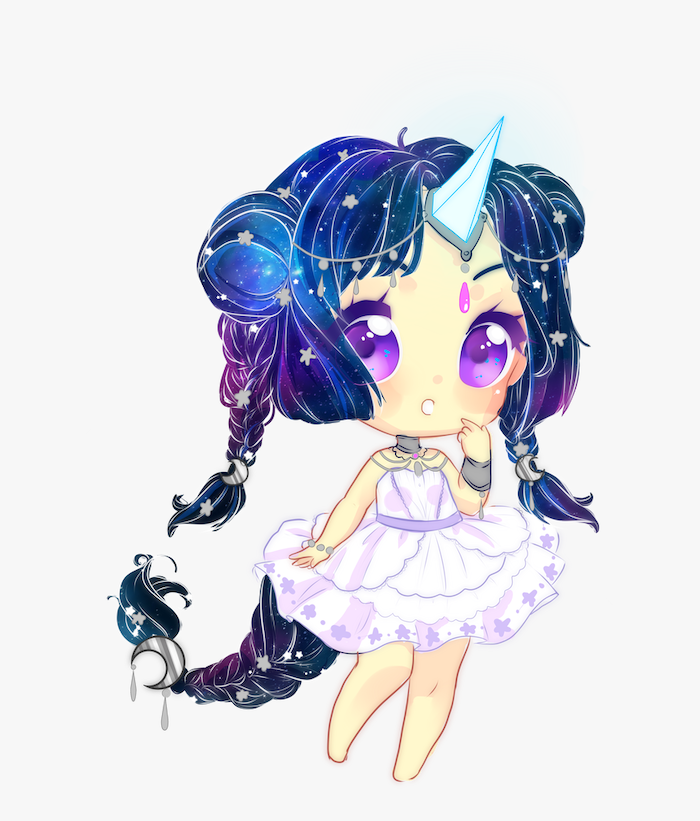
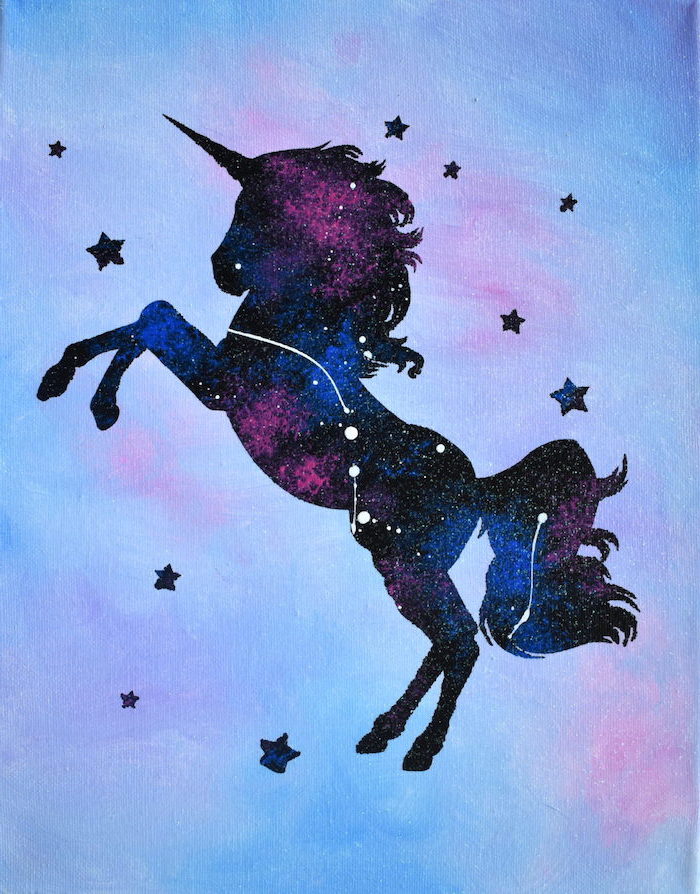
Digital artists, rejoice! Drawing unicorns in an app like Procreate on an iPad opens up a world of magical effects. Try the ‘Luminance’ brushes under the ‘Light’ brush set to add a mystical glow around the horn or to trace constellations into the unicorn’s coat. For the mane, the ‘Inka’ or ‘Dry Ink’ brushes are fantastic for achieving dynamic, tapered strokes with ease.
A common pitfall: Stiff, unnatural legs. The key is understanding horse joints. Remember this simple rule for the front legs: the ‘knee’ bends forward like ours, but the ‘ankle’ (the fetlock) bends backward. For the back legs, the upper joint (the hock) bends backward, creating that powerful angle for kicking and galloping. Sketching these joints as simple circles first will prevent ‘noodle leg’ syndrome.
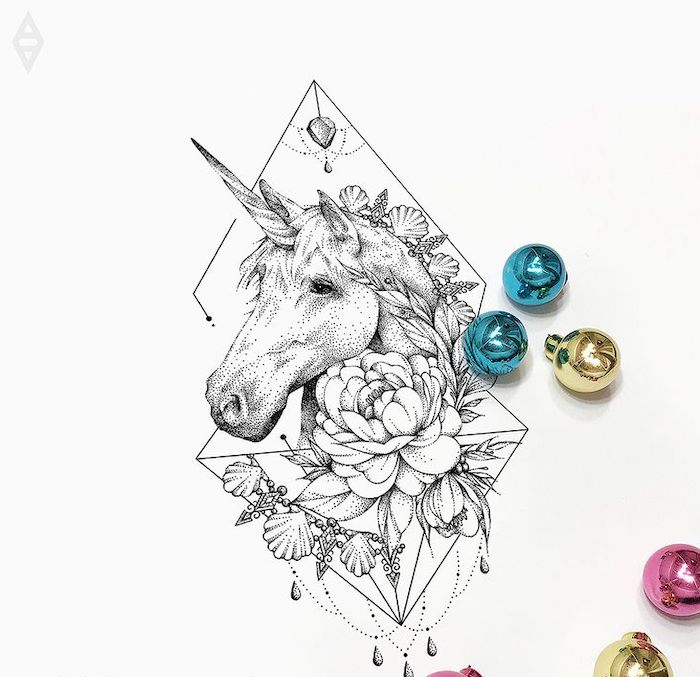
The horn’s design tells a story. Don’t just settle for a simple cone.
Classic Spiral: Tightly wound and elegant, suggesting ancient magic. Think narwhal tusk.
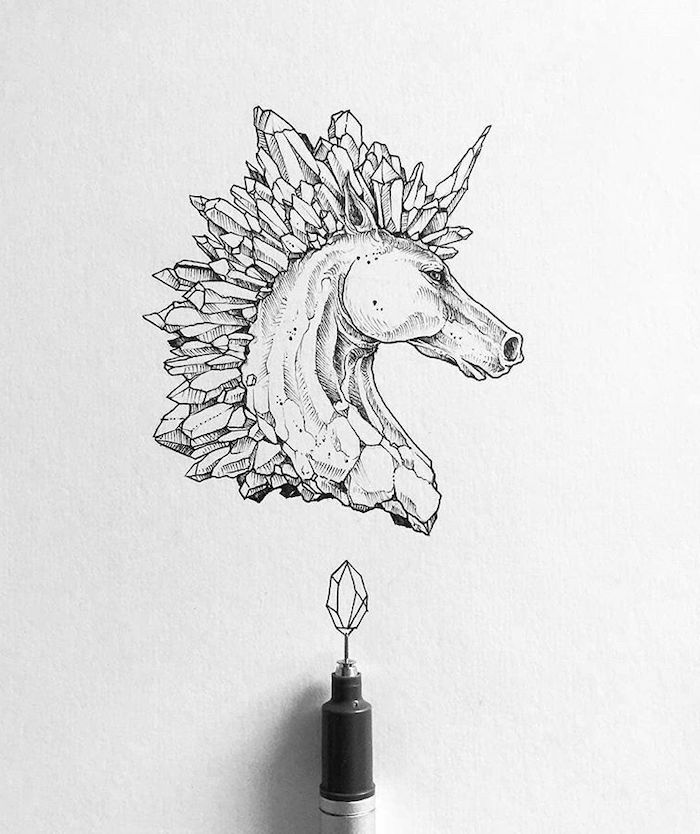
Crystal Growth: Draw it with sharp, geometric facets, as if it’s a naturally formed quartz crystal. Great for adding interesting light reflections.
Pearlescent & Smooth: A simple, un-spiraled horn with an opalescent sheen, reflecting rainbow colors. Perfect for a more serene, ethereal creature.
Gnarled Wood: Twisted and organic, like an ancient tree branch. This suggests a creature deeply connected to the forest.
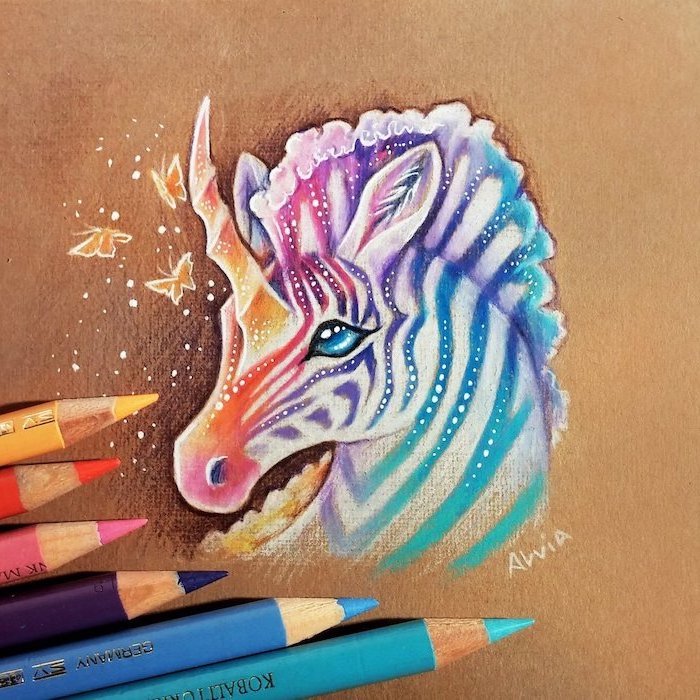
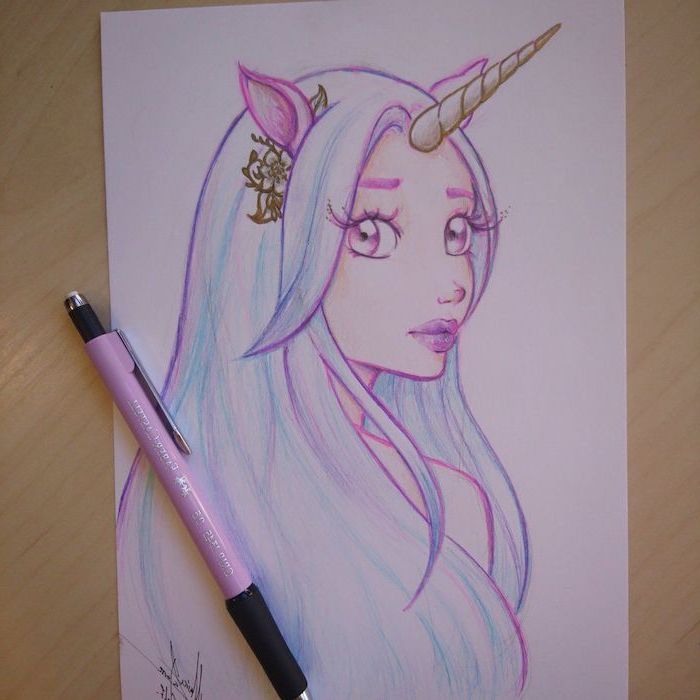
Working with colored pencils? To get those rich, vibrant colors you see in professional art, the secret is layering. Start with light pressure, gradually building up layers of different colors. For a pink mane, don’t just use one pink pencil. Start with a light pink, add a touch of magenta in the shadows, and maybe even a hint of light purple to create depth. Burnishing—going over the top with a white or colorless blender pencil—will smooth the colors together for a painterly finish.
Peter S. Beagle’s novel,
A coat that feels deep and velvety, not flat.
A mane that looks like it’s made of starlight.
A magical glow that seems to emanate from the creature itself.
The key? Mastering your values. Using a full range from pure white to deep black creates drama and realism far more than just clean outlines.
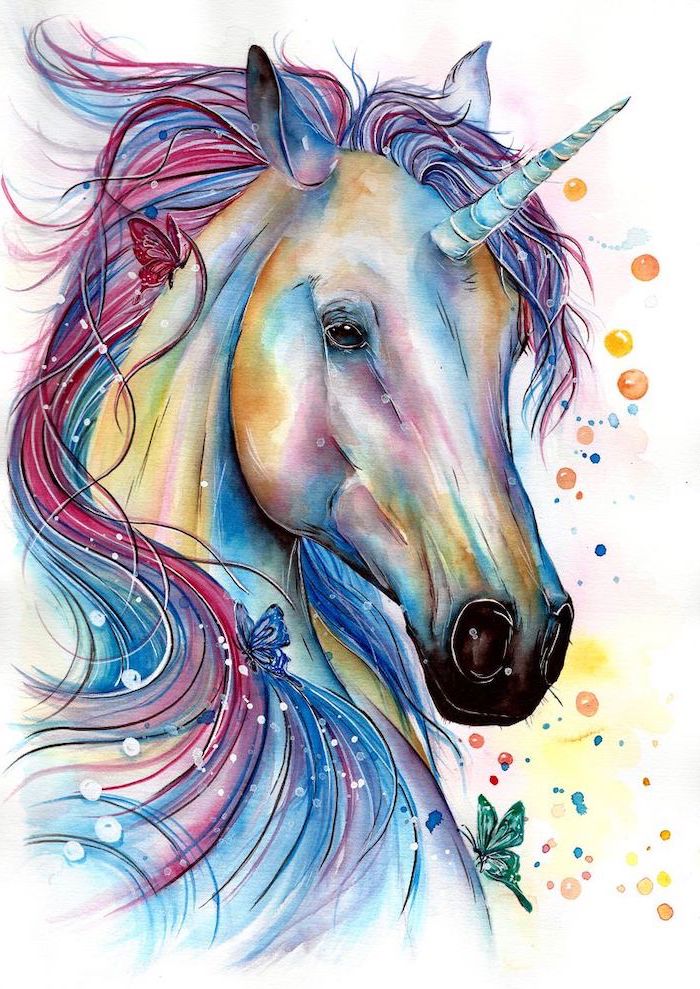
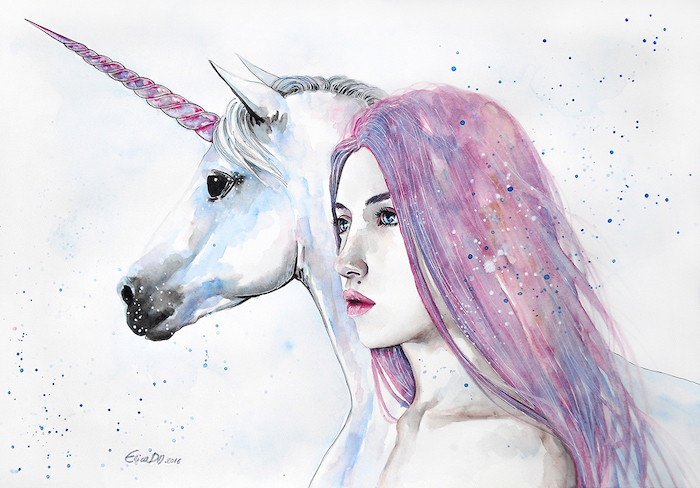
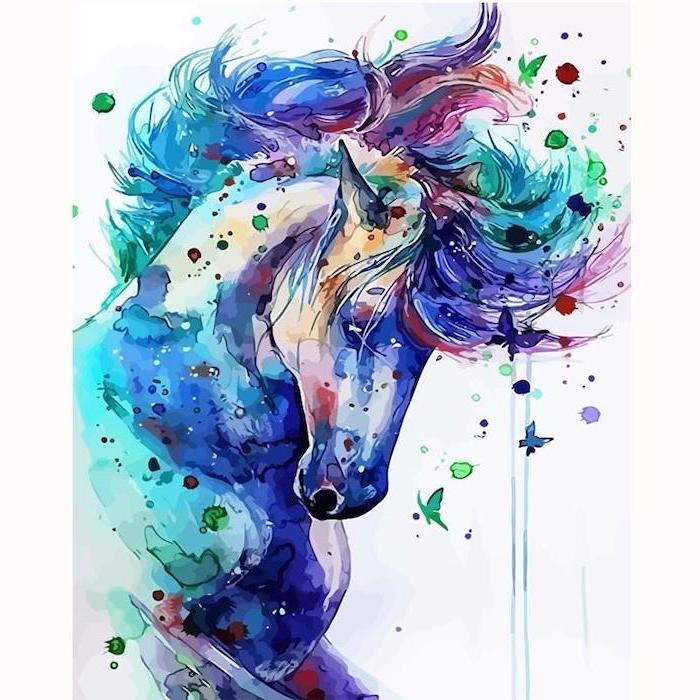
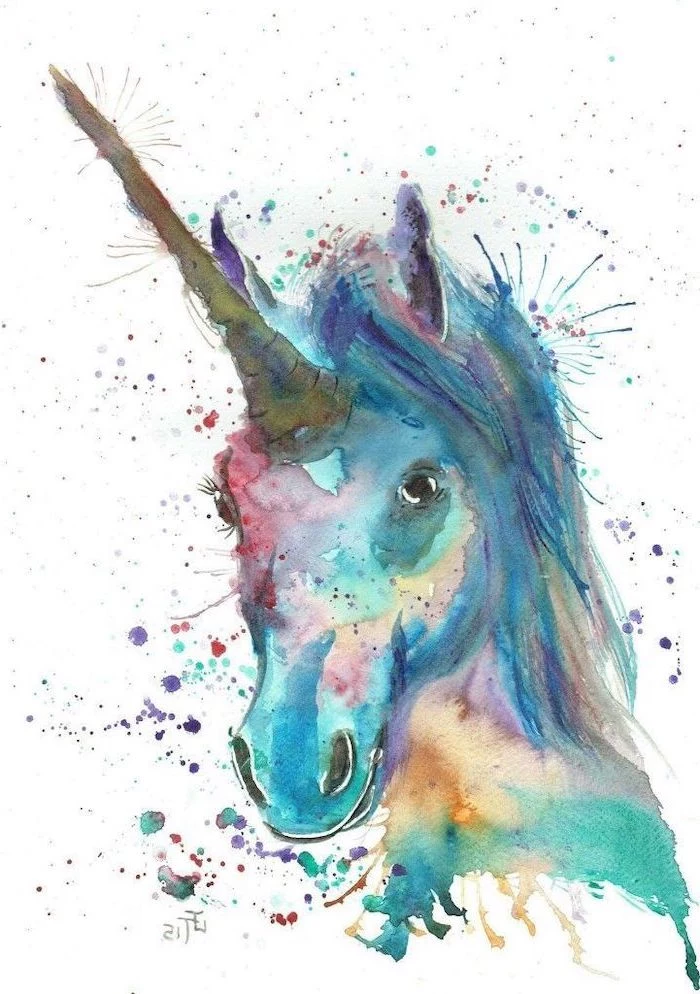
Watercolor: Perfect for ethereal, translucent unicorns. The way colors bleed and blend on wet paper (a technique called wet-on-wet) is ideal for soft manes and glowing auras. You’ll need proper watercolor paper (like Arches cold press) to prevent buckling.
Gouache: Think of it as opaque watercolor. It provides flat, vibrant, matte color. This is excellent for more graphic, storybook-style unicorns. Because it’s opaque, you can layer light colors over dark ones, which is great for adding details.
Protect your finished pencil drawing! A light coat of workable fixative spray (Krylon or Grumbacher are reliable brands) will prevent the graphite from smudging. It creates a clear, protective layer over the artwork. ‘Workable’ means you can even add more layers of pencil on top if you change your mind later.
How do I make my unicorn stand out from the crowd?
Think beyond the white horse. Give your unicorn dapples like an Appaloosa, stripes like a zebra (a ‘zebricorn’!), or the iridescent feathers of a peacock in its mane and tail. What if its horn wasn’t on its head, but was a tusk like a narwhal’s? Or perhaps it has cloven hooves like a goat? Mixing in elements from other animals is the fastest way to create a truly unique magical creature.
Finding good horse references is crucial. Go beyond a simple image search. Look for videos of horses trotting and galloping to understand their gait. Documentaries like ‘Cloud: Wild Stallion of the Rockies’ offer incredible footage. For anatomy, search for equine skeletal diagrams used by veterinarians. These technical resources are an artist’s goldmine for building a believable structure.
The famous
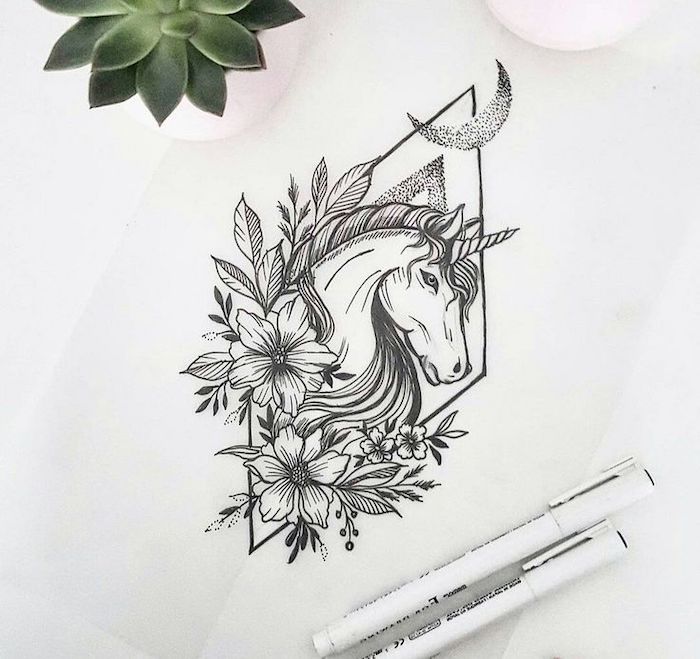
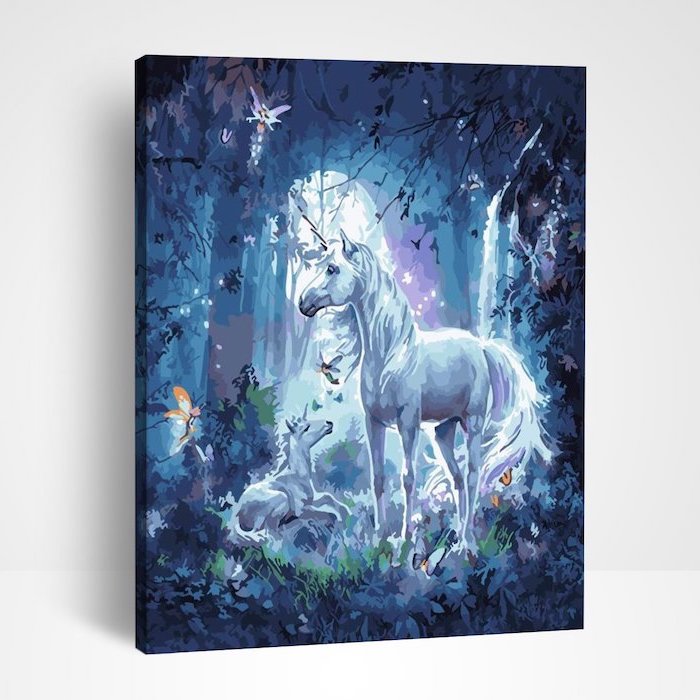
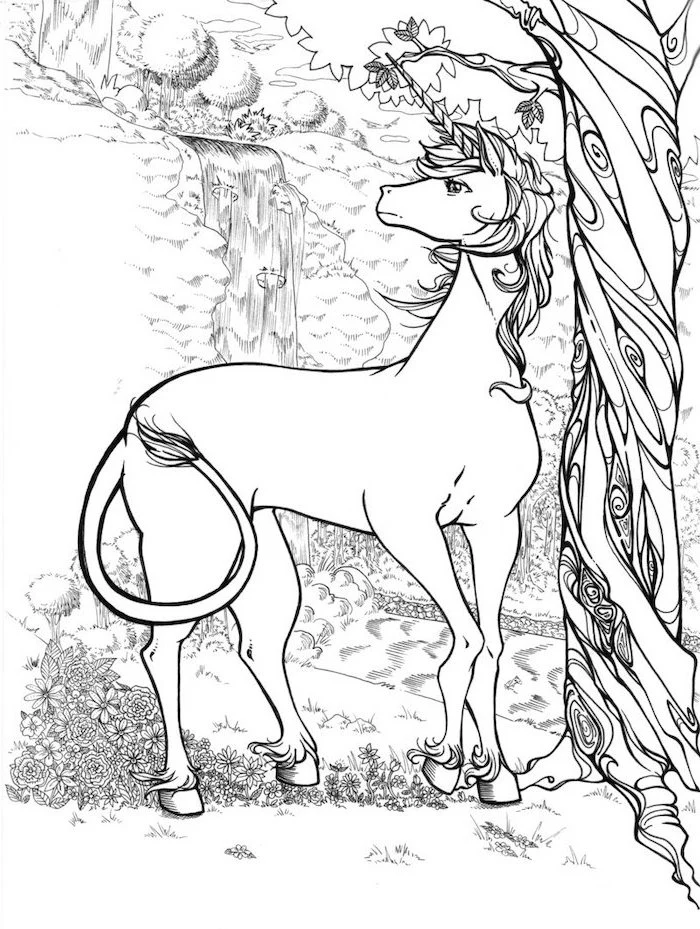
Don’t forget the background! A simple enchanted forest can elevate your drawing from a character sketch to a full illustration. Suggest a forest with just a few elements: dark, vertical tree trunks in the foreground, a misty ground, and a few glowing mushrooms or flowers to light the scene and reinforce the magical atmosphere.
Important detail: The hooves. Don’t just draw squared-off stumps. A horse’s hoof is a complex shape, angled and slightly conical. Look at reference photos. Notice how the bottom is flat but the wall of the hoof has a distinct angle and texture. Getting this small detail right adds an enormous amount of realism to your drawing.
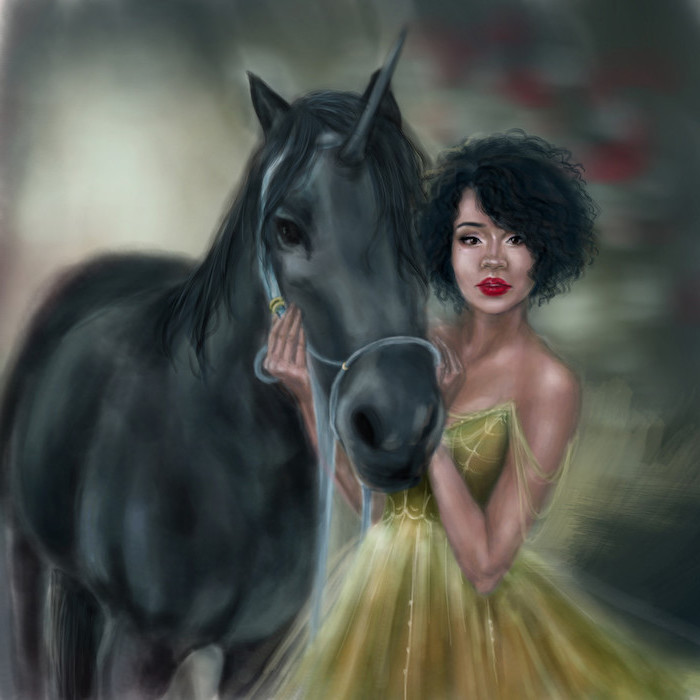
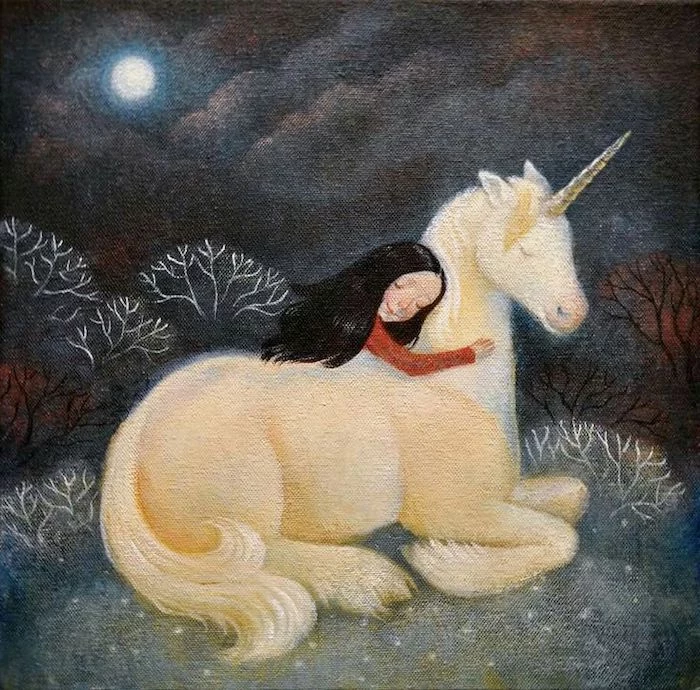
To add that final touch of magic, consider the lighting. A unicorn in moonlight will have cool, blue-toned highlights and deep shadows. One touched by a sunrise might be bathed in warm pinks and golds. The color of your light source dictates the entire mood of the piece.
A sense of wonder and magic.
A dynamic, flowing composition.
A believable, living creature.
The method? Think in ‘S’ curves. A curved neck, a swishing tail, a flowing mane—these elegant curves guide the viewer’s eye through the image and give the static drawing a beautiful sense of movement.
For an otherworldly color palette, try using complementary colors. If the unicorn is set against a deep blue, twilight sky, give its mane and horn highlights of a fiery orange. This high contrast makes the colors vibrate and gives the creature a supernatural presence that a simple white-on-white composition might lack.
John combines 12 years of experience in event planning, interior styling, and lifestyle curation. With a degree in Visual Arts from California Institute of the Arts and certifications in event design, he has styled luxury weddings, corporate events, and celebrity celebrations. John believes in creating memorable experiences through innovative design and attention to detail.
To provide the best experiences, we use technologies like cookies to store and/or access device information. Consenting to these technologies will allow us to process data such as browsing behavior or unique IDs on this site. Not consenting or withdrawing consent, may adversely affect certain features and functions.
Functional
Always active
The technical storage or access is strictly necessary for the legitimate purpose of enabling the use of a specific service explicitly requested by the subscriber or user, or for the sole purpose of carrying out the transmission of a communication over an electronic communications network.
Preferences
The technical storage or access is necessary for the legitimate purpose of storing preferences that are not requested by the subscriber or user.
Statistics
The technical storage or access that is used exclusively for statistical purposes.The technical storage or access that is used exclusively for anonymous statistical purposes. Without a subpoena, voluntary compliance on the part of your Internet Service Provider, or additional records from a third party, information stored or retrieved for this purpose alone cannot usually be used to identify you.
Marketing
The technical storage or access is required to create user profiles to send advertising, or to track the user on a website or across several websites for similar marketing purposes.