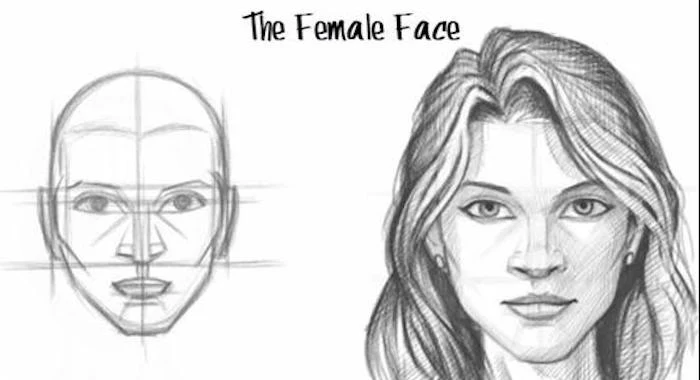
Tired of Flat Faces? Here’s My Guide to Drawing People That Actually Feel Real
I’ve spent a good chunk of my life with a pencil in my hand—more than two decades, if we’re counting. In that time, I’ve drawn everything from slick commercial storyboards to fine art portraits. But I still vividly remember the sheer frustration of starting out. My biggest hurdle was drawing people, especially the female face. My drawings felt lifeless, the proportions were always a mess, and the features looked like stickers slapped on a balloon. Honestly, it took years of practice and a mountain of bad drawings to finally figure out a better way.
In this article
- It All Starts with the Skull (No, Really)
- Mapping Out the Face: Where Everything Goes
- From Head to Toe: Nailing Figure Proportions
- Bringing Your Drawings to Life with Light & Shadow
- Finding Your Style (After You Learn the Rules)
- Your Artist Starter Kit (Hint: It’s Cheaper Than You Think)
- The Long Haul: Practice, Patience, and Staying Healthy
- Inspiration Gallery
This guide is everything I wish someone had handed me back then. It’s not about magic tricks or shortcuts. It’s about building a rock-solid foundation so you can draw with confidence.
We’re going to focus on understanding what’s happening underneath the skin. Once you get a feel for the structure of the head and body, you can draw a believable person from any angle, straight from your imagination. This is the very same method I teach my own students. It’s a total mindset shift—from just copying lines to actually building forms.
It All Starts with the Skull (No, Really)
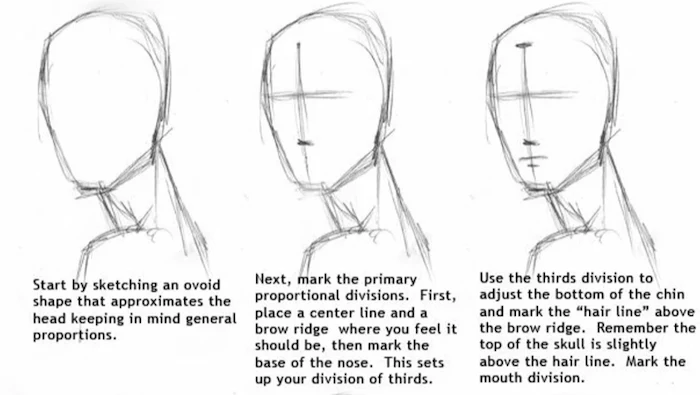
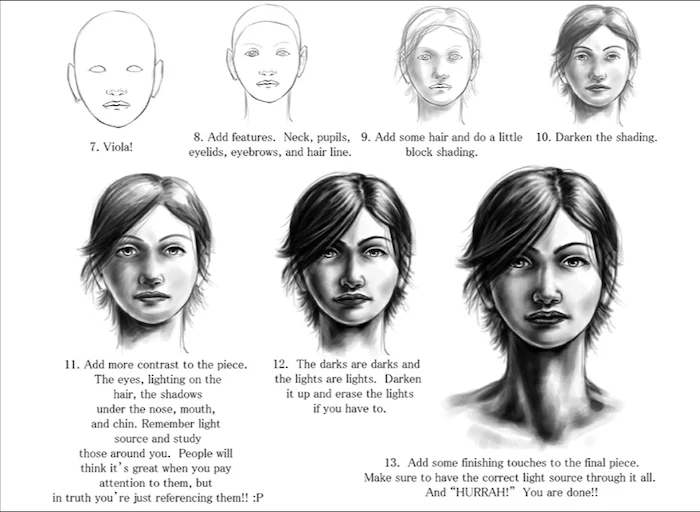
Before you even think about drawing a single feature, you have to get a handle on the shape of the skull. A head is not just an oval or an egg; it’s a surprisingly complex form. Getting this right is the most important first step, period.
The pros don’t guess at this stuff. They use a classic construction method that has been a gold standard for illustrators for generations. I swear by it because it’s the most reliable way I’ve ever found to nail proportions. It all begins with a simple sphere, which represents the main mass of the cranium.
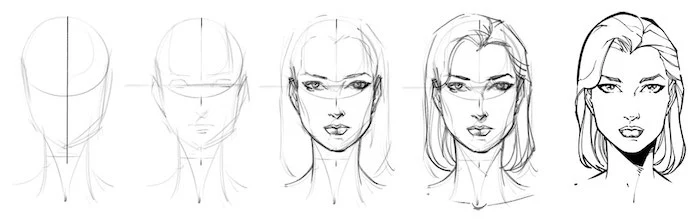
Let’s walk through it:
- First, draw a sphere. Just a clean, confident circle. This is the cranium, where the brain is housed. Don’t get hung up on perfection.
- Now, slice the sides. Imagine taking a knife and shaving a small piece off both sides of the sphere. The head isn’t a perfect ball, it has flat sides. A good rule of thumb? Shave off about an eighth of the sphere on each side. This one step instantly makes your head drawing look less like a cartoon.
- Draw the center line. This is a vertical line that wraps right down the middle of your new shape. If the head is turned, this line will curve, showing the form. It’s your main guide for placing the nose and mouth.
- Find the brow line. Draw a horizontal line that cuts right through the exact middle of the original sphere. This is where the eyebrows will sit. So many beginners place the eyes way too high, and this single line stops that mistake in its tracks.
- Measure out the face. Okay, time to map the rest of the features. Take the distance from your new brow line to the very top of the sphere. Now, measure that same distance down from the brow line—that spot is where the bottom of the nose will go. Do it one more time, measuring down from the nose line, and you’ve found the chin. Boom. You now have the face divided into three equal parts: hairline to brow, brow to nose, and nose to chin.
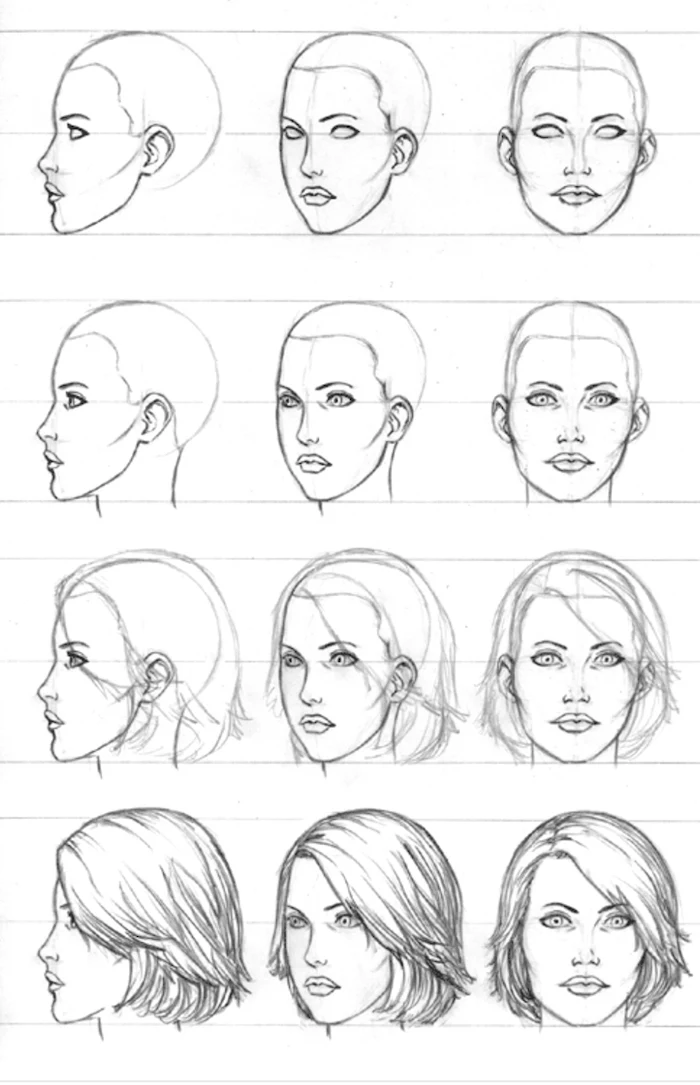
Why does this work so well? Because it’s based on real human proportions, and it forces you to think in three dimensions. I’ve seen students’ work improve dramatically in a single session once this clicks. Practice drawing just this basic head shape from different angles. This is way more important than drawing a pretty eye.
Mapping Out the Face: Where Everything Goes
Once your head structure is built, placing the features is just a matter of following the map you’ve made. Let’s break it down.
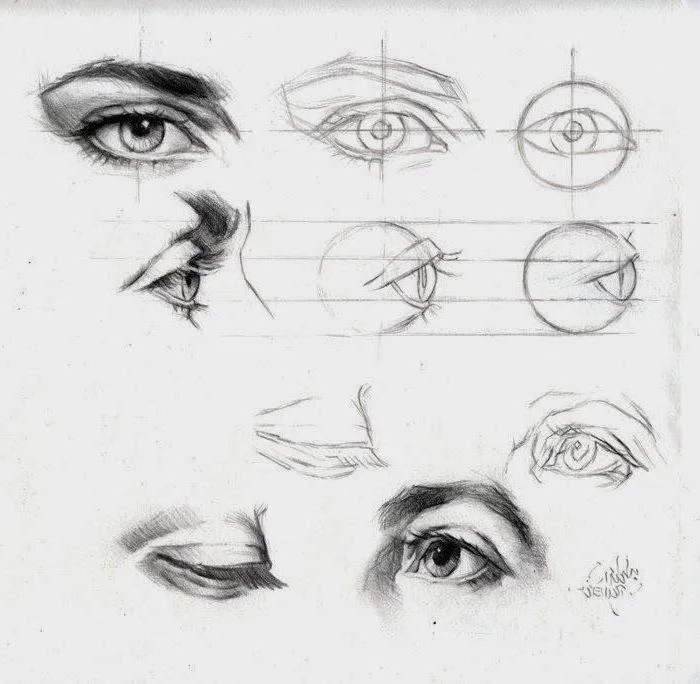
The Eyes: Spheres in Sockets
A classic beginner mistake is drawing eyes as flat, almond shapes. Think about it: eyes are eyeballs, meaning they are spheres. They sit inside the skull’s eye sockets, and the eyelids wrap around them. Getting this right is critical.
On a face looking straight ahead, the space between the two eyes is equal to the width of one eye. You should be able to fit five equal eye-widths across the head. The eyes themselves sit directly on that brow line you drew, or just a tiny bit below it.
Quick tip: Lightly sketch two circles for the eyeballs first. Then, draw the eyelids wrapping around them. Notice how the upper lid covers a small part of the iris, while the lower lid usually just kisses the bottom. And don’t forget the tear duct! That tiny pink bump in the inner corner adds a massive dose of realism.
The Nose: A Simple Wedge of Planes
The nose can be intimidating, but it’s really just a wedge made of simple planes. Avoid the swoopy-line-with-two-dots approach at all costs—it flattens the face instantly.
The bottom of the nose rests on the nose line we measured out. Think of it in three parts: the long, flat bridge; the ball at the bottom; and the wings of the nostrils on either side. Shading these planes is what gives the nose its form. A common problem is the ‘pig nose’ look, which happens when you draw nostrils as two dark circles. In most views, you’re seeing the bottom plane of the nose, not looking straight up it. Try drawing them as soft, shadowed crescents instead.
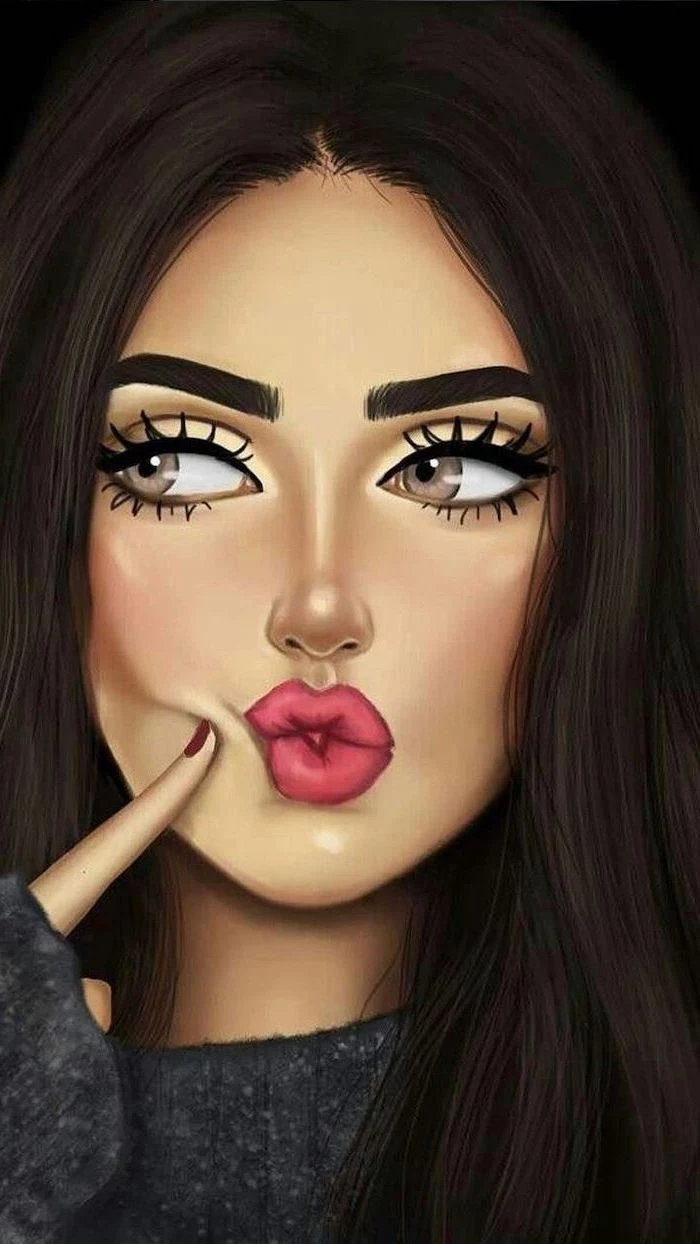
The Mouth: A Set of Soft Curves
The mouth is not flat; it curves around the teeth and jaw. Here’s a major pitfall to avoid: a lot of people place the mouth exactly halfway between the nose and chin. It’s actually a bit higher, usually about one-third of the way down. This leaves enough room for a realistic chin and jawline—a small detail that makes a huge difference.
Pro tip: Don’t outline the lips with a hard line. Instead, use shading to define them. The upper lip is almost always in shadow, making it darker than the lower lip, which catches the light. Let the change in value create the edge.
The Ears: Surprisingly Simple Placement
People often ignore ears, but getting them wrong can throw off a whole portrait. Thankfully, their placement is super consistent. On a level head, the top of the ear lines up with the brow line, and the bottom lines up with the nose line. Easy, right? Just remember that they’ll appear lower if the head tilts up, and higher if it tilts down.
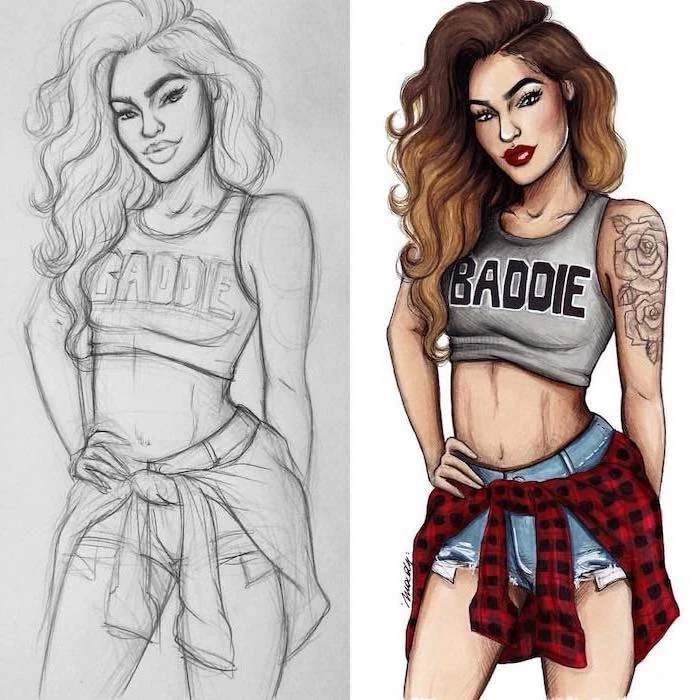
From Head to Toe: Nailing Figure Proportions
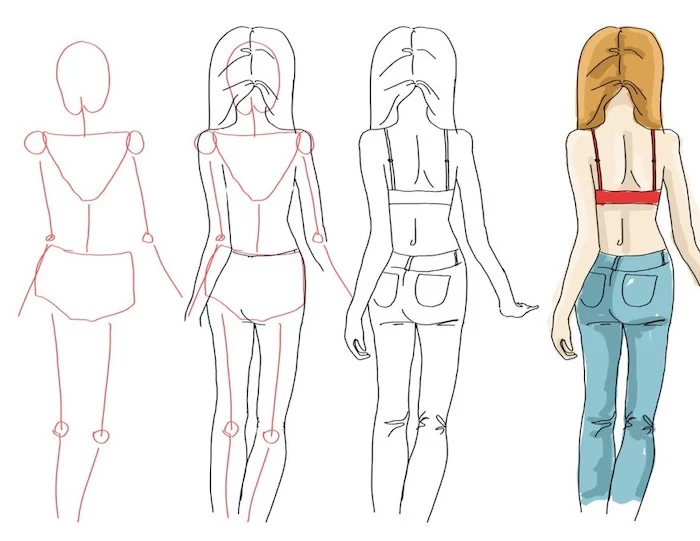
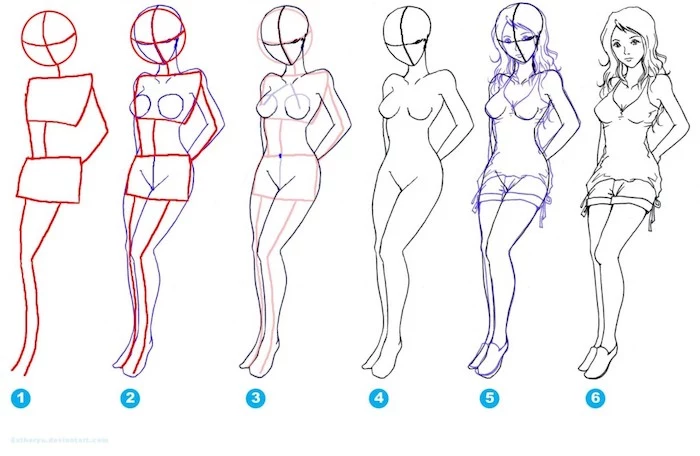
Once you’re comfortable with the head, you can tackle the full figure. And just like the head, we have a system for this. The most common method uses the head as a unit of measurement. An idealized or ‘heroic’ figure is often about 8 heads tall, while a more average, realistic person is closer to 7.5 heads. This is just a guideline, of course—people come in all shapes and sizes.

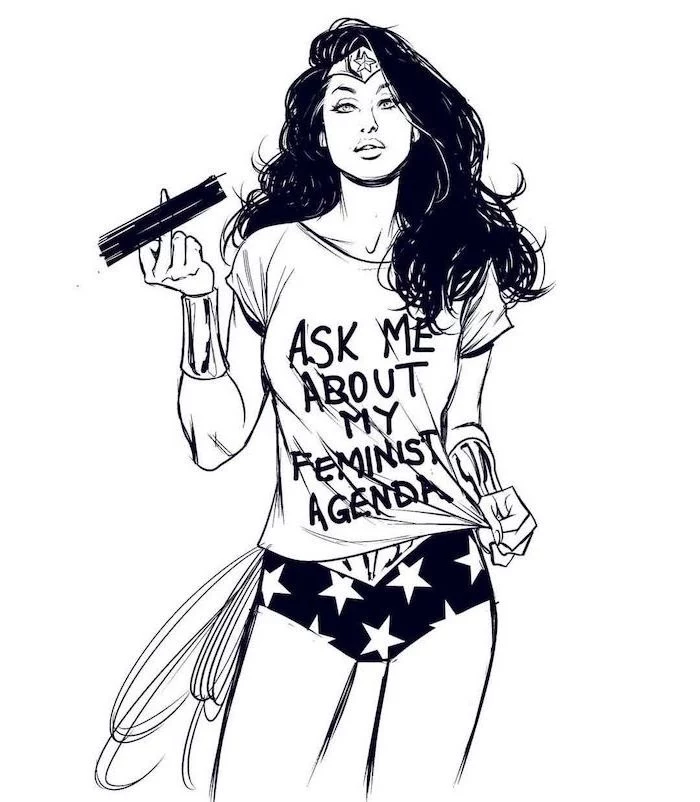
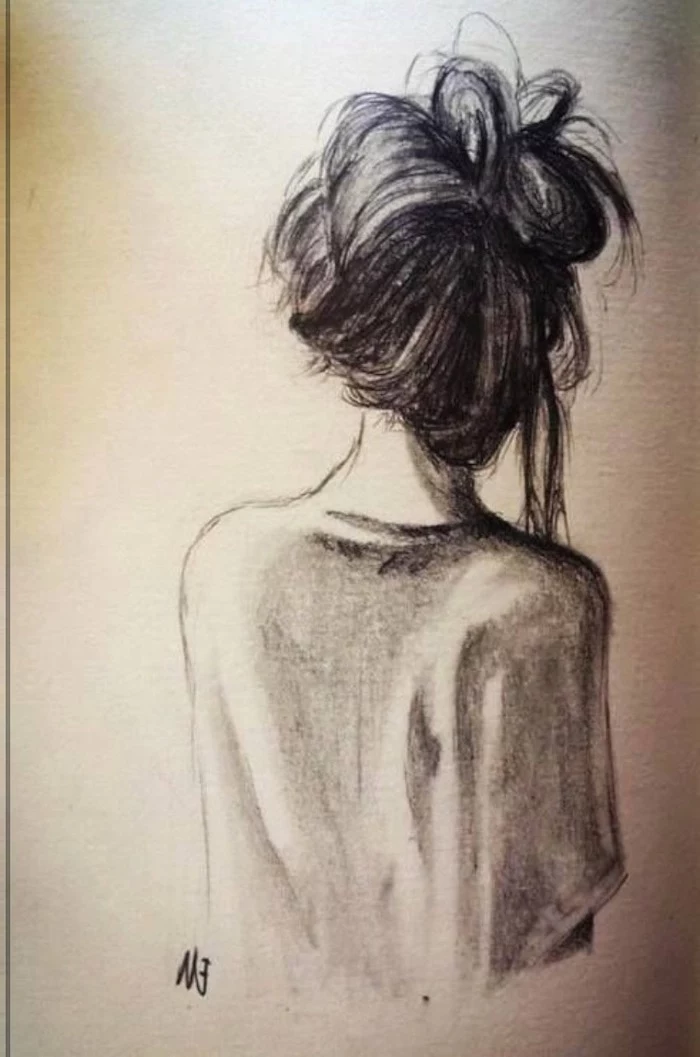
Since we’re focusing on the female figure, here’s a key difference to remember: a female skeleton typically has shoulders that are narrower than the hips. For a male figure, it’s generally the opposite—the shoulders are wider than the hips. Just keeping that simple observation in mind is a game-changer for creating a believable female form.
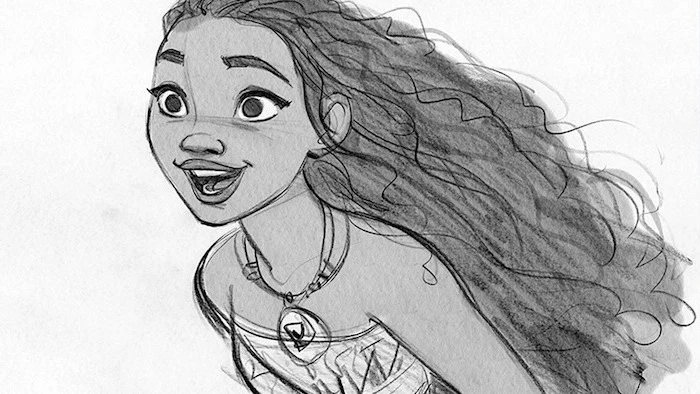
But before you start measuring, you need to capture the gesture. Gesture is the energy and movement of the pose. Start with a fast, loose drawing—I’m talking 30 seconds max. Use a single flowing ‘line of action’ to get the rhythm, then build a simple stick figure or mannequin on top. A stiff drawing almost always comes from focusing on details too early. Oh, and look up contrapposto. It’s a term for a pose where the weight is on one leg, causing the hips and shoulders to tilt in opposite directions. It creates a natural, relaxed ‘S’ curve that breathes life into your figures.
Bringing Your Drawings to Life with Light & Shadow
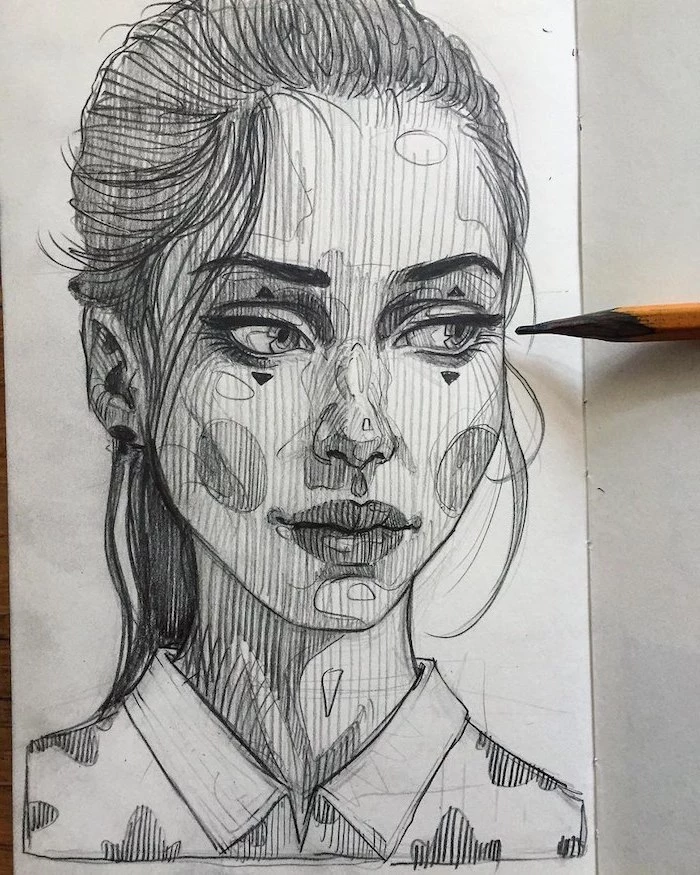
A line drawing is a symbol. A drawing with shading and form feels real. It’s all about how light works. Light travels in straight lines. Where it hits a surface directly, it’s bright. Where the surface turns away from the light, it falls into shadow.
Here’s a trick that every artist I know uses: squint your eyes when you look at your subject or reference photo. It instantly blurs out all the confusing little details and shows you the big, simple shapes of light and shadow. Draw those first!
When it comes to shading, there are a few core techniques:
- Hatching: A series of parallel lines. The closer the lines, the darker the tone. Make your lines follow the form, so if you’re shading a round arm, your lines should curve around it.
- Cross-Hatching: This is just layering sets of hatching in different directions to build up very dark, rich tones.
- Blending: Using a paper stump (called a tortillon) or even your finger to smudge the graphite. Heads up! Use this sparingly. It can create soft, beautiful transitions, but overdo it and your drawing will look muddy and undefined.
A warning from experience: don’t just make things ‘darker’ for the sake of it. Think about why something is dark. Is it turning away from the light? Is it a shadow being cast by the nose? Be deliberate with every mark you make.
Finding Your Style (After You Learn the Rules)
The foundational anatomy we’ve talked about is the basis for pretty much every style of drawing people. Once you know the rules, you can break them with purpose.
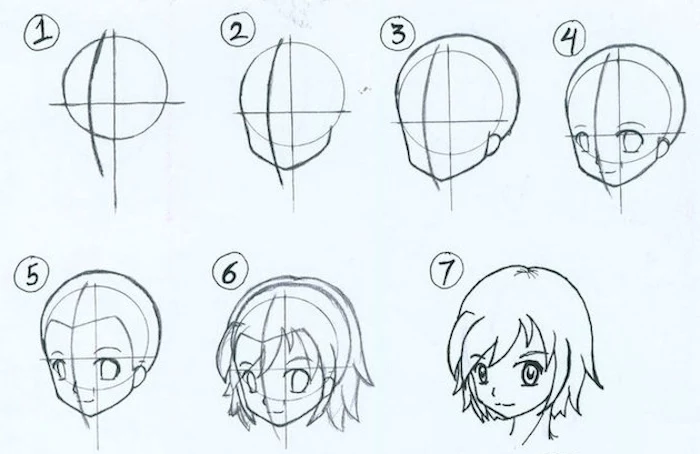
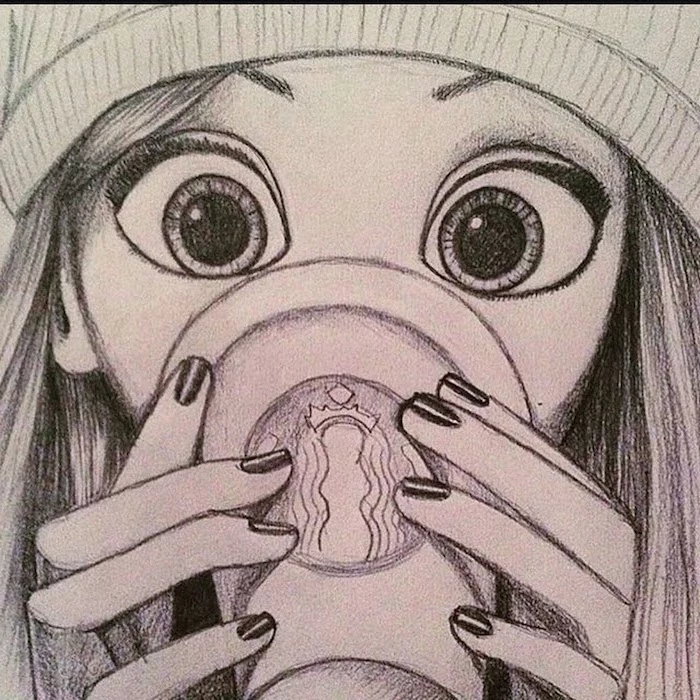
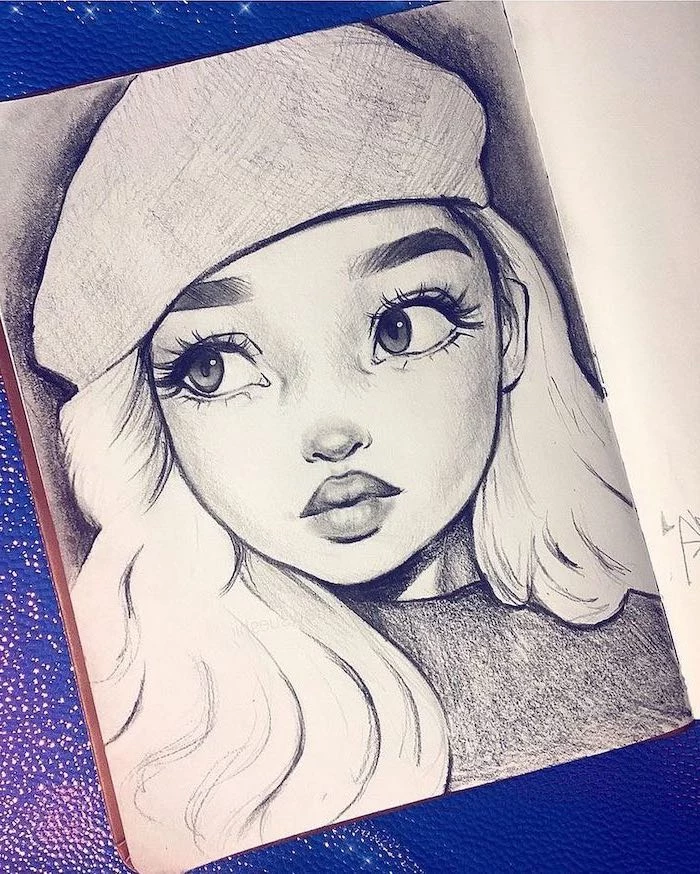
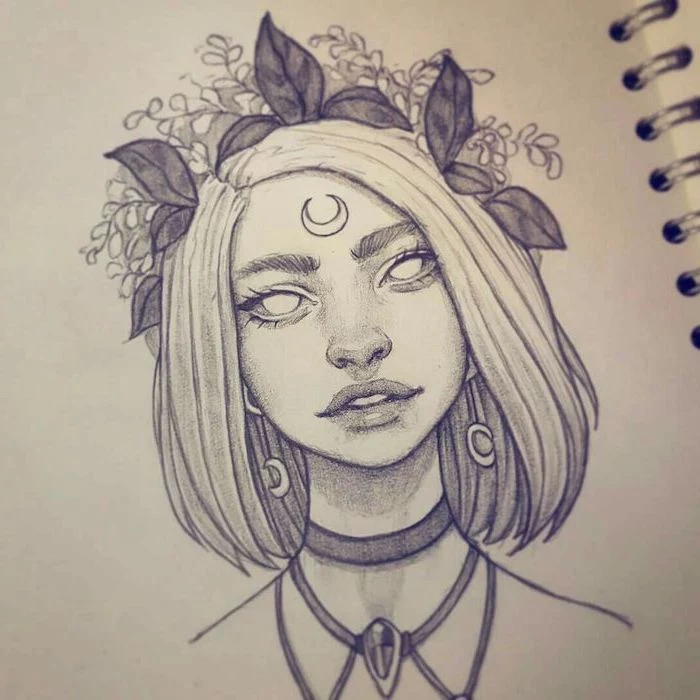
For example, you see this in popular Japanese art styles like anime and manga. Artists start with the same basic head structure, but then they make conscious choices to exaggerate certain features. The eyes are often much larger and placed lower on the face, and the chin is very pointed. The nose might be simplified so much that the artist only draws the small cast shadow underneath it, leaving the bridge completely implied. These are intentional design choices, and the best artists doing this have a deep understanding of real anatomy.
My advice is always the same: learn the real thing first. Once you can draw a realistic person, your unique style will develop naturally. You’ll know how to change things in a way that looks good, because you’ll understand the structure you’re bending.
Your Artist Starter Kit (Hint: It’s Cheaper Than You Think)
You do not need expensive tools to learn. Skill comes from mileage, not from buying fancy gear. For years, I did most of my sketching with a plain old office pencil.
If you’re building a starter kit, here’s what I recommend:
- Pencils: You just need three. A 2H for light construction lines that erase easily, an HB (a standard #2 pencil) for general sketching, and a 2B or 4B for rich, dark shading. A starter kit with these and an eraser shouldn’t cost more than $5-$10. You can find them at any art supply store like Blick, or even in the art aisle at Target.
- Paper: For practice, cheap printer paper is your best friend. Don’t be precious with it—fill up pages! For a finished piece, a dedicated drawing paper with some texture (called ‘tooth’) is great because it grabs the graphite better.
- Erasers: You want two kinds. A standard vinyl one for clean erasing, and a kneaded eraser. A kneaded eraser is a soft, putty-like tool that you can shape to lift graphite gently, which is perfect for creating subtle highlights.
The Long Haul: Practice, Patience, and Staying Healthy
Drawing for hours on end can take a toll. I learned this the hard way working on tight commercial deadlines and developed wrist pain that took months to heal. Trust me on this: take care of your body.
Get up and stretch every hour. For long, flowing lines, learn to draw from your shoulder, not just your wrist. And please, sit up straight! Good posture will save you from a world of back and neck pain. I have my drawing board set at a slight angle, which helps a lot.
Learning to draw is a marathon, not a sprint. You will have days where nothing works. You will make hundreds of drawings you hate. It’s totally normal. The key is consistency. Drawing for 30 minutes every day is infinitely better than one five-hour session a week.
So, here’s your mission for this week: Just draw five of those basic construction heads. Don’t even worry about features. Just get the sphere, the sliced sides, and the guidelines right from a few different angles. This is the single most important exercise you can do right now. Grab a pencil and some paper—it’s time to build your foundation.
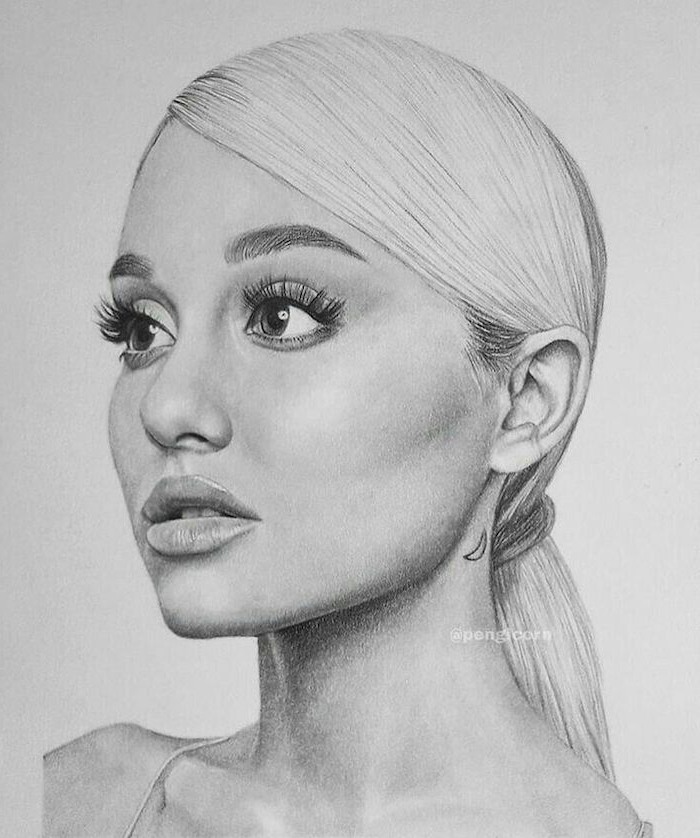
Inspiration Gallery
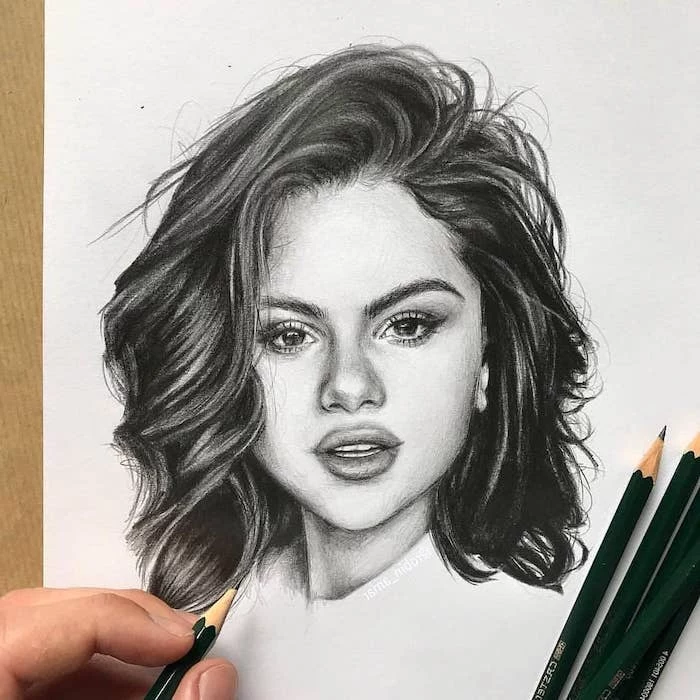
The right tool for the job: Don’t just grab any pencil. For the initial construction lines discussed in the article, a hard lead like a 2H is perfect—it leaves a light mark that’s easy to erase. For building up shadows and dark accents later on, switch to softer leads like a 2B or even a 6B. A brand like Faber-Castell’s 9000 series offers a fantastic range and consistent quality.
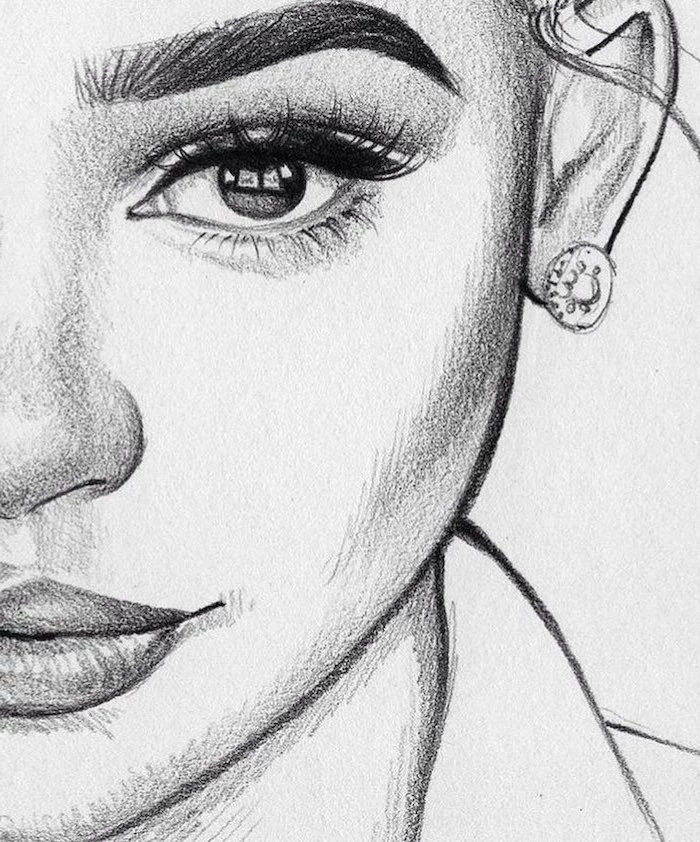

- Draw the eye as a sphere set into the socket first, then lay the eyelids over it.
- Remember that the top eyelid typically covers the upper part of the iris.
- Add a tiny, sharp highlight (the specular highlight) to instantly give the eye a wet, reflective quality.
The secret to lively eyes? Thinking in 3D, not 2D symbols.
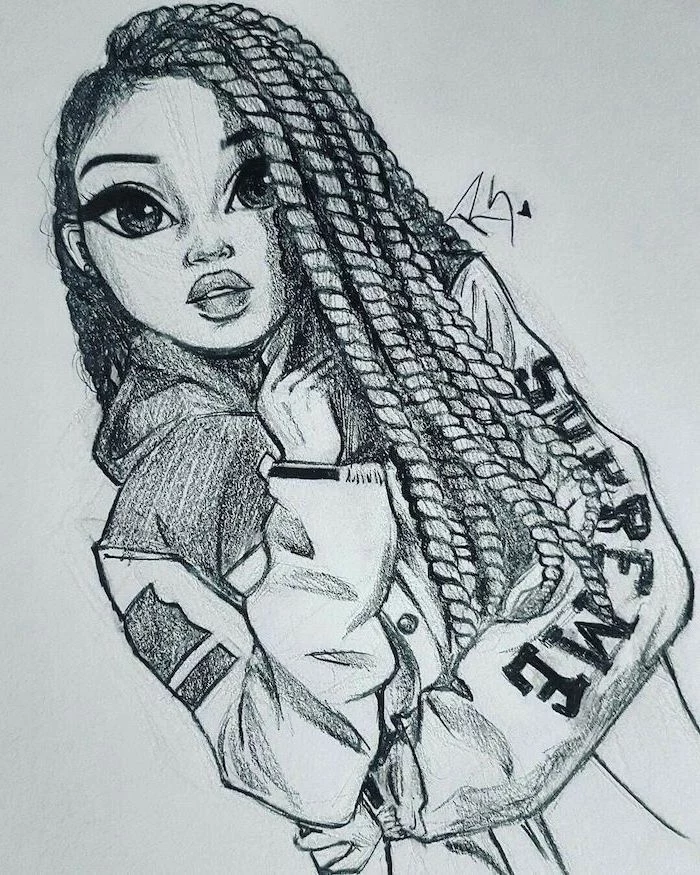
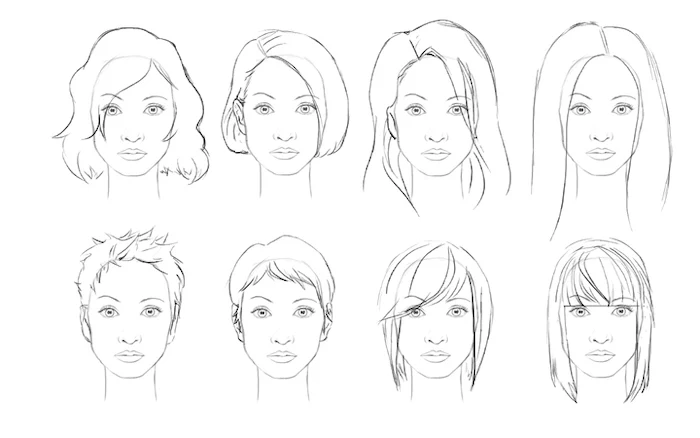
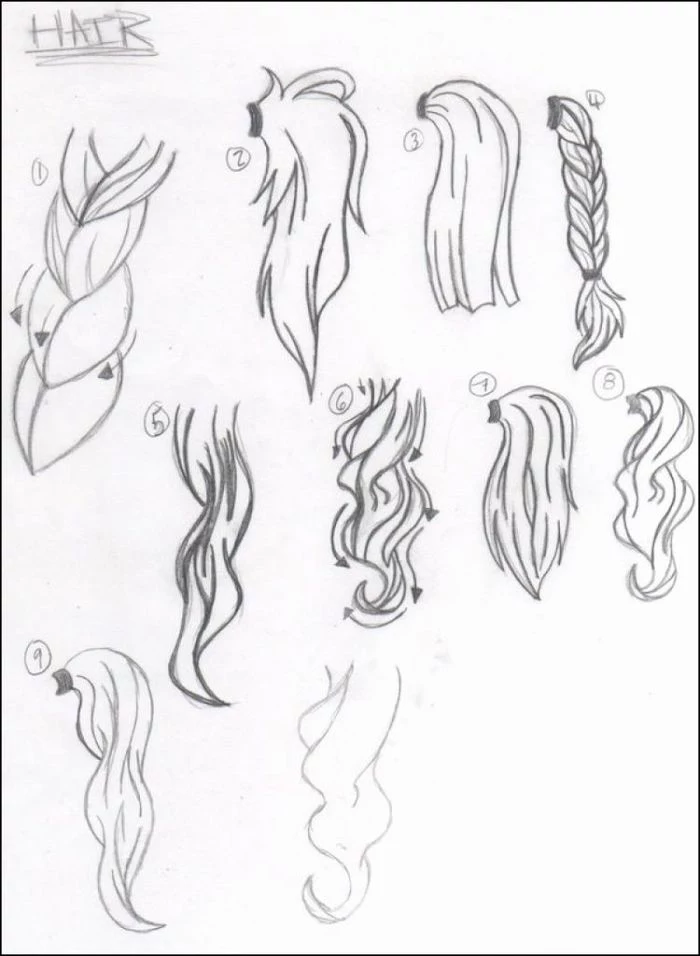
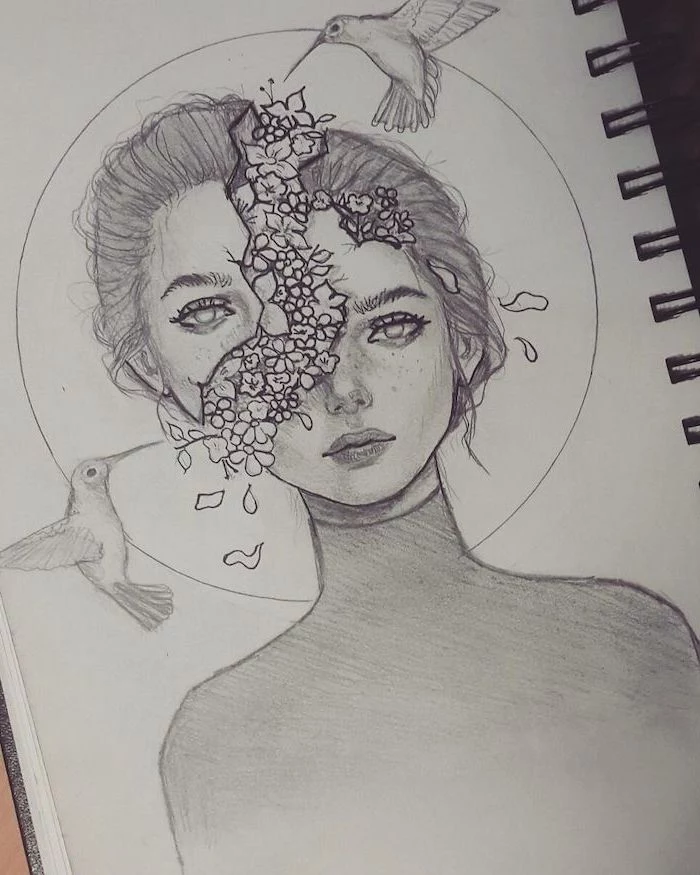
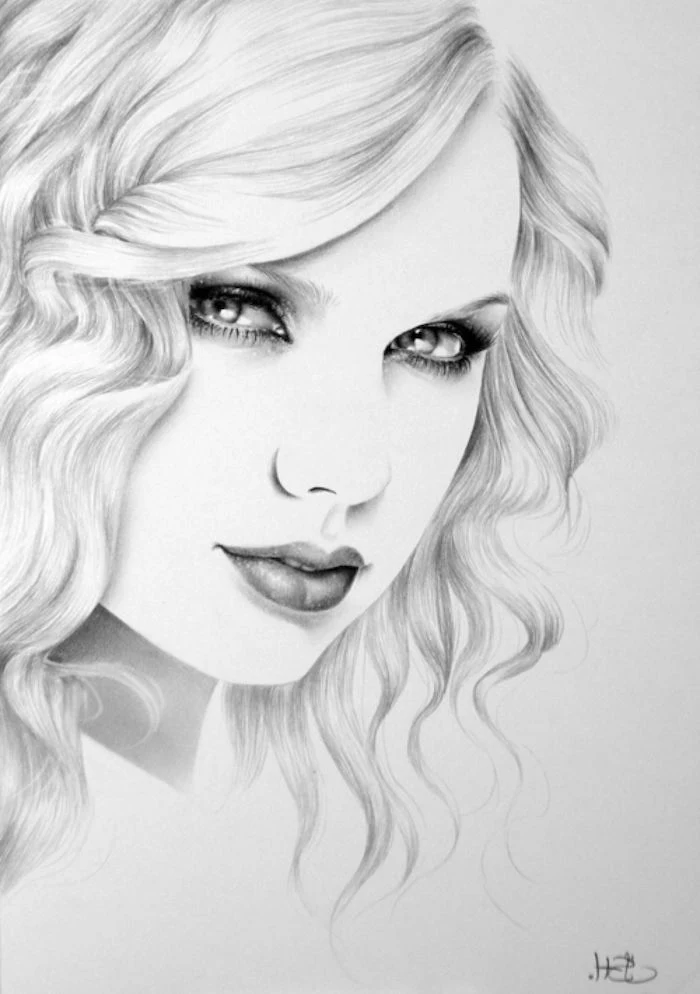
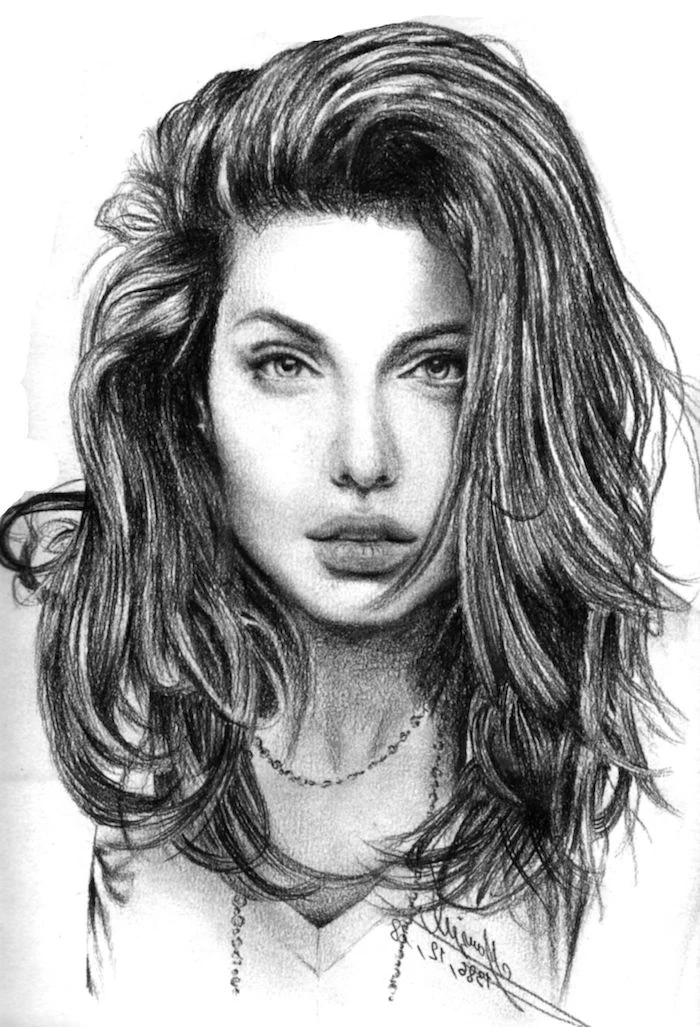
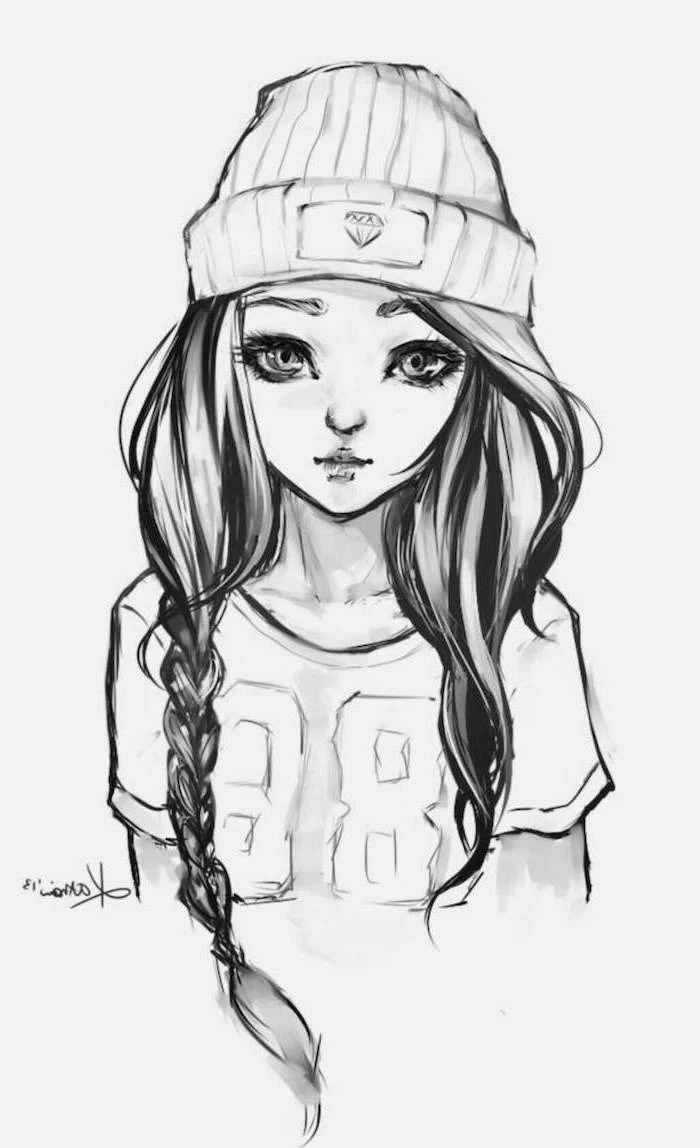
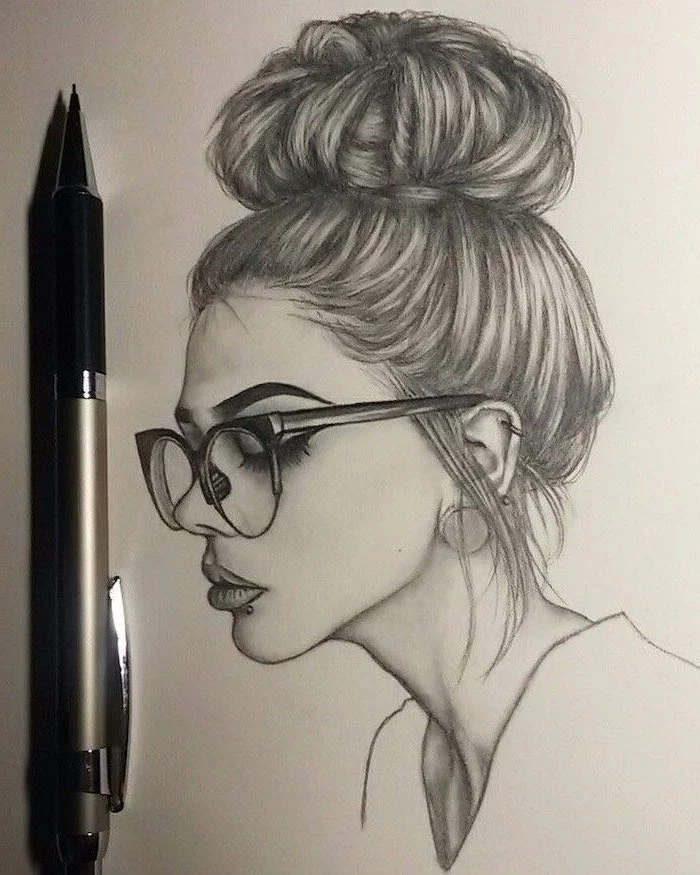
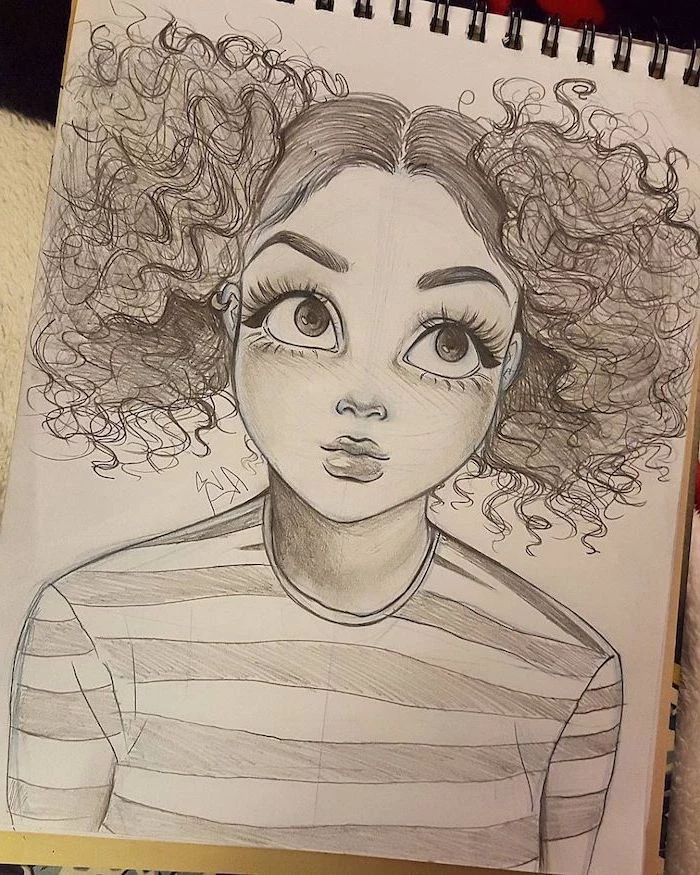
How do I make hair look realistic and not like a solid helmet?
Think of hair in large, ribbon-like clumps or sections, not as individual strands. Focus on the overall flow and shape these clumps create. Identify where the light hits to create highlights and where the hair recedes into shadow. You only need to suggest a few individual strands at the hairline and where the sections separate to sell the illusion.


Paper makes a difference. For crisp, clean lines and smooth blending, a hot-press paper like Strathmore 400 Series Bristol Smooth is a studio favorite. If you prefer a more textural, expressive style and work with charcoal or soft graphite, a cold-press paper with more
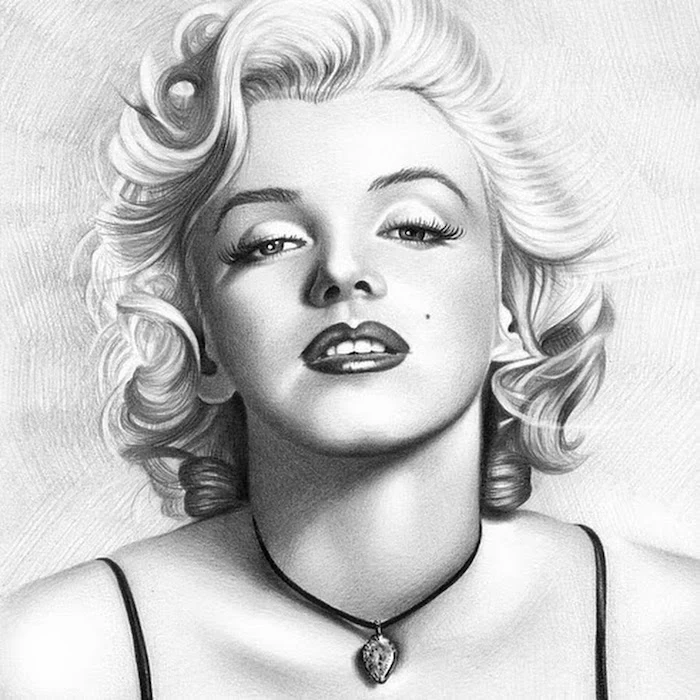
Struggling with the mouth? Stop thinking of it as a single line. The lips are actually made of several soft, rounded forms. A great way to visualize this is the ‘three-over-two’ method:
- The top lip is composed of three soft ‘pillows’ of flesh – one in the center (the tubercle) and one on each side.
- The bottom lip is simpler, made of two larger, softer pillows.
Shading these individual forms, rather than just the outline, is what creates a full, realistic mouth.

A common pitfall: The floating feature. This happens when you draw the eyes, nose, and mouth perfectly but they don’t look connected to the head. The construction method in this article helps, but also pay close attention to the subtle planes and shadows that connect everything, like the nasolabial fold (the line from the nose to the corner of the mouth) and the fleshy pads under the eyebrows.
Studies show that it takes about 50 milliseconds for our brains to recognize a face.
This incredible speed means viewers instantly know when something is ‘off’ in a portrait, even if they can’t say why. It’s why nailing those foundational proportions of the skull and the placement of features is so critical. You’re working to satisfy a deeply ingrained, lightning-fast recognition process in the viewer’s brain.
Ready to move from lines to tones? Shading is what gives your drawing weight and dimension. It turns a flat circle into a sphere. Get comfortable with these basic techniques:
- Hatching: A series of parallel lines. The closer the lines, the darker the value.
- Cross-Hatching: Layers of hatching applied in different directions. Excellent for building up deep shadows.
- Blending: Using a blending stump or tortillon to smooth graphite for soft gradients. Use it sparingly to avoid a muddy look.

- It makes your portraits feel more dynamic and alive.
- It allows you to convey specific emotions, from subtle joy to deep anger.
- It transforms a static drawing into a moment of storytelling.
The key? Stop drawing ‘expressions’ and start drawing facial muscles. Learn the basics, like how the Zygomaticus Major pulls the corners of the mouth up for a smile, or how the Corrugator Supercilii furrows the brow in concentration.
Drawing digitally? You can still apply these classical principles. For a natural sketching feel in Procreate, try the ‘6B Pencil’ or ‘Peppermint’ brush. In Photoshop, Kyle T. Webster’s ‘Ultimate Pencil’ from the default brush set is fantastic. The key is to use a pressure-sensitive stylus and build your drawing in layers, starting with a light-colored ‘underdrawing’ layer for your construction lines.
Kneaded Eraser: This is your best friend for lifting out highlights from shaded areas. Instead of rubbing, you press and lift the graphite off the page. It’s gentle on the paper and can be shaped to a fine point.
Tombow Mono Zero Eraser: This is a precision tool. It’s a tiny, pen-style eraser perfect for cleaning up edges, erasing tiny mistakes in tight spots, or even ‘drawing’ fine white hairs into a block of tone.
Having both gives you total control over your values.

Before you even touch your main drawing, spend five minutes warming up your hand and eye. This isn’t about creating a masterpiece, it’s about building muscle memory.
- Draw a full page of circles, then a full page of straight lines, without a ruler.
- Practice ‘gesture drawing’ with 30-second sketches of people from online reference sites like Line of Action.
- Fill a small square with a smooth gradient from black to white.
A powerful exercise: The Asaro Head. Search online for this model—it’s a simplified head broken down into its basic planes. Drawing it from different angles is one of the best ways to understand how light and shadow behave on the complex forms of the face. It’s a challenging but incredibly rewarding study that will level up your shading game overnight.
Hands are notoriously difficult, but you can simplify them. Start by drawing the palm as a simple, slightly trapezoidal block. Then, attach the fingers as three-section cylinders and the thumb as a two-section cylinder on its own fleshy mound. Focus on getting these basic forms and their proportions right before you even think about knuckles and nails.
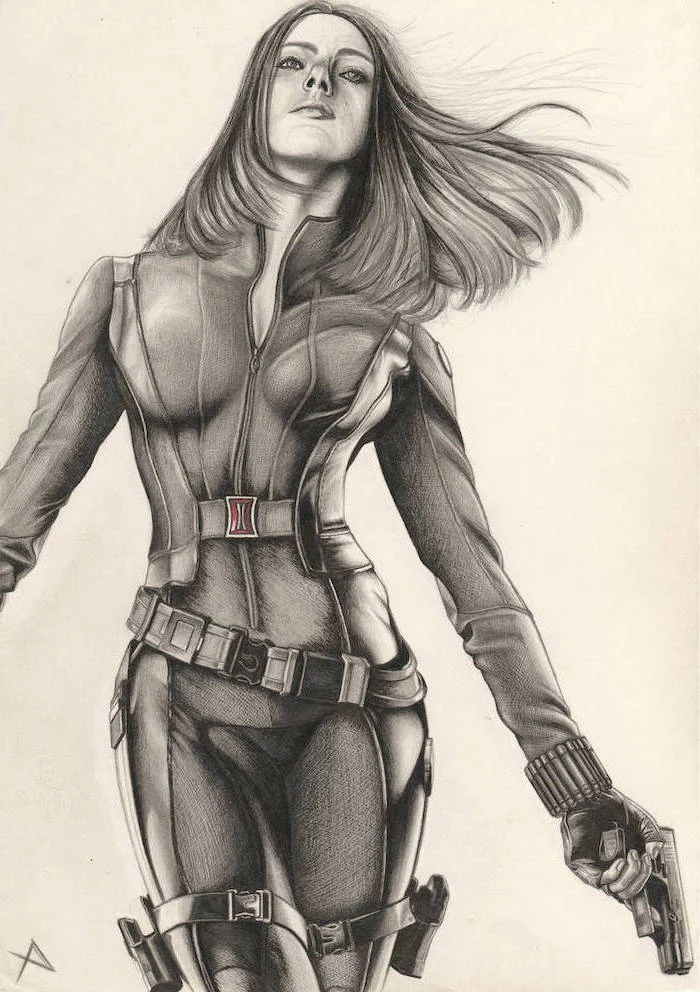
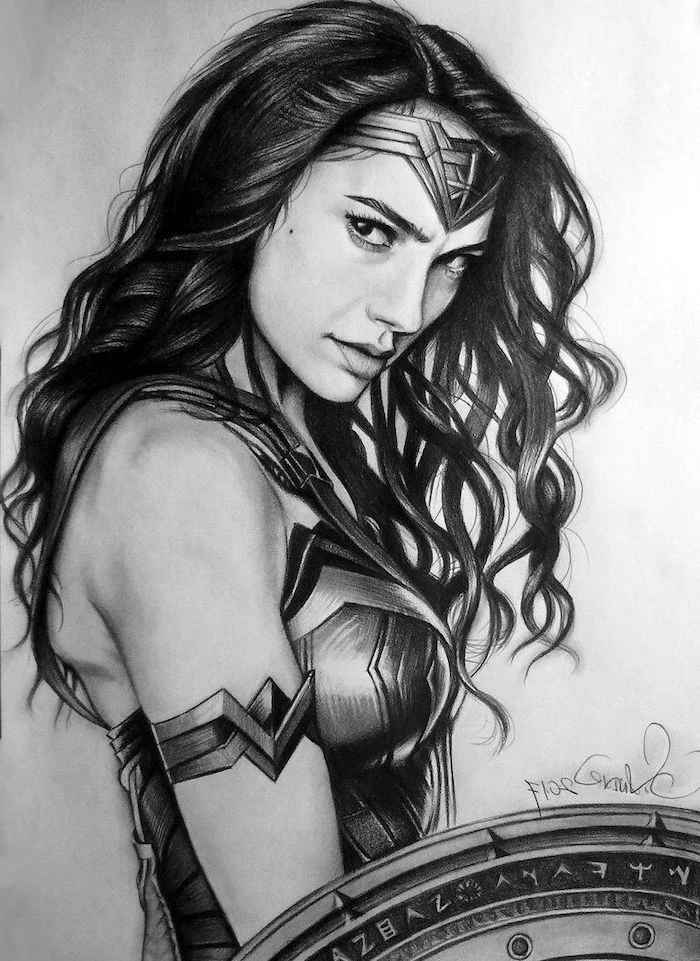
My drawing is technically correct, but feels stiff and lifeless. What’s wrong?
You might be focusing too much on static, straight-on poses. To add life, look for the ‘contrapposto’ pose, even in a portrait. This is the natural S-curve the body makes when weight is shifted to one leg. Notice the tilt of the shoulders versus the tilt of the hips. Introducing this subtle asymmetry makes a figure feel relaxed and natural rather than rigid.
- It creates instant color harmony in your portraits.
- It simplifies mixing skin tones, preventing muddy colors.
- It forces you to focus on value (light and dark) rather than just color.
The secret is the Zorn Palette, famously used by painter Anders Zorn. All you need are four colors: Ivory Black, Yellow Ochre, Cadmium Red, and Titanium White. It’s incredible the range of realistic skin tones you can achieve with just these four tubes of paint.


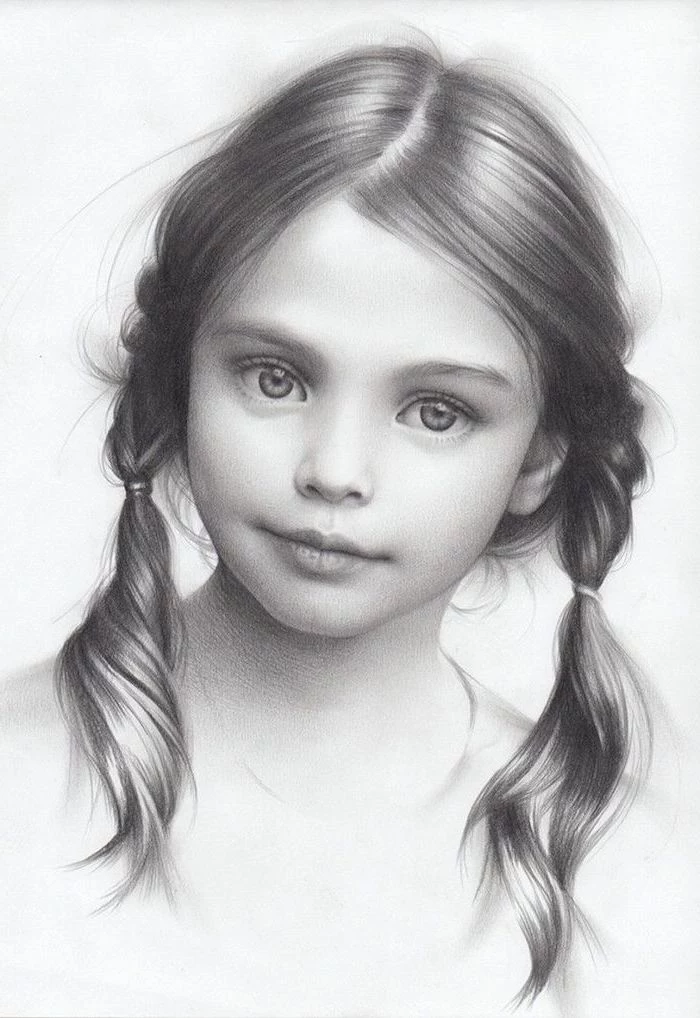
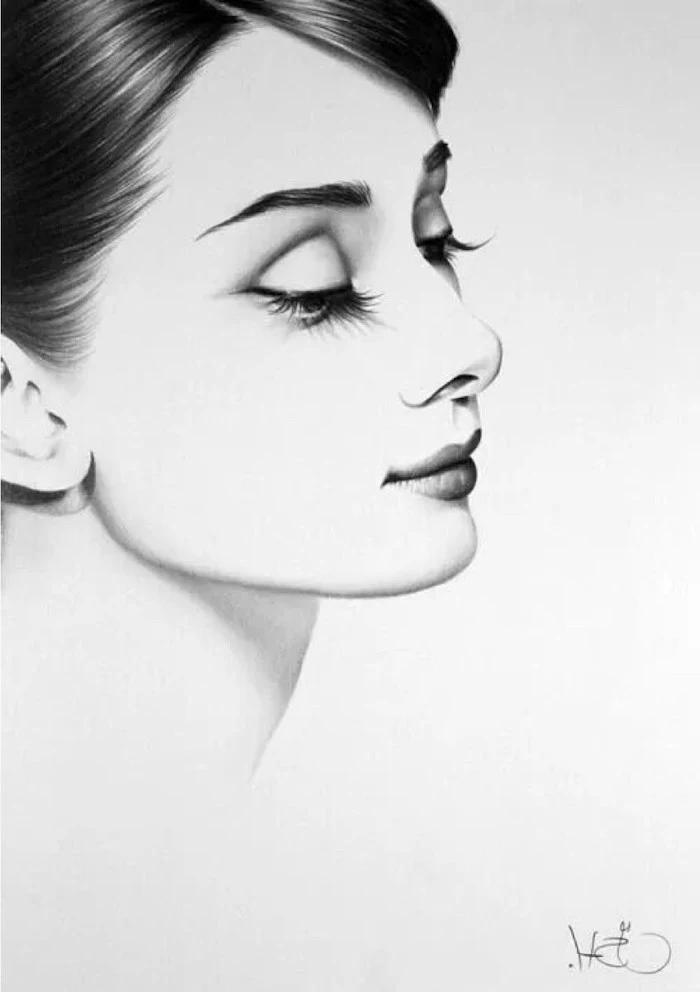
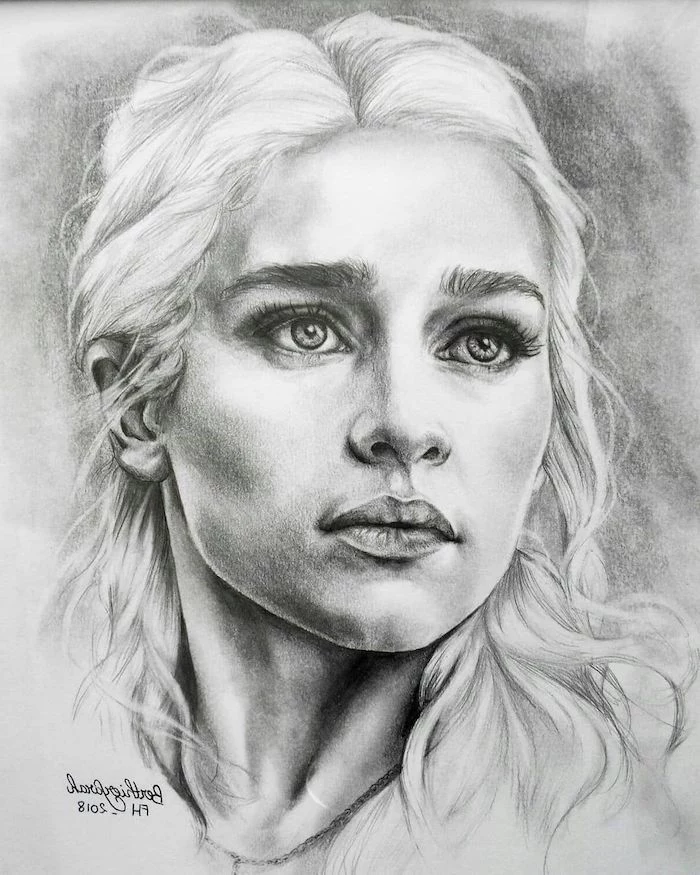
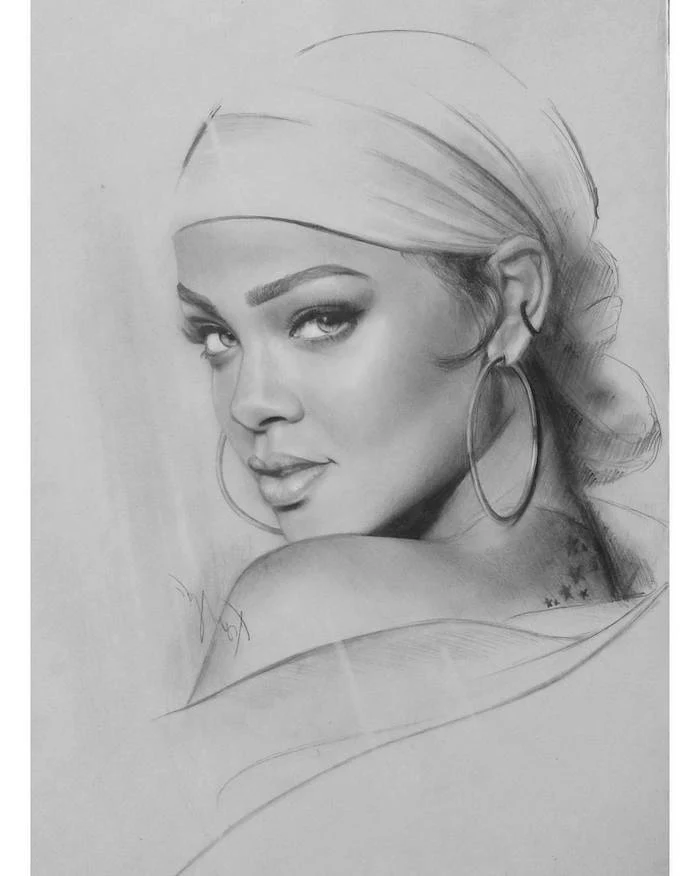
The secret to getting a likeness: It’s less about individual features and more about the unique relationships between them. Pay close attention to the negative space—the shape of the space between the eye and the eyebrow, or between the nose and the upper lip. These unique shapes and distances are often the key to capturing someone’s specific appearance.
To truly understand 3D form, look at sculpture. Study the work of masters like Bernini or Rodin. Pay attention to how they simplified complex anatomy into powerful forms and how light rakes across the marble or bronze surfaces to create dramatic shadows. This will train your eye to see the planes and volumes you’re trying to render on a flat piece of paper.

Heavy vs. Light: Your lines should not all be the same thickness. Use heavier, darker lines for areas in shadow or for objects that are closer to the viewer. Use thin, light lines for areas in bright light or to suggest distance. This simple technique, called line weight, adds incredible depth and focus to your work with minimal effort.
Graphite: Versatile and precise. Ideal for detailed, realistic work. It offers a huge range of hardness (from 9H to 9B) and can be easily erased and blended. It’s the perfect starting point.
Charcoal: Bold and expressive. Creates deep, rich blacks that graphite can’t match. It’s messier and harder to control, but perfect for dramatic, large-scale drawings with high contrast. Vine charcoal is soft and erasable; compressed charcoal is dark and permanent.
Start with graphite to master form, then experiment with charcoal for dramatic effect.


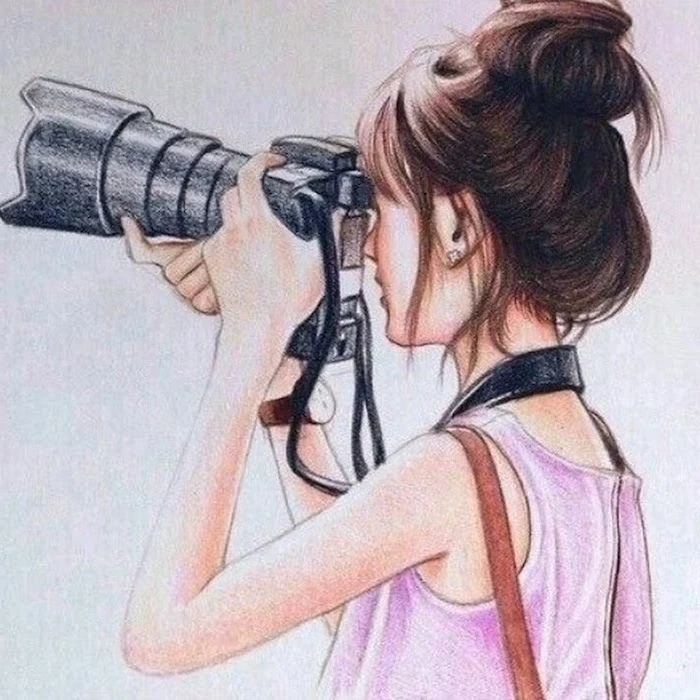
Don’t just draw from photos. Go to a café or park with a small sketchbook, like a Moleskine, and a simple pen. The goal isn’t a finished piece, but to capture the essence of a pose in 1-2 minutes. This forces you to simplify and focus on the most important lines of action and gesture. It’s one of the fastest ways to improve your ability to draw fluid, dynamic people.
Feeling stuck? It’s tempting to erase a drawing you hate, but don’t! Keep a dedicated ‘progress’ sketchbook. Date every entry. When you feel like you’re not getting anywhere, flip back to a drawing from six months or a year ago. The visible improvement will be a huge motivator and a concrete reminder that your practice is paying off.


