The Ultimate Guide to Drawing Crowns That Actually Look Real
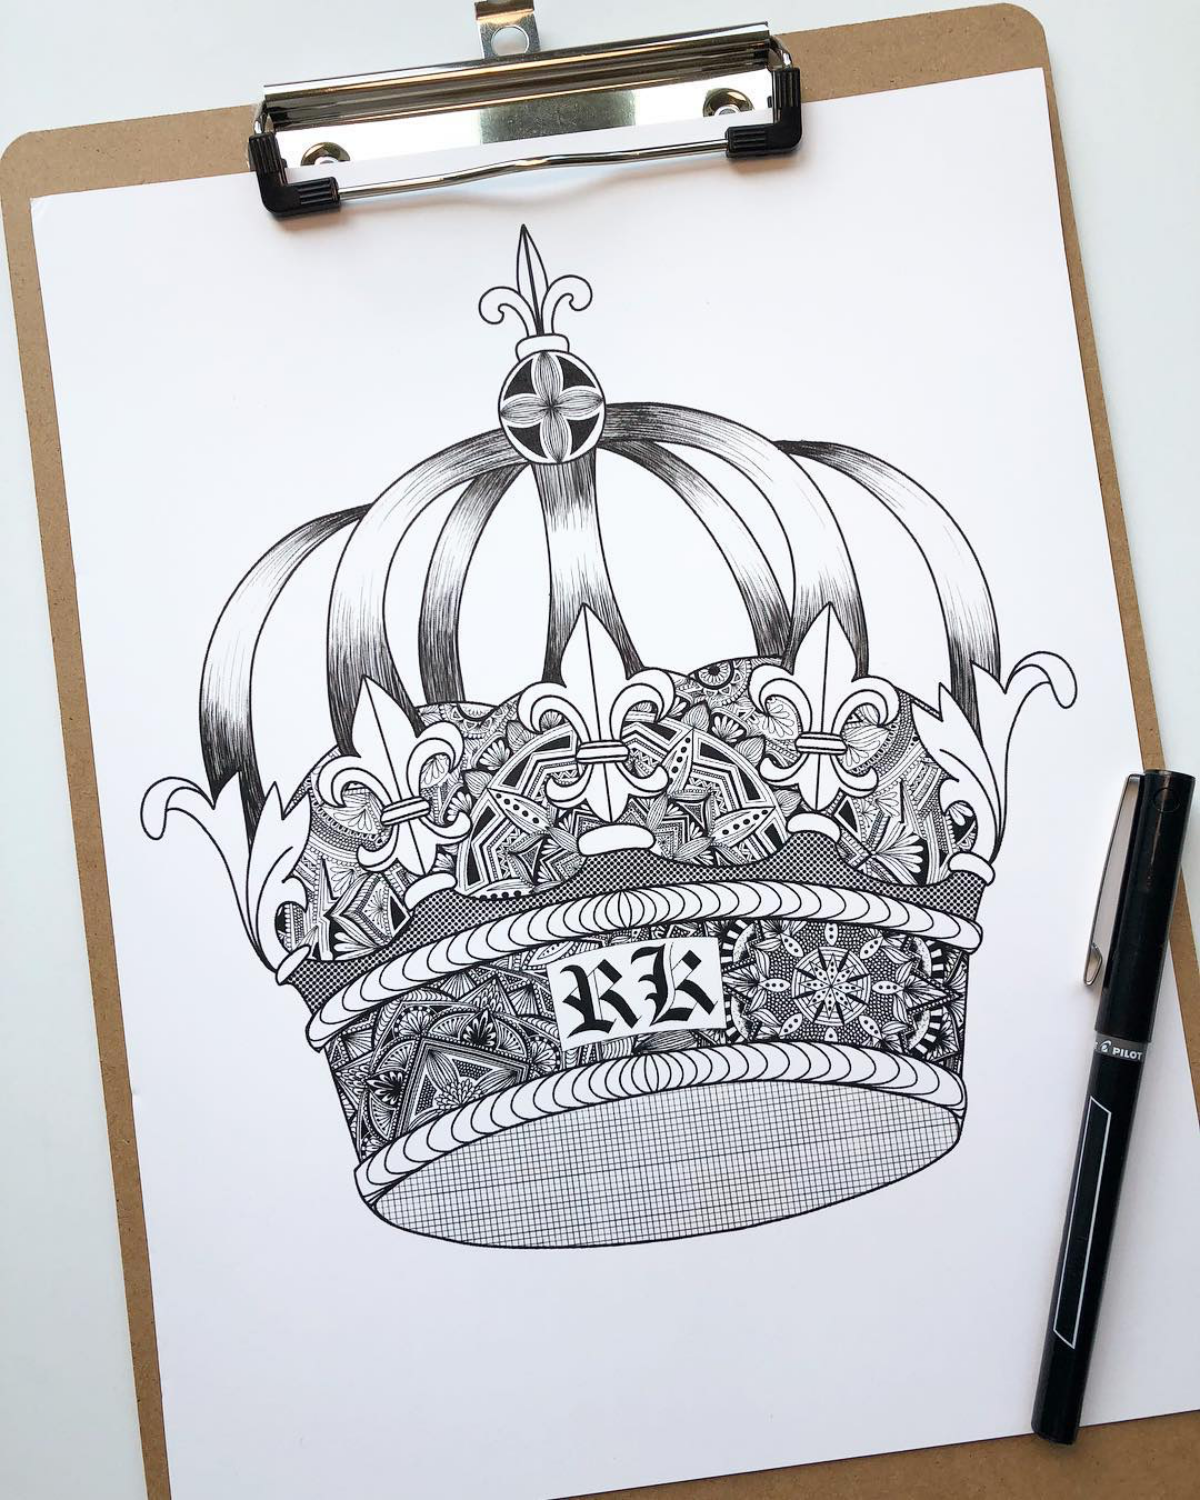
You know, in all my years as an illustrator, I’ve drawn my fair share of fantasy and historical gear. Swords, castles, ancient ships… you name it. But honestly, nothing captures the imagination quite like a crown. I’ve sketched them for book covers, game concepts, and all sorts of projects. When I was just starting out, I figured a crown was just a pointy gold hat. I learned fast that a convincing crown is all about understanding its structure, the symbolism behind it, and how to capture its sheer presence. It’s a masterclass in perspective, texture, and light.
In this article
- First Things First: Know Your Crown’s Anatomy
- The Artist’s Toolkit: Getting Your Gear Ready
- Let’s Draw: Building a Crown From the Ground Up
- Beyond the Basics: A Peek at Different Styles
- Now It’s Your Turn: Designing Your Own Crowns
- Galerie d’inspiration
So many artists get tripped up here. Their crowns end up looking flat or flimsy, kind of like a paper party hat from a kid’s birthday. The issue usually isn’t skill—it’s understanding. A real crown is a piece of artful engineering. It’s got weight, it’s balanced, and it was built to be worn (or at least to look like it could be). Getting a feel for its construction is the secret sauce to drawing one well.

This isn’t about just copying a photo. It’s about knowing why a crown looks the way it does. So, let’s break down everything I’ve learned. We’ll get into the anatomy of a crown, the best tools for the job, and how to render one with believable detail.
First Things First: Know Your Crown’s Anatomy
Before a single line hits the paper, you need to know what you’re actually drawing. A crown isn’t one solid piece; it’s an assembly of specific parts that work together. Knowing what they are helps you build a structure that makes sense. It’s like an architect needing to know about beams and arches before designing a building. This is always the first lesson I share with aspiring artists.
The Core Components
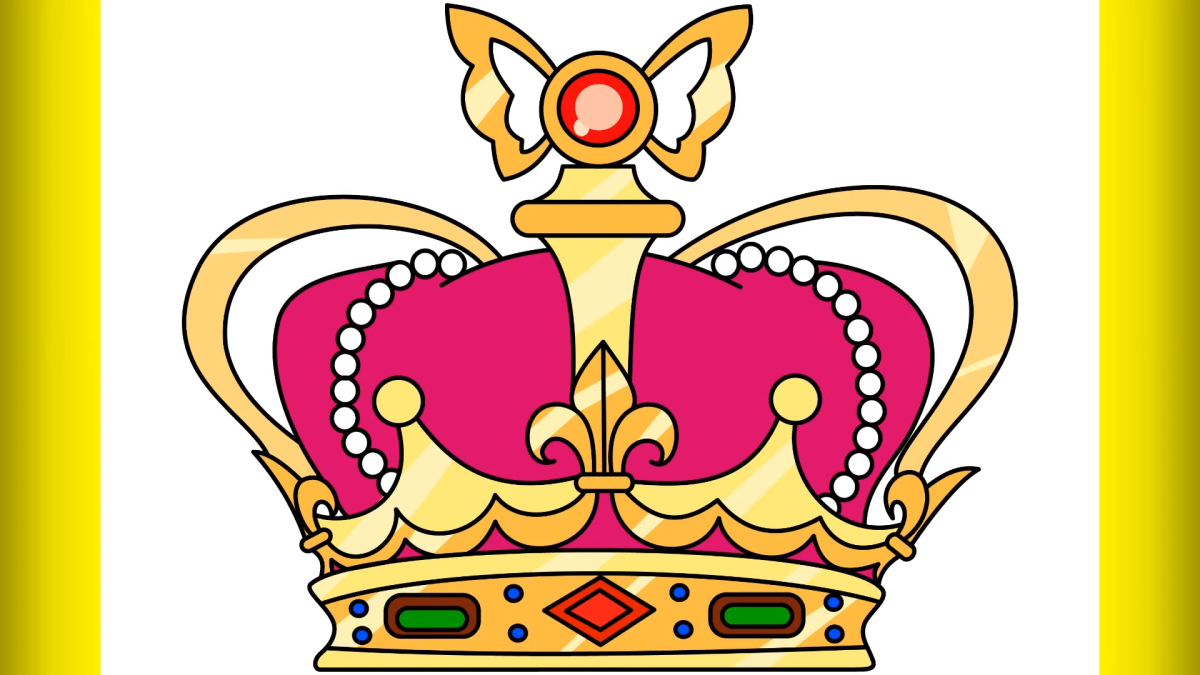
Most traditional crowns you see are built from a similar blueprint. Each part has a job to do.
- The Circlet: This is the big one—the foundational ring that sits on the head. It can be a simple, elegant band or a thick, heavy monster loaded with jewels and intricate metalwork. Its main purpose is to be the solid frame for everything else.
- Arches: These are the metal bands that curve up from the circlet to meet at the very top. Crowns with these are called “closed crowns” and they became the standard for symbolizing complete, sovereign power. An “open crown” is just the circlet without these arches.
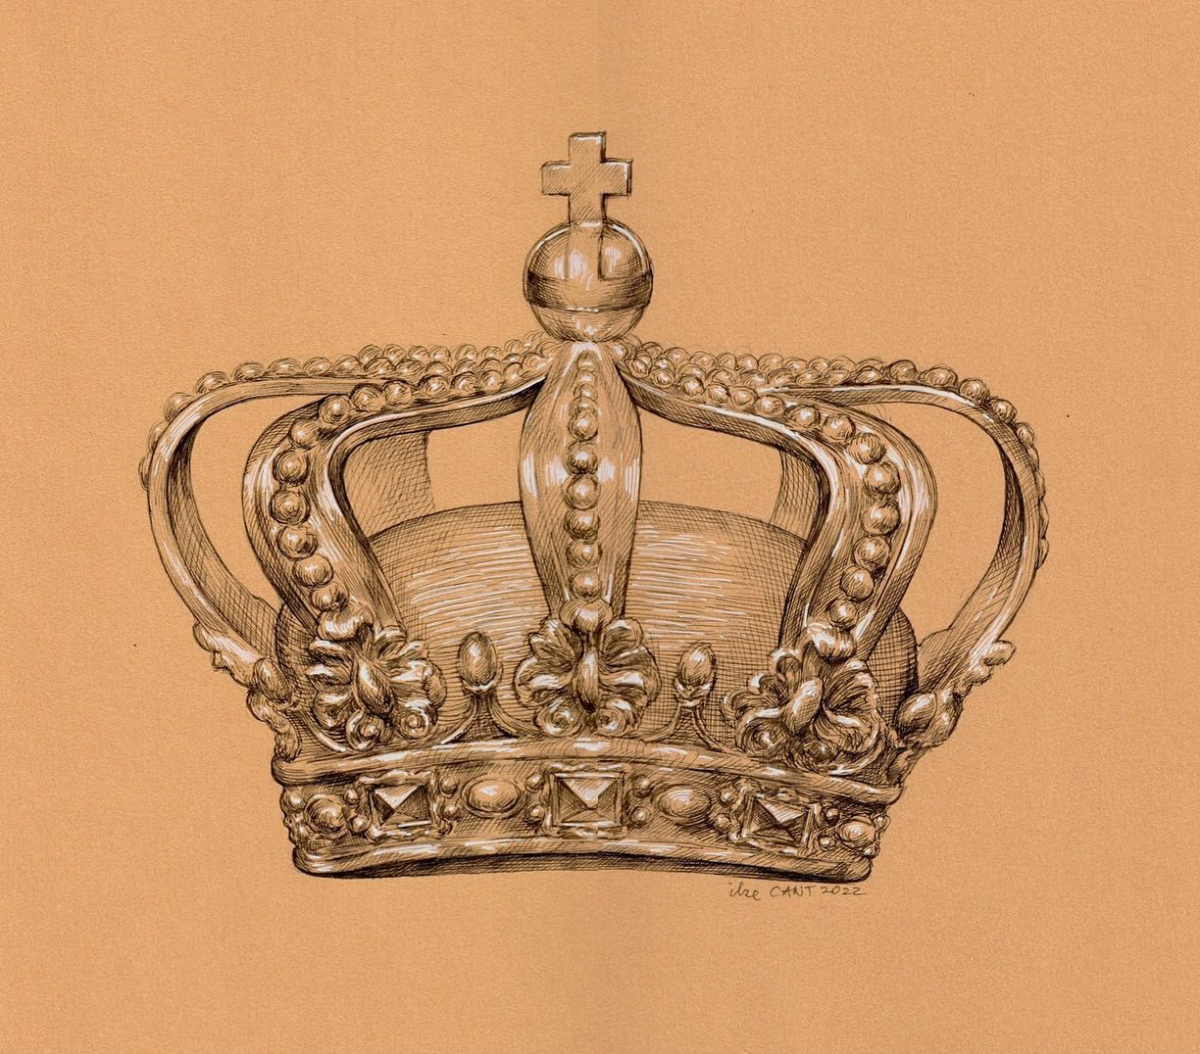
- The Monde: See that sphere sitting right at the top where the arches meet? That’s the monde. It’s a powerful symbol that represents the world or a sphere of influence. From a physics standpoint, all its weight has to be supported by those arches.
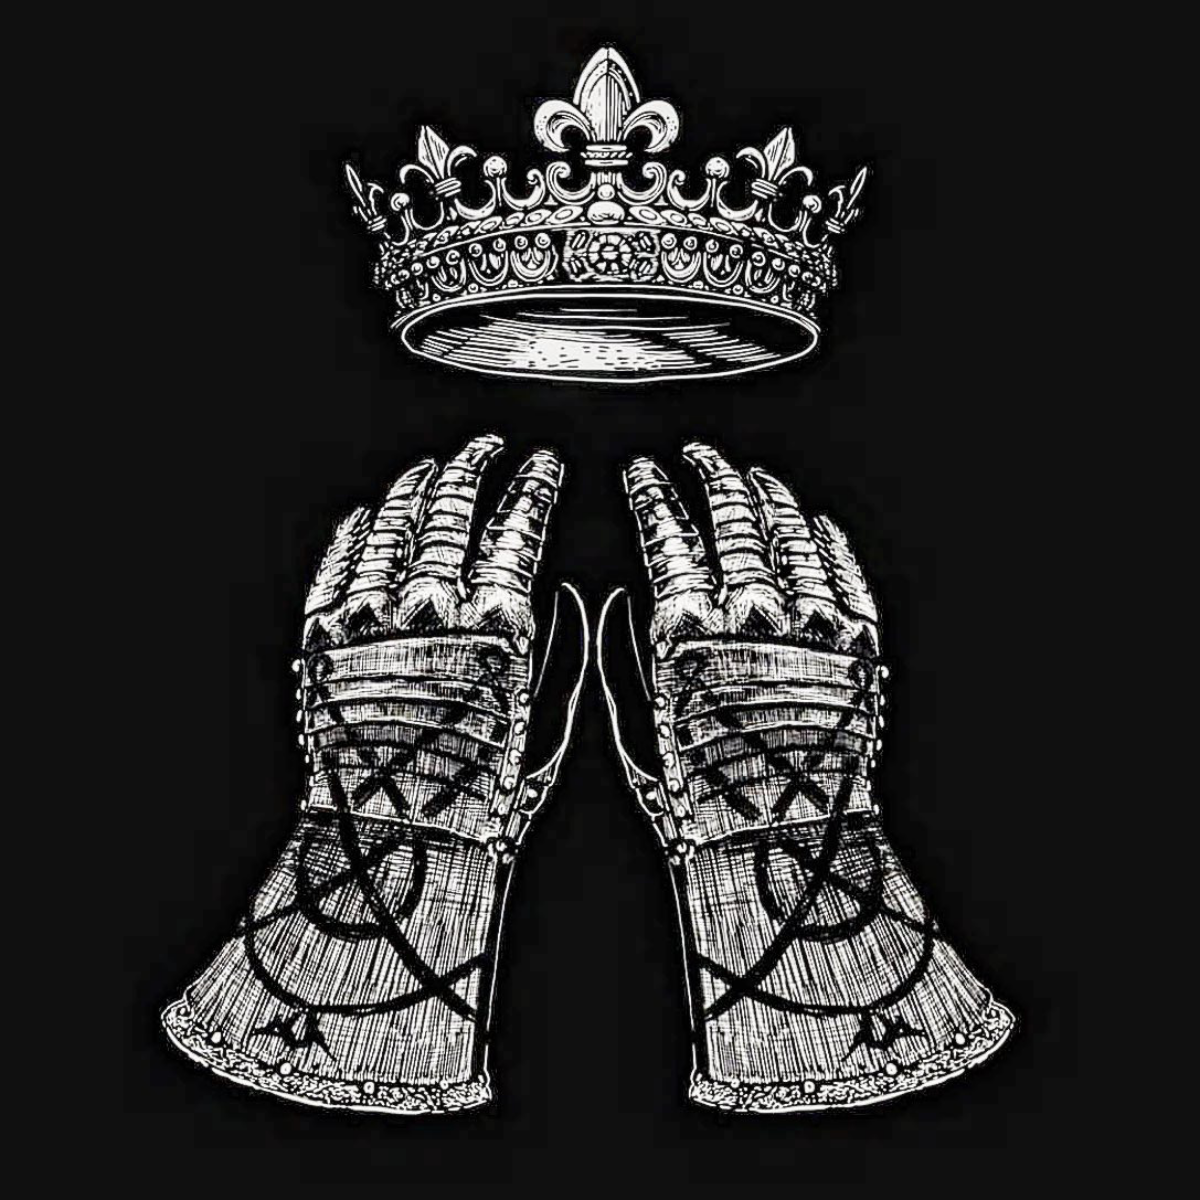
- The Cross or Fleur-de-Lis: These are the classic ornaments that often sit on top of the monde or rise from the circlet itself. The cross with flared arms is a hallmark of traditional British-style regalia, while the stylized lily, or fleur-de-lis, is famously associated with French royalty. They aren’t random decorations; they’re loaded with meaning.
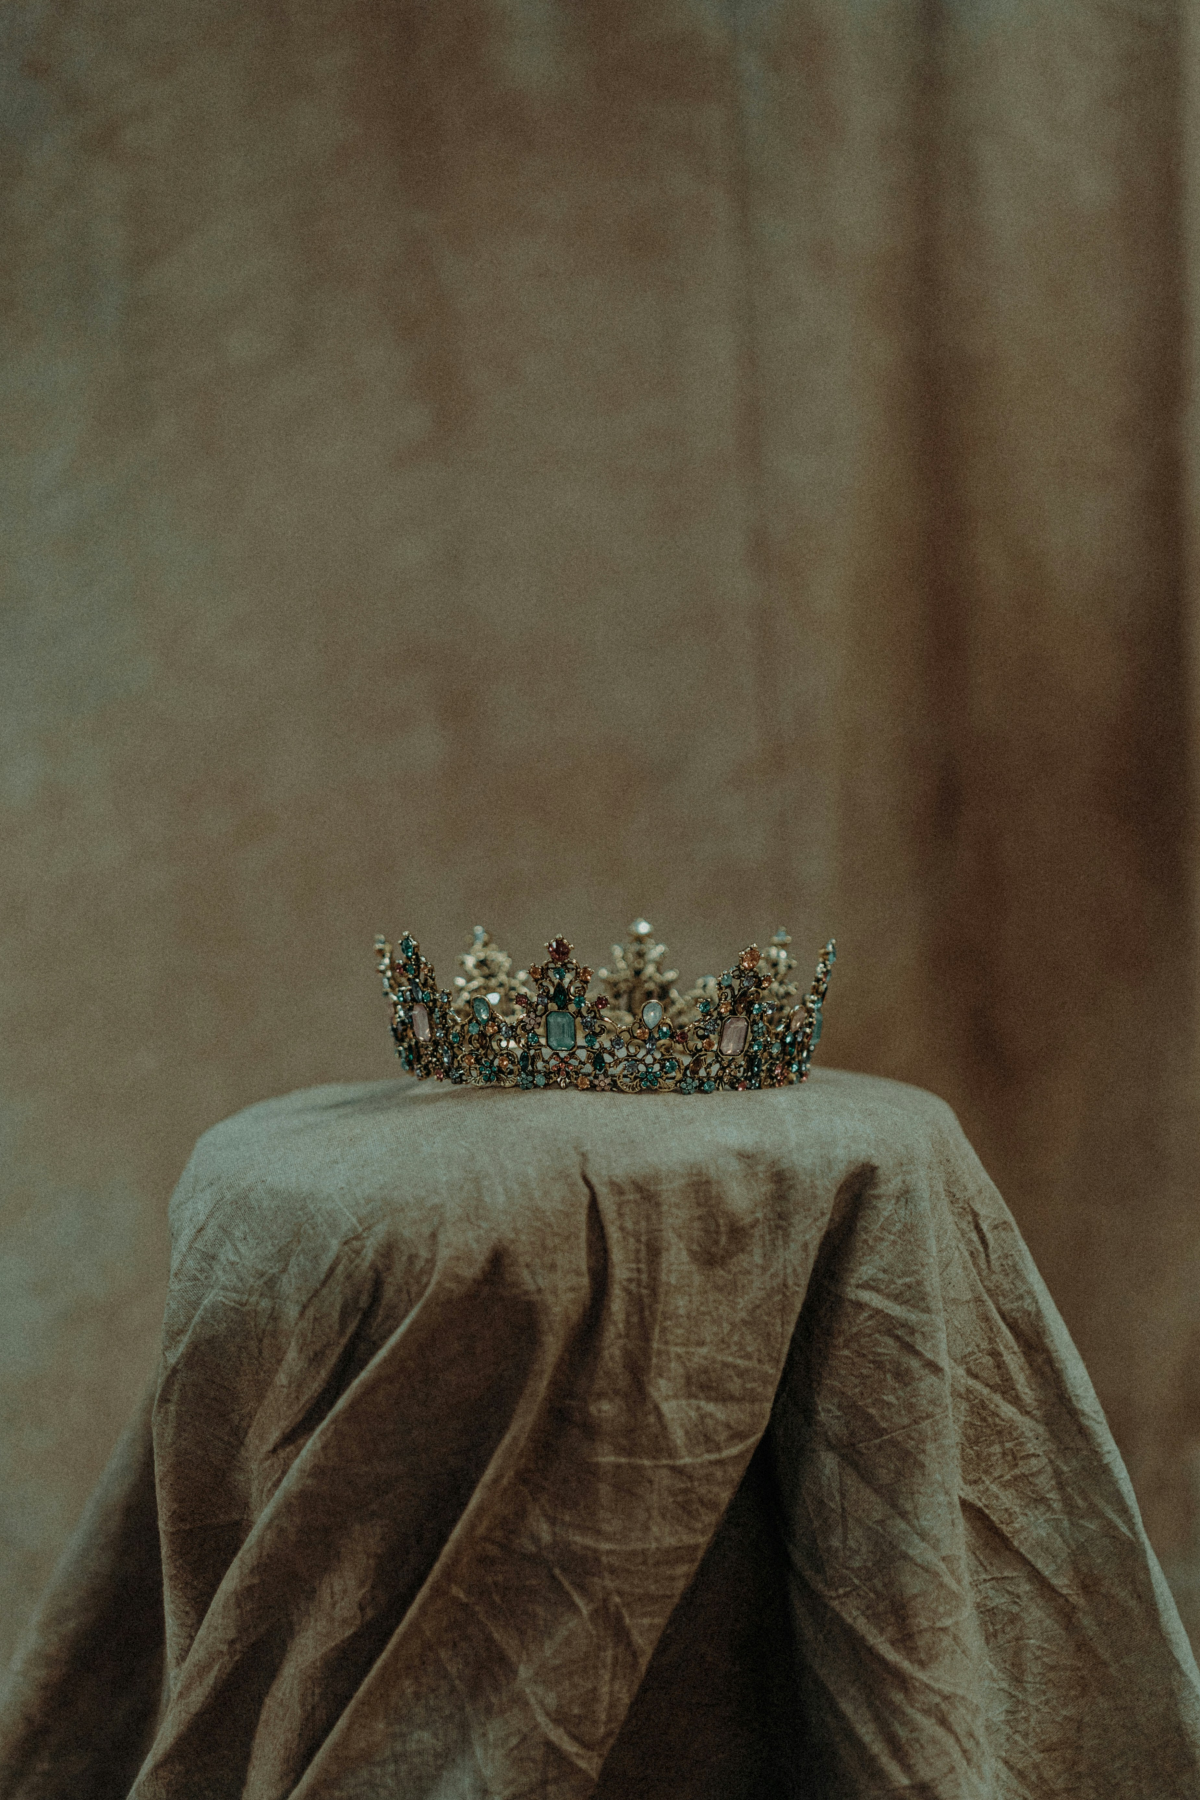
- Cap of Maintenance: This is the plush fabric cap you see tucked inside the frame. It’s usually a rich velvet, often in deep purple or red, and trimmed with a band of ermine fur. It adds comfort for the wearer, but it’s also a major symbol of dignity. Oh yeah, and learning to draw the soft texture of the cap against the hard, shiny metal is a fantastic challenge.
The Physics of a Royal Headache
Let’s be real: crowns are heavy. We’re talking several pounds of metal and gems. This weight has to be distributed perfectly for someone to wear it without toppling over. The circlet needs to be a snug fit, and the arches must be strong enough to hold the monde steady. When you’re drawing, think about this weight. Your lines shouldn’t feel light and floaty. They should have a sense of gravity to them. I once drew a fantasy king whose crown looked like it was about to slide right off his head. A senior artist pointed it out and said, “That king doesn’t look powerful. He looks clumsy.” That was a lesson that stuck with me.
The Artist’s Toolkit: Getting Your Gear Ready
You don’t need a fancy, expensive setup to draw a great crown. But the right tools make a world of difference. I’m a big believer in using a few simple, high-quality items. It’s all about control.
For Traditional Artists: Pencils and Paper
To get those pro-level results, you’ll want a small range of graphite grades. I always have these three on my desk:
- A 2H Pencil: This hard graphite pencil makes a light, crisp line that’s super easy to erase. It’s my go-to for sketching out the basic structure and perspective guides.
- An HB Pencil: This is your trusty mid-grade workhorse. Perfect for refining your initial sketch and laying down the first layers of shading.
- A 2B or 4B Pencil: These soft pencils create those beautiful, dark lines you need for deep shadows and making things pop. Quick tip: they smudge like crazy, so I always keep a clean sheet of paper under my drawing hand to avoid smearing my work.
Good to know: Expect to spend around $15 for a quality set of pencils (like Staedtler or Faber-Castell) and maybe $10-$20 for a pad of smooth Bristol board, which is fantastic for detailed line work. If that’s a bit steep, a heavy, smooth paper from a basic sketchbook will work just fine to start.
For Digital Artists: Brushes are Key
Working on a tablet? The same principles apply, but your tools are brushes. You don’t need a million of them. A few solid choices will do the trick:
- For line work: A standard hard round brush with pressure sensitivity for size is your best friend. It gives you clean, sharp lines for the initial structure.
- For the metal: Stick with that hard round brush. Polished metal has sharp reflections and deep shadows, not soft gradients. A soft brush will just make it look blurry.
- For the velvet cap: Here’s where you switch it up. A soft airbrush or a textured pastel brush is perfect for capturing that light-absorbing, plush quality.
- For the ermine fur: I like to use a chalk or charcoal brush with a bit of texture. It helps create that soft, slightly irregular look of fur instead of a flat white band.
Setting Yourself Up for Success
Okay, before you start, gather your reference photos. Seriously, nobody draws a complex crown from memory. I have a huge digital folder and a few books packed with images of regalia from different angles and in different lighting. Look for high-res photos where you can zoom in on the details. Major museum websites, like those for the Louvre or the Royal Collection Trust, often have incredible online galleries you can browse for free. Pinterest is also a goldmine for creating mood boards.
Let’s Draw: Building a Crown From the Ground Up
Alright, let’s walk through my process for drawing a classic closed crown. The trick is to think like a sculptor. We’re building a 3D form with our lines, not just tracing an outline.
By the way, if you’re a beginner, don’t get overwhelmed! For your first real try, plan for maybe 30 minutes on the basic structure and then another 2-3 hours for the detailed shading and rendering. It takes time.
Quick Confidence Booster: The Coffee Mug Trick
Before we even draw a crown, try this. Grab a coffee mug and set it on your desk. Now, sketch the rim from a few different angles. See how it changes from a perfect circle when you look straight down to a squashed ellipse as you lower your viewpoint? That’s the single most important concept for drawing a crown base. Nail this, and you’re halfway there.
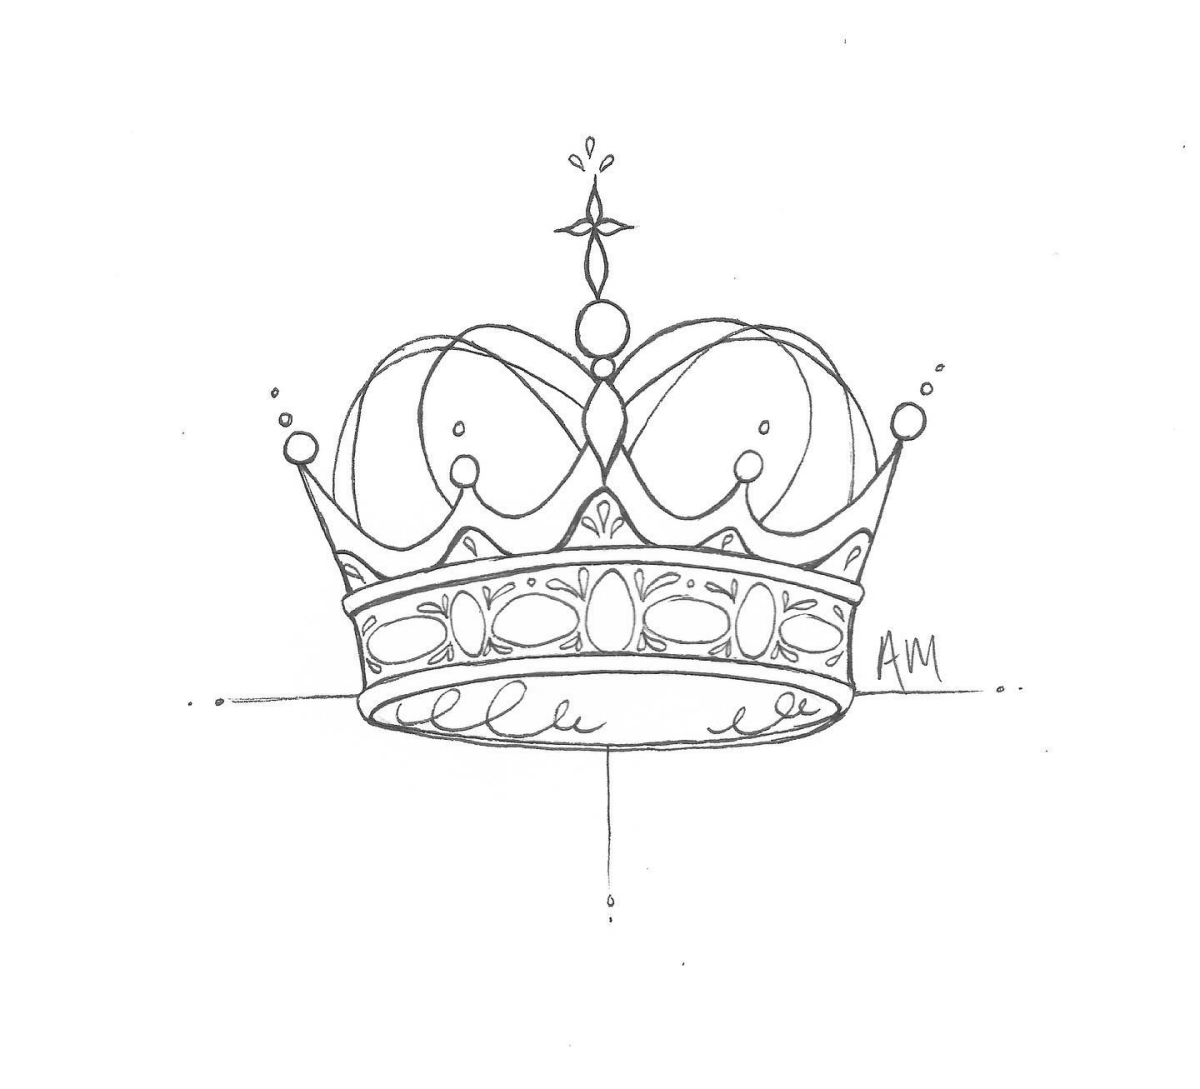
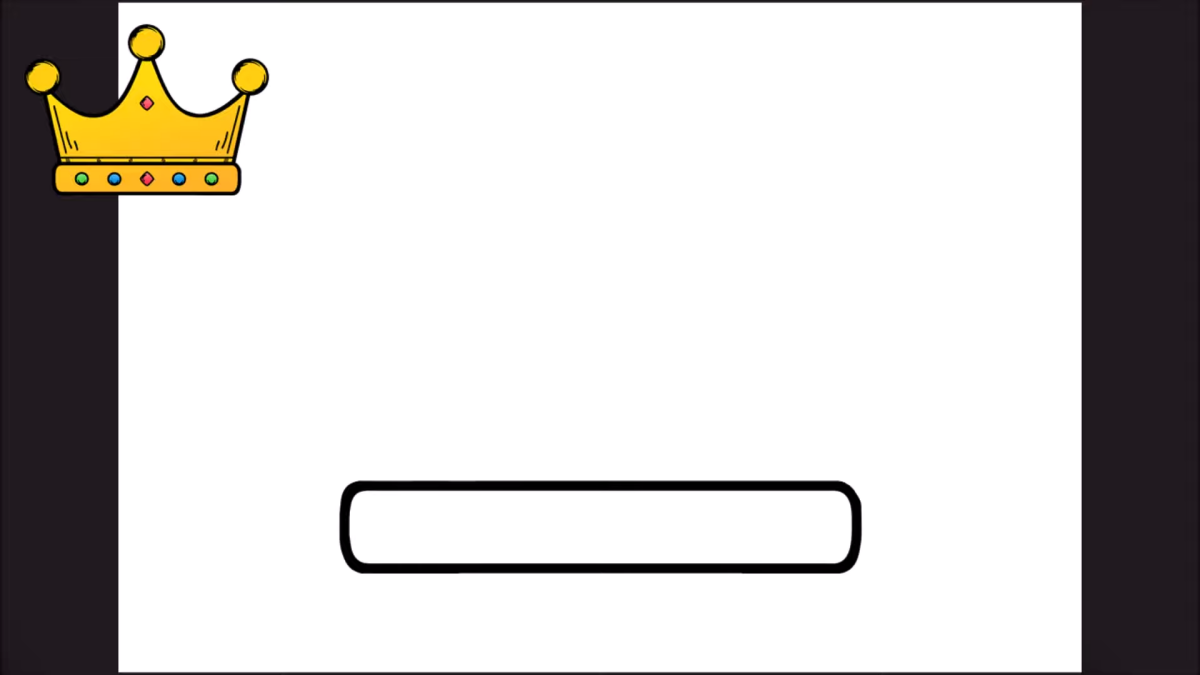
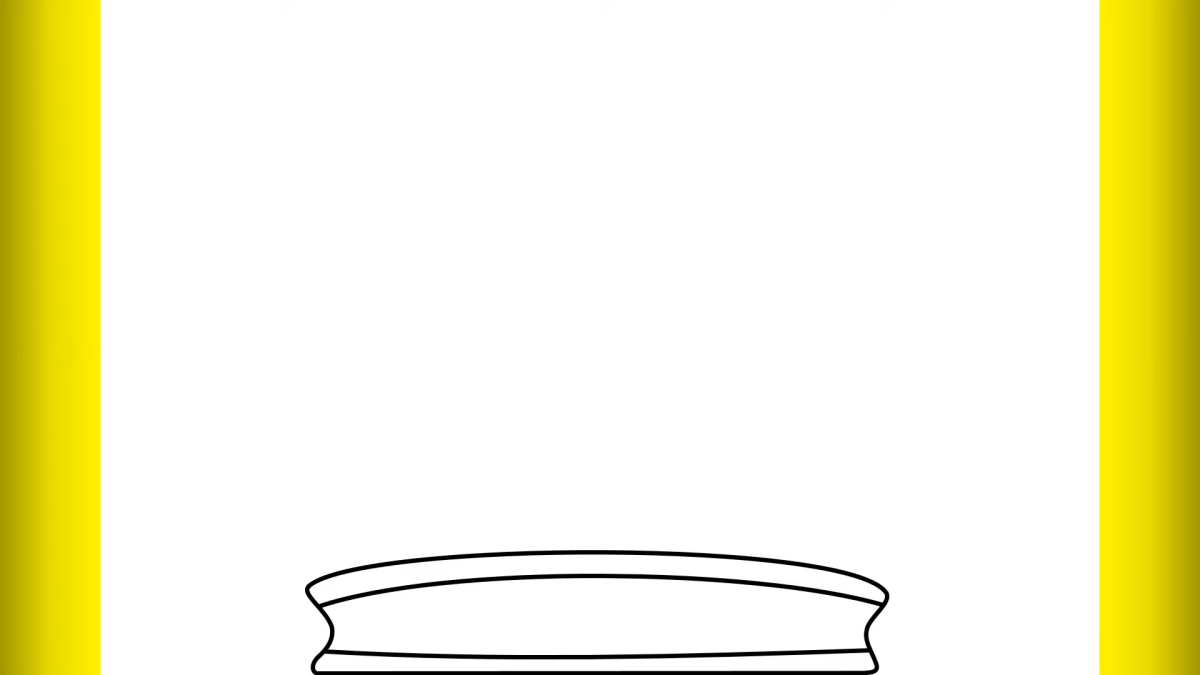
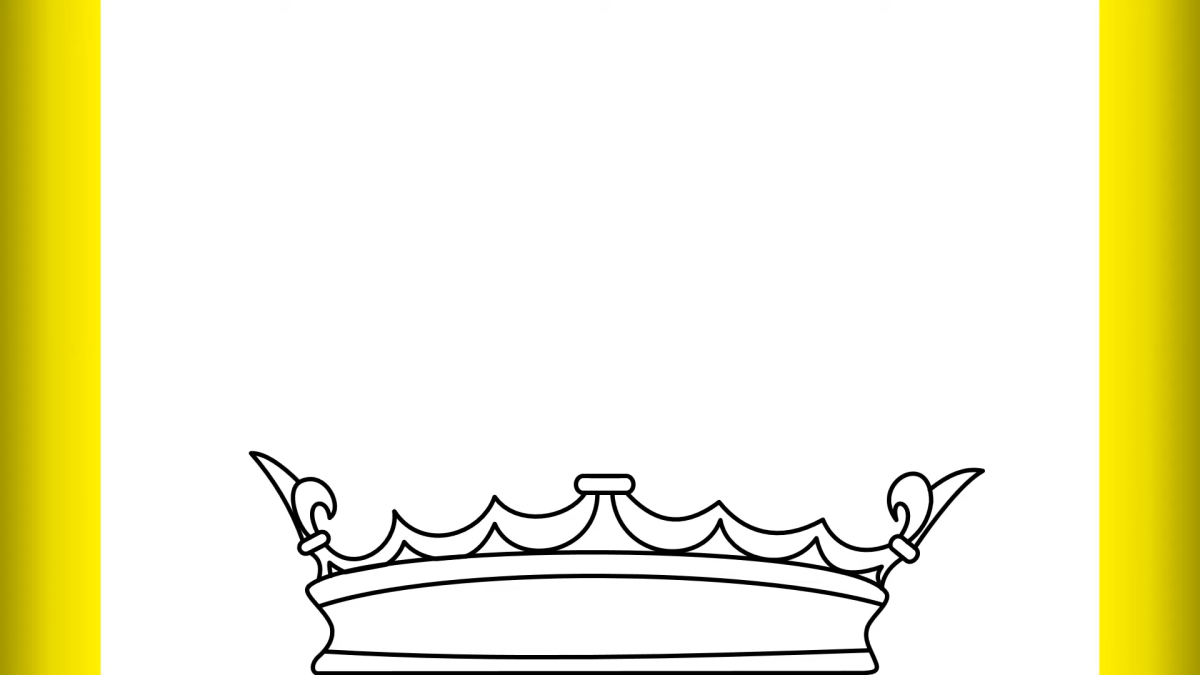
Step 1: The Foundation is an Ellipse (Not a Line!)
The number one mistake I see is starting with a flat, horizontal line for the base. This instantly makes your crown look like a cheap cutout. Remember the coffee mug? A crown sits on a round head, so its base will always look like an ellipse unless you’re viewing it from a perfectly level angle.
With your light 2H pencil, sketch an ellipse. This is the bottom edge of the circlet. Now draw another, slightly larger ellipse just above it, making sure it follows the same curve. Connect the ends of these two ellipses. Boom—you have a 3D band, the circlet, in proper perspective.
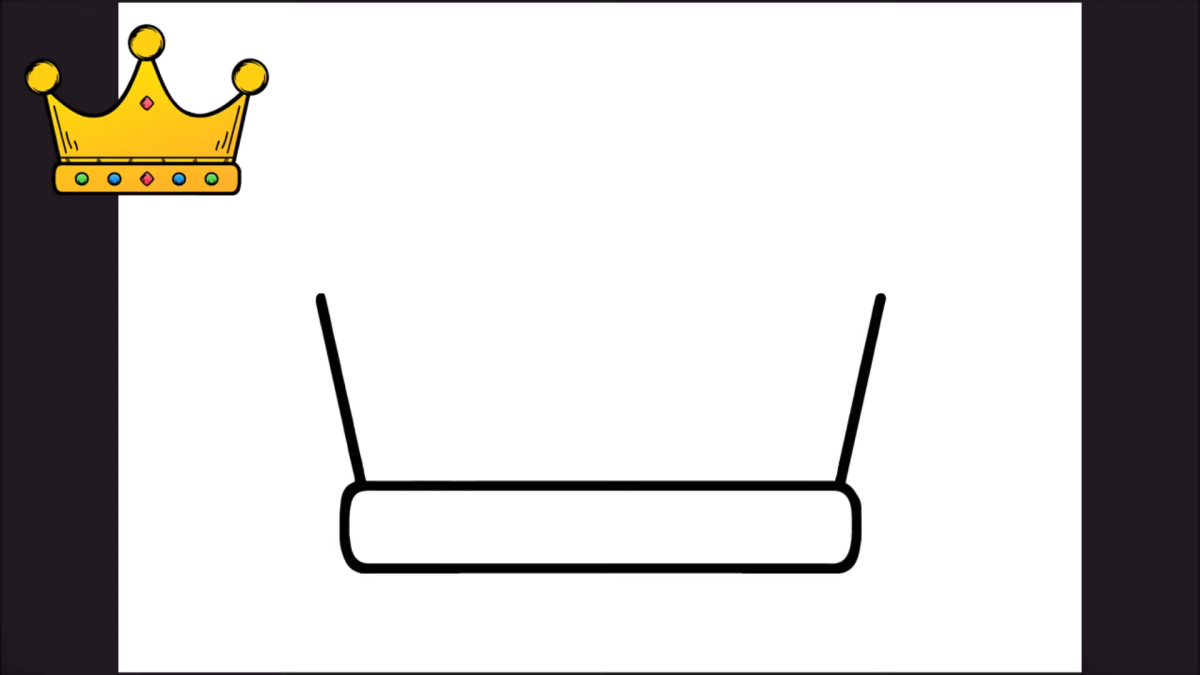
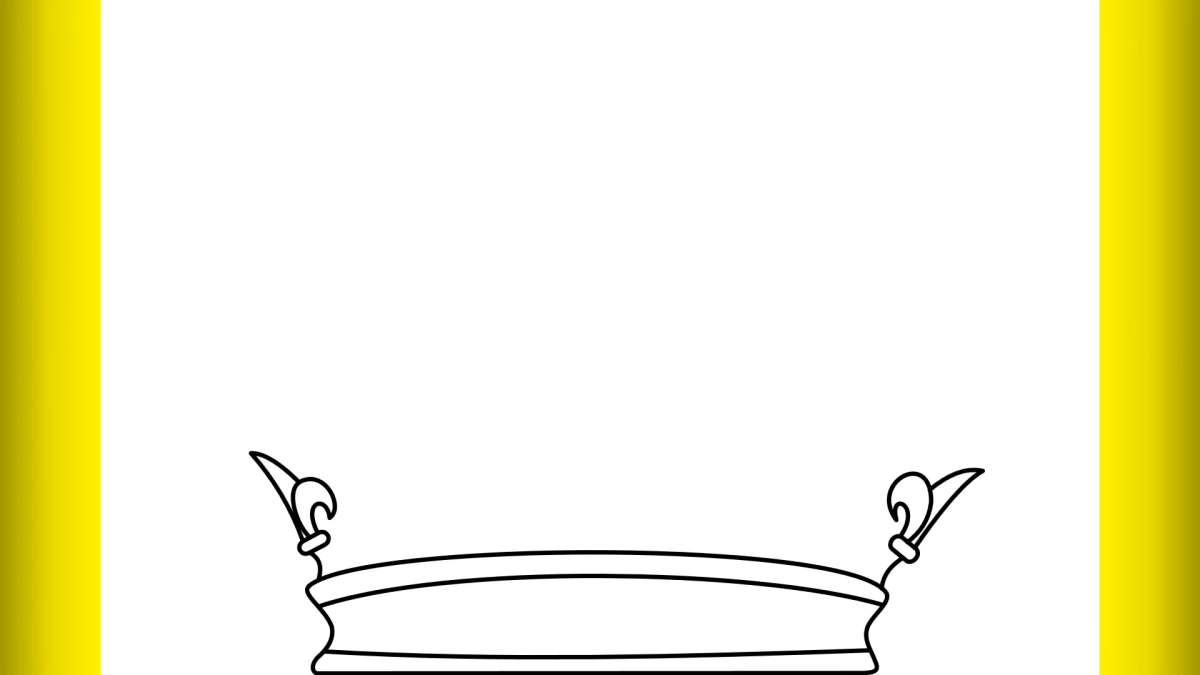
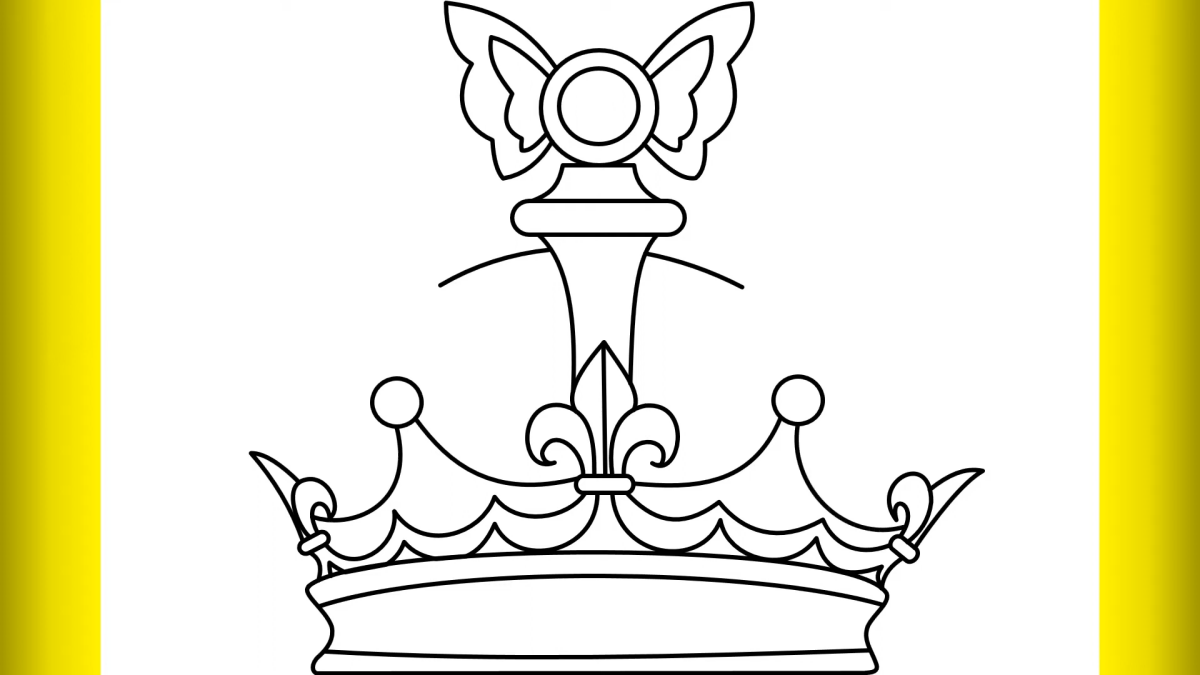
Step 2: Use Guidelines for Symmetry
Symmetry is everything for a formal crown. Find the center of your ellipse and draw a light vertical line straight up. This is your central axis, and it’ll make sure the monde and cross on top are perfectly centered. Now, draw a horizontal line that curves through the middle of the circlet band, following the same curve as your ellipses. This is your guide for placing jewels and decorations evenly.
Next, mark four points on the top edge of your circlet where the arches will go: one in front, one in back, and one on each side. From the front and back points, draw two light, curving lines that swoop up and meet on your central axis. Do the same for the side points. You should now have the basic wireframe of your crown.
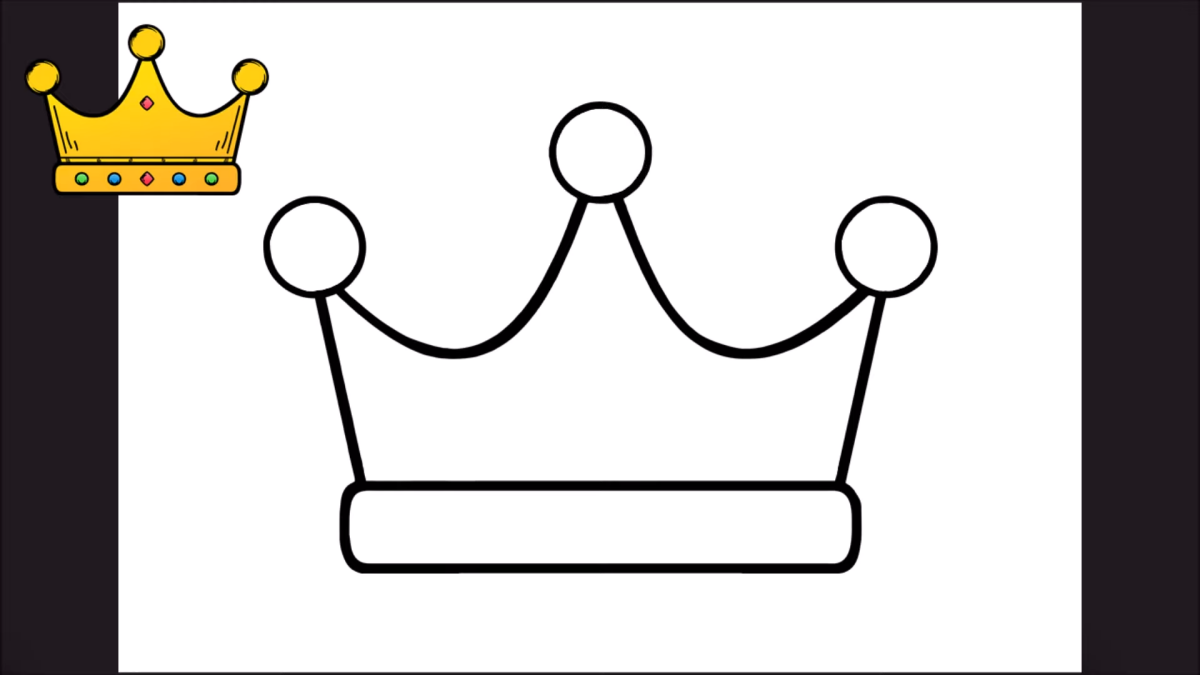
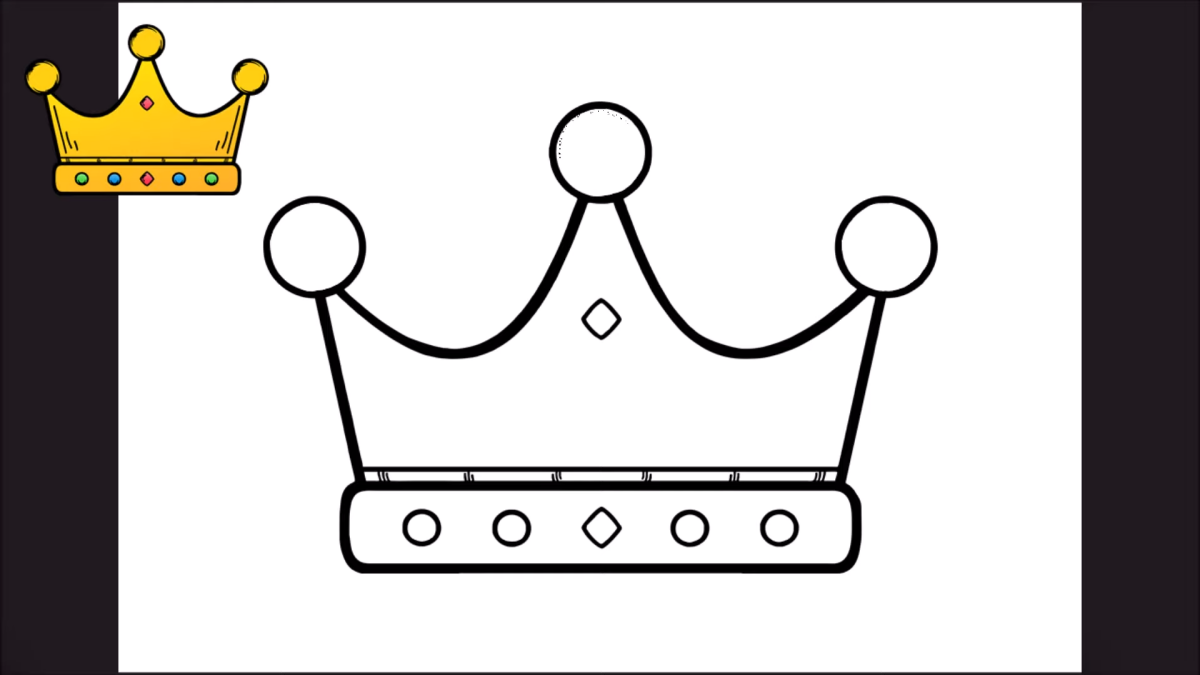
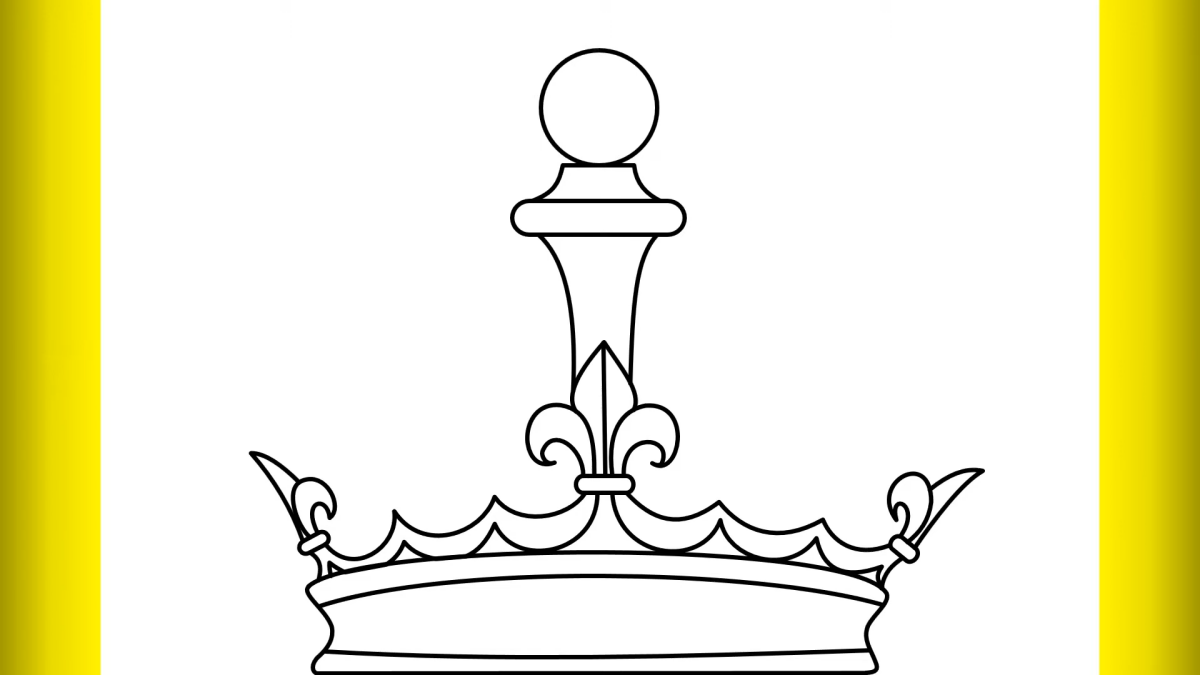
Step 3: Flesh Out the Forms
Time to switch to your HB pencil. Go over your light construction lines and give them some thickness and form. The arches aren’t just lines; they’re solid bands of metal. Draw them as long, curved rectangles that follow your guides. Make the circlet look thick and solid.
Up at the top where the arches meet, draw the monde. But don’t just draw a flat circle—think of it as a sphere. A little curved shading line inside can help suggest its 3D form. Atop the monde, sketch your cross or other ornament, using your central guideline to keep it perfectly symmetrical.
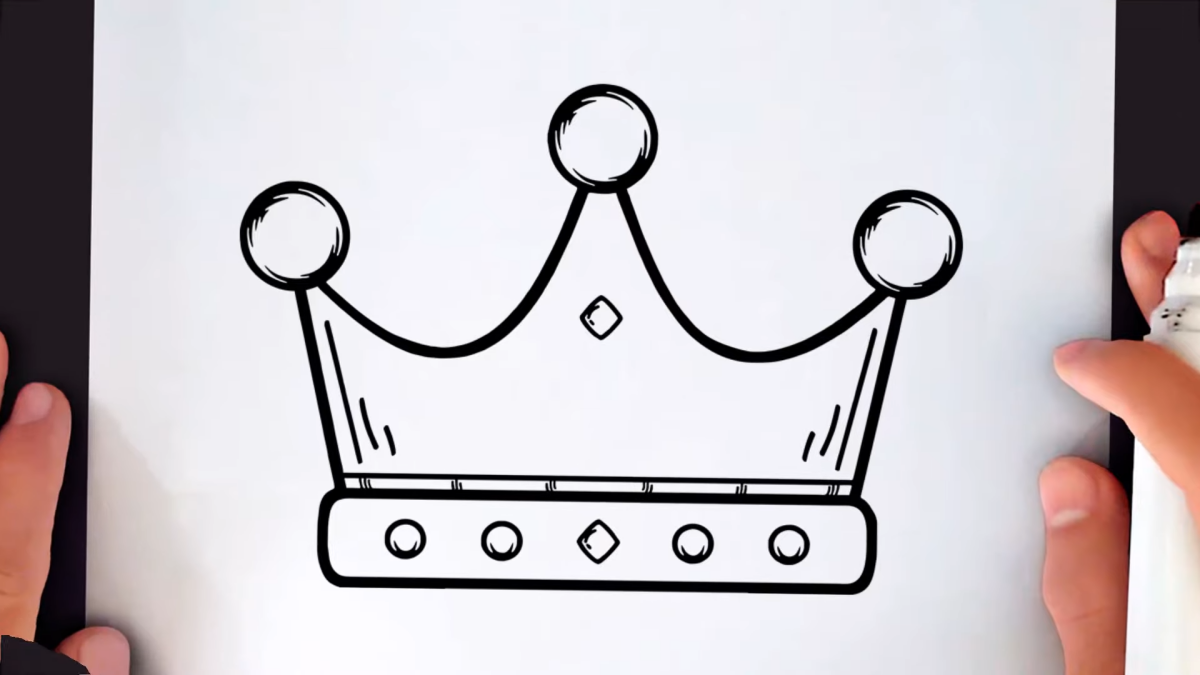
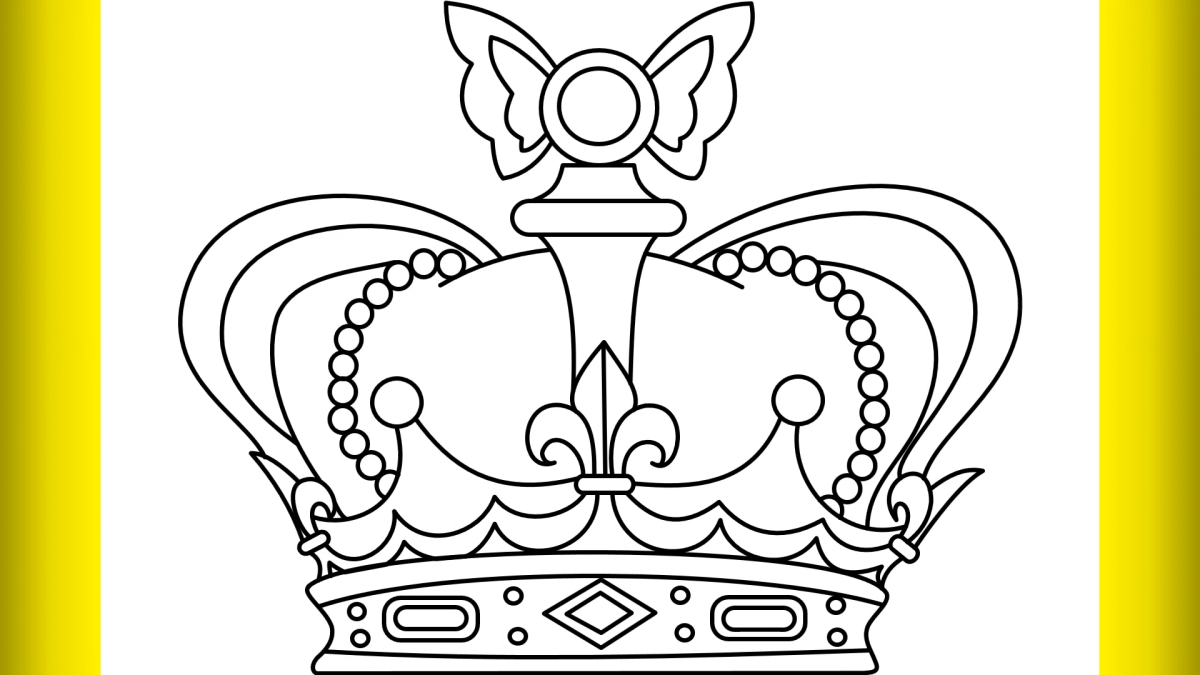
Step 4: The Magic of Rendering Textures
This is where your drawing comes to life. You need to convince the eye that it’s looking at different materials.
- Polished Gold: Metal means high contrast. You’ll have super bright highlights right next to very dark shadows. The highlights are usually sharp and follow the curve of the metal. Leave the paper pure white for the brightest spots. Then use your soft 2B or 4B pencil for the darkest reflected shadows.
- Velvet Cap: Velvet is the opposite—it just soaks up light. The shading here should be soft and dark, without any sharp highlights. Use your 2B pencil with gentle, even strokes to build up rich, deep tones.
- Ermine Fur: Don’t just draw a white stripe! Ermine trim is made of many soft pelts. Use small, varied strokes and little dots to suggest a fluffy texture. The famous black spots should be irregular in shape and spacing to look natural.
- Gemstones: A cut gem is all about facets. To draw one that sparkles, think in these simple steps: 1. Lightly sketch the facet shapes inside the gem’s outline. 2. Pick a few random facets and fill them in with a dark tone from your 2B pencil. 3. Leave one or two tiny facets completely white. That’s it! That contrast creates the illusion of a sparkle. A pearl, on the other hand, is much softer—it just needs a gentle highlight and some soft shading.
Common Mistakes and How to Fix Them
Heads up! A couple of classic problems pop up all the time. Here’s how to beat them.
Problem
1: The whole drawing is a muddy, boring gray.
This happens when you’re afraid to commit to your darks and lights. Be bold! Contrast is what creates the illusion of form. Don’t be afraid to leave some areas of the paper totally white for those glinting highlights, and really lean into your 4B pencil for deep, rich shadows.
Problem
2: My details look messy and smudged.
Oh, I’ve been there. The fix is simple: work methodically. If you’re right-handed, work from the top-left to the bottom-right of your drawing. If you’re a lefty, work from top-right to bottom-left. This prevents your hand from dragging across finished areas. And always, always slide a spare piece of paper under your drawing hand. This little trick is a total game-changer.
Beyond the Basics: A Peek at Different Styles
Not all crowns look the same. Their designs are a roadmap to the culture and technology of where they came from. Studying these variations will make your own designs—whether for a historical piece or a fantasy world—so much more believable.
- Votive Crowns: Some of the earliest surviving Christian crowns weren’t even meant to be worn. They were offerings hung above altars in churches. They are typically open circlets known for stunningly delicate filigree work and sometimes even have letters dangling from them. Drawing one is more about capturing intricate, light linework than heavy, solid forms.
- The Iron Crown of Lombardy: This is one of the most famous relics out there. It’s a simple gold circlet, but its fame comes from a thin iron band inside, said to be forged from a sacred nail. It’s a great reminder that a crown’s power isn’t always in its size or sparkle; sometimes it’s in the story it tells.
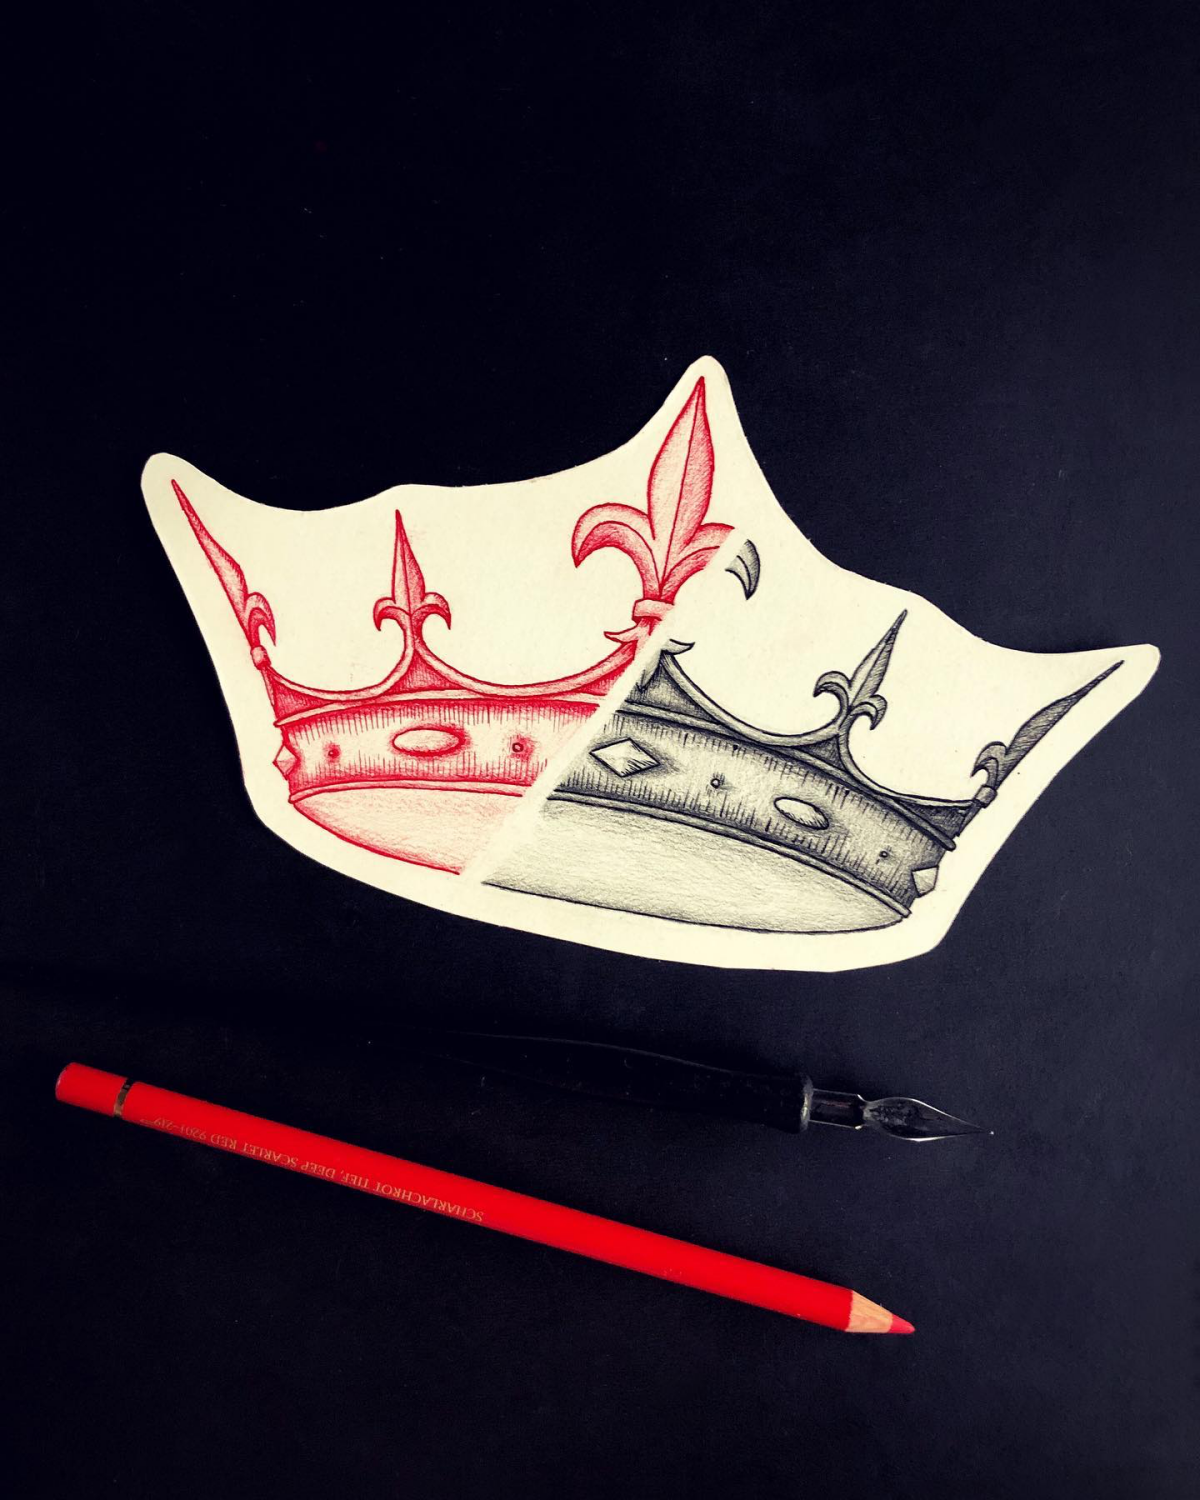
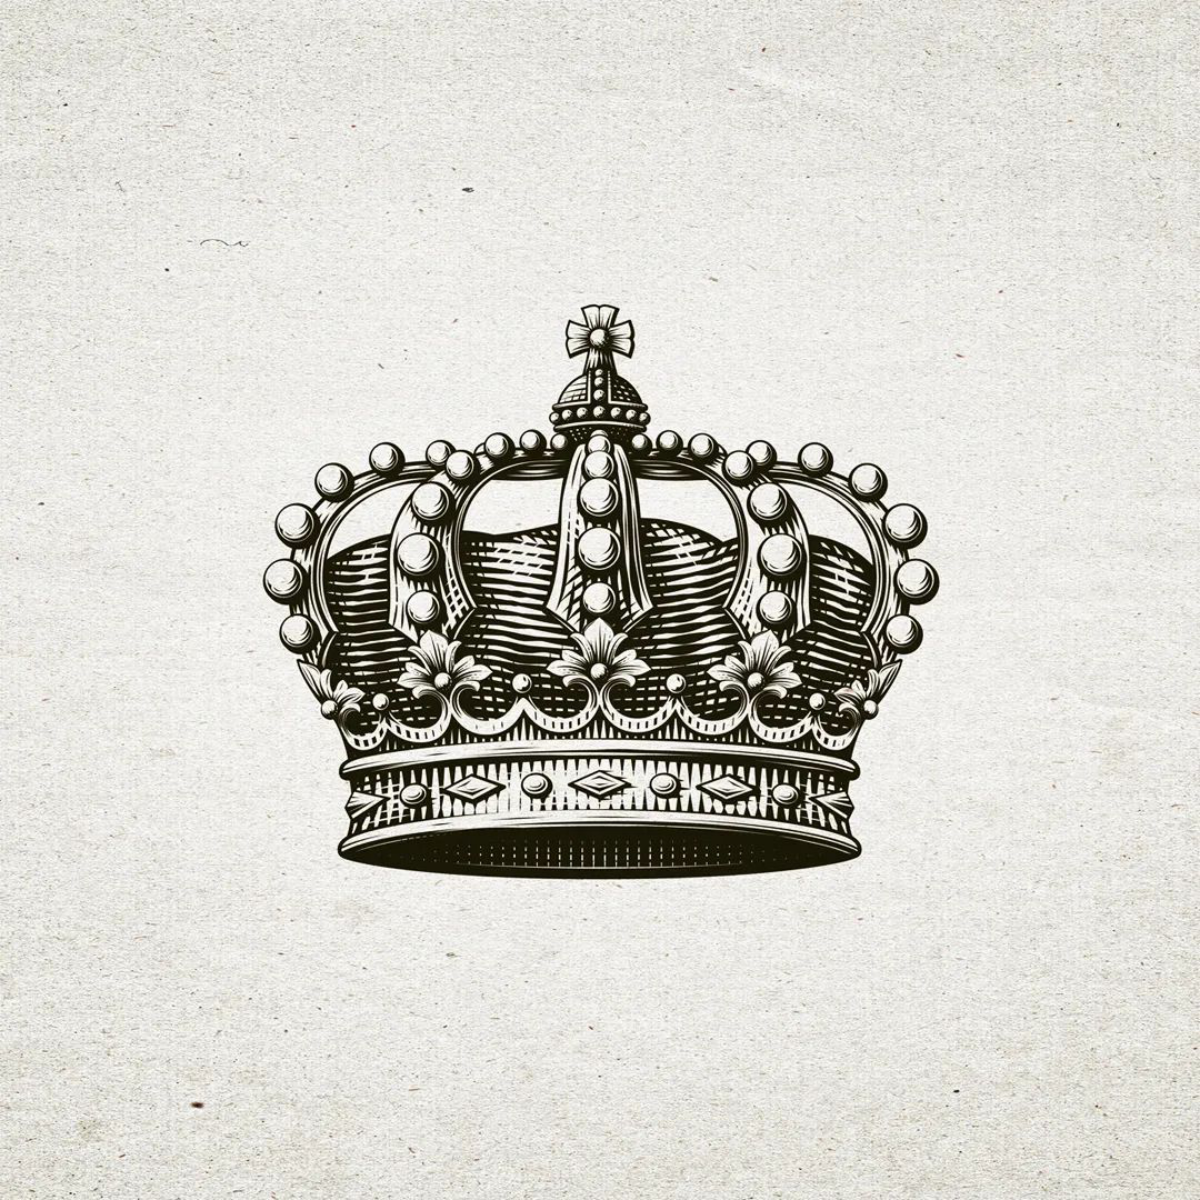
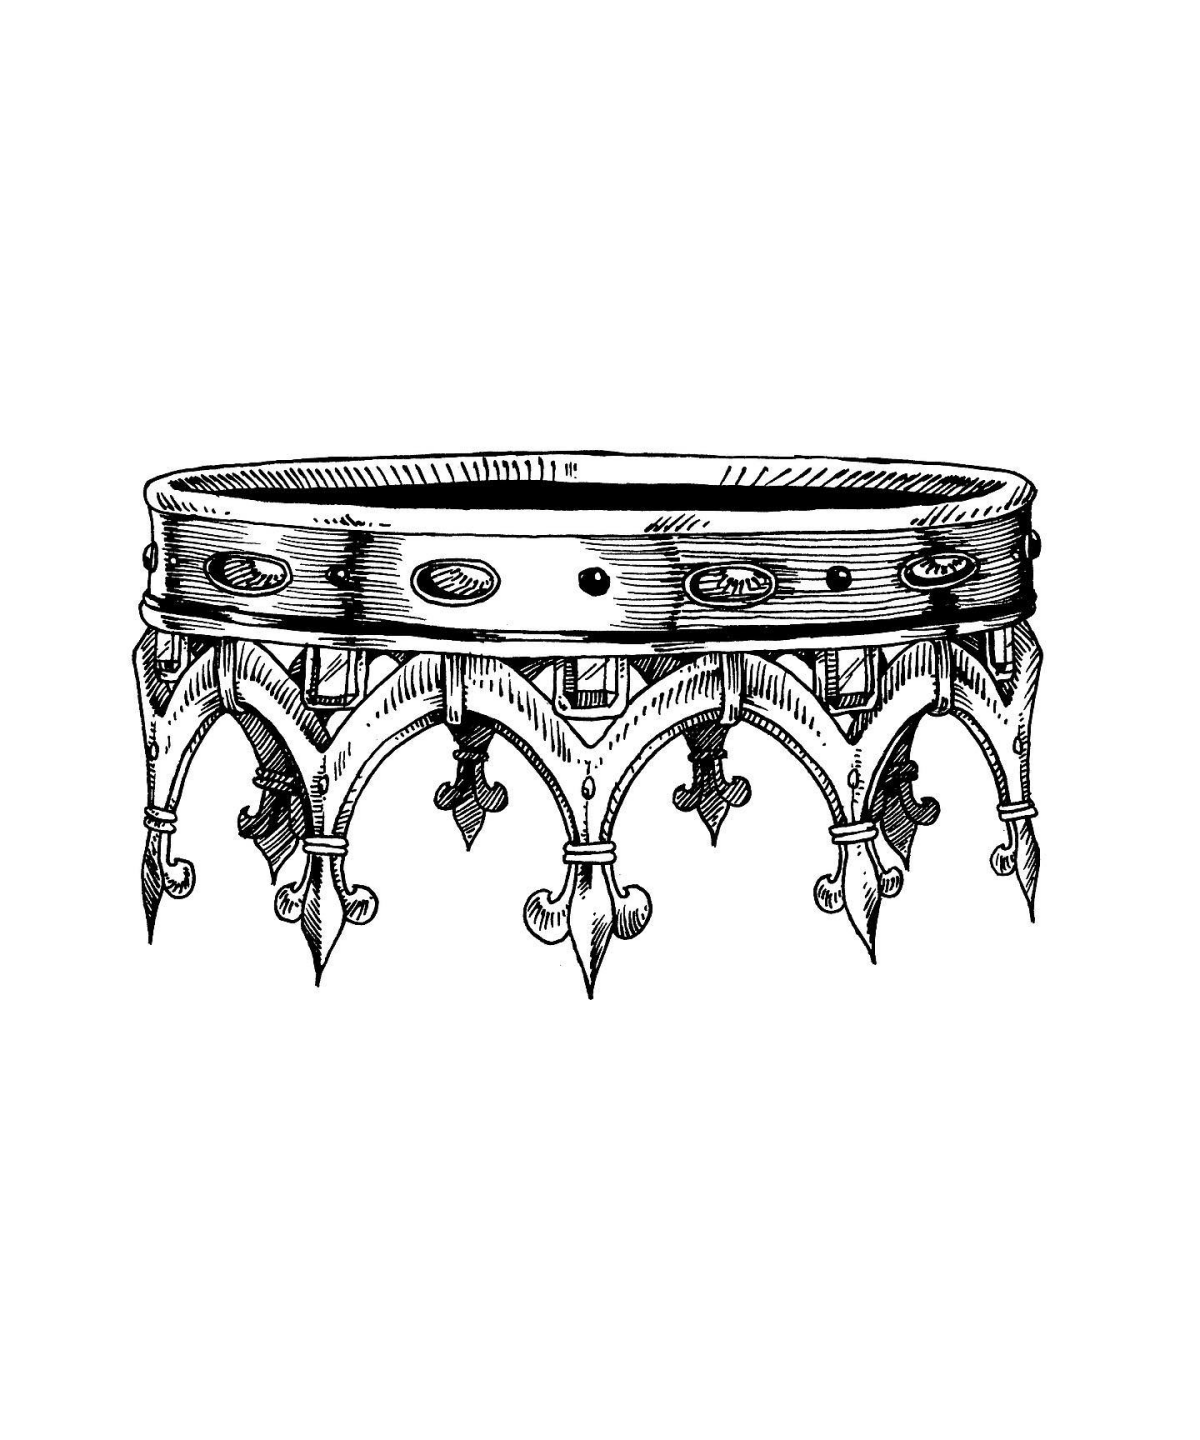
- British vs. French Styles: This is a fun comparison. The classic French royal crown is often an open circlet topped with elegant fleurs-de-lis. The archetypal British crown, on the other hand, is a closed crown. A key feature of their official coronation crown is how the arches actually dip down in the center before meeting at the top. It’s a small detail, but it’s a distinct design dialect.
- The Imperial Crown of the Holy Roman Empire: This one is a total outlier. It’s octagonal, not circular, made of eight hinged plates covered in rich enamel paintings. It looks almost architectural. Drawing this one is a serious test of your perspective skills, as you have to render those flat plates on a curved, eight-sided base.
Now It’s Your Turn: Designing Your Own Crowns
Once you’ve got the fundamentals down, the real fun begins: designing your own. A crown should tell a story about the character wearing it.
- The Tyrant’s Crown: For a cruel fantasy villain, I might design a crown from jagged, dark iron, with points as sharp as weapons. The motifs might be aggressive, like flames or coiled serpents.
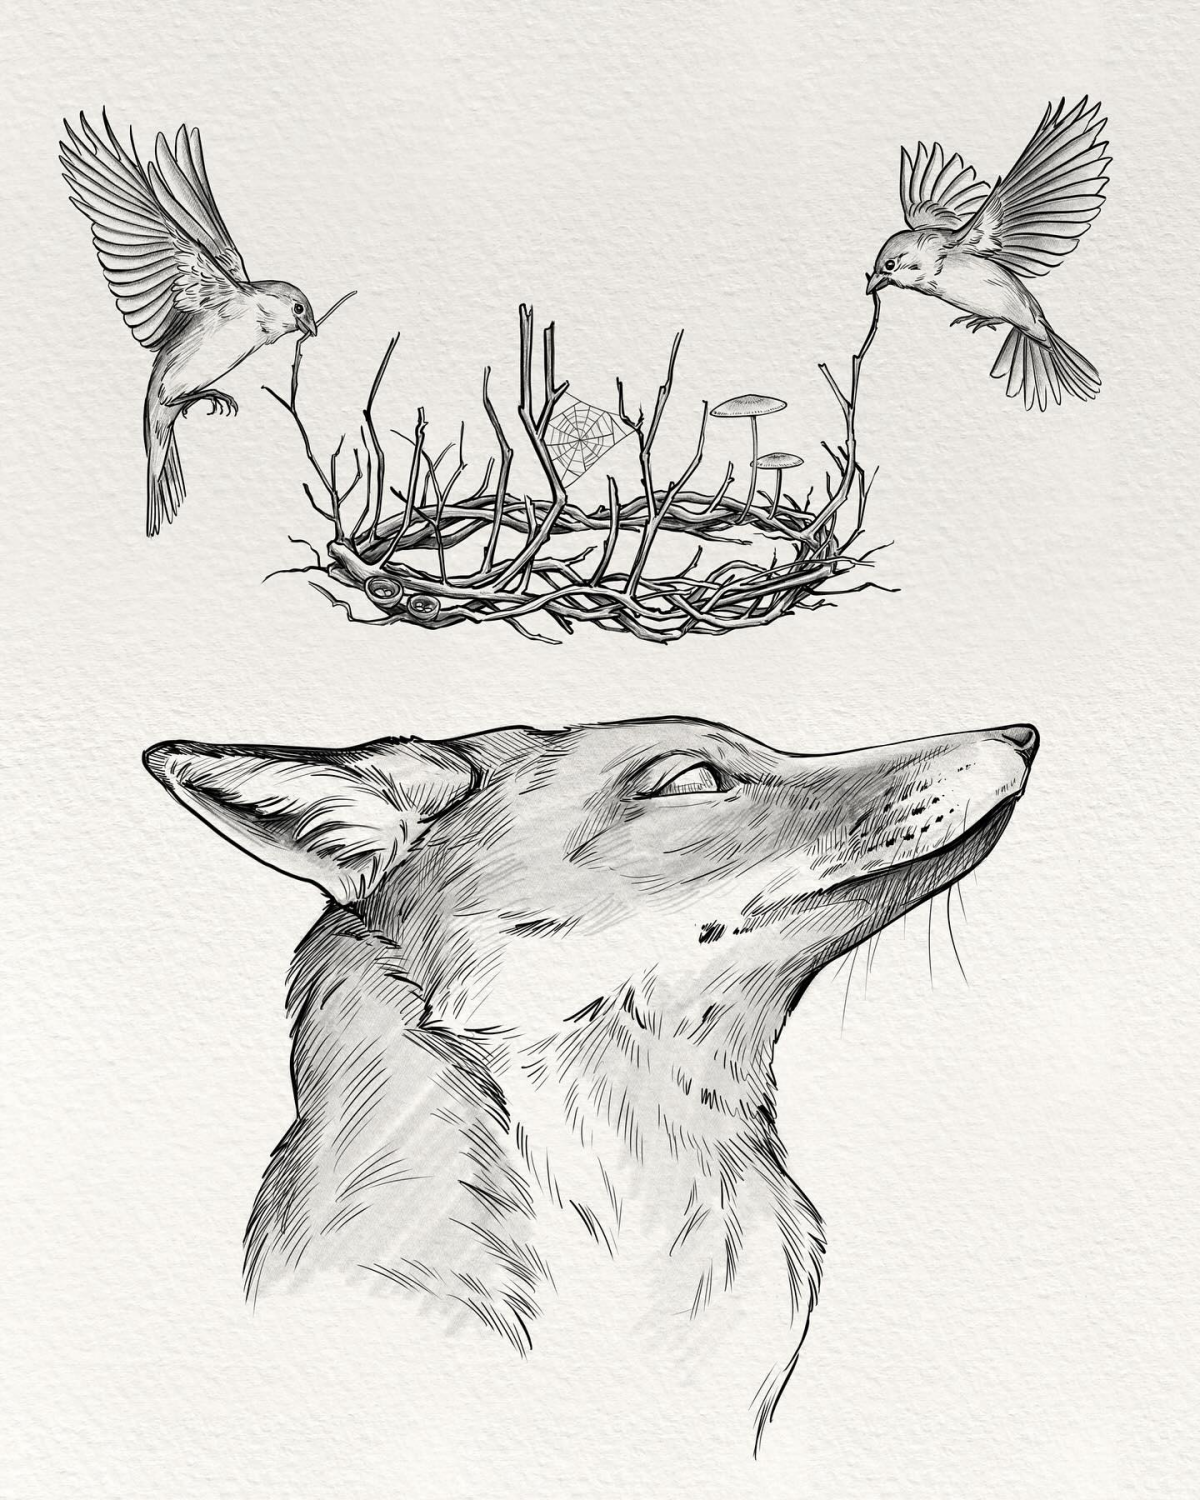
- The Nature Queen’s Diadem: For a benevolent elf queen, maybe a delicate circlet of woven silver or polished wood, intertwined with living vines. Instead of cut gems, it could feature smooth river stones or chunks of amber.
- The Scholar King’s Crown: A wise ruler might wear a crown that’s simple and unadorned. Its beauty would come from its perfect geometry and elegant lines, showing a mind that values knowledge over raw wealth.
When you’re designing, ask yourself questions. What does this kingdom produce? A coastal nation might have a crown with pearls and seashell motifs. What do they value? A warrior culture might use sharpened steel, while a peaceful one uses polished wood. The materials and symbols you choose are what give your design real narrative power.
A Few Final Pro Tips
Illustration is a physical craft. Hunching over a desk for hours is a recipe for neck, back, and wrist pain. Trust me, I learned that the hard way. Get up and stretch every hour. Make sure your workspace is comfortable. Good posture is just as important as your pencil technique.
Also, remember to be patient with yourself. Drawing a complex, realistic crown is hard. Your first few tries might look a little off. That’s totally normal. Every artist has a stack of drawings they’d rather not show anyone. It’s just part of the process. Start simple, maybe with just an open circlet. Master that, then move on to the big, complicated stuff.
Ultimately, drawing a crown is an incredibly rewarding exercise. It blends the technical challenge of perspective and texture with the rich story of power and art. So grab your pencils, find some good references, and start building your own piece of history.
Your Turn! I’d love to see what you create. Try sketching a simple open circlet using the ellipse method we talked about. Share it on Instagram with the hashtag #CrownDrawingChallenge. Let’s see what you can do!
Galerie d’inspiration
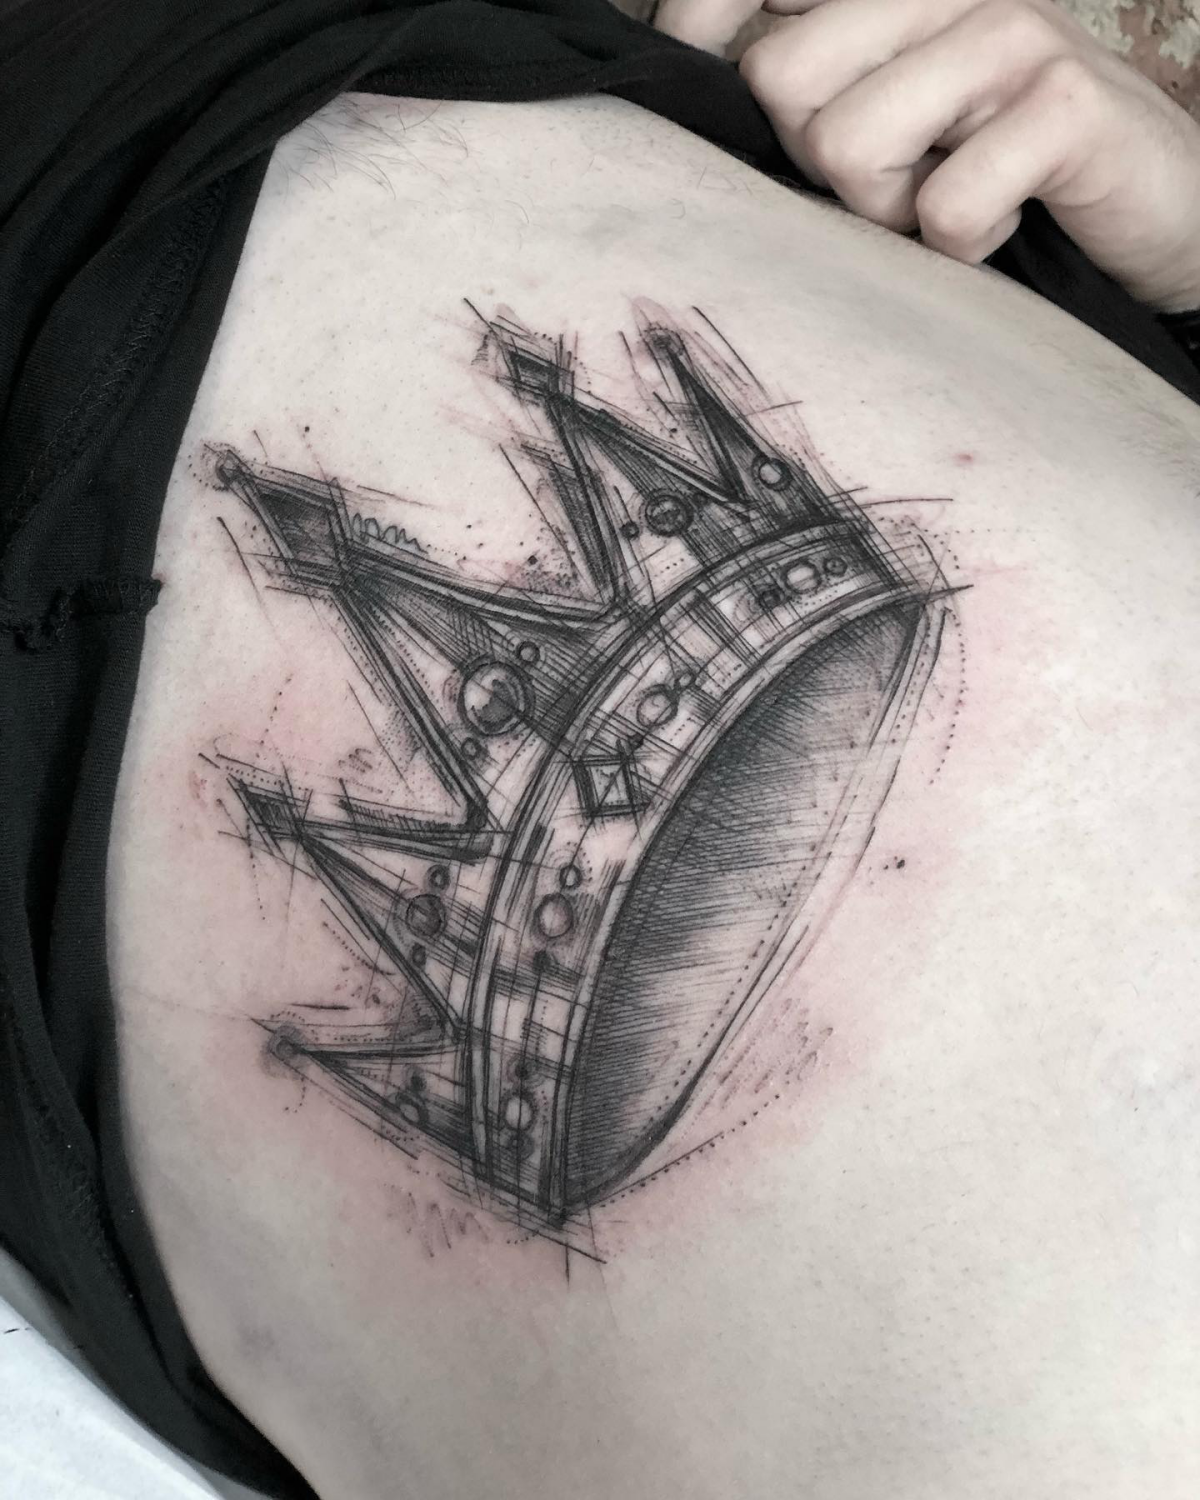
To give your crown a true sense of weight, focus on the base. Where the circlet would press against the brow, use slightly thicker, darker lines and add a subtle cast shadow. This tiny detail tricks the eye into believing the metal has real mass and is physically present in the scene.
The British Imperial State Crown, remade in 1937, contains 2,868 diamonds, 17 sapphires, 11 emeralds, 269 pearls, and 4 rubies.
When you’re drawing, thinking about this sheer density of detail is key. You don’t need to draw every single gem, but use stippling, hatching, and highlights to suggest that the surface is incredibly intricate and precious, not just a smooth, shiny cartoon.
How do I make the gems look like they’re actually glowing?
It’s all about contrast and layers. The secret isn’t just a white dot for a highlight. On the facet facing the light, place your brightest highlight. The body of the gem should be a rich, saturated color. But the magic happens with a dark core shadow on the opposite side and a sliver of reflected light along the bottom edge. If you’re working digitally in Procreate or Photoshop, try duplicating your gem layer and setting the new layer to ‘Add’ or ‘Color Dodge’ with a soft airbrush to create that luminous effect.
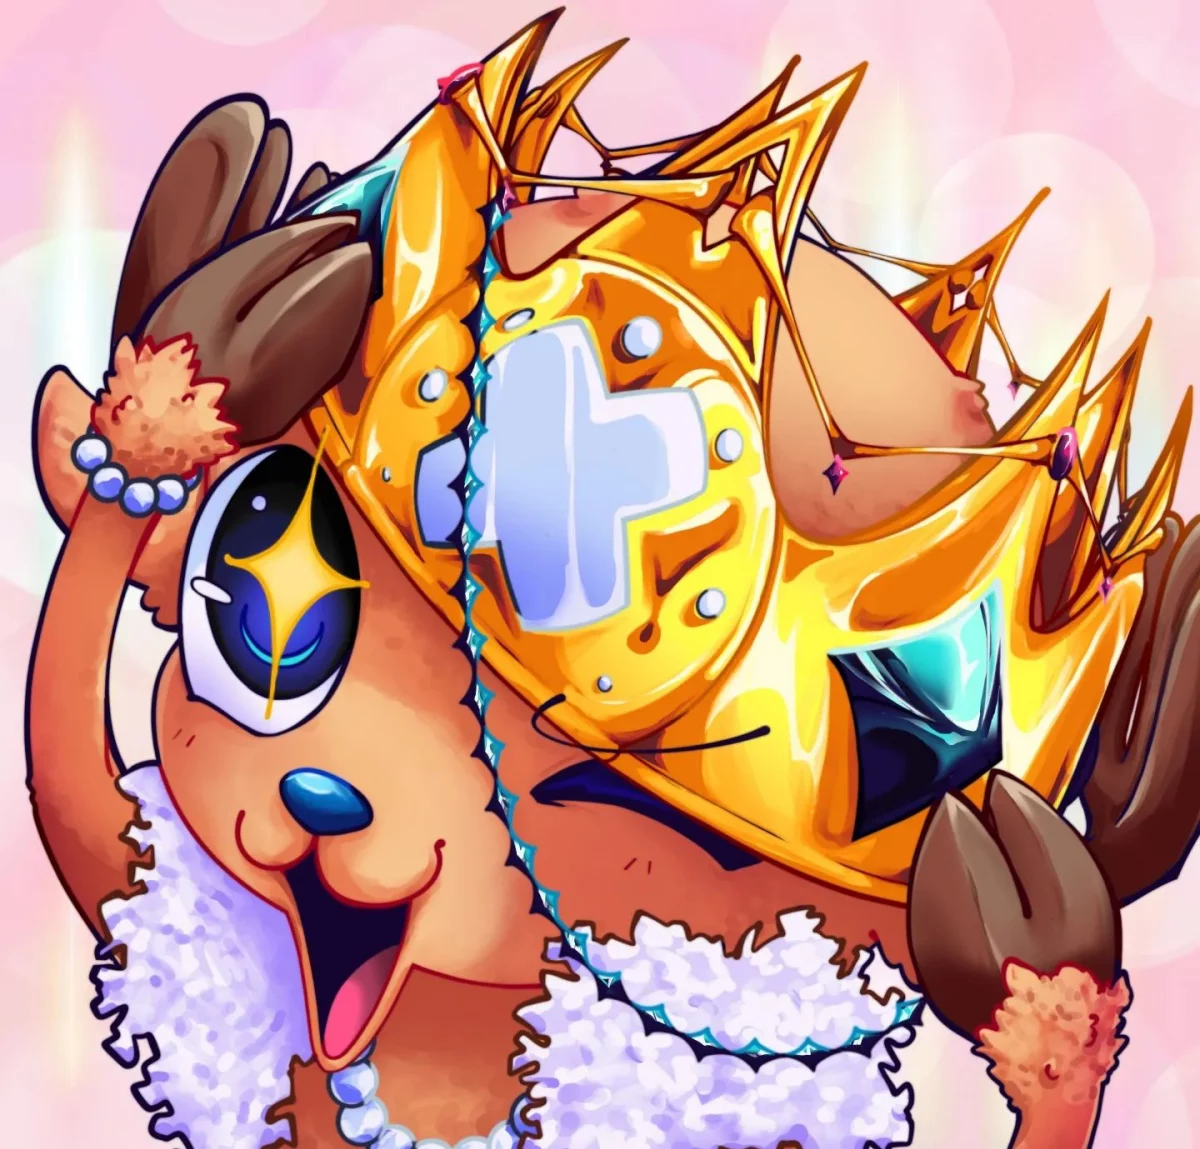
- Polished Gold: High-contrast, sharp highlights and deep, warm shadows.
- Brushed Silver: Softer, more diffused highlights with subtle parallel lines suggesting texture.
- Rough Iron: Very little shine, focusing on a gritty, uneven surface texture using stippling or cross-hatching.
- Tarnished Bronze: A mix of dull browns and greens, with gleams of the original metal showing through on worn edges.
The key is to master different metal textures to tell a story with your crown.
Important point: Gold is never just yellow. To render it realistically, its shadows aren’t gray or black, but deep, rich browns and ochres. The reflected light it picks up from its surroundings is crucial. If it’s near a red velvet cushion, you’ll see hints of red in its shine. If it’s under a blue sky, cool tones will appear on its upper surfaces.
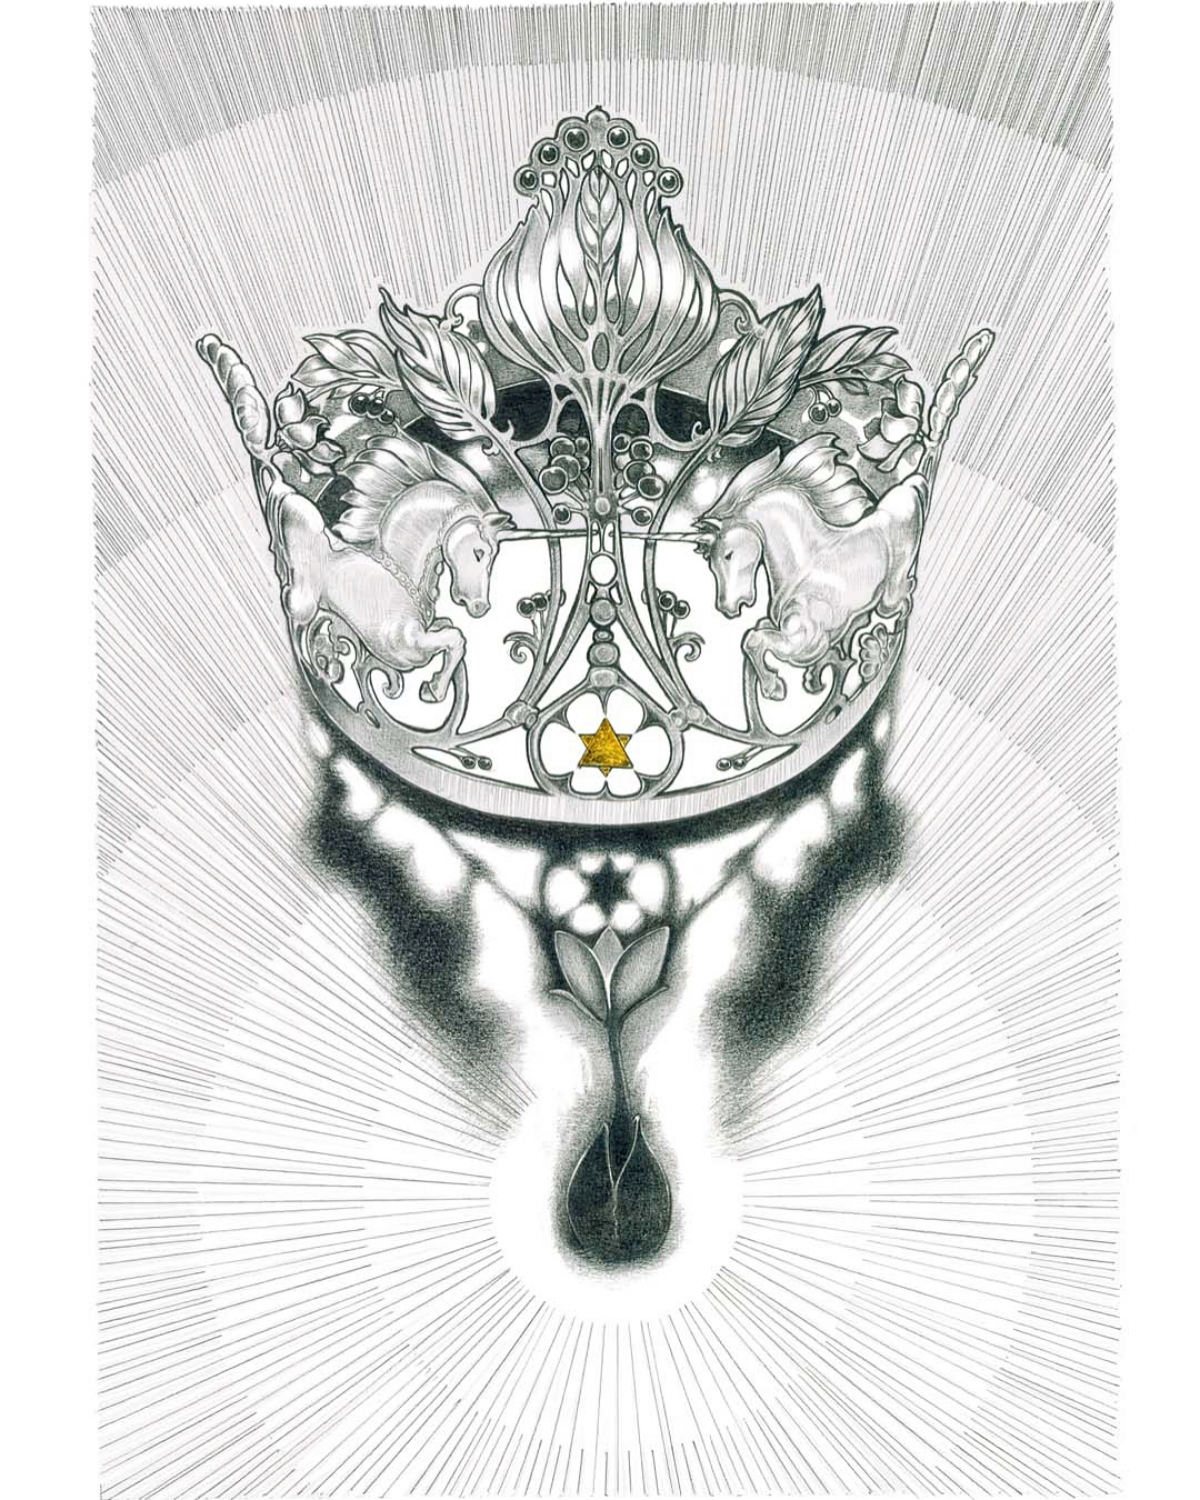
Go beyond the generic European model. Look for inspiration in less common historical crowns to make your designs unique.
- The Palatine Tiara of the Joseon Dynasty (Korea): Features intricate filigree wings and symbolic motifs like dragons and phoenixes.
- The Aztec Feathered Headdress (Quetzalpetlatl): A crown made not of metal, but of hundreds of iridescent quetzal feathers, creating a completely different texture and silhouette.
- The Iron Crown of Lombardy: A simple gold circlet said to contain a nail from the True Cross, its immense historical and religious value contrasts with its visual simplicity.
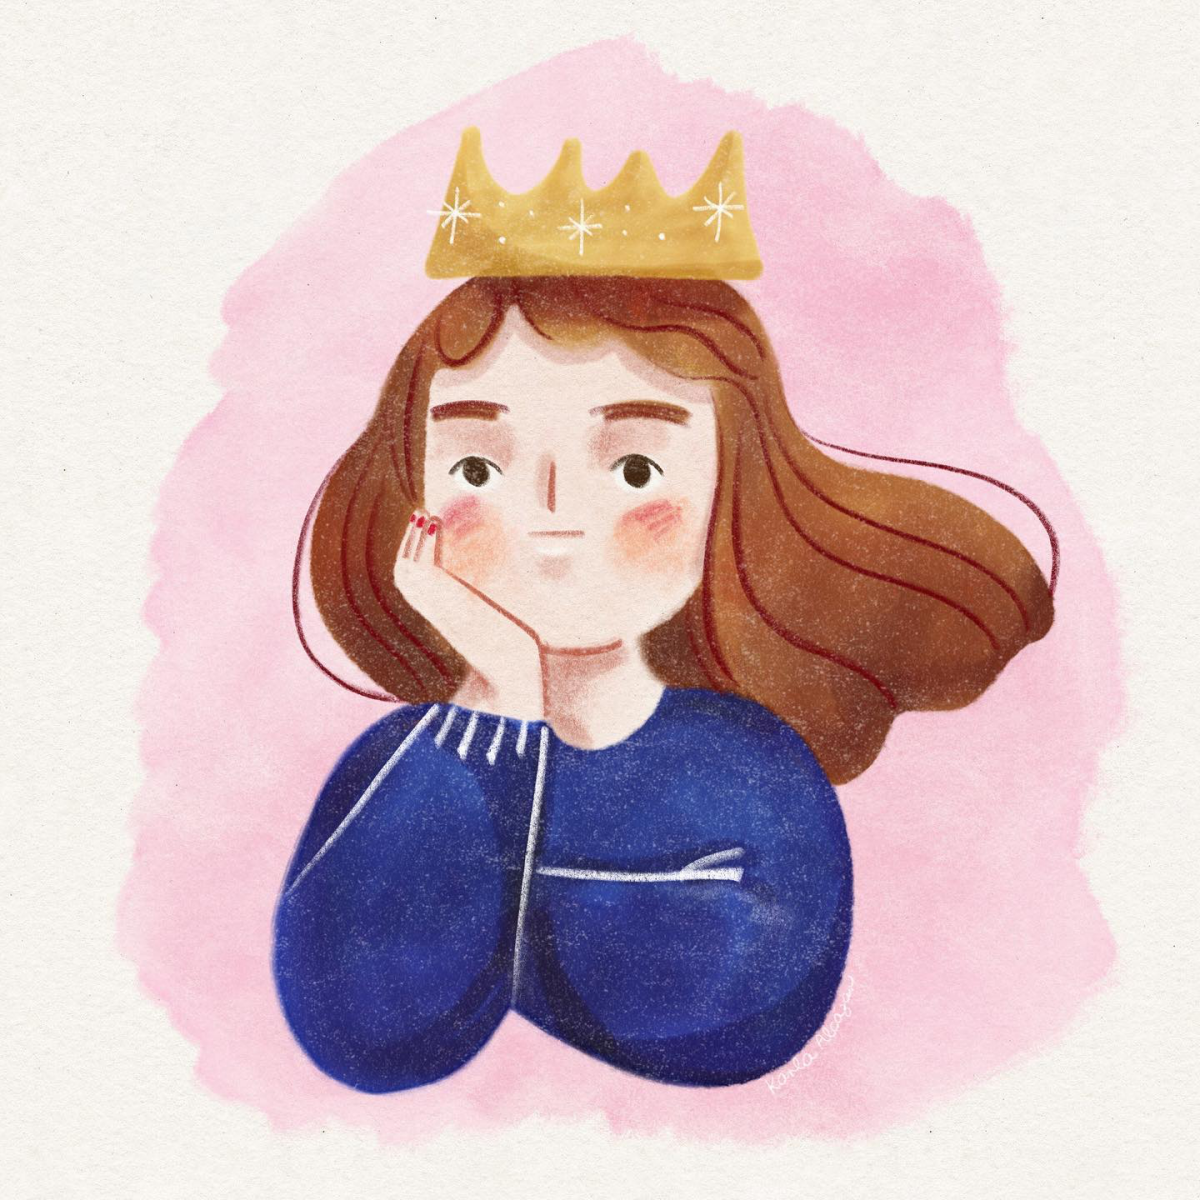
A common mistake is drawing every detail with perfect, rigid symmetry. Real, handcrafted objects are never flawless.
Give your crown character. Add a tiny scratch near the base, make one fleur-de-lis slightly different from the others, or have a gem set at a minuscule, almost imperceptible angle. These imperfections are what breathe life and history into your illustration.
For Traditional Artists: The precision of Faber-Castell Polychromos colored pencils or a set of graphite pencils from 2H to 6B will give you total control. Use the 2H for faint construction lines and the 6B for the deepest shadows in the metalwork.
For Digital Artists: Start with a hard round brush for crisp edges on the silhouette. For rendering, a good textured brush, like a charcoal or pastel brush, can add a believable metallic grain. Don’t underestimate the power of a soft airbrush on a low opacity for subtle glows.
The story of the wearer should define the design. A villain’s crown might feature sharp, aggressive angles, jagged crystals, and cold metals like tarnished silver or obsidian. In contrast, a benevolent forest queen’s crown could be made of gracefully intertwined silver branches, adorned with moonstones and leaves instead of faceted gems.
- Gives your character immediate authority and backstory.
- Creates a powerful focal point for your illustration.
- Tells a story without a single word of text.
The secret? Before drawing, write down three words that describe the ruler who wears it. ‘Ancient,’ ‘tyrannical,’ and ‘decadent’ will lead to a very different crown than ‘youthful,’ ‘reluctant,’ and ‘natural.’
Don’t forget the curve. Every element attached to the circlet—gems, filigree, spikes—must follow its elliptical perspective.
What if my budget for art supplies is tight?
You don’t need premium tools for a premium result. A single, good-quality graphite pencil (like a 2B), a kneaded eraser, and basic copy paper are more than enough to practice form and light. For digital artists, free software like Krita or Medibang Paint offers professional-level brushes and features perfectly capable of producing stunning, realistic crowns without the subscription fee of Photoshop.
Think beyond diamonds. The choice of gemstone can radically alter a crown’s narrative.
- Ruby: Symbolizes passion, power, and bloodline. Perfect for a conqueror or a passionate monarch.
- Sapphire: Represents wisdom, nobility, and divinity. Ideal for a just, thoughtful ruler.
- Emerald: Associated with rebirth, fertility, and nature. A great choice for an elven king or a ruler of a verdant land.
- Amethyst: Traditionally linked to royalty and sobriety of mind. Suits a spiritual or introspective leader.
To draw a truly convincing crown, imagine how it feels. A heavy imperial crown would press down, forcing a regal, upright posture. A delicate, lightweight tiara suggests grace and agility. Conveying this invisible sense of weight and influence on the wearer will elevate your drawing from a simple object study to a true piece of character art.


