Your Guide to Making Face Masks That Actually Work (From a Pro)
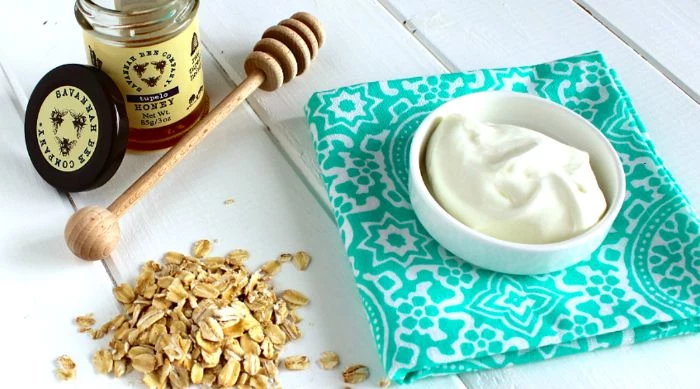
When I first started as an esthetician, I worked in a pretty fancy spa. We had all the high-tech, lab-formulated peels and serums you could dream of. And they worked! But after a long day, I’d often go home and mix up something ridiculously simple for my own skin, like raw honey and a little finely-milled oatmeal. It wasn’t meant to be a miracle cure; it was just a way to calm my skin and, honestly, to reconnect with the basics.
In this article
That experience taught me something important: there’s room for both the powerful professional stuff and simple, thoughtful home care. The internet is flooded with DIY mask recipes, but let’s be frank, a lot of them treat your face like a kitchen countertop, suggesting ingredients that can cause more problems than they solve.
So, my goal here isn’t to just throw a bunch of trendy recipes at you. It’s to share the core principles I learned in my training, so you can craft masks that genuinely support your skin’s health. We’re going to get into how masks actually work, how to pick ingredients with a purpose, and the little techniques that make all the difference.
First, a Little Science (The Fun Part, I Promise)
Before we start mixing, we need to know what we’re working with. Your skin’s outermost layer is its personal bodyguard, often called the skin barrier. Think of it like a brick wall: the skin cells are the bricks, and natural fats are the mortar holding it all together. When that wall is strong, your skin is happy, hydrated, and calm. When it’s compromised, things get dry, sensitive, and irritated. Homemade masks do their best work right on this surface layer.
They generally work in one of three ways:
- Occlusive Masks: These are all about hydration. They create a temporary shield on your skin with ingredients like honey, oils, or glycerin. This simple barrier slows down the natural evaporation of water from your skin, trapping moisture inside. The result? That temporary plump, dewy look we all love.
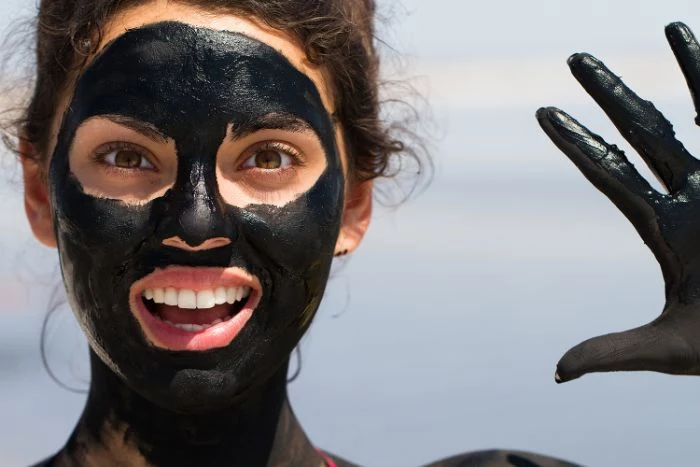
- Adsorbent Masks: This is where clays shine. Clays have a natural negative charge, while a lot of the gunk in our pores (like excess oil and impurities) has a positive charge. Like tiny magnets, the clay particles pull that gunk out and hold onto it. It’s a super effective deep clean, which is why clay is a go-to for oily and congested skin.
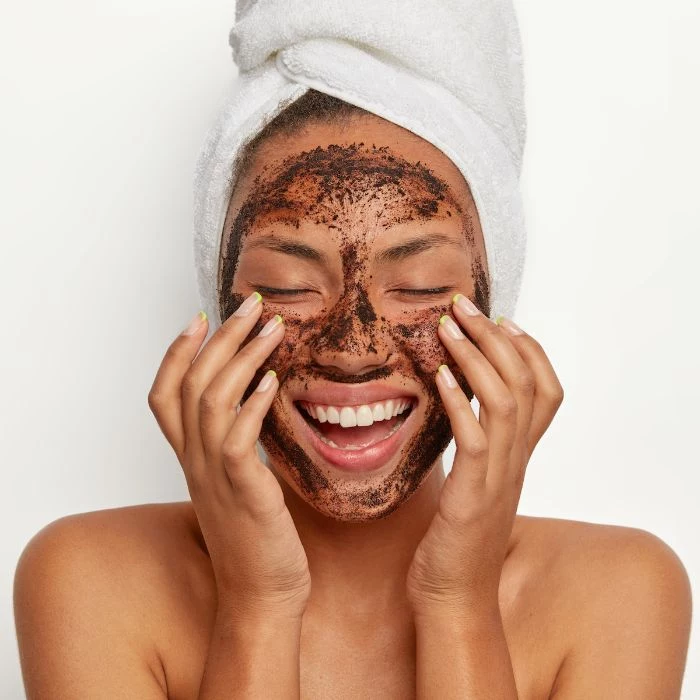
- Enzymatic & Acidic Masks: Sounds intense, but it’s not! Certain fruits like papaya and pineapple contain natural enzymes that gently dissolve the ‘glue’ holding old, dead skin cells together. Ingredients like yogurt contain lactic acid, a very mild alpha-hydroxy acid (AHA). Both provide a super light exfoliation that brightens your complexion without any harsh scrubbing.
Understanding this helps you see why smearing straight lemon juice on your face is a terrible idea (the pH is way too low and will wreck your skin barrier), but a simple oatmeal mask can be incredibly soothing. It’s all about the ‘why’.
Stocking Your DIY Skincare Pantry
Picking the right ingredients is everything. In my training, we obsessed over cosmetic chemistry, and you can apply that same mindset to what’s in your kitchen. Precision really does matter.
The Calming & Hydrating Crew
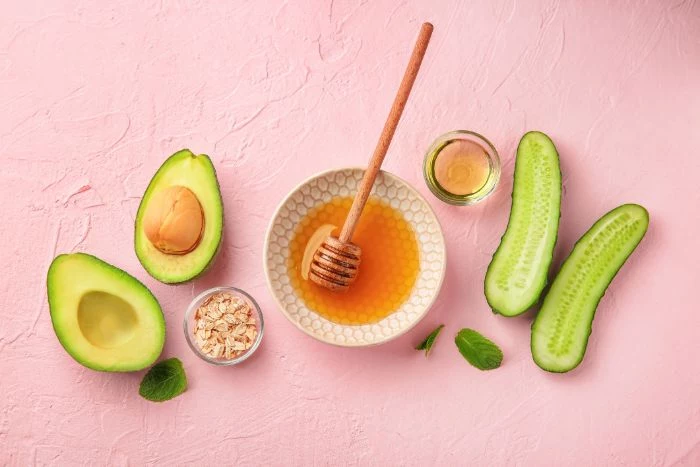
- Raw Honey: Always go for raw, unpasteurized honey. The heating process for most commercial honey destroys the good stuff. Raw honey is a humectant, meaning it pulls moisture into your skin. It’s also naturally antibacterial, which is why it’s great for calming down minor irritation.
- Oats (Colloidal Style): Don’t just scoop out your breakfast oatmeal. For skincare, you want to grind rolled oats into a super-fine powder using a clean coffee grinder. This is basically what “colloidal oatmeal” is, and it’s famous for reducing redness and soothing itchy skin.
- Full-Fat Yogurt or Kefir: The key here is the lactic acid, which gently exfoliates and hydrates at the same time. The fat content adds a nice, nourishing touch, so skip the non-fat versions.
- Pure Aloe Vera Gel: Make sure you’re getting pure aloe gel, not that green stuff for sunburns, which is often packed with alcohol and fragrance. Aloe is a hydration hero and perfect for calming sensitive skin.
The Deep-Cleaning Clays
Let’s talk about clays. You can usually find a good-sized bag of cosmetic-grade clay online or at a health food store for about $10-$15, and trust me, it will last you for ages.
A critical rule: NEVER use a metal spoon or bowl with bentonite clay. The metal deactivates the clay’s ionic charge, making it way less effective. Stick to wood, glass, or ceramic utensils.
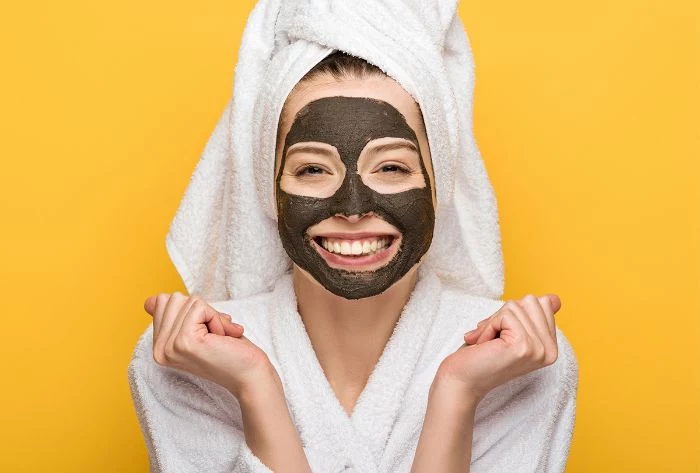
When choosing a clay, think about your skin’s needs. For seriously oily and congested skin, Bentonite Clay is the workhorse. It’s made from volcanic ash and is incredibly absorbent, so it’s fantastic at drawing out impurities. But, it can be too intense and drying for other skin types. If you have normal, dry, or sensitive skin, Kaolin Clay (often called white clay) is your best friend. It’s much gentler and provides a mild exfoliation without stripping the skin. For those somewhere in the middle, there’s Rhassoul Clay. This mineral-rich clay cleanses and conditions at the same time, making it a great all-rounder for combination skin.
Powerful Boosters & Add-Ins
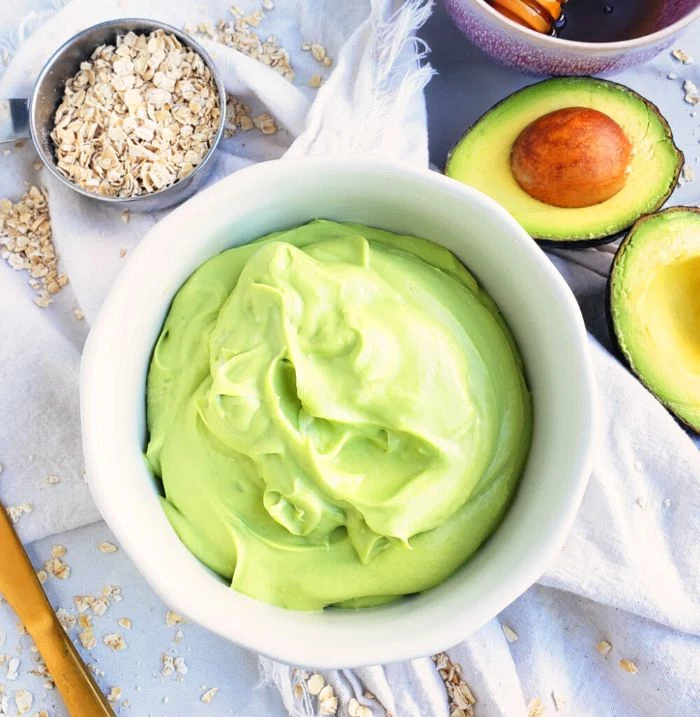
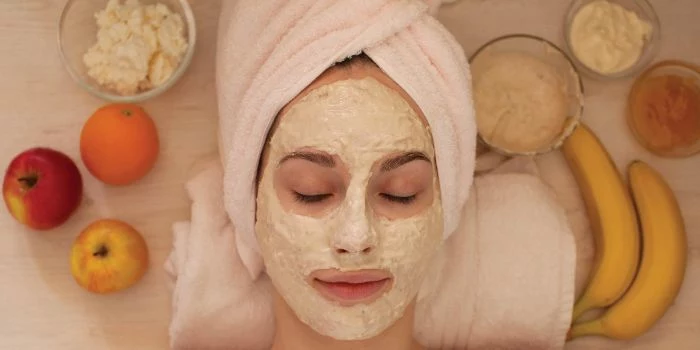
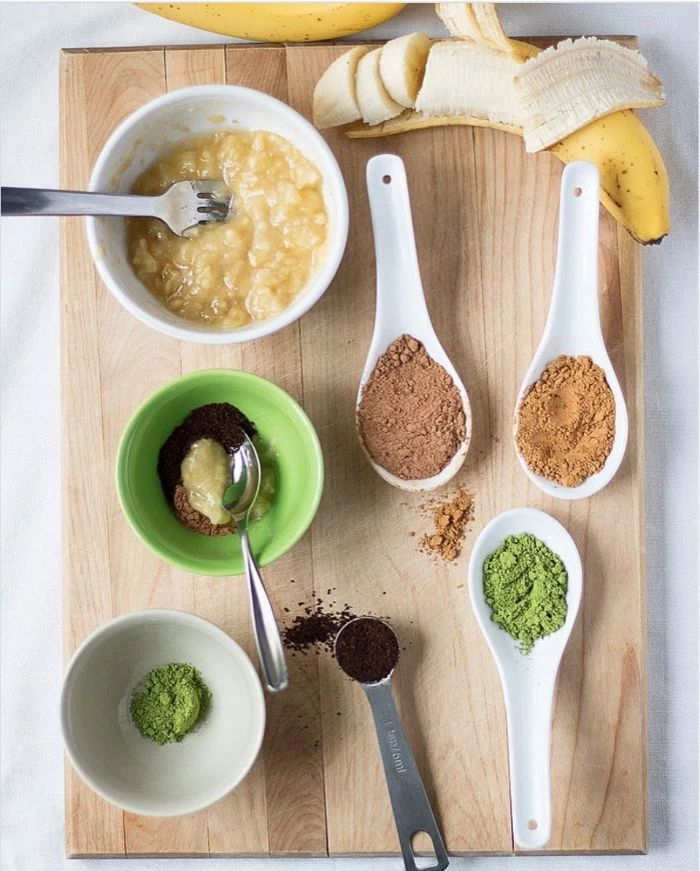
- Mashed Avocado & Banana: These are amazing for creating creamy, nourishing masks. They’re full of healthy fats and vitamins that are perfect for dry or mature skin. Just be sure to use very ripe fruit for the best texture.
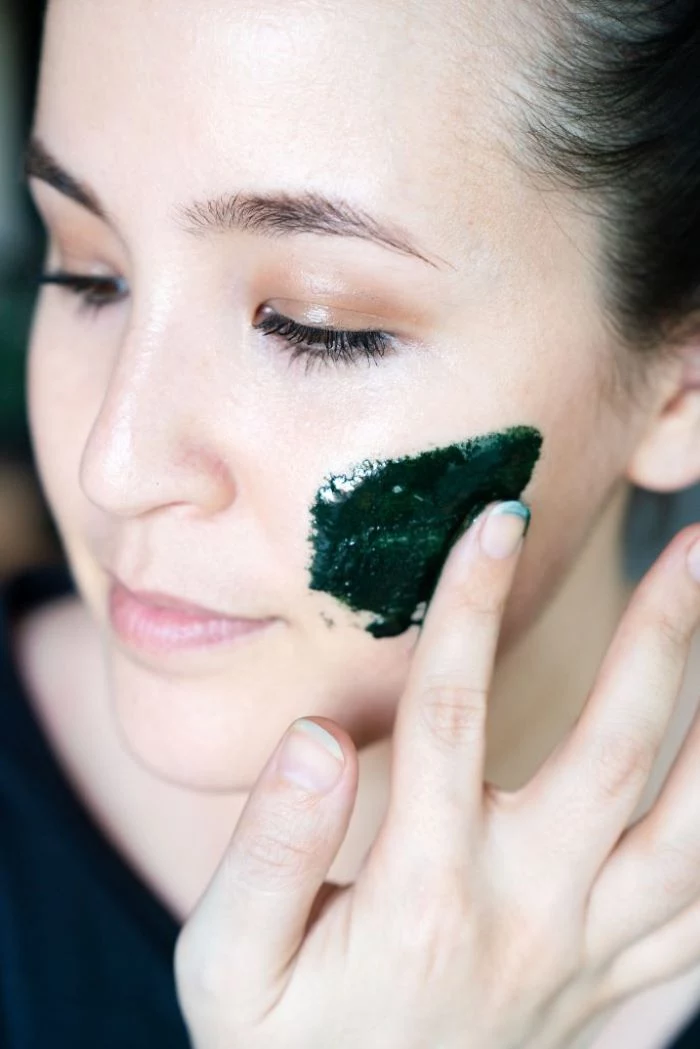
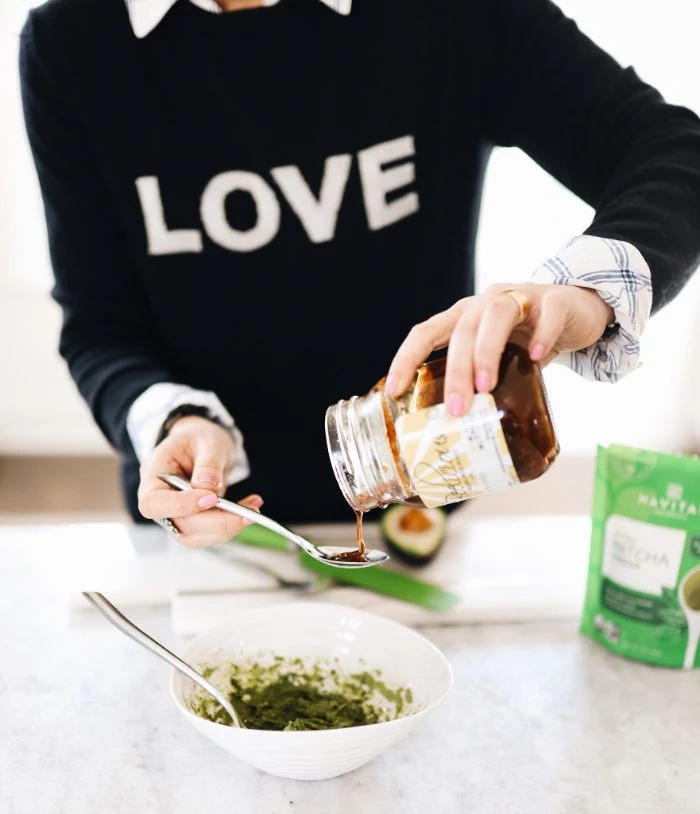
- Green Tea: Instead of plain water, try using cool, brewed green tea as the liquid in your masks. It’s loaded with antioxidants. Quick tip: Brew a big batch of strong green tea and freeze it in an ice cube tray. When you’re ready to make a mask, just pop out a cube! It’s pre-portioned and the coolness is extra soothing.
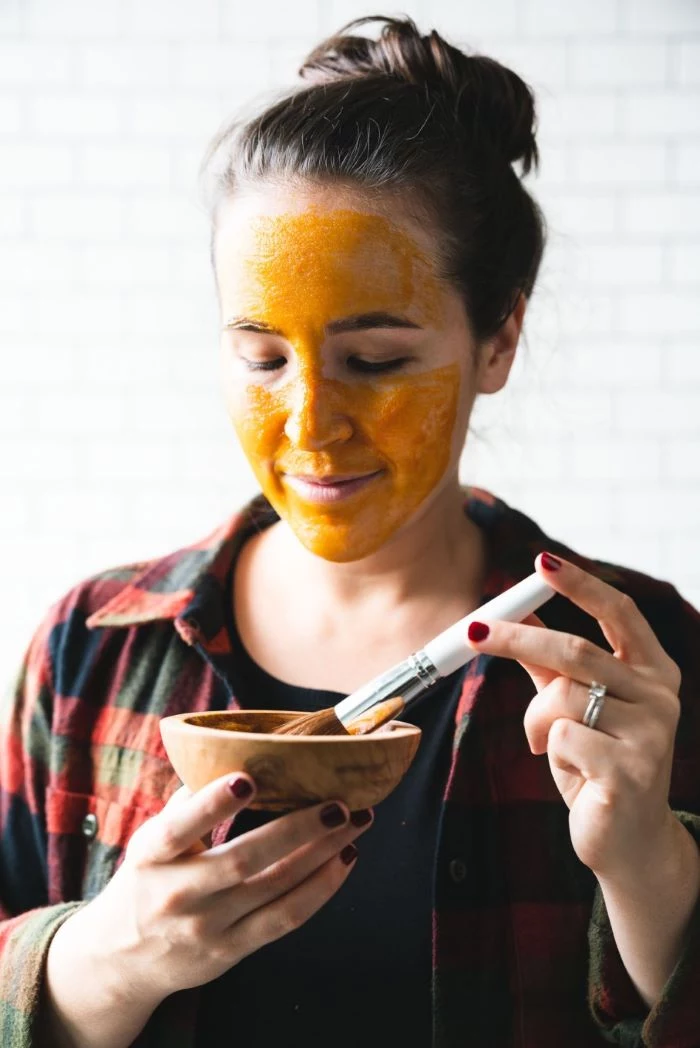
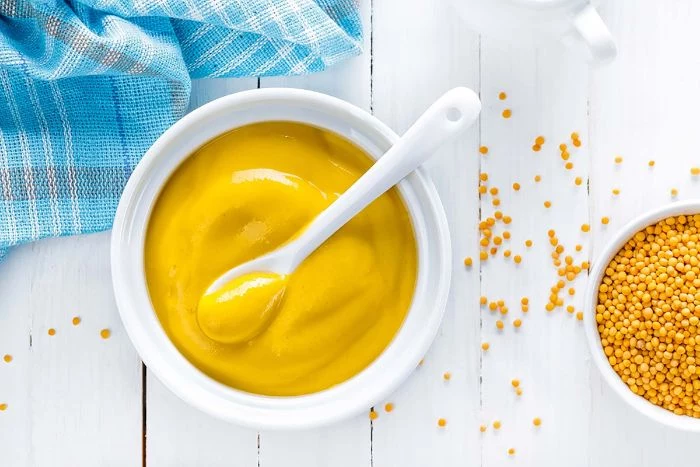
- Turmeric: This spice is a powerhouse anti-inflammatory. A word of warning, though: it can and will leave a temporary yellow stain on your skin. Use a tiny pinch, and mix it with something fatty like yogurt or milk to help reduce the staining. I learned that one the hard way before a big event… not a good look.
Technique Matters: How to Apply a Mask Like a Pro
The best ingredients won’t do much if the process is sloppy. A little bit of technique goes a long way.
1. The Non-Negotiable Patch Test
Seriously, don’t skip this. Just because something is ‘natural’ doesn’t mean you can’t be allergic to it. Before you slather a new mix all over your face, test a small amount on your inner arm. Cover it with a bandage, wait 24 hours, and if there’s no redness or itching, you’re good to go.
2. Prep and Hygiene
Always start with clean hands, a clean bowl, and clean tools. And since these masks don’t have preservatives, you need to make them fresh every single time. Treat it like you’re making fresh food for your face.
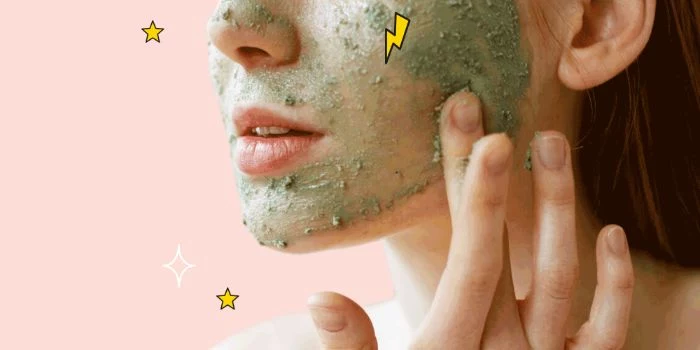
3. Application & Timing
- Start with a freshly cleansed, slightly damp face.
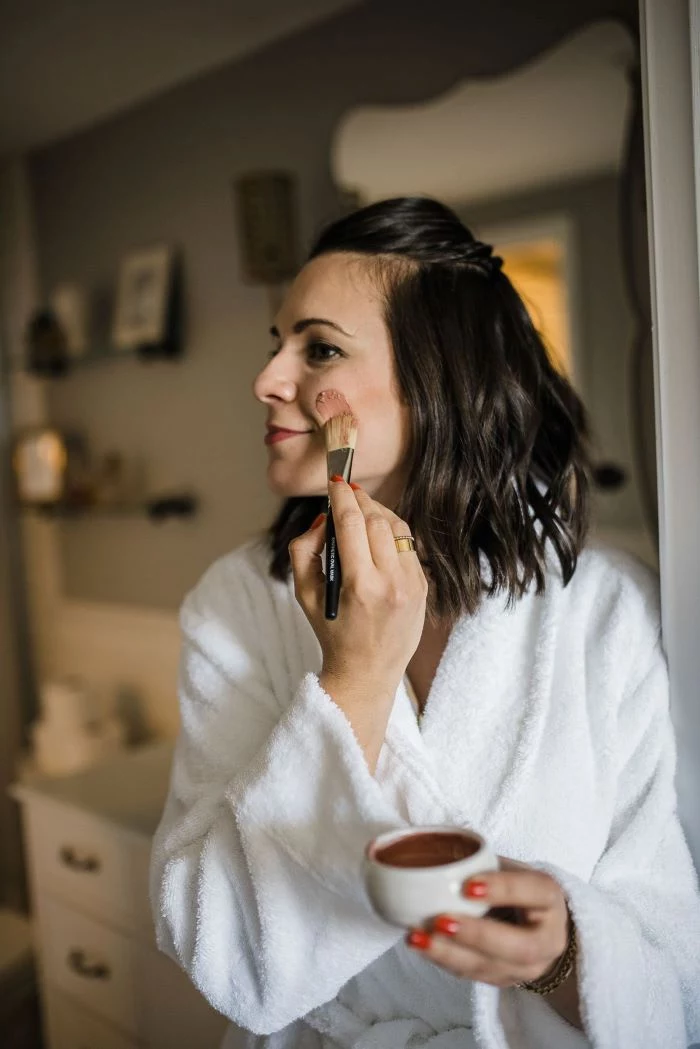
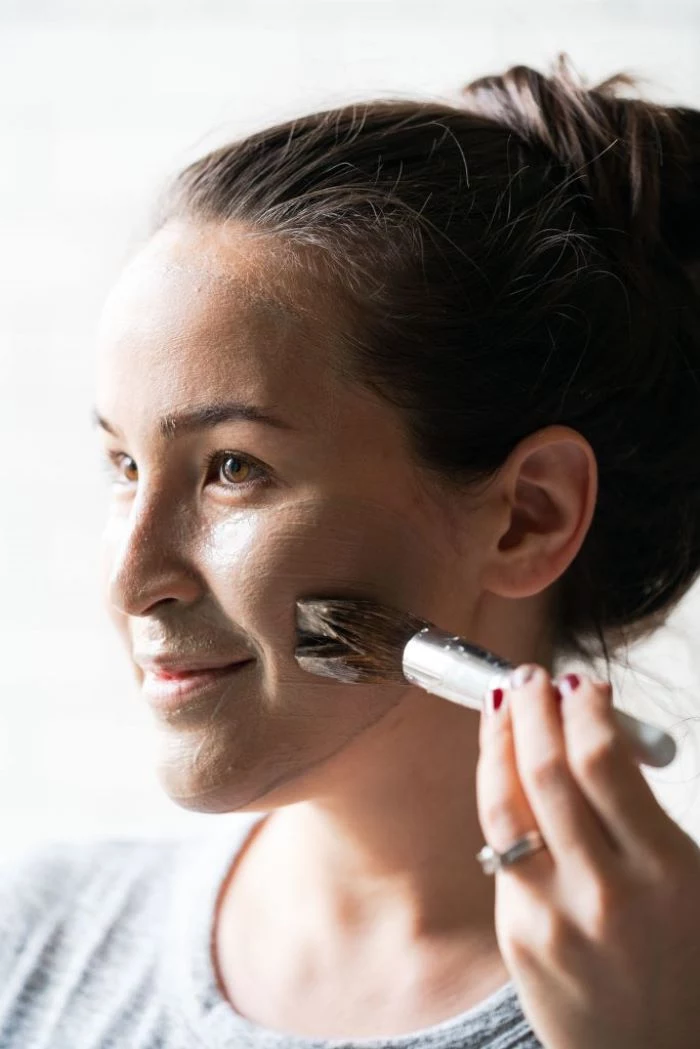
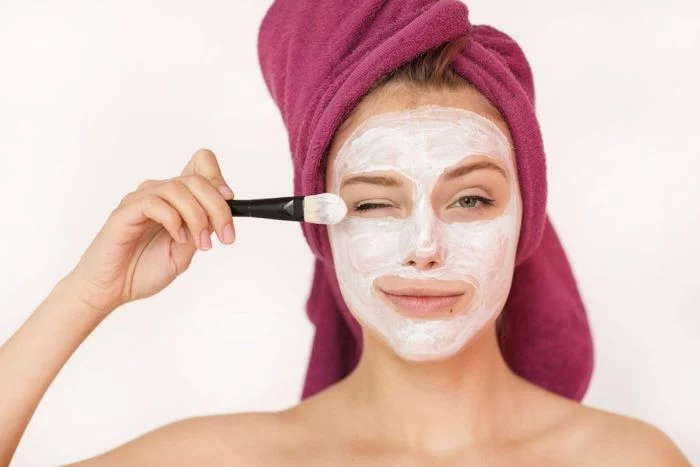
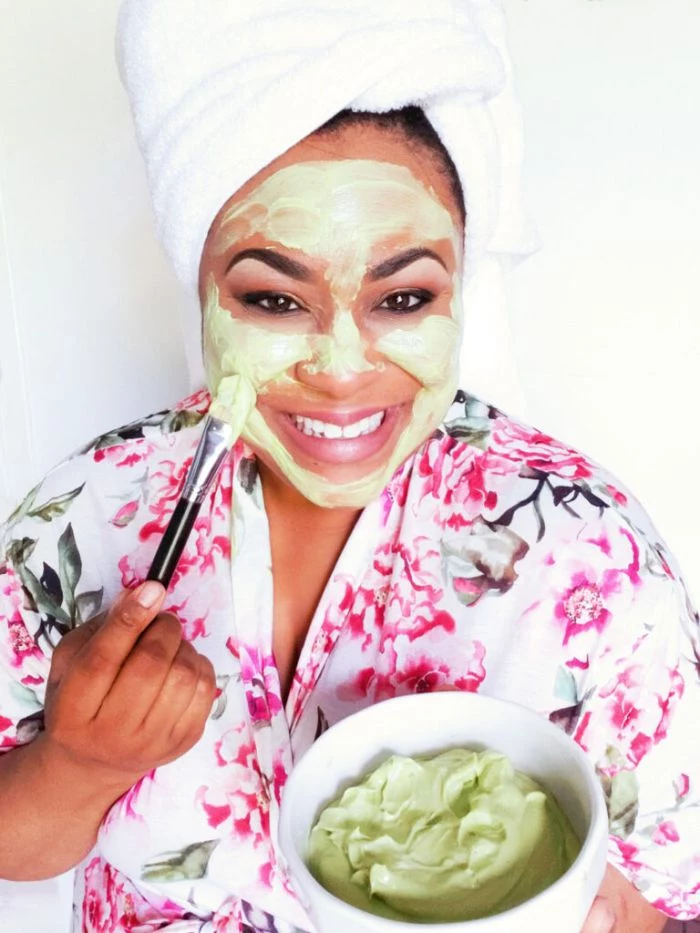
- You can use your fingers, but a cheap synthetic brush from a beauty supply store gives a much more even application and feels way more professional.
- Work in upward strokes from your neck, avoiding the delicate skin right around your eyes and lips.
- Heads up! Got an oily T-zone but dry cheeks? Try multi-masking. It’s a trick we use in the treatment room all the time. Apply a clay mask just to your nose, chin, and forehead, and a hydrating oat mask to your cheeks. You get a completely customized treatment in one go!
- Timing is crucial. For hydrating masks, 10-15 minutes is perfect. For clay masks, do not let them dry completely. You want to remove it when it’s turned a lighter color but is still slightly tacky to the touch. If it gets to the cracking, flaking stage, it’s started to suck the moisture right back out of your skin.
4. Removal and Follow-Up
Don’t scrub a mask off. Press a warm, wet washcloth to your face for about 30 seconds to soften it first, then rinse gently with lukewarm water. Pat your skin dry and immediately apply your serum and moisturizer to lock in all the benefits.
A Few Starter Recipes
Think of these as templates. Feel free to customize them based on what your skin needs.
Quick Win: The 5-Minute Miracle Mask
In a rush? Mix one teaspoon of raw honey with one teaspoon of full-fat plain yogurt. Apply it for 5 minutes before you hop in the shower. It’s an instant boost of softness and hydration.
The Soothing Mask for Dry or Sensitive Skin
This is all about calming redness and supporting your skin barrier. The oatmeal soothes, the avocado nourishes, and the honey hydrates.
- Ingredients: 1 tbsp finely ground oatmeal, 1/4 ripe avocado (mashed), 1 tsp raw honey.
- How-To: Mix the avocado and honey until smooth, then stir in the oatmeal to form a paste. Apply to a clean, damp face for 15 minutes. It won’t dry hard.
- Frequency: This is gentle enough to use 1-2 times per week. Your skin will feel incredibly soft and calm.

The Deep-Cleansing Mask for Oily & Congested Skin
This formula uses bentonite clay to pull out impurities, with a little apple cider vinegar to help balance things out.
- Ingredients: 1 tbsp bentonite clay, 1 tsp raw apple cider vinegar, 2-3 tbsp cool green tea.
- How-To: In a glass or ceramic bowl, mix the clay and vinegar (it might fizz a bit!). Slowly stir in the green tea with a wooden or plastic spoon until you have a smooth paste. Apply a thin layer and leave on for 10 minutes, or until it’s light in color but still a bit tacky.
- Frequency: This is more of a deep-clean treatment, so stick to once a week, or just use it to spot-treat your T-zone as needed.
The Brightening Enzyme Mask for Dull Skin
Here, the natural enzymes in papaya and the lactic acid in yogurt work together to gently exfoliate away dullness.
- Ingredients: 2 tbsp plain full-fat yogurt, 2 tbsp fresh mashed ripe papaya, 1 tsp raw honey.
- How-To: Combine everything in a bowl. It will be a little runny. Apply to your face for 10-15 minutes. A slight tingle is normal, but if it stings, wash it off immediately.
- Frequency: A great brightening boost to use once a week before a special occasion.
Okay, Real Talk: When to See a Professional
This is probably the most important part. Homemade masks are a wonderful self-care ritual. They are for maintenance, support, and giving your skin a little extra love. They are not a treatment for medical skin conditions.
A honey mask can soothe a minor blemish, but it won’t cure cystic acne. A papaya mask provides a temporary glow, but it won’t erase deep wrinkles or significant sun damage. Those things require a real diagnosis and a professional treatment plan from a dermatologist or a licensed esthetician.
So, is making your own masks really cheaper? In the long run, absolutely. A $15 bag of clay and a $10 jar of raw honey will make dozens of masks, bringing the cost per treatment down to less than a dollar. But if you’re struggling with a persistent skin issue, investing in a professional consultation is the smartest and safest thing you can do. Think of DIY masks as a healthy home-cooked meal for your skin, and professional treatments as the medicine you need when you’re actually sick.
Inspirational Gallery
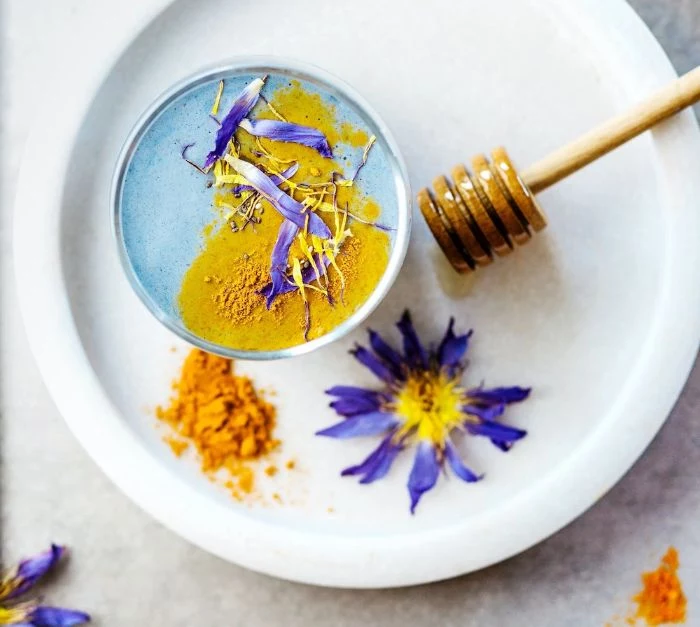
When mixing masks, especially those with clay, the tools you use matter. Always opt for a glass, ceramic, or wooden bowl and a wooden spoon or silicone spatula. Metallic bowls and utensils can react with active ingredients like bentonite clay, reducing their effectiveness before they even touch your skin.
- A smoother, more refined skin texture.
- A noticeable reduction in temporary redness.
- A feeling of deep, lasting hydration.
The secret? The multi-masking technique. Instead of applying one mask all over, apply a clay-based mask to your T-zone to absorb oil and a hydrating, creamy mask (like one with avocado and honey) to your cheeks and dry areas.
Not all honey is created equal. While raw honey is a fantastic humectant, Manuka honey, specifically UMF 10+ or higher, contains potent antibacterial properties.
This makes it a powerhouse ingredient for calming breakouts and soothing inflammation. A small amount added to any base mask can elevate its purifying benefits, making it a worthy, albeit pricier, addition to your DIY apothecary.
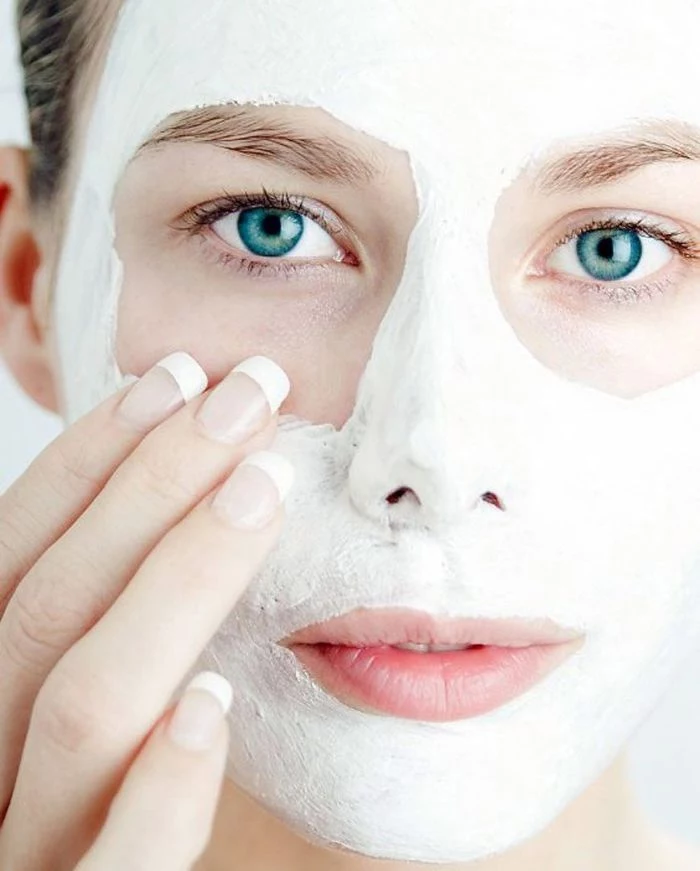
Kaolin Clay: A gentle, white clay perfect for sensitive or dry skin. It offers mild exfoliation and circulation-boosting properties without stripping the skin of its natural oils.
Bentonite Clay: Highly absorbent and detoxifying, this clay is a hero for oily and acne-prone skin. It swells when mixed with water, creating a porous structure that magnetically pulls impurities from the pores. Use this one with care if your skin is on the drier side.
Should my homemade mask tingle?
A very mild, brief tingling might occur with active ingredients like papaya enzymes or yogurt (lactic acid). However, if the sensation turns to stinging or burning, rinse it off immediately. This is your skin’s way of saying an ingredient is too harsh or that you’re having a reaction. Always patch-test a new recipe on your inner arm first.
Elevate your basic mask recipe with a targeted ‘booster’. Think of it as a serum shot for your DIY treatment. A little goes a long way.
- For brightening: A quarter teaspoon of organic turmeric powder.
- For soothing: A few drops of chamomile-infused glycerin.
- For an antioxidant kick: A pinch of high-quality matcha powder, like the ceremonial grade from Ippodo Tea.
- For repair: The oil from one Vitamin E capsule.
In Ayurvedic tradition, a paste of turmeric, chickpea flour (besan), and milk or yogurt, known as ‘Ubtan,’ has been used for centuries as a pre-wedding bridal treatment for glowing skin.
The number one mistake with clay masks: letting them dry completely. That tight, cracked feeling isn’t a sign of success; it means the mask has drawn out all the surface moisture from your skin, leading to dehydration and irritation. Rinse it off when it’s about 70-80% dry—still slightly tacky to the touch—to get all the purifying benefits without the drawbacks.
The ritual is as important as the recipe. Enhance the sensory experience by gently warming your honey in a bowl of warm water before mixing, or by spritzing your face with a chilled floral hydrosol—like rosewater from Alteya Organics—before and after application to calm both skin and mind.
- Avoid using straight, undiluted lemon juice. Its pH is extremely acidic and can cause photosensitivity and severe irritation.
- Never use baking soda. It’s highly alkaline and will disrupt your skin’s protective acid mantle, leading to dryness and breakouts.
- Steer clear of harsh spices like cinnamon or clove, which are common skin irritants and can cause contact dermatitis.
A study in the journal *Dermato-Endocrinology* highlighted that the skin’s surface pH is naturally acidic, typically between 4.5 and 5.5. This ‘acid mantle’ is crucial for barrier function and defense against pathogens.
This is why highly alkaline ingredients like baking soda are so disruptive. A good DIY mask should respect this natural balance. Ingredients like yogurt or a tiny dash of apple cider vinegar (heavily diluted) can help support this acidic environment, unlike harsh, soapy cleansers.
Can I really use food from my pantry?
Absolutely, but freshness is key. Use the same quality you would eat. An overripe avocado is perfect, but avoid anything with visible mold or an off smell. Your face is not a compost bin. For dry ingredients like oats or flours, ensure they’ve been stored in an airtight container away from moisture to maintain their integrity.
Think beyond water: Instead of plain tap water, try mixing your powdered masks with a liquid that offers its own benefits. Aloe vera juice soothes and hydrates, cooled green tea provides a dose of antioxidants, and a splash of kefir or plain yogurt introduces skin-friendly probiotics and lactic acid for a gentle exfoliation.
Your mask doesn’t stop working when you rinse it off. What you do immediately after is crucial for locking in the benefits. After rinsing with lukewarm water, pat your skin damp-dry and immediately apply a hydrating toner or essence, followed by your favorite serum and moisturizer. This helps seal in the hydration the mask delivered and protects your freshly exfoliated skin.
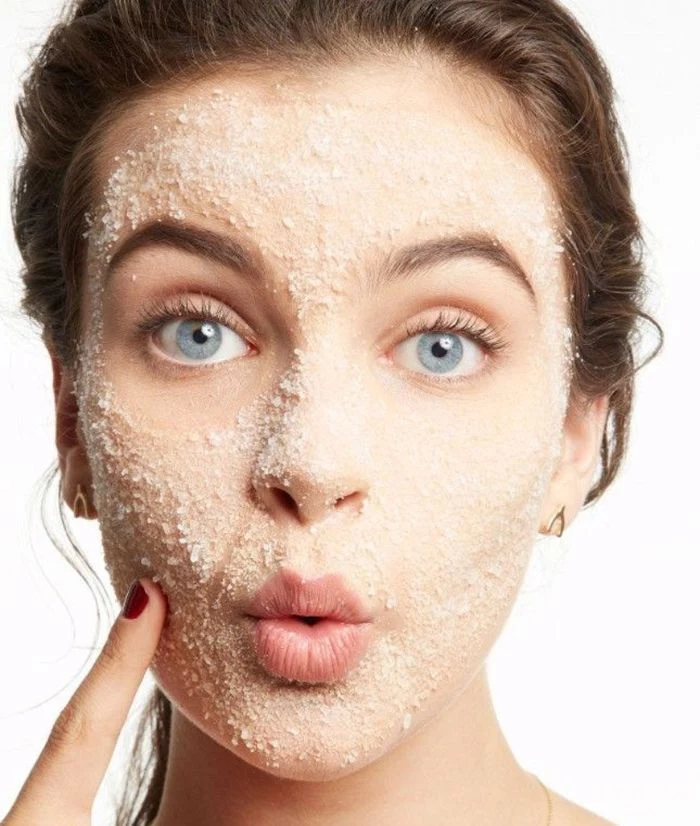
- Oats can be ground into a flour to create a soothing mask base or used as a gentle physical exfoliant.
- Plain, full-fat yogurt doubles as a mild enzymatic exfoliant and a probiotic-rich hydrator.
- Raw honey is a brilliant humectant for hydrating masks and an effective antibacterial spot treatment.
Building a DIY skincare pantry doesn’t have to be expensive; it’s about choosing versatile, high-quality staples.
For generations, Japanese women have used the milky water left over from rinsing rice as a skin and hair treatment. It’s rich in vitamins, minerals, and inositol, a compound believed to promote cell growth and slow the aging process.
To try it, simply save the water from rinsing a batch of uncooked rice (preferably organic). Let it sit for a few hours to ferment slightly, then apply it to your face with a cotton pad as a toning rinse or use it as the liquid base for a clay mask.
Jojoba Oil: Its molecular structure is incredibly similar to our skin’s own sebum, making it a light, non-greasy choice that helps balance oil production. Ideal for adding to a clay mask for oily or combination skin to prevent over-drying.
Rosehip Seed Oil: Rich in vitamins A and C, this oil is a regenerative hero, excellent for targeting scars, fine lines, and hyperpigmentation. A few drops in a hydrating mask for mature or dry skin boosts its anti-aging power. We love the cold-pressed version from The Ordinary for its purity and price.


