Your Guide to Drawing Better: How to Actually See Like an Artist
I’ve filled hundreds of sketchbooks over the years, from personal projects to professional illustration work. But I can still feel that all-too-familiar panic of staring at a blank page. The urge to create is there, but your mind is just… empty. So, what on earth do you draw?
In this article
A lot of people just search for lists of “fun things to draw.” But honestly, a list doesn’t teach you the most important skill: how to see. This guide is different. I’m not just going to give you subjects; I’m going to walk you through how a working artist thinks, from the simplest warm-ups to the really complex stuff.
Think of it this way: drawing isn’t some magical talent you’re born with. It’s a skill, just like learning an instrument. It’s built through patient practice and, crucially, learning how to translate the 3D world onto a 2D surface. So let’s get you set up first.
What Gear Do You Actually Need? (Hint: Not a Lot)
Before we start, let’s talk about supplies. You can get everything you need to begin for under $20, so don’t feel like you need to break the bank. Forget the fancy, overwhelming art store aisle.
Here’s a great beginner’s kit:
- A decent sketchbook. Look for something like a Strathmore 400 Series sketchbook. The 9×12 inch size is great for your desk, and a smaller 5.5×8.5 inch one is perfect to carry around. They cost about $8 to $15.
- A basic set of drawing pencils. A starter set from a brand like Faber-Castell or Staedtler is perfect. You want one that includes a range of pencils, from hard (like a 2H) to soft (like a 6B). A good set will run you about $10.
- A kneaded eraser. This is the squishy, putty-like eraser. It’s the best because it doesn’t leave little bits behind and you can shape it to a point for small details. They’re super cheap, usually just a couple of dollars.
That’s it. You can find all this stuff at a local art supply store or online. Now, let’s get to work.
The Foundation: Learning to See, Not Just Look
Okay, first thing’s first: we need to rewire your brain a bit. Normally, when you see a coffee cup, your brain just goes “cup” and slaps a familiar symbol on it. To draw well, you have to bypass that shortcut and see it for what it really is: a collection of lines, curves, shadows, and highlights. Overcoming this is your first big win as an artist.
This process of training your hand and eye to work together literally forges new pathways in your brain. The exercises might feel weird, but they’re based on generations of art instruction for a reason. They work.
The Best Exercise You’re Probably Not Doing
One of the most powerful methods is the blind contour drawing. It sounds a little pointless, but trust me on this.
Here’s how to do it: Grab an object—your own hand is a fantastic subject. Place your pencil on your paper, but here’s the key: DO NOT look at your paper. Look only at your hand. Let your eye slowly trace the edges, dips, and curves of your hand. Imagine a tiny ant crawling along the contour. As your eye moves, your pencil has to move at the exact same speed. Don’t lift it up; just one continuous line.
The final drawing will look hilariously awful. That’s the entire point! The goal isn’t a pretty picture; it’s the process. You’re forcing your eye and hand to sync up.
Your First Assignment: For the next seven days, find five minutes to do a blind contour drawing of your non-dominant hand. Date each one. At the end of the week, put the first and last drawings side-by-side. You will be surprised at the difference.
Once you get the hang of that, you can try a modified version. Follow the same process, but let yourself peek at the paper maybe 10% of the time, just to check your placement. The other 90% of the time, your eyes are still glued to the subject. This is a great warm-up I still use today.
Drawing From Life: Finding Beauty in a Coffee Mug
Now that you’re learning to see, let’s apply it to real objects. Forget grand landscapes for now. Your best teachers are right there on your desk: a set of keys, a crumpled tissue, a worn-out shoe, an apple. They’re great because they don’t move, they have interesting textures, and they teach you about light and shadow without being overwhelming.
Understanding Light and Form
Everything you see is revealed by light. To make something look three-dimensional, you have to understand how light behaves. Set an object, like an egg or an apple, on a plain surface with a single strong light source (like a desk lamp) off to one side.
Now, just look. You’ll see five distinct zones:
- Highlight: The brightest spot where light hits directly.
- Mid-tone: The actual, true color or value of the object.
- Core Shadow: The darkest part of the shadow on the object itself.
- Reflected Light: A faint light that bounces off the table and back onto the object’s shadow side. This is the secret sauce! It’s the most commonly forgotten part, but it’s what stops your shadows from looking like flat, black holes and makes the object feel solid.
- Cast Shadow: The shadow the object throws onto the surface below it.
Seriously, identifying these five things is non-negotiable. I’ve seen countless students struggle until this finally clicks. It’s the moment a flat circle finally turns into a sphere.
Pro Technique: Building a Still Life
Once you’re good with one object, grab two or three with different textures—say, a ceramic mug, a metal spoon, and a piece of fruit. Arrange them so they overlap a bit to create a sense of depth.
Here’s the process:
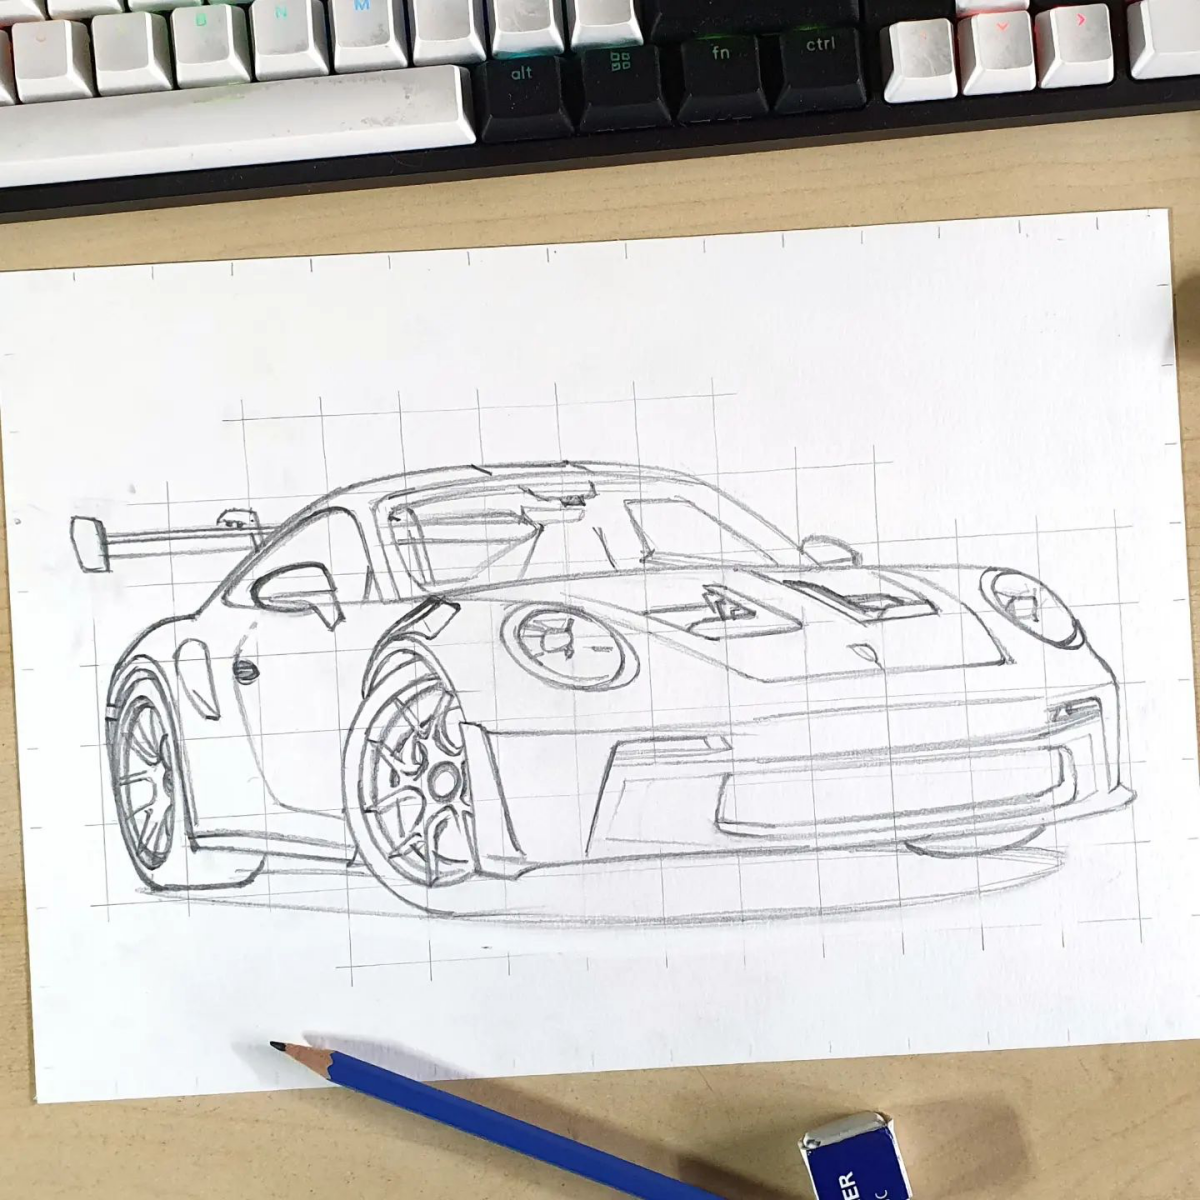
- Block-In: With a hard pencil (like a 2H), lightly sketch the main shapes. Don’t even think about details. Just focus on the overall size and placement. A great trick here is to squint your eyes; it blurs out the details and helps you see the big, simple shapes. This is also where you check your angles and proportions. A classic trick is to hold your pencil out to measure things. To do this, fully extend your arm, close one eye, and line up the tip of the pencil with the top of an object. Then, slide your thumb down to mark the bottom. Now you have a unit of measurement you can use to compare the height and width of everything else in the scene.
- Refine Contours: Once the main shapes look right, go back over your lines to define the actual outlines of the objects. Your contour practice will really pay off here.
- Map Shadows: Lightly draw the line that separates the light side from the shadow side on each object. This is your road map for shading.
- Add Value (Shading): Now for the fun part. Before we start, let’s quickly decode your pencils. It’s simple: ‘H’ pencils are Hard, which makes them great for light initial sketches. ‘B’ pencils are Black (or soft), which makes them perfect for dark lines and shadows. The bigger the number, the more extreme it is (a 6B is way darker and softer than a 2B). Easy, right?
Okay, so start shading with a mid-range pencil, like an HB or 2B. Fill in all your mapped-out shadow areas with a light, even tone. Then, slowly build up your darks. Switch to your softer pencils (4B, 6B) for the darkest parts, like the core shadows. And please, don’t press hard! Let the softness of the pencil do the work. A good still life can take a few hours. Be patient. The goal is accuracy, not speed.
Capturing the Natural World
Moving from a controlled still life to the wildness of nature is a big step. A tree has thousands of leaves, a field has a million blades of grass. The beginner’s mistake is trying to draw every single one. The pro’s secret is to simplify and suggest.
Look for the big shapes first. Treat a whole clump of leaves on a branch like a single object. Shade it with its own highlight, mid-tone, and core shadow. Then, just add a few detailed, defined leaves around the edges. Your brain fills in the rest. It’s magic.
Also, pay attention to the quality of the light. On a bright, sunny day, shadows will be dark and have sharp, hard edges. On an overcast day, the light is diffused, creating soft shadows with gentle, blurry edges. Capturing this single detail will make your landscapes feel so much more real.
Quick heads-up for sketching outdoors: Be practical! I learned this the hard way after getting a wicked sunburn while getting lost in a drawing. Always bring water, sun protection, and maybe a small portable stool. A simple sketchbook and a few pencils are all you need. Don’t overcomplicate it.
The Ultimate Challenge: Drawing Living Things
Drawing people and animals is tough, no doubt about it. They move, their anatomy is complex, and they show emotion. This is where all your practice with shapes, light, and simplifying complexity comes together. A lot of people want to jump right to drawing portraits, but if you haven’t mastered the fundamentals, it’s usually a recipe for frustration.
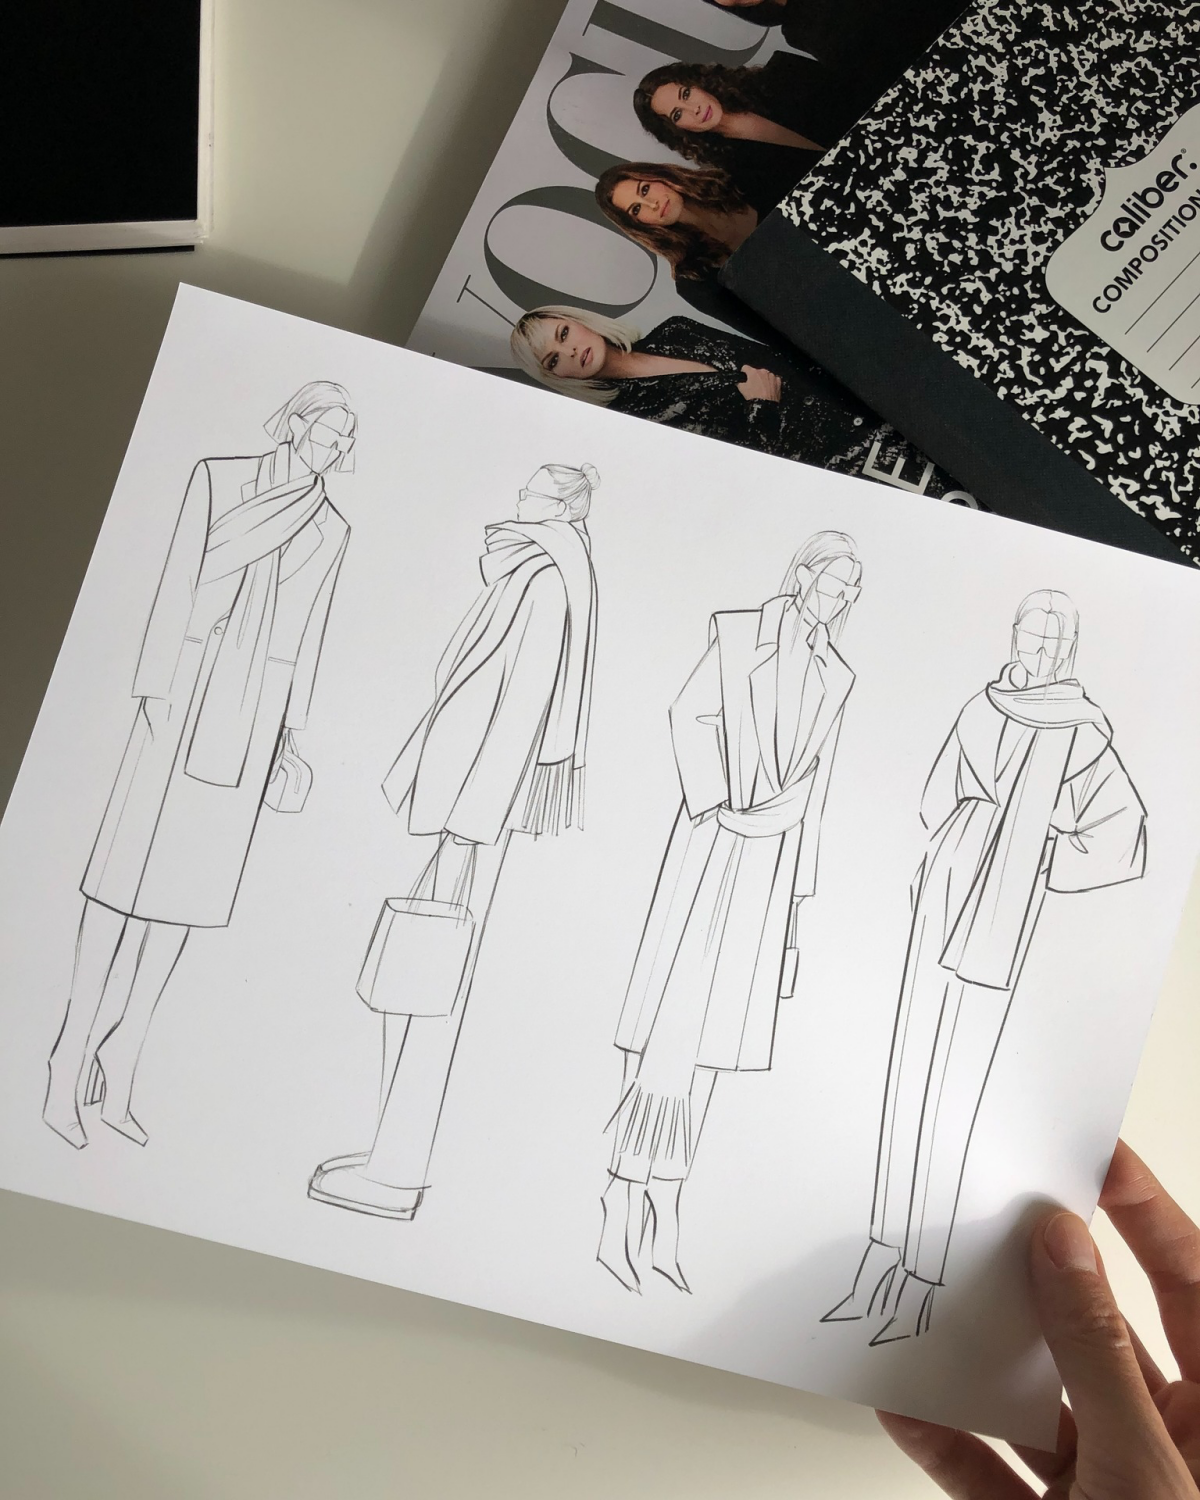
Gesture and Anatomy Are Your Friends
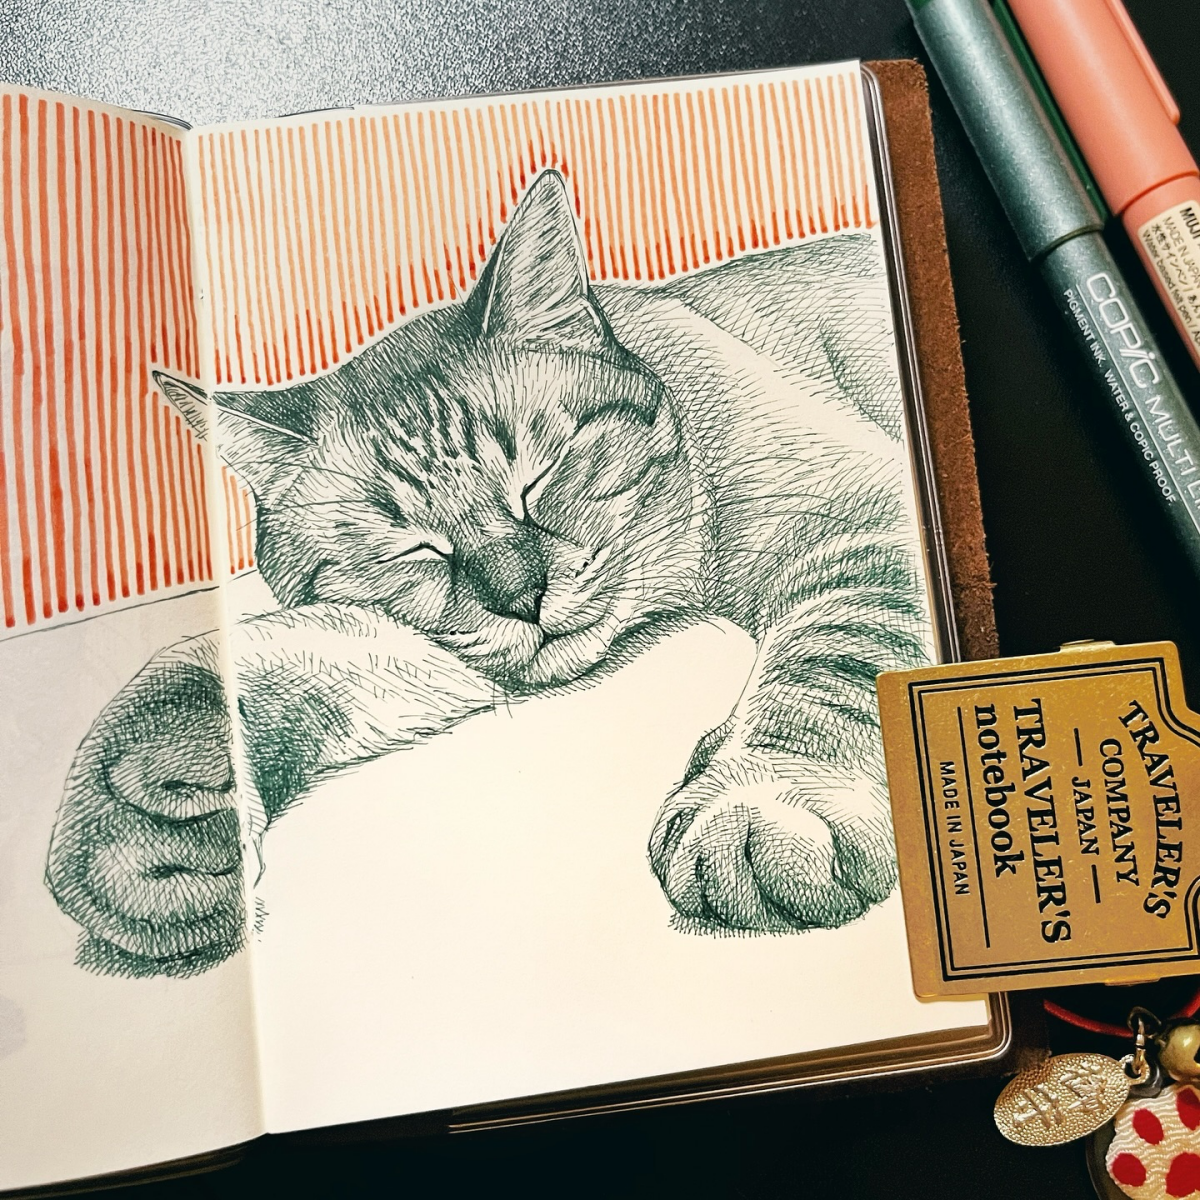
The single most important skill here is gesture drawing. This is a super-fast sketch (think 30 seconds to 2 minutes) that just captures the energy and movement of the subject. Don’t draw the outlines; draw the action. Use big, flowing lines. You can practice this anywhere: sketch people at a park, birds in your yard, your cat napping. It trains you to see the whole form instantly.

After gesture comes anatomy. You don’t need a medical degree, but you do need to learn the basic structures under the skin. There are some fantastic, classic books out there on artistic anatomy that are considered essential for a reason. You can find many of them in the public domain with a quick online search—they’re an absolute goldmine for understanding how the body is built.
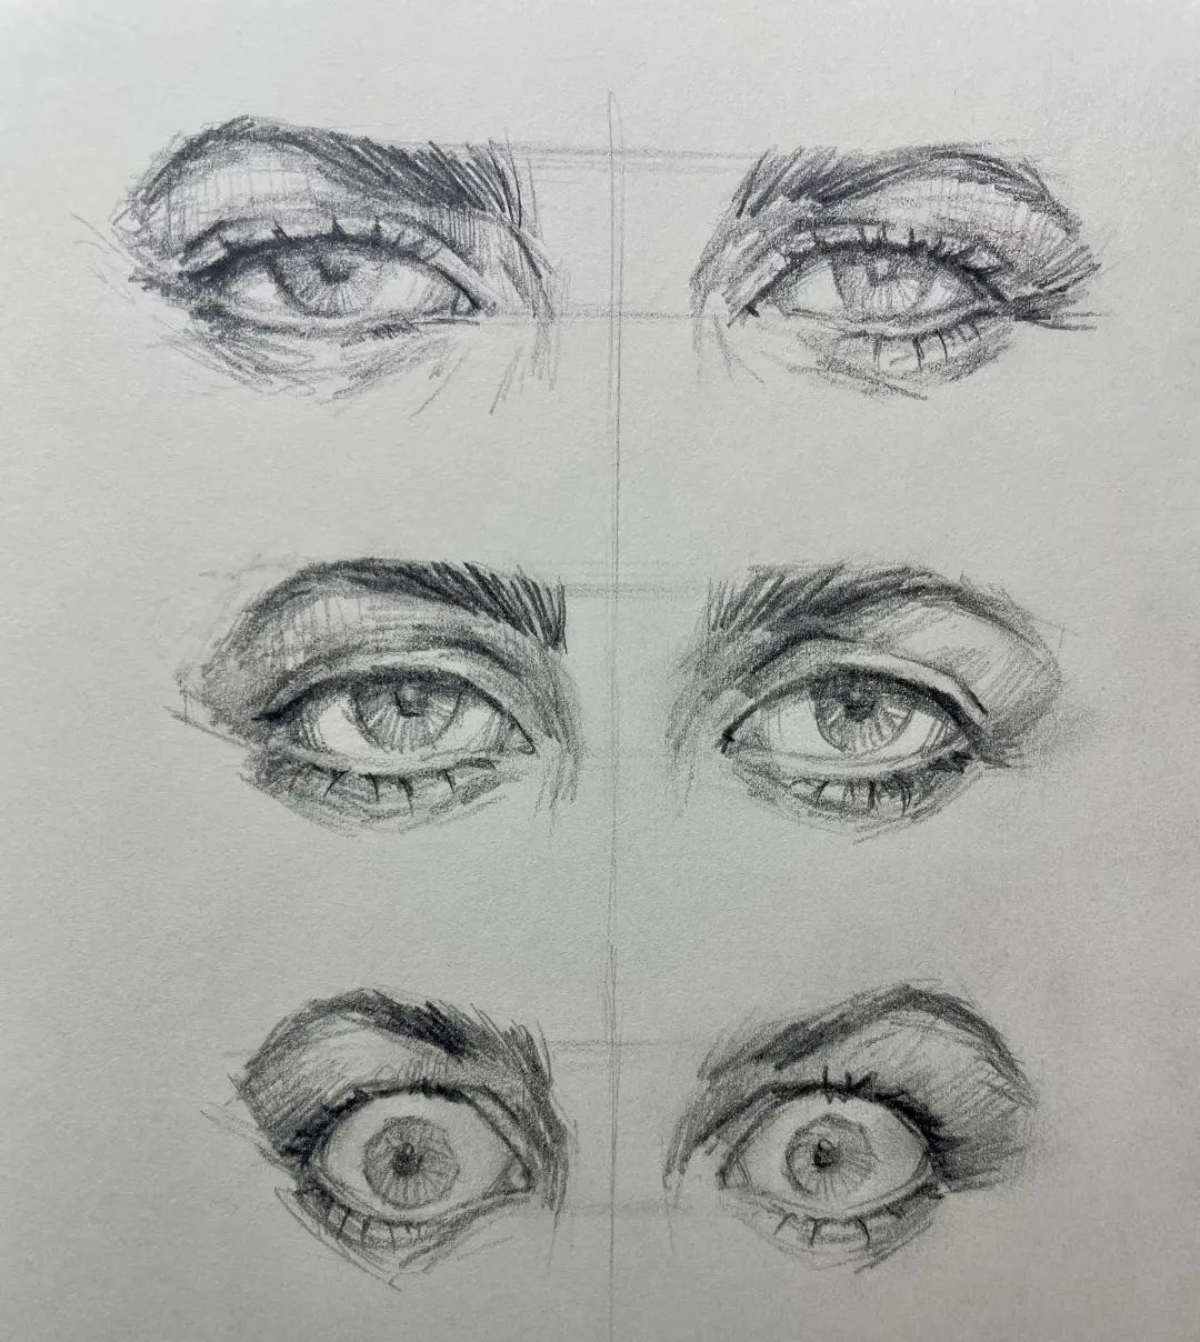
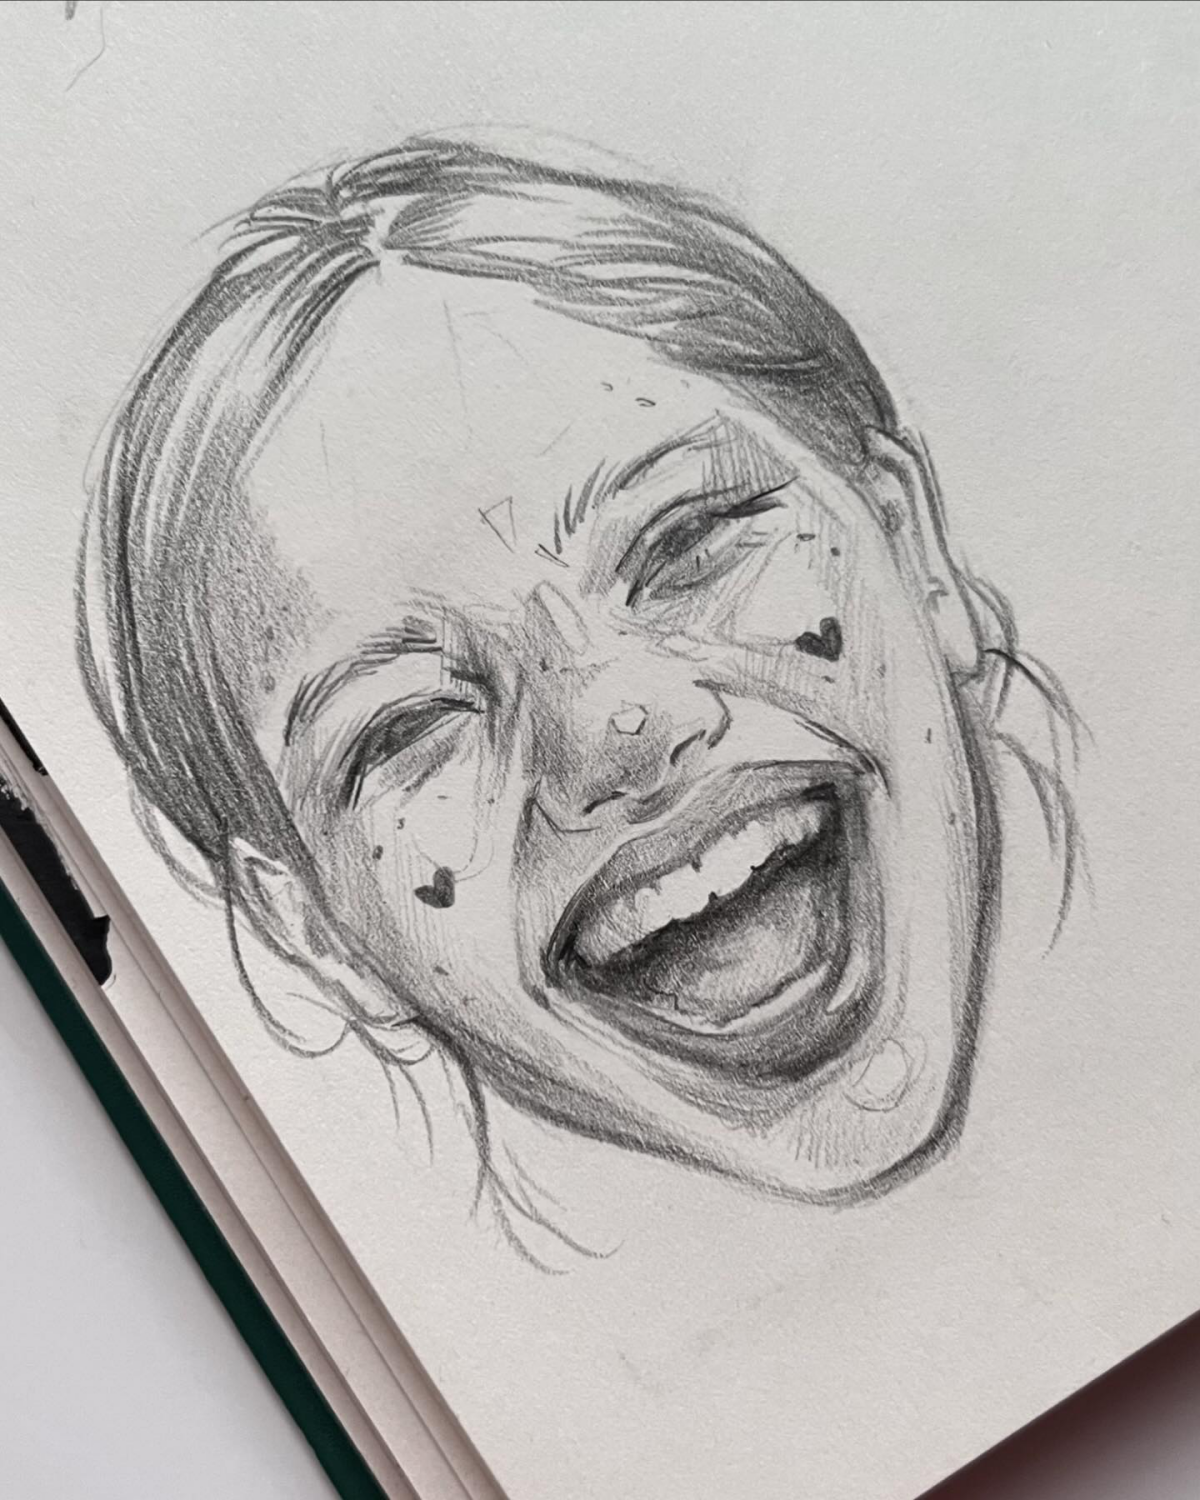
A Quick Word on Portraits
A portrait is so much more than a likeness. My advice is to start with a structural method, which uses a ball and planes to construct the head. This ensures the proportions are right before you even think about drawing the eyes or mouth. Basic rules of thumb help, too: the eyes are about halfway down the head, the bottom of the nose is halfway between the eyes and chin, etc. They’re guidelines, not laws, but they’re a vital starting point.
And be ready to fail! I have a box of my early attempts, and they are… humbling. I remember one of my first paid commissions was a total disaster. I was working from a photo and copied the shadows perfectly, but I didn’t pay attention to the underlying structure of the skull. The eyes ended up too high and the jaw was too wide. It looked like a funhouse mirror version of the person, and I couldn’t figure out how to fix it. That taught me a huge lesson: a photo is just a reference. Your knowledge of anatomy is what makes the drawing truly work.
Drawing From Imagination: Making Fantasy Feel Real
So you want to draw dragons, spaceships, and fantasy worlds? Awesome. That’s where art becomes pure creation. But here’s the secret every single professional concept artist knows: believable fantasy is always grounded in reality. Every skill we’ve just talked about—understanding form, light, anatomy, texture—is the foundation you need to make the impossible look possible.
Want to design a creature? Start with a real animal’s skeleton. Want to create an alien landscape? Use the principles of atmospheric perspective you learned from drawing real mountains. By building your visual library from the real world, you give your imagination an infinite set of Lego bricks to build with. Now, go fill that sketchbook.
Galerie d’inspiration

Kneaded Eraser: Perfect for lifting graphite gently, creating subtle highlights, and it won’t damage your paper. It’s your tool for soft, nuanced corrections.
Detail Eraser: For sharp, precise removals. A pen-style eraser like the Tombow Mono Zero is a game-changer for cleaning up tight corners or creating crisp edges in hair or texture. It erases with the precision of a pencil line.
Think of them as two different brushes for ‘un-drawing’ – one for broad strokes, one for fine details.
- Captures the energy and movement of a subject.
- Teaches your hand to be loose and confident.
- Helps you understand proportion and form in seconds.
The secret? Gesture drawing. Set a timer for 30 or 60 seconds and try to capture the essence of a pose or object with a few flowing lines. Don’t worry about details; focus on the main line of action. It’s the best warm-up to learn to ‘see’ the bigger picture.
Drawing is a skill that can be taught and learned… It is not a magical ability that some people have and others do not. It is a skill that is just as natural as reading and writing.
This insight from Betty Edwards, author of the seminal book
The one mistake to avoid: Treating every page of your sketchbook like a final masterpiece. A sketchbook is a gym, not a gallery. It’s where you should feel free to make ugly, awkward, and experimental drawings. If every page is perfect, you’re not pushing your skills. Embrace the mess; it’s proof that you’re learning.
Should I start with a digital tablet instead of a sketchbook?
It’s a tempting idea, especially with powerful apps like Procreate on the iPad or the free desktop software Krita. Digital drawing offers the magic of the ‘undo’ button and endless colors. However, many instructors recommend starting with paper. It builds a fundamental hand-eye coordination and a connection to the material that can’t be replicated. There’s no right answer, but a simple pencil forces you to solve problems instead of just erasing them, which is an invaluable skill.
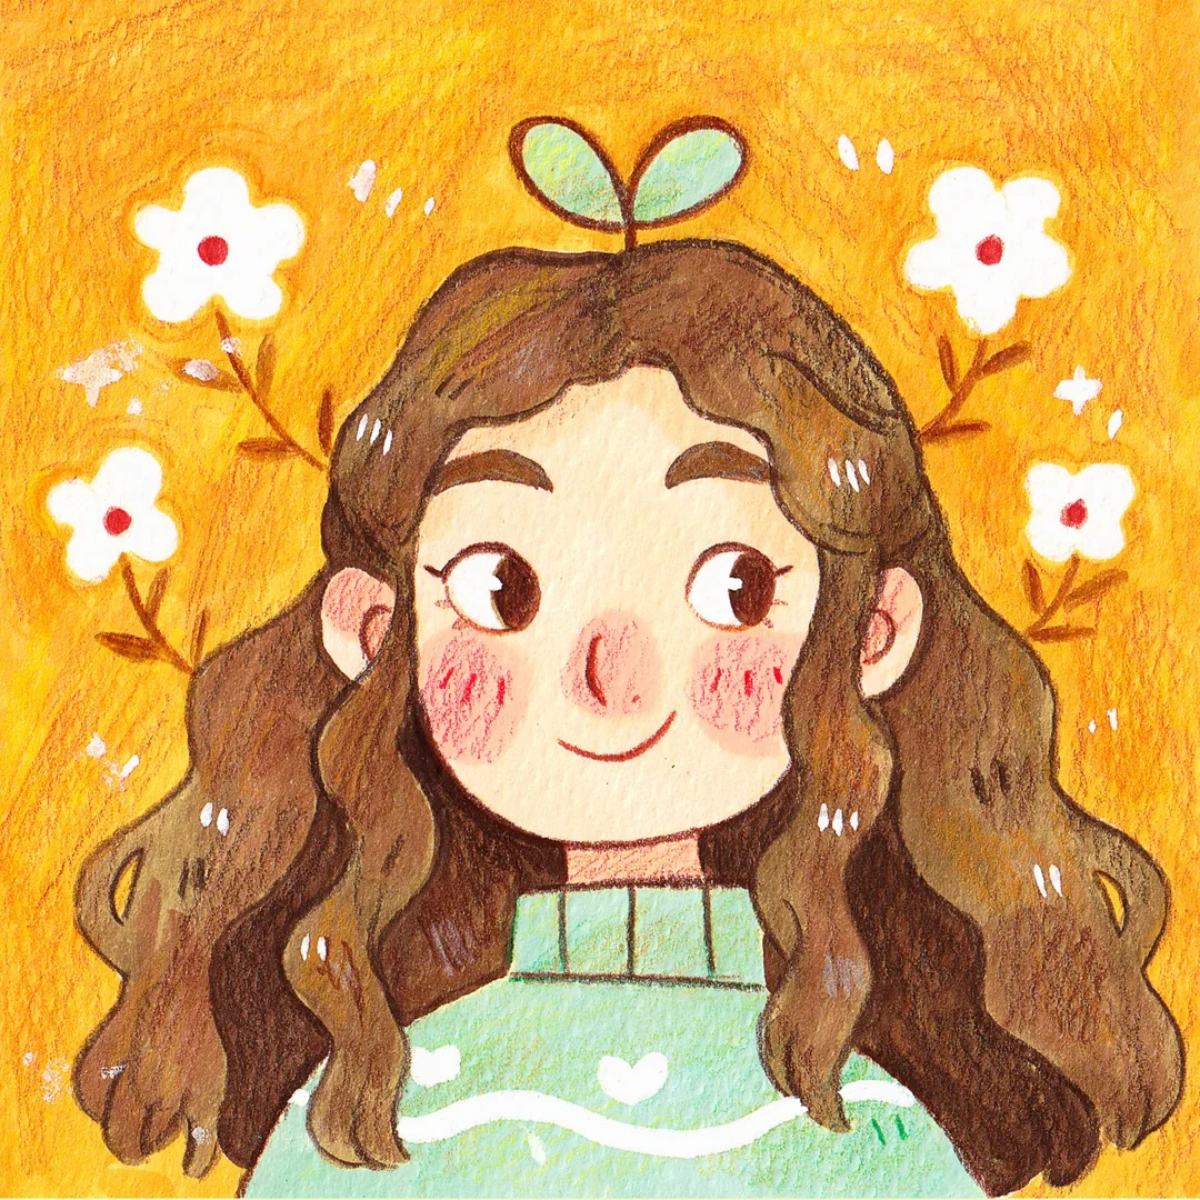
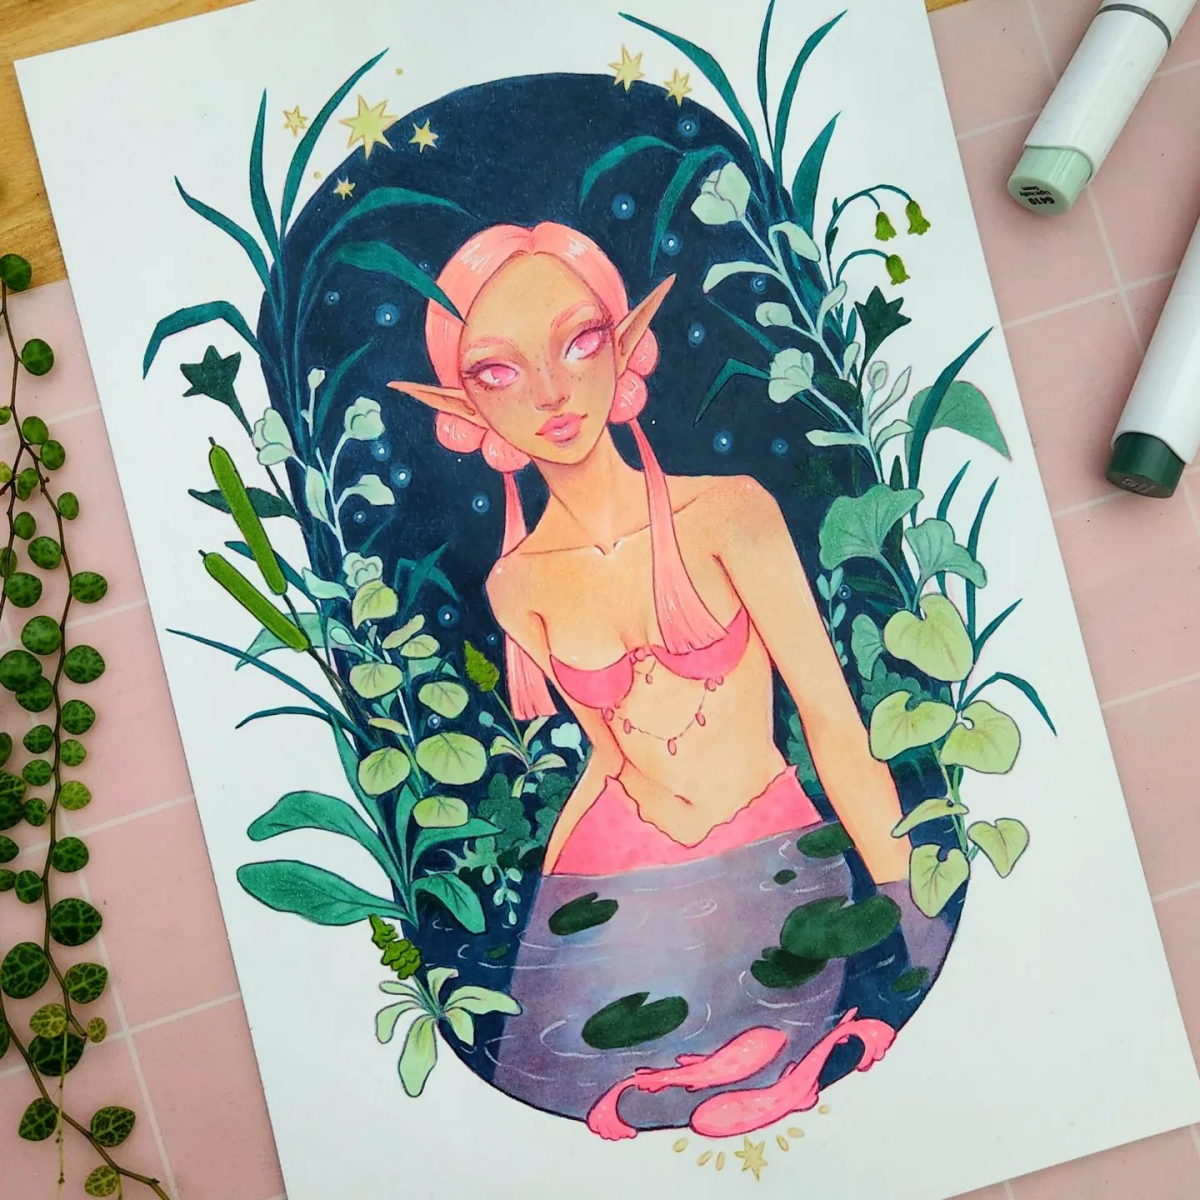
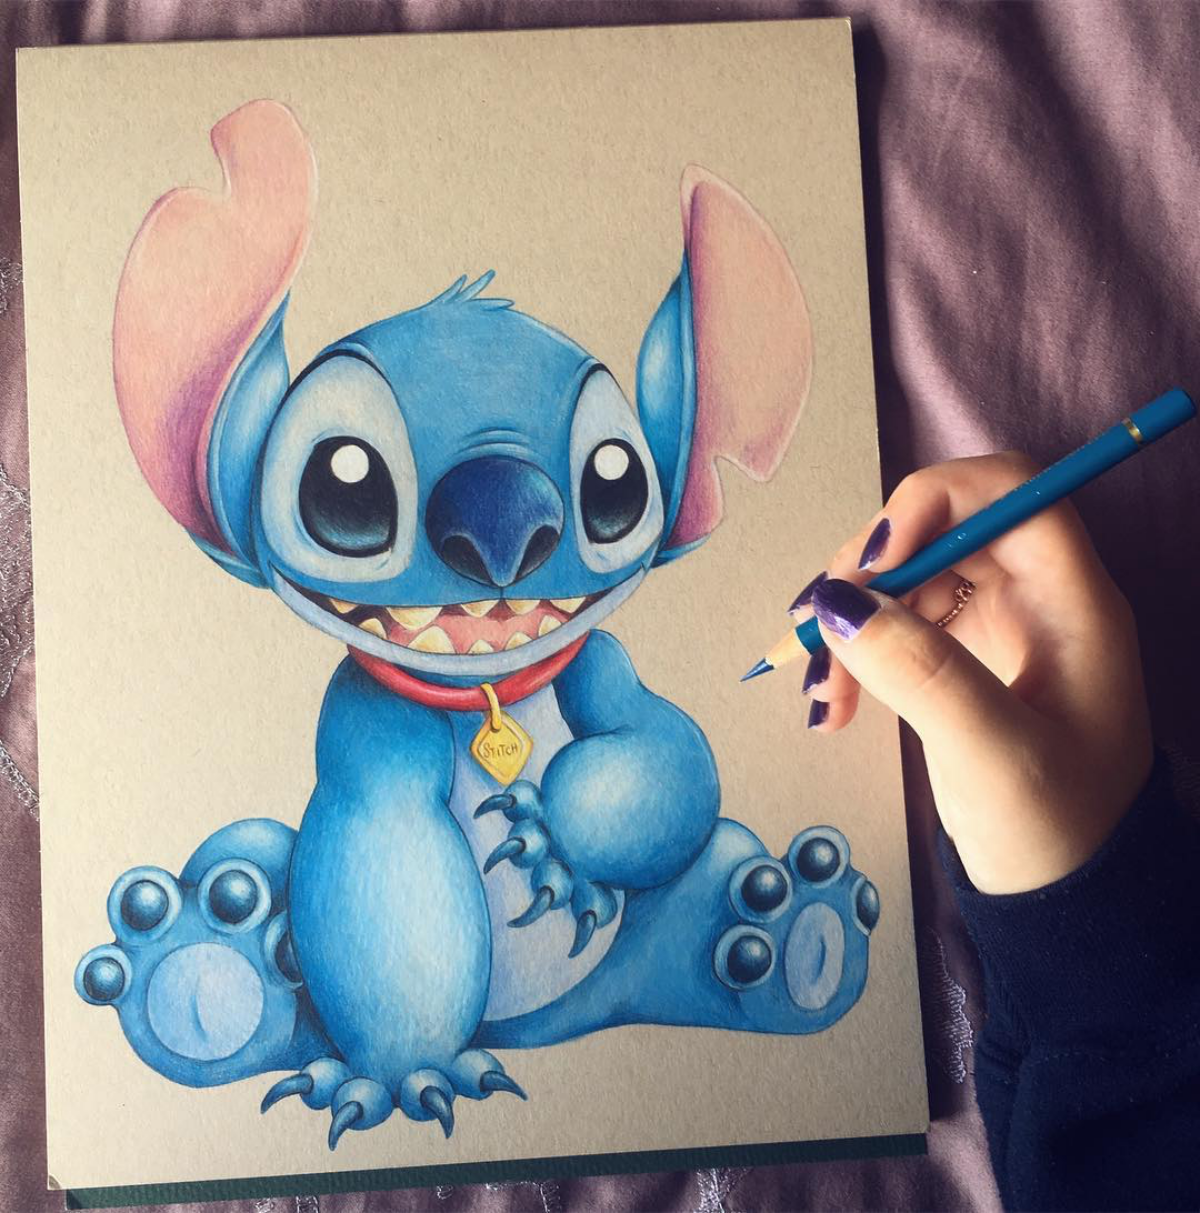
Once you’re comfortable with graphite, adding color is the next exciting step. But not all colored pencils are created equal. For blending and rich, vibrant layers, wax-based pencils are a fantastic choice. For crisp details and less smudging, oil-based pencils are superior.
- For soft, buttery blending: Try a starter set of Prismacolor Premier pencils. They are famous for their soft core that allows for beautiful layering.
- For durable, precise lines: Faber-Castell Polychromos are oil-based, harder, and hold a sharp point for longer, making them ideal for detailed work.


