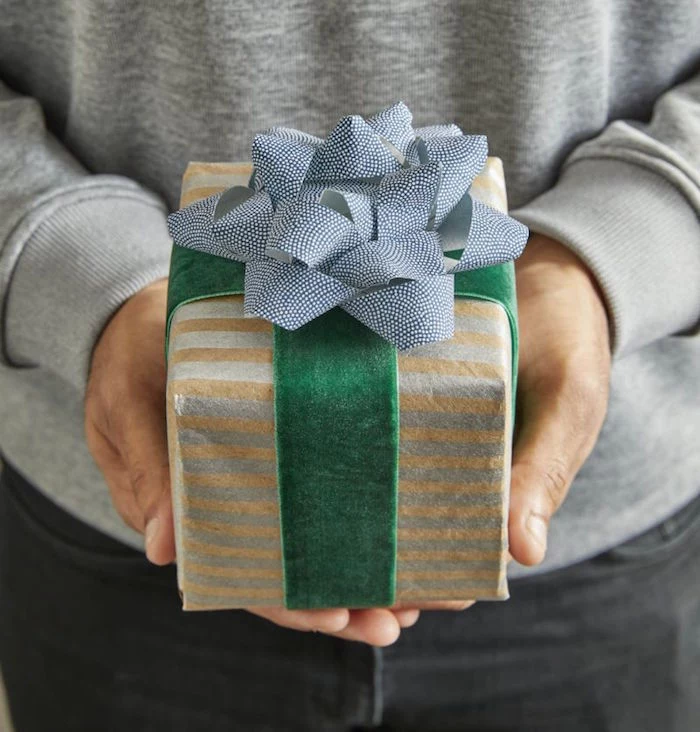
Secrets from the Wrapping Counter: How to Gift Wrap Like a Pro
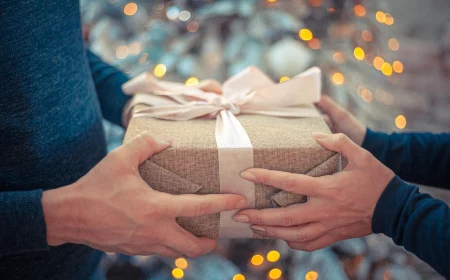
My first few holiday seasons were a real trial by fire, working the gift wrap counter at a fancy department store. I’m talking endless lines of shoppers, every box shape imaginable, and a manager who demanded corners so sharp you could practically cut glass on them. It was there, with aching feet and more paper cuts than I can count, that I truly learned that gift wrapping isn’t just about hiding a present. It’s a craft. It’s the very first part of the gift someone experiences, and it says “I care about this” before the box is even opened.
Over the years, I’ve taught this craft to a lot of people, and the core principles are always the same. It really just boils down to three things: picking the right materials, mastering a few core techniques, and working with a bit of precision. This isn’t about being overly fussy; it’s about creating a clean, beautiful presentation that honors both the gift and the person getting it. So, let’s ditch the crumpled corners and excessive tape for good. I’m going to walk you through the exact methods we used professionally, so you can make any gift look incredible.
First Things First: Your Toolkit and Paper
A flawless wrap starts way before you even cut the paper. The quality of your tools and the paper you choose can be the difference between a frustrating mess and a stunning finish. The pros rely on a small, curated set of tools for a reason—they make the job so much easier.
The Essential Tools of the Trade
You honestly don’t need much, but investing in the right things will save you a world of headache. Here’s what’s in my kit.
- Something Sharp for Cutting: Standard scissors are okay in a pinch, but they tend to crush paper fibers, leaving a slightly fuzzy edge. For that razor-sharp, professional edge, I swear by a rotary cutter used with a self-healing mat and a metal ruler. A good rotary cutter glides through paper like a dream. You can get a solid cutter and mat set for about $25-$40 at any craft store or online. A simple craft knife also works wonders. Heads up! A sharp blade is a safe blade because it requires less force. Always cut away from your body and keep your fingers clear. A common mistake is the ruler slipping, so anchor it firmly with your non-dominant hand, spreading your fingers wide and well away from the blade’s path.
- The Right Kind of Tape: This is a game-changer. That shiny, visible tape just screams amateur. The absolute best trick I can give you is this: use double-sided tape for the main seam. It completely disappears. You can pick up a roll for just a few dollars. For the ends, where you need a bit more strength, a quality matte-finish
Inspirational Gallery
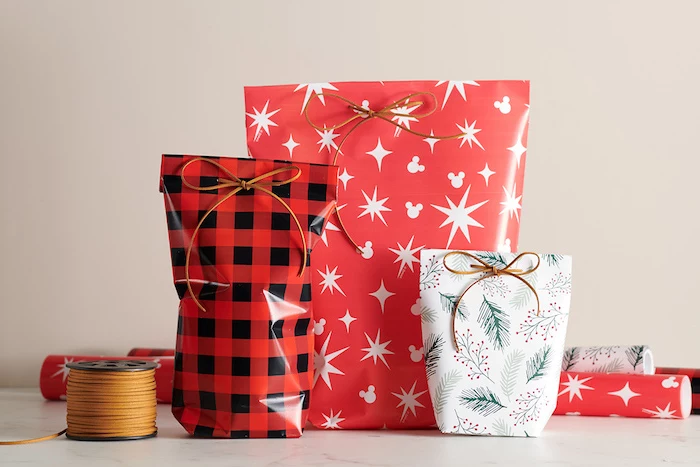
An estimated 4.6 million pounds of wrapping paper are produced in the U.S. each year, and about half of that ends up in landfills.
This staggering number encourages a more mindful approach. Opt for high-quality, recyclable paper (avoiding glitter and foil) or explore reusable options like fabric. A beautiful wrap can be both stunning and sustainable.

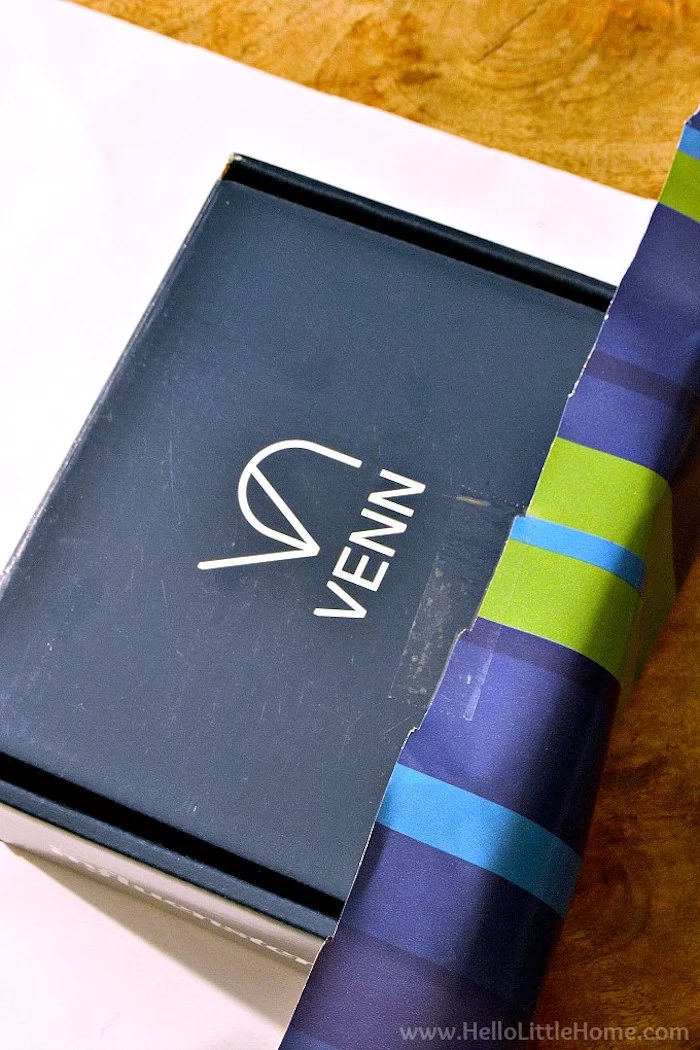
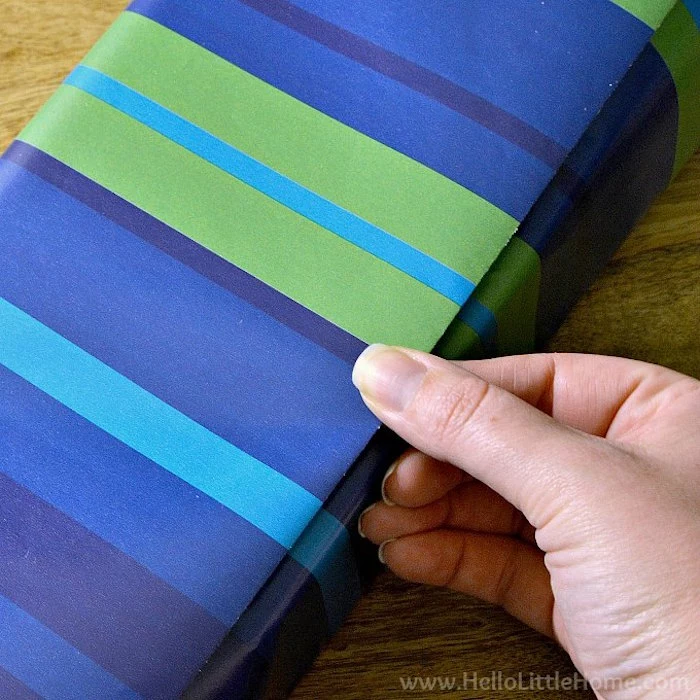
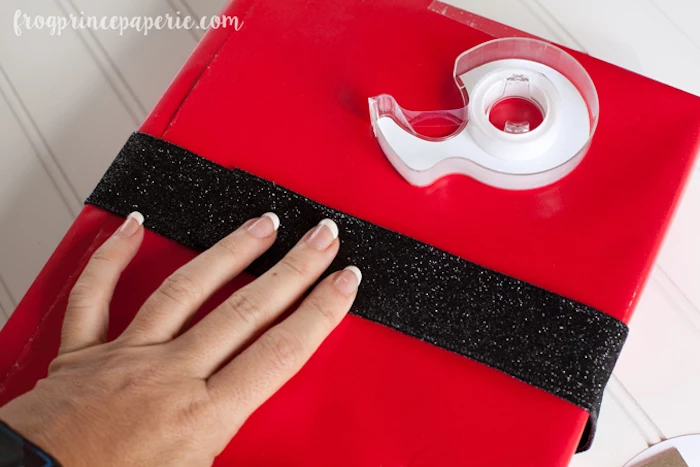
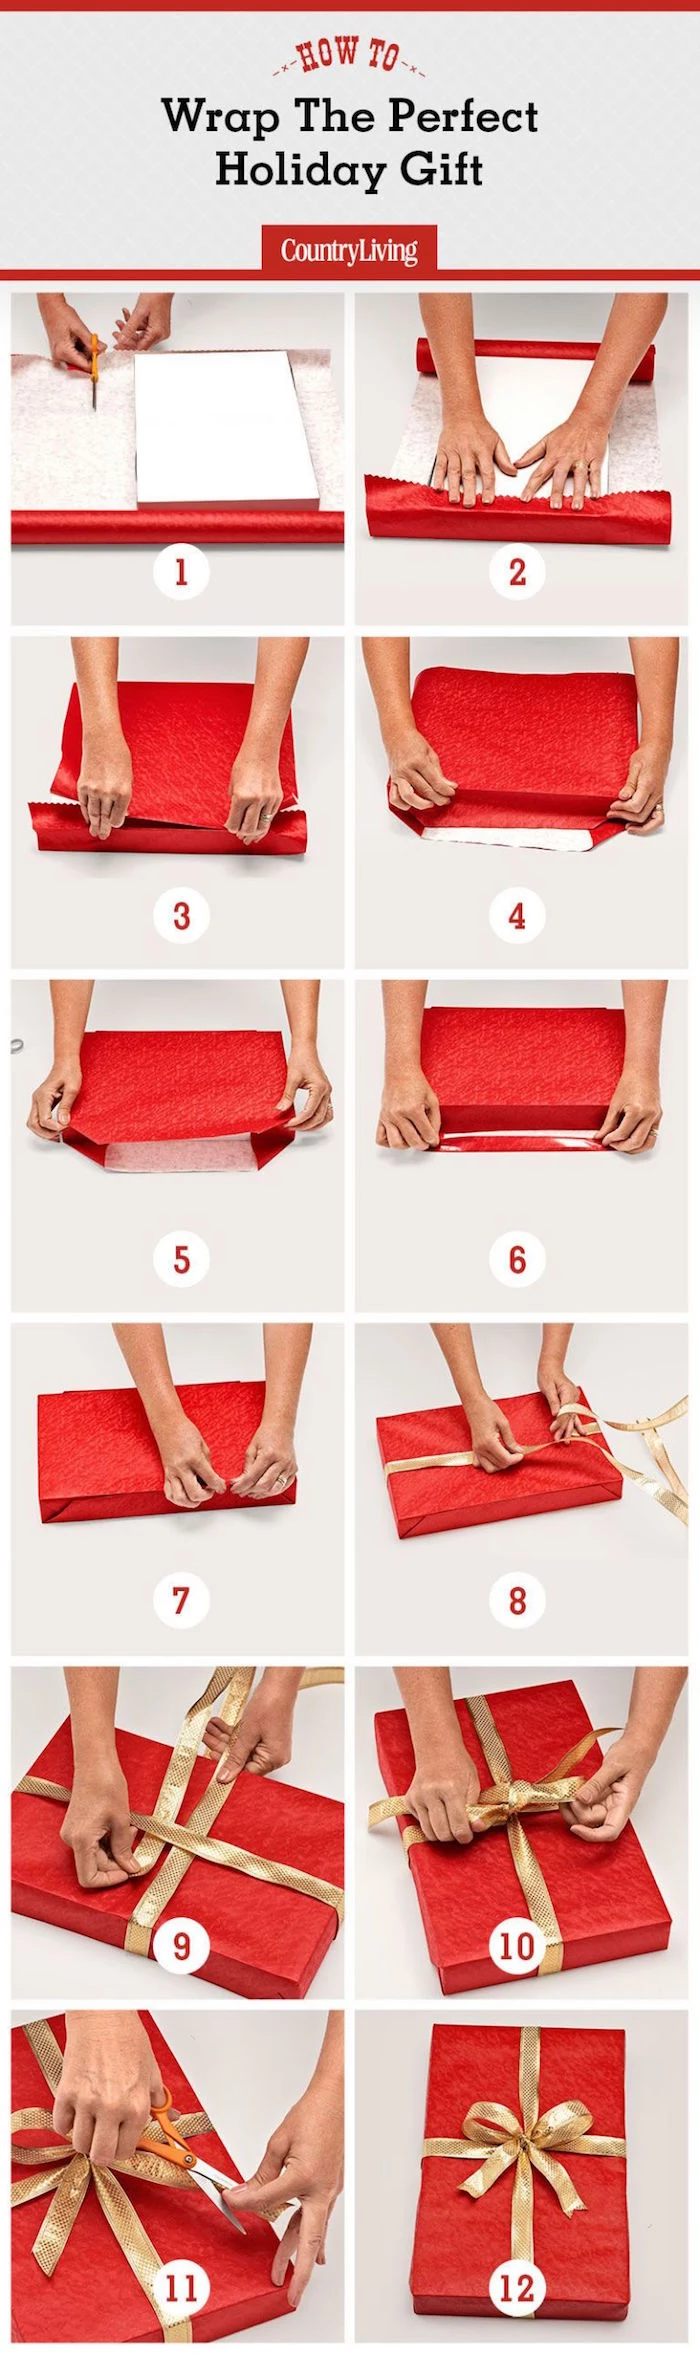
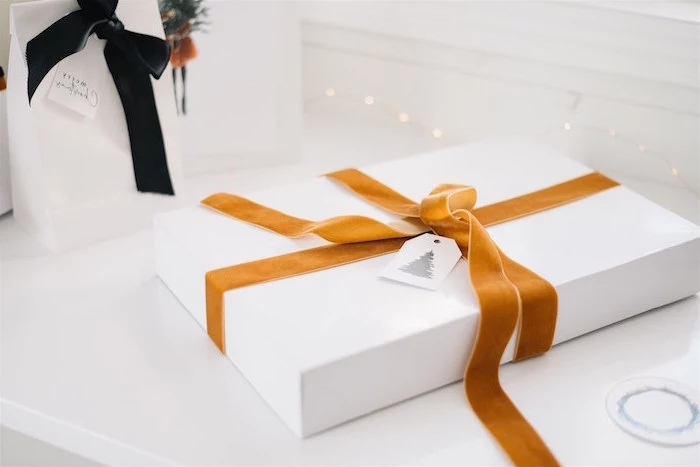
The secret to invisible seams: Professional wrappers rely on double-sided tape for a flawless finish. Apply a strip of tape like 3M’s Scotch Double Sided Tape to the inside edge of the paper before folding it over the other side. Press firmly for a clean, tape-free look that elevates the entire presentation.
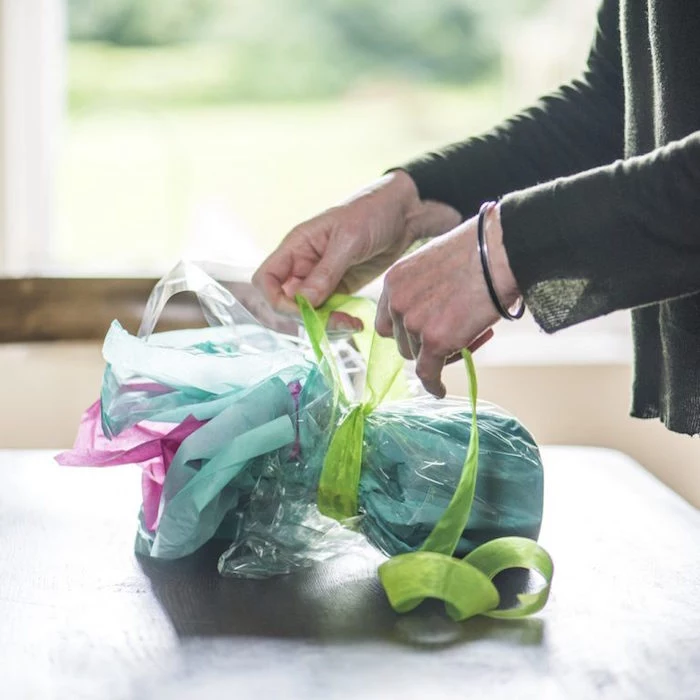
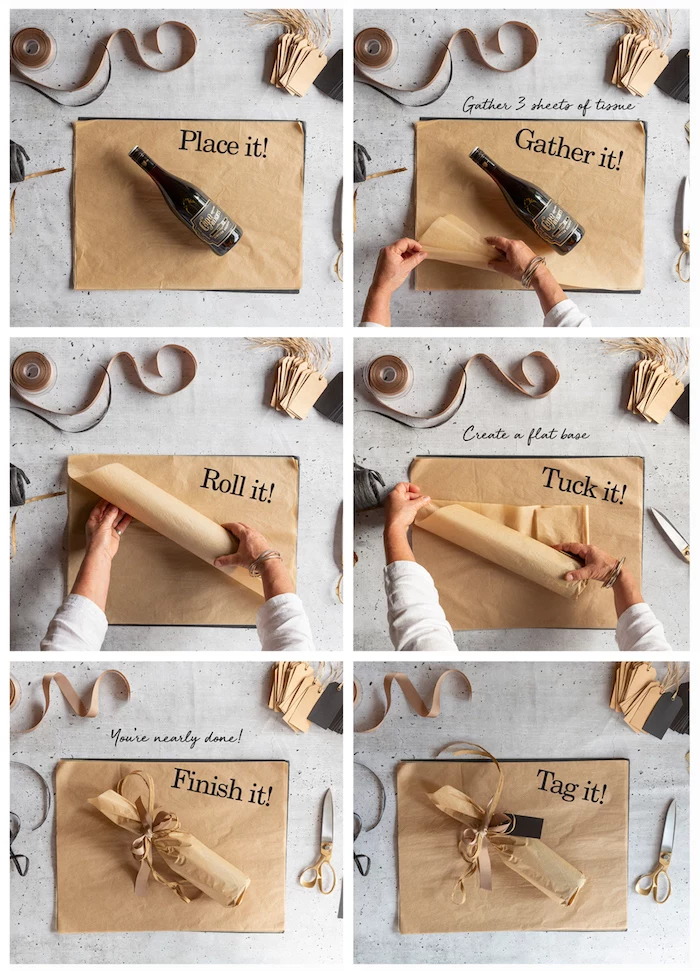
How do you wrap a notoriously difficult shape, like a wine bottle?
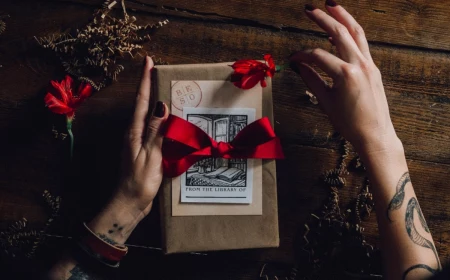
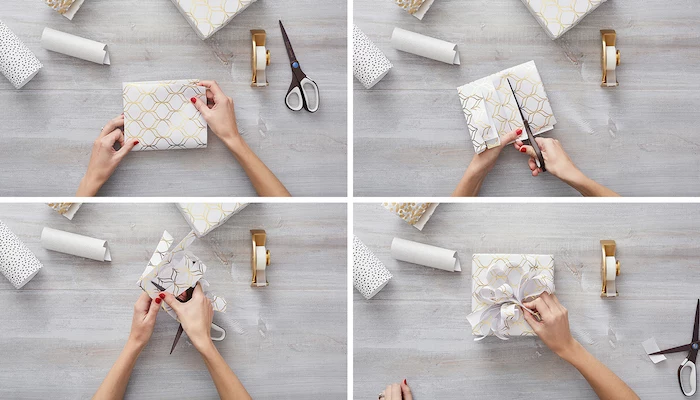
Forget clumsy bags. Lay the bottle on your chosen paper, leaving enough to cover the top and bottom. Roll the bottle tightly in the paper, securing the seam with double-sided tape. At the bottom, create neat, flat folds as you would on a box lid. For the top, gather the excess paper around the neck and secure it beautifully with a velvet or silk ribbon.
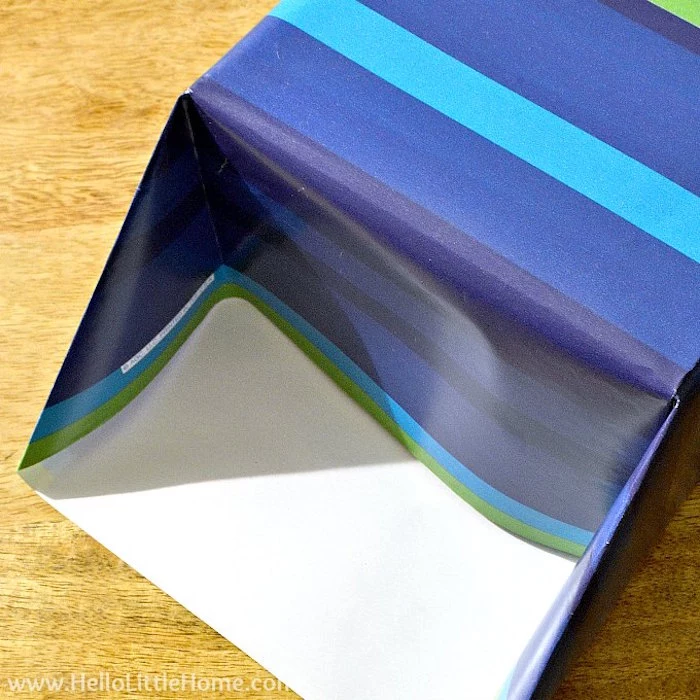
- A perfectly crisp, professional-looking fold.
- Corners that align with geometric precision.
- Edges that stay flat without buckling or puffing up.
The key? A simple bone folder. This inexpensive tool, borrowed from bookbinding, allows you to press down along your folds to create razor-sharp creases that cheap paper and finger-pressing can never achieve.
Don’t underestimate the power of a signature scent. Before you tie the final bow, gently tuck a natural aromatic element into the ribbon. A sprig of fresh rosemary or eucalyptus, a stick of cinnamon, or a few dried lavender stems not only adds a beautiful organic touch but also creates a multi-sensory unwrapping experience.
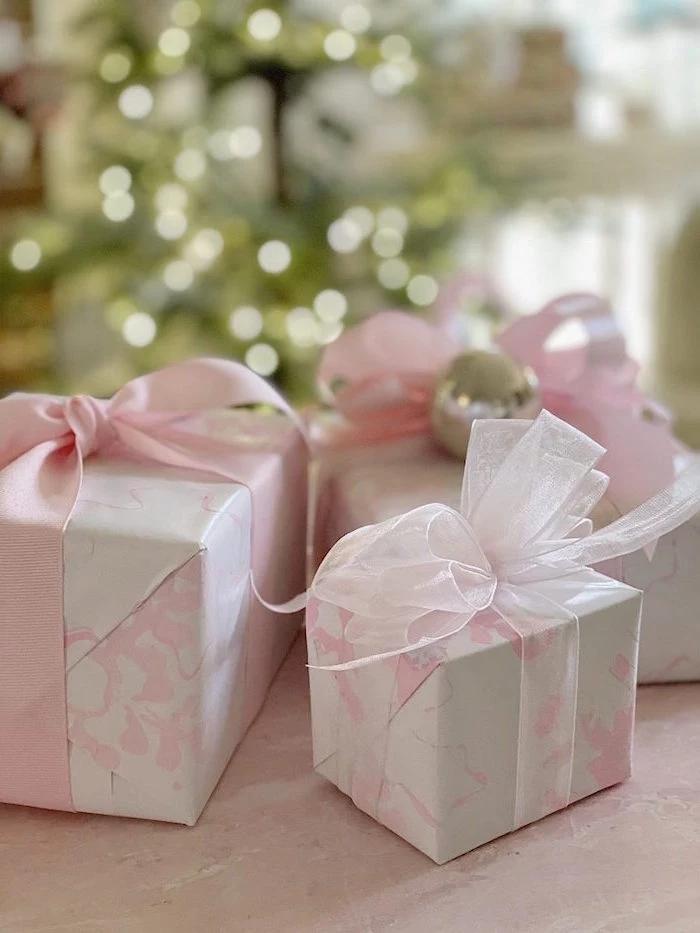
Satin Ribbon: Offers a high-gloss, smooth finish perfect for elegant, formal gifts. It’s slippery, so tying a tight knot is key.
Grosgrain Ribbon: Its ribbed texture provides excellent grip, making it easier to tie perfect, sturdy bows that won’t loosen. Ideal for a classic, slightly more casual look.
For a foolproof bow, the texture of grosgrain from brands like Offray is often the most forgiving for beginners.
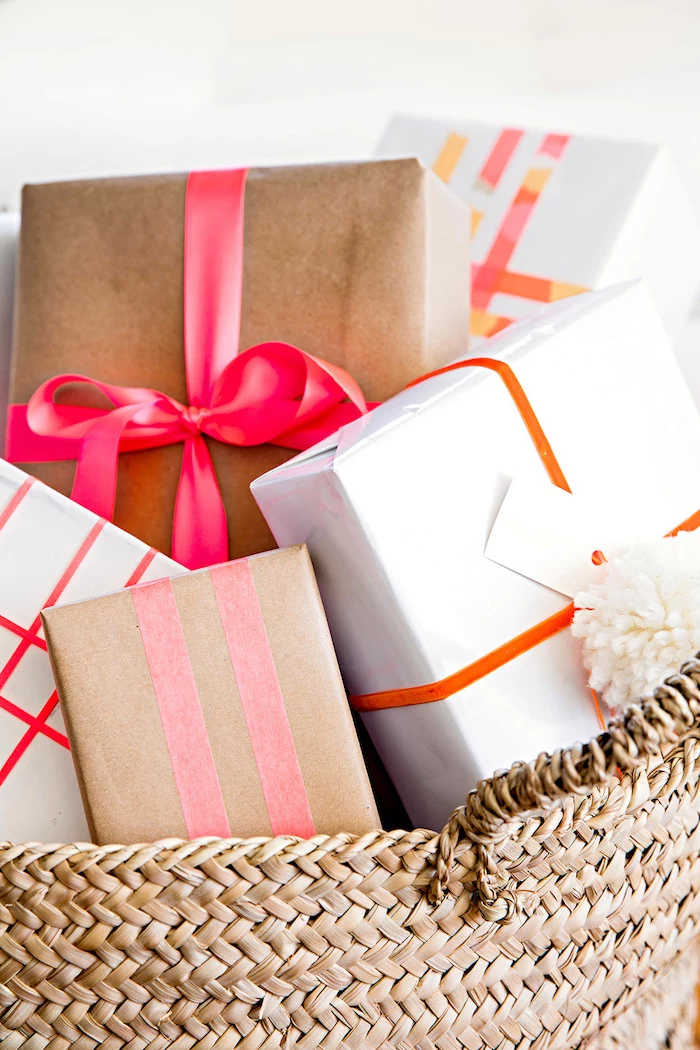
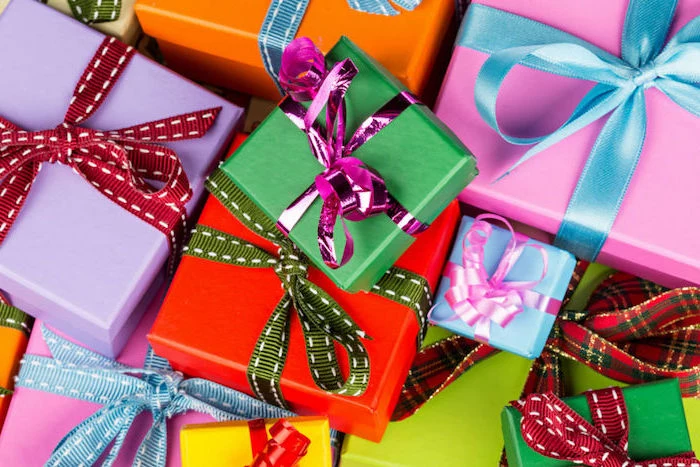
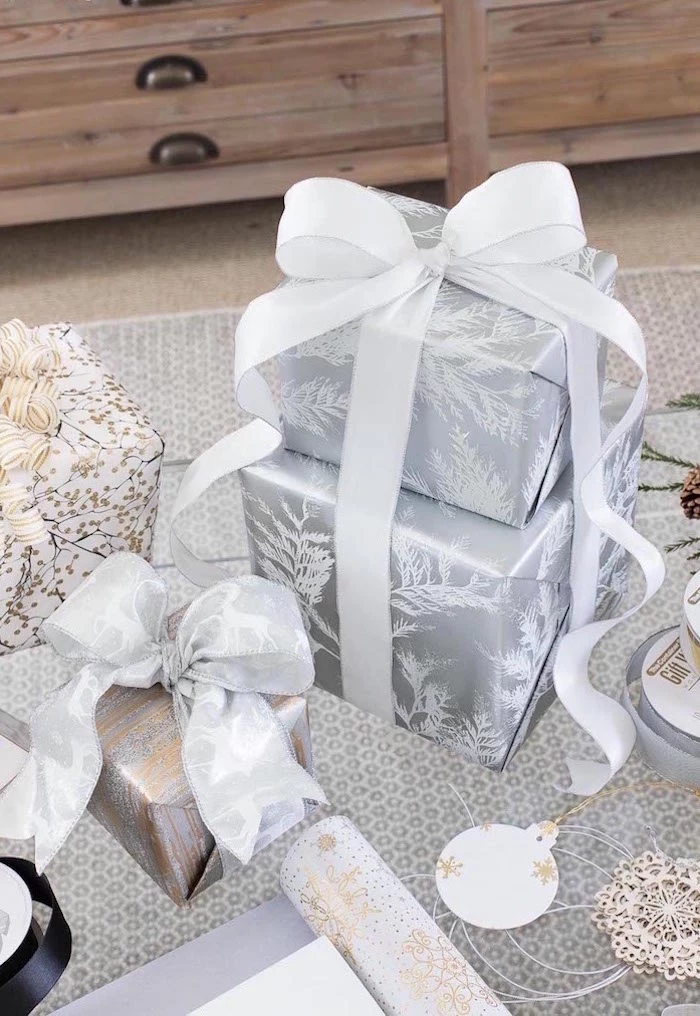
Create a cohesive look under the tree by choosing a unified color palette and set of materials. This doesn’t mean every gift must be identical, but rather part of a family.
- Select two or three complementary wrapping papers, perhaps a solid, a stripe, and a subtle pattern from a collection like that of Rifle Paper Co.
- Use one or two types of ribbon (e.g., a luxe velvet and a simple twine) across all the gifts.
- This curated approach transforms a pile of presents into a deliberate piece of holiday decor.
“The details are not the details. They make the design.” – Charles Eames
For a truly personal touch, consider making your own wrapping paper. It’s simpler than it sounds. Get a roll of simple brown or white kraft paper and a potato. Cut the potato in half, carve a simple shape—like a star or a tree—into the flesh, dip it in acrylic paint, and stamp away. The slight imperfections are what make it charming and unique.
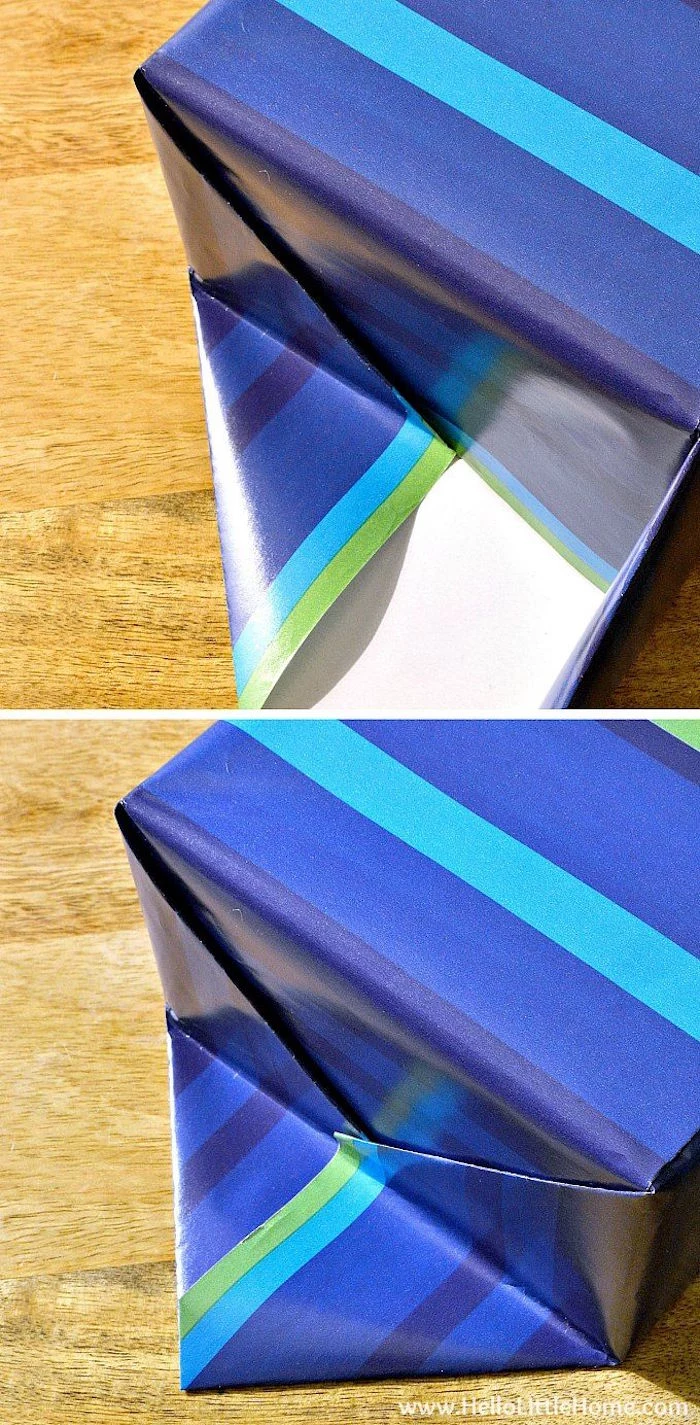
- Paper quality is non-negotiable for sharp pleats. Flimsy paper will tear.
- Measure and lightly score each fold with a bone folder before creasing for precision.
- Secure the pleats on the underside with small pieces of tape as you go to keep them in place.
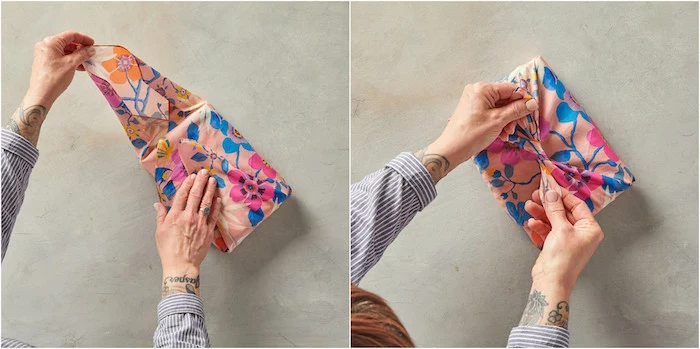
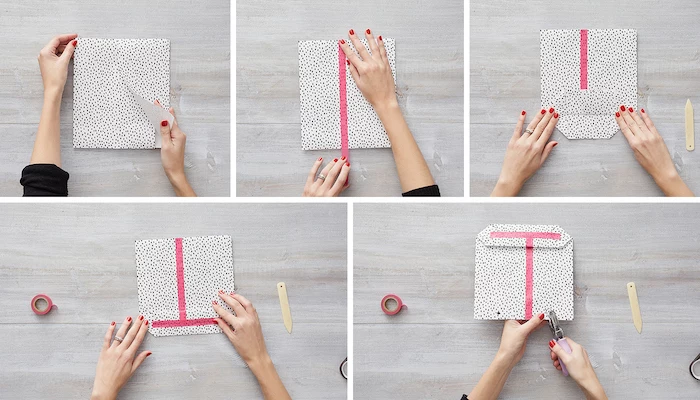
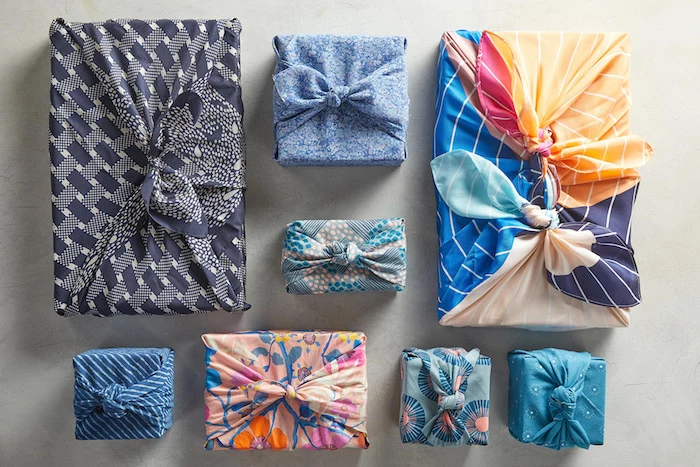
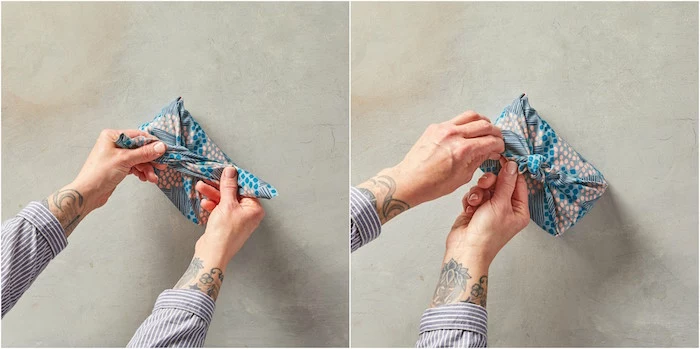
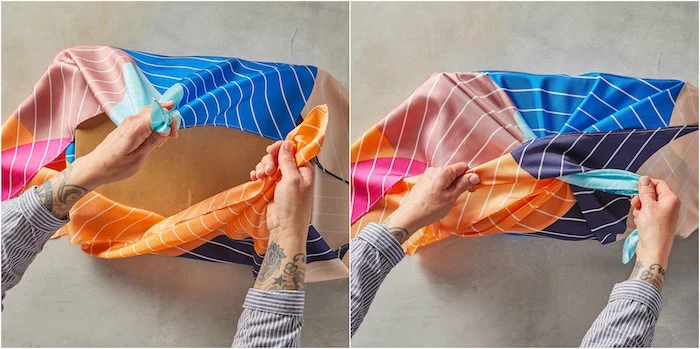
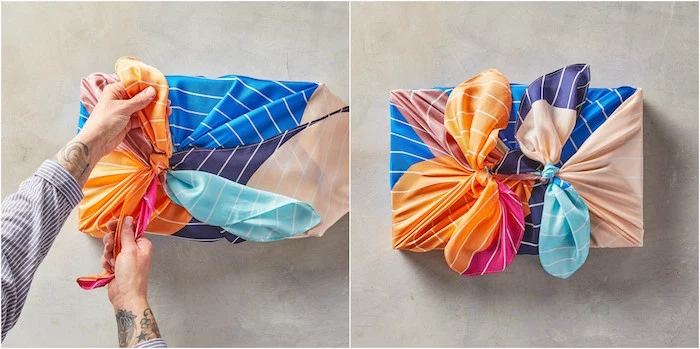
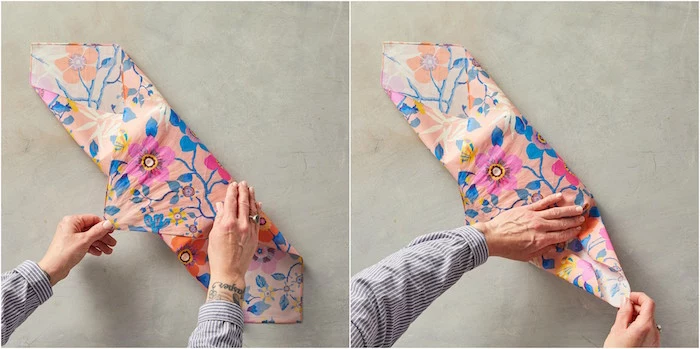
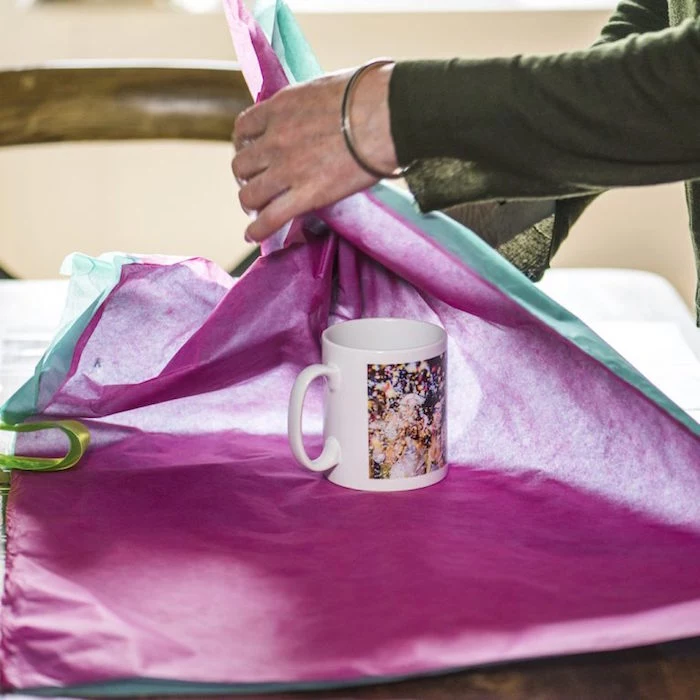
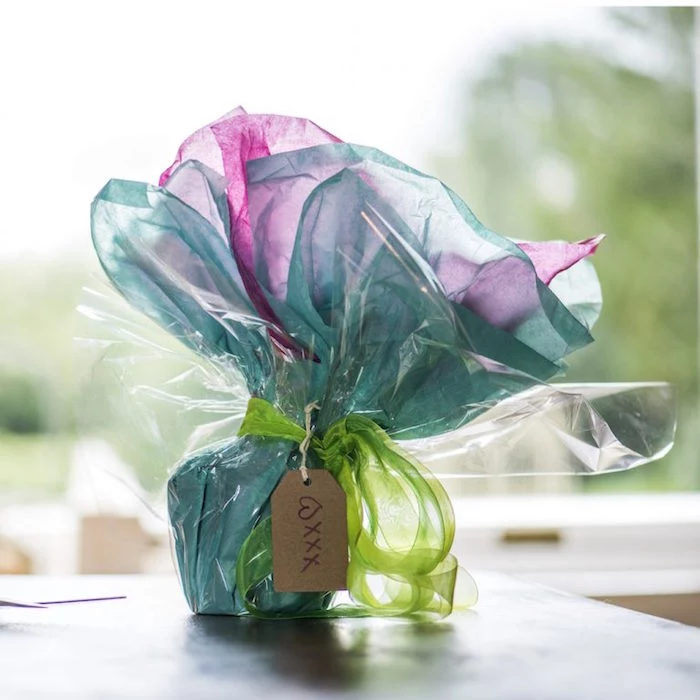
What is Furoshiki?
It’s the traditional Japanese art of wrapping gifts in cloth. This sustainable and beautiful technique is incredibly versatile, adapting to any shape—from books to bottles to balls. A simple square of fabric, known as a furoshiki, can be folded and tied to create a stunning, reusable package. Look for dedicated furoshiki cloths online or simply use a beautiful vintage scarf.
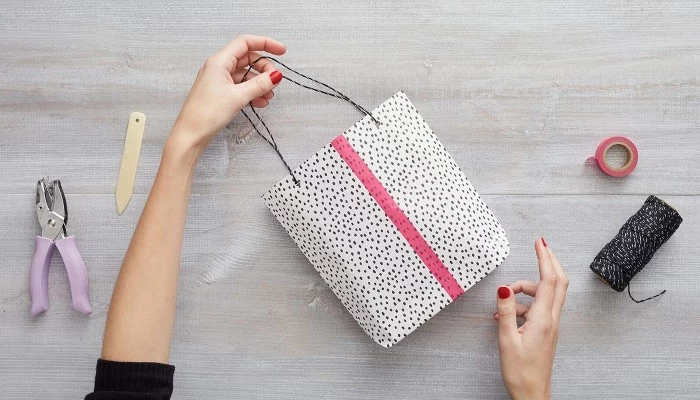
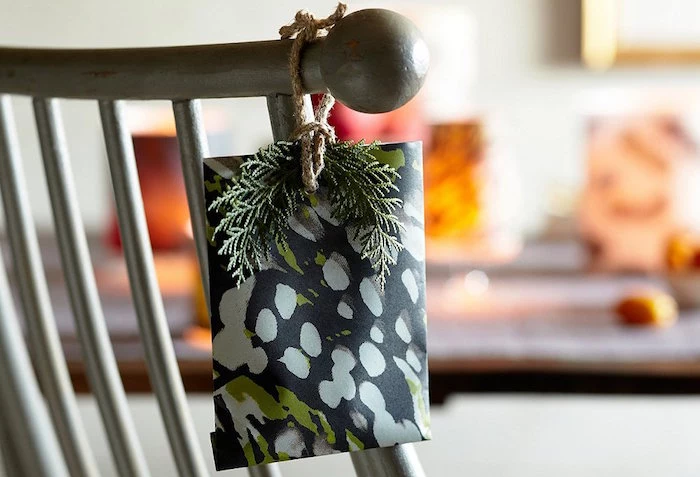
Mistake to Avoid: The “floating” gift tag. A tag dangling from a long string can look like an afterthought. Instead, integrate the tag into the design. Punch a hole in a corner of a high-quality cardstock tag and thread your main ribbon directly through it before tying your bow or knot. This makes the tag feel secure and intentional.
Go beyond the bow and create a miniature composition on top of your gift. This is where you can let your personality shine.
- Naturalist: A dried orange slice, a pinecone, and a cinnamon stick tied with jute twine.
- Glamorous: A cluster of small, shatterproof ornaments in metallic shades.
- Playful: A vintage-style candy cane or a small wooden toy car hot-glued in place.


A study from the University of Nevada found that gifts that are wrapped beautifully are actually perceived as more desirable and are liked more by the recipient, even before they know what’s inside.
This confirms what gift-wrapping pros have always known: presentation is not just decoration, it’s part of the gift itself. The effort you put into the outside signals the care you have for the person receiving it.
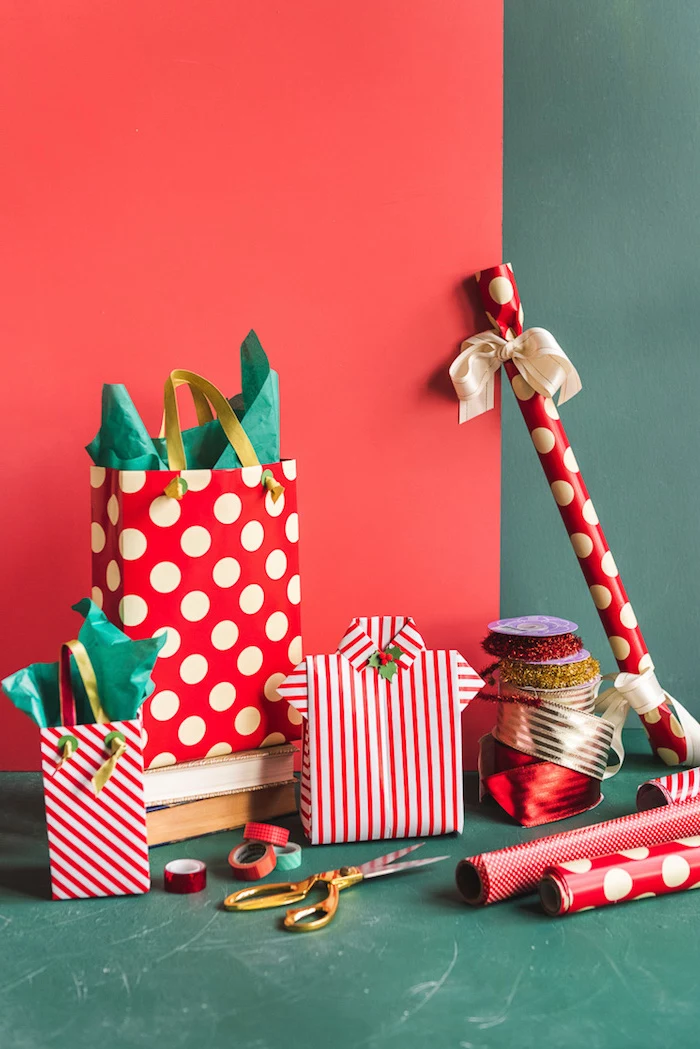
Kraft Paper: Sturdy, affordable, and a perfect canvas for creativity. Its matte finish is ideal for stamping, drawing, or pairing with bold ribbons. It’s also widely recyclable.
Foil Paper: Delivers high-impact shine but is notoriously difficult to work with. It creases easily (and not always where you want it to) and shows every fingerprint. Plus, it’s typically not recyclable.
For most applications, classic kraft paper offers more versatility and a more forgiving wrapping experience.
Embrace the Scandinavian concept of ‘hygge’ in your gift wrapping. This means focusing on simplicity, nature, and texture. Think unbleached kraft paper, twine or simple cotton string, and a single accent from nature, like a sprig of evergreen or a dried flower. The look is understated, heartfelt, and effortlessly chic.
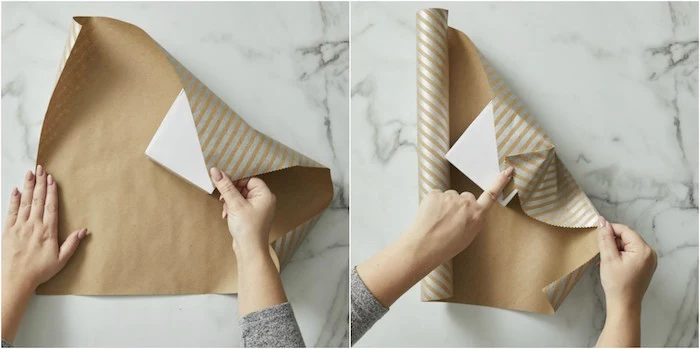
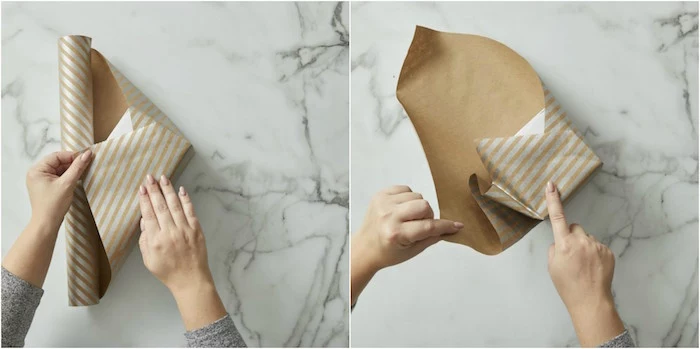
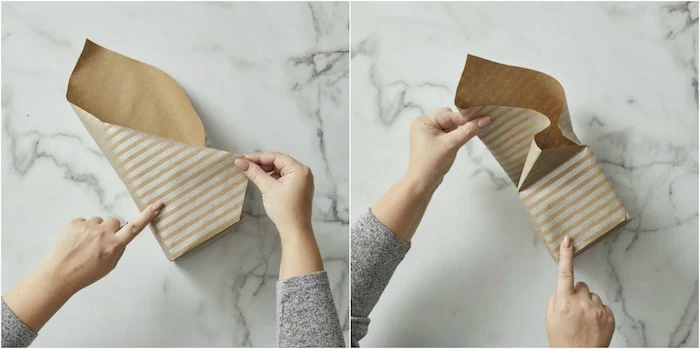
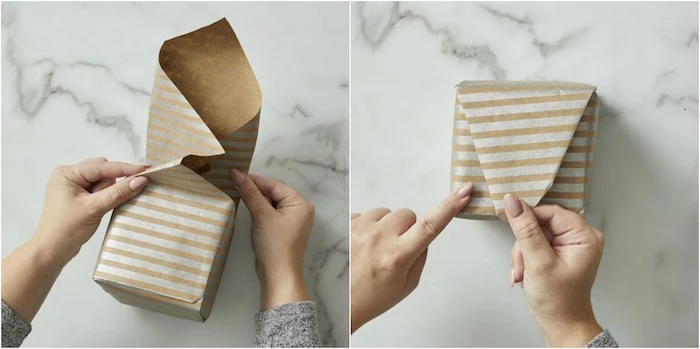
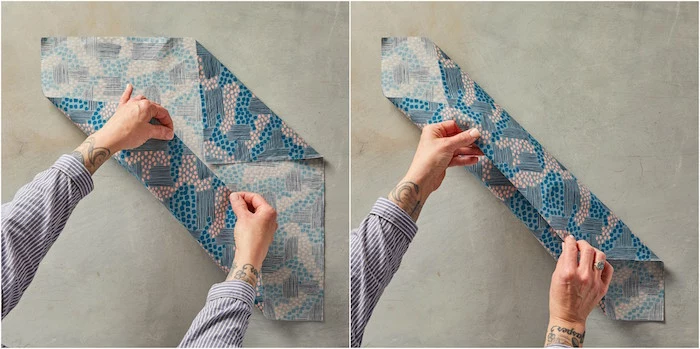
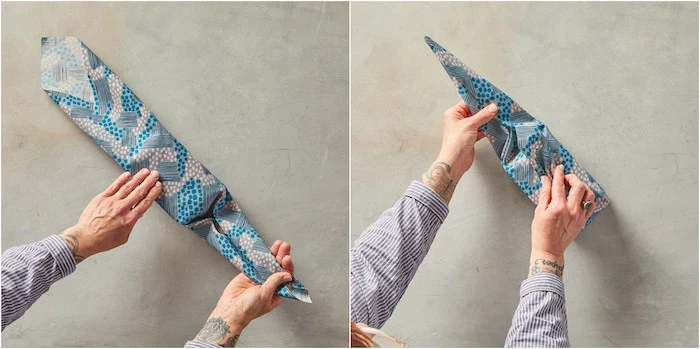
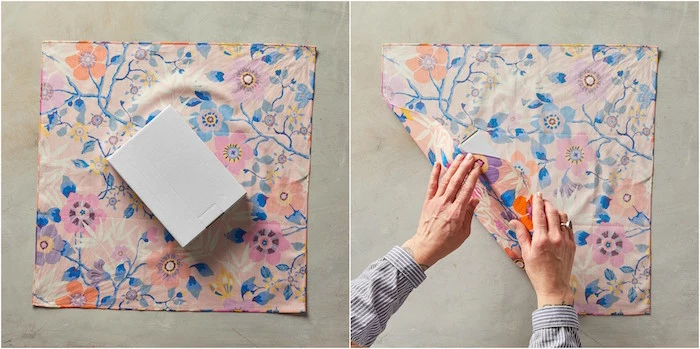
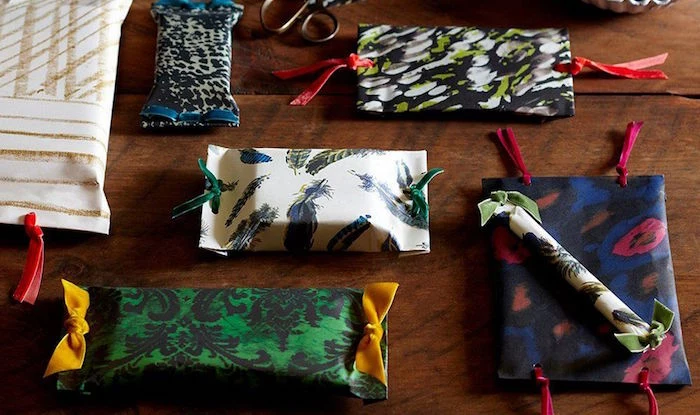
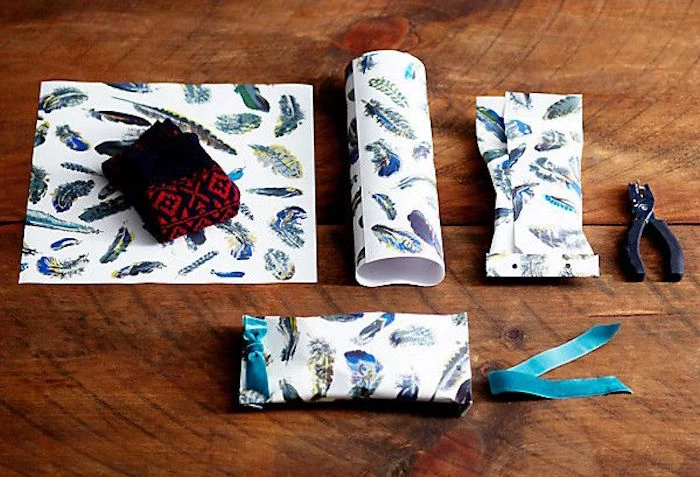
How do you wrap a soft item, like a sweater or scarf, without a box?
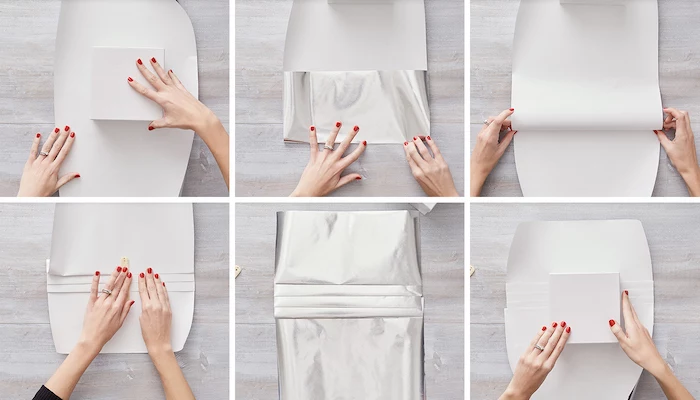
The key is to create structure. Lay the item out and fold it into a neat, flat rectangle. Then, use the Japanese diagonal wrapping method, which works beautifully for soft items. Alternatively, roll the garment tightly into a log shape. Roll this log in your wrapping paper like a tootsie roll, then twist the ends and tie them with ribbons for a festive firecracker effect.
- A polished, layered look with contrasting textures.
- A more secure and substantial final bow.
- Added visual weight and a luxury feel.
The method? Ribbon layering. Start by wrapping a wide, flat ribbon (like a 2-inch satin) around the box. Then, layer a thinner, more textured ribbon (like a half-inch velvet or grosgrain) on top before tying your bow. The contrast in width and material is what creates the designer effect.
For a unique and deeply personal wrap, use paper that tells a story. Old maps of a favorite city, pages from a vintage book of poetry, or even sheet music of a meaningful song can make for an unforgettable presentation. Just be sure the paper is thick enough to withstand folding without tearing.
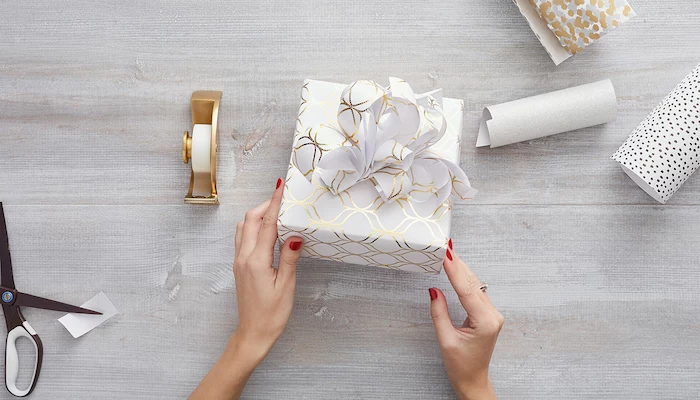
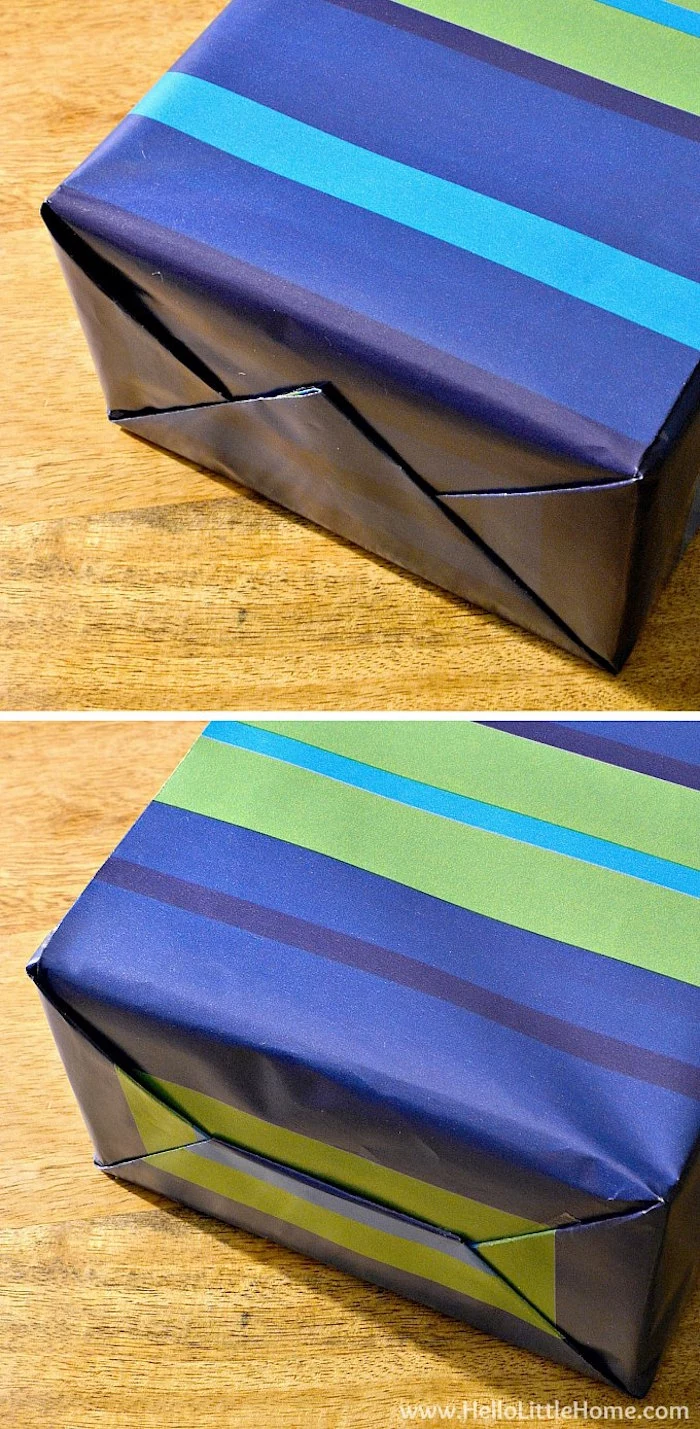
The tell-tale sign of a professional wrap is not just what you see, but what you don’t: excess tape.
The gift wrapper’s bane: Wrinkled or torn wrapping paper from improper storage. The best solution is a dedicated storage container. Brands like The Container Store offer long, under-the-bed boxes or vertical organizers that protect rolls from being crushed and have compartments for tape, ribbons, and tags, keeping everything pristine for the next occasion.
Washi Tape: A decorative Japanese paper tape. It’s low-tack, repositionable, and comes in endless patterns. It’s not for securing seams, but perfect for adding a decorative border, taping down a gift topper, or sealing a card.
Invisible Tape: A strong, permanent adhesive with a matte finish that disappears on most wrapping papers. This is your workhorse tape for securing flaps and seams on the underside of your wrap.
Use invisible tape for structure and washi tape for flair.
The weight of your paper matters. As a rule of thumb, use a heavier weight paper (70-80 gsm or more) for large, heavy boxes to prevent tearing at the corners. For smaller, lighter gifts, a standard 60 gsm paper will do, but a higher quality paper will always yield a crisper, more luxurious result. Paper from brands like Wrappily or Paper Source often lists its weight, a true sign of quality.

- Adds a pop of unexpected color or pattern.
- Strengthens the structure of the box.
- Creates a tidy, sealed look.
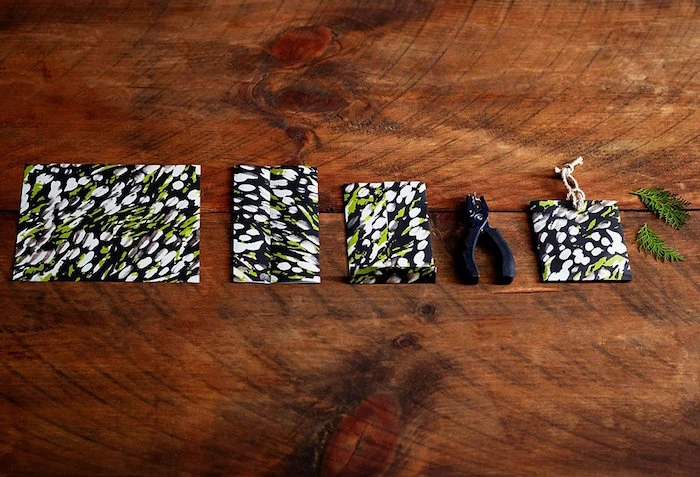
The technique is a simple ‘belly band’. After wrapping your gift in a simple base paper (like white or kraft), cut a contrasting strip of paper about one-third the width of the box. Wrap this band around the center of the gift, securing it neatly on the bottom. It’s a designer trick for making simple paper look custom.
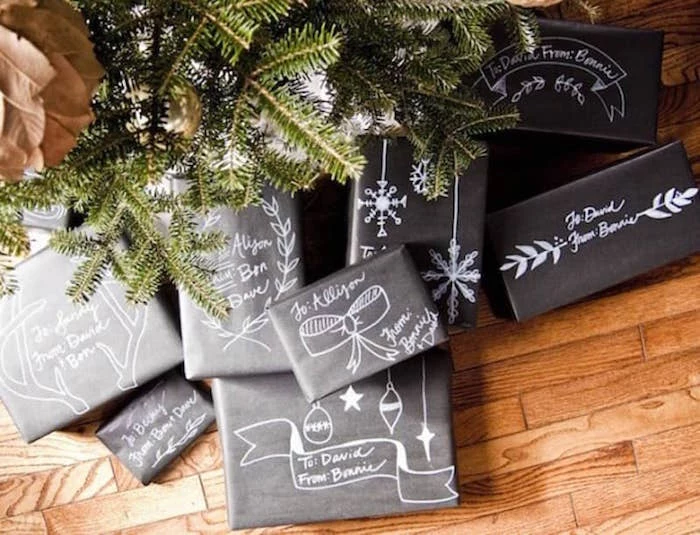
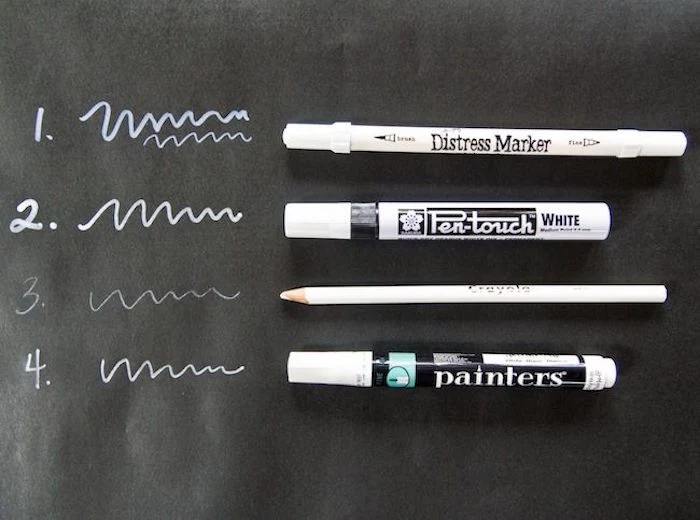
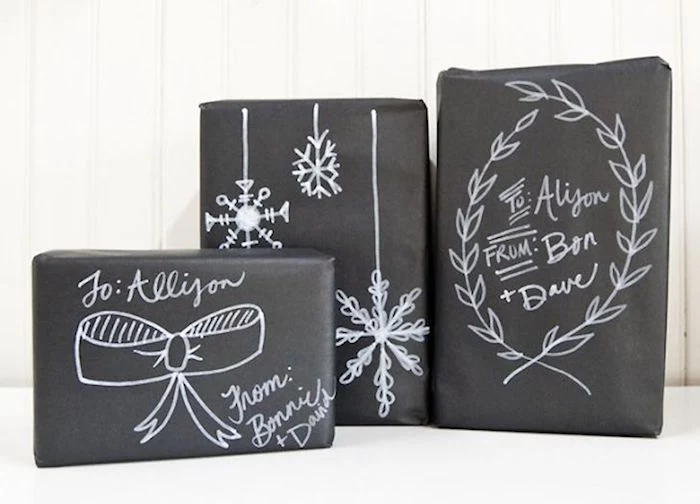
For an ultra-modern and minimalist aesthetic, try a monochrome wrap. Use a high-quality matte black or charcoal grey paper. Instead of a frilly ribbon, opt for a simple tie of black leather cord or a minimalist black cotton twill tape. Finish with a simple white tag with black ink calligraphy. The result is dramatic, sophisticated, and undeniably chic.