Your Ultimate Guide to Wrapping Baby Shower Gifts People Actually Remember
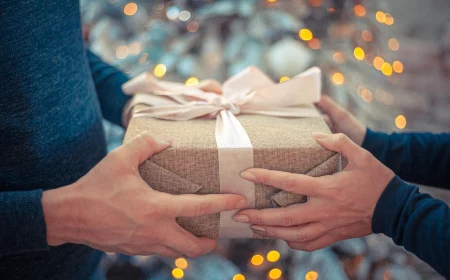
I’ve spent a huge chunk of my life wrapping gifts, and I can tell you, the ones for baby showers always hit differently. There’s just something special about preparing a gift for a new life, you know? It’s not just about covering a box; it’s about giving the gift its first little hug. The number one lesson I’ve always taught is that beautiful wrapping isn’t about being fancy—it’s about showing you care. It’s how you turn a simple pack of onesies into a bundle of warmth and excitement.
In this article
- First Things First: Choosing Your Materials
- Techniques for That Polished, Professional Look
- Tackling Those Awkwardly Shaped Gifts
- Gift Sculptures: Where Wrapping Becomes Art
- Beyond Pink and Blue: Modern and Themed Wraps
- Let’s Be Real: Time, Cost, and Keeping It Simple
- My Final, Most Important Advice
- Inspirational Gallery
These days, you see all sorts of incredible gift sculptures, like towering diaper cakes and adorable washcloth cupcakes. And while those are fantastic, they demand a bit of technique and, more importantly, a major focus on safety. A gift for a baby has to be safe, period. So, let’s walk through the methods that work, from picking the right materials to putting together creations that are as sturdy as they are cute. This is about crafting something thoughtful, safe, and truly memorable for the new parents.
First Things First: Choosing Your Materials
The foundation of any great wrap job is what you use. The right paper or fabric can be the difference between a frustrating mess and a crisp, stunning gift. And when a baby is the recipient, your material choices are a huge part of keeping things safe.
Let’s Talk Paper (It’s Not All the Same!)
Believe it or not, wrapping paper has quality levels. The biggest indicator is its weight, measured in GSM (grams per square meter). Most of the cheap, thin stuff you find in jumbo rolls is around 50-60 GSM. It tears if you just look at it wrong. For baby gifts, I really suggest stepping it up to the 80-100 GSM range. It’s tough enough to handle corners without ripping but still flexible enough to get those super-sharp creases.
Good to know: You can find this higher-quality paper at stores like Paper Source or even local craft shops. Sometimes you can score amazing, thick rolls at places like HomeGoods or TJ Maxx after a holiday.
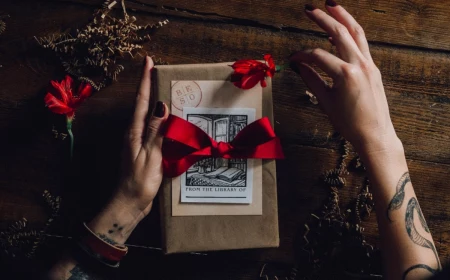
- Kraft Paper: This stuff is my go-to. It’s strong, pretty cheap (you can get a massive roll for under $20 online), and gives you a wonderful, natural canvas to work with. Plus, its slightly rough texture gives you a better grip, which is a nice little bonus.
- Coated/Glossy Paper: Okay, this is where you find the super vibrant, fun prints. But honestly, it can be a pain. It’s slippery, a nightmare to crease, and it shows every single fingerprint and piece of tape. I only use this for perfect, sharp-cornered boxes.
- Handmade or Textured Paper: This is the fancy stuff. Papers with visible fibers, like cotton or mulberry paper, feel incredible to the touch. They’re often acid-free, which is great if the parents are sentimental and want to save a scrap for the baby book. It’s pricier, for sure, but it makes a statement.
Fabric Wrapping: The Reusable, Forgiving Option
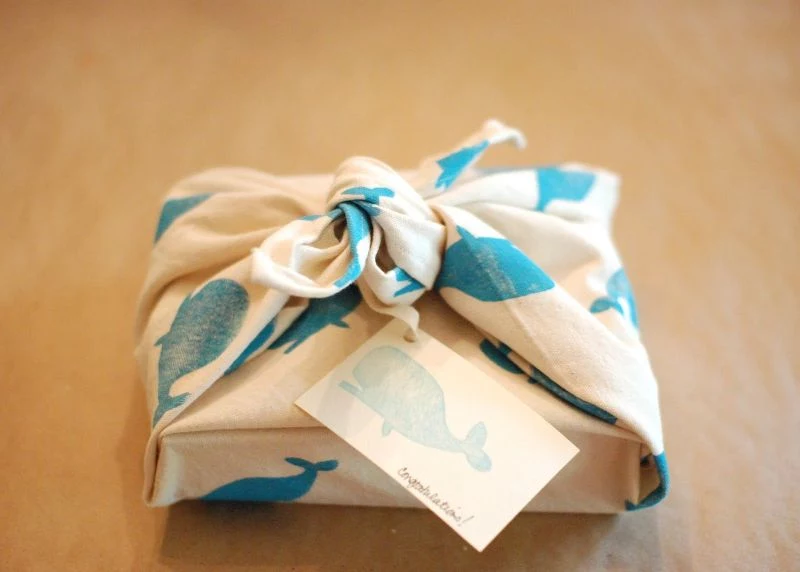
One of my absolute favorite methods, especially for soft or oddly shaped gifts like clothes or blankets, is fabric wrapping. The technique is sometimes called Furoshiki, and it’s brilliant because the wrapping itself becomes a bonus gift. For a baby shower, soft, breathable fabrics are the way to go.
- Muslin Swaddle Blankets: This is the top-tier choice. You use a beautiful swaddle blanket (which can cost between $10 and $30) as the wrapping. It’s a gift inside a gift! The parents get a lovely wrap and an item they’ll use constantly.
- Cotton or Flannel Receiving Blankets: Just like swaddles, these are practical, soft, and perfect for wrapping. A simple, secure knot is all you need to hold everything together.
The best part about fabric is how forgiving it is. It drapes gracefully around shapes that would make paper bunch up and tear. Just remember to give the parents a heads-up that the blanket was used as wrapping so they know to wash it before it gets near the baby.
A Serious Word on Embellishments and Safety
Okay, this is probably the most important part of this whole guide. Those tiny, cute decorations can be serious hazards. There’s a reason there are strict regulations about small parts on toys for kids under three. A good rule of thumb I use is this: if an object can fit through a standard 1.25-inch toilet paper roll, it’s a potential choking hazard.
Here’s my personal safety checklist. No exceptions.
- No Glued-On Junk: I never, ever use little plastic gems, tiny buttons, or beads. They pop off way too easily.
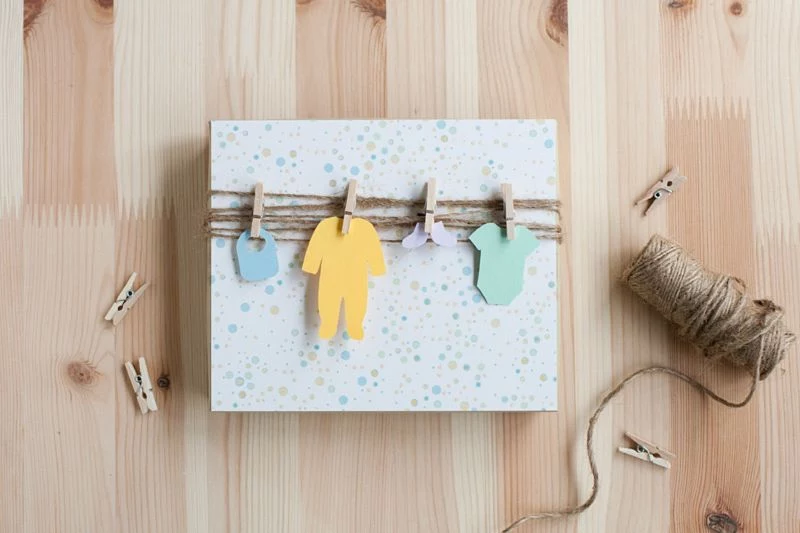
- Beware Mini Clothespins: I know they’re trendy, but their small size and the little metal spring make them a huge risk. If you absolutely must, clip them to a card that is very clearly separate from the baby’s items.
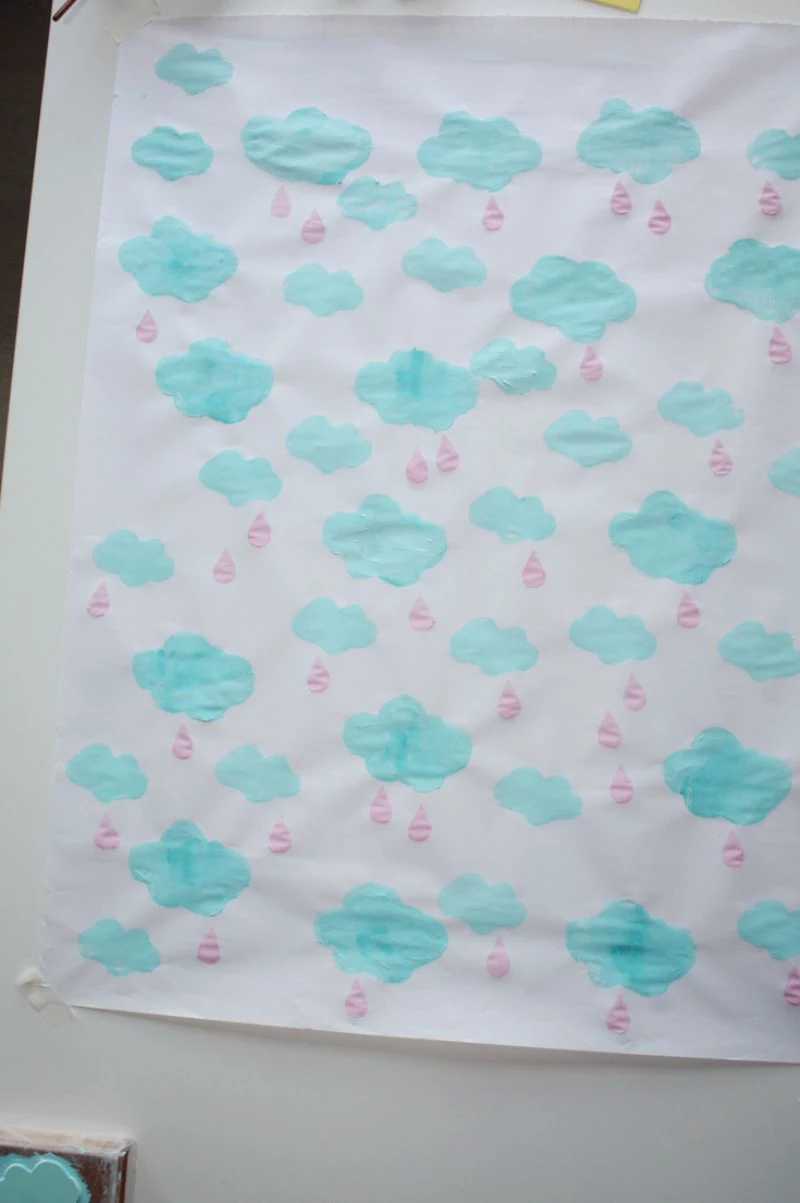
- Use Non-Toxic Everything: If you’re stamping or painting your own paper, only use water-based, non-toxic paints and inks. Look for the “AP” (Approved Product) seal to be sure.
- Ribbon Smarts: Long ribbons and cords are a strangulation risk. Keep them short or tie them in a simple, flat bow that’s easy to undo and less tempting for tiny hands to grab and pull.
I learned this lesson the hard way. A client once came back to my shop, totally distraught because a tiny plastic charm I’d tied to a gift bag fell off and ended up in the crib. The mom found it, thank goodness. From that day forward, my rule became absolute: if it’s a potential danger, it doesn’t go on the gift. It’s that simple.
Techniques for That Polished, Professional Look
The real difference between a homemade-looking gift and a professional one is in the details—crisp corners, invisible tape, and a perfectly full bow. These skills aren’t hard, but they do require a little patience. Trust me, it’s worth it.
The Secret to Perfect Corners (aka “Hospital Corners”)
This folding method creates a seamless, sharp edge with no bunching. Here’s how you get it done:
- Measure Right: Place your box on the paper. You need enough paper to wrap all the way around with about a one-inch overlap. For the sides, you want the paper to come up just over halfway on each end.
- Wrap and Secure: Center the box upside down. Pull one side of the paper over and tape it down. Pull the other side taut, but before you stick it, fold over the last half-inch of the edge to create a clean seam. Secure that with double-sided tape for a totally invisible finish.
- Fold the Ends: Now for the magic. On one end, push the top flap of paper down firmly against the box. This will create two little triangular wings on the sides. Use your thumbnail to crease them sharply.
- Tuck the Wings: Fold those two triangular wings inward, flat against the box.
- The Final Fold: You’re left with a bottom flap that has a nice, straight edge. Fold that flap up and secure it with one piece of double-sided tape. Boom. A perfect, clean corner.
By the way, if you’re a visual learner, just search for a “gift wrapping hospital corners” video online. Seeing it done once can make it click instantly.
Mastering the Classic Florist’s Bow
A full, beautiful bow is the perfect finishing touch. We’re not making sad, floppy loops here. I highly recommend using wired or thick grosgrain ribbon; it holds its shape so much better.
- Make a Center Loop: Start by making a small loop (about 1.5 inches across) at the end of your ribbon, pinching it tight between your thumb and forefinger.
- Twist and Loop: Make a bigger loop below your fingers. Now, here’s the secret: before you bring the ribbon back to the center, give it a half-twist. This keeps the shiny side of the ribbon facing out every time.
- Repeat, Repeat, Repeat: Keep making loops on alternating sides, always twisting in the middle. I usually do 4-5 pairs of loops for a nice, full bow.
- Secure It: Once you’re happy with the size, take a thin piece of floral wire or even a skinny snippet of ribbon and thread it through that small center loop you started with. Cinch it down and tie it off tightly at the back.
- Fluff and Shape: Now for the fun part! Pull and fluff the loops into a full, round shape. You can attach it to the gift with the wire tails or a small dab of hot glue.
Quick tip: Struggling with where to put the gift card? Use a decorative hole punch on the corner of the card’s envelope, then thread one of your bow’s ribbons through it before you tie the final knot. It looks so much better than just taping it on.
Tackling Those Awkwardly Shaped Gifts
So, what do you do when the gift isn’t a neat little box? Don’t panic. You’ve got options that don’t involve wrestling with a roll of paper.
For things like a stack of clothes, a stuffed animal, or a hooded towel, fabric wrapping is your best friend. Just lay your swaddle or receiving blanket out in a diamond shape, place the gift in the center, and tie opposite corners together over the top of the gift. It’s elegant, simple, and practical.
But what about the giant stuff, like a baby bouncer or a high chair? My go-to solution is the basket-and-cellophane trick. Get a large, clear cellophane gift bag (you can find these at party supply or craft stores). Place the big item inside, fill in any gaps with tissue paper or smaller gifts, and then tie the top shut with a massive, gorgeous ribbon. It contains the gift, looks festive, and saves you a major headache.
Gift Sculptures: Where Wrapping Becomes Art
Alright, if you’re feeling ambitious, let’s talk about building with baby essentials. The two most important things here are stability and hygiene. Always, always work on a clean surface with freshly washed hands. These items are going to be used for a baby, after all.
The Un-Topple-able Diaper Cake
A well-made diaper cake is a showstopper. A poorly made one is a wobbly mess waiting to collapse in the car. I’ve seen it happen! The secret is a strong central core and even tension.
What You’ll Need:
- About 50-60 Size 1 or 2 diapers (Tip: Using Size 2 means the parents can display it for a while before they need them. Expect to spend $15-$25 on diapers.)
- A sturdy cardboard cake circle (12-14 inches) for the base ($2-$3 at a craft store)
- One empty paper towel roll for the core (free!)
- Large rubber bands ($3 for a pack)
- Wide decorative ribbon (at least 1.5 inches)
- Small, safe baby items for decorating (think socks, washcloths, or soft, approved toys)
Let’s Build It:
- The Foundation: Hot glue the empty paper towel roll to the very center of the cardboard circle. This is your anchor. Don’t skip this!
- Roll the Diapers: For the sturdiest cake, roll each diaper tightly from the waistband down and secure it with a small rubber band.
- Build the Tiers: Stand the rolled diapers up vertically around the paper towel core. Once you have a full circle, wrap a large rubber band around the entire tier to hold it all together. A three-tier cake usually has about 25-30 diapers on the bottom, 15-20 in the middle, and 8-10 on top.
- Stack It Up: Build your second tier right on top of the first, using the paper towel roll to keep it centered. Repeat for the top. If it feels wobbly, your big rubber bands aren’t tight enough.
- Decorate Safely: Now, cover those ugly rubber bands with your pretty ribbon. Tie it securely. You can now tuck in your decorations. Roll up baby socks to look like little roses or fold washcloths into fun shapes. A small, safety-approved plush toy is a perfect cake topper.
Heads Up! How to Transport Your Masterpiece: The easiest way to get your diaper cake to the party in one piece is to place it back in the box the diapers came in or a similar-sized cardboard box. You can also get a very large cellophane gift bag, slide the whole cake in, and tie it at the top. It keeps it clean and contained.
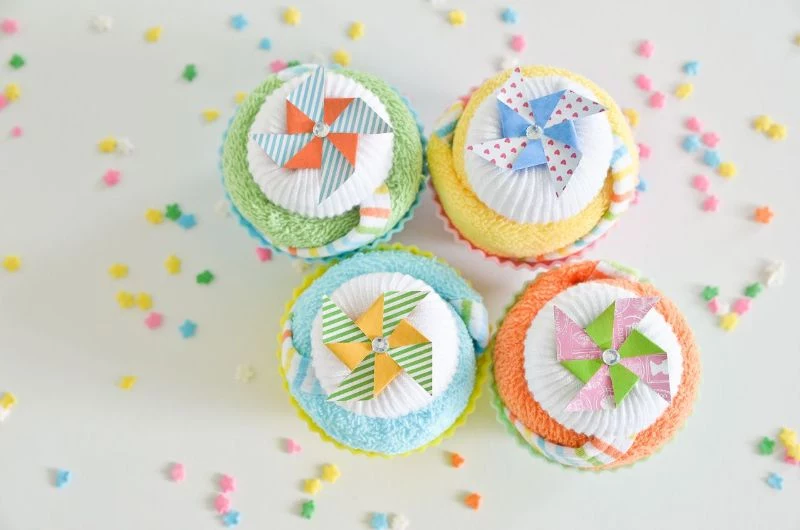
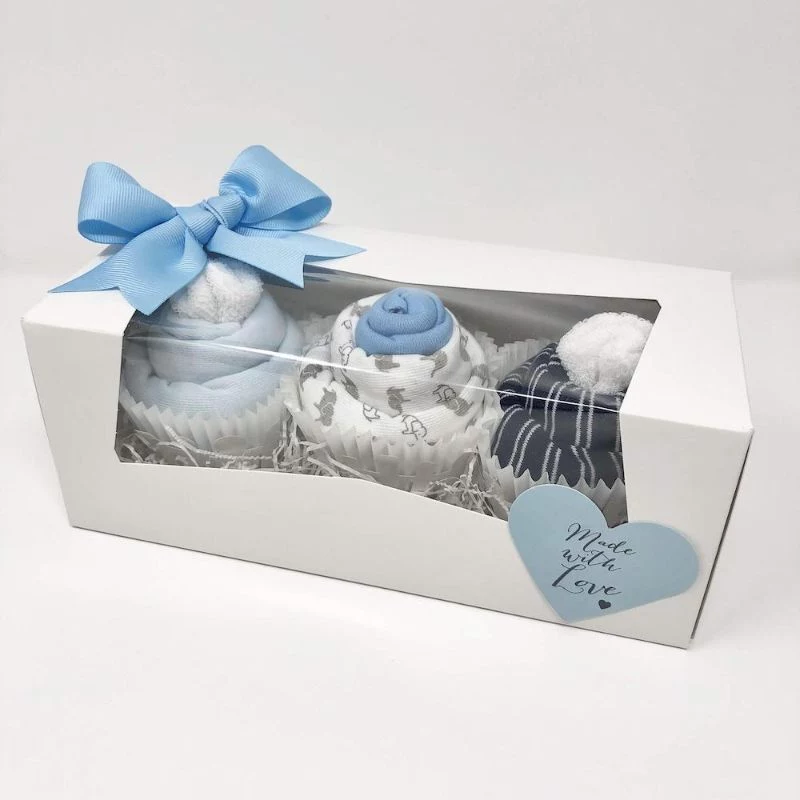
Cute & Easy: Washcloth Lollipops and Cupcakes
These are perfect for adding to a gift basket or as a small gift on their own. They look impressive but are surprisingly easy.
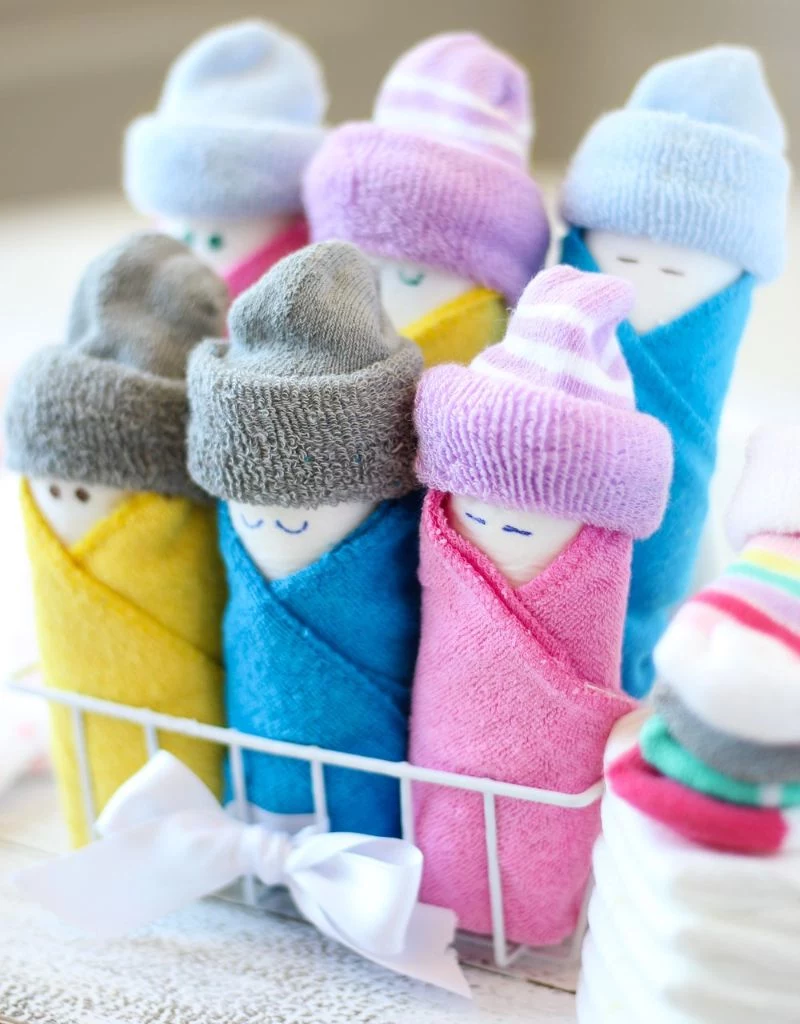
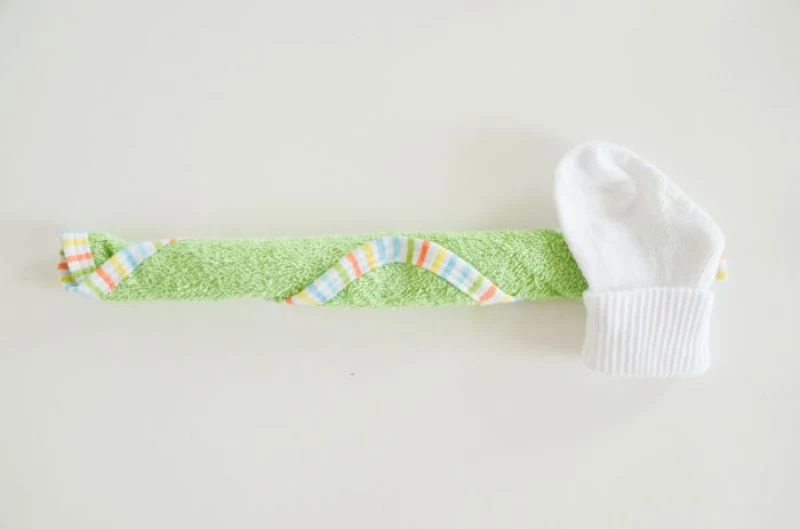
- For Washcloth Lollipops: Lay a colorful baby washcloth flat, place a baby spoon in the center, and then roll the washcloth tightly around it into a spiral. Secure the base with a clear hair elastic and wrap the spoon’s handle with a bit of ribbon.
- For Washcloth Cupcakes: Just roll up a washcloth tightly and pop it into a silicone cupcake liner. For a little “frosting,” roll up a pair of baby socks and place them on top. Present a few in a bakery box for an extra charming touch.
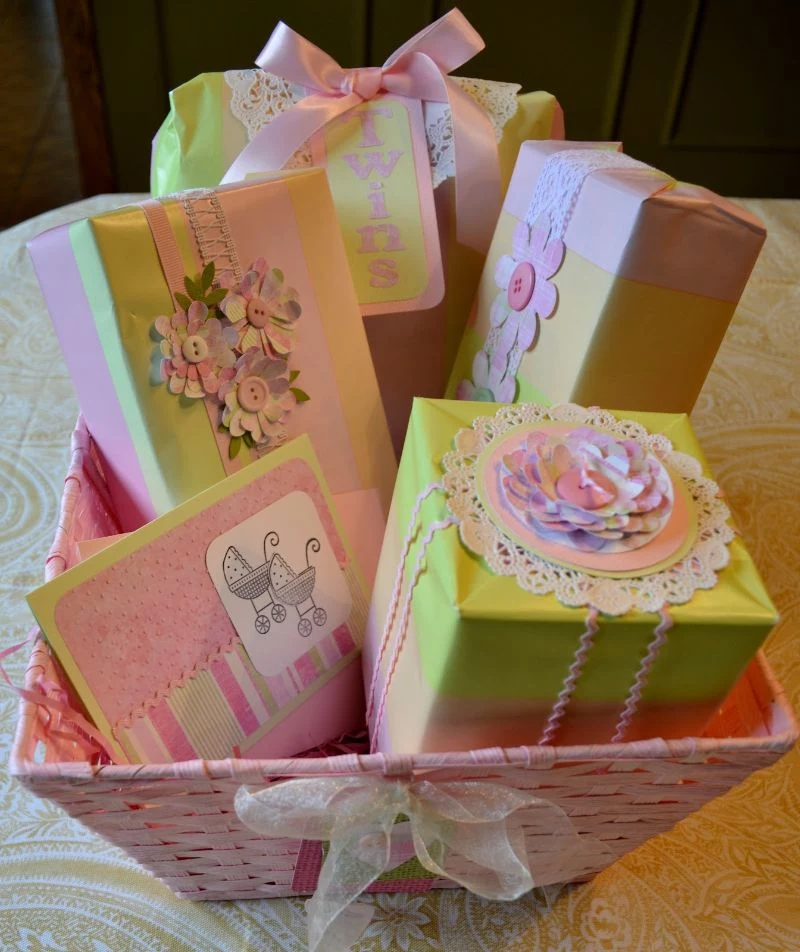
Beyond Pink and Blue: Modern and Themed Wraps
Let’s be honest, not every parent is into the classic pink and blue. A sophisticated color palette or a fun theme based on the nursery can be a huge hit.
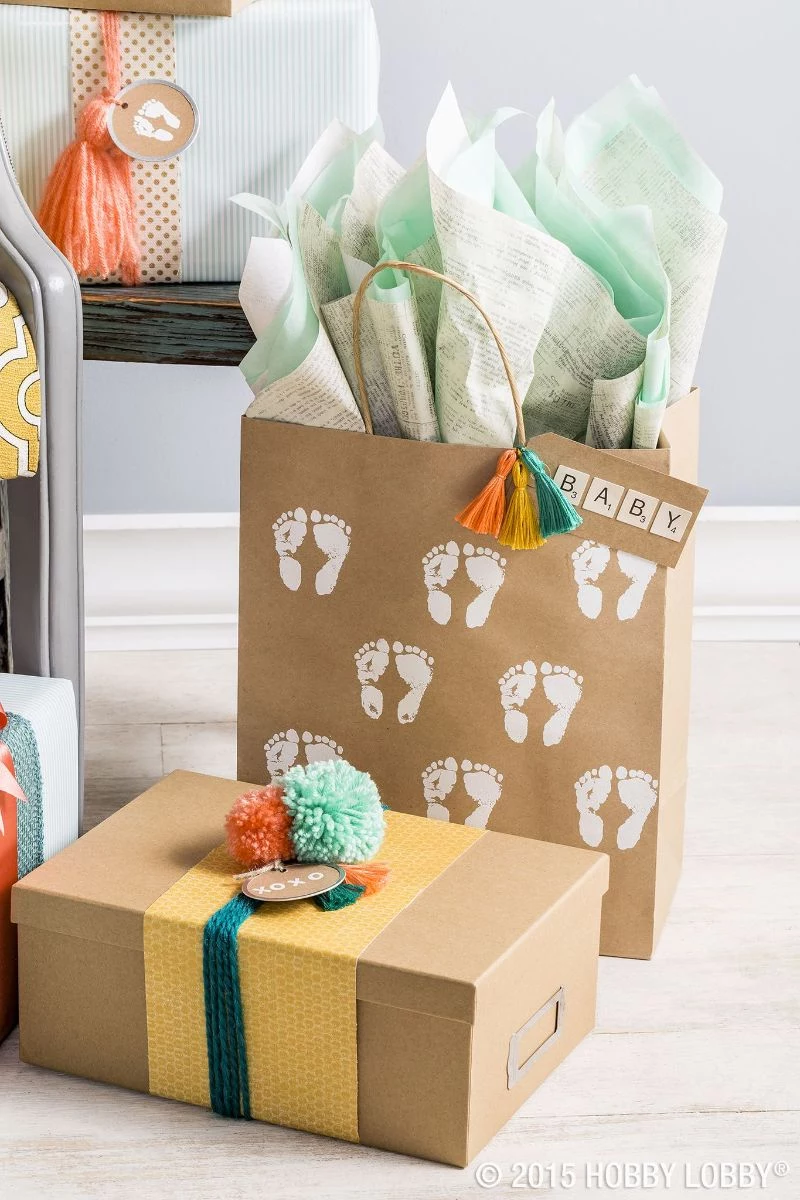
- Woodland Theme: Use brown kraft paper and stamp it with simple leaf prints. Tie it up with natural jute twine. For a special touch, tuck in a small pinecone. Pro-tip: If you use a real pinecone, boil it in water for 20 minutes first to kill any lingering bugs and melt off sticky sap. Let it dry completely for a day or two before using!
- Celestial Theme: Think dark navy blue paper with hand-painted silver stars (a silver Sharpie works great!). Use a shimmery silver or gold ribbon to complete the look.
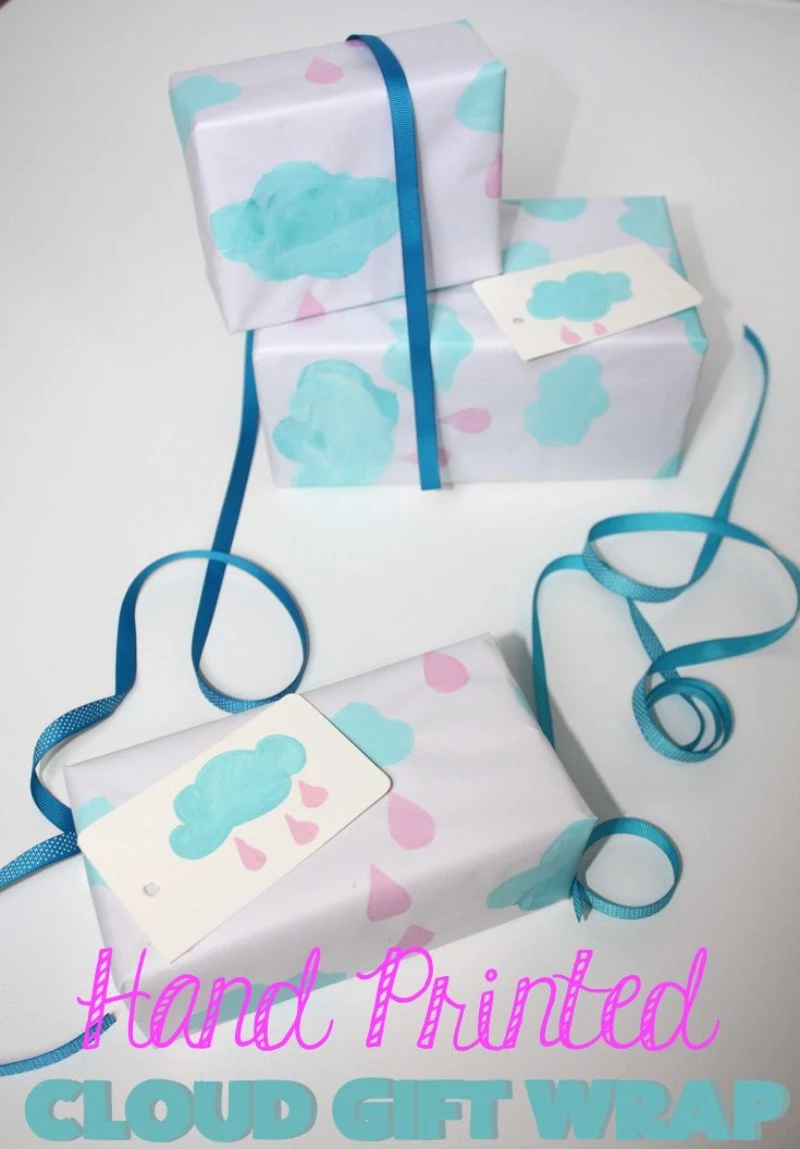
A Personal Touch: Hand-Printed Paper
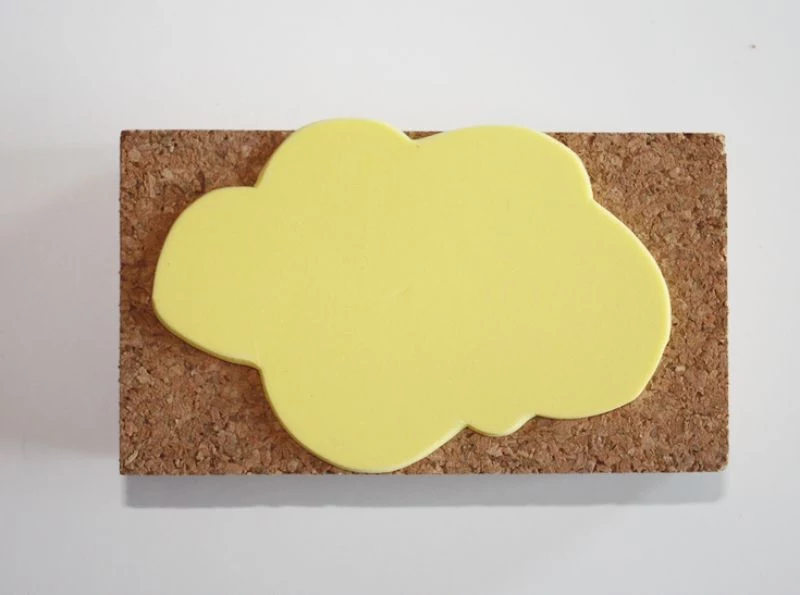
Making your own wrapping paper is so much easier than it sounds. A simple potato stamp is a classic for a reason—it’s cheap and looks fantastic.
- Cut a potato in half. Carve a simple shape—like a heart or a star—into the flat side.
- Pat the potato stamp dry with a paper towel.
- Pour a little non-toxic, water-based paint onto a paper plate.
- Dip your stamp in the paint and press it firmly onto a sheet of kraft paper. Repeat!
- Let the paper dry completely, which can take 4-6 hours. Be patient! The biggest rookie mistake is using the paper too soon and smudging your hard work.
Let’s Be Real: Time, Cost, and Keeping It Simple
Not everyone has an hour and a half to build a diaper cake, and that is 100% okay. A beautifully wrapped gift is wonderful, but a thoughtfully chosen gift that’s simply wrapped is just as meaningful.
A simple box wrap with a nice bow? 10 minutes, max. A three-tier diaper cake? A beginner should probably block out 60-90 minutes. Cost-saving tip: Buy your wrapping supplies right after a major holiday. You can find high-quality paper and ribbon in solid colors like gold, silver, and white for next to nothing.
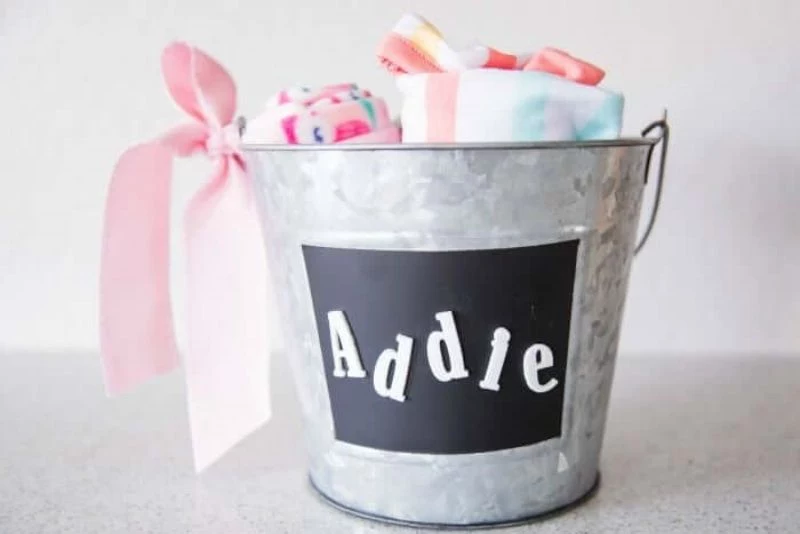
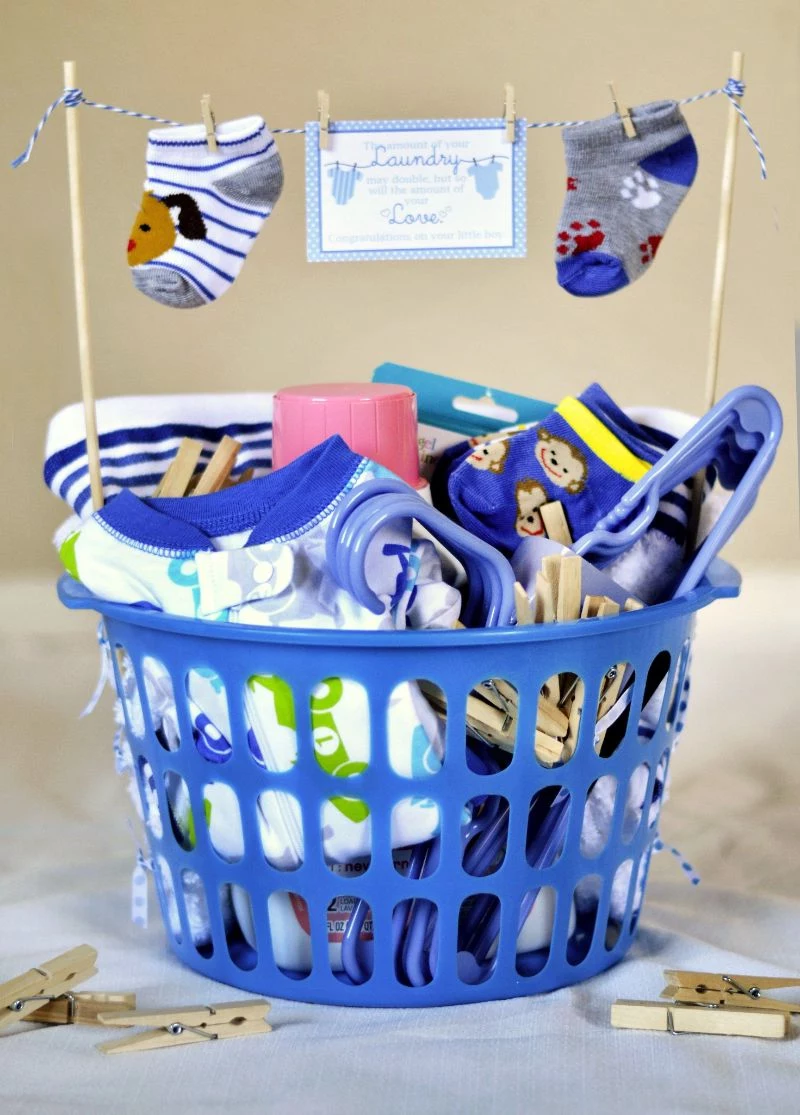
If You’re in a Hurry… Here’s my favorite quick-win. Buy a nice, reusable fabric bin or a wicker basket. Artfully arrange the gifts inside with some coordinating tissue paper, and tie one fantastic, high-quality ribbon around the entire basket. It takes five minutes, looks incredibly thoughtful, and the parents get a useful storage bin.
My Final, Most Important Advice
Before any gift goes out the door, it needs a final inspection. This little habit is what shows you truly care.
The Pre-Gifting Safety Check
Quickly ask yourself:
- Are there any sharp points from pins, staples, or floral wire?
- Are there ANY small parts that could come loose?
- Is the whole thing stable enough to get to the party?
- Did I use only non-toxic, baby-safe materials?
The Disassembly Tag: Don’t Skip This!
This is my number one, non-negotiable tip. I always attach a small, simple card to any gift sculpture. It’s for the parents, and it serves two very important purposes: it tells them what’s inside, and it gives them a clear safety warning.
Feel free to copy this text for your own tag:
“Hello! This gift was made with love and contains:
– 54 Size 2 diapers
– 4 pairs of baby socks
– 3 cotton washcloths
For your baby’s safety, please take this apart completely before use. Remove and throw away all ribbons, rubber bands, pins, and tags. The decorative items are not toys.”
This little tag is the mark of someone who has thought through the entire life of the gift, not just how it looks on the table. It shows you care about the end result, and that, more than anything, is what wrapping with love is all about.
Inspirational Gallery
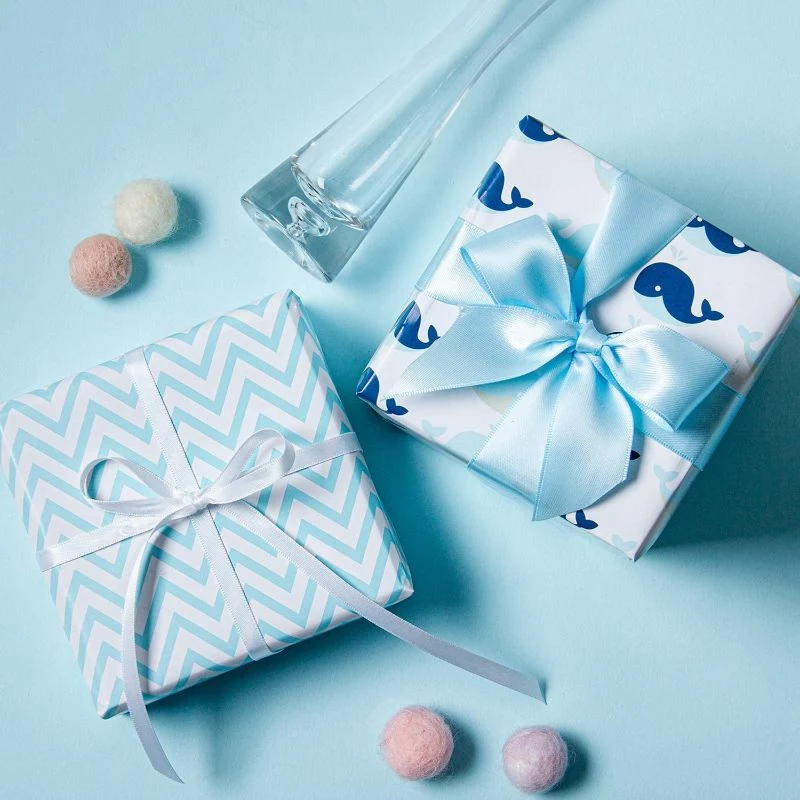
Grosgrain Ribbon: Its ribbed texture and stiffness make it a dream for creating structured, classic bows that won’t flop. It’s perfect for adding a preppy or polished touch to a simple box wrapped in kraft paper.
Chiffon or Silk Ribbon: For a softer, more ethereal vibe, a hand-dyed silk or a wide chiffon ribbon is unbeatable. It drapes beautifully and adds a touch of luxury, perfect for wrapping a delicate cashmere blanket or a special outfit. Let the ends trail for a romantic effect.
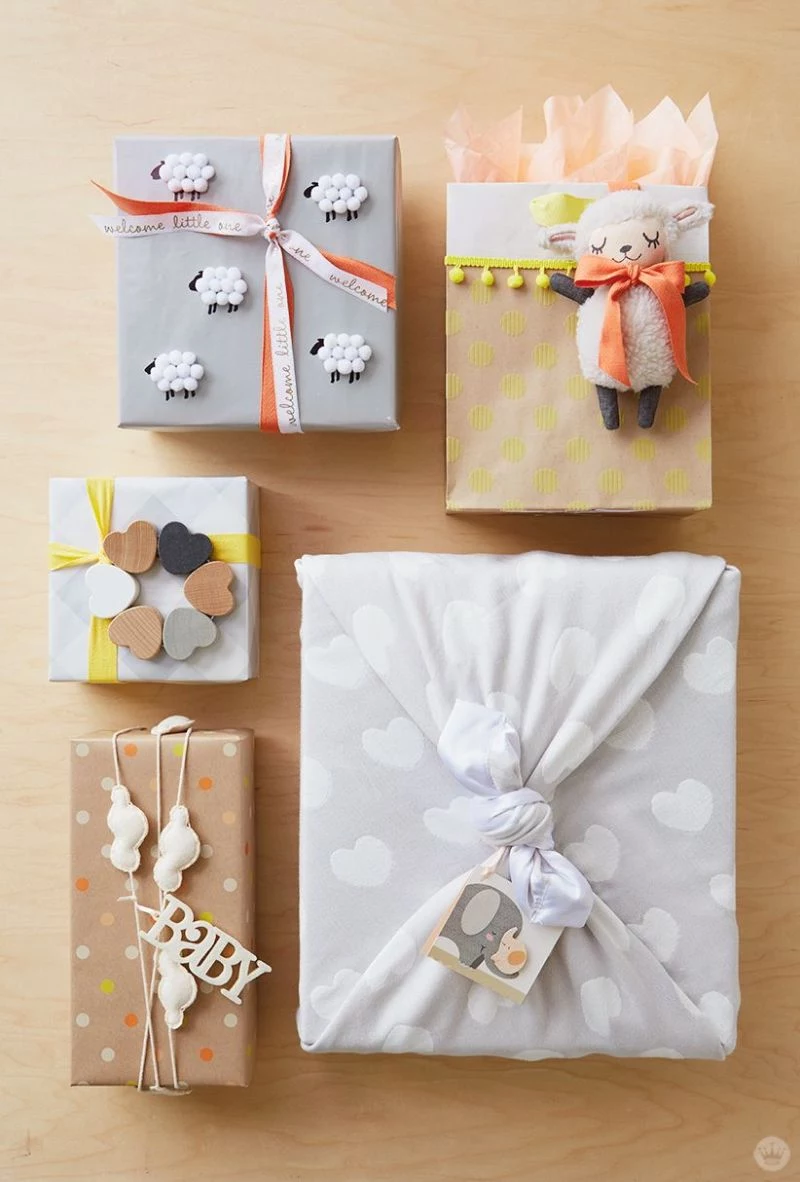
The Japanese art of Furoshiki, or fabric wrapping, has been practiced for over 1,200 years.
Embrace this sustainable and beautiful tradition for your next baby shower gift. Instead of paper, use a lovely muslin swaddle from a brand like Aden + Anais or a bamboo receiving blanket. Wrap the gift inside the fabric and tie it with a simple knot. It’s two gifts in one—the wrapping is a useful, beautiful item for the new parents, and it’s completely zero-waste.
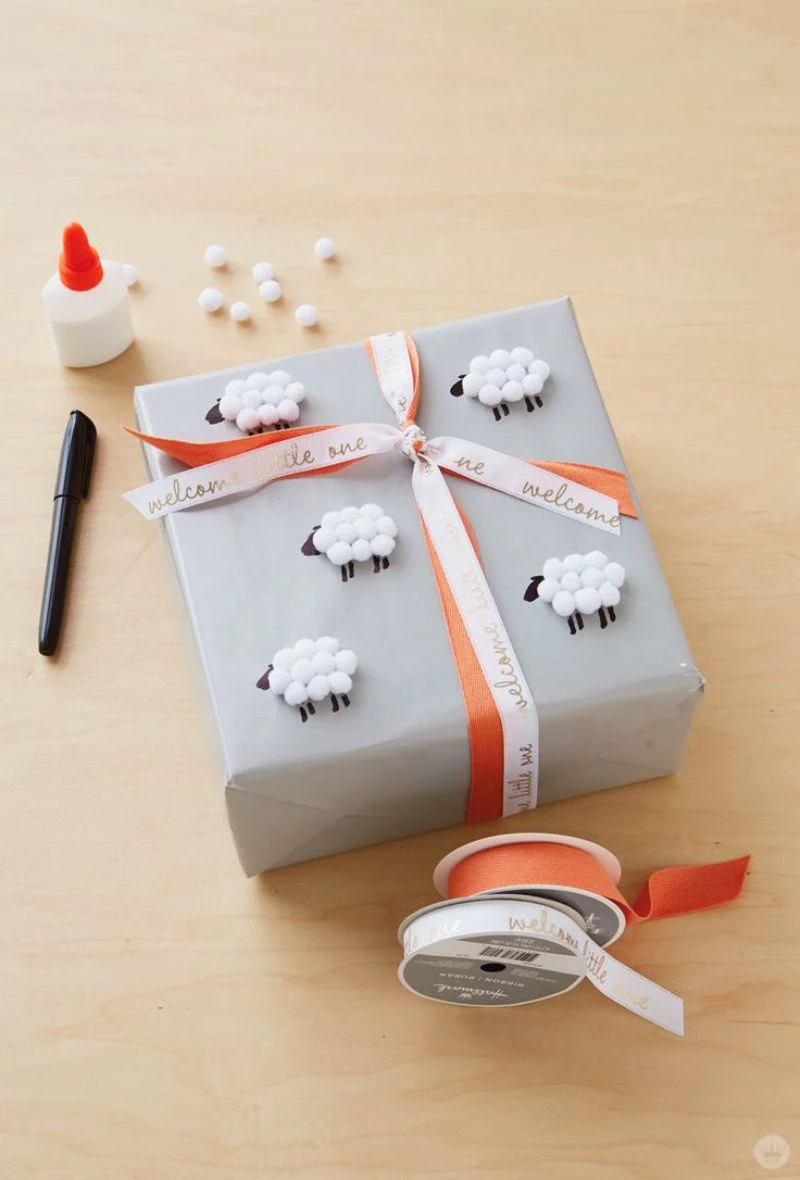
Move beyond the standard plastic bow and top your gift with something that’s both beautiful and useful. A simple piece of twine can secure:
- A wooden teething ring
- A pair of tiny baby socks rolled into a “rosebud”
- A high-quality pacifier, like a natural rubber one from BIBS
- A single, beautifully illustrated alphabet flashcard (for the baby’s initial)
How do you beautifully wrap soft, oddly-shaped items like a stuffed animal or a bundle of clothes without just sticking them in a gift bag?
Try the “candy wrapper” method. First, roll the clothing or hug the stuffed animal into a log shape. Then, roll this bundle in your wrapping paper, leaving at least six inches of extra paper on each end. Twist the excess paper at both ends and tie them securely with ribbon. The final result looks like a charming, oversized piece of candy.
The Final Safety Check: Before you call it done, run your hand over the entire package. Can any decorative elements—like small plastic gems, loose buttons, or non-child-safe craft materials—be easily pulled off? Anything smaller than a film canister is a potential choking hazard. When in doubt, leave it off. A simple, safe gift is always more beautiful.
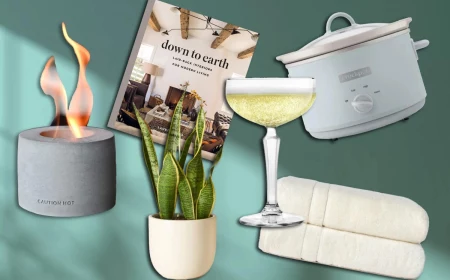
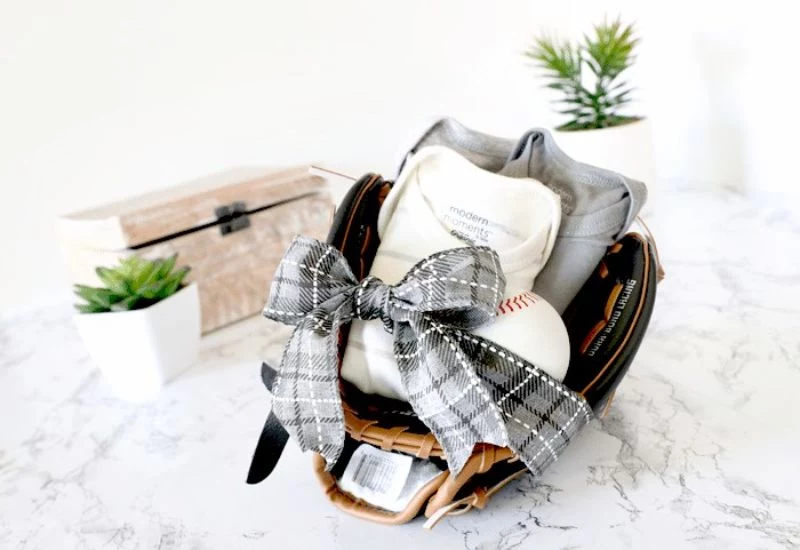
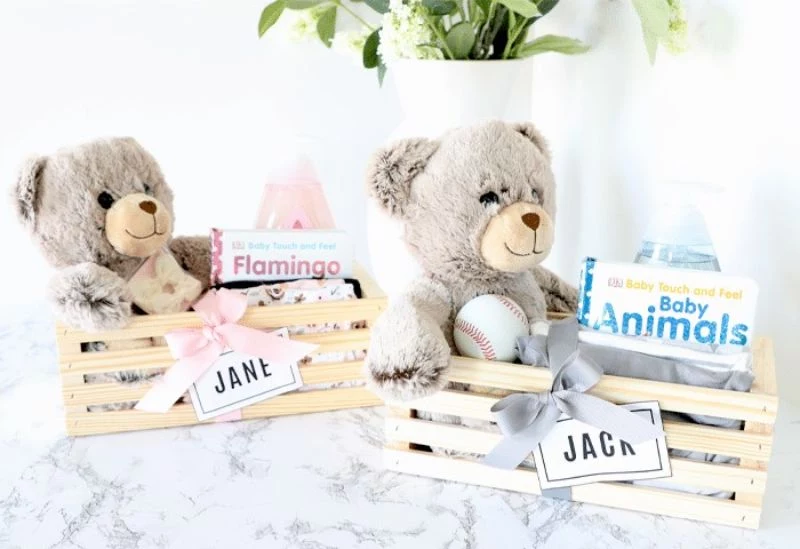
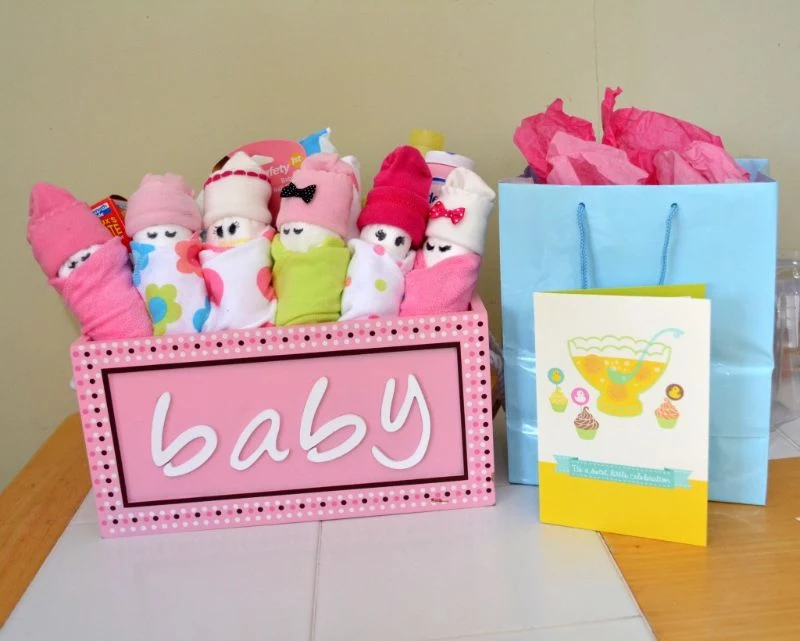
Instead of wrapping a single item, elevate your gift by creating a themed “kit” in a reusable container like a small wicker basket or a painted wooden crate. It feels incredibly personal and looks stunning. Some ideas:
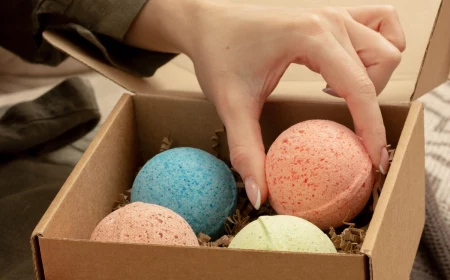
- The “Bath Time” Basket: A hooded towel, gentle baby wash from a brand like Mustela, a natural sea sponge, and a classic rubber duck.
- The “Bedtime Story” Box: A beloved board book (like Goodnight Moon), a cozy sleep sack, and a small, baby-safe night light.