Your Guide to Perfectly Preserving Flowers in Resin (Without the Headaches)
For years, my hands have been covered in either soil or resin. It’s a funny combination, I know. I started my journey in floral design, really learning the personality of each flower—their textures, their colors, and just how delicate they can be. That work taught me that a single bloom can hold a whole world of memories. But, as we all know, flowers fade. And that’s what led me to resin.
In this article
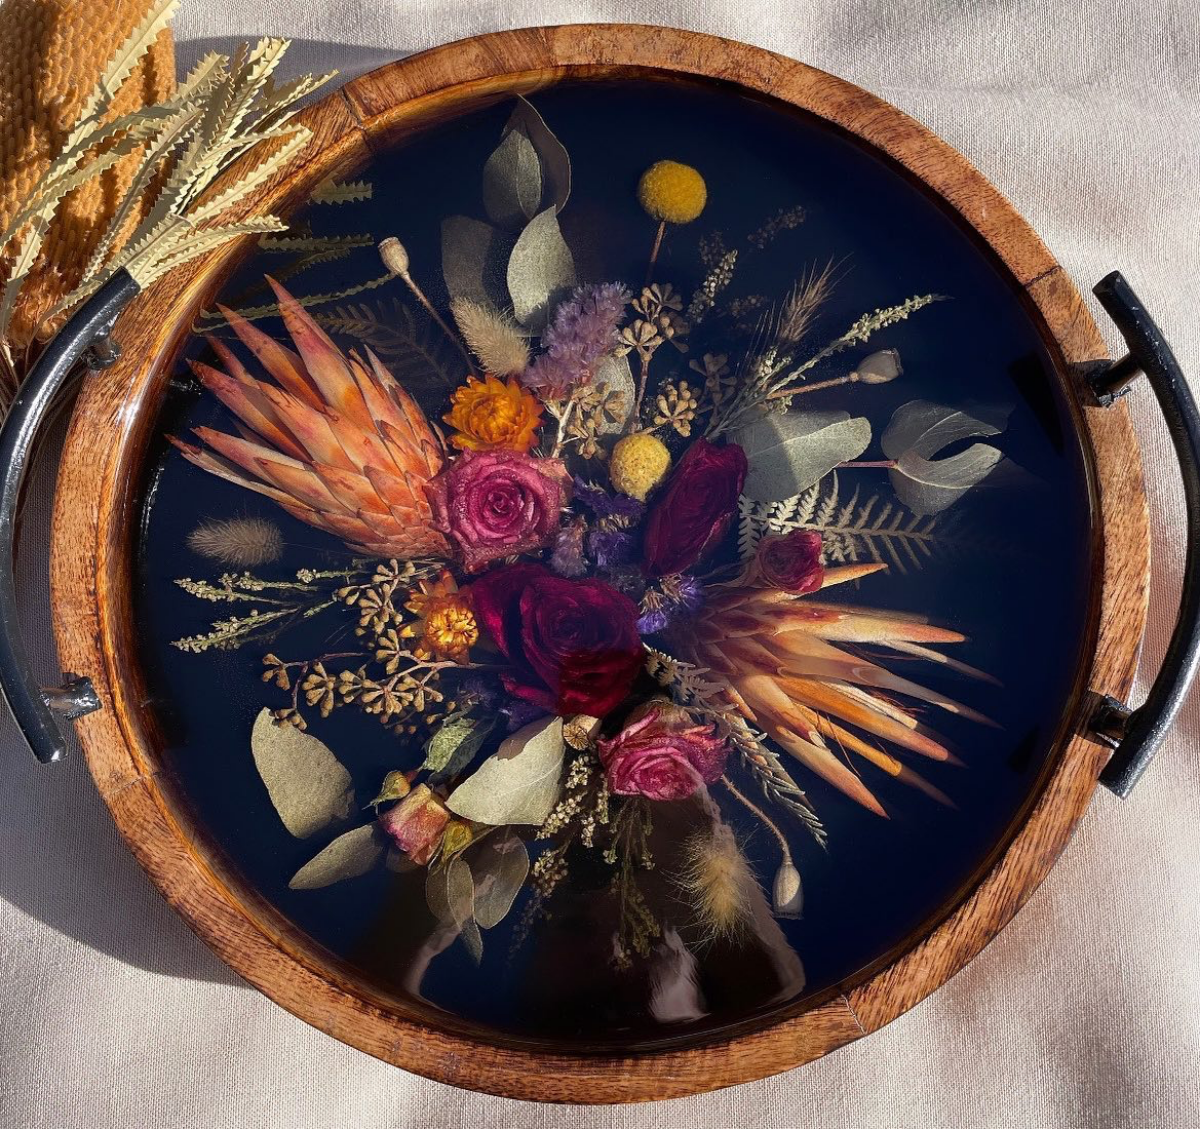
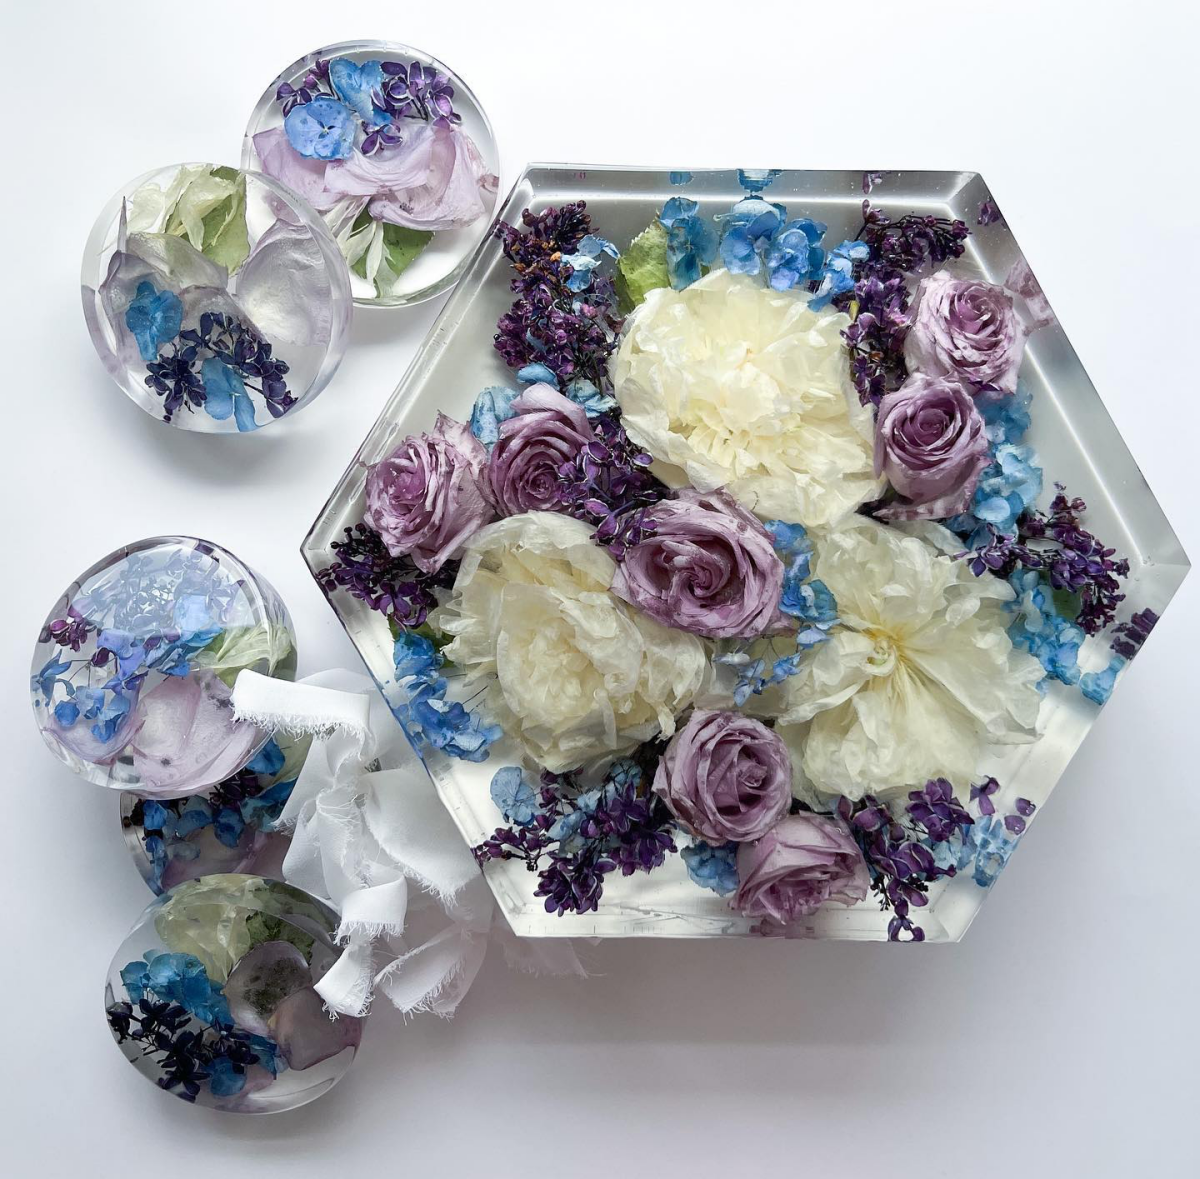
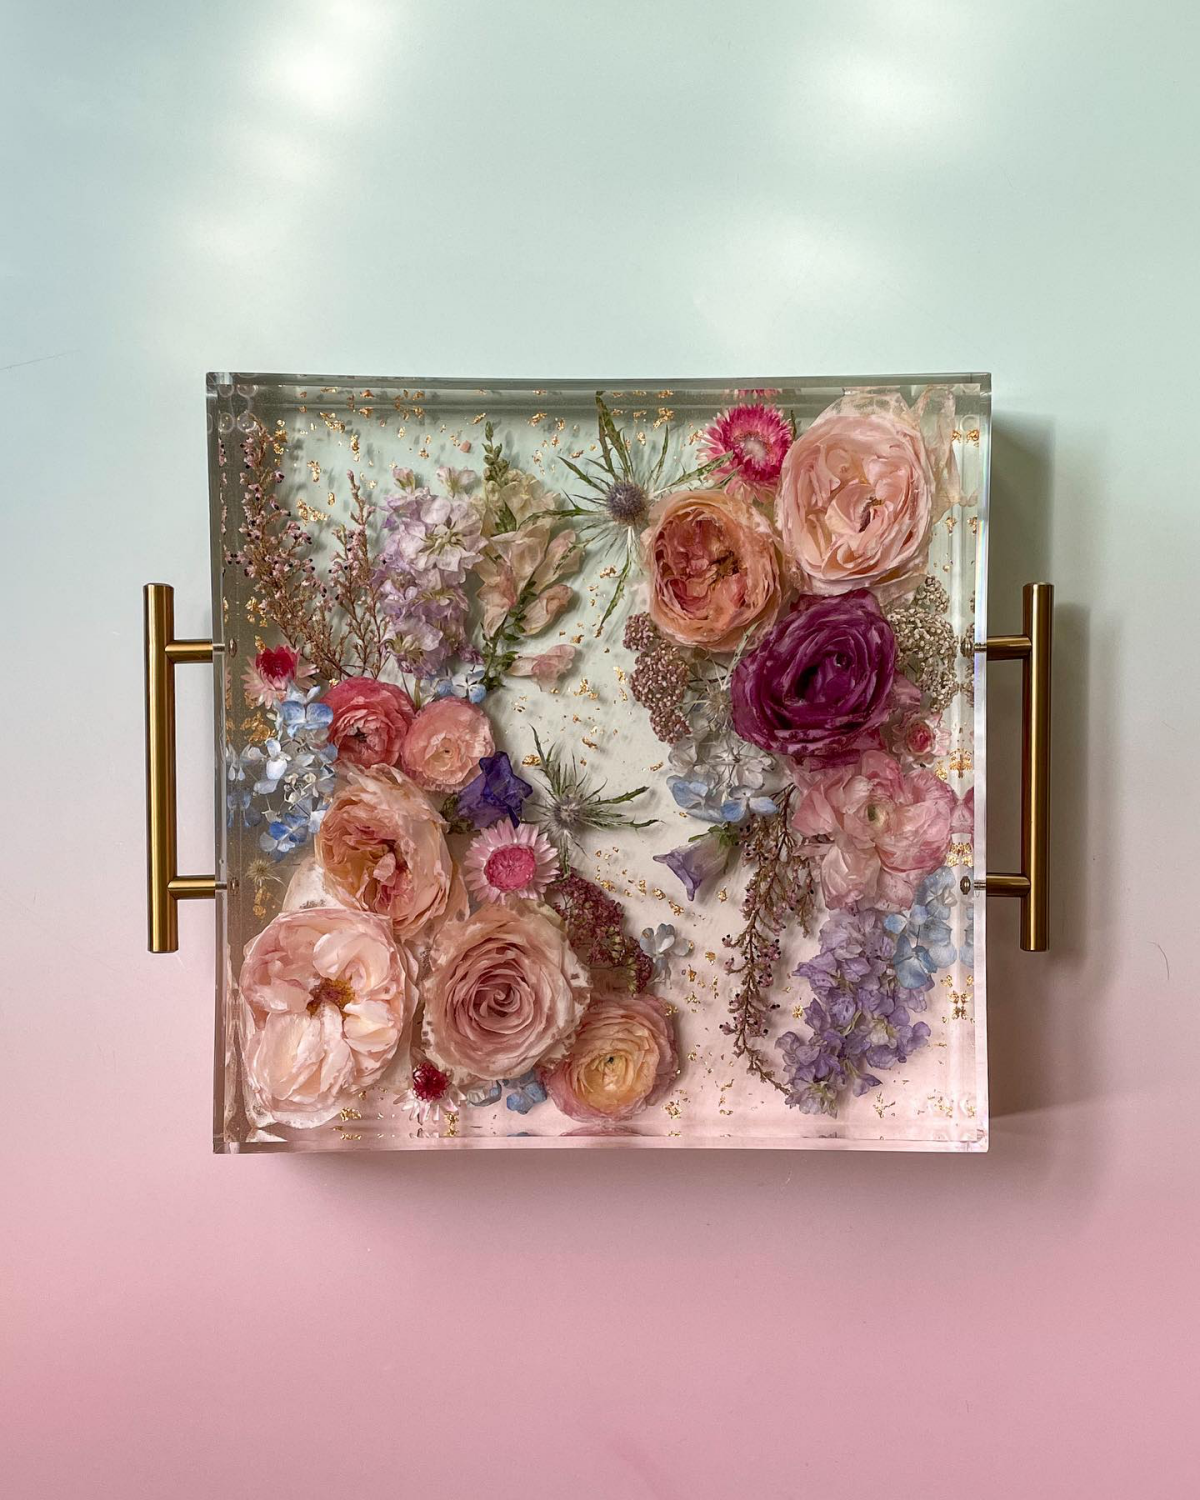
Resin feels like a kind of modern magic, a way to literally stop time. It’s more than just a craft; it’s a mix of art and chemistry, a way to turn a fleeting moment into a forever keepsake. I’ve done it all, from preserving a bride’s entire wedding bouquet in a heavy, crystal-clear block to saving a child’s first daisy in a little paperweight.
And let me be honest: I have made every single mistake you can imagine. I’ve had resin that stayed sticky forever, watched beautiful flowers turn a sad brown, and seen a galaxy of bubbles ruin what should have been a perfect piece. Those failures taught me way more than any manual ever could. So, this guide isn’t just about the steps. It’s about explaining the why behind them, so you can skip the heartbreak and get right to the good stuff.
First Things First: Getting to Know Your Materials
Before you even think about pouring, you’ve got to understand what you’re working with. Epoxy resin isn’t just a fancy glue; it’s a two-part system. You have Part A (the resin) and Part B (the hardener). When you mix them, you kick off a chemical reaction.
This reaction creates heat, which is totally normal. For small things like jewelry, you’ll barely notice it. But for a big block holding a whole bouquet? That can get seriously hot. If it heats up too fast, the resin can “flash cure,” which means it hardens almost instantly, often turning yellow and even cracking from the stress. This is why the pros use specific ‘deep pour’ resins for big projects. They’re designed for a slower, cooler reaction, giving you a much safer and more controlled process.
The Basics: Pot Life and Cure Time
You’ll hear two terms thrown around a lot: ‘pot life’ and ‘cure time.’
- Pot Life (or Working Time): This is your window of opportunity—the time after mixing when the resin is still liquid enough to pour and play with. It can be anywhere from 20 minutes to over an hour, depending on the brand.
- Cure Time: This is the total time it takes for the piece to become fully rock-hard, which can be anywhere from 24 hours to a full week.
Heads up! Both of these are hugely affected by the temperature of your room. A warmer room speeds everything up, shortening your pot life. A colder room slows it down. I keep my workshop at a steady 74°F (23°C) for predictable results. If your space is below 70°F (21°C), you’re risking a soft, bendy cure that never fully hardens. No good.
Public Enemy #1: Moisture
If you remember one thing, let it be this: your flowers have to be completely, totally, bone-dry. Water and resin are mortal enemies. A petal might feel dry, but it can still hold a ton of moisture inside its cells. Once you trap that petal in resin, the moisture has nowhere to escape. This is what causes that cloudy halo around your flowers, stubborn micro-bubbles, and in the worst cases, the flower slowly rotting inside your beautiful creation over the years. Getting this right prevents the most common and devastating failures.
That Pesky Yellowing Effect (UV Degradation)
So, all epoxy resins will eventually yellow a bit when exposed to sunlight (UV light). It’s just a natural part of how the material ages. However, high-quality resins have UV inhibitors and something called HALS built in, which act like a powerful sunscreen for your art. Cheaper craft store resins often skimp on this, and you’ll see noticeable yellowing within a year if the piece sits in a sunny window. Investing in a good, UV-resistant casting resin is a must if you want your keepsake to actually last.
The Pro-Level Prep for Flawless Results
The final piece is only ever as good as your prep work. Rushing this part is basically a guarantee you’ll be disappointed later. Patience now pays off big time.
Flower Drying: The Most Important Step
Drying flowers properly is an art form in itself. Your goal is to get all the moisture out while keeping as much of the original color and shape as possible.
Silica Gel for 3D Flowers
For keeping the gorgeous, full shape of a rose, dahlia, or peony, nothing beats silica gel. We’re not talking about those little packets in shoe boxes; this is a fine, sand-like crystal that’s incredibly absorbent. You can find a 5-pound jug for about $20-$30 at most craft stores or online, and it’s reusable!
- The Method: Get an airtight container. Pour a one-inch layer of silica gel at the bottom. Gently place your flower on top. Then, very carefully, spoon more silica gel all around and over the flower, making sure it gets between every single petal. The flower needs to be completely buried. Seal it up and stash it in a dark, dry place.
- How Long?: This is where experience comes in. A delicate flower might be perfectly crisp in 3 days. A dense rose can take two weeks or more. You’ll know it’s ready when the petals feel like paper, with no cool or soft spots.
- Quick Tip: To reuse your silica gel, just spread it on a baking sheet and bake it in the oven on a very low temperature (around 200-250°F) for a few hours until the color-indicating crystals turn back to their original shade. Let it cool completely before using again.
- Safety Note: The dust from silica gel is no joke for your lungs. I always, always wear a good-quality respirator mask when I’m pouring it.
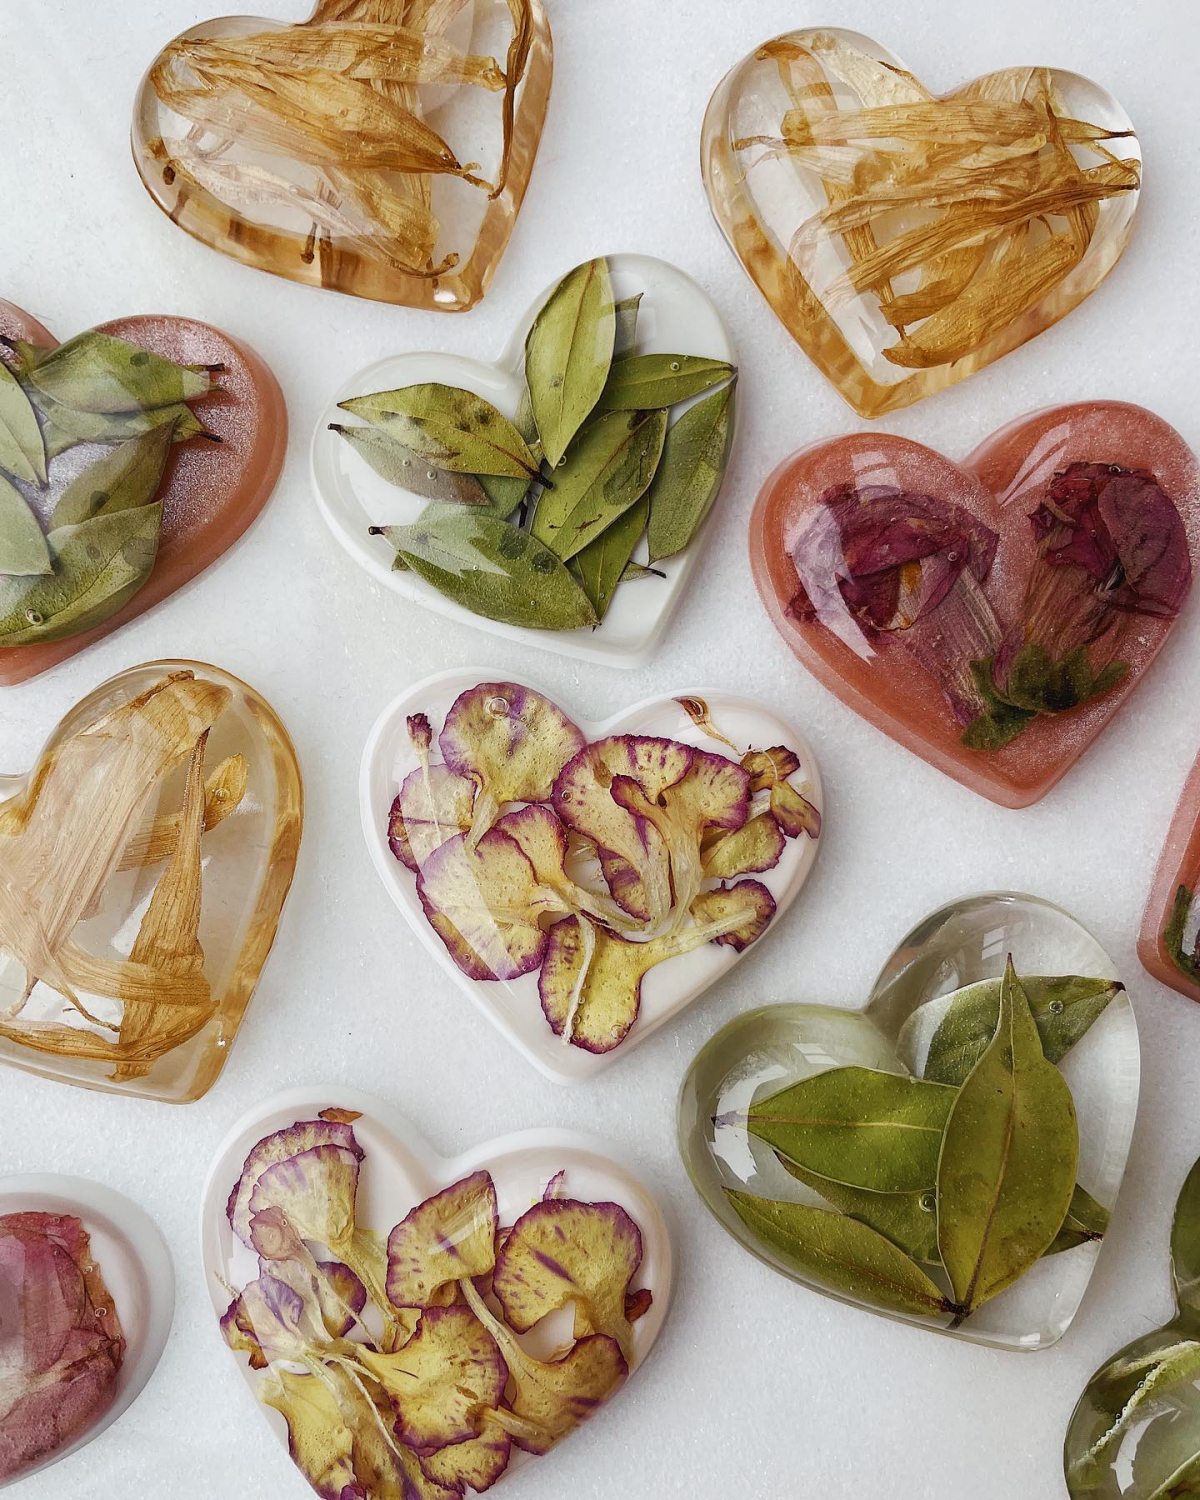
Pressing for Flat Pieces
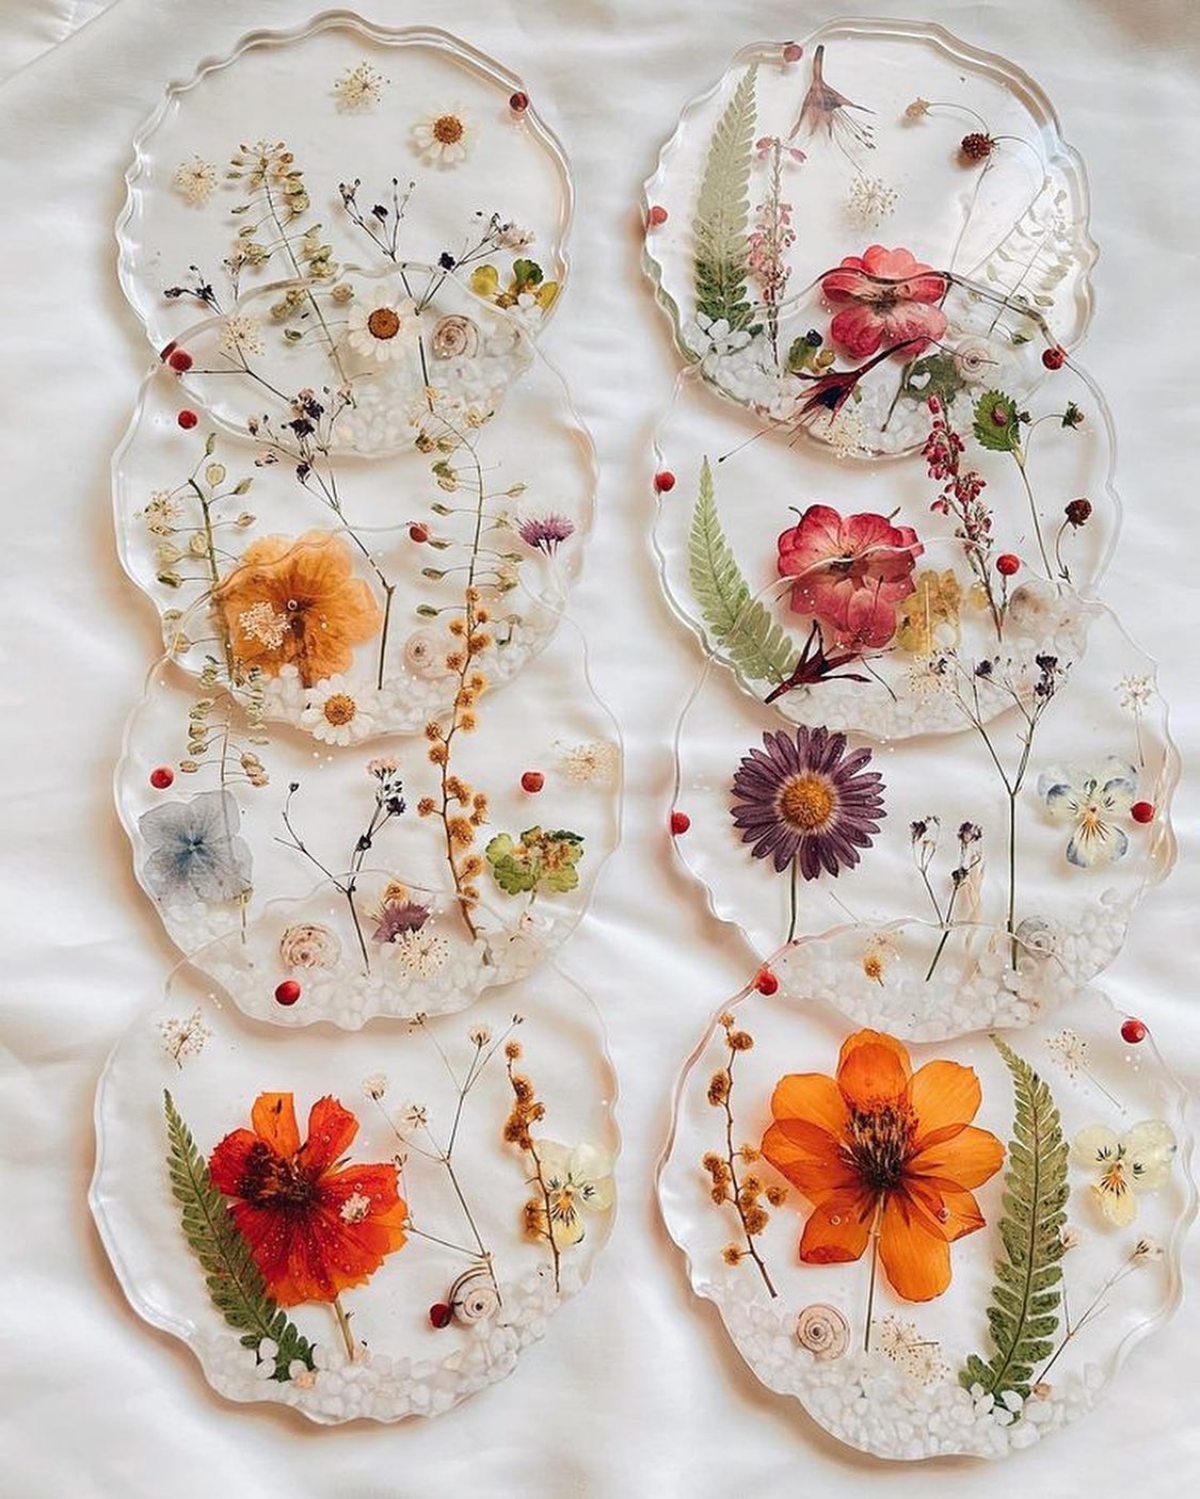
If you’re making coasters, jewelry, or bookmarks, pressing is perfect. Heavy books work, but a real flower press gives better results. The secret is layering: place your flowers between sheets of parchment paper, then sandwich that with cardboard for air circulation. Tighten the press and check on it every few days, swapping out the parchment paper to prevent any mold.
Air Drying for Sturdy Stems
This old-school method is simple but only works for low-moisture, sturdy flowers like lavender or baby’s breath. Just hang them upside down in a dark, warm, and well-ventilated spot for a few weeks. Don’t even try this with delicate flowers like tulips or lilies—it won’t end well.
Setting Up Your Workspace & A Simple First Project
Your workspace is critical. Make sure your table is perfectly level, or your resin will cure on a slant. I cover my whole workbench with a big silicone mat—cured resin peels right off, making cleanup a breeze. And if you live somewhere humid, a small dehumidifier running in the room can be a project-saver. High humidity can cause a cloudy film on curing resin, so I try to keep my room’s humidity below 50%.
Let’s Talk Resin Types
Okay, so when you’re shopping, you’ll mainly see two kinds of resin. Knowing the difference is key.
- Casting Resin: This is what you’ll use most often. It’s thin, watery, and great for pouring into molds because it releases bubbles easily. Most standard casting resins are good for pours up to an inch deep.
- Deep Pour Resin: This is a specialty casting resin. It’s even thinner and has a much longer cure time, which means it generates heat very slowly. You MUST use this for any project where you’re pouring deeper than an inch or two at a time, like those big preservation blocks.
- Coating Resin: This stuff is thick, like honey. It’s designed for creating a glossy, durable topcoat on things like paintings or countertops. I use it to “dome” the top of coasters for that perfect finish. Never, ever use this for a deep pour; it will get way too hot.
Your First Project Shopping List (Under $75)
Feeling overwhelmed? Don’t be. You can get started for less than you think. To make your first set of coasters, here’s what you’ll really need:
- Epoxy Resin Kit (16 oz or 32 oz): This will cost you about $25-$40 from a good online supplier or art store. Look for one that’s specifically labeled “Casting Resin” and mentions UV resistance.
- Silicone Molds: A set of 4 coaster molds will run you about $10-$15. Look for the shiny, high-quality platinum-cure silicone ones; they last longer and give a glossier finish.
- Silica Gel: A small 1.5 lb box is around $15.
- The Extras: Mixing cups, popsicle sticks, and nitrile gloves. You can get a whole kit of these for about $10.
So for around $75, you have everything you need to start. A simple timeline would look like this: Days 1-7: Dry your flowers in silica. Day 8: Mix and pour your resin. Day 9 or 10: Demold and admire your work!
The Pouring Process: A Slow and Steady Dance
This is where patience is everything. Think of it as a slow, deliberate process.
Step 1: The Seal Coat. Never just drop a dried flower into a deep pool of resin. Dried flowers are full of air, and the resin will force that air out, creating a storm of tiny bubbles. To avoid this, I first use a small brush to paint a thin layer of mixed resin directly onto the flower. Let this cure for a few hours until it’s just tacky. This seals all that air in.
Step 2: The First Layer. Pour a shallow layer of resin into your mold, just enough to cover the bottom. Before you do anything else, use an online resin calculator to figure out exactly how much you need for your mold size—it saves a ton of waste and guesswork! After pouring, use a heat gun or torch to pop any bubbles. Then, gently place your sealed flower into this layer. Let this cure for 4-6 hours until it’s firm.
Step 3: Keep Layering. Continue pouring in shallow layers, usually no more than a half-inch at a time. Waiting between layers lets the heat escape and gives you a chance to zap bubbles at each stage. This is the secret to getting that crystal-clear look.
By the way, when you’re popping bubbles, sweep a heat gun or torch quickly across the surface from about 6 inches away. The heat momentarily thins the resin, letting air escape. A common mistake is to use a hairdryer—don’t do it! It just blows dust and hair right into your project. A total nightmare.
Troubleshooting: When Things Go Wrong
Even after all this time, stuff happens. Here’s how to deal with the most common issues.
- The Problem: My piece has sticky, tacky spots!
The Cause: 99% of the time, this is from improper mixing (not scraping the sides of the cup) or the wrong ratio of Part A to Part B.
Can it be fixed? Sometimes. If it’s just a few spots on the surface, you might be able to sand them down and pour a fresh, properly mixed topcoat. If the whole piece is sticky, I’m sorry to say it’s a goner. This is why measuring precisely and mixing for a full 3-5 minutes is so critical. - The Problem: My resin is cloudy.
The Cause: This is almost always a moisture problem, either from flowers that weren’t fully dry or from high humidity in your workspace.
Can it be fixed? Unfortunately, no. Once it’s cured, that cloudiness is permanent. Prevention is your only weapon here. - The Problem: My flowers floated to the top!
The Cause: Dried flowers are way less dense than liquid resin.
The Fix: This is why that layering technique is your best friend. Anchoring the flower in a shallow, partially cured layer of resin holds it down when you pour the next, deeper layer on top.
A Quick Word on Finishing
The difference between a nice hobby piece and a professional one often comes down to the finishing. A piece straight from the mold can have sharp edges. For a true glass-like finish, the pros go through a sanding and polishing process. I wet-sand with progressively finer grits of sandpaper (from 400 up to 3000+ grit), then use a plastic polishing compound with a buffing wheel. It’s messy, but it takes a piece from
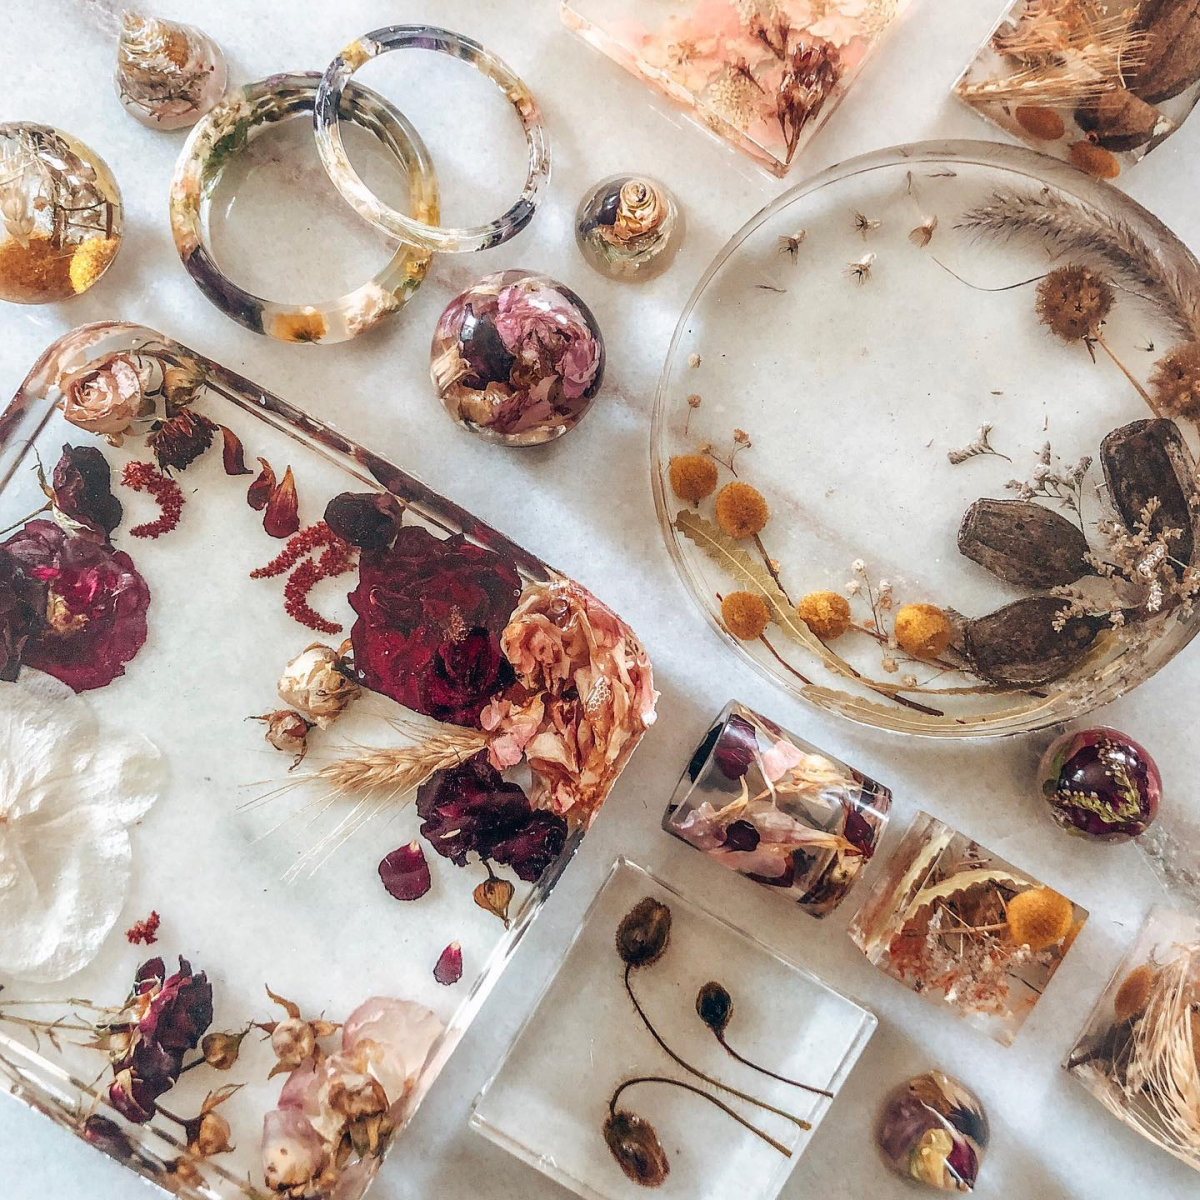
Galerie d’inspiration
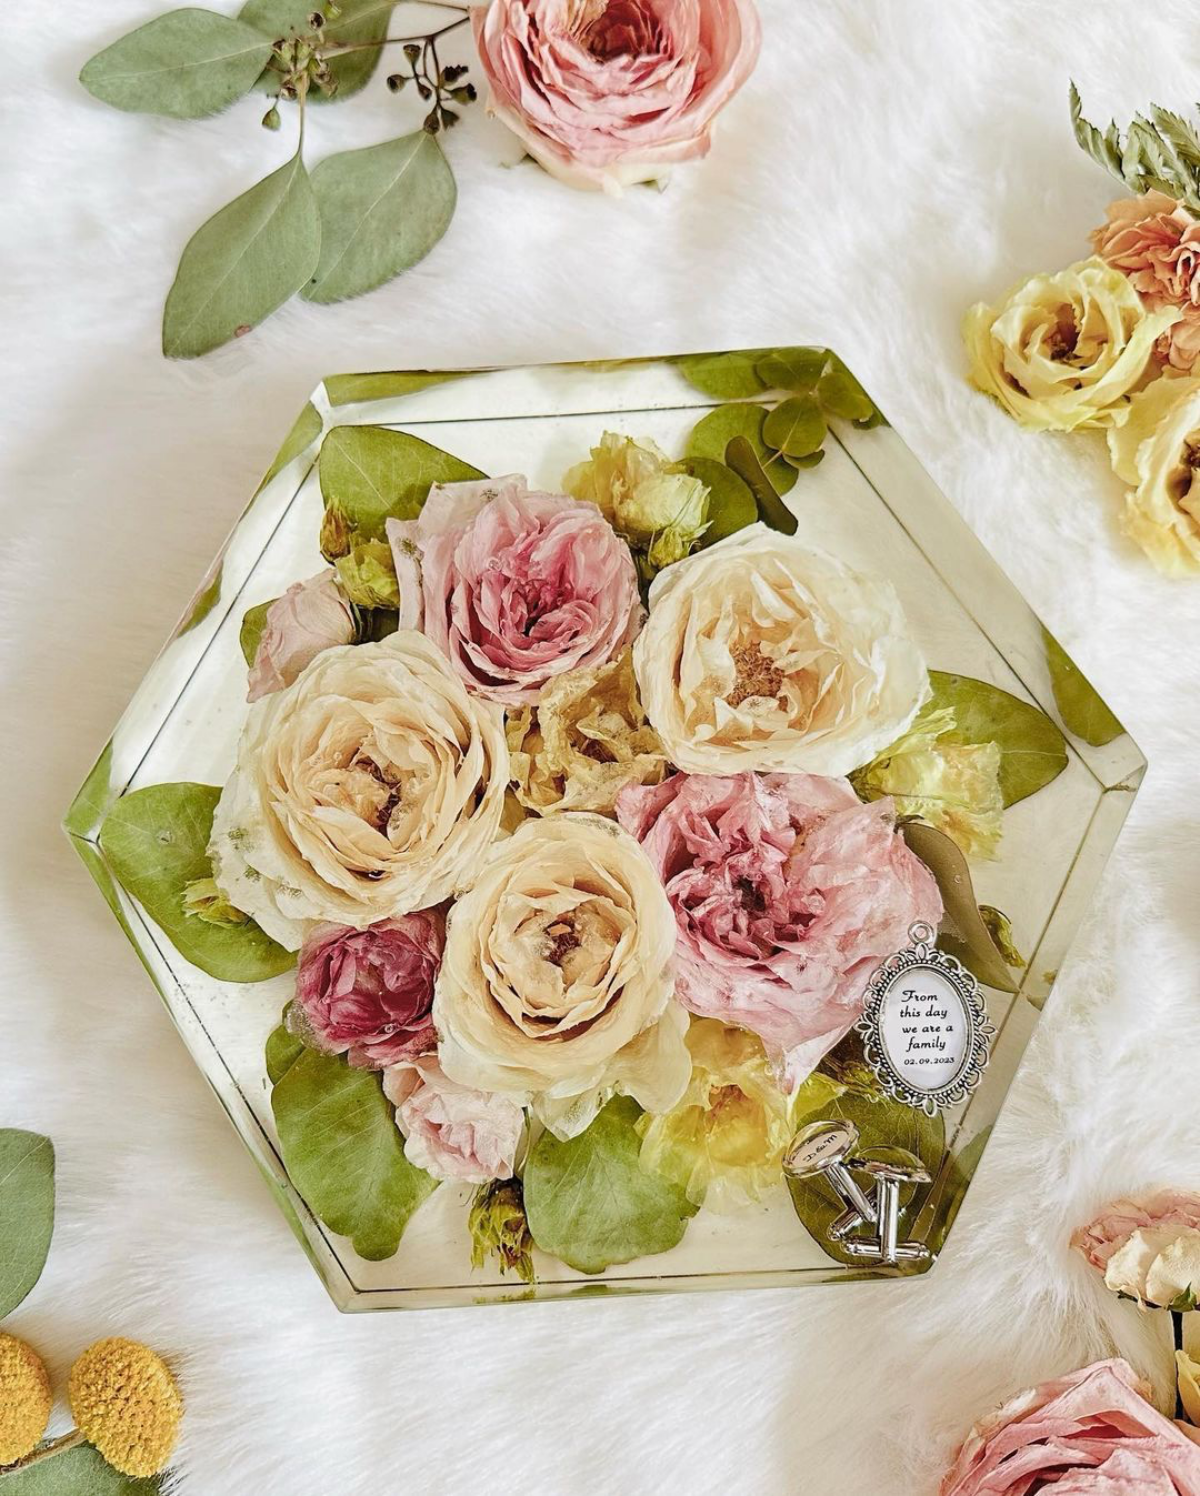
Silica Gel Drying: The gold standard for preserving color and three-dimensional shape. Using a fine, sand-like desiccant such as Wisedry Flower Drying Silica Gel, you completely bury your fresh flowers in an airtight container. It works quickly (2-7 days) by drawing out moisture without flattening the petals, making it ideal for delicate flowers like roses or ranunculus.
Traditional Air Drying: The classic, cost-free method. You simply hang sturdy-stemmed flowers like lavender, statice, or baby’s breath upside down in a dark, dry, well-ventilated area for a few weeks. While effective, this method can cause some color darkening and shrinkage, lending a more rustic, vintage feel to your final piece.
For vibrant, true-to-life preservation, silica gel is the clear winner. For a more antique, muted aesthetic, air drying is a charming alternative.
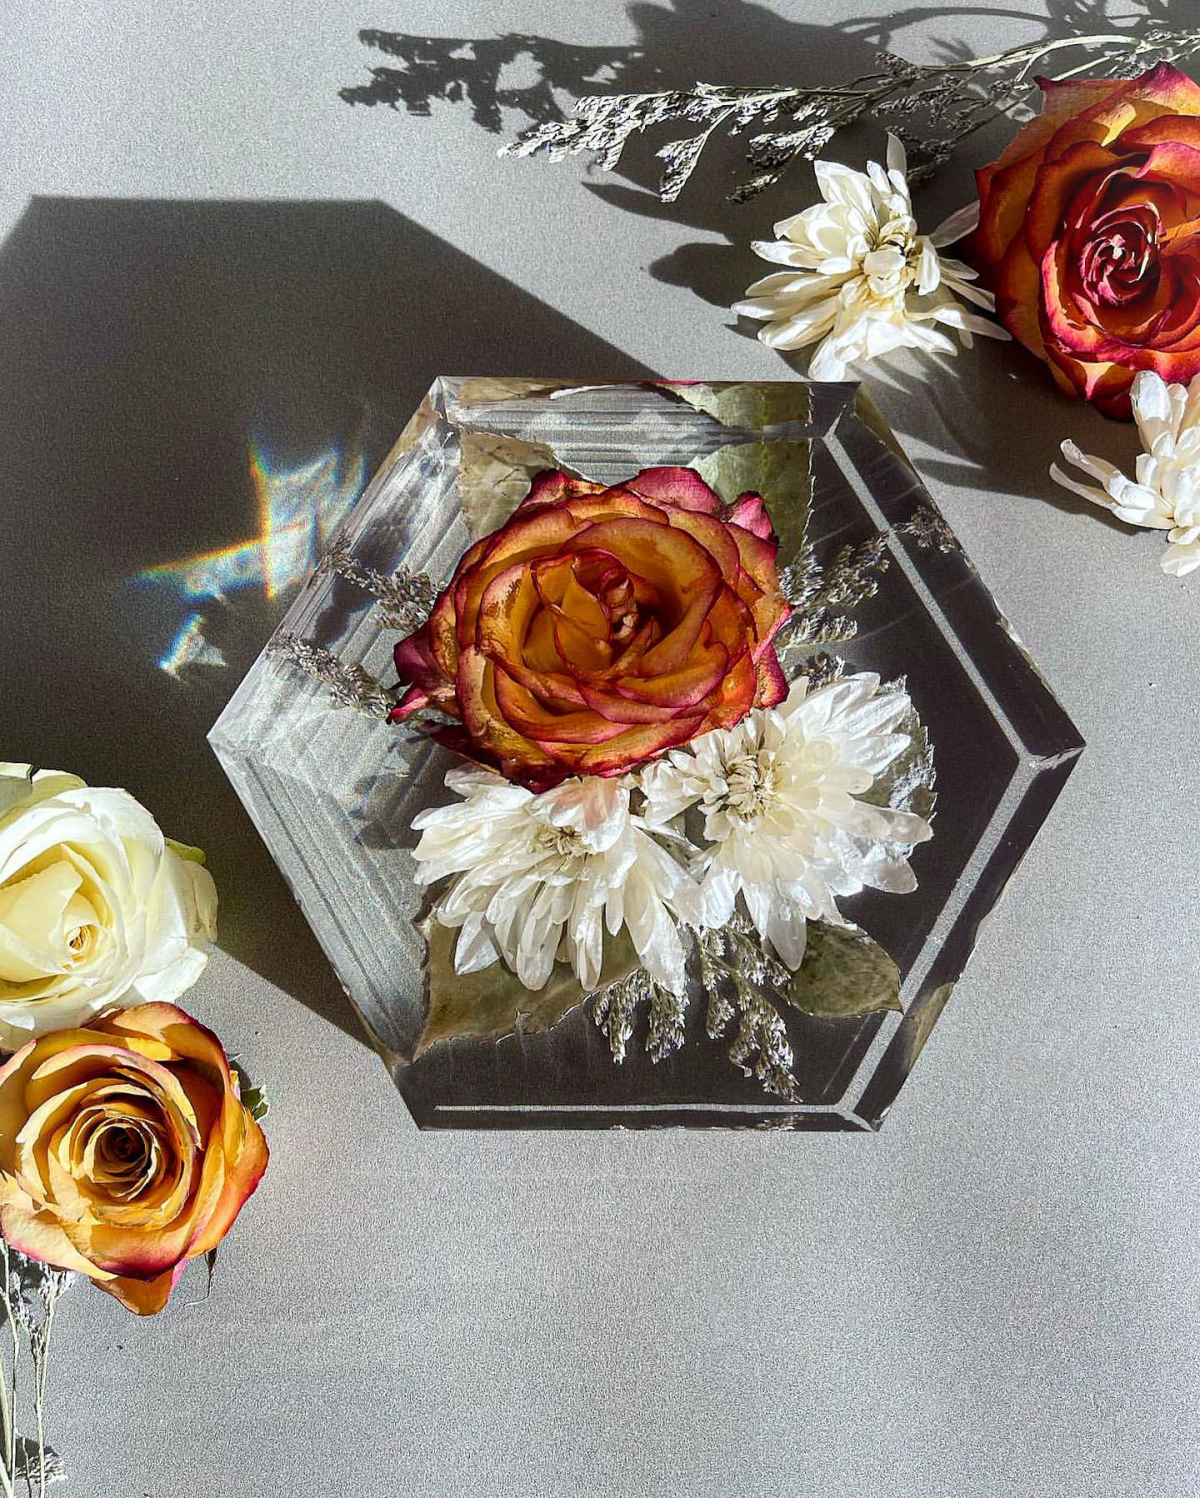
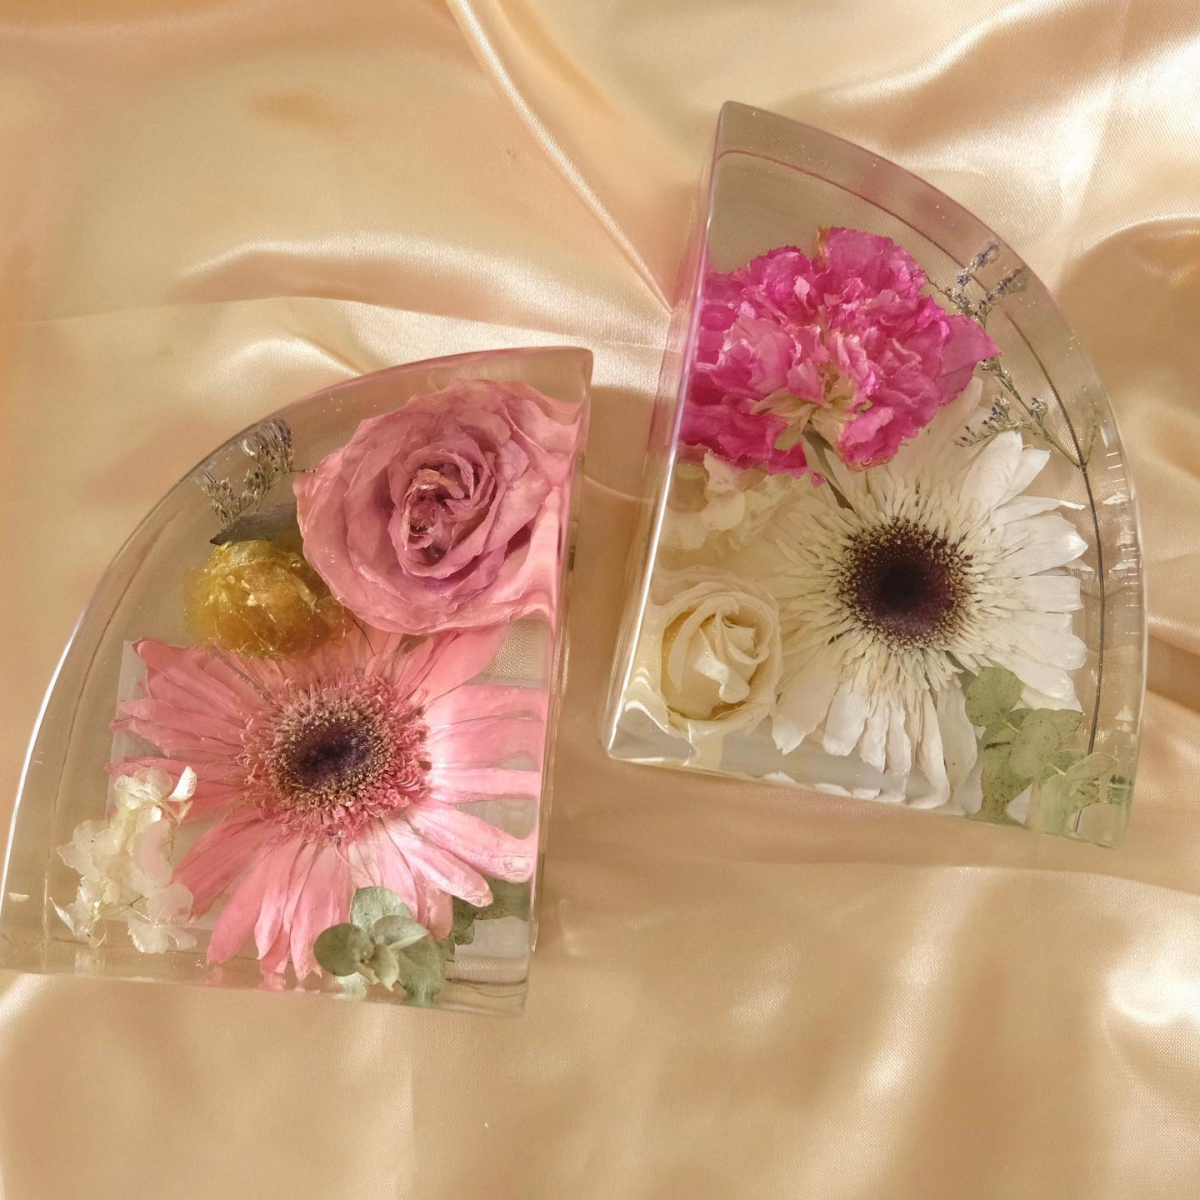
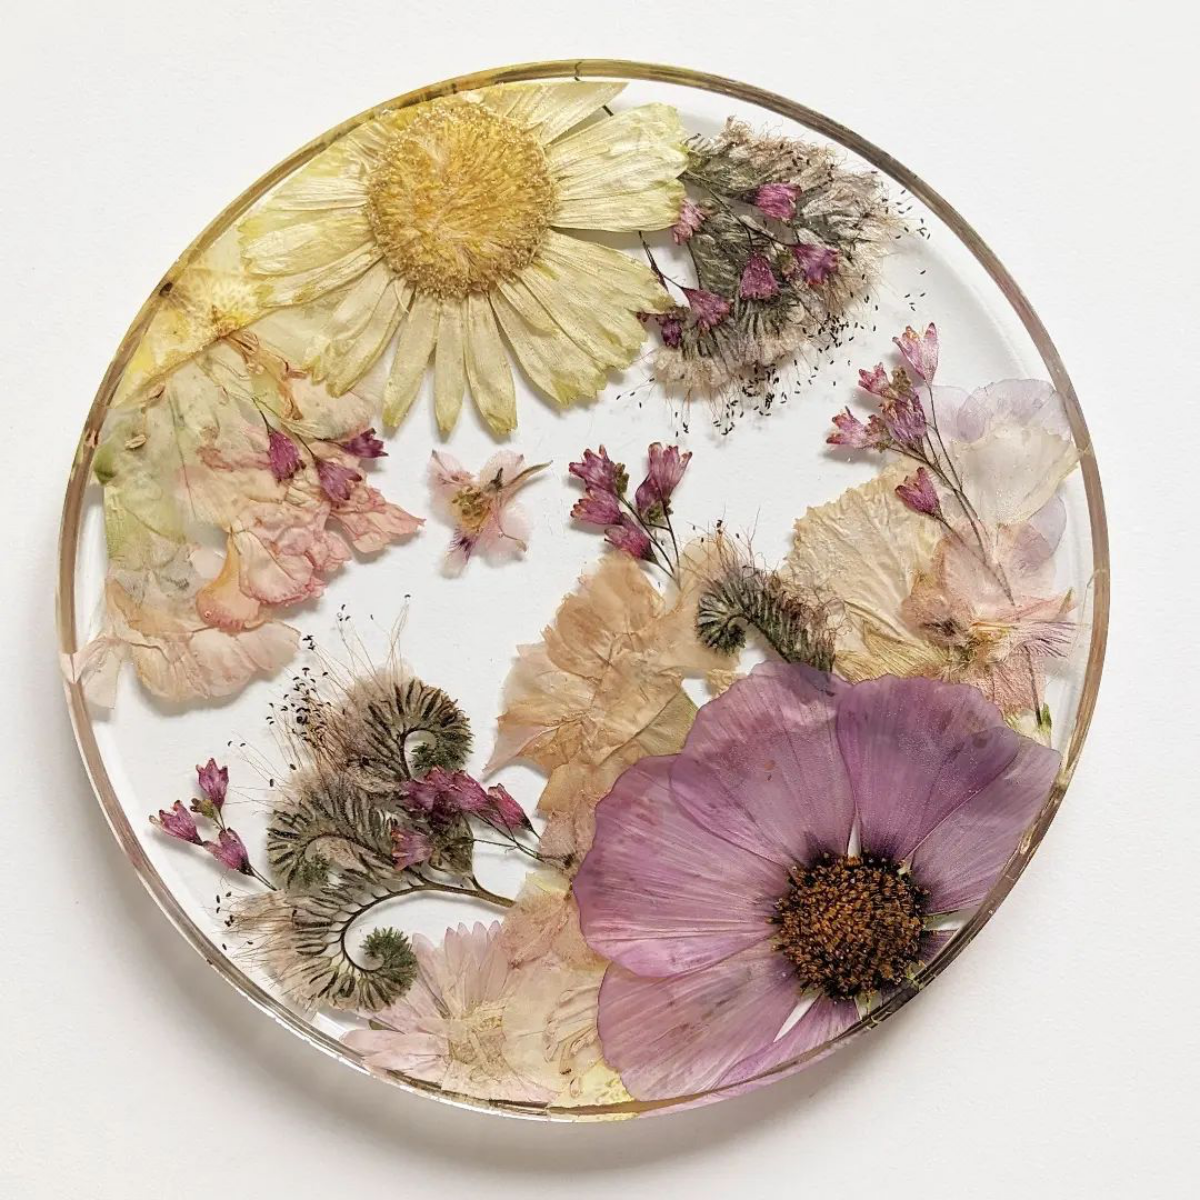
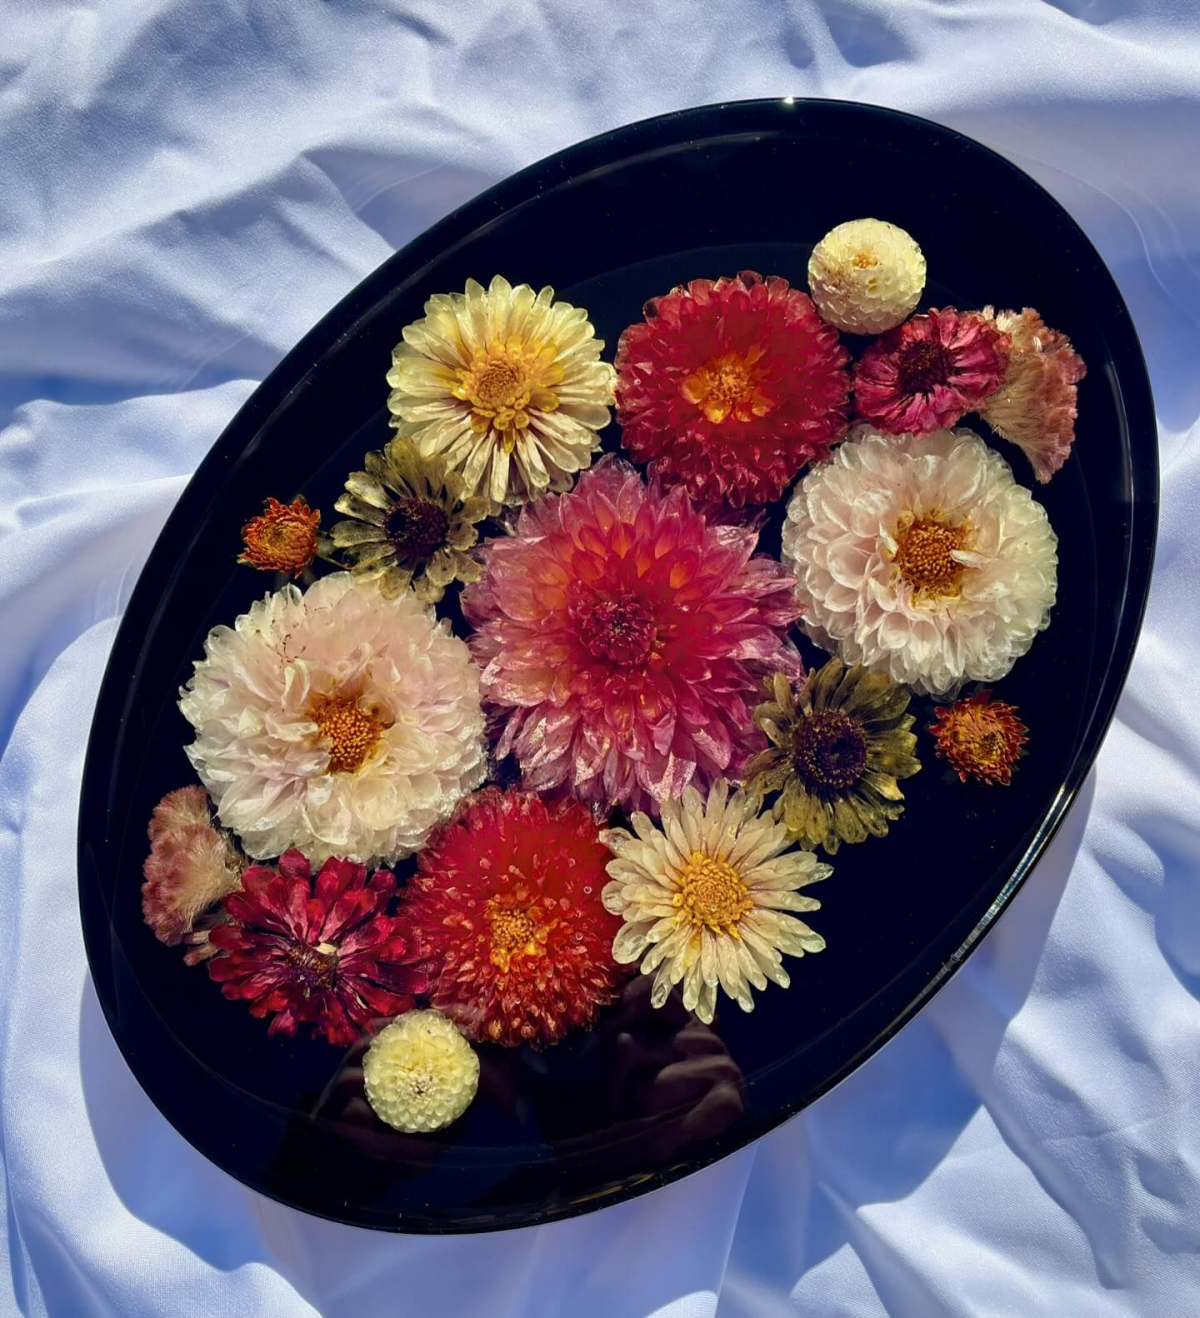
Not all flower colors are created equal when encased in resin. Reds and purples are notoriously difficult, as their pigments (anthocyanins) are often unstable and can react with the resin’s chemical compounds, turning them brown or muddy.
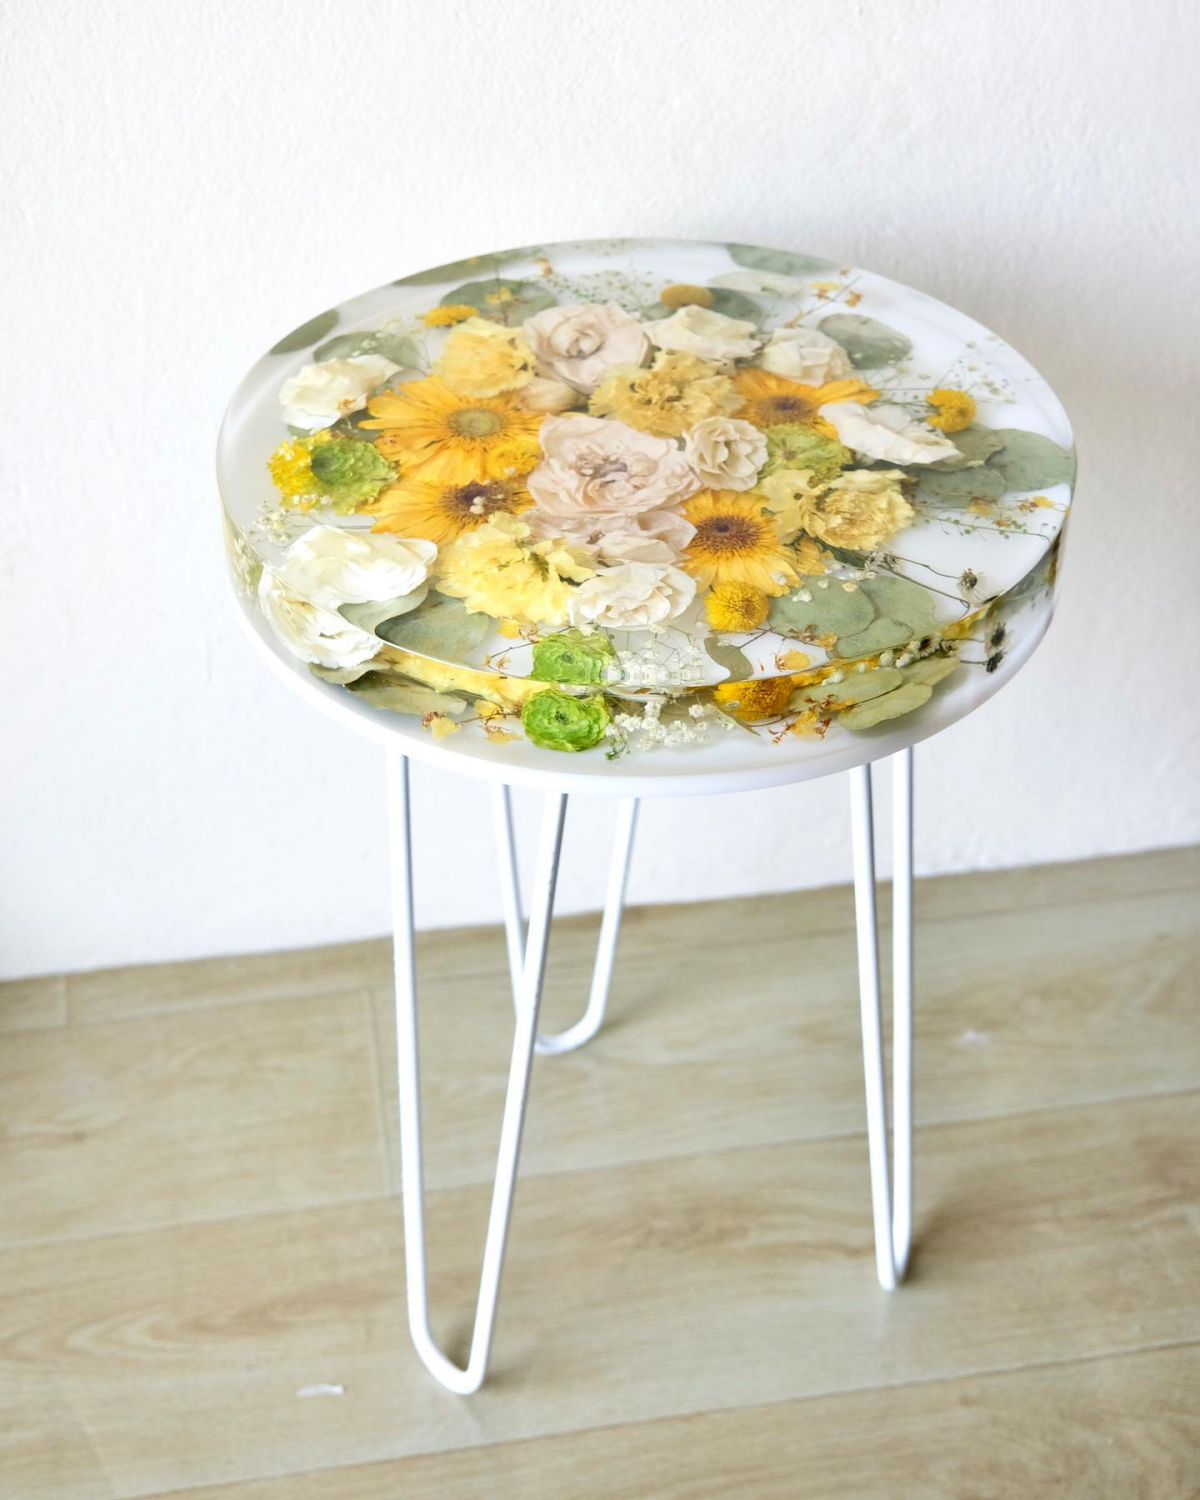
This is why you might see a beautiful red rose lose its vibrancy after curing. For your first projects, consider starting with flowers whose pigments are more stable. Yellows, oranges, and whites—found in flowers like daisies, marigolds, and Queen Anne’s lace—tend to hold their color exceptionally well, giving you a much higher chance of a beautifully preserved, vibrant result.


