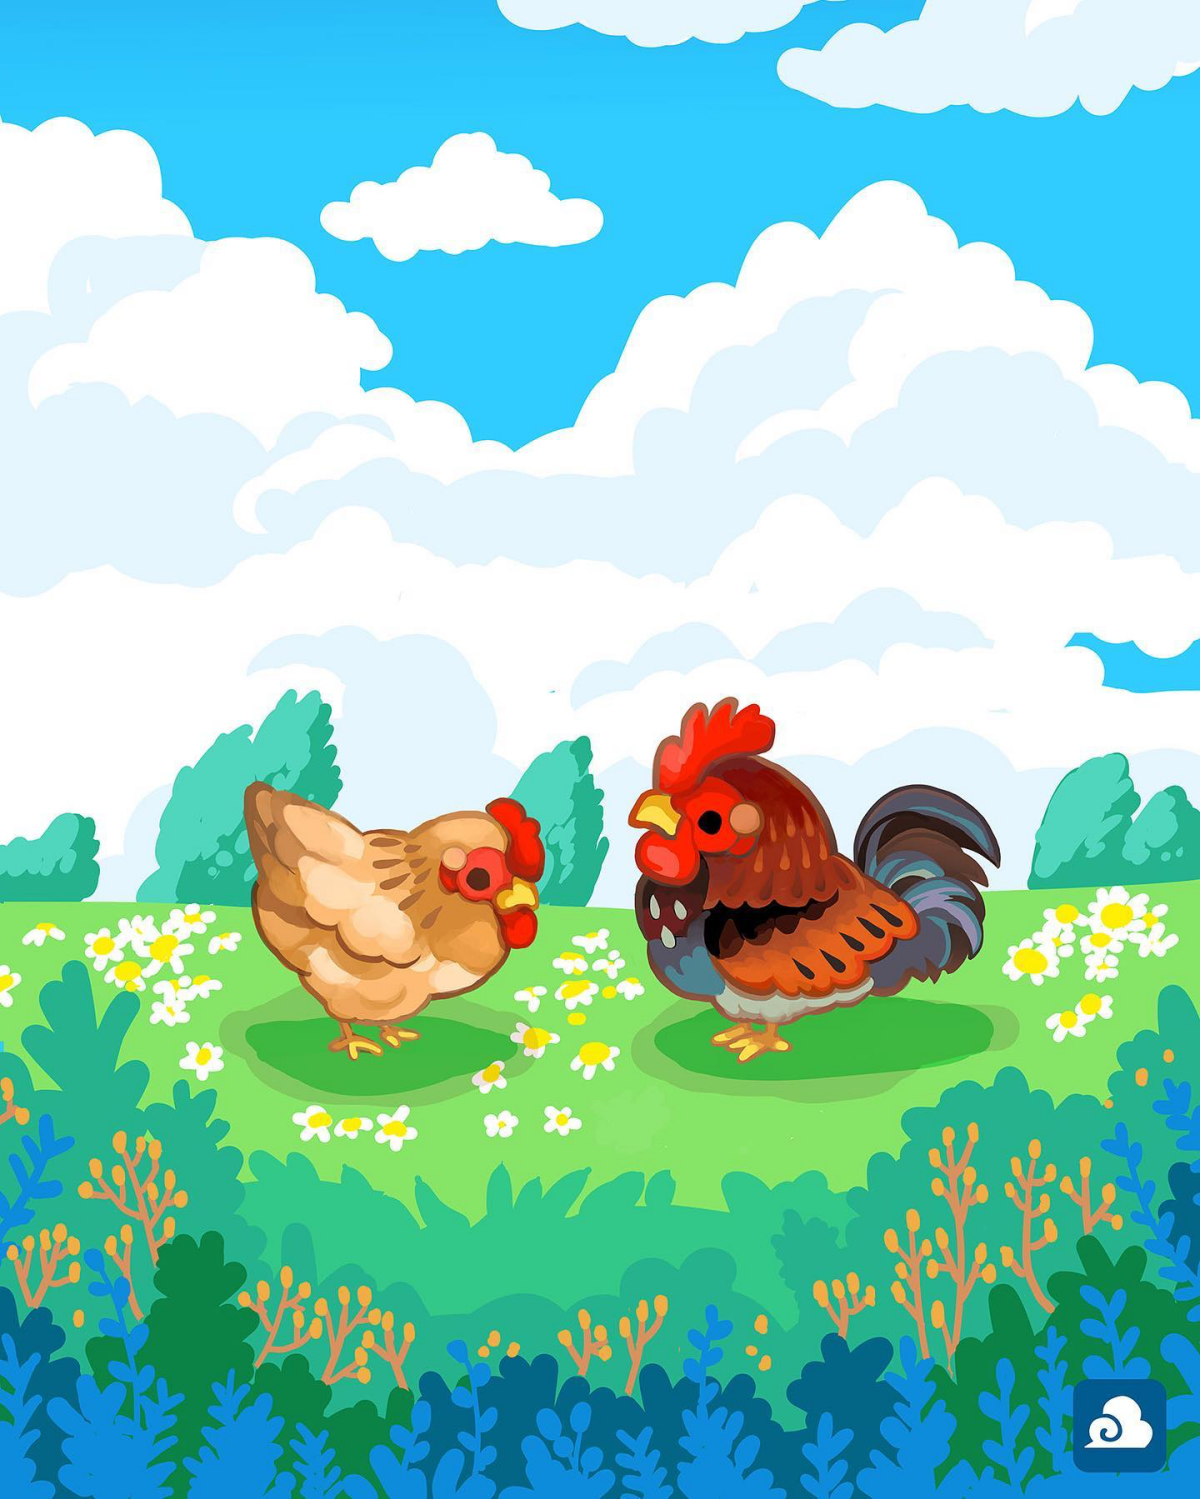
Forget Cartoons: Here’s How to Draw a Chicken That Actually Feels Real
After years of drawing animals for a living, people always guess the hardest creature to draw is something grand, like a horse or a lion. My answer always surprises them: it’s the humble chicken.
In this article
Sure, anyone can sketch a cartoon chicken. But to draw one that feels like it has weight, texture, and life? That’s a whole different ball game. They’re this incredible mix of soft, fluffy surfaces and sharp, angular parts, with a subtle anatomy most of us never notice.
I learned this lesson the hard way. One of my first paid gigs was illustrating for a small poultry farm’s catalog. I figured it’d be a breeze. But my first attempts were awful—just feathery blobs with legs. The farmer, a kind man with hands that had seen a lifetime of work, looked at my drawing of his prize hen. “The shape’s wrong,” he said gently. “You’ve missed the weight of her.”
He was so right. I had drawn the feathers, but I completely missed the bird living underneath them. That single piece of feedback changed how I work. It set me on a path to understand every animal I draw from the bones out. This guide is built on that very foundation. It’s not about shortcuts; it’s about learning to see the chicken so you can draw it with honesty.
First Things First: Understanding the Chicken’s Blueprint
You can’t draw something well if you don’t get its structure. Honestly, this is the most critical lesson in art. For chickens, it means looking right past all that fluff and seeing the simple, elegant machine that’s doing the work.
The Skeleton: It’s Not Just a Feather Duster
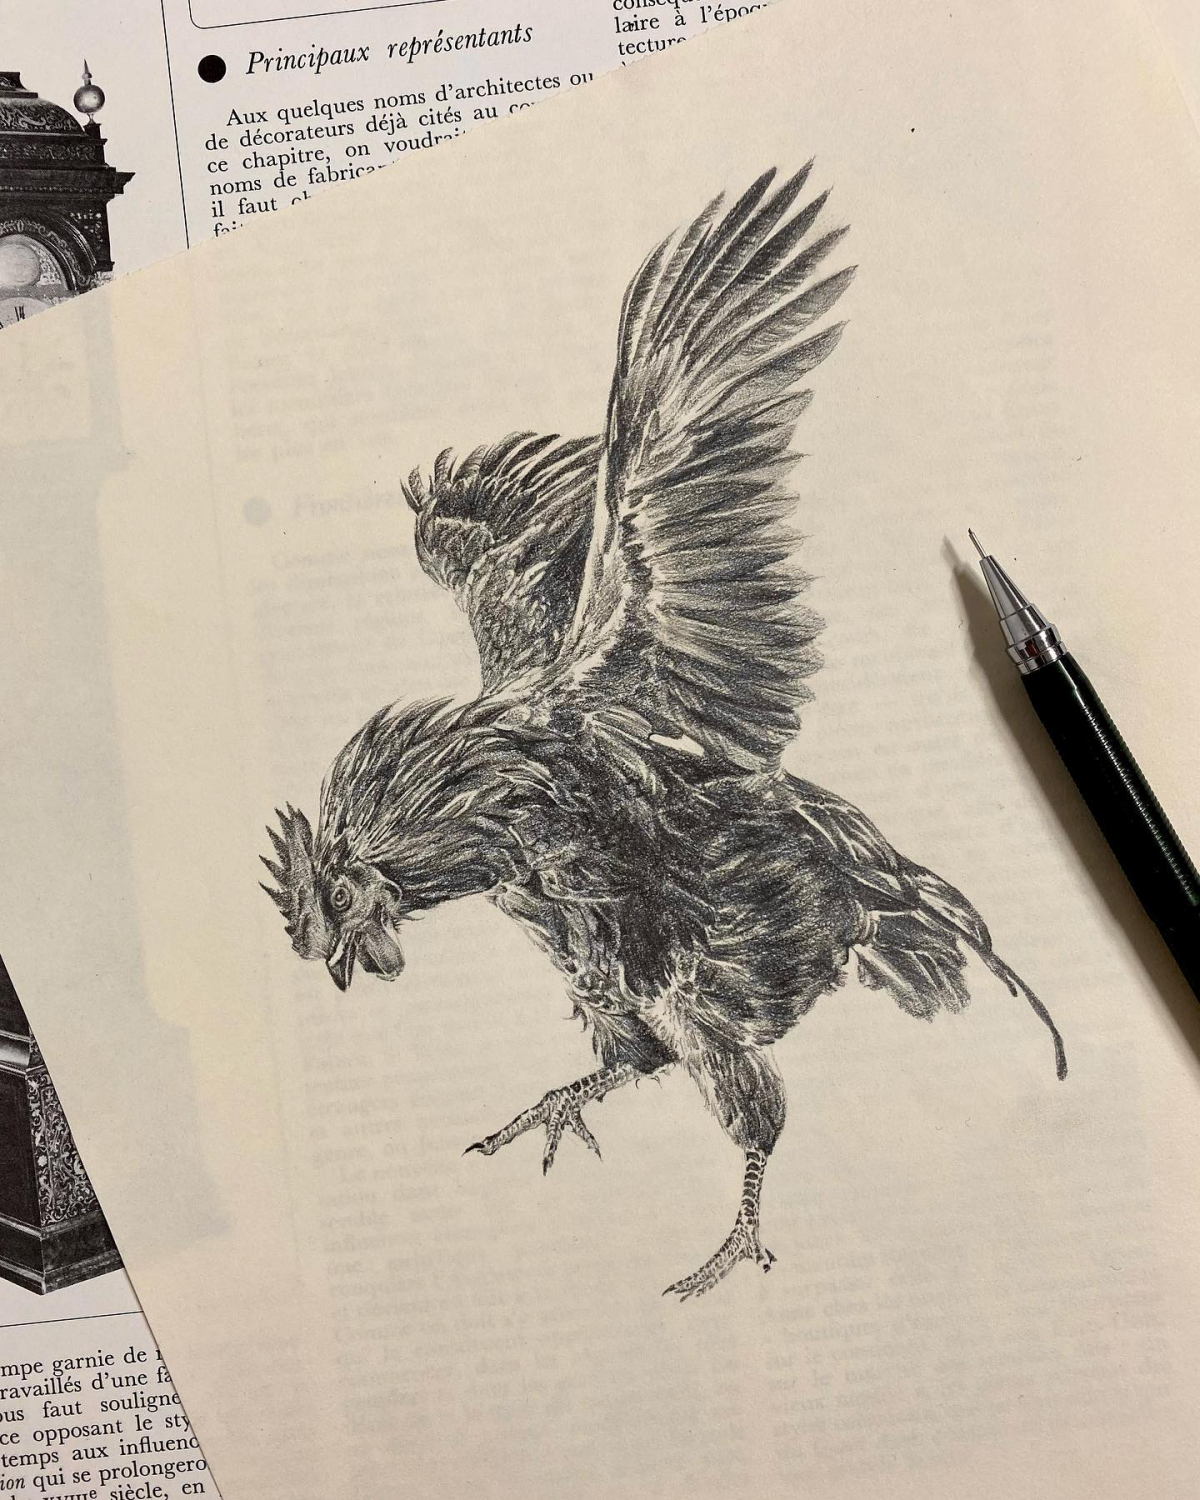
A chicken’s skeleton is a marvel of engineering—strong yet incredibly light. You don’t need to be a veterinarian, but getting a handle on these key parts will instantly fix about 90% of the most common drawing mistakes.
- The Head and Beak: A chicken’s head isn’t just a circle. It’s a small, rounded skull with a hard, sharp beak fused to it. Take a moment to notice how the top and bottom parts meet. Adding the small nostril slits on the top of the beak is a tiny detail that adds a ton of realism.
- The All-Important S-Curve Neck: A chicken’s neck has more vertebrae than ours, making it super flexible. It almost always holds a gentle S-curve, even when it looks short and compressed. Nailing this curve is the secret to a natural, balanced posture.
- The Body and Keel Bone: The torso is not a simple oval. The key feature is the sternum, or keel bone. It’s a big, blade-like bone where the powerful breast muscles attach. A common pitfall is drawing the body like a soft balloon. To fix this, you have to suggest the solid structure of the keel bone, which gives the breast its defined, deep shape.
- The Leg Myth (This is a big one!): What looks like a chicken’s “backward knee” is really its ankle. The actual knee is tucked way up high against the body, totally hidden by feathers. That long, scaly part of the leg leads down to the toes. Before I understood this, my chickens always looked wobbly. After I learned the ‘knee’ is actually the ankle, they suddenly looked grounded and powerful.
Quick Tip: Next time you have a roast chicken for dinner, don’t just eat it—study it! Look at the bones. See how the thigh connects to the drumstick and notice that massive keel bone. This kind of real-world observation is worth more than a dozen diagrams.
Feathers Grow in Patterns, Not Chaos
Here’s a bit of pro knowledge that will level up your sketches. Feathers don’t just grow randomly all over the bird. They grow in specific lines called feather tracts. The bare patches in between are covered by the overlapping feathers.
Why does this matter? Because when you understand this, you can draw feathers with purpose. You stop just scribbling texture and start using feather groups to sculpt the form of the bird.
- Contour Feathers: These are the main feathers that give the bird its smooth shape. Think of them as overlapping shingles that follow the curves of the breast and back.
- Wing Feathers: These are the long, stiff flight feathers. They are highly organized and stack neatly when the wing is folded. Getting this structure right makes the wing look functional, not just like a floppy appendage.
- Tail Feathers: On a hen, these are often short and blunt. On a rooster, they can be spectacular long, iridescent, curving sickles. Notice how they all fan out from a single point at the very rear of the bird.
My Drawing Process: From Energy to Fine Detail
Okay, with a solid grasp of anatomy, we can get to the fun part. This is the method I use for everything from a quick sketch in the field to a detailed studio piece. By the way, for a fully rendered drawing, you should probably set aside a good 3-4 hours. It’s a marathon, not a sprint!
Step 1: Gesture Sketches for Capturing Life
Before any detail, you have to capture the energy. Chickens are never truly still—they’re always pecking, scratching, or shifting their weight. Gesture drawing is about capturing that movement.
- Your Tool: Grab something soft and expressive. A 6B graphite stick or a soft piece of charcoal works great.
- Your Time Limit: Give yourself just 30 seconds per sketch. That’s it. This forces you to see the big picture instead of getting lost in details.
- What to Look For: The main lines of force. Find the curve of the back, the S of the neck, and the angle of the legs. Is the chicken leaning forward or standing tall?
Fill a whole page with these quick scribbles. Most will be throwaways, and that’s the point. You’re just warming up and learning the body language of a chicken. Your mission, should you choose to accept it: Fill one page with 30-second chicken gestures this week. The goal is energy, not perfection!
Step 2: Blocking In the Form with Simple Shapes
Once you’ve got a gesture you like, grab a fresh sheet of paper and start building the form with a light pencil (a 2H is perfect) so you can erase these lines later.
- Body: Start with a big, egg-shaped oval for the main torso. Tilt it based on the posture.
- Head: Add a small circle for the head, connecting it to the body with that S-curve neck. Be careful with proportions here; a head that’s too big is a common mistake.
- Legs & Wings: Use simple lines and triangles for the legs (remembering the real joint locations!) and a shield-like shape for the folded wing.
Now, step back. Does it feel balanced? Does it look like it could stand up on its own? It’s so much easier to fix a line now than to correct a fully rendered drawing an hour from now.
Step 3: Rendering Texture (Where the Magic Happens)
This is where the drawing truly comes to life. A chicken has a variety of textures, and the key is to use different pencil strokes for each one.
- Comb and Wattles: These fleshy parts are waxy and smooth. I use a sharp pencil for smooth, careful shading and then a kneaded eraser to lift out soft highlights, which gives them a moist look.
- Beak and Legs: These are hard and scaly. Use sharp, confident lines. For the legs, suggest the overlapping scales with short, repetitive marks. A little cross-hatching can help show the roundness of the leg.
- Feathers: The big challenge! The secret is to suggest feathers, not draw every single one. For the soft body feathers, here’s a lesser-known trick:
1. First, use the side of a soft pencil (like a 4B) to lay down a broad, gentle tone that follows the curve of the body.
2. Next, take a kneaded eraser and pinch it to a fine edge. Lift out a few random highlights where the light would catch the edge of a feather.
3. Finally, use a sharp 2H pencil to add just a few dark, defining lines where feathers overlap or cast tiny shadows. That’s it! You’ve created the illusion of complex feathers with just a few steps.
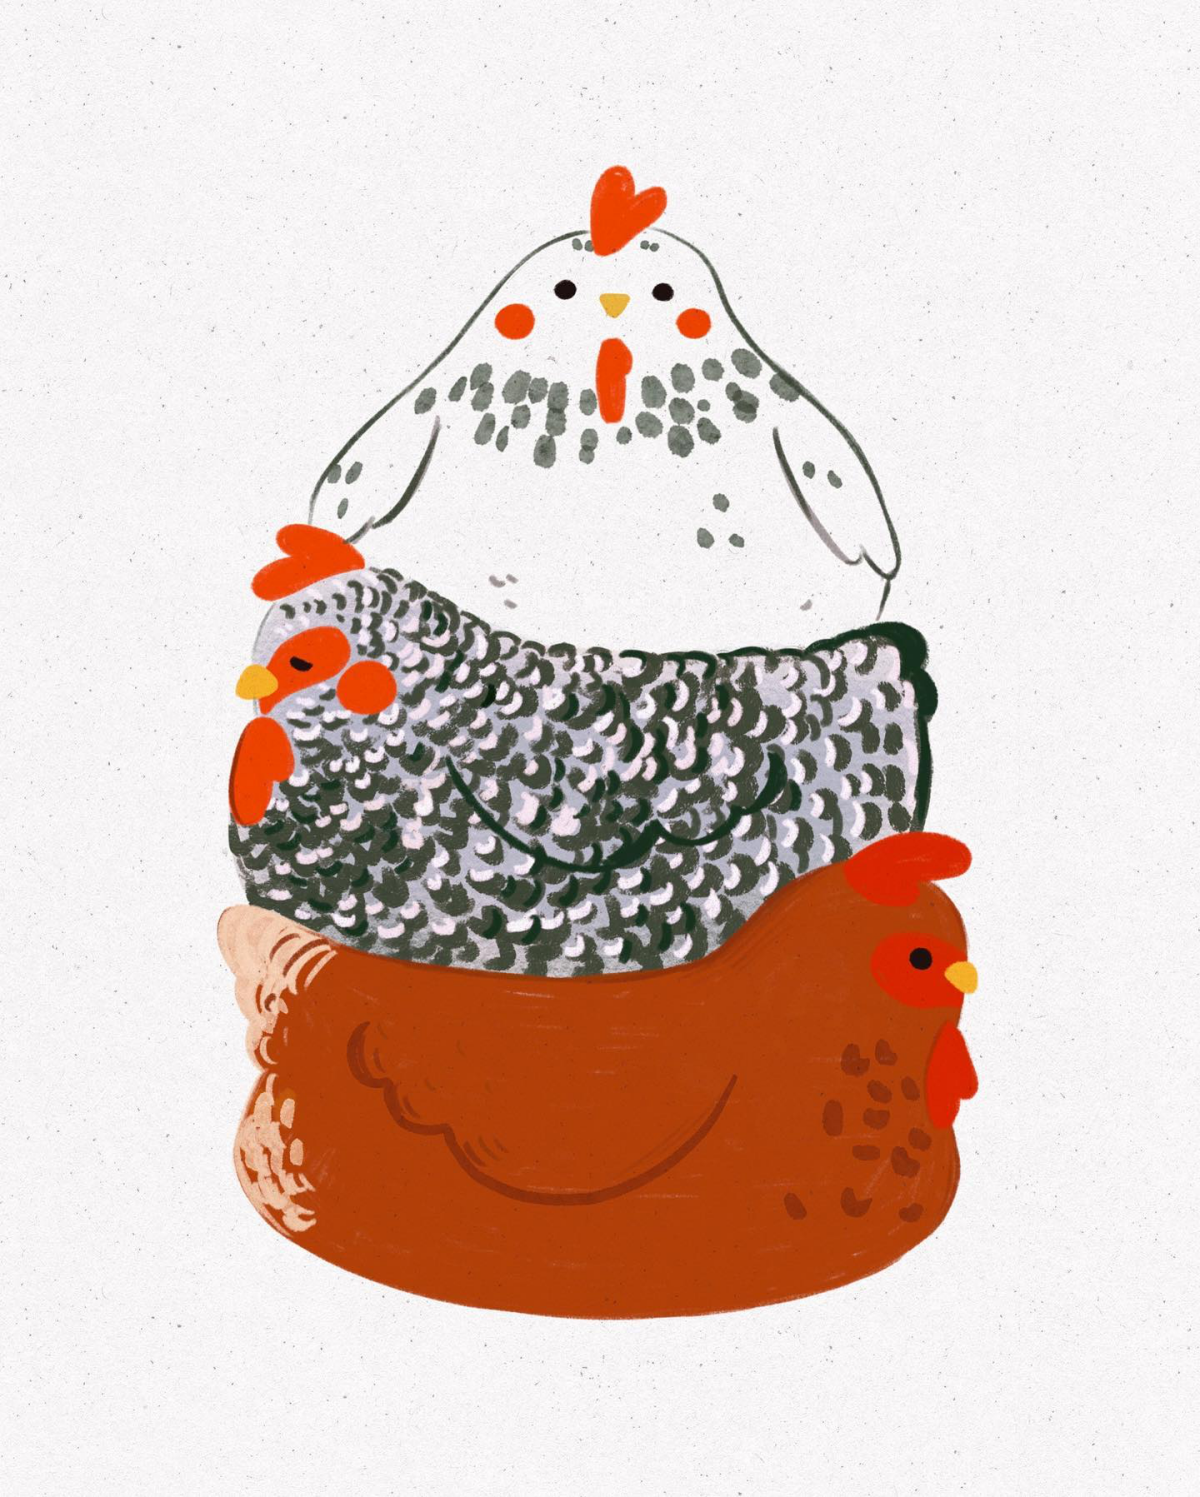
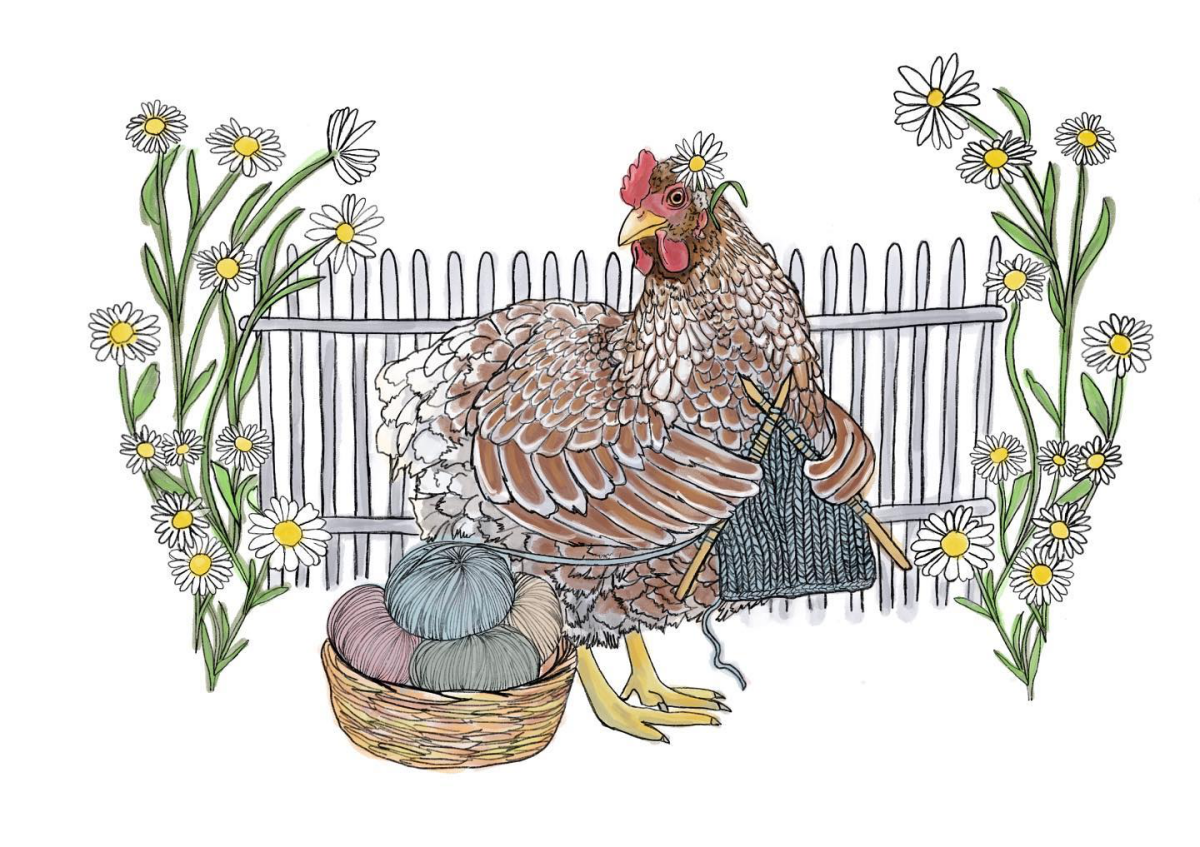
Not All Chickens Are Created Equal
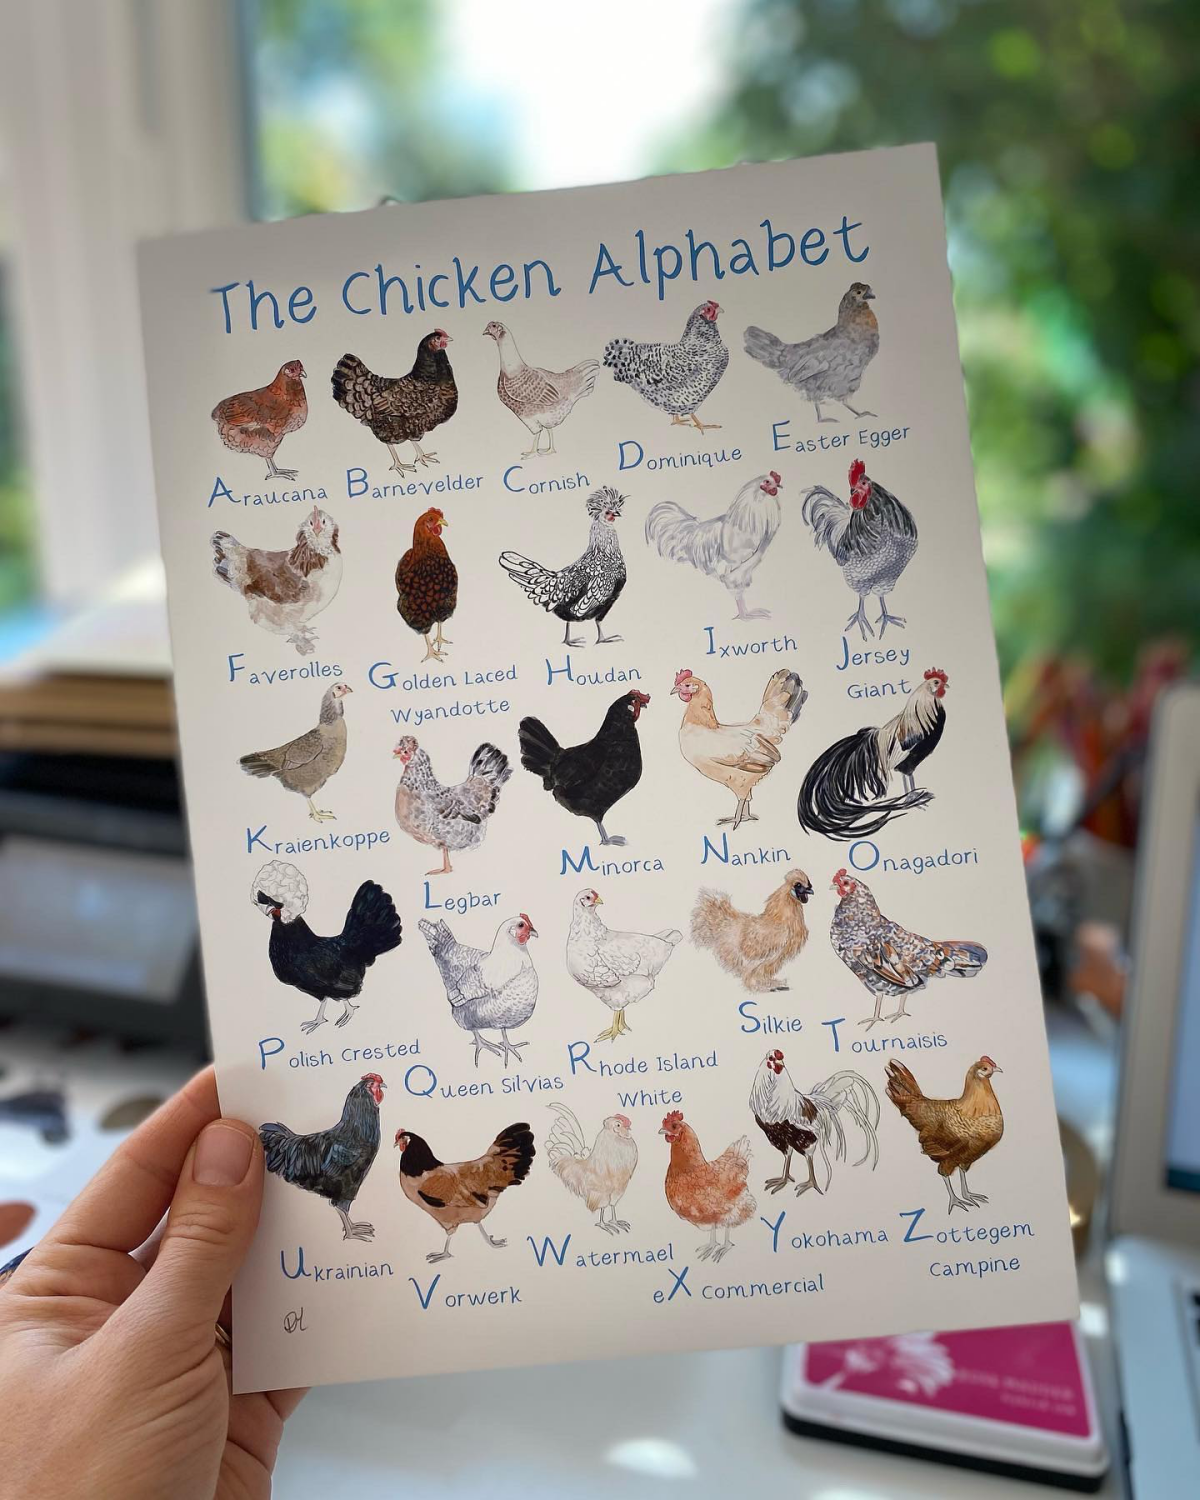
A chicken isn’t just a chicken. The difference between a sleek, athletic modern breed and a big, fluffy heritage one is as big as the difference between a greyhound and a bulldog. Drawing a specific breed accurately shows real expertise.
When you’re trying to capture a certain type, you have to look for a few key traits. Think about the contrast:
- Some breeds are low and broad, like walking pillows with fluffy, feathered feet.
- Others are sleek and upright, built for alertness with clean legs and a proud, tall stance.
- And then you have the truly unique ones, like those with down-like, silky feathering all over their body or a massive, puffy crest of feathers on their head.
The comb is another dead giveaway. The most common is the single, serrated comb, but some have a wide, bumpy “rose” comb or a “pea” comb with three low ridges. Putting the wrong comb on a breed is like putting the wrong logo on a car—it just looks off to anyone who knows.
By the way, some of these features tell a story. For example, some heritage breeds developed in harsh, cold climates have tiny combs and wattles specifically to prevent frostbite. It’s a small detail that speaks volumes about the bird’s purpose and history.
Practical Advice and Where to Find Your Muses
My Go-To Drawing Kit
You really don’t need to spend a fortune to get started. Skill comes from practice, not pricey gear. But good tools do make the process smoother.
Here’s what I recommend for a beginner’s kit:
- Pencils: A basic graphite set is perfect. Make sure it includes a hard pencil (like a 2H for light construction lines), a mid-range one (2B for general work), and a soft one (6B for dark shadows and gestures). A good set will only run you about $10-$20 at an art supply store or online.
- Eraser: A kneaded eraser is a must-have. You can mold it to any shape for precise highlighting or general erasing. They’re usually just a couple of dollars.
- Paper: A simple sketchbook is fine for practice. For finished pieces, a smooth Bristol paper works beautifully for detailed graphite.
Where to Find Chickens to Draw
So, what if you don’t live on a farm? No problem. It’s easier than you think to find models.
State and county fairs are fantastic places to see a huge variety of breeds up close. Petting zoos are another great option. But honestly, my favorite modern tool is my phone. Take short videos of the birds moving around. Later, you can pause the video and scrub through it frame-by-frame to find the perfect, natural pose that you’d never be able to capture in a live sketch.
And don’t forget the internet! There are amazing photo resources out there. Websites like Feathersite are incredible encyclopedias of poultry breeds. You can also search for the “official breed standard guide” for poultry, which is the definitive reference used by experts and contains detailed descriptions of every recognized breed.
Galerie d’inspiration
For digital artists using Procreate, capturing that feathery feel is all about the right brushes. Don’t stick to one. Use a hard, thin brush like the ‘Gesinski Ink’ for the sharp edges of primary wing feathers and the beak, then switch to a softer, broader tool like the ‘6B Pencil’ or ‘Charcoal’ brushes on a lower opacity to build up the downy, softer parts of the body. Layering is key to showing form.
- Create deep, velvety blacks that pure graphite can’t achieve.
- Capture quick, energetic movements with bold, expressive strokes.
- Blend and smudge with your fingers to create soft, atmospheric shadows under the body.
The secret? It’s not a fancy set of pencils. It’s a simple, affordable stick of willow charcoal, a classic tool for adding drama and life to your sketches.
Albrecht Dürer’s 1512 study, “A Dead Blue Roller,” is a masterclass in observing a bird’s structure. He didn’t just draw feathers; he drew the anatomy, texture, and form of every part with scientific precision.
This approach from the old masters—treating a common animal with intense focus—is the fastest way to elevate your own work from a simple sketch to a compelling study.

My chicken’s feet always look like stiff, lifeless twigs. What am I doing wrong?
You’re likely drawing what you *think* a chicken foot looks like, not what’s actually there. The key is the ‘hock’ joint—the backward-bending ‘knee’ halfway down the leg. It’s almost always slightly flexed, giving the bird a sense of poised readiness. Also, observe how the three front toes splay out to balance weight, and don’t forget the smaller, higher toe at the back, the hallux.

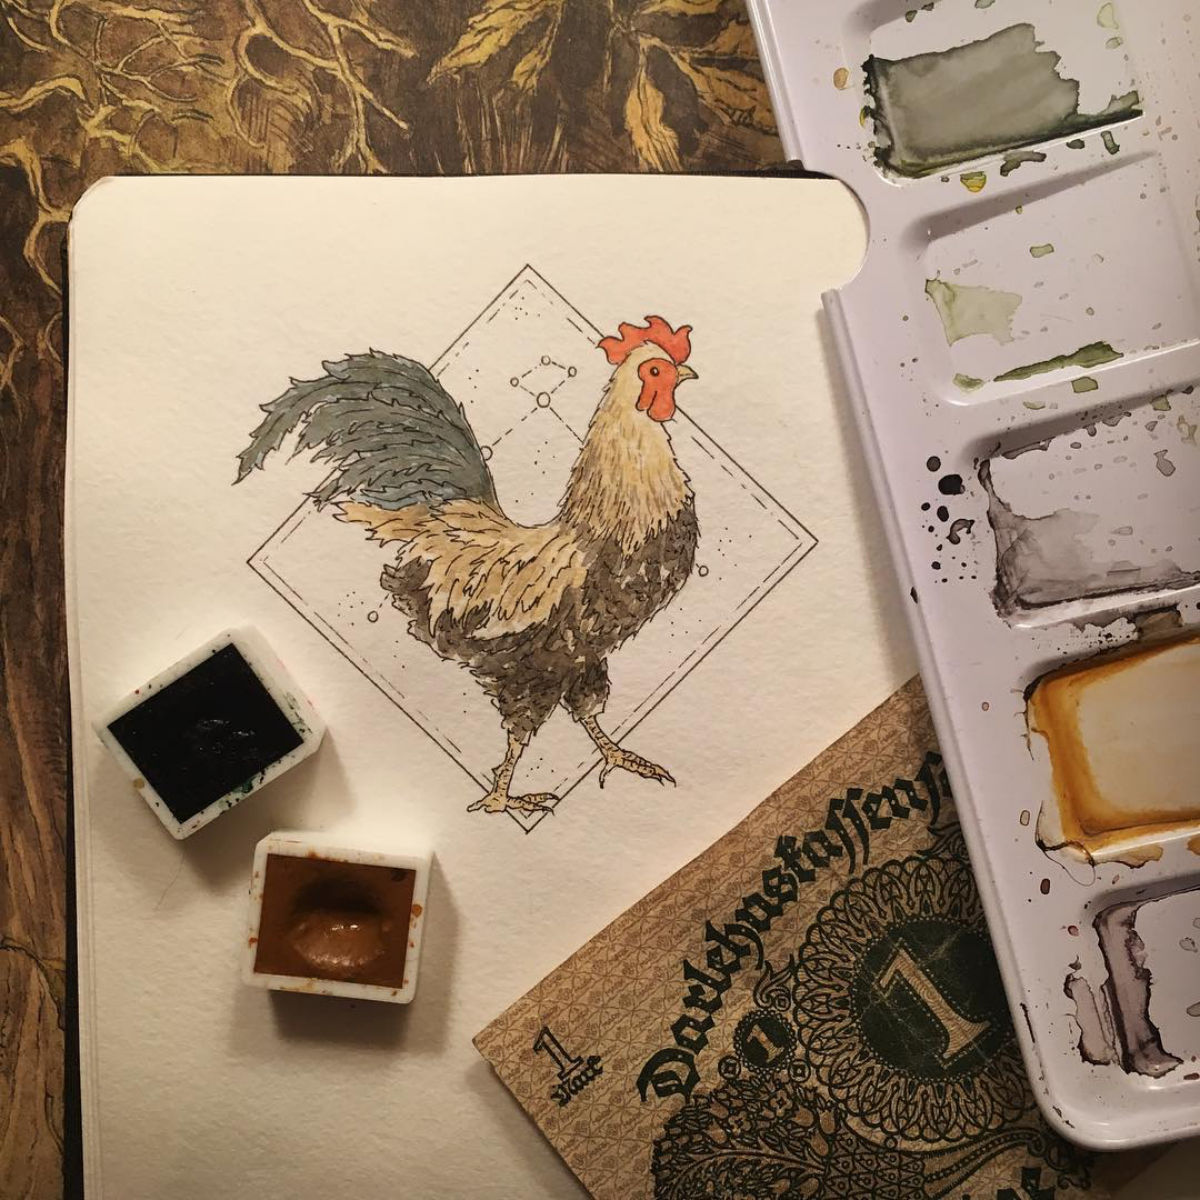
Graphite Pencils: The artist’s scalpel. Ideal for precision work. A set of Faber-Castell 9000 pencils gives you a range from a hard 2H for faint outlines to a soft 6B for rich, buildable shading on plumage.
Compressed Charcoal: The tool for drama. It provides intense, deep blacks perfect for capturing the dark shadows under a wing or the striking contrast of a Black Copper Maran hen. It’s bold, but less forgiving than graphite.
For learning anatomy, start with graphite. For capturing mood, experiment with charcoal.
To truly understand the texture of feathers, you need to vary your pencil strokes. It’s not a uniform surface. Try these techniques:
- Downy fluff: Use the flat side of a soft 4B pencil in light, overlapping circular motions to create the soft, fuzzy texture around the thighs and underbelly.
- Wing & Tail Feathers: Use a sharpened B or 2B pencil for crisp, decisive lines. Clearly define the central shaft (the rachis) and draw the barbs flowing out from it.
- Iridescence: On a shaded area, use a kneaded eraser shaped to a fine point to lift out sharp, bright highlights. This is perfect for capturing the glossy sheen on a rooster’s neck feathers.

Important point: A finished graphite or charcoal drawing is extremely fragile. The fine particles on the surface can smudge with the slightest touch, destroying your hard work. To protect it, lightly spray the surface with a workable fixative. Brands like Krylon or Winsor & Newton offer sprays that create a protective film without altering the colors, allowing you to add more layers later if needed.
- Quick gesture drawings (30-60 seconds) to capture the chicken’s distinct, jerky movements.
- An anatomical study of a single wing, noting how the primary and secondary feathers overlap.
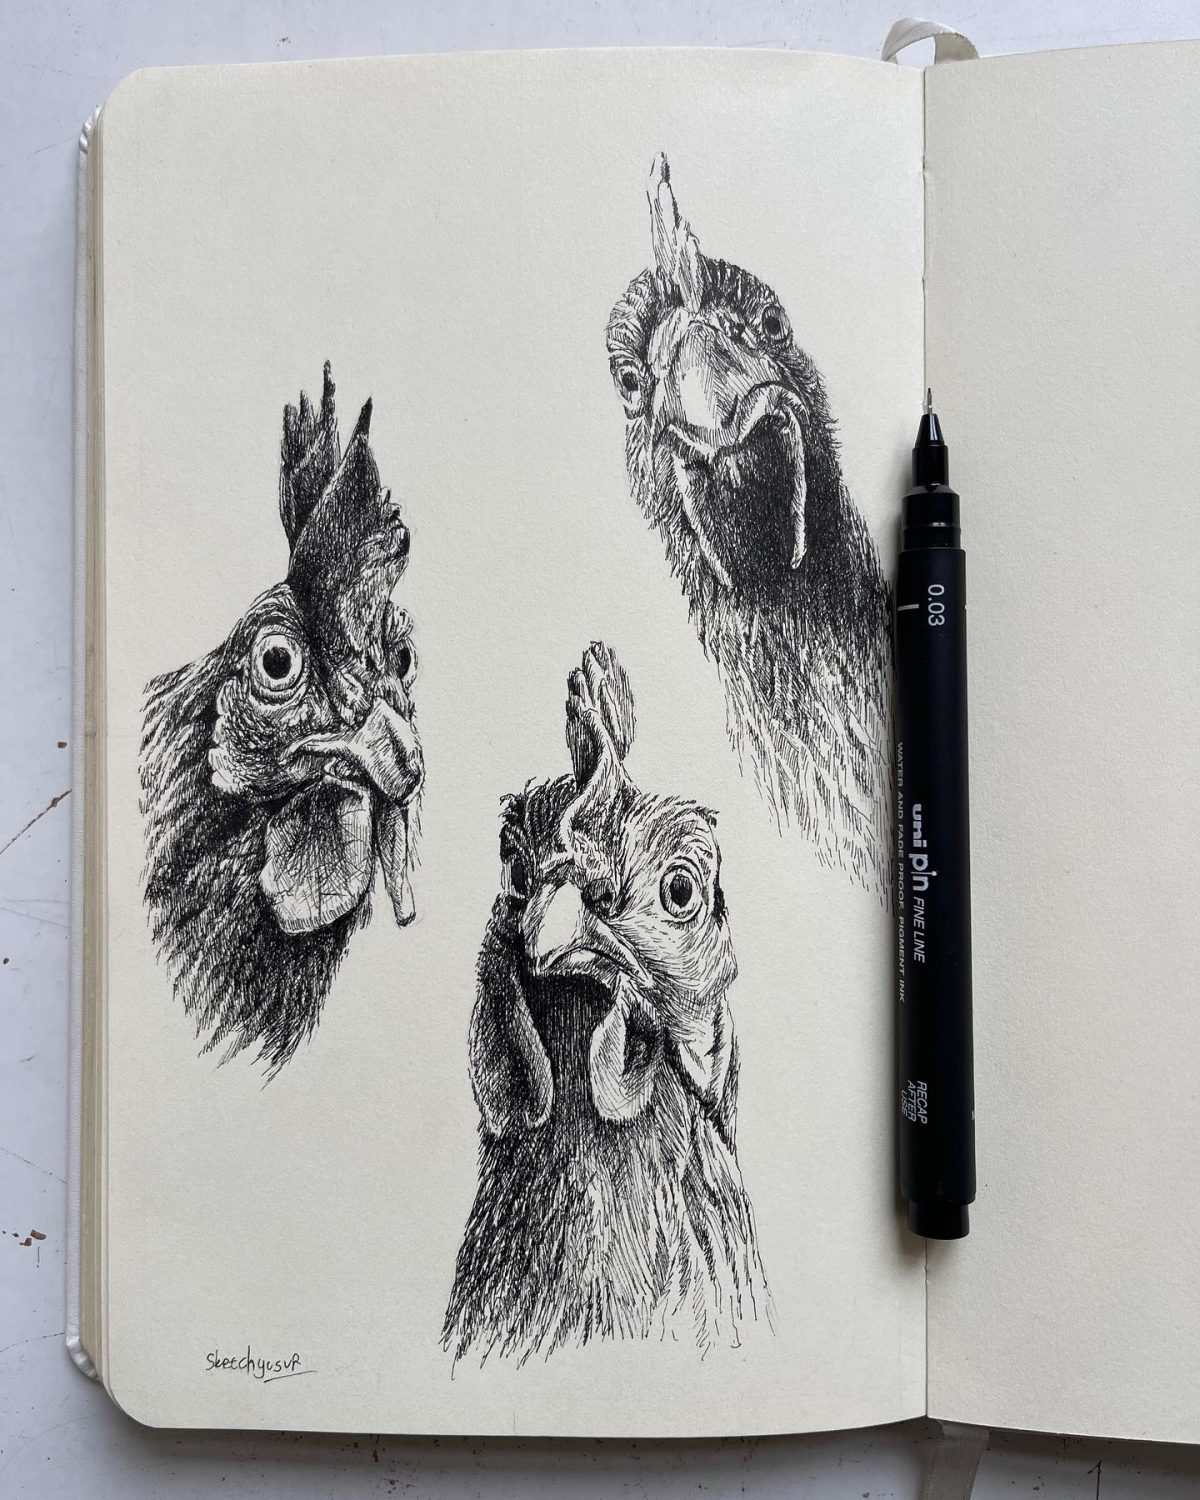
- A detailed close-up of the head, focusing on the texture of the comb, wattle, and the intelligent eye.
- Color notes written in the margins, even on a monochrome sketch. Jot down things like “iridescent green-black tail” or “pale, fleshy legs.”
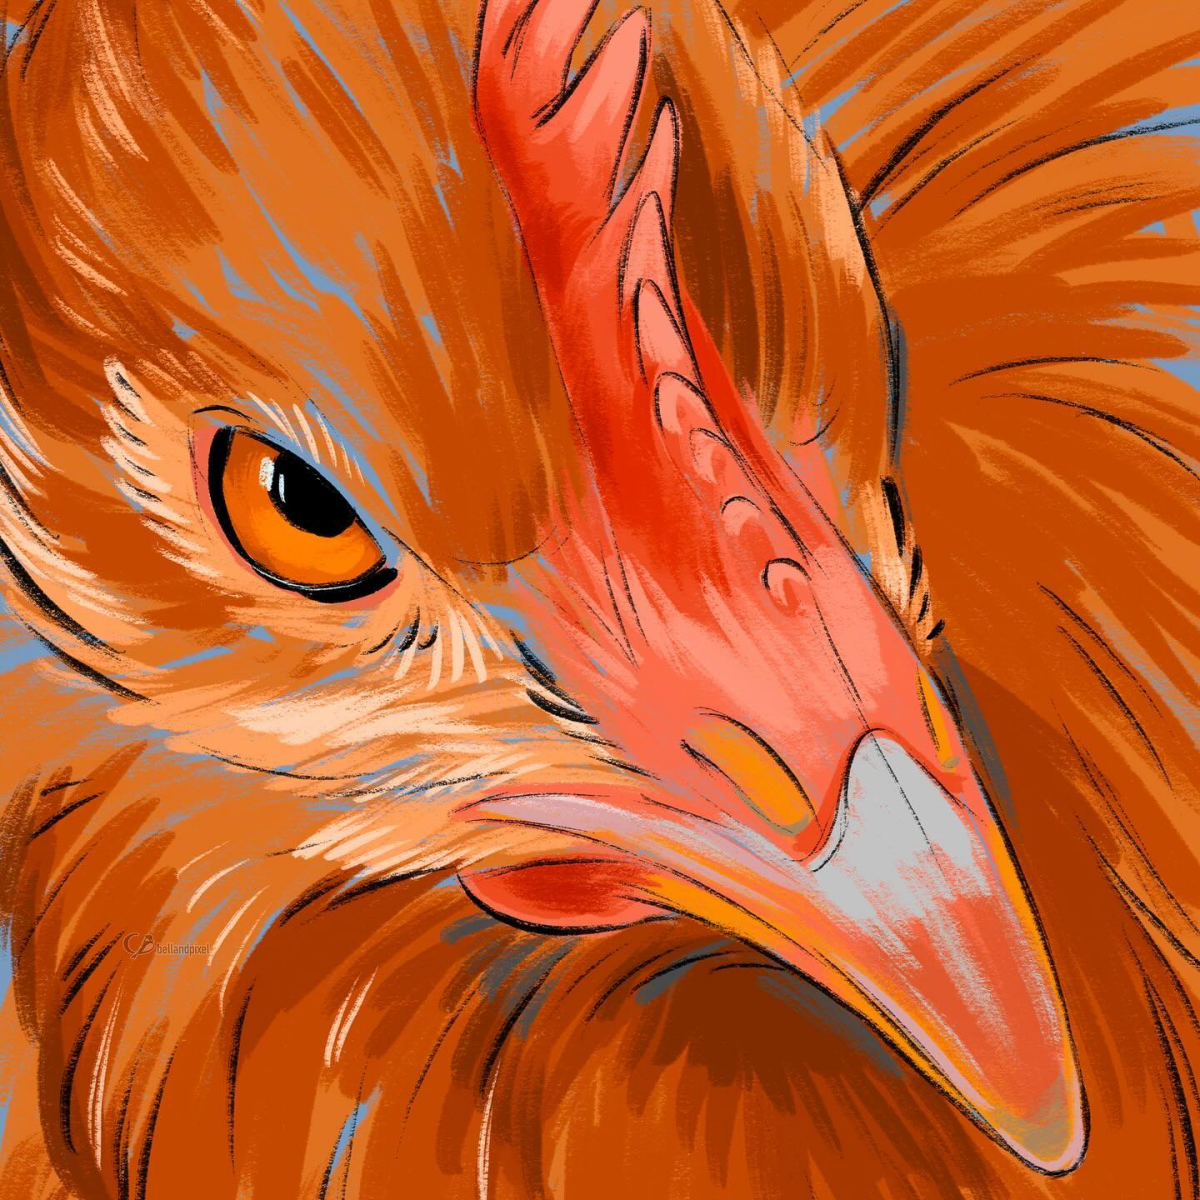
A chicken’s eye isn’t on the side of its head by accident; its placement provides a panoramic 300-degree field of vision.
This anatomical fact is crucial for a realistic drawing. It means you’ll almost always see just one eye, and it will be positioned to scan its environment. Capturing that alert, slightly sideways glance, with a bright, sharp highlight, is key to giving your drawing a sense of life and awareness rather than just making it a static portrait.


