Plantation Shutters: The DIY Guide a Pro Wishes You Had
Let’s be honest, you love the look of plantation shutters. That clean, solid, almost architectural feel is something flimsy blinds just can’t replicate. But then you see the price for a professional install, and… ouch. That’s usually when the gears start turning and you find yourself typing “DIY plantation shutters” into a search bar.
In this article
So, can you really do it yourself and save a ton of money? Absolutely. But I’ve also been the guy called in to fix DIY shutter jobs that have gone sideways, and I can tell you it’s not a simple point-and-click project. The marketing makes it look as easy as hanging a picture frame, but the reality is that your windows are almost certainly not perfect squares. And that’s where the craft comes in.
This is the guide I wish I could give to every homeowner thinking about this project. We’re going to cover the stuff the ads leave out—the real talk about materials, the non-negotiable measuring techniques, and the little details that make the difference between a frustrating mess and a flawless finish you’ll be proud of for years.
In fact, let’s do a quick test. Go grab a tape measure right now and check one of your windows. Measure the width at the top, the middle, and the bottom. Are the numbers identical? Probably not. That five-minute reality check is the single most important part of this whole process. Now, let’s get into it.
What Are You Actually Buying? Materials & Money
Before you even think about measuring, you need to know what you’re paying for. The material you choose impacts everything: price, durability, weight, and where you can safely install it. The price tag on a cheap kit often comes from an inferior core hidden under a pretty layer of paint.
Breaking Down the Options
Let’s talk brass tacks. Shutters are typically priced by the square foot, so a bigger window will obviously cost more. Here’s the breakdown of the most common materials.
- MDF (Composite Wood): This is your budget-friendly option, often running somewhere between $20 to $30 per square foot for the materials. It’s basically wood fiber and resin pressed into a very stable, smooth board and then wrapped in a vinyl or polymer coating. It’s heavy and won’t warp in stable temps, which is great. But here’s the catch: that coating is its only defense against water. Get one deep scratch or chip in it, and any moisture will make the core swell up like a sponge. Honestly, I only see MDF as a short-term solution for bone-dry rooms like a bedroom or office.
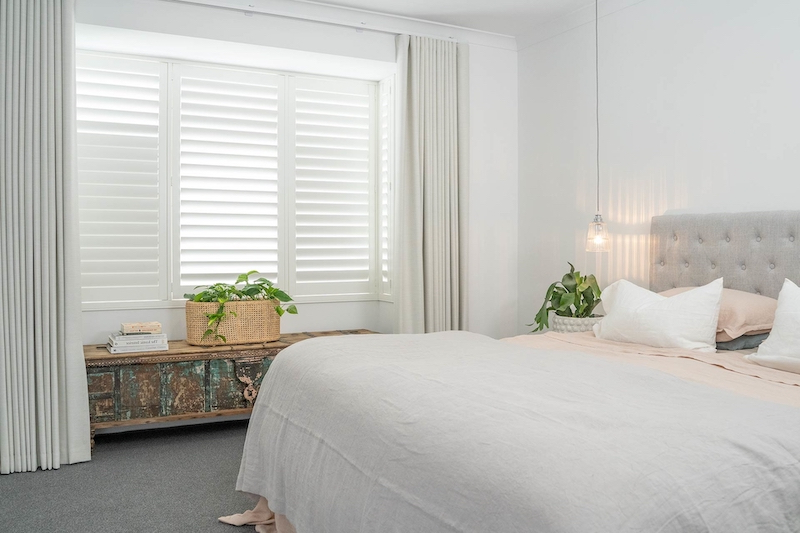
- Solid Wood (Usually Basswood or Poplar): This is the classic, traditional choice. It’s surprisingly lightweight, strong, and paints beautifully for that premium, smooth finish. It’s a fantastic insulator, too. Expect to pay more, somewhere in the ballpark of $30 to $50 per square foot. The big weakness? Moisture. Never, ever install a pure wood shutter in a bathroom with a shower or right above a kitchen sink. Steam and humidity are its enemies.
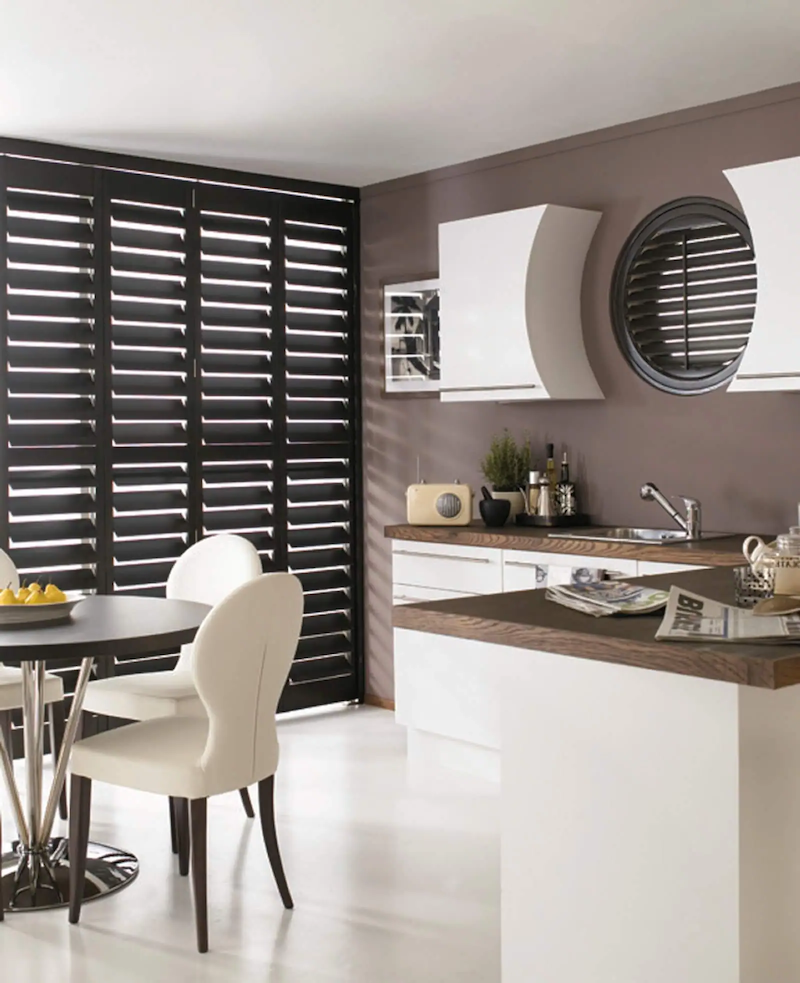
- PVC (or Polymer): This is my go-to for any room with moisture—bathrooms, kitchens, laundry rooms. It’s basically a high-grade plastic, so it’s 100% waterproof and a breeze to clean. The trade-off is weight; it’s heavier than wood. A quality PVC shutter, which might cost $35 to $55 per square foot, will have an aluminum core running through the vertical stiles and louvers to prevent sagging. Cheaper ones skip this, and you’ll see them droop over time, especially on wider windows.
Oh yeah, and a quick tip for any material you choose: When the boxes arrive, let them sit sealed in the room where they’ll be installed for at least 48 hours. This lets them acclimate to your home’s unique temperature and humidity, which prevents weird shrinking or expanding after you’ve put them up.
How to Not Get Ripped Off: Vetting an Online Seller
You’ve seen the ads, but how do you know who to trust? A good company is a partner in your project; a bad one just wants your money.
Before you buy, play detective:
- Call Their Customer Service: Don’t just email. Call them and ask a specific question, like, “My window sill has a slight curve, how do your frames account for that?” or “What’s the depth requirement for an inside mount with 3.5-inch louvers?” If they sound clueless or annoyed, hang up. You want someone who can guide you.
- Ask About Their ‘Oops’ Policy: This is a big one. Ask them directly: “What happens if I measure wrong?” Some great companies have a policy where they’ll help remake a panel or frame at a significant discount because they know mistakes happen. If a company has a strict “no returns on custom orders, no exceptions” policy, you’re taking a huge gamble.
- Look for the Details: Do they talk about their joinery? The best shutters use strong mortise and tenon joints. Cheaper kits often use dowels, which can loosen over time, especially with heavy PVC or MDF panels. Do they mention reinforced louvers for PVC? This shows they care about longevity, not just a quick sale.
The Most Critical Step: Measuring With No Room for Error
I can’t say this enough: 90% of DIY shutter problems start with a bad measurement. A quarter-inch mistake here is the difference between a perfect fit and a panel that won’t even close. Your house isn’t perfect. It’s settled. Your window openings are parallelograms, not rectangles. You have to measure for reality.
Your Pre-Installation Shopping List
Before you even finalize your order, know what you’ll need on installation day. A quick trip to Home Depot or your local hardware store is in order. It’s better to have this stuff ready.
- A good 25-foot steel tape measure: ($10-$15) No flimsy freebies.
- A 2-foot level: ($20) Don’t eyeball it. Your eyes lie.
- A multi-pack of composite shims: ($5) These are your secret weapon for getting a perfect fit in an imperfect window.
- A tube of paintable caulk: ($6) This is for a pro-level finish, hiding any small gaps.
- A reliable drill and bits.

Inside Mount vs. Outside Mount
First, decide how they’ll sit. An Inside Mount fits neatly inside the window opening for a clean, built-in look. You’ll need enough depth—usually at least 2.5 inches—from the window pane to the edge of your drywall. An Outside Mount puts the shutter frame on the wall around the window, which is perfect if you don’t have enough depth or have ugly trim you want to cover.
The 3-Point Measurement (The Only Way to Do It)
For an inside mount, never measure just once. Do this:
- Width: Measure across the window opening at the very top, in the middle, and at the very bottom. Write all three down.
- Height: Measure the height on the far left, in the middle, and on the far right. Write all three down.
- Use the Smallest Numbers: When you place your order, you MUST provide the smallest width and the smallest height. I repeat, use the SMALLEST measurement for both. The company builds to this dimension, and the frame will cover any tiny gaps at the wider points. Order to the largest dimension, and it simply won’t fit.
And don’t forget to check if the window is square! Measure diagonally from top-left to bottom-right, then top-right to bottom-left. If the numbers are more than a quarter-inch different, your window is out of square. Make a note of this for the shutter company; they can often adjust for it.
The Install: A Weekend Project Plan
Okay, your precisely measured kit has arrived. The whole project for one or two windows can realistically be done in a weekend. Don’t rush. Patience is your best tool.
Step 1: Unbox and Inspect. Lay everything out on a blanket. Check every single piece for shipping damage. If you see a crack or a big dent, STOP. Call the company right away. It’s much easier to solve now.
Step 2: Dry Fit the Frame. Loosely assemble the four frame pieces on the floor. Now, gently lift the frame and see if it fits inside the window opening. It should be snug, not forced. This is your last chance to catch a huge error before you start making holes.
Step 3: The Art of the Shim. Place the frame back in the opening. Get your level. Is the top frame piece perfectly level? Are the sides perfectly vertical (plumb)? They won’t be. Slide your plastic shims into the gaps between the frame and the window jamb to nudge the frame into position. Use your level constantly. Once the frame is perfectly level and plumb and doesn’t wobble, drive screws through the pre-drilled holes, through your shims, and into the jamb. Don’t overtighten and warp the frame!
Step 4: Hang the Panels. This is a two-person job, especially with heavy panels. One person holds the panel up, aligning the hinges, while the other drops the hinge pins in. Close the panels. They should meet neatly in the middle with an even gap all around.
Step 5: Finishing Touches. Attach the magnet catches, check the louver operation (there’s often a tension screw on the side to tighten them if they feel floppy), and then run a bead of that paintable caulk around the outside of the frame for a seamless, professional look.
Common Problems & Quick Fixes
Hit a snag? It happens. Here are the most common freak-outs and how to solve them.
- Problem: The panels hang crooked or don’t meet evenly in the middle.
- Solution: It’s not the panel, it’s the frame. Your window opening is crooked. Loosen the frame screws and micro-adjust your shims. A tiny tweak can make a huge difference. Be patient.
- Problem: The louvers hit the window crank or lock when I try to open them.
- Solution: This is a measurement issue that should have been caught earlier. Bummer. Sometimes you can adjust the window crank handle, or you might need a different style of frame (like a Z-frame) that pushes the shutter forward. This is a good time to call the company’s customer service for advice.
When to Just Call a Pro
Look, DIY kits are fantastic for standard rectangular windows. But some situations are just asking for trouble.
Arched or Specially Shaped Windows: Don’t even try it. This is pure custom work. The kits are a gimmick. Call a local expert.
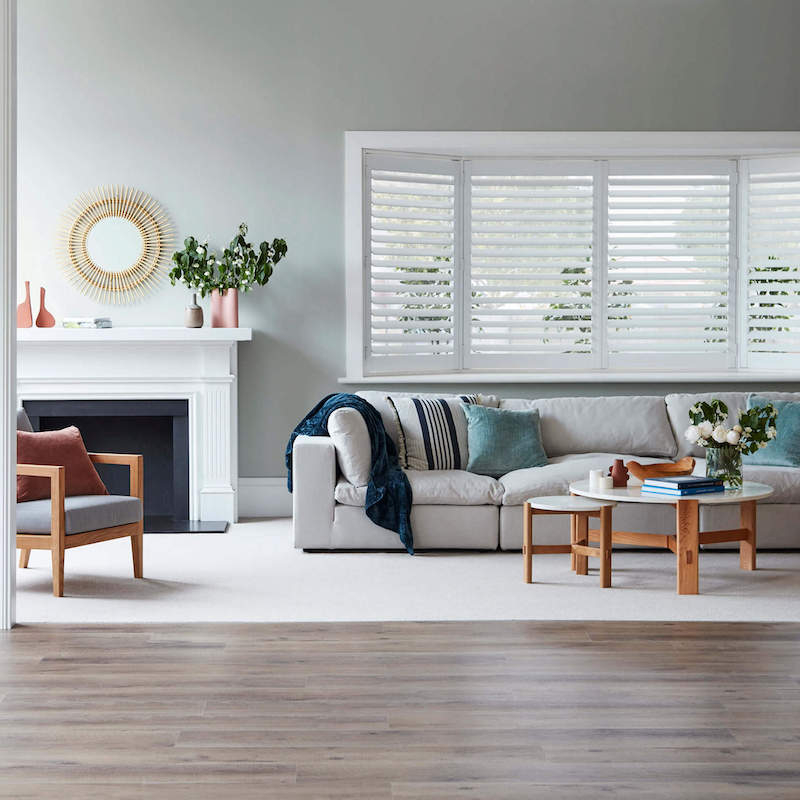
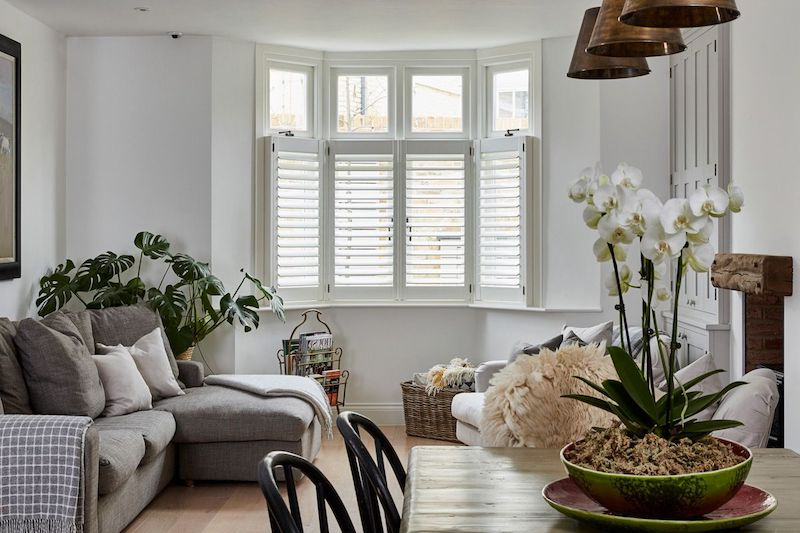
Bay Windows: This is an advanced project. The angles have to be perfect. If you aren’t comfortable with geometry and precise cuts, you might want to get a quote.
French Door Cut-Outs: A shutter for a French door needs a big piece cut out for the handle, which weakens the panel. A quality product will have extra reinforcement built-in. A cheap one will sag. Be very picky here.
In the end, installing your own shutters is a trade. You’re trading the money you’d pay an installer for your own time and meticulous attention to detail. Do that, and the pride you feel every time you walk into the room will be just as valuable as the money you saved.


