Stop Buying Hair Masks: A Pro’s Guide to Making Treatments That Actually Work
I’ve spent a long time in the salon world, and I’ve seen it all. I’ve worked with every hair type under the sun and watched clients haul in bags of pricey products, all promising a miracle. And sometimes, they get one. But honestly? The most incredible hair transformations I’ve witnessed come from one thing: truly understanding the hair itself. And that kind of know-how can start right in your kitchen.
In this article
Let’s be real, making your own hair treatments isn’t just about saving a few bucks (though it definitely does that). It’s about control. It’s about giving your hair exactly what it craves without the fillers, mystery fragrances, and preservatives packed into so many store-bought jars. But it’s more than just mashing an avocado in a bowl. It’s a craft. You need to get to know your ingredients, the techniques, and most importantly, the canvas—your hair.
So, this isn’t going to be a list of cute, Pinterest-y recipes. This is a peek into how a professional actually thinks about formulating a treatment. We’ll get into the nitty-gritty of your hair’s structure, which ingredients are its best friends, and how to put it all together for results you can actually see and feel.

First Things First: Understand Your Hair’s Personality
Before you even think about grabbing a mixing bowl, you have to know what you’re working with. Most people stop at ‘dry’ or ‘oily,’ but the pros go deeper. We look at structure, porosity, and density. These are the details that dictate which ingredients will be your hero and which could be a total villain for your hair type.
A Quick Look at a Hair Strand
Imagine a single strand of your hair is like a tiny rope. The outside is the cuticle, made of overlapping scales, kind of like shingles on a roof. When your hair is healthy, these scales lie flat and smooth. That’s what gives you that gorgeous, light-reflecting shine and locks moisture inside. But heat, chemical treatments, or even just rough handling can lift those scales, making hair look dull and feel coarse.
Inside that is the cortex, the core of the strand. It’s where the protein chains live that give your hair its strength and stretch. Here’s a key takeaway: most DIY ingredients aren’t going to magically rebuild this inner core. The main goal of a homemade mask is to condition, smooth, and protect that outer cuticle layer. And that’s a pretty important job!

Porosity: The Most Important Thing You’re Probably Ignoring
Okay, lean in for this one. Porosity is your hair’s ability to absorb and hold on to moisture. It’s way more important than whether your hair is curly or straight when you’re choosing ingredients. It’s the real game-changer.
You might have seen the ‘float test’ online where you drop a hair in water. To be frank, it’s not very reliable. If you have product on your hair, it’ll sink. If your hair is super fine, it might just float forever. A much better way to figure this out is the spray bottle test.
The Pro Porosity Test: Grab a small section of clean, dry hair and give it a light mist of water.
- Low Porosity: Does the water bead up and just sit on top? You’ve got low porosity hair. The cuticles are packed down tight, making it resistant to, well, everything. This hair is usually shiny but prone to buildup because products have a hard time getting in.
- High Porosity: If your hair sucks up that water almost instantly, you’re looking at high porosity. The cuticles are raised, so while moisture gets in easily, it escapes just as fast. This is often the case with color-treated or heat-damaged hair, which can feel perpetually dry or frizzy.
- Medium Porosity: The water absorbs at a steady, even pace. This is the sweet spot! The cuticle is doing its job perfectly.

What About Texture and Density?
People mix these up all the time. Texture is about how thick each individual strand is. Roll one between your fingers. Can you barely feel it? That’s fine hair. Does it feel like a piece of thread? Medium. If it feels more substantial or wiry, you’ve got coarse hair.
Density is just how much hair you have on your head. You can have fine hair but tons of it (high density), or coarse hair but less of it (low density). This mostly just tells you how much mask you’re going to need to mix up. Someone with a high-density, long mane will need way more product than someone with a low-density pixie cut.
The Home Kitchen Toolkit: Your Ingredients
A good formulator knows their pantry. We group ingredients by what they do. This way, we can build a mask that targets a specific problem, like adding moisture or deep-cleaning the scalp.
For Moisture: The Humectant & Emollient Duo
True hydration is a two-step process. You need ingredients that draw moisture in and others that lock it down.
Humectants (The Moisture Magnets):
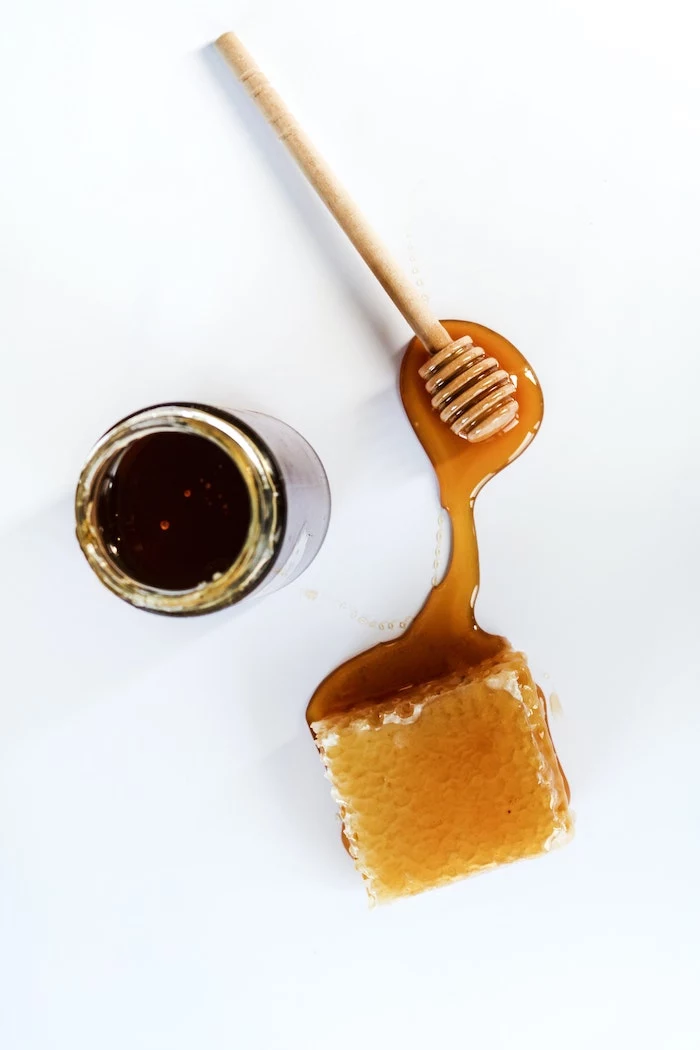
- Honey & Agave Nectar: Amazing natural humectants. They pull moisture from the air right into your hair. Plus, their natural antibacterial properties are great for your scalp. Go for raw, unfiltered honey if you can; it’s usually around $8-$15 a jar and packed with the good stuff.
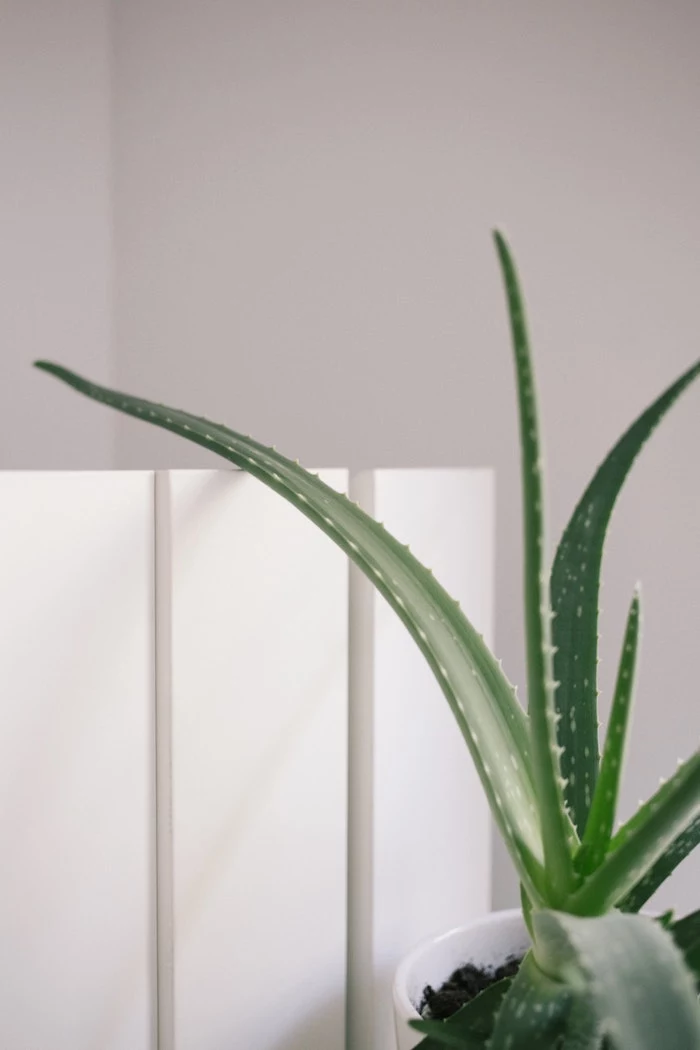
- Aloe Vera Gel: This is a hydration powerhouse. It’s full of water, vitamins, and minerals. Just make sure you’re using the pure gel (from the plant or a clear version from the store), not the green, sticky after-sun stuff.
- Glycerin: A very strong humectant, but use it with care. In a really dry climate, it can actually pull moisture out of your hair, making things worse. A good rule of thumb is to only use it when it’s mixed with water-based ingredients like aloe or… well, water.
Emollients (The Sealants): These are your oils and butters. They soften the hair and create a protective barrier to seal in all that moisture the humectants attracted. The right one for you depends entirely on your porosity.
For Low Porosity Hair (Needs Light, Absorbent Oils): Heavy oils will just sit on top and make your hair a greasy mess. You need oils with smaller molecules that can sneak past those tight cuticles. Think Argan Oil, Grapeseed Oil, and Jojoba Oil. Oh, and a little story about coconut oil: I once had a client with beautiful, fine, low-porosity hair who’d been slathering it in coconut oil. She came to me wondering why her hair felt greasy, stiff, and lifeless. It’s because coconut oil, while technically penetrating, acts a bit like a protein and can cause buildup and stiffness on hair that doesn’t need it. It’s a classic mistake!
For High Porosity Hair (Needs Rich, Sealing Oils): Your hair has gaps to fill, so it needs heavier oils to seal the deal and stop moisture from escaping. Good choices include Olive Oil, Castor Oil, Shea Butter, and Mango Butter. These will coat the hair shaft, smoothing it down and adding some weight.

For Strength: The Film-Formers
When hair is damaged, it has little gaps where protein has been lost. Adding a strengthening ingredient can temporarily patch those spots, making hair feel stronger.
A little dose of reality about food proteins like eggs and yogurt: their molecules are huge. Way too big to get inside the hair shaft. What they do is create a film on the outside of the hair, which makes it feel stronger and look shinier until your next wash. It’s a temporary cosmetic fix, not a deep repair, but it can be very effective!
Heads Up! The Protein-Moisture Balance: This is a delicate dance. Too much protein, and your hair will feel brittle, rough, and snap easily. If your hair feels mushy, overly soft, or limp when it’s wet, it’s probably craving some protein. If it feels like straw, it needs moisture, stat!
Some great DIY options for strength include:
- Gelatin: A teaspoon of unflavored gelatin dissolved in warm water creates a fantastic protein-like coating for the hair.
- Rice Water: This traditional treatment is brilliant. The starch coats the hair, reducing friction and adding a surprising amount of strength. A quick how-to: take 1/2 cup of plain white rice, rinse it once, then cover with 2 cups of water. Let it sit for at least an hour (or up to a day on the counter if you want to ferment it for more potency, but be warned, it gets smelly!). Strain the cloudy water and use it as a rinse or as the liquid in your mask. It’s that easy.
For Scalp Health & Shine: The Finishers
A happy scalp grows happy hair. Product buildup, oil, and dead skin can clog follicles and leave your hair looking dull and lifeless.
- Apple Cider Vinegar (ACV): Your hair and scalp are naturally a bit acidic. An ACV rinse (diluted to 1 part ACV, 4 parts water) after you rinse your mask is the ultimate finisher. It seals the cuticle down flat, which gives you incredible shine and cuts down on frizz.
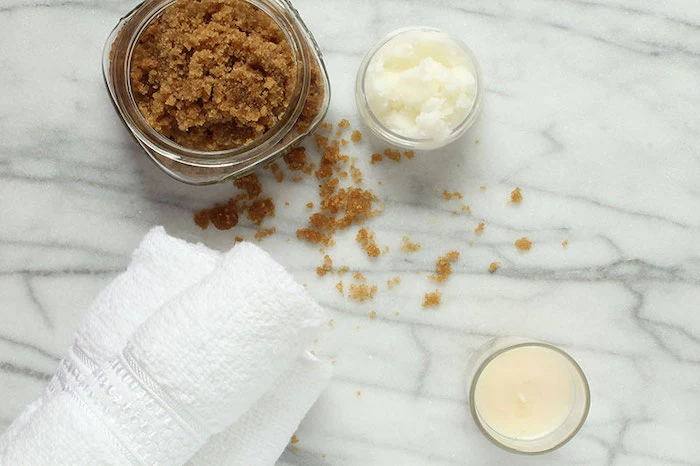
- Brown Sugar & Ground Oatmeal: These are perfect for a gentle scalp scrub. Mix them with a little oil or conditioner to create a paste and massage very gently to lift away buildup.
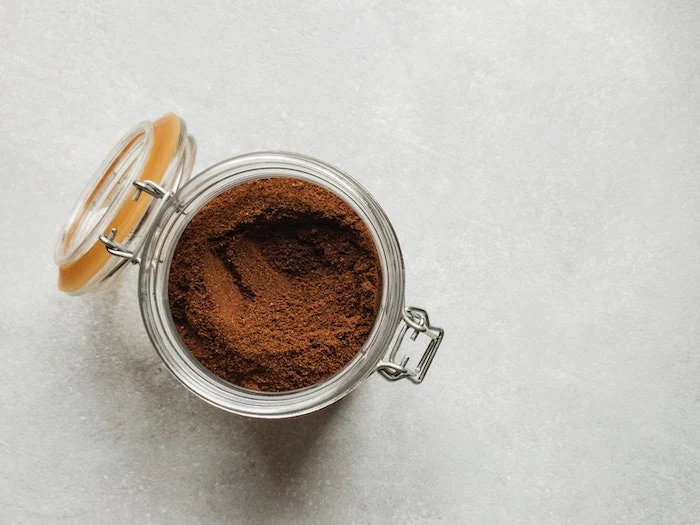
- Clays (Bentonite or Rhassoul): These are magical for absorbing excess oil. You can find them at most health food stores or online for around $10-15 a pound, which will last you ages. Quick tip: Never let metal touch bentonite clay—it deactivates its beneficial properties. Use a wood, plastic, or glass bowl and spoon.
The Craft: Mixing and Applying Like a Pro
Okay, you know your hair and you know your ingredients. Now for the fun part. How you mix and apply your mask makes all the difference.
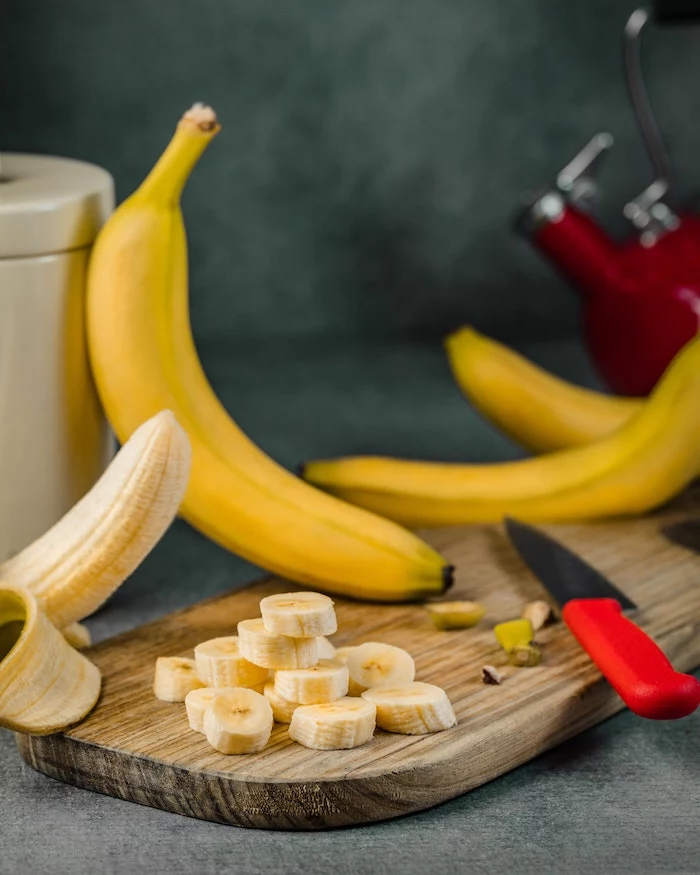
My #1 Rule: Blend, Don’t Mash. Please, for the love of all that is holy, use a blender. I once spent 30 minutes combing tiny, dried banana chunks out of a tearful client’s hair because she’d just used a fork. Blend your ingredients until they are perfectly smooth, like baby food. No lumps!
A Little Warmth Goes a Long Way: Gently warming your oils and butters can be a game-changer, especially for low porosity hair. The warmth helps to gently lift the cuticle so the goodness can get in. Don’t use a microwave, which can create hot spots. Just place your bowl of oils in a larger bowl of hot tap water for a few minutes.

Application Technique
- Start on Clean, Damp Hair. Apply your mask after shampooing, on towel-dried hair. Dirt and product will just block the mask from doing its job.
- Work in Sections. Don’t just slap a blob on top of your head. Part your hair into at least four sections to make sure every strand gets some love. Focus on the mid-lengths and ends—that’s the oldest, driest part of your hair.
- Use “Praying Hands.” Smooth a bit of mask between your palms, then clamp a thin section of hair between them and glide your hands down the hair shaft. This motion physically smooths the cuticle.
- Trap Some Heat. Cover your hair with a plastic shower cap (or a grocery bag, we don’t judge) and wrap a warm, damp towel over it. This gentle heat will boost the mask’s effectiveness big time. Kick back for 20-30 minutes.
The Rinsing Process
Use lukewarm water, not hot, to rinse. You don’t want to strip away all those lovely oils you just applied. Rinse, rinse, and rinse some more. Pro Rinsing Tip: Still feel some residue? Try rinsing with your head flipped upside down. It helps gravity do the work and gets all the product out from the under-layers of your hair.
Starter Formulations (But Feel Free to Experiment!)
Think of these as starting points. The whole goal is for you to become your hair’s personal chef, so adjust these based on how your hair responds. The ingredients for one of these masks will likely run you just $2-$3, a huge saving compared to a $40 salon brand!
Deep Moisture Mask
- Best for: Dry, thirsty, high porosity hair. Use weekly or as needed.
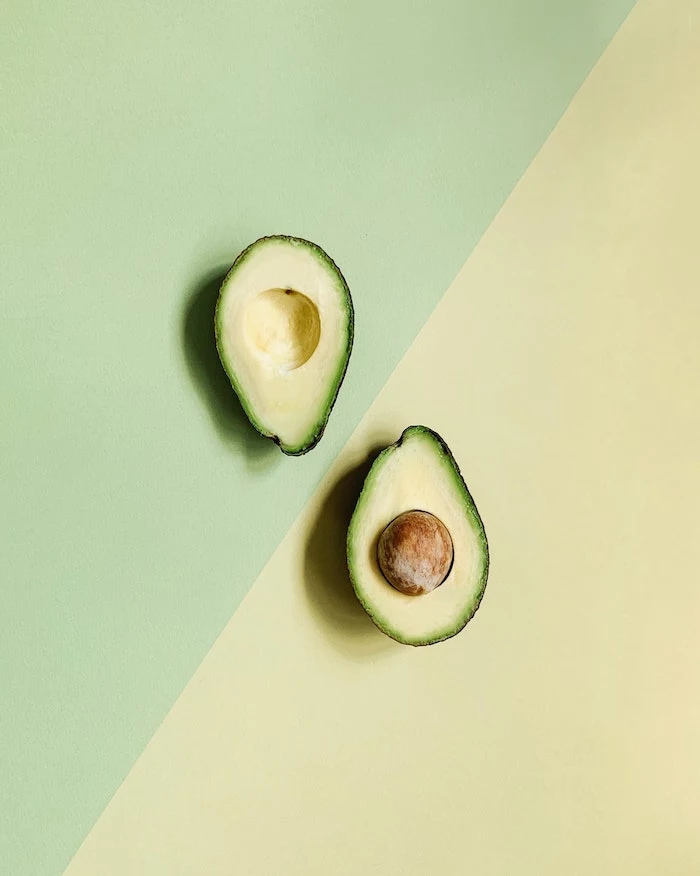
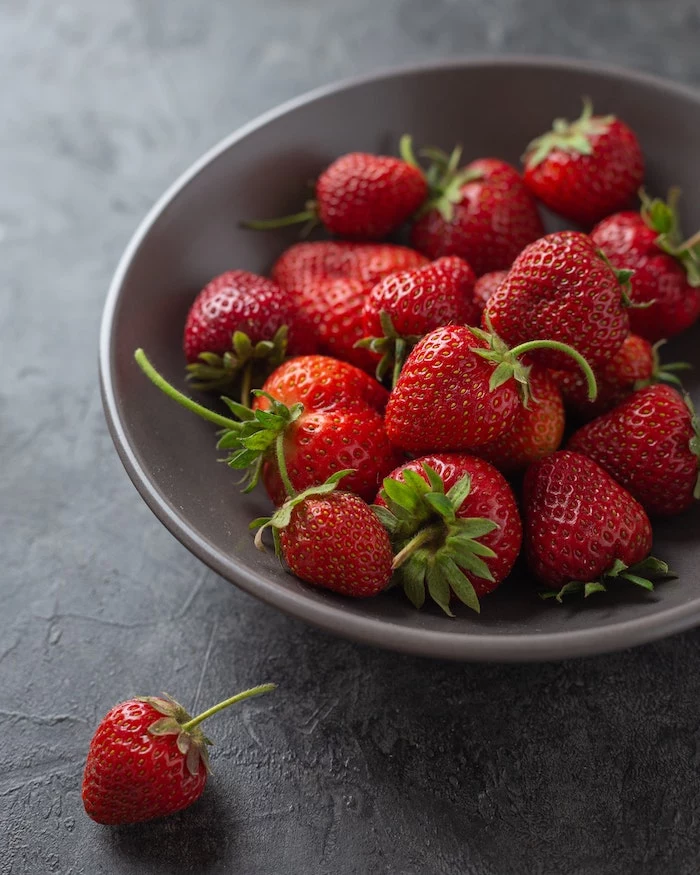
- The Mix: 1/2 a ripe avocado (blended smooth), 1 tablespoon raw honey, 1-2 tablespoons olive oil.
- How Much: This makes enough for about shoulder-length, medium-density hair. Double it if your hair is longer or thicker.
- The Method: Blend it all until perfectly creamy. Apply with heat for 30 minutes, then rinse well.
Lightweight Hydration Mask
- Best for: Fine, low porosity hair that gets weighed down easily. Use every 1-2 weeks.
- The Mix: 1/4 cup pure aloe vera gel, 1 tablespoon argan or grapeseed oil.
- How Much: This is a lighter mask, so this amount should work for most lengths unless your hair is extremely long and dense.
- The Method: Whisk it together and apply. Don’t skip the warm towel step for this hair type! Let it sit for 20 minutes, rinse thoroughly, and follow with a diluted ACV rinse to seal that cuticle.
Strengthening Support Treatment
- Best for: Weak, damaged, or mushy-when-wet hair. Use this sparingly—no more than once or twice a month to avoid protein overload.
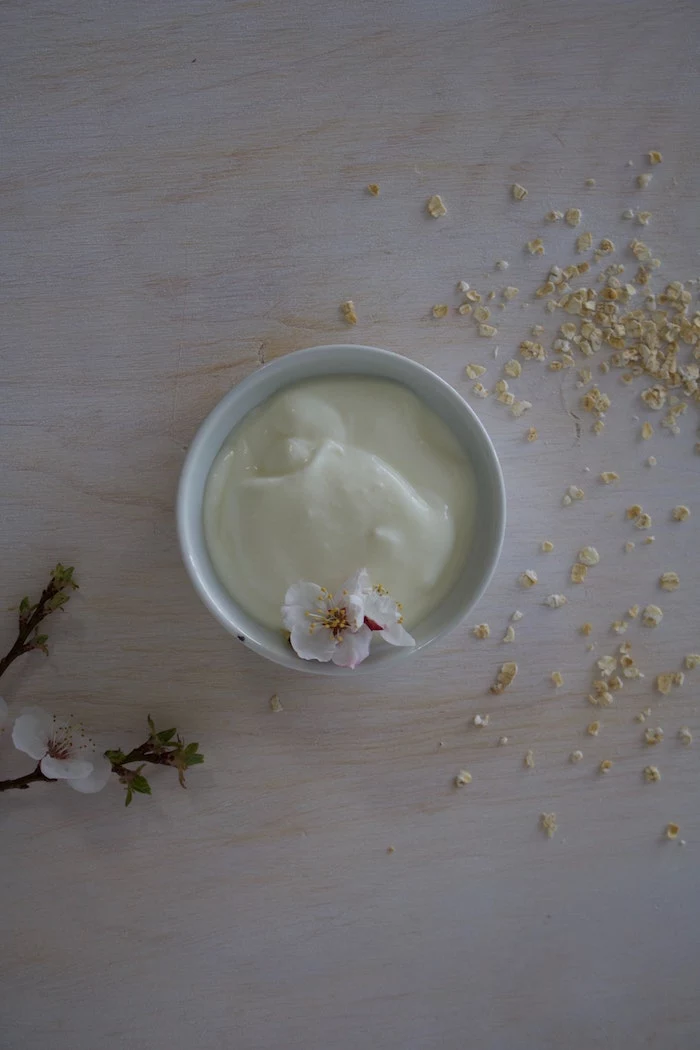
- The Mix: 1/4 cup full-fat plain yogurt, 1 packet unflavored gelatin dissolved in 2 tablespoons of warm water, 1 teaspoon of jojoba oil.
- How Much: This should be plenty for one treatment, as you want a thin coating.
- The Method: Dissolve the gelatin first, then whisk it into the yogurt and oil. Apply quickly before it sets. Leave on for 20-25 minutes (don’t let it get rock hard!), rinse, and always follow up with a good moisturizing conditioner to restore the protein-moisture balance.
Clarifying Scalp Detox
- Best for: Oily or flaky scalps, or to remove product buildup. Use weekly for oily types, or monthly for normal types.
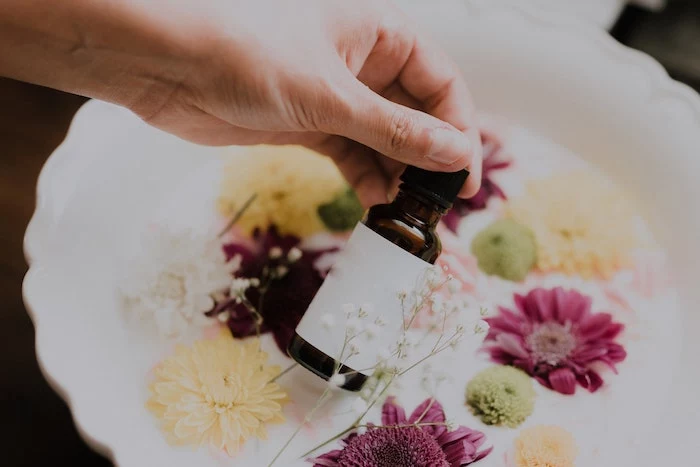
- The Mix: 2 tablespoons bentonite clay, equal parts ACV and water, 2 drops of tea tree oil.
- How Much: This is a scalp-only treatment, so this recipe is enough for anyone.
- The Method: In a non-metal bowl, mix to a yogurt-like paste (it will fizz!). Apply only to your scalp on dry or damp hair before you shower. Let it sit for 15-20 minutes (don’t let it dry completely), then rinse out and follow with your normal shampoo and condition routine.
Troubleshooting: When Your DIY Goes Wrong
It happens! Don’t panic. Here’s how to fix the most common slip-ups.
- “My hair feels greasy or weighed down!” You likely used an oil that was too heavy for your porosity, or you just used too much. The fix is to re-wash with a clarifying shampoo. Next time, use a lighter oil or cut the amount of oil in your recipe by half.
- “My hair feels like straw!” Ah, the dreaded protein overload. You used a strengthening mask when your hair was actually thirsty for moisture. To fix it, do a simple moisture-only mask (like avocado and olive oil) and leave it on for 30 minutes with heat. Lay off any protein treatments for at least a month.
A Final Dose of Reality
Making masks at home is amazing, but it’s important to be safe and realistic.
Safety First: Always, always patch test. Just because it’s natural doesn’t mean you can’t have a reaction. Dab a little of a new ingredient on your inner elbow and wait 24 hours. Also, these are fresh food masks—they spoil! Make only enough for one use. Storing a wet mask in your bathroom is asking for a bacterial mess.

Lazy Girl Quick Win: In a hurry? The easiest ‘mask’ ever is just that ACV rinse. Keep a spray bottle of 1 part ACV to 4 parts water in your shower. After conditioning, spritz it on, wait a minute, and rinse. Instant shine, minimal effort.
Finally, know that a mask can’t fix everything. It won’t repair a split end (only scissors can do that), and it can’t reverse severe chemical damage. If your hair is breaking off or you’re dealing with major hair loss or a painful scalp, it’s time to see a professional, like a dermatologist or a certified trichologist. But for everything in between? You’ve now got the tools to become your hair’s best advocate. Have fun with it!
Inspirational Gallery
What’s the one ingredient that can ruin an otherwise perfect hair mask?
Lumps. An uneven, lumpy mask is difficult to apply, won’t distribute evenly, and is a nightmare to rinse out, leaving bits behind. This is where a high-speed blender, like a NutriBullet or Vitamix, becomes your best friend. It emulsifies oils and liquids and pulverizes solids like banana or avocado into a genuinely creamy, professional-grade consistency. Your goal is a texture that’s smooth enough to glide through your strands effortlessly. No hand-mashing can achieve that level of silkiness.

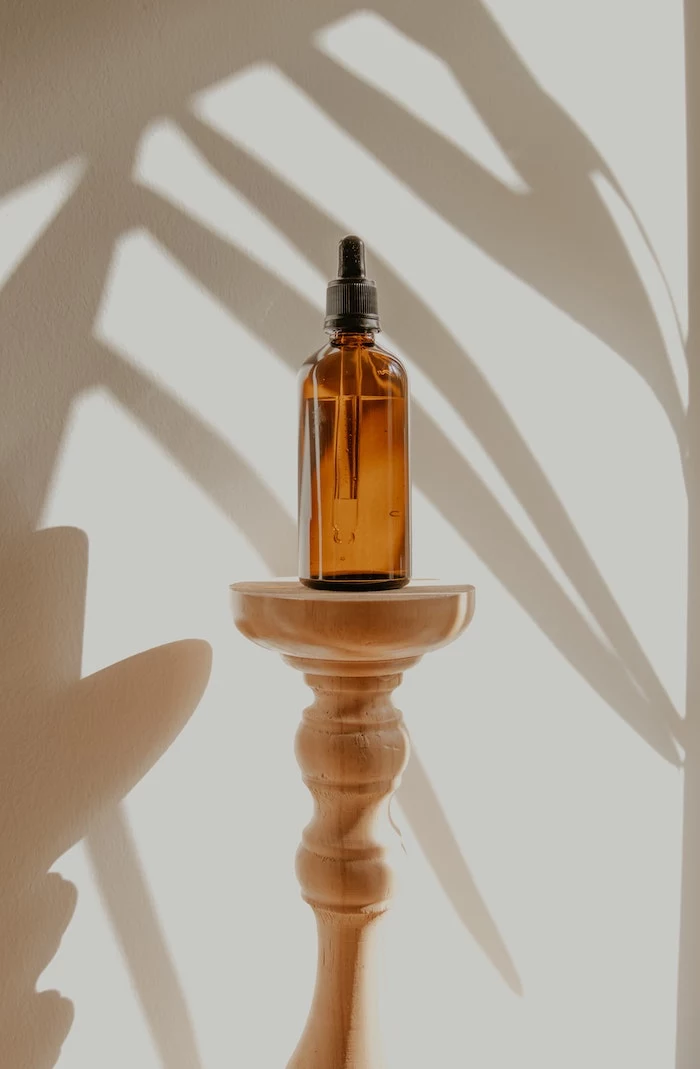
For deep, lasting moisture: Remember that not all oils are created equal. Coconut oil’s smaller molecules can actually penetrate the hair shaft to moisturize from within, making it ideal for true hydration. In contrast, oils like Argan—such as the cult favorite from Josie Maran—have larger molecules that excel at coating and sealing the hair’s outer cuticle. This locks in moisture and creates incredible shine and slip. Use coconut for a pre-shampoo treatment and argan as a finishing touch.
The shelf life of your homemade mask is short—typically 24-48 hours in the refrigerator. Unlike store-bought products, it contains no preservatives, meaning bacteria can grow quickly.
This is the biggest advantage and disadvantage of DIY. You get pure, fresh ingredients without chemical stabilizers, but you must treat your mask like fresh food. Always make small batches, use it immediately for maximum potency, and discard any leftovers to avoid applying expired, potentially harmful concoctions to your scalp and hair.
To truly elevate your DIY game, think about adding a humectant. These are ingredients that pull moisture from the air directly into your hair strands, creating a reservoir of hydration. Beyond the well-known honey, consider these options:
- Vegetable Glycerin: A few drops of this powerful, inexpensive liquid add immense softening power.
- Agave Nectar: Less sticky than honey, it’s a fantastic natural alternative for adding slip and hydration.
- Aloe Vera Gel: Rich in vitamins and enzymes, it soothes the scalp while hydrating the hair.
A single strand of hair can absorb its own weight in water.

Yogurt & Egg Masks: These are fantastic for providing surface-level conditioning, shine, and manageability thanks to their fats and large protein molecules. They create a temporary film that smooths the hair cuticle.
Hydrolyzed Protein Treatments: For hair that is truly damaged and porous, you need protein small enough to penetrate and patch the gaps in the cortex. Look for ingredients like hydrolyzed silk, wheat, or keratin protein, which can be purchased from DIY cosmetic suppliers and added in small amounts to your masks for a true strengthening boost.
For simple softness, stick with the kitchen. For repair, seek out cosmetic science.
After rinsing out a nourishing mask, the final step is often overlooked: sealing the cuticle. Your hair’s natural pH is slightly acidic (around 4.5-5.5). Many homemade masks, especially those with banana or avocado, can be more alkaline, causing the hair’s cuticle to lift. A final, diluted acidic rinse will snap it shut, locking in the mask’s benefits and boosting shine. A tablespoon of Apple Cider Vinegar, like the one from Bragg, in a cup of cool water is the perfect professional finish.


