Why Store-Bought Bows Look So Sad (And How to Make Your Own Amazing Ones)
I’ve spent more years than I can count with my hands tangled up in ribbon—we’re talking well over two decades of it. I’ve tied thousands of bows, from tiny accents on wreaths to those giant, show-stopping toppers you see in fancy hotel lobbies. And after all that time, I’ve learned one simple truth: a great bow is so much more than a decoration. It’s the final, perfect piece that gives a Christmas tree its personality.
In this article
A truly well-made bow has structure and character. It’s got a presence that you just can’t get from those sad, flat-packed bows from a big-box store. I know, I know. You see those perfect loops and elegant, flowing tails and think it takes some kind of secret magic. It really doesn’t. Honestly, it’s a craft built on two things: understanding your materials and learning a few simple hand movements.
Once you get the rhythm down, you can whip up gorgeous, lasting bows for pretty much any occasion. So, let’s go beyond a simple craft tutorial. I want to show you how the pros approach it—the right materials, the right techniques, and the little details that make a world of difference. This is how you create a bow you’ll be excited to pull out of the decoration box year after year.
Let’s Talk Ribbon: Your Most Important Choice
The success of your bow is decided long before you ever make the first fold. It all starts with the ribbon you choose. This is, without a doubt, the most important decision you’ll make, as it dictates the bow’s shape, texture, and how long it will last. I’ve seen beautifully tied bows fail simply because the material wasn’t up to the job.
The Great Debate: Wired vs. Unwired (Spoiler: There’s No Debate)
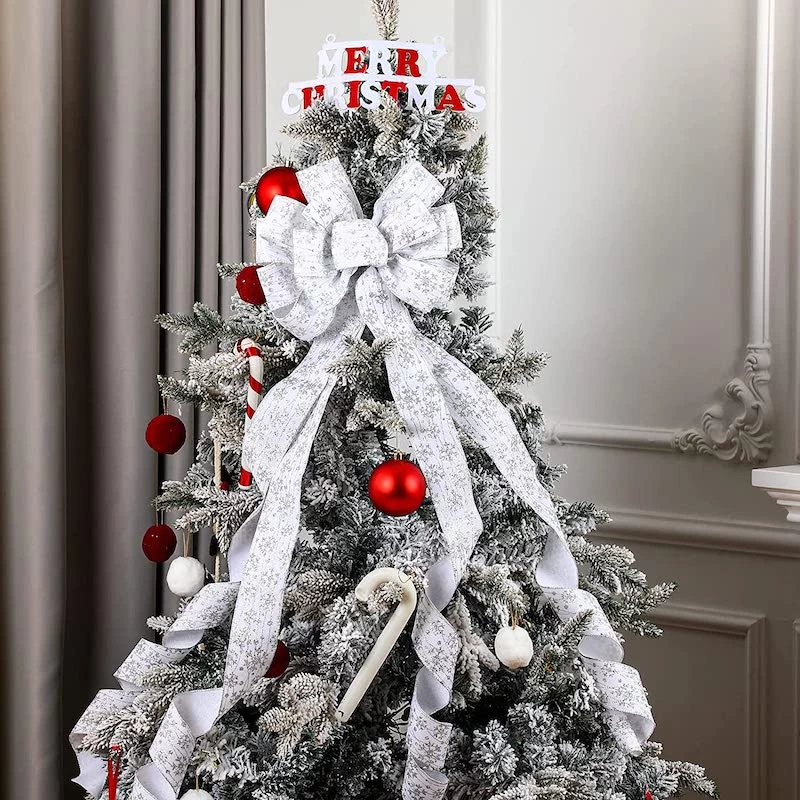
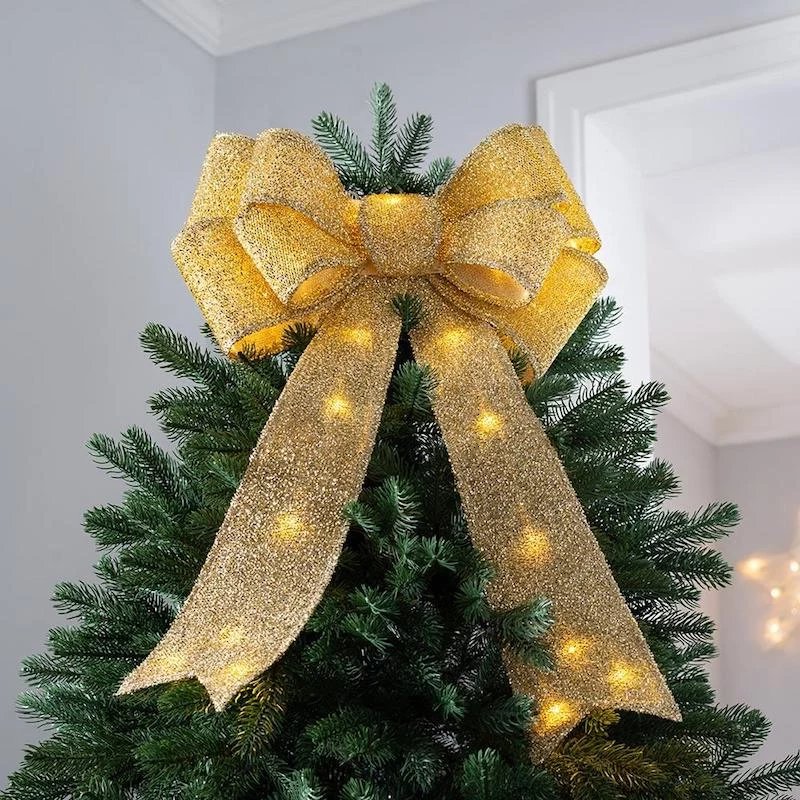
This is the first and most critical choice. If you want a Christmas tree topper, or any bow that needs to hold a full, three-dimensional shape, you absolutely must use wired ribbon. There are no exceptions to this rule if you’re chasing that professional look.
It’s not just a preference; it’s physics. The thin, flexible wire hidden in the edges of the ribbon acts like a skeleton. It lets you sculpt the loops and tails exactly how you want them. Gravity is the enemy of a good bow, and that wire provides the structure to fight back, keeping your loops from sagging. Unwired ribbon, no matter how crisp it feels on the spool, will eventually droop. I learned this the hard way on an early project where a client insisted on a gorgeous but unwired silk. Within a day, it was a sad, wilted mess. We had to remake the whole thing with a wired velvet that stayed perfect all season.
Quick tip: When you’re in the craft store aisle, test the ribbon. Give the wire on the edge a good bend. Does it hold the crease, or does it feel weak and spring right back? You want the one that holds its shape.
The Million-Dollar Questions: How Much and How Wide?
Okay, so the two biggest questions I always get are about size. It’s easy to feel lost in the ribbon aisle, so here’s a simple recipe to get you started.
For a classic, full tree topper on a standard 7- to 8-foot tree, my go-to is a 2.5-inch wide wired ribbon. As for length, you’ll want a spool with at least 10 yards. Honestly, 15 yards is even better, especially if you love those long, dramatic tails that cascade down the branches. You can always trim them, but you can’t add more!
Heads up! Here’s a classic rookie mistake: grabbing a spool that looks really thick but only has 3 or 5 yards on it. Always, always check the label for the yardage. Nothing’s worse than running out of ribbon halfway through your beautiful bow.
Choosing Your Ribbon’s Personality
Beyond the wire, the fabric itself is what adds the character. Different materials create completely different vibes. Here are a few popular ones:
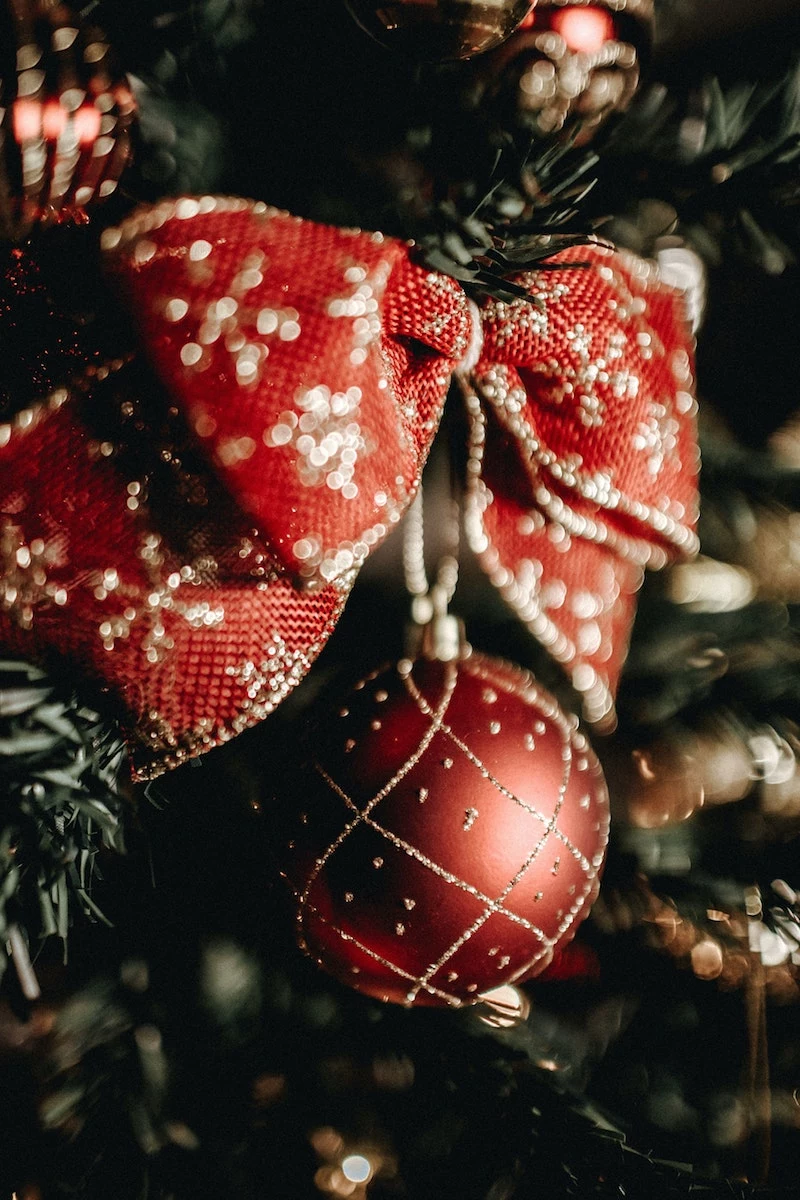
- Velvet: This is a timeless classic for a reason. Velvet absorbs light, which gives it a super deep, rich color. It looks luxurious and traditional, and it’s also very forgiving to work with because its texture can hide small imperfections. Just be aware that lower-quality velvet can sometimes shed a bit.
- Satin: A satin ribbon reflects light, giving it a bright, festive sheen that can look incredibly elegant. A word of caution, though: try to find a double-faced satin, where both sides are shiny. It costs a little more, but it saves you the headache of making sure the “dull” side isn’t showing when you twist your loops.
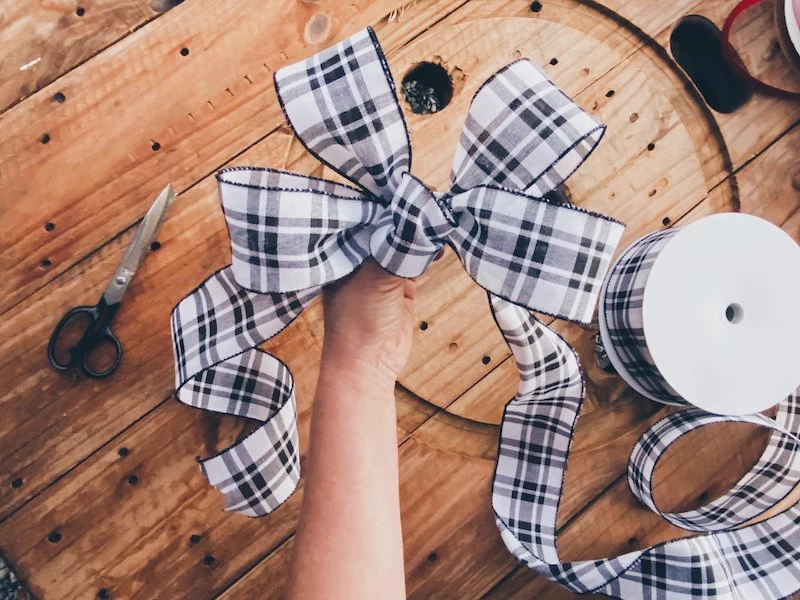
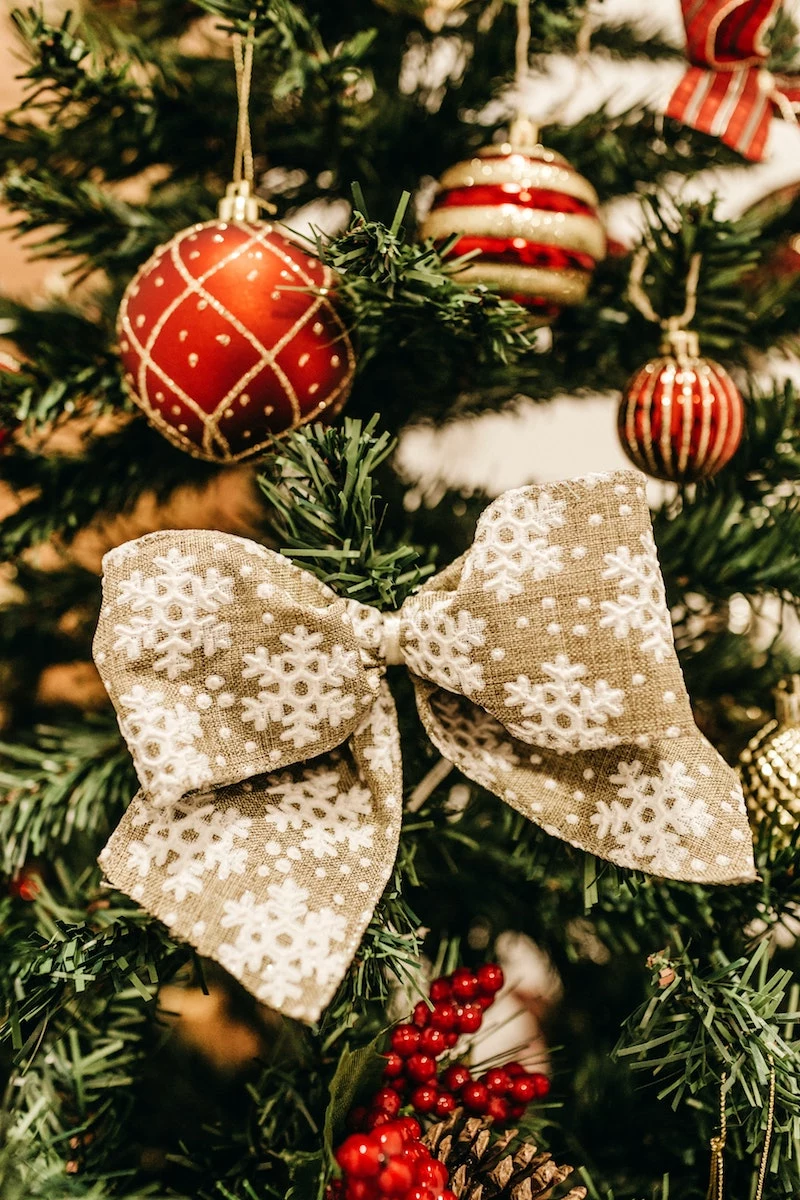
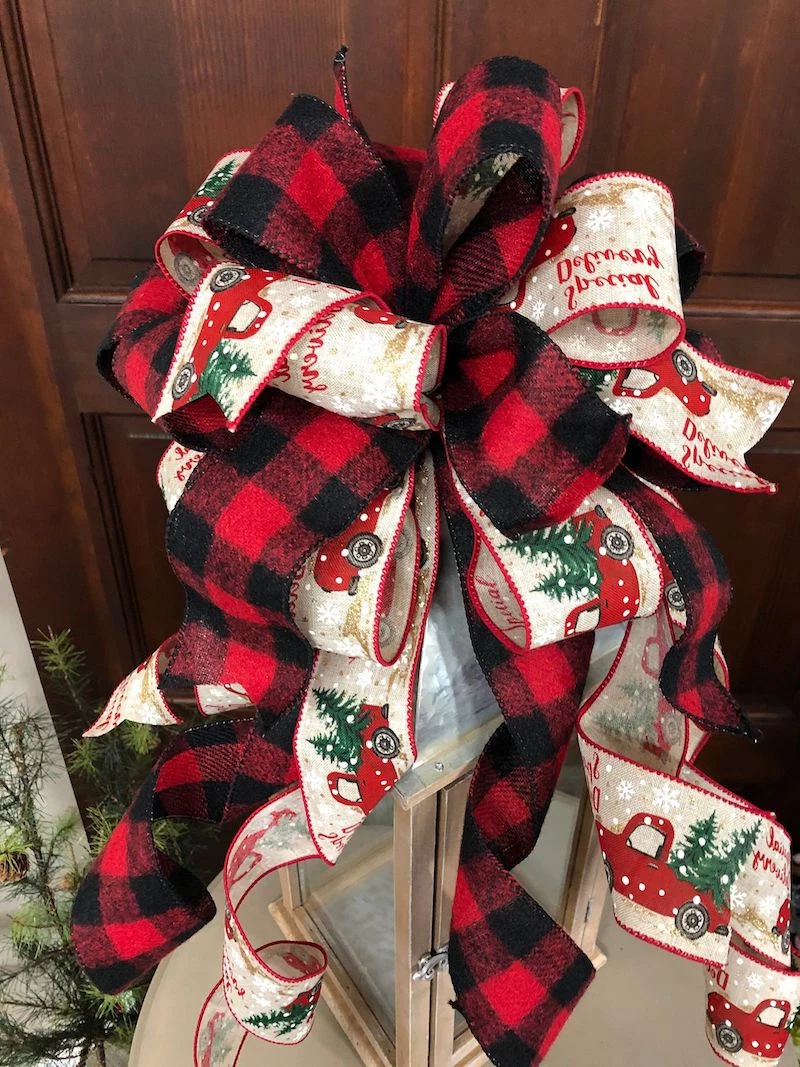
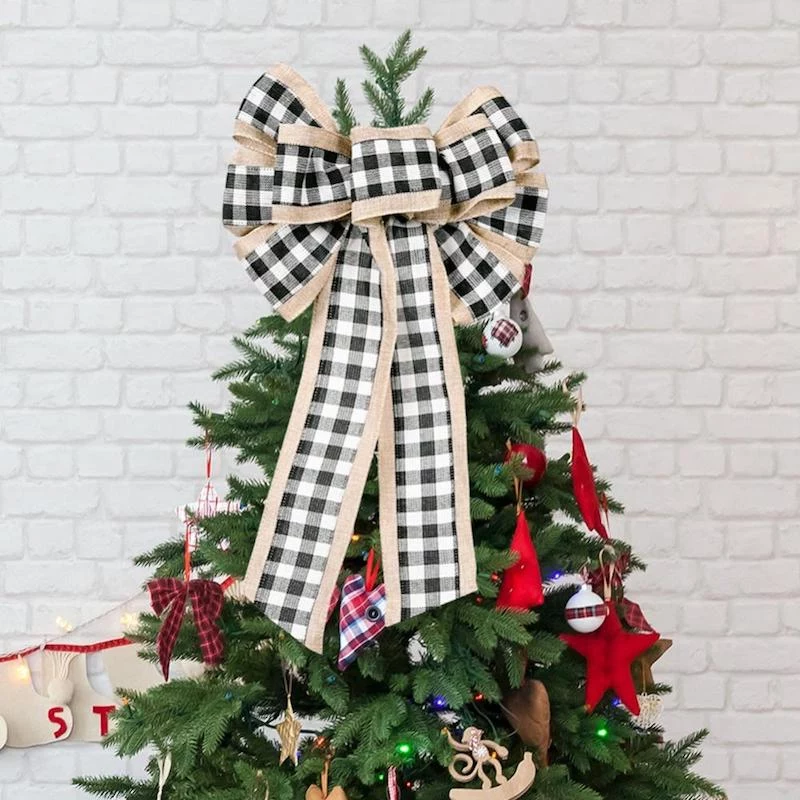
- Plaids and Patterns: By the way, don’t feel limited to solid colors! A classic plaid ribbon can bring a warm, cozy cabin vibe. A wired burlap is fantastic for a more modern farmhouse look. The patterns are great for adding a bit more visual interest to the tree.
Where to Find the Good Stuff (And What to Expect to Pay)
So, where do you actually buy quality ribbon? You can find a decent selection of wired ribbon at big-box craft stores like Michaels, Jo-Ann, or Hobby Lobby, especially during the holiday season. They’re a great place to start.
For the really special stuff—the kinds of textures and patterns the pros use—I often browse online ribbon specialty shops. You’ll find a much wider variety there. As for cost, you should expect to pay anywhere between $1.50 and $4.00 per yard for good quality wired ribbon. If you see a giant spool for just a few dollars, be suspicious. It’s likely thin, the wire will be flimsy, and it just won’t give you that full, lasting shape you’re looking for.
With the right ribbon in hand, you’re already 90% of the way to creating something you’ll be proud to display. You’ve got this!
Inspirational Gallery
Fabric Shears: A dedicated pair ensures a crisp, clean cut through ribbon without fraying the edges. They glide through materials like satin or velvet beautifully.
Household Scissors: Their duller blades can snag delicate fabrics, and attempting to cut the internal wire will quickly ruin them. For the wire itself, a small pair of wire snips is your best friend.
For professional results, use the right tool for each part of the job: shears for ribbon, snips for wire.
The secret to a visually rich bow often lies in texture, not just color. Combining different ribbon finishes creates a dynamic look that catches the light in unique ways. Try these classic pairings for instant sophistication:
- Plush Velvet + Metallic Lamé: The deep, light-absorbing quality of velvet paired with a shimmering metallic creates a luxurious contrast, perfect for an elegant tree.
- Rustic Burlap + Delicate Lace: This duo is the heart of farmhouse chic. The coarse, earthy texture of burlap is softened by the intricate, airy pattern of lace.
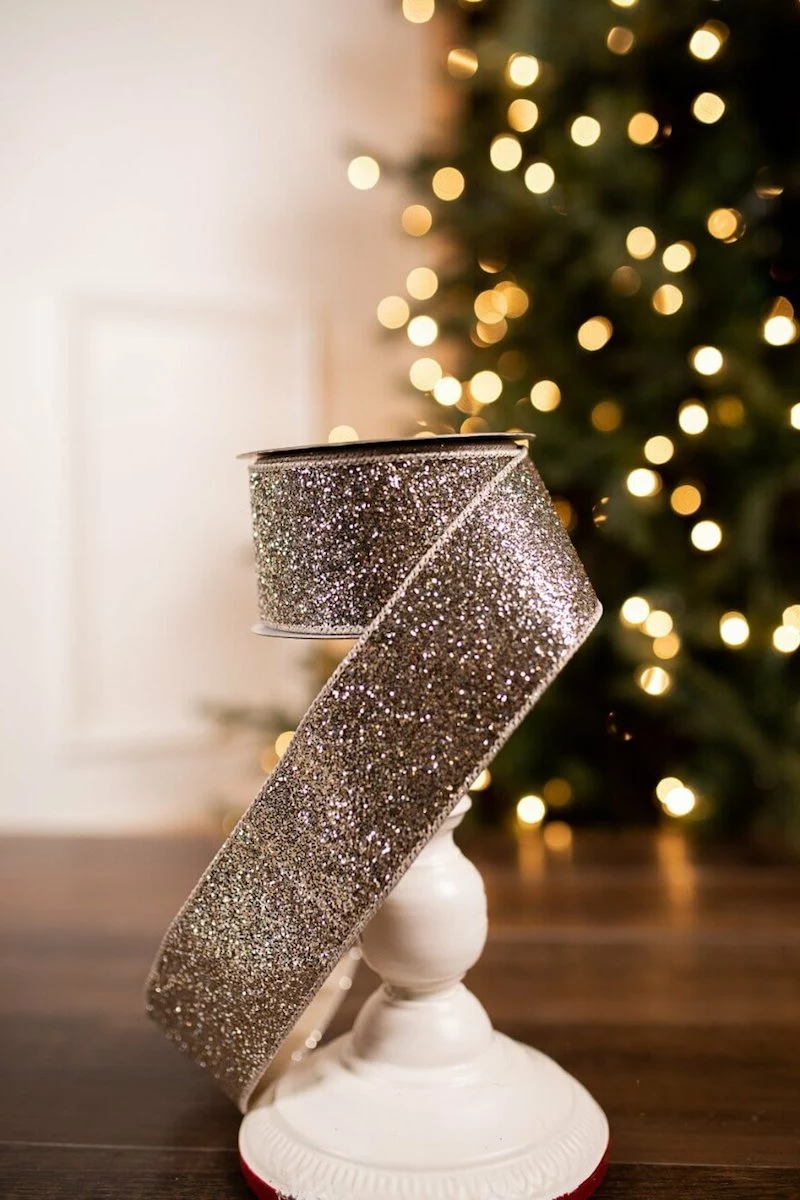
- Glimmering Glitter + Sheer Organza: Layering a solid glitter ribbon with a transparent organza on top mutes the sparkle slightly while adding ethereal depth.
More than 1.5 billion yards of ribbon are sold in the U.S. each year for gift wrapping alone—enough to tie a bow around the Earth nearly 30 times.
This staggering number highlights how central ribbon is to our celebrations. By creating your own reusable, high-quality bows, you not only elevate your decor but also participate in this tradition in a more personal and sustainable way.

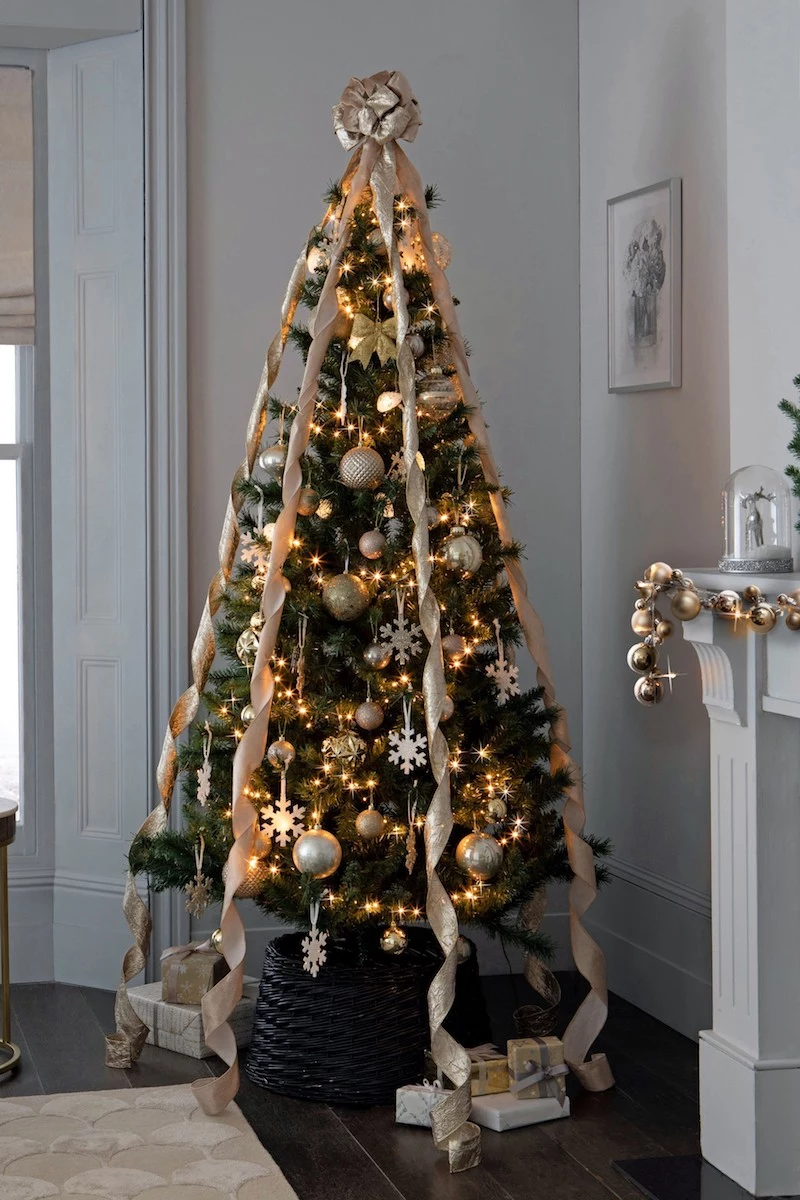
- Creates a relaxed, organic feel.
- Adds a touch of understated luxury.
- Moves away from perfectly stiff symmetry.
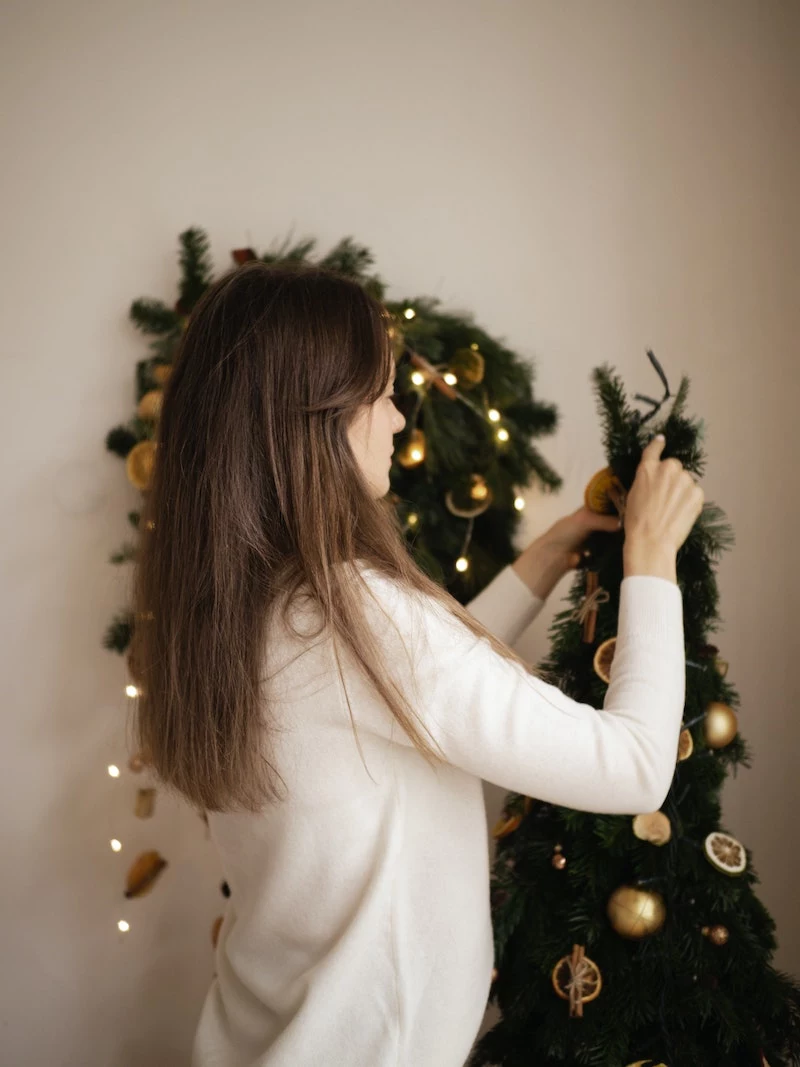
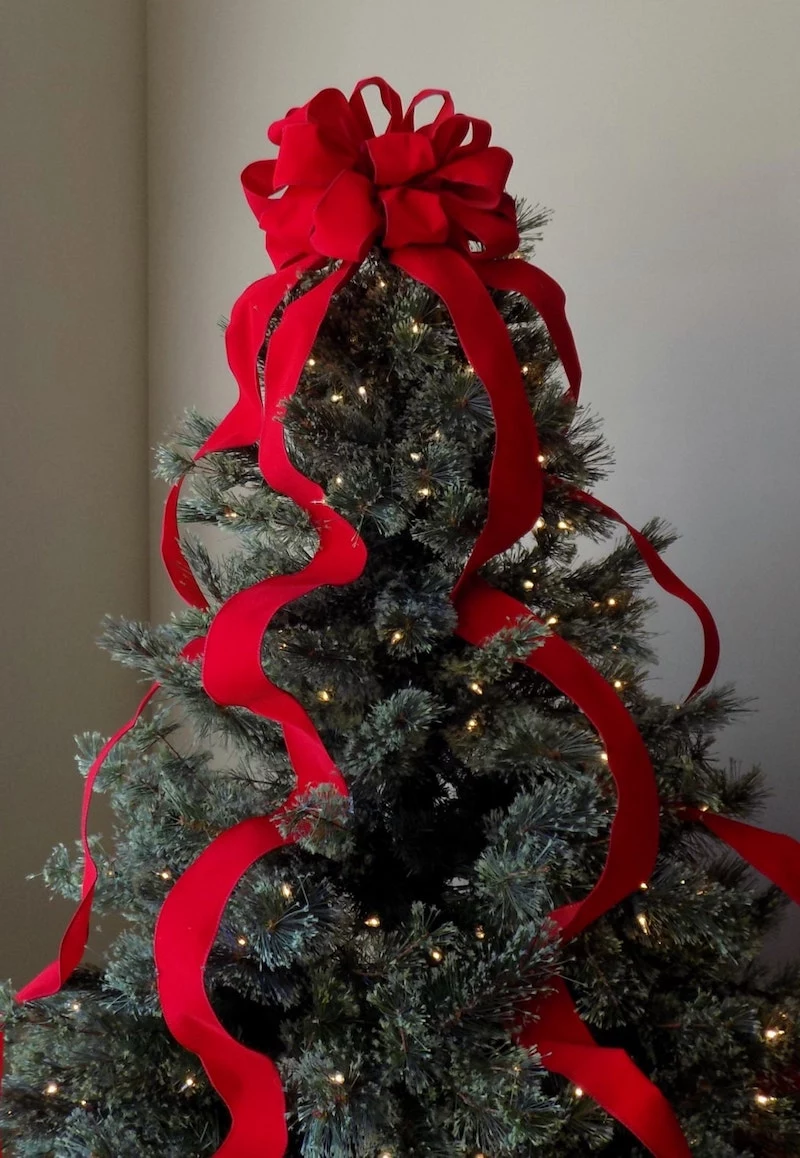
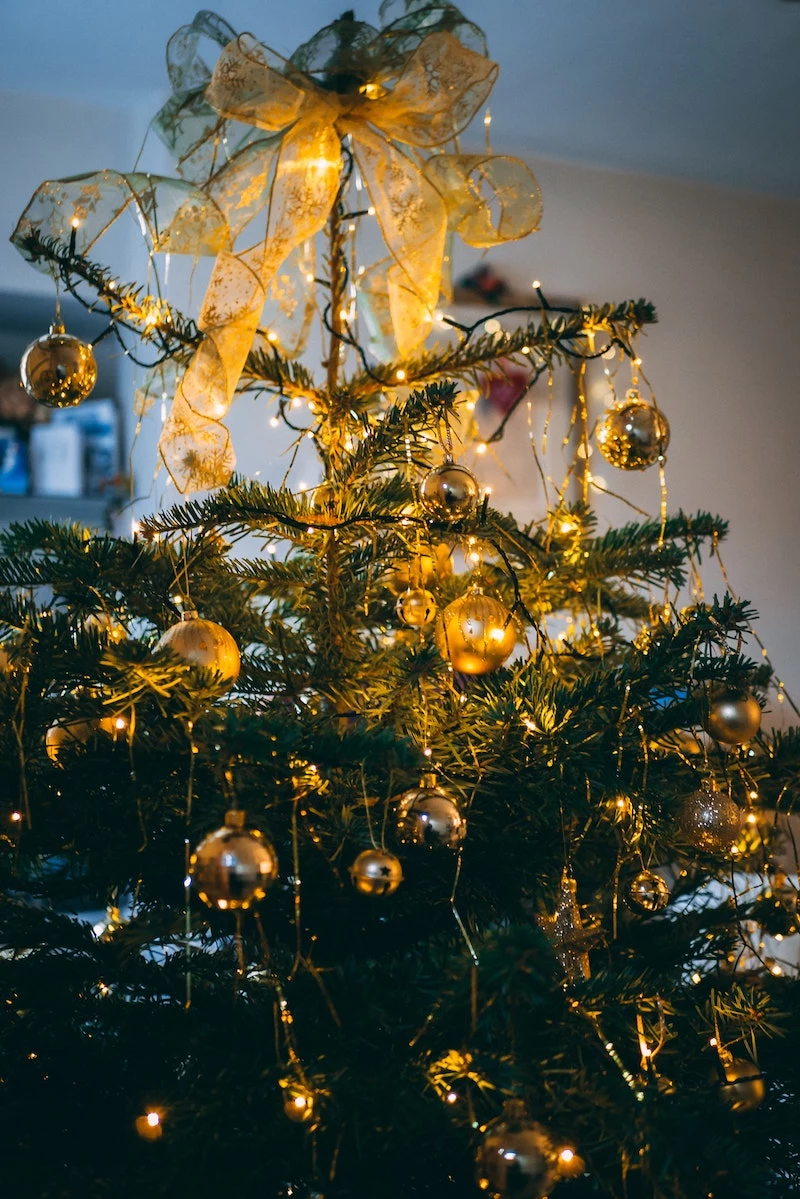
The secret? The ‘floppy bow’ trend. Instead of a tightly formed topper, this style uses a single, high-quality ribbon, like a 4-inch wide d.stevens velvet, tied simply and allowed to cascade down the tree with long, dramatic tails. It’s elegant, confident, and refreshingly effortless.
A common mistake: Cutting your tails too short before the bow is finished and placed. A bow’s tails are crucial for balance and flow, especially on a tree topper. Always leave them excessively long. Once the bow is secured on the branch, you can step back, assess the proportions, and then trim them to the perfect length, whether it’s a classic diagonal snip or a decorative fishtail cut.
For those who struggle with holding all the loops at once, a simple jig can be a game-changer. A tool like the Bowdabra or the Pro Bow the Hand acts as a third hand, holding the ribbon securely on a central post as you fold and twist, ensuring even, consistent loops every single time. It’s a small investment that takes the frustration out of building large, complex bows.
How do I store my beautiful new bows so they last until next year?
The key is preventing crushing. Gently stuff the loops with acid-free tissue paper to help them hold their shape. Then, place them in a sturdy plastic tub or box, giving each bow its own space. Avoid piling them on top of each other. Store the box in a cool, dry place like a closet or under a bed, rather than a damp basement or hot attic where temperature swings can weaken the fabric and wire.
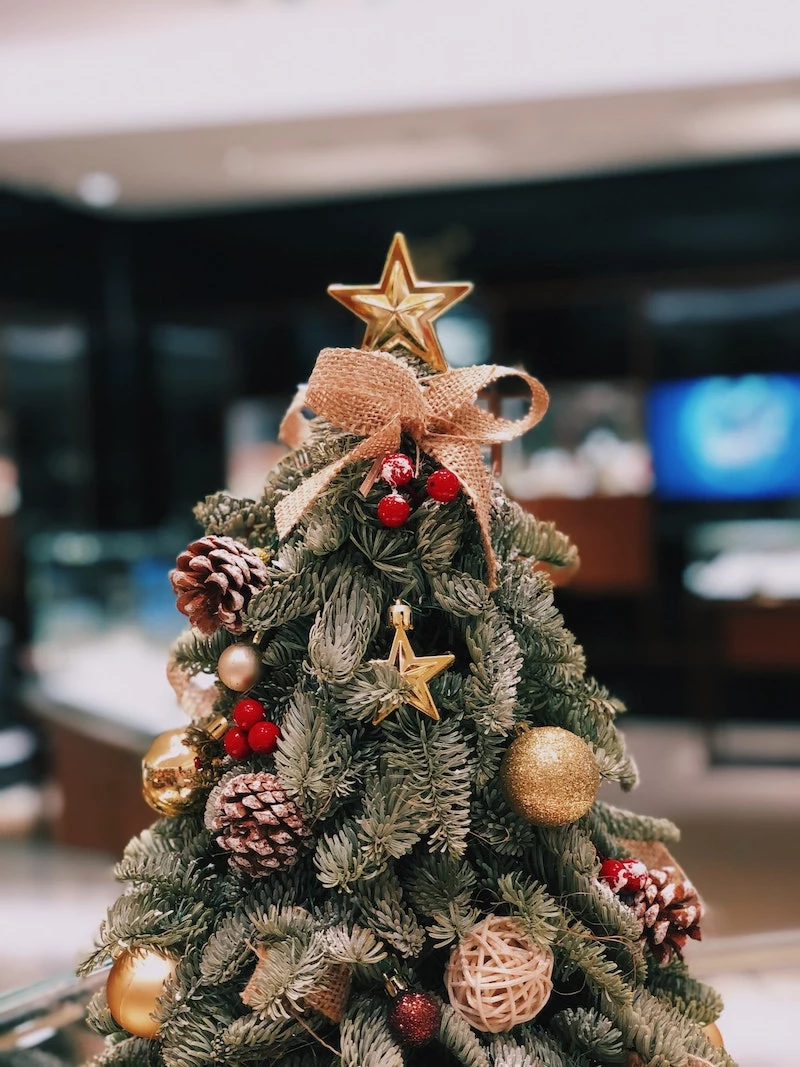
Take your bow from simply pretty to truly personal by adding a unique element to its center. Before you make your final twist with the floral wire, slip in a small, meaningful object. A sprig of faux eucalyptus for a modern farmhouse look, a glittery pinecone for woodland charm, or even a small, flat monogrammed ornament can transform your creation into a bespoke keepsake.
- Carefully fluff the loops back into a rounded shape. The wire makes this easy.
- Use a hairdryer on a low, cool setting to gently blow away a season’s worth of dust.
- If tails have become wrinkled, run a hair straightener on its lowest heat setting over the ribbon to smooth them out.
With just a few minutes of care… your handmade bows will look as full and fresh as the day you made them, ready for another holiday season.
According to color theory, a monochromatic scheme (using different shades of the same color) is one of the most sophisticated and calming palettes.
Apply this to your bows for a high-end, designer look. Instead of one red ribbon, try layering a deep burgundy velvet, a classic cherry red satin, and a pale pink organza. This creates incredible depth and visual interest while maintaining a cohesive and elegant feel.
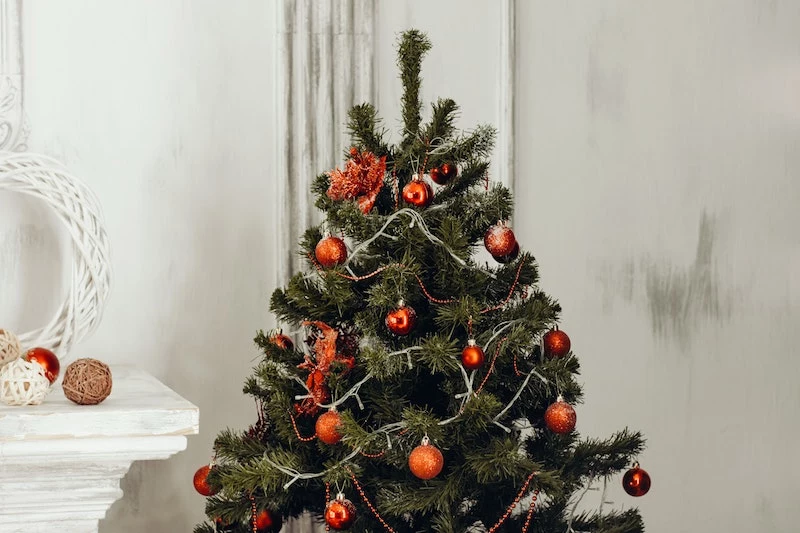
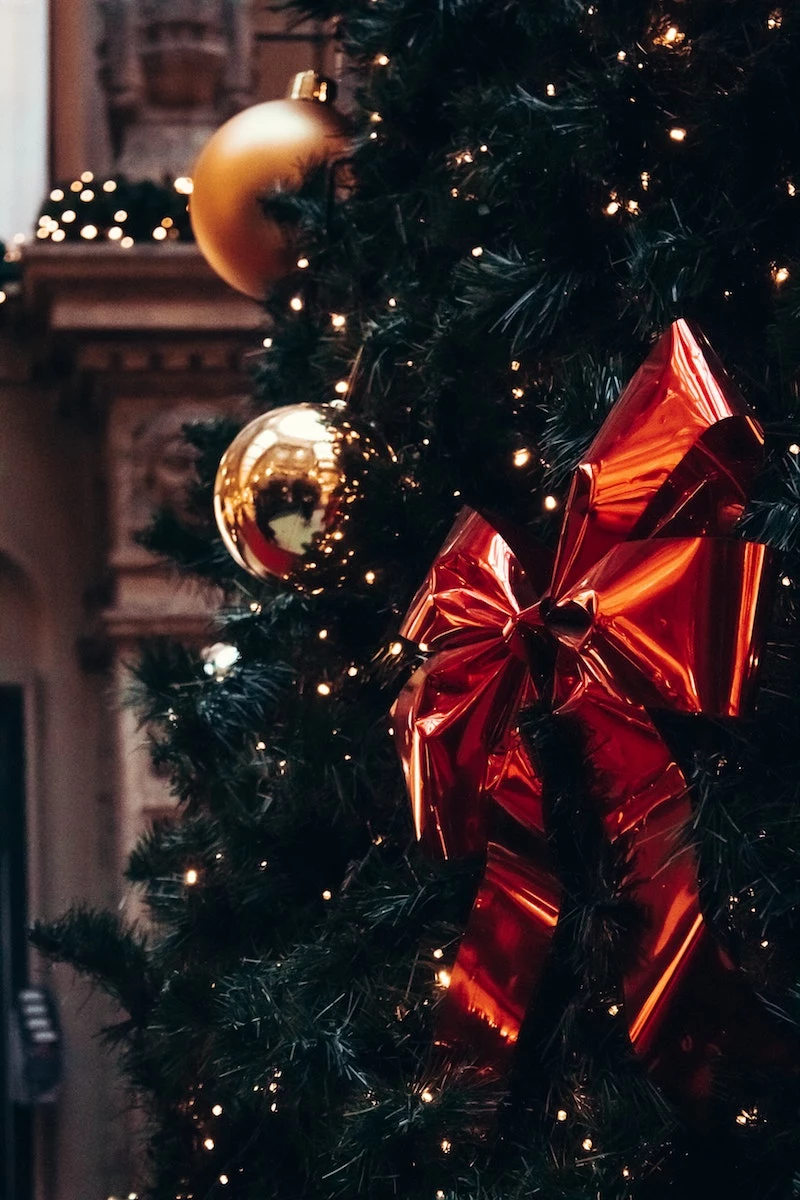
A bow’s style can define your tree’s entire personality. A red and black buffalo check flannel ribbon instantly evokes a cozy, cabin-in-the-woods feel. A shimmering, wide silver lamé ribbon suggests winter wonderland glamour. And a classic red velvet bow? It’s pure nostalgia, a direct line to the magic of Christmases past. Before you start, ask yourself what story you want your tree to tell.
Where do you find great ribbon without the craft store markup?
Think outside the box. Wholesale floral supply stores are a fantastic resource, often selling high-quality, wide-wired ribbon by the 50-yard spool at a great price. Online retailers like Nashville Wraps or Paper Mart offer bulk discounts on professional-grade ribbon. And don’t forget post-holiday clearance sales—stock up on timeless metallics and velvets for next year at a fraction of the cost.
The number one rule for a lush, full bow is surprisingly simple: use more ribbon than you think you need. For a standard tree topper, you’ll want at least 5 to 7 yards of ribbon. It might seem like a lot on the spool, but once you start creating multiple loops (aim for at least 8-12 for a good size) and leaving long, cascading tails, you’ll see it gets used up quickly. It’s always better to have extra to trim than to end up with a sparse, underwhelming bow.


