After years of running art workshops for little ones, I can tell you one thing for sure: the goal isn’t to create a perfect-looking paper plate owl for the fridge. Honestly, it’s not. The real magic is in the process. It’s the determined look on a kid’s face when they’re figuring out glue, the squish of paint between their fingers, and the satisfying snip of scissors through paper. It’s about building a brain, not just a craft.
So, let’s forget the pressure of making something that looks like it came from Pinterest. This is about guiding your child through exploration. We’re going to dive into the ‘why’ behind the fun, some pro-level tricks I use to manage the chaos, and how to pick activities that actually help their development. The real goal here is to raise a curious and confident little person through the simple joy of making stuff.
Why This ‘Playtime’ Actually Matters
It’s easy to write off arts and crafts as just a way to kill an afternoon, but it’s so much more. From an educator’s standpoint, this is a heavy-duty workout for a child’s brain and body. Every single action, from scribbling with a crayon to tearing paper, is building critical pathways for learning.
Building Hand Skills, One Squiggle at a Time
The most obvious win here is fine motor skills—those small, precise movements in the hands and wrists. These are the skills that let a child eventually tie their own shoes or write their name. Art is basically a playground for their hands.
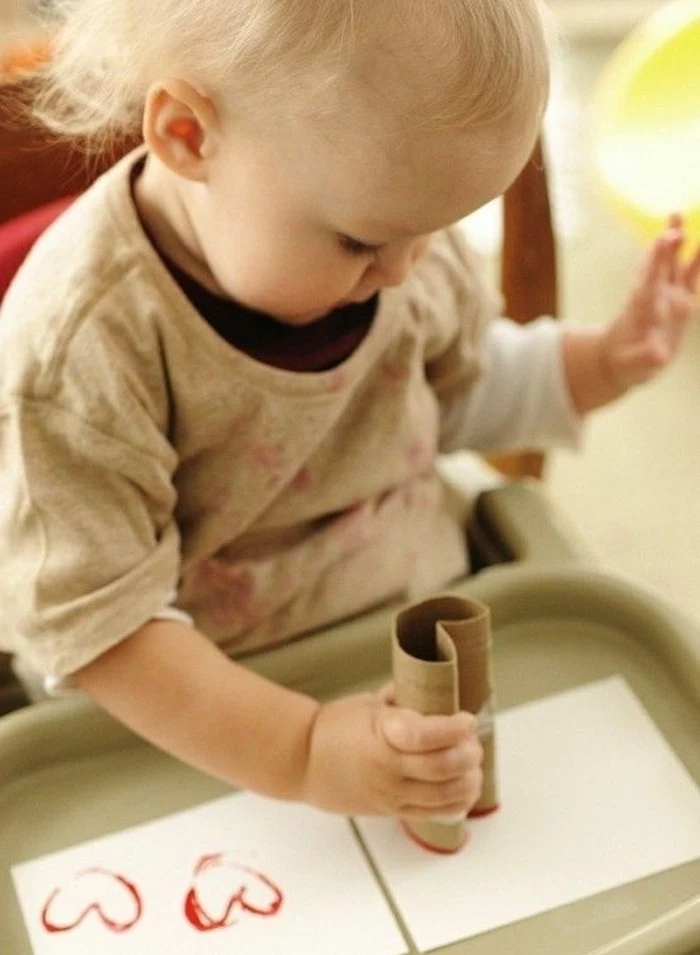
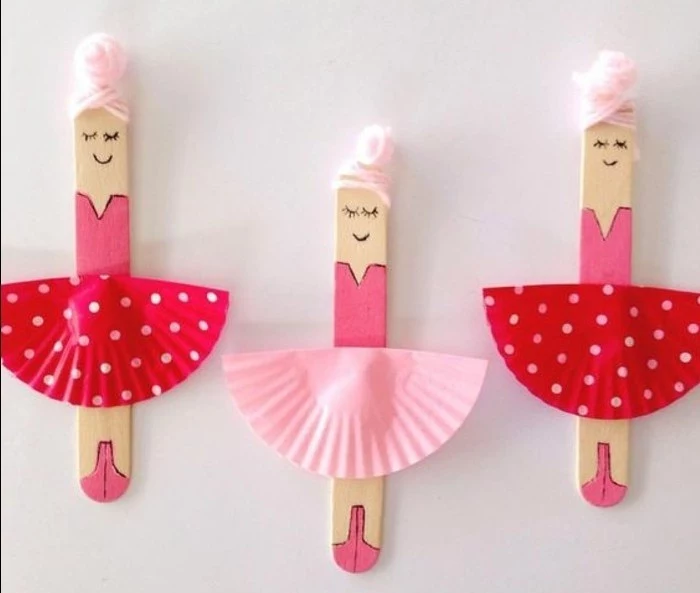
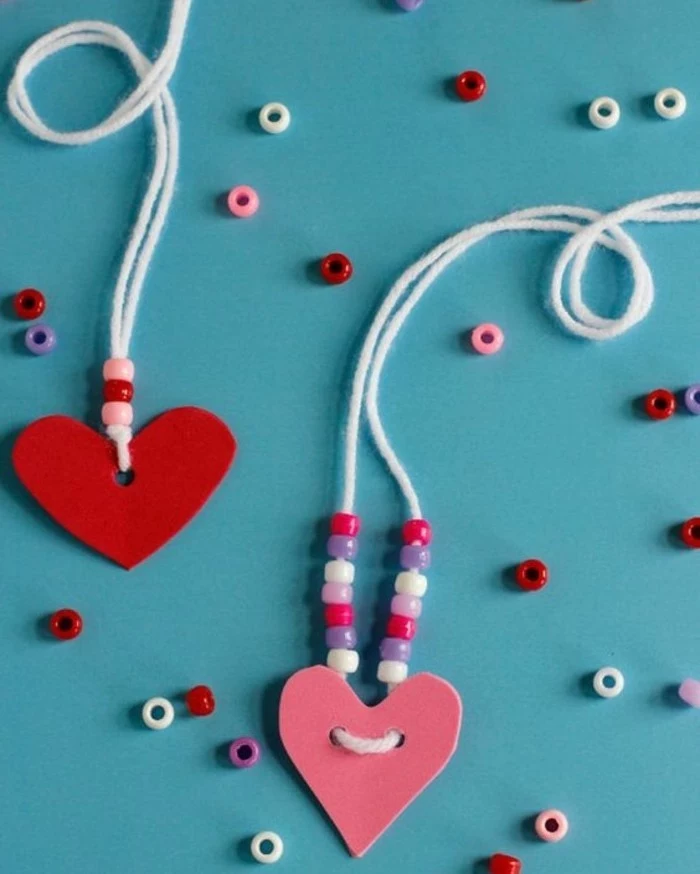
You’ll see a natural progression. First, a toddler will grab a fat crayon with their whole fist. That’s the palmar grasp, and they use their whole arm to make big marks. Activities like finger painting or scribbling with chunky sidewalk chalk are perfect for this stage. As they gain more control, they’ll start picking up small things between their thumb and forefinger—the pincer grasp. This is a huge milestone! Tearing paper for a collage or trying to put beads on a string are fantastic for developing this skill. Eventually, this all leads to the tripod grip, where they hold a pencil or brush correctly. Pushing this too early just leads to frustration. Trust me.
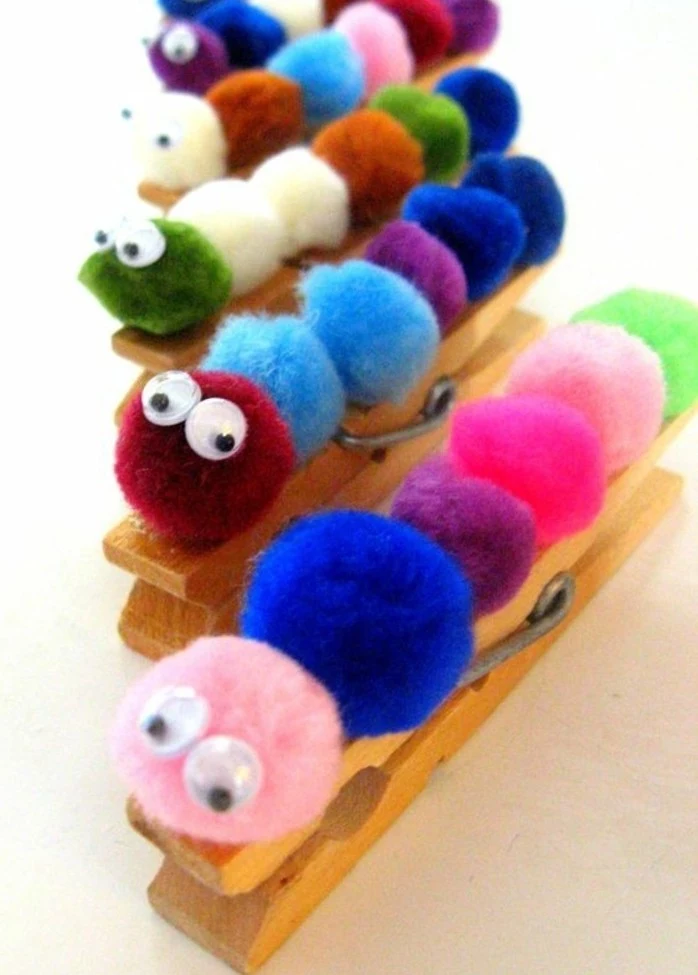
Quick tip: Before you even worry about holding a pencil, build their hand strength with games. Squeezing play-dough, using a little spray bottle with water, or even picking up pom-poms with clothespins are amazing for this. It makes holding a pencil feel natural later on, not like a chore.
The Brain’s Balancing Act
Ever notice how a child holds the paper with one hand while cutting with the other? That’s called bilateral coordination, and it’s a big deal. It’s the brain learning to make both sides of the body work together. The same thing happens when they’re threading a piece of yarn through a hole or holding a glue bottle steady while aiming the tip.
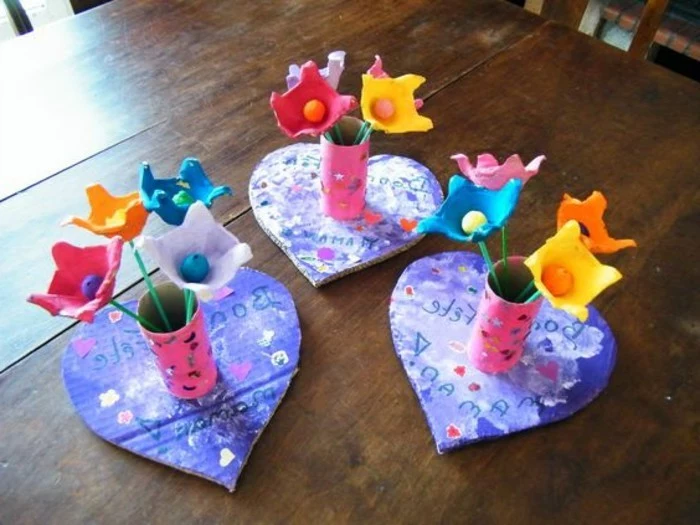
This is all tied to spatial awareness. I once watched a little kid spend ages trying to glue a cardboard tube ‘smokestack’ onto a box ‘boat’. It just kept falling over. After a lot of trial and error, he figured out that if he cut little slits in the bottom of the tube and fanned them out, it created a stable base. That wasn’t just a craft; that was a kid discovering a core principle of engineering all on his own.
Setting Up for Success (And an Easy Cleanup!)
A great art session is all about the prep. If you set up the right way, you can create what I call a ‘yes’ space—an area where you don’t have to constantly say “No, don’t do that!” It saves your sanity and lets your kid explore without fear.
Creating Your ‘Yes’ Space
Protect Your Surfaces. Forget newspaper—the ink can transfer, and it turns into a soggy mess. The best investment I ever made was a cheap vinyl tablecloth from a dollar store or Target, probably cost me $2-$3. They’re waterproof, last for months, and you can just wipe them clean. A plastic shower curtain liner works great, too.
Master the Paint. Never, ever hand a young child a full bottle of paint unless you want a modern art installation on your floor. Instead, I use an old muffin tin. Just pour a small, quarter-sized dollop of each color into the cups. It limits waste and, most importantly, keeps the colors from instantly turning into a single shade of brown.
Control the Glue. Liquid glue can be a nightmare. The secret? Pour a little puddle of white school glue onto a recycled plastic lid and give them a Q-tip or a popsicle stick to apply it. This gives them way more control. Glue sticks are fine for paper, but teach them that for heavier stuff like buttons or googly eyes, they need ‘dot glue’.
Rinse Without Spills. One tall jar of water is just asking to be knocked over. I use two or three short, wide, heavy-bottomed jars (like old salsa or pickle jars). One is for the first dirty rinse, and the second is for a cleaner rinse. This system dramatically cuts down on spills.
My Sanity-Saving 10-Minute Cleanup Routine
Okay, the fun is over, and it looks like a paint factory exploded. Don’t panic. Here’s how you tackle it:
First, take any big blobs of paint or glue and scrape them directly into the trash can with a paper towel or a craft stick.
Next, carefully fold your vinyl tablecloth inward, containing the mess, and carry it over to the sink for a quick rinse and wipe-down.
The muffin tin and brushes get a rinse. Since you only used a little paint, this takes seconds.
That’s it. The whole process takes less than 10 minutes, and because you prepped, there’s no scrubbing involved.
A Quick Word for the Kid Who HATES Mess
By the way, what if your child can’t stand the feeling of paint on their hands? It’s more common than you think, and you don’t have to skip art. The key is to provide a buffer.
Offer tools with long handles, like foam rollers or long-handled brushes, so their hands stay far from the paint. You can even try letting them wear thin disposable gloves. Sometimes, just having the option is enough to make them feel safe. There are also plenty of ‘clean’ activities that build the same skills: using stickers, drawing with crayons or colored pencils, and using tools (not hands) with play-dough are all fantastic options.
My Go-To Activities for Building Skills
Instead of focusing on a specific craft, I think about the skill I want to build. The activity is just the fun way to get there. Remember, for a three-year-old, focusing for 15-20 minutes is a massive win! The setup and cleanup might take longer than the art itself, and that is completely normal.
For Hand Strength: Homemade Play-Dough. Store-bought is fine, but homemade is cheap and you control the ingredients. My no-fail recipe: Mix 1 cup flour, 1/2 cup salt, and 2 tsp cream of tartar. Separately, heat 1 cup water, 1 tbsp oil, and some food coloring until warm. Pour the wet into the dry and stir until a dough forms, then knead for a few minutes. The squishing, rolling, and pinching is an incredible workout for little hands. Good to know: This will last for a few weeks if you store it in an airtight container or a Ziploc bag in the fridge.
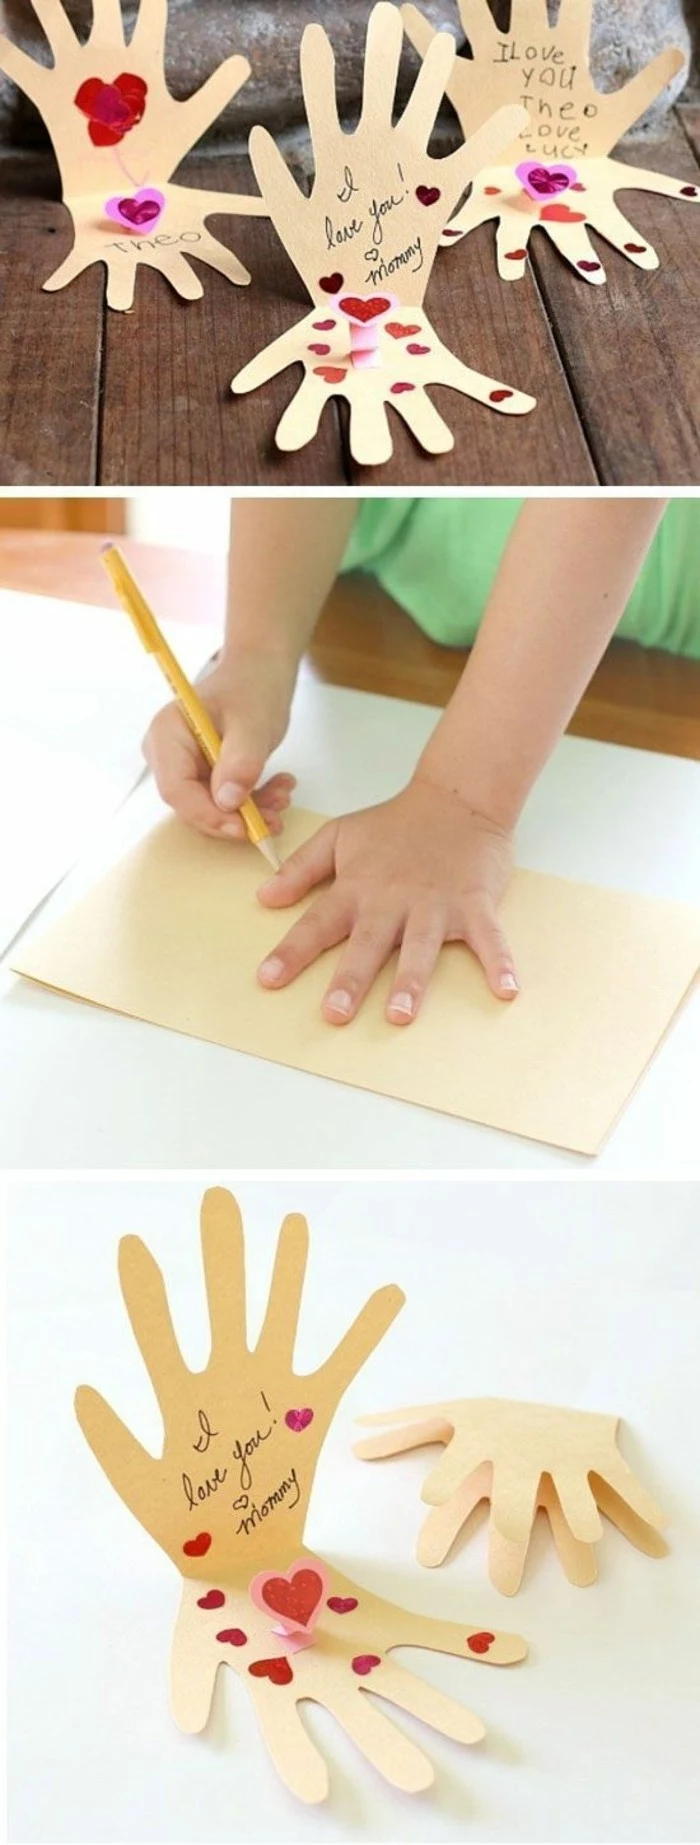
For Pre-Scissor Skills: Paper Tearing. Before they even touch scissors, have them tear paper. It builds hand strength and coordination. They can tear strips, then tear those strips into tiny pieces. Then, use those pieces to make a beautiful mosaic collage.
For Scissor Practice: A Step-by-Step Approach. Learning to cut is a process. Start by having them snip the edge of a 1-inch wide strip of paper to make a fringe. Once they get that, have them cut all the way across the strip. Then, draw thick straight lines for them to follow, then wavy lines, and finally simple shapes. A heads-up: Circles are actually the hardest shape to cut, so save those for last.
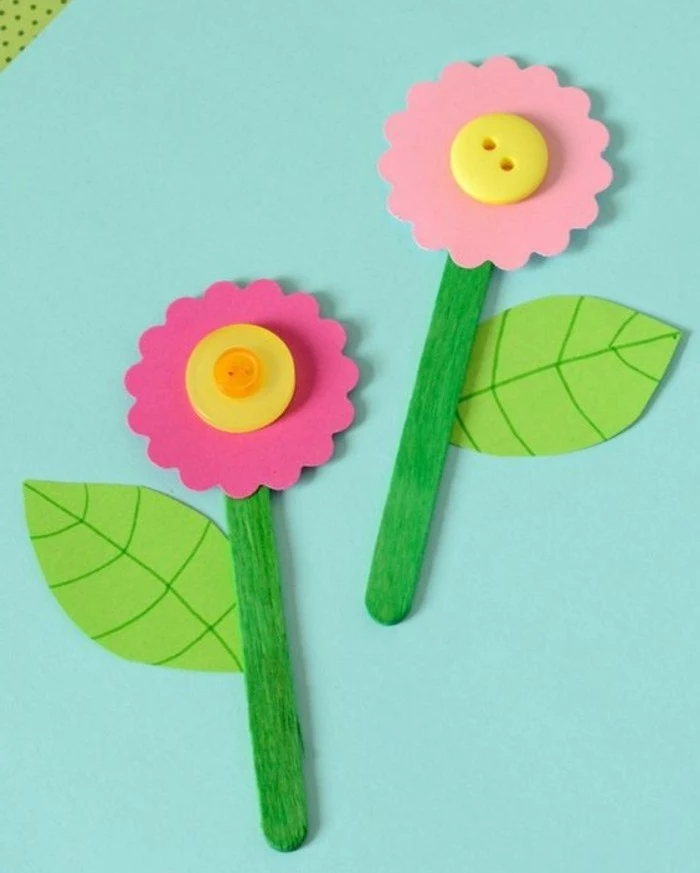
For Gluing Control: Found-Object Collage. Grab a piece of cardboard and offer a tray of interesting bits: fabric scraps, pasta, leaves, yarn, bottle caps. Using the glue-on-a-lid method, let them explore sticking different textures together. It’s a sensory experience and a lesson in control.
Okay, But What Do I Do With All This Art?
Let’s be real, you’re going to be drowning in masterpieces. You can’t keep everything, but tossing it can feel wrong. Here are some practical ideas:
Create a Rotating Gallery. Use a corkboard or just a string with clothespins to display a few favorite pieces. Swap them out every week or two. This shows your child you value their work without overwhelming your home.
Start a Portfolio. Get a simple art portfolio or even just a large binder. Every month, let your child pick one or two favorite pieces to save. It’s amazing to look back on their progress over the years.
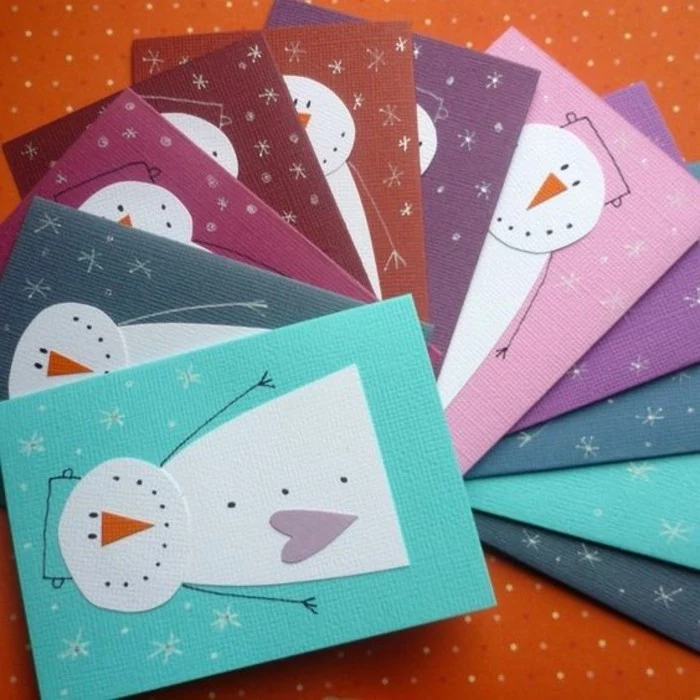
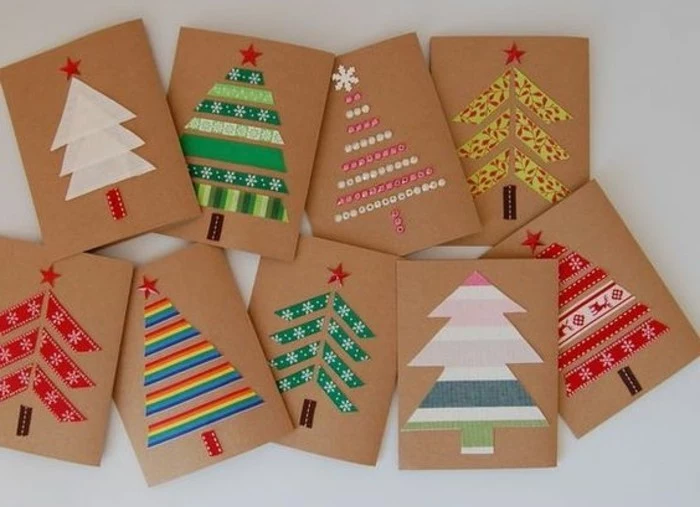
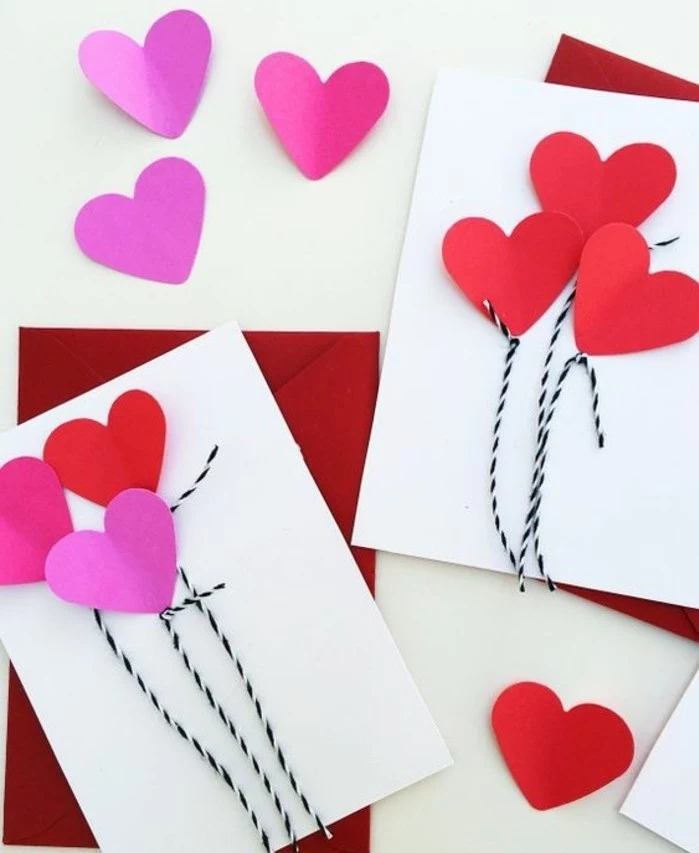
Repurpose It! A beautiful, abstract painting can make great wrapping paper for a grandparent’s birthday gift. You can also cut pieces up to use as greeting cards.
Take a Picture. For the larger, three-dimensional sculptures that you just can’t store, take a good photo of your child proudly holding their creation. Sometimes the photo is all you need to keep the memory.
The Grown-Up’s Role: How to Be a Great Art Guide
Your job isn’t to be an art teacher; it’s to be a safe and encouraging guide. That boils down to three things: keeping them safe, providing the stuff, and knowing how to talk about their work.
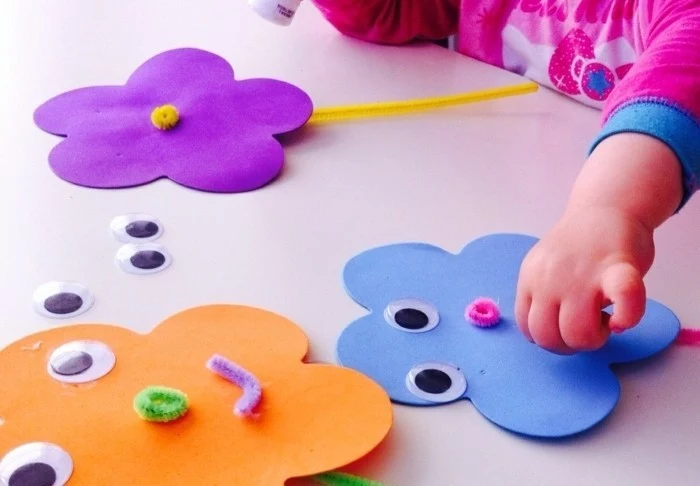
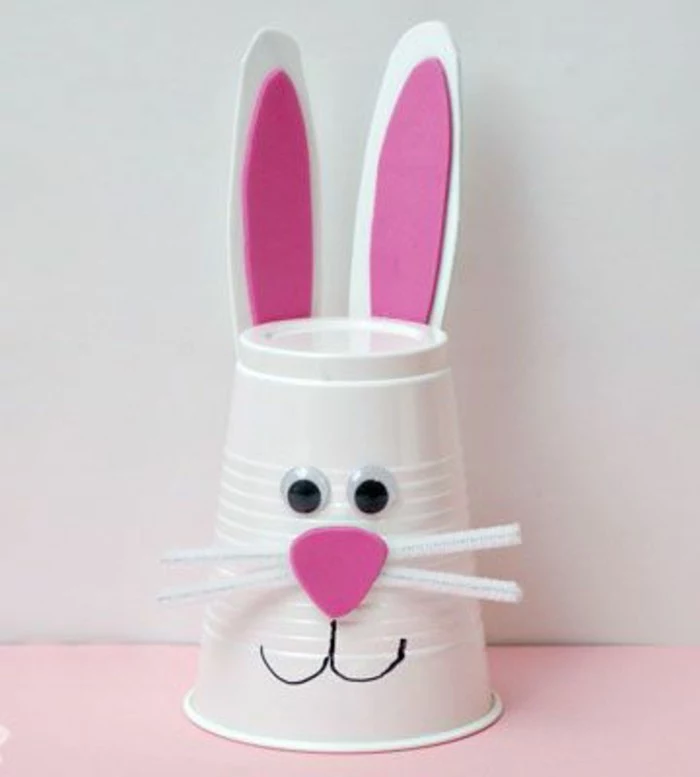
First, safety is everything. Always use non-toxic, child-safe materials—look for the AP (Approved Product) seal on labels when you’re at Michael’s or shopping online at places like Discount School Supply. And a simple rule of thumb: if an object is small enough to fit through a toilet paper tube, it’s a potential choking hazard for kids under three. Use things like beads or googly eyes only with very close supervision.
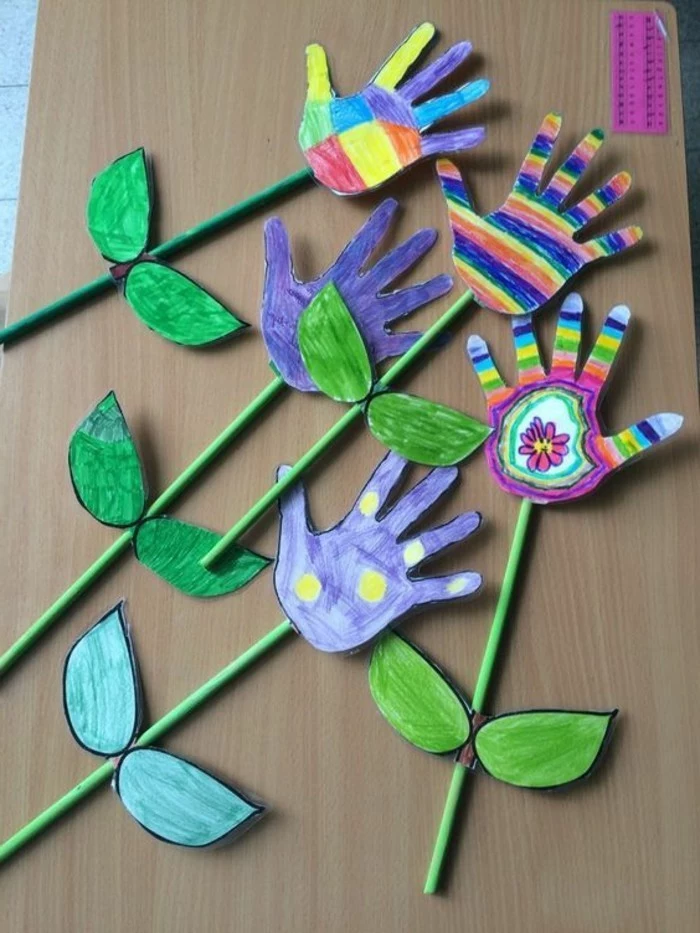
Second, resist the urge to “fix” their work. It’s so tempting to show them the “right” way to draw a sun, but that sends the message that their way is wrong. Let them make a purple sky and a square sun.
Finally—and this is the most important part—learn how to talk about their art. The dreaded question, “What is it?” can actually shut a child down, because they might not have been trying to make anything specific. Instead, try these open-ended comments:
“Wow, tell me about this part right here.”
“I see you used a lot of red. That makes it feel so energetic!”
“Look at all the different lines you made—some are long and some are short.”
“How did you get the texture to look so bumpy?”
These kinds of observations open up a conversation and show you’re paying attention to their effort, not just demanding a result. When a child gets to say, “I did this all by myself,” the confidence they feel is worth more than any perfect craft in the world.
Inspiration Gallery
Consider dedicating a small corner or a rolling cart as a permanent ‘Creation Station.’ Stock it with basics like paper, crayons, and washable markers. Having supplies visible and accessible empowers kids to start creating on their own, turning artistic expression into a daily habit rather than a special, scheduled event.
A vinyl tablecloth or an old shower curtain under the high chair or table.
An oversized old t-shirt as a dedicated art smock.
A pack of unscented baby wipes for instant cleanup of hands and surfaces.
A spray bottle with water for reactivating dried-up washable paints.
The secret to stress-free art time? Being prepared for the inevitable mess.
More than 75% of brain growth occurs after a child is born. Sensory play, like squishing playdough or finger painting, builds nerve connections in the brain’s pathways.
This isn’t just about feeling different textures; it’s literally building the architecture for all future learning. When a child explores with their senses, they are laying the groundwork for more complex cognitive tasks down the road.
How do I display all this art without my fridge looking like a chaotic mess?
Try a gallery wire! String a length of picture wire or simple twine across a wall and use clothespins or mini bulldog clips to hang the latest masterpieces. It creates a rotating gallery that feels intentional and celebratory. You can easily swap out older pieces for new ones, teaching your child about curating their work.
Crayola Washable Paint: A classic liquid paint, perfect for finger painting, brushwork, and mixing colors. Its major advantage is how easily it washes out of clothes, making it a parent-favorite.
Kwik Stix Solid Tempera Paint: These look like glue sticks but are filled with vibrant, quick-drying paint. They offer a mess-free alternative, glide smoothly on paper, and are great for younger toddlers who aren’t ready for brushes and water cups.
For beginners, Kwik Stix are fantastic for building confidence. For exploring color mixing, nothing beats the classic Crayola liquid.
Improved focus and longer attention spans.
Enhanced problem-solving skills.
A feeling of ownership and pride in their work.
The trick? It’s called an
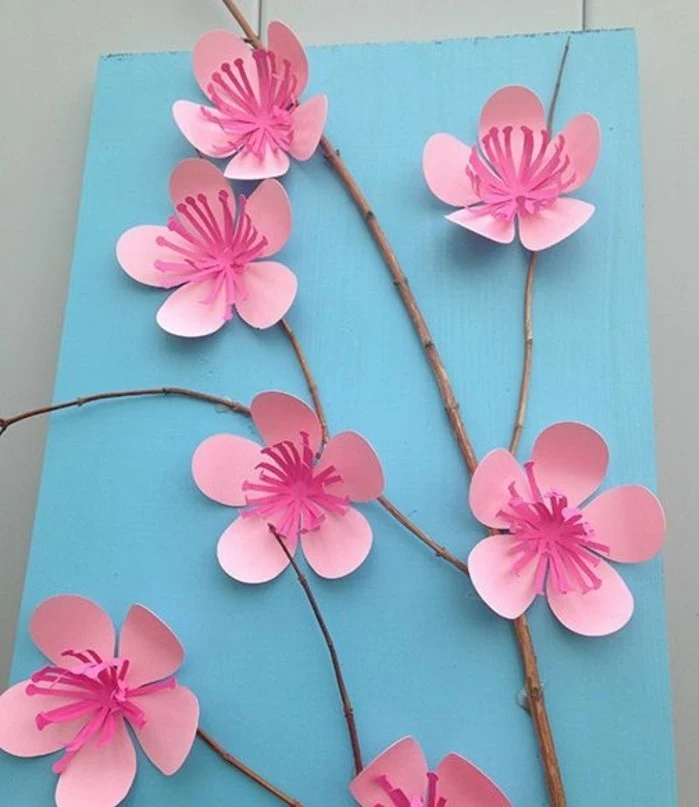
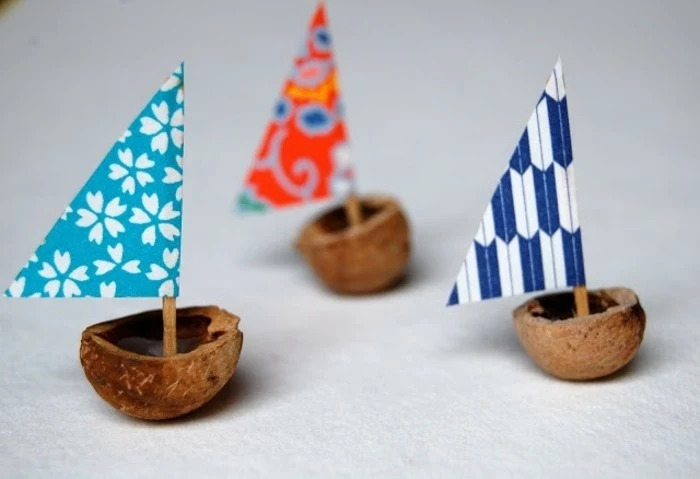
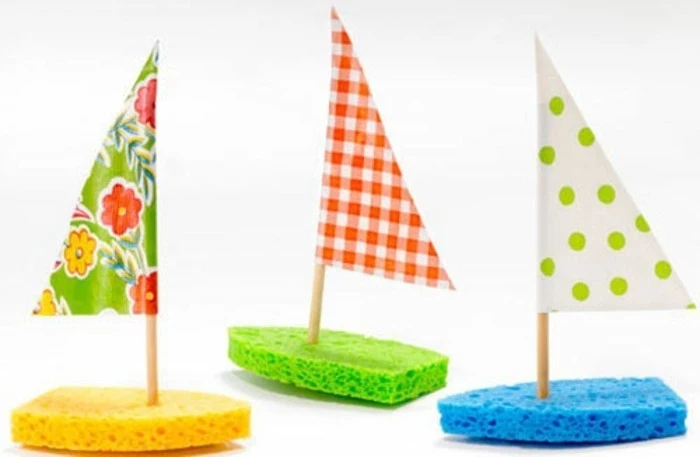
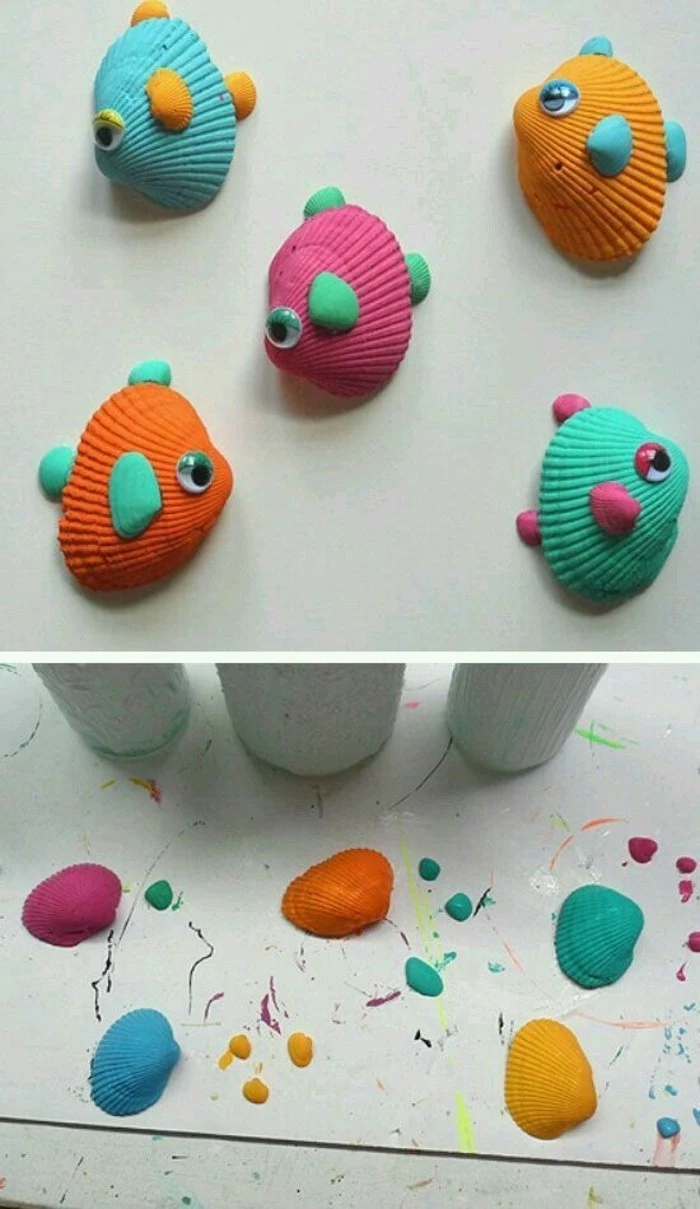
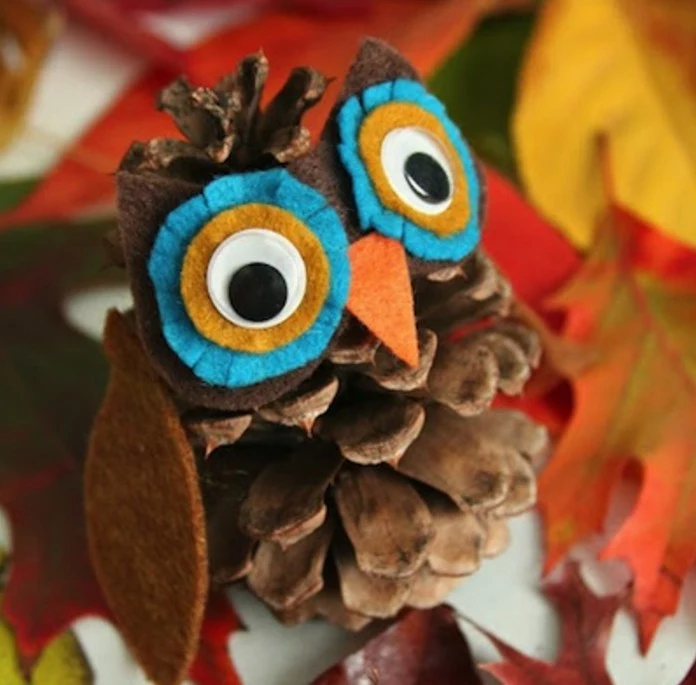
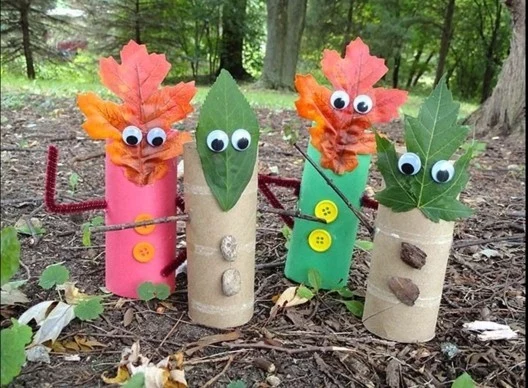
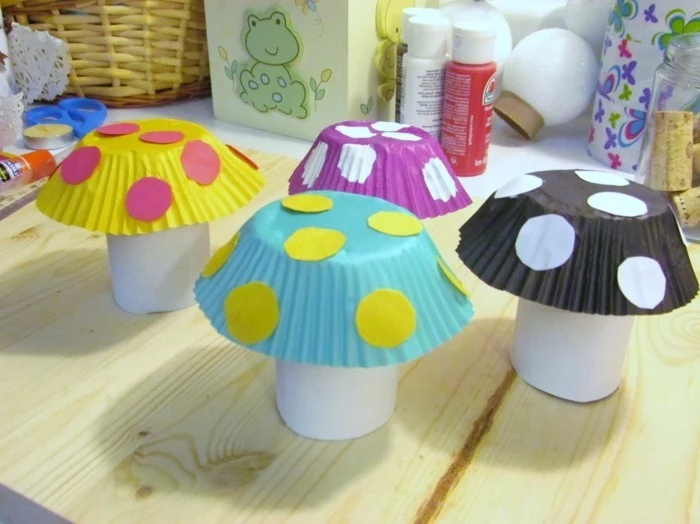
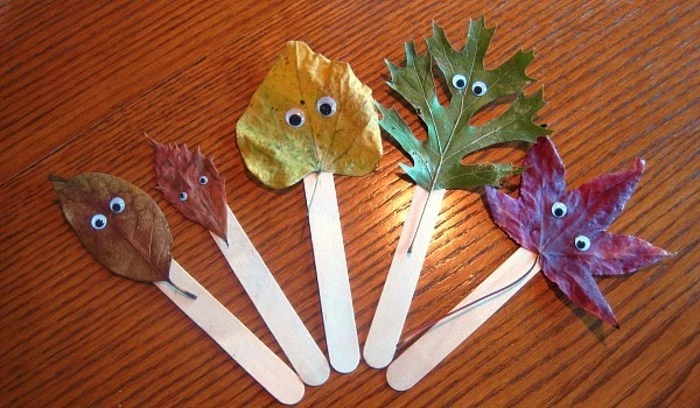
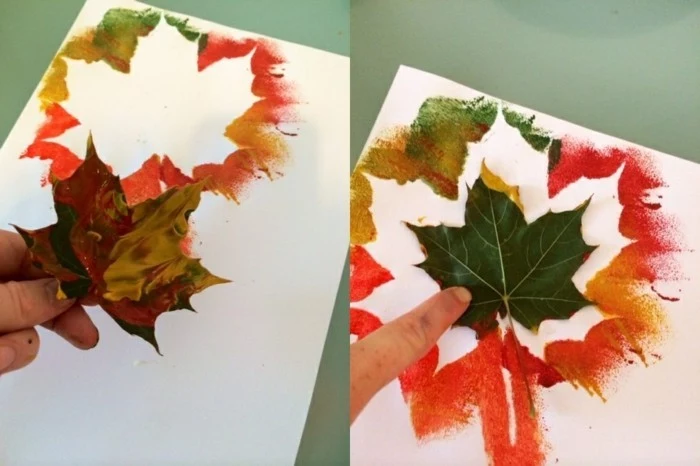
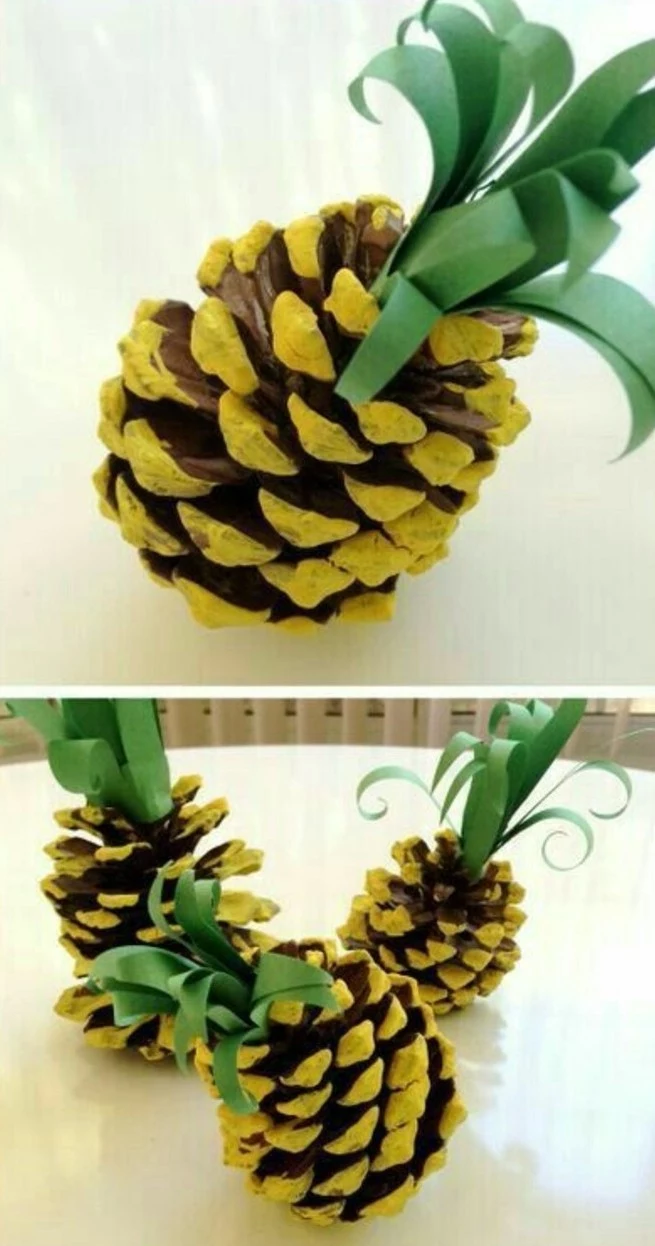
Think beyond paper. A simple walk in the park can become a treasure hunt for art supplies. Pinecones make excellent bases for little creatures, fallen leaves are perfect for rubbings or stamping, and smooth stones become tiny canvases for paint pens. This connects children to the natural world and teaches them that art can be made from anything.
“The role of the educator is to provide the child with intelligent materials, and then allow the child to use his or her own logic and intelligence in the exploration.” – Magda Gerber, Early Childhood Educator
The single most important phrase you can use:
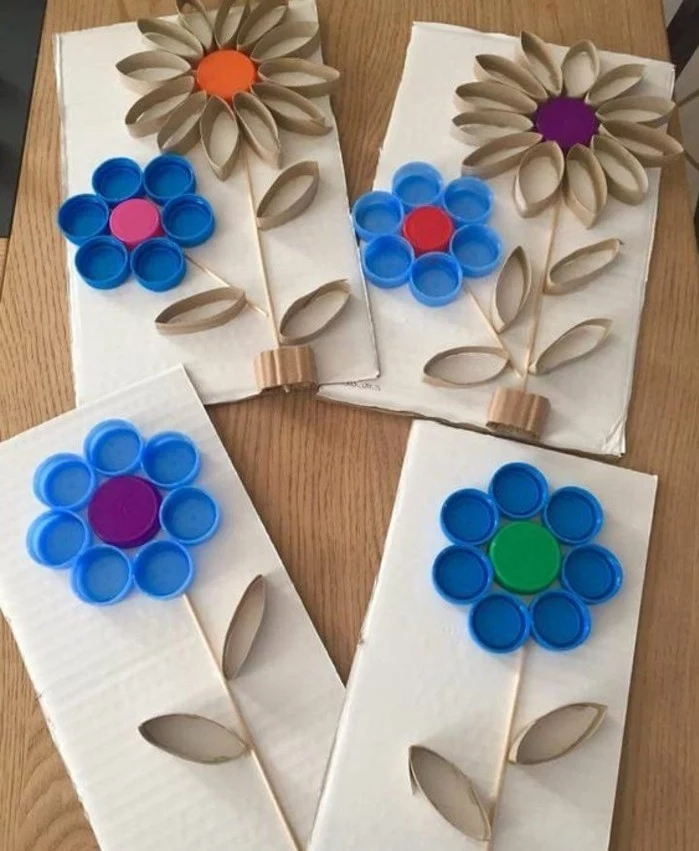
Many of the most engaging art projects come from upcycled materials. Here’s a quick list to start collecting:
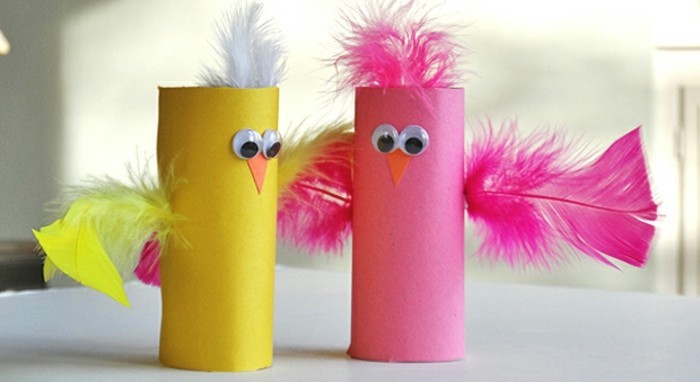
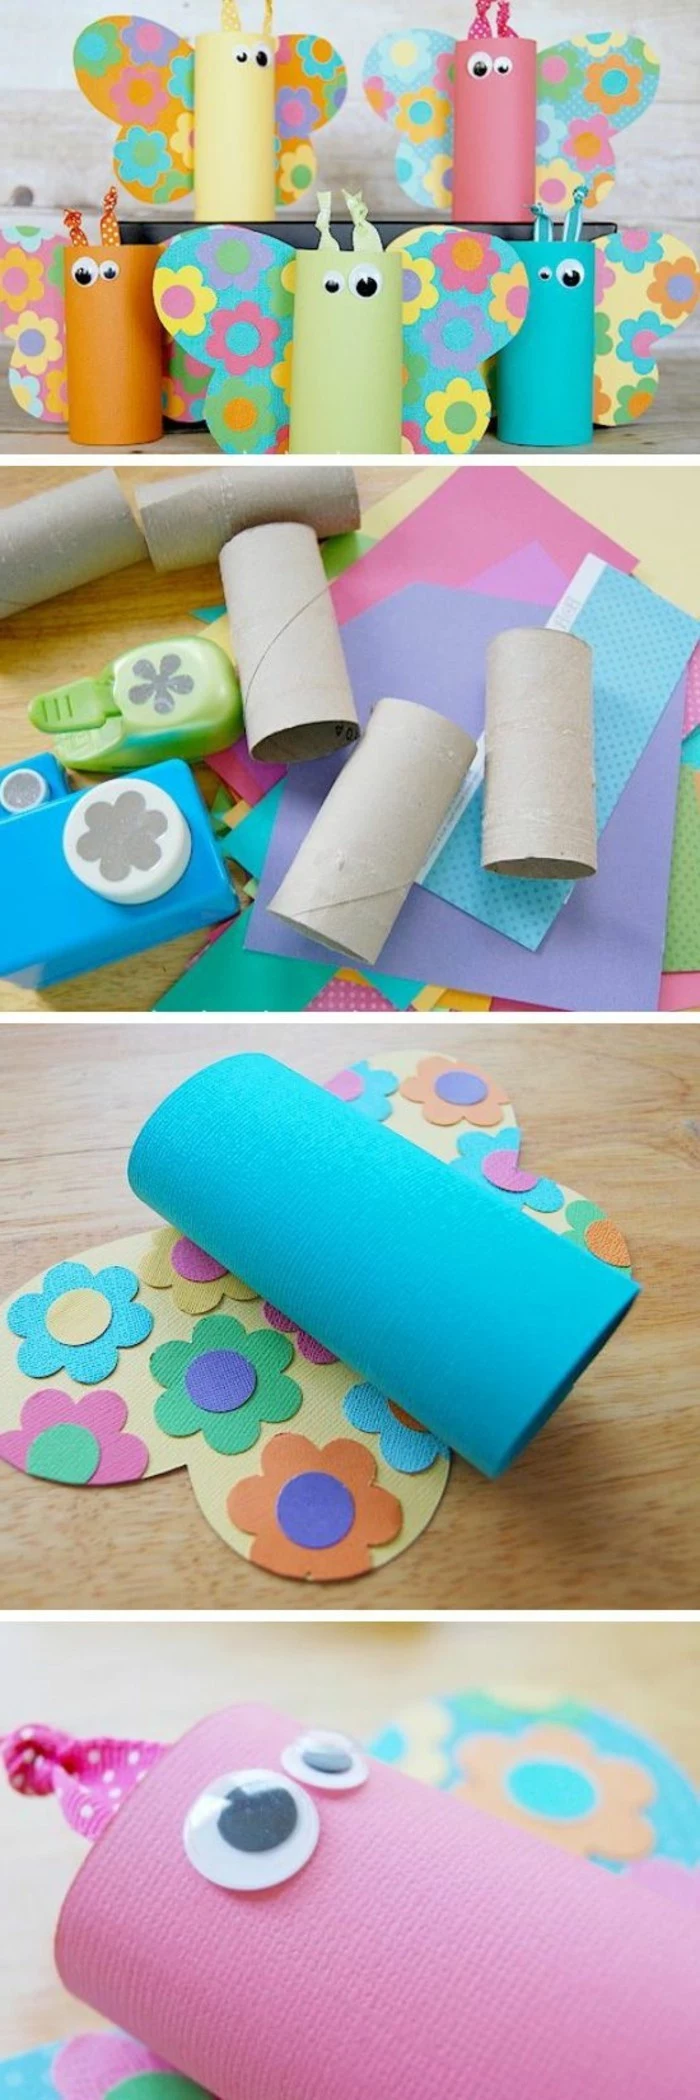
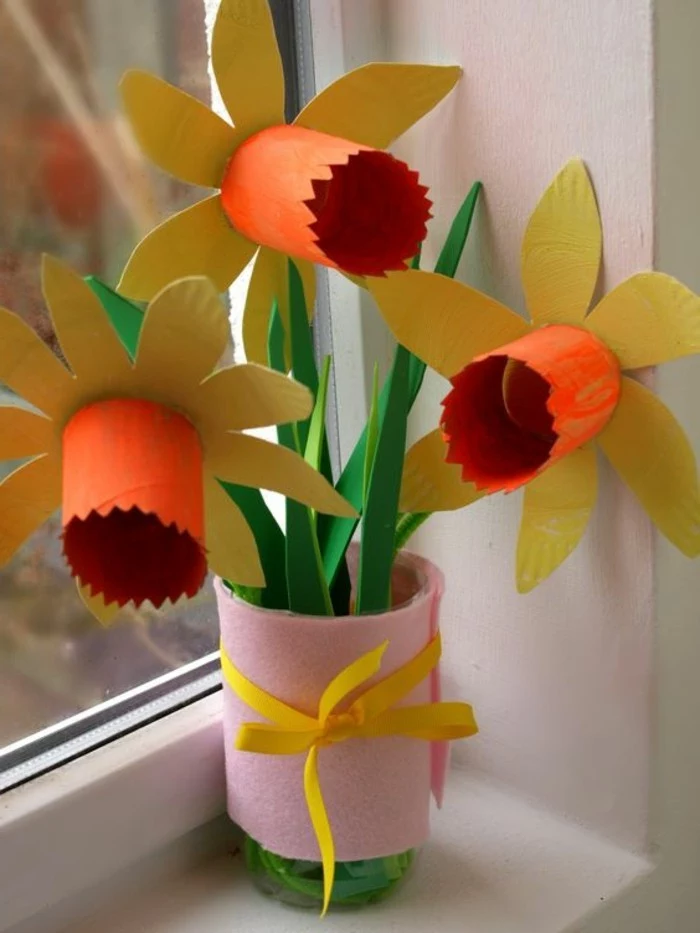
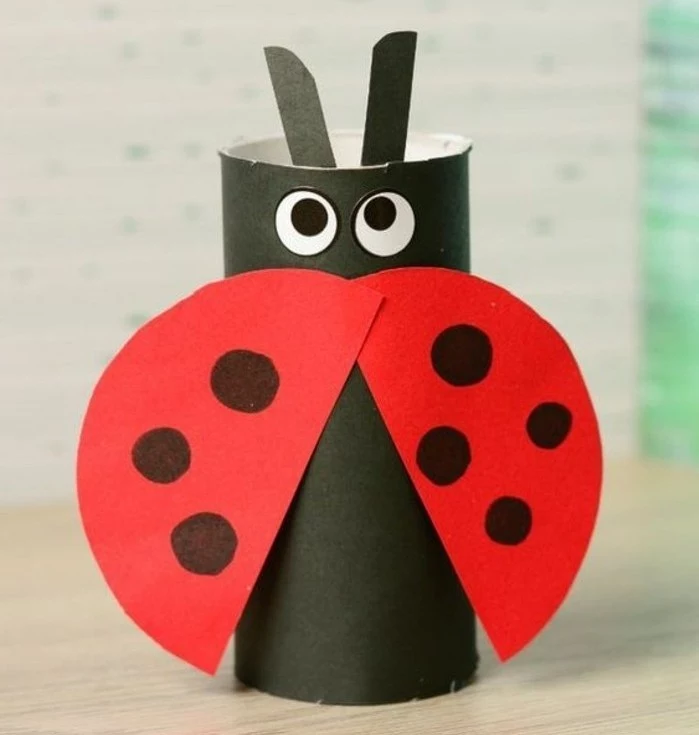
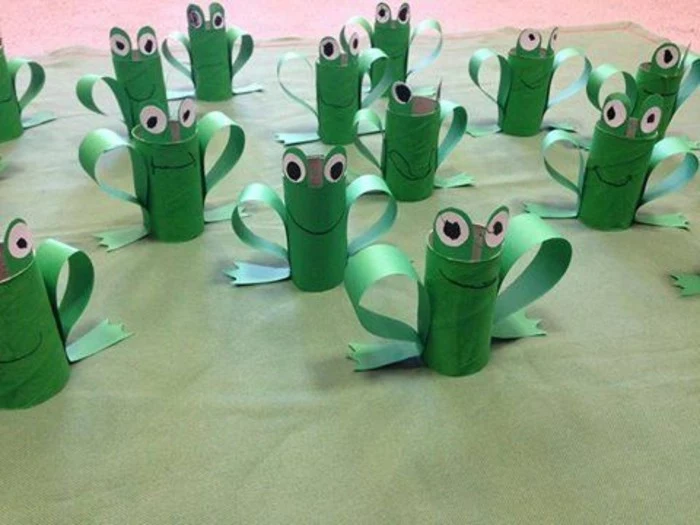
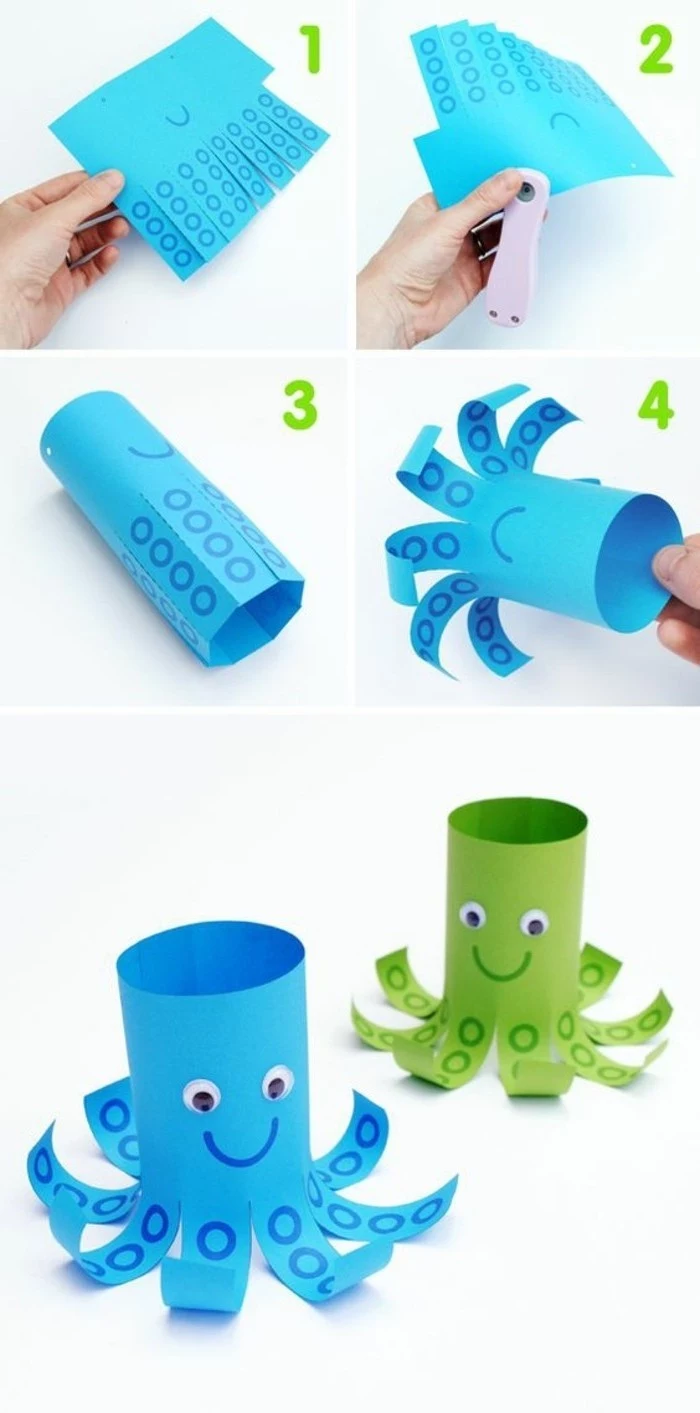
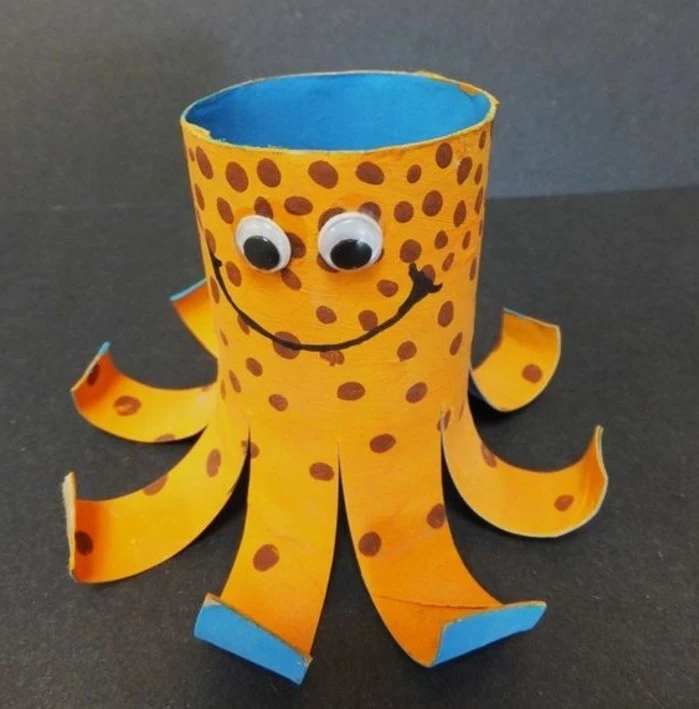
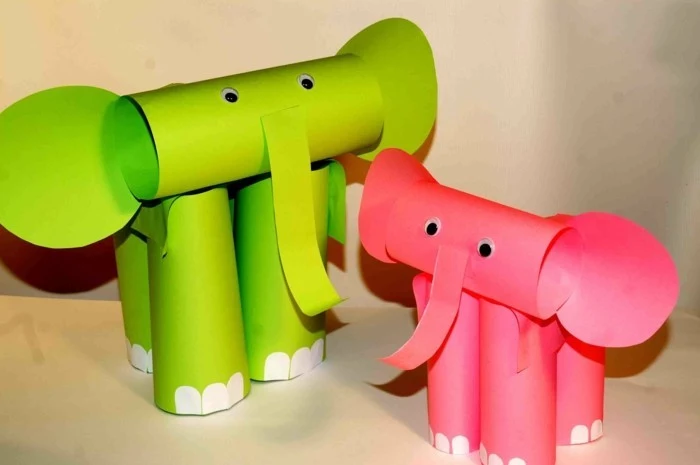
Cardboard tubes: From toilet paper or paper towels, they become binoculars, castle towers, or animal bodies.
Plastic bottle caps: Perfect for creating mosaics, wheels on a cardboard car, or tiny stamps.
Old magazines and catalogues: A limitless source for collage materials. Snipping out colors, textures, and images is excellent scissor practice.
Styrofoam trays: Cleaned well, they become a great surface for printmaking. Just etch a design with a pencil and roll with paint.
My child only wants to use one color and scribbles everywhere. Are they learning anything?
Absolutely! This is a vital stage of exploration. A child obsessing over the color blue is learning about intensity, pressure, and how that one color looks on different surfaces. Seemingly random scribbles are the very first steps in mark-making, building the muscle memory and hand-eye coordination needed for writing later on. Embrace the scribble!
A study from the University of Kansas found that the number of words a child hears by age 3 is a major predictor of their academic success and IQ at age 9. Describing their art—the colors, the shapes, the story—is a powerful vocabulary builder.
A good glue is a game-changer for little hands. Forget runny white glue that causes frustration. An oversized glue stick, like the UHU Stic or Elmer’s Disappearing Purple School Glue, is perfect. The purple color helps kids see where they’ve applied it, and the chunky stick is easy for a palmar grasp, empowering them to assemble their own creations without constant help.
Small, lidded containers of playdough.
A mini notepad and a few chunky crayons.
A handful of pipe cleaners for sculpting.
A sheet of stickers.
This simple, screen-free entertainment kit, stored in a zip-top bag or a small pencil case, can be a lifesaver during waits at restaurants or in the doctor’s office, turning idle time into a creative moment.
Play-Doh: Soft, pliable, and comes in vibrant colors. It’s fantastic for squishing, rolling, and simple shapes. However, it can dry out quickly if left uncovered and crumbles when dry, creating mess.
Crayola Model Magic: This material is incredibly lightweight, spongy, and less sticky. It air-dries into a solid, lightweight sculpture that can be painted. It’s less messy but also less pliable for intricate modeling.
For pure sensory play, Play-Doh is king. For creating lasting keepsakes, Model Magic is the winner.
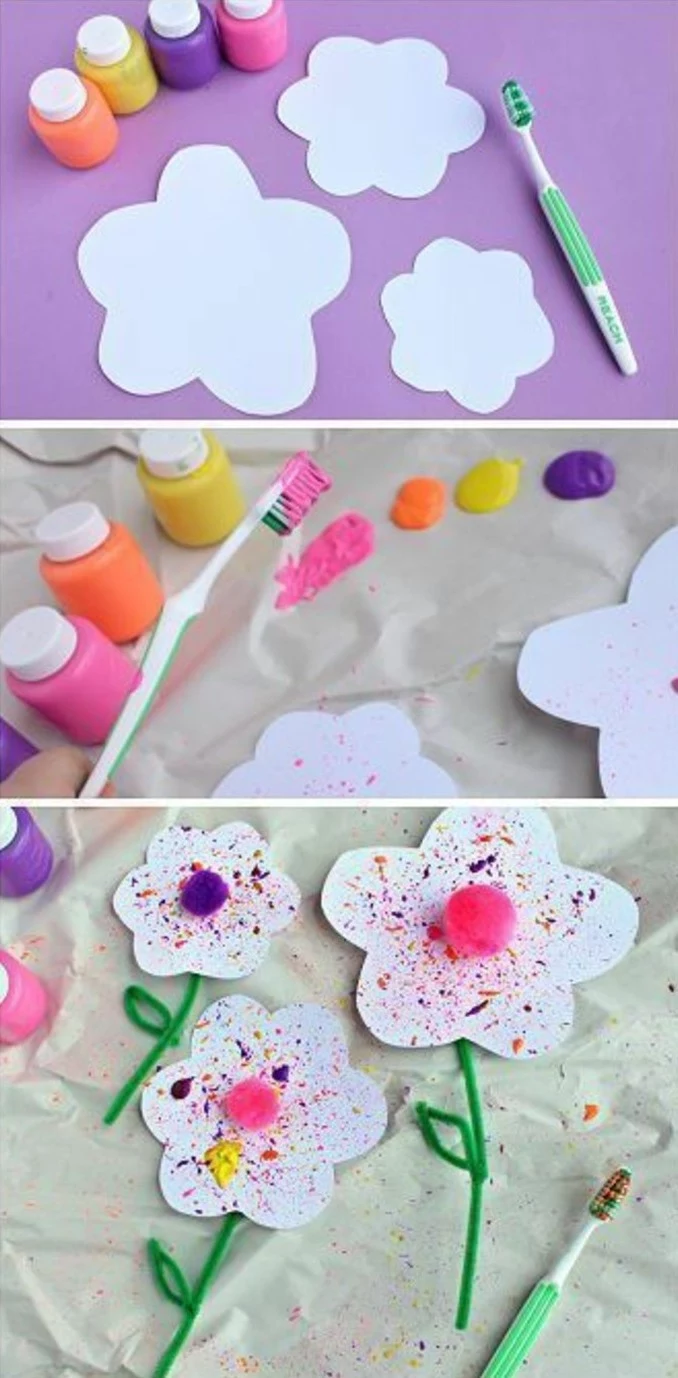
Don’t just stick to brushes! Offering unusual tools can spark incredible creativity and sensory feedback. Try setting out paint with:
Fly swatters for huge, splat-filled textures on a large sheet of paper.
Toy cars to roll through puddles of paint, creating tracks.
Salad spinners to make incredible spin art (put a paper circle inside, add drops of paint, and spin!).
Potato mashers and cookie cutters for stamping unique patterns.
Instead of trying to replicate his complex paintings, introduce your child to Jackson Pollock through action. Lay a large canvas or piece of cardboard on the ground outside, give them cups of watered-down, non-toxic paint, and let them drip, drizzle, and splatter. It’s all about the physical movement and the joy of watching colors interact.
A key mistake: Intervening too quickly. When a child says,
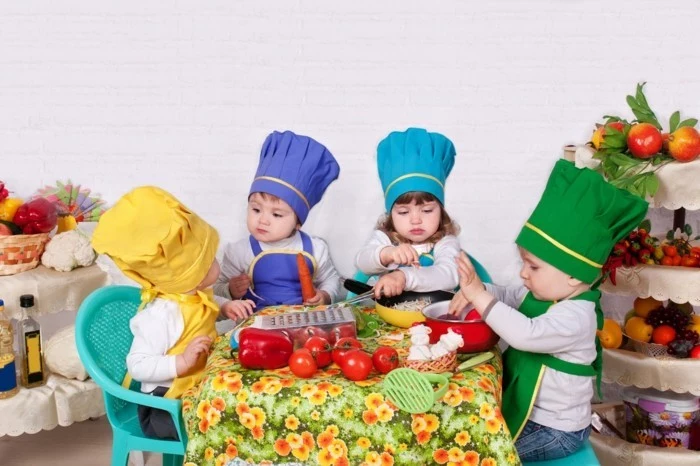
It teaches negotiation and sharing of space and materials.
Kids learn to build on each other’s ideas.
It creates a shared memory and a single, impressive piece to display.
The key is a large-scale project. Roll out a huge sheet of butcher paper on the floor and let siblings, friends, or even parents work on a giant mural together. The final result is a beautiful record of their teamwork.
Ready to try your own art supplies? Making salt dough is a classic for a reason. Simply mix 2 cups of all-purpose flour, 1 cup of salt, and 1 cup of cold water. Knead until smooth. Kids can sculpt with it, and you can then bake the creations at a low temperature (around 200°F or 100°C) until hard. Once cooled, they can be painted and sealed.
Did you know? The concept of
Plastic Safety Scissors: These typically only cut paper and are designed to not cut skin or hair. They are great for the very first introduction to the snipping motion for young toddlers (age 2-3).
Blunt-Nosed Metal Scissors: Brands like Fiskars make excellent blunt-tipped scissors for kids. They offer a much cleaner cut, which reduces frustration, and are essential for developing the proper cutting technique needed for school.
Start with plastic to learn the open-close motion, but move to blunt metal scissors as soon as they show basic control. The satisfaction of a clean cut is a powerful motivator.
Go on a color hunt right in your home. Give your child a basket and a color, say
Even the simplest activities have profound effects. The act of tearing paper, for instance, is a fantastic bilateral coordination workout. The child has to use both hands in different, coordinated ways—one to hold the paper steady, the other to pull and tear. It’s a surprisingly complex skill that builds strength and prepares them for tasks like buttoning a coat.
Fact: Young children often don’t draw what they see, but what they know. That’s why a person might have a head and legs but no torso—in their mind, those are the most important parts! This is a normal developmental stage, not a mistake.
John combines 12 years of experience in event planning, interior styling, and lifestyle curation. With a degree in Visual Arts from California Institute of the Arts and certifications in event design, he has styled luxury weddings, corporate events, and celebrity celebrations. John believes in creating memorable experiences through innovative design and attention to detail.
To provide the best experiences, we use technologies like cookies to store and/or access device information. Consenting to these technologies will allow us to process data such as browsing behavior or unique IDs on this site. Not consenting or withdrawing consent, may adversely affect certain features and functions.
Functional
Always active
The technical storage or access is strictly necessary for the legitimate purpose of enabling the use of a specific service explicitly requested by the subscriber or user, or for the sole purpose of carrying out the transmission of a communication over an electronic communications network.
Preferences
The technical storage or access is necessary for the legitimate purpose of storing preferences that are not requested by the subscriber or user.
Statistics
The technical storage or access that is used exclusively for statistical purposes.The technical storage or access that is used exclusively for anonymous statistical purposes. Without a subpoena, voluntary compliance on the part of your Internet Service Provider, or additional records from a third party, information stored or retrieved for this purpose alone cannot usually be used to identify you.
Marketing
The technical storage or access is required to create user profiles to send advertising, or to track the user on a website or across several websites for similar marketing purposes.