I’ve held a pencil for what feels like a lifetime, both making a living with it and teaching others how to start. And you know the one question that comes up more than any other? It’s not about the fanciest pencil or some secret trick to drawing a perfect circle. It’s much simpler, and honestly, a lot tougher: “What should I even draw?”
So many people think they’re out of ideas. But the truth is, the world is overflowing with things to draw. The real problem isn’t a lack of ideas; it’s not yet knowing how to see like an artist. Your job is to learn how to translate the world in front of you onto the page. That’s the work.
I remember this feeling all too well. I’d sit there, staring at a bright white sheet of paper, totally paralyzed by the pressure to create something incredible right out of the gate. I was frozen. It wasn’t until a mentor of mine put a plain coffee mug on the table and said, “Stop trying to make a masterpiece. Just draw the mug.”
That was it. That was the breakthrough.
It taught me that drawing isn’t some mystical lightning bolt of inspiration. It’s a practical skill you build, just like learning to cook or build a shelf. It comes from patient, repeated practice with the simple, everyday stuff around you. So this guide isn’t a list of cool characters to copy. It’s a look at how to find subjects everywhere and build the skills to draw them with confidence.
First, Let’s Rewire Your Brain: Seeing vs. Looking
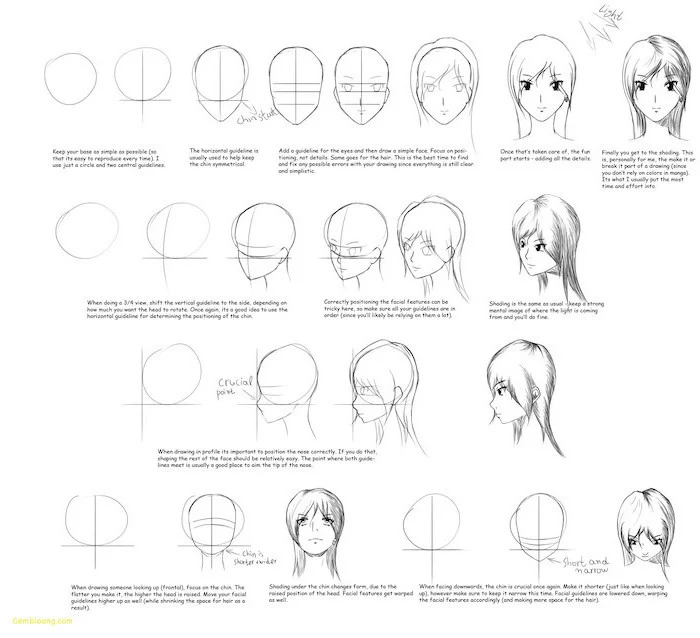
Before a pencil ever makes a great mark, your eye has to do the heavy lifting. This might sound a little weird, but our brains are designed to take shortcuts. When you look at something—say, a chair—your brain instantly tags it: “chair.” Then it stops processing the visual details and just relies on a mental symbol of a chair. It’s super efficient for not bumping into things, but it’s a total roadblock for an artist.
An artist has to learn to shut that part of the brain off. You have to learn to see the world as a collection of lines, shapes, light, and shadow. This is often talked about as shifting from your logical brain to your visual brain. Your logical brain wants to name everything. Your visual brain is happy to just see abstract shapes and how they relate to each other. Every exercise pros use is designed to quiet that noisy, labeling brain and let the visual side take over.
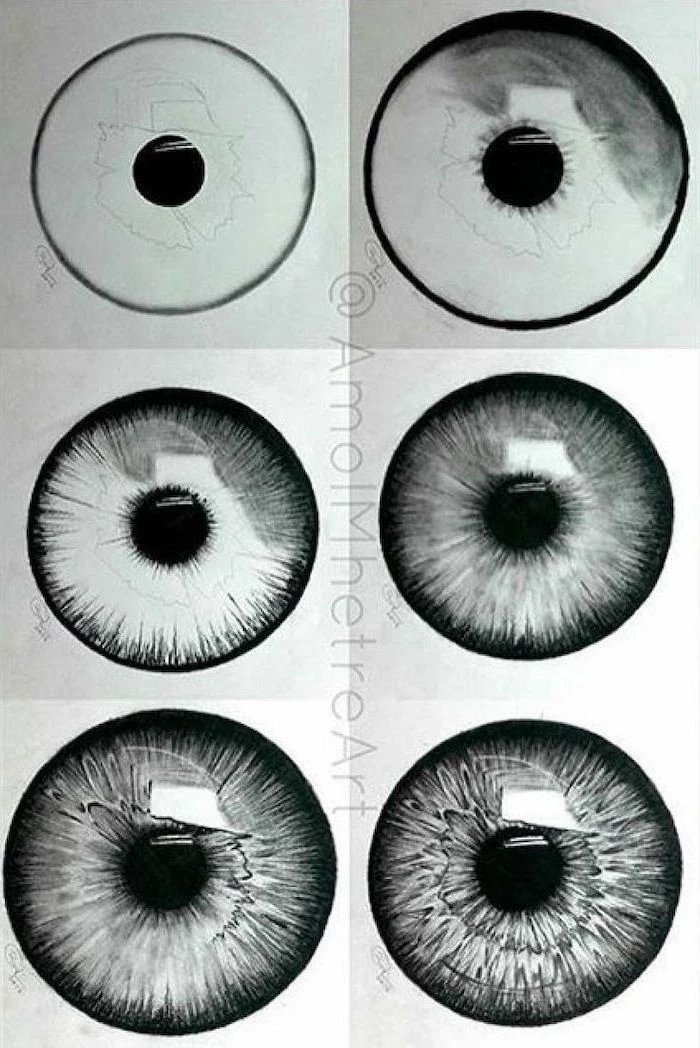
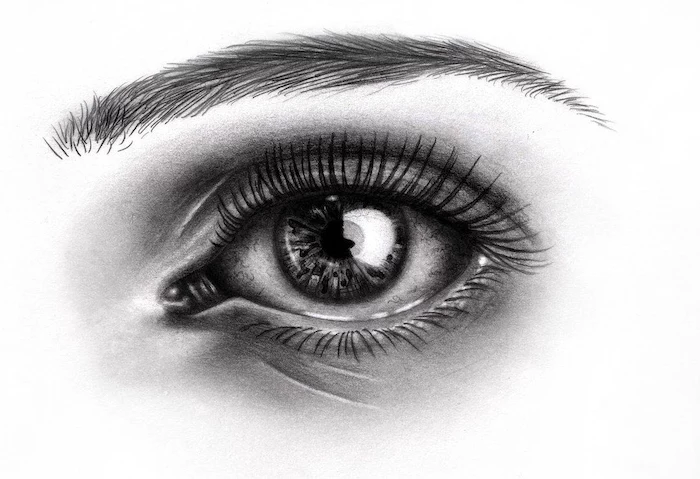
Think about it: a beginner drawing a face will often sketch what they think an eye looks like—an almond shape with a circle inside. They’re drawing the symbol. An experienced artist, on the other hand, sees the gentle curve of the lower eyelid, the exact shape of the light reflecting on the cornea, and the soft shadow the eyebrow casts onto the whole area. They’re drawing what’s actually there. This is the skill you’re building.
Your First Drawing Kit for Under $25
Walking into an art supply store can be a nightmare. Walls of pencils, stacks of paper, a million little gadgets… it’s overwhelming. Good news: you don’t need 99% of it. Here’s a simple, affordable kit that will handle almost everything you need to get started. You can find this stuff at any big-box store with a craft aisle or online.
A Basic Drawing Pencil Set (~$8): You don’t need a 24-pack. Just look for a small set that includes a few key pencils: a 2H, an HB, a 2B, and a 4B. “H” means hard (for light lines), and “B” means soft (for dark lines). The standard pencil you used in school is an HB, right in the middle. The 2H is for light initial sketches, the HB for defining lines, and the 2B and 4B are your workhorses for creating rich shadows that make things look 3D.
A Good Sketchbook (~$10): The key here is to get a sketchbook you’re not afraid to mess up. Don’t buy a beautiful, expensive, leather-bound journal. A precious sketchbook is the enemy of progress. Look for a simple wire-bound book with 60-80 lb paper. It’s sturdy enough but cheap enough that you’ll feel free to fill it with messy, experimental drawings.
A Kneaded Eraser (~$2): This is the single most useful eraser for an artist. It looks and feels like a gray piece of silly putty. Instead of rubbing away graphite, it lifts it off the page. You can shape it to a fine point to pull out tiny highlights or flatten it to lighten a whole area. A quick tip: You don’t rub with it; you press and lift. And to clean it? Just stretch and fold it a few times. No messy eraser shavings!
A Blending Stump (~$1): It’s just a stick of tightly rolled paper, but it’s fantastic for smoothing out your shading to get soft, gradual tones. You can use your finger, but the oils from your skin can mess with the paper, so this is a much cleaner option.
Oh, and a quick word on pencils: don’t try to get a dark line by pressing harder with a light (H) pencil. You’ll just carve a ditch into your paper. Let the soft B pencils do the work for you by building up darks in gentle layers.
Your First Week of Drawing: A Simple Plan
Alright, you’ve got your gear. Now what? The goal is consistency, not marathon sessions. Honestly, 15-20 minutes of focused practice every day will do more for you than a single, frustrating 3-hour session on the weekend.
The best way to start is with a simple still life. Grab an everyday object, put it on a table, and shine a single, strong light on it (like a desk lamp). This will give you clear, easy-to-see highlights and shadows.
Here’s how you tackle it:
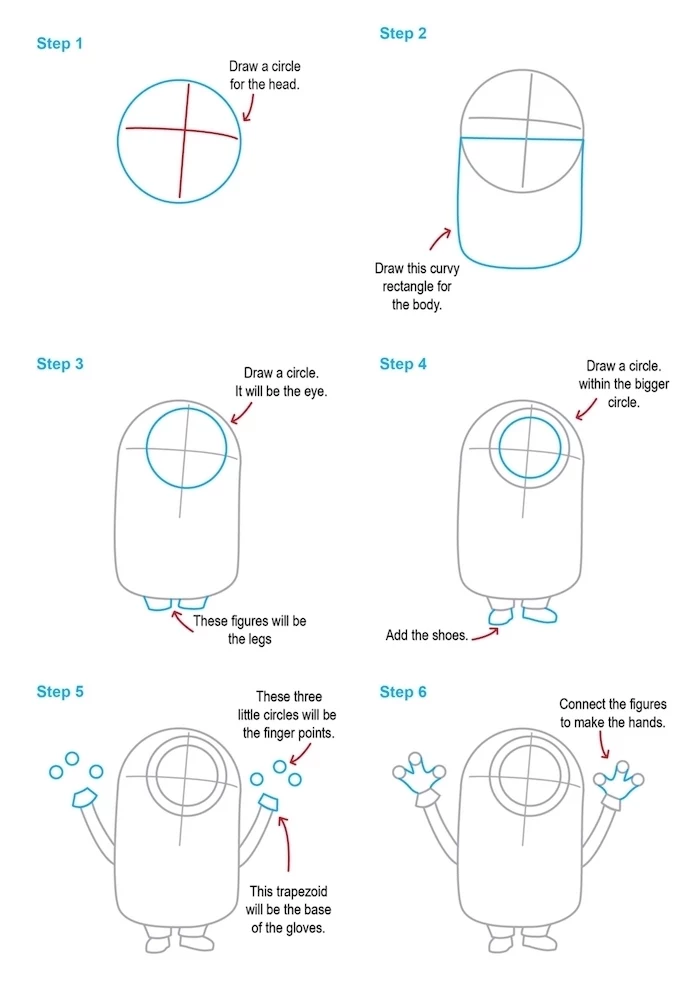
Measure It Out (Sighting): Don’t just eyeball it. Here’s a classic trick called sighting. Hold your pencil straight out in front of you at arm’s length and close one eye. Line up the tip of the pencil with the top of the object, then slide your thumb down the pencil to mark the bottom. That’s your unit of measurement! Now you can turn your pencil sideways and see how the width compares to the height. Is it one unit tall and half a unit wide? Recreate those proportions on your page. This ensures your drawing is accurate from the start.
Build with Basic Shapes: Don’t draw the outline. Break the object down into its simplest geometric forms. A mug is a cylinder with an ellipse for the opening. An apple is basically a sphere. A book is a box. Lightly sketch these basic shapes first with your 2H pencil. This gives your drawing a solid foundation.
Refine the Outlines: Now, carefully draw the real contours. Let your eye slowly trace the edge of the object, and let your hand follow that path on the paper. Slow down. This is where you capture the unique character of the object.
Add the Shading: This is the magic part that makes it look three-dimensional. See where your light is coming from? The side facing the light is lightest, the side facing away is darkest. Use your B pencils to gently build up the shadows. Don’t forget the “cast shadow”—the shadow the object throws onto the table. It’s what makes the object look like it’s really sitting there.
To make it even easier, here’s a plan for your first week. Draw one of these each day:
Day 1: An apple
Day 2: A coffee mug
Day 3: A spoon
Day 4: A single shoe
Day 5: A book standing up
Day 6: A rolled-up towel
Day 7: Your other hand
A Quick Workout for Your Hand-Eye Connection
This next exercise feels incredibly strange at first, but it works wonders. It’s called blind contour drawing.
Place an object in front of you (your non-drawing hand is perfect for this). Put your pencil on your paper. Now, fix your eyes on the outline of your hand. Begin to draw the contour—the edge—without ever looking down at your paper. Don’t lift your pencil. Imagine your pencil point is actually touching the edge of your hand, and just let your eye slowly creep along the edge. The final drawing will probably look like a hot mess. That’s the whole point!
Seriously, pause reading and try this for 3 minutes. Go on, I’ll wait. The goal isn’t a pretty picture; it’s to forge a powerful, direct connection between what your eye sees and what your hand does.
Troubleshooting: Reading Your “Mistakes”
As you practice, you’ll run into frustrations. That’s normal! But these frustrations are actually clues telling you what to work on.
If your lines are shaky and wobbly… it usually means you’re drawing from your wrist. Try to lock your wrist and draw by moving your entire arm from the shoulder. Do some warm-ups by drawing big, loose circles and lines across the whole page.
If your drawings look flat and washed out… it probably means you’re afraid of the darks. Many beginners use only a tiny range of values. Don’t be shy with that 2B and 4B pencil! Strong, dark shadows are what create the illusion of form and light. Go for it!
Tackling the “Hard Stuff”
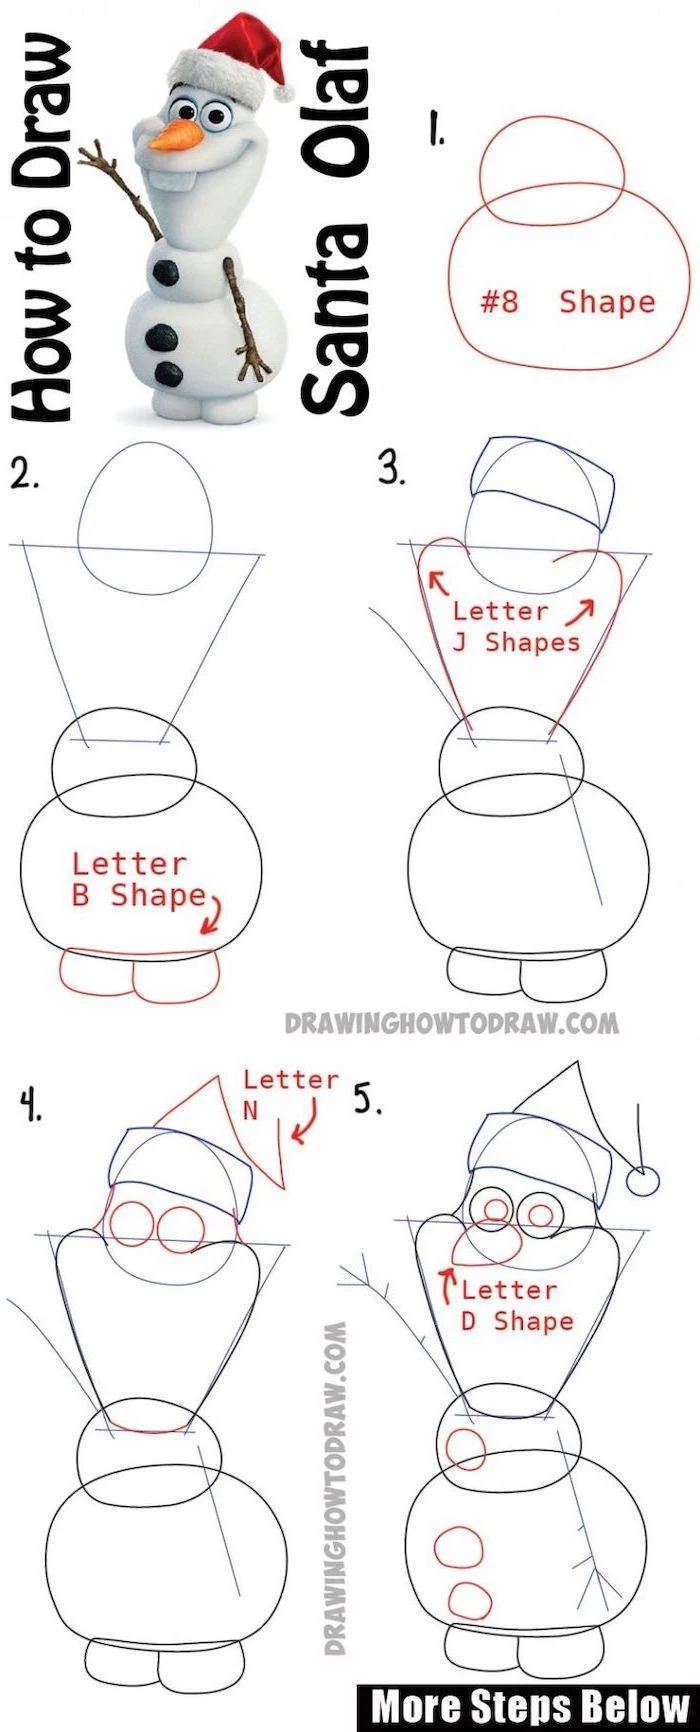
Once you get comfortable with simple objects, you can start tackling more complex subjects. Just remember: everything complex is just a collection of simple shapes.
Hands, for example, are famously tough. But don’t try to draw fingers right away. Simplify the palm into a flat, squarish box shape. The fingers are just three small cylinders attached to that box, and the thumb is another set of shapes attached to the side. Draw this simple “mitten” structure first. Once the proportions look right, then you can start refining the details.
Perspective is another one that scares people, but you don’t need an engineering degree to use it. Start with the basics. Imagine looking down a long, straight road. The sides of the road seem to meet at a single point on the horizon, right? That’s a “vanishing point.” When you draw a room, you can use the same idea. The back wall is a flat rectangle. The lines for the floor, ceiling, and side walls will all angle toward a single point on that wall. It’s a simple system that instantly creates a believable sense of depth.
A Final Word on the Journey
Drawing is incredibly safe, but be mindful of your body. Work with good light to avoid eye strain, and sit up straight to save your back and neck. And a heads-up: if you start using spray fixatives to protect your drawings, always use them in a well-ventilated area, preferably outside. You don’t want to be breathing in those fumes.
Most importantly, please be honest with yourself about the process. You are going to have frustrating days. You will make drawings you absolutely hate. I have stacks of sketchbooks filled with them. Every single artist does. Those aren’t failures; they’re miles on the pencil.
The myth of the “naturally talented” artist who just churns out masterpieces effortlessly is just that—a myth. Skill is earned. It’s built through consistent, focused work. Be patient. The goal isn’t to be a perfect artist by tomorrow. The goal is to be a slightly better artist than you were yesterday.
Now, go grab a pencil, find a simple object, and just draw.
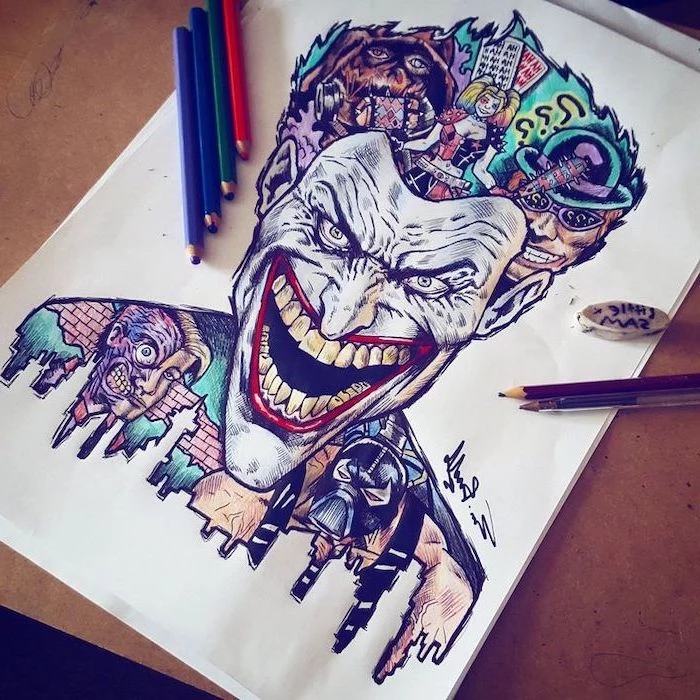
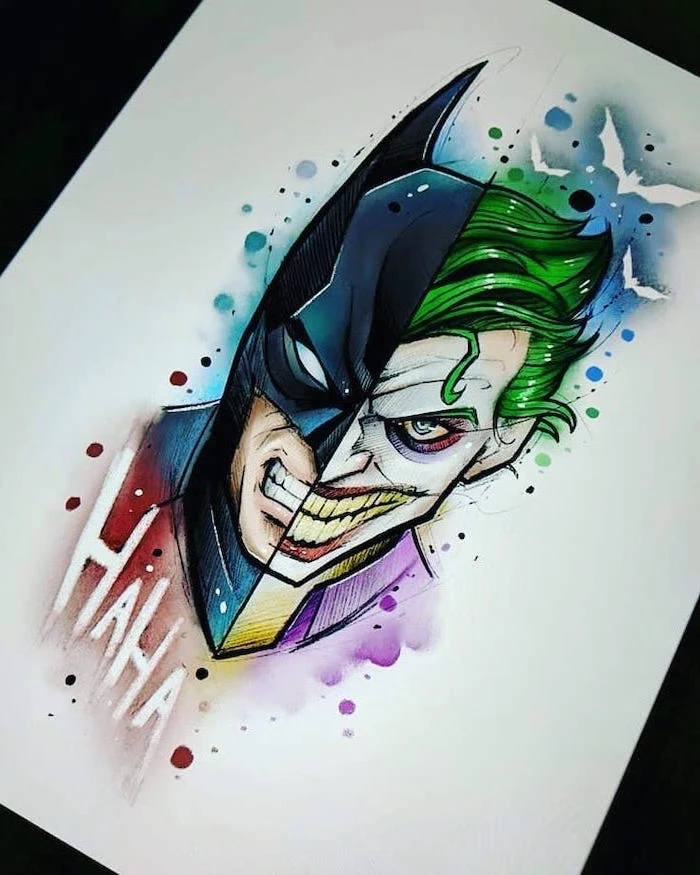
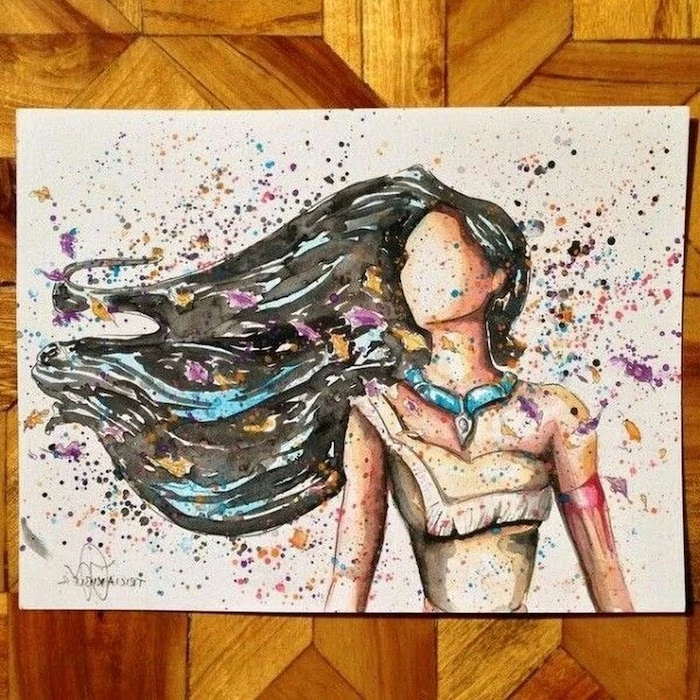
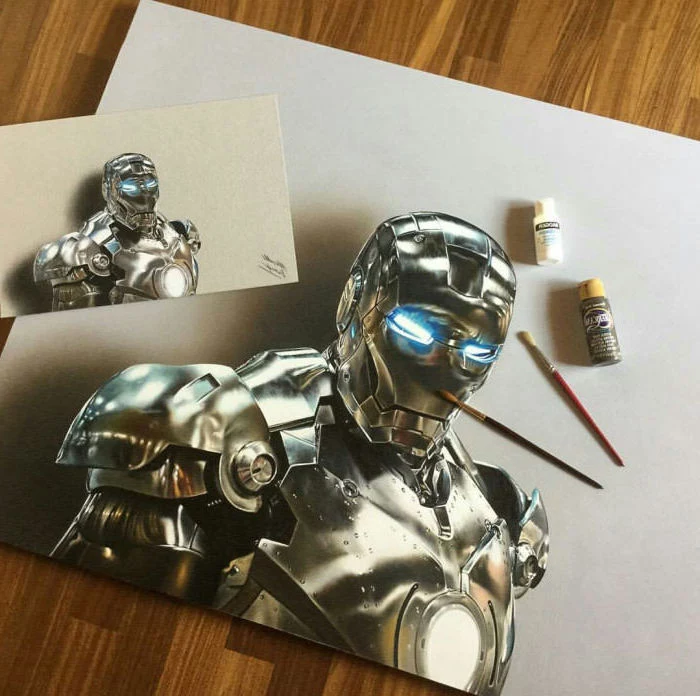
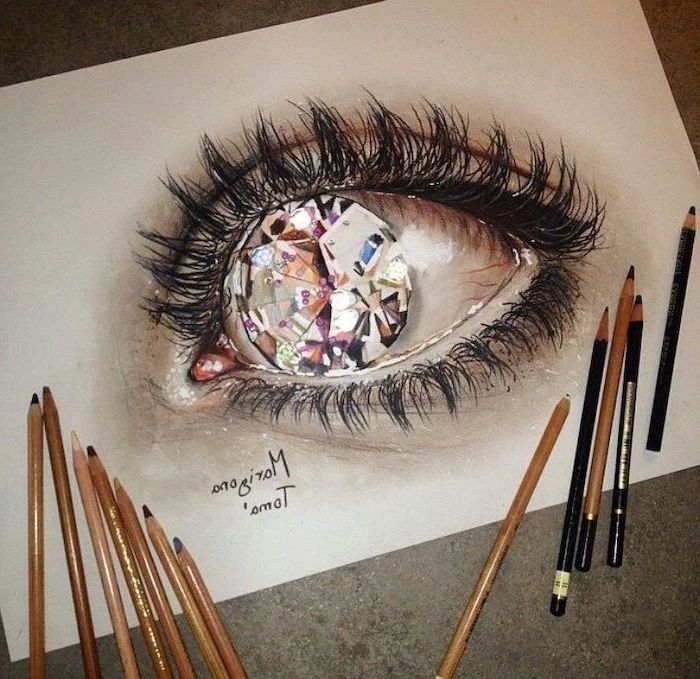
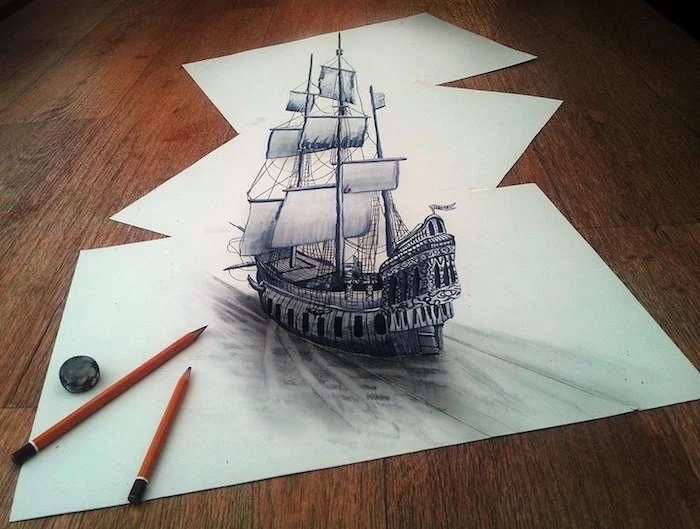
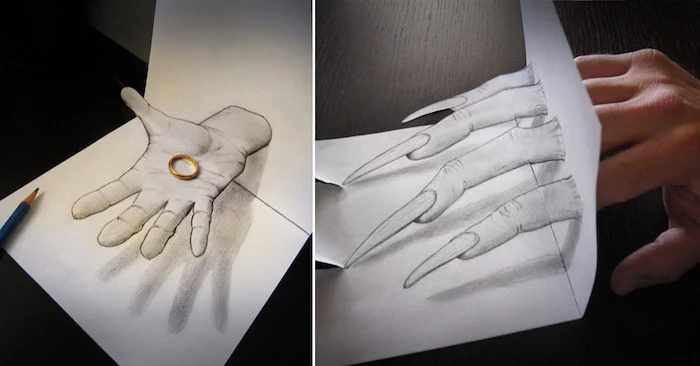
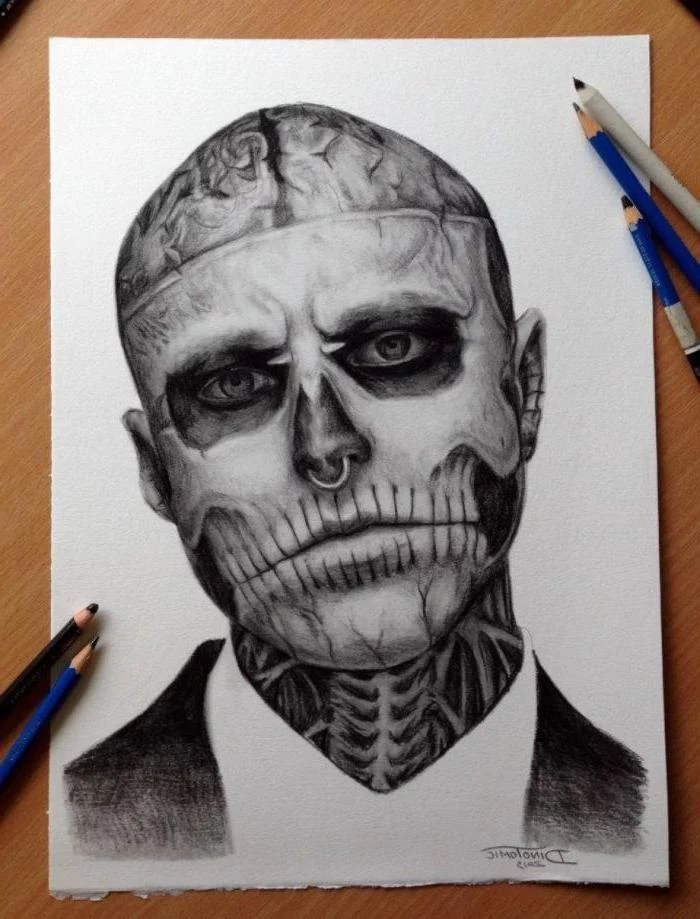
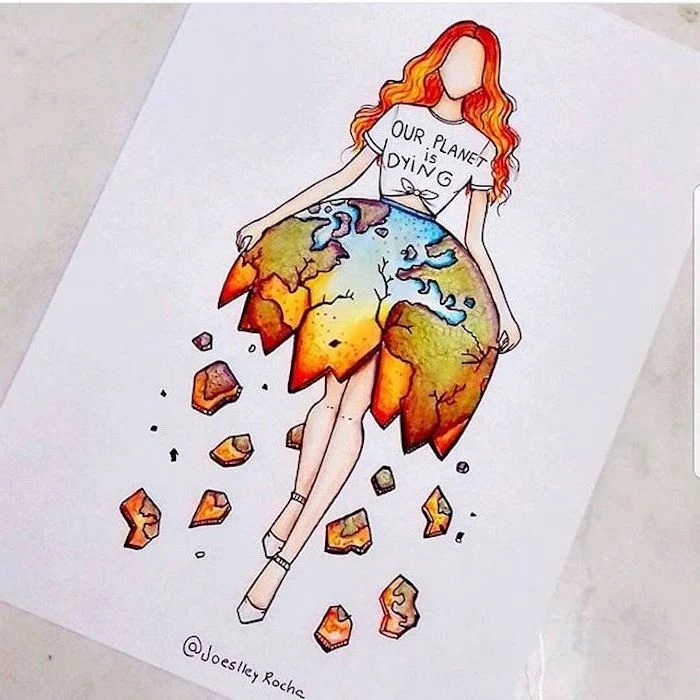
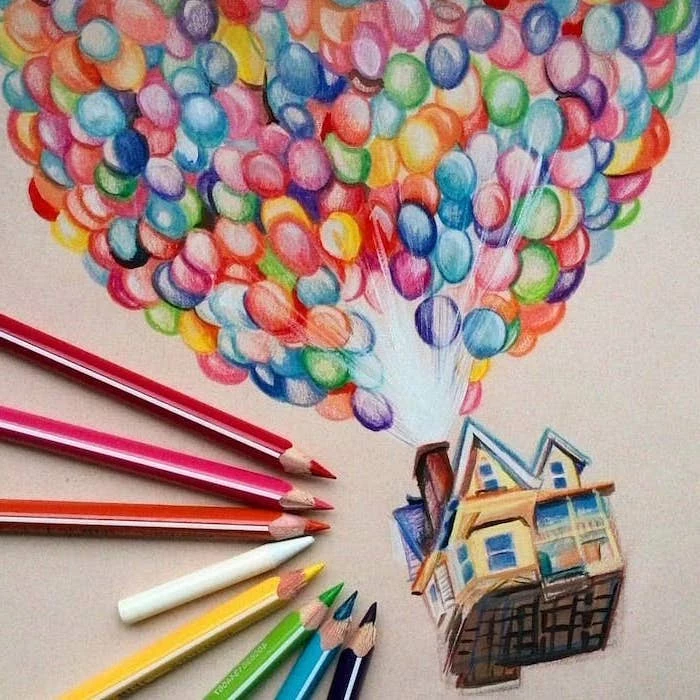
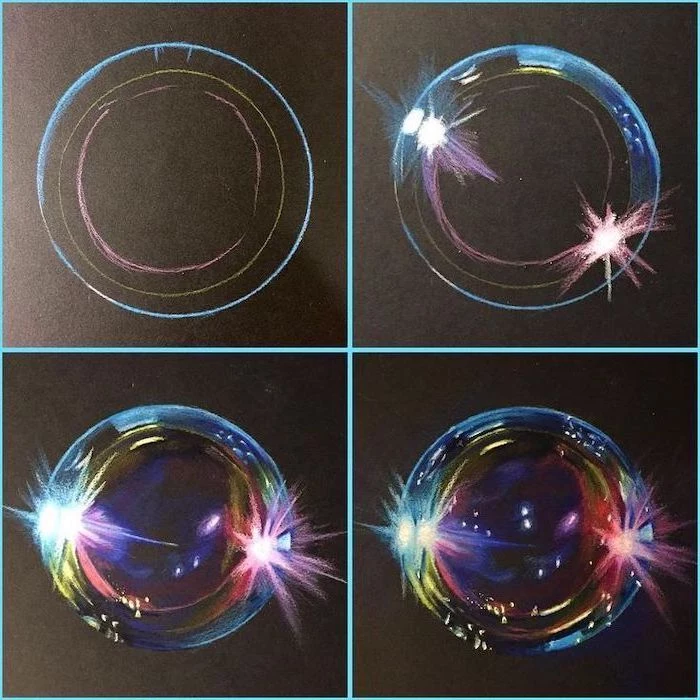
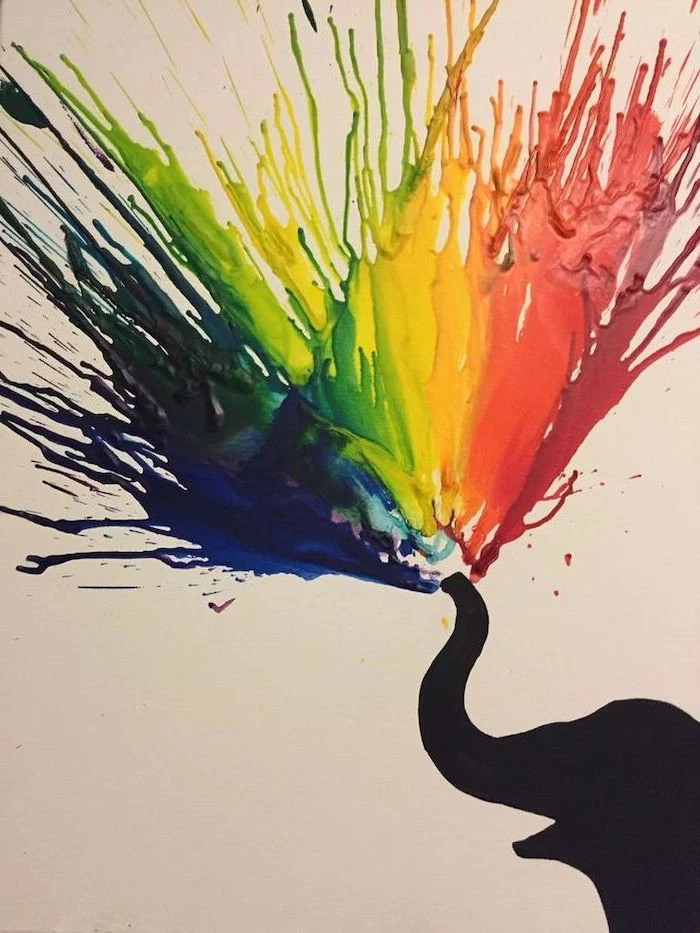
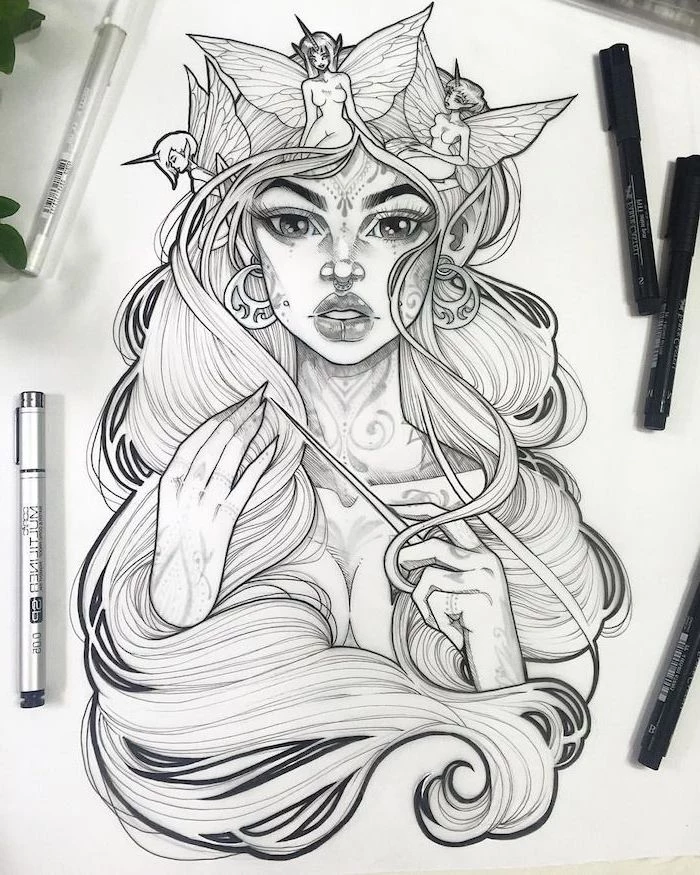
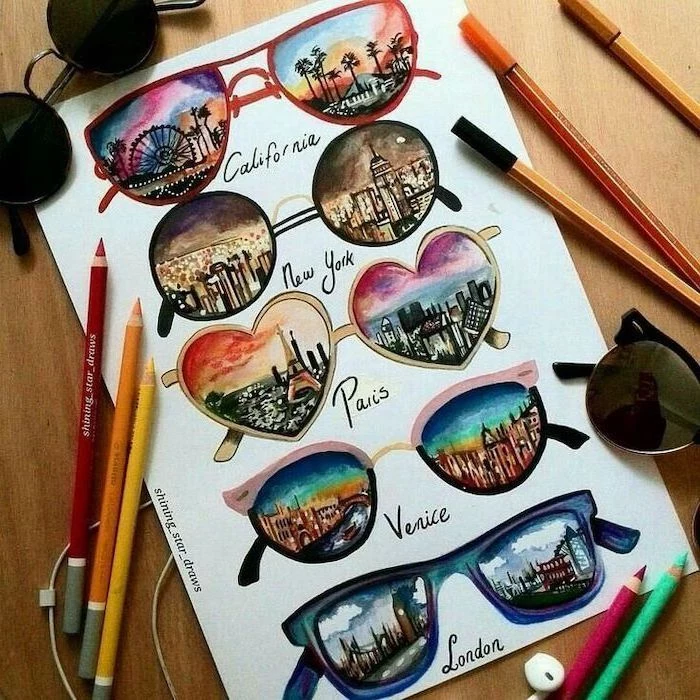
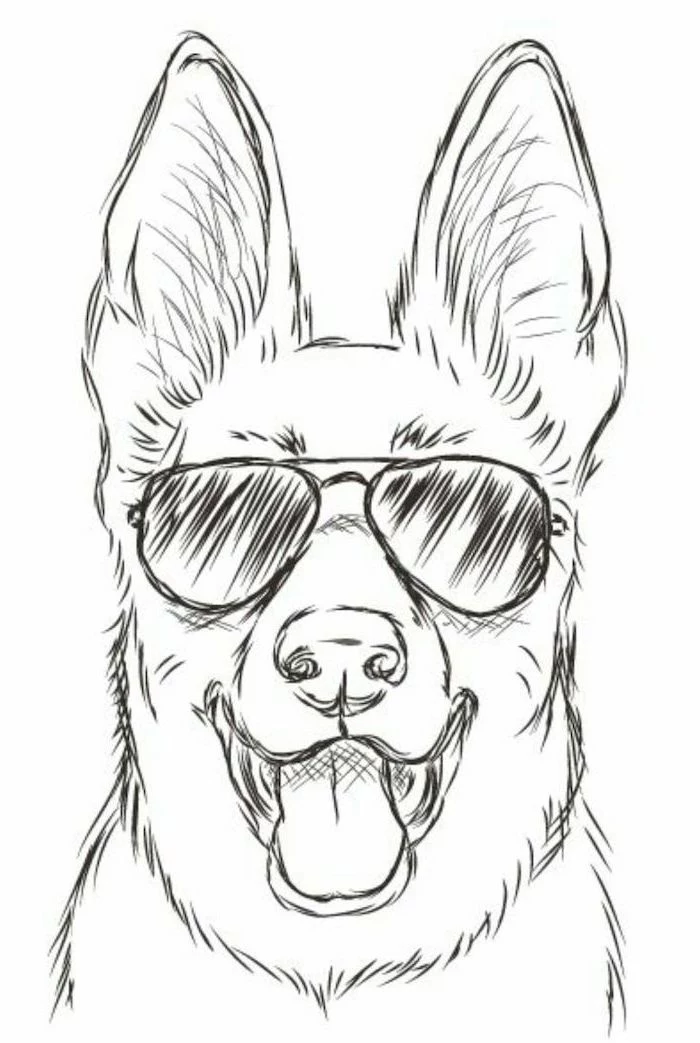
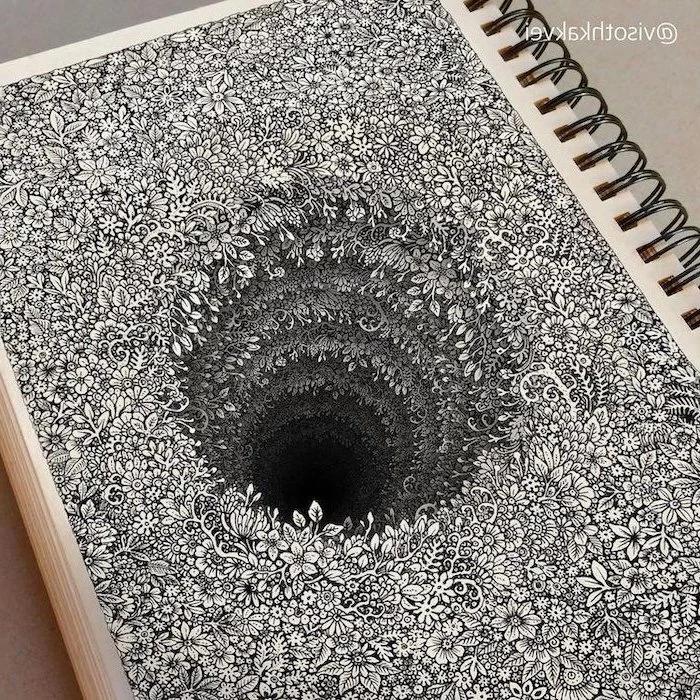
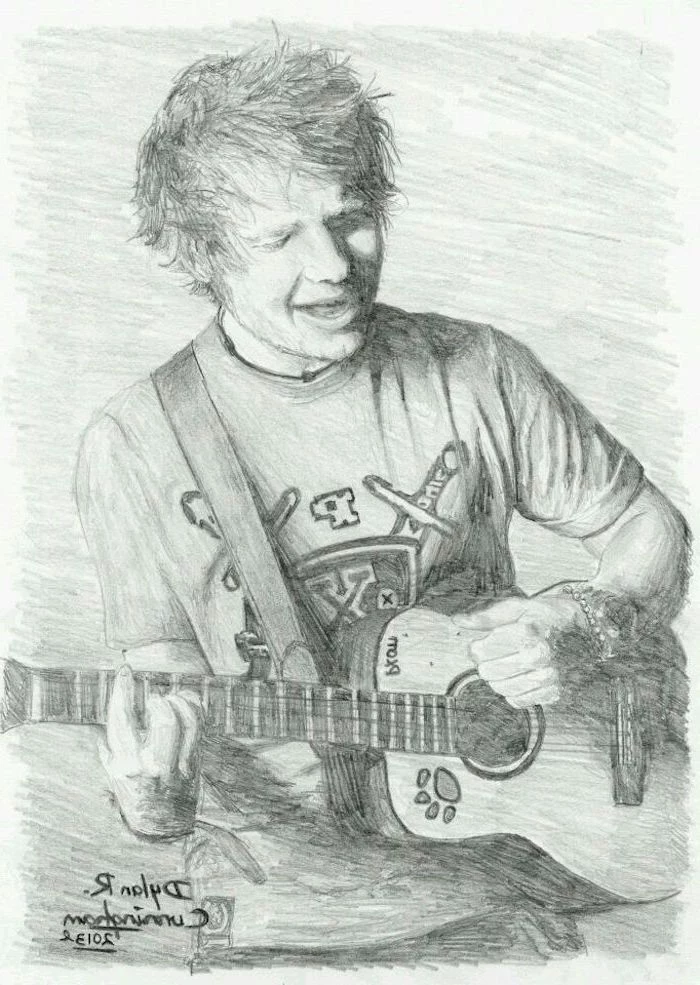
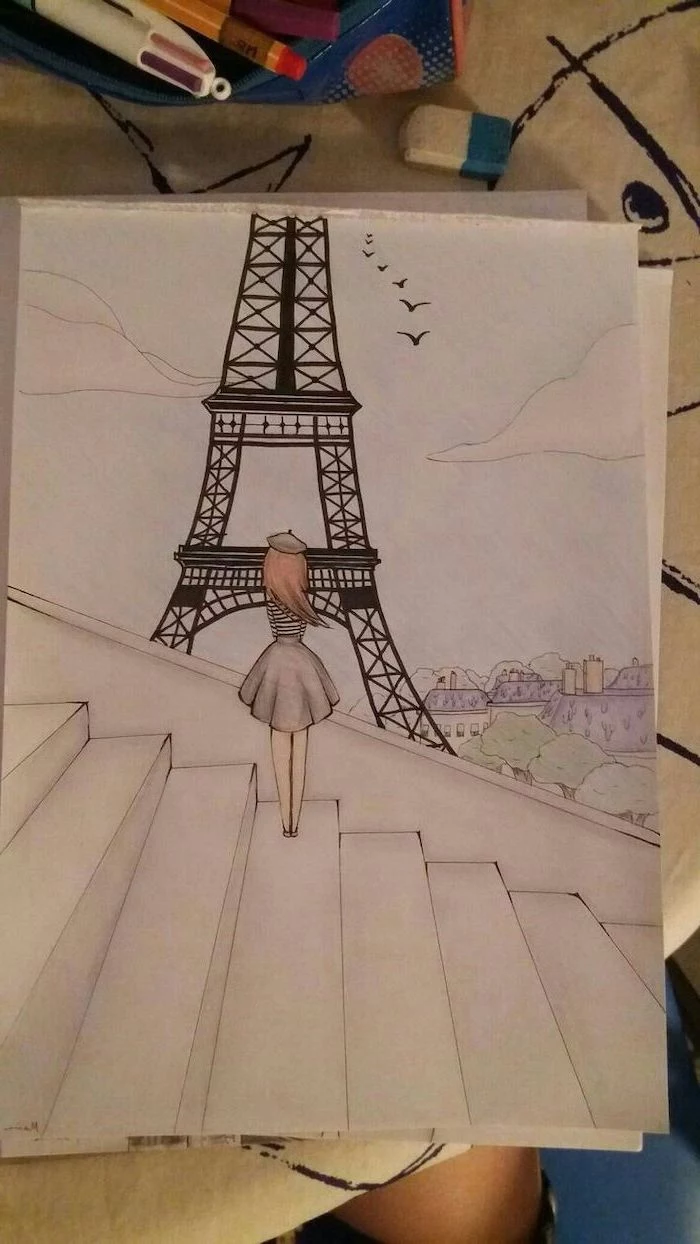
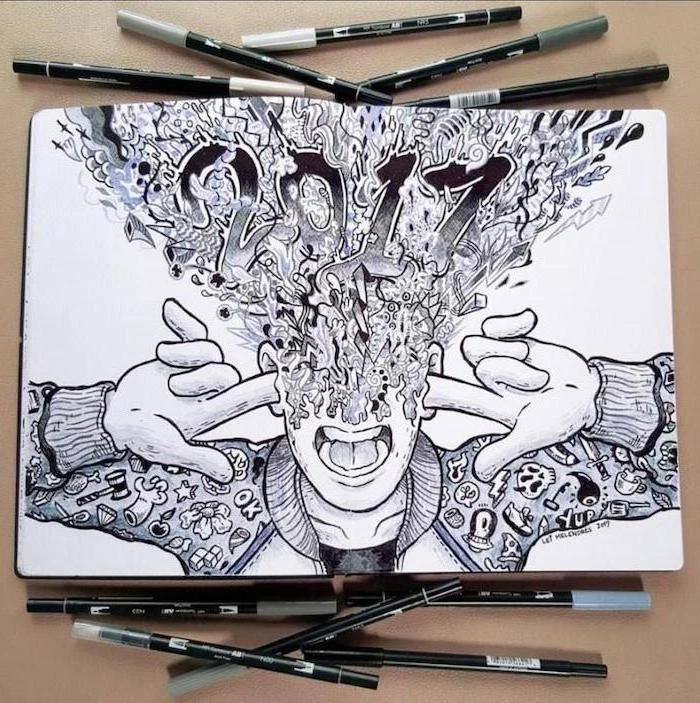
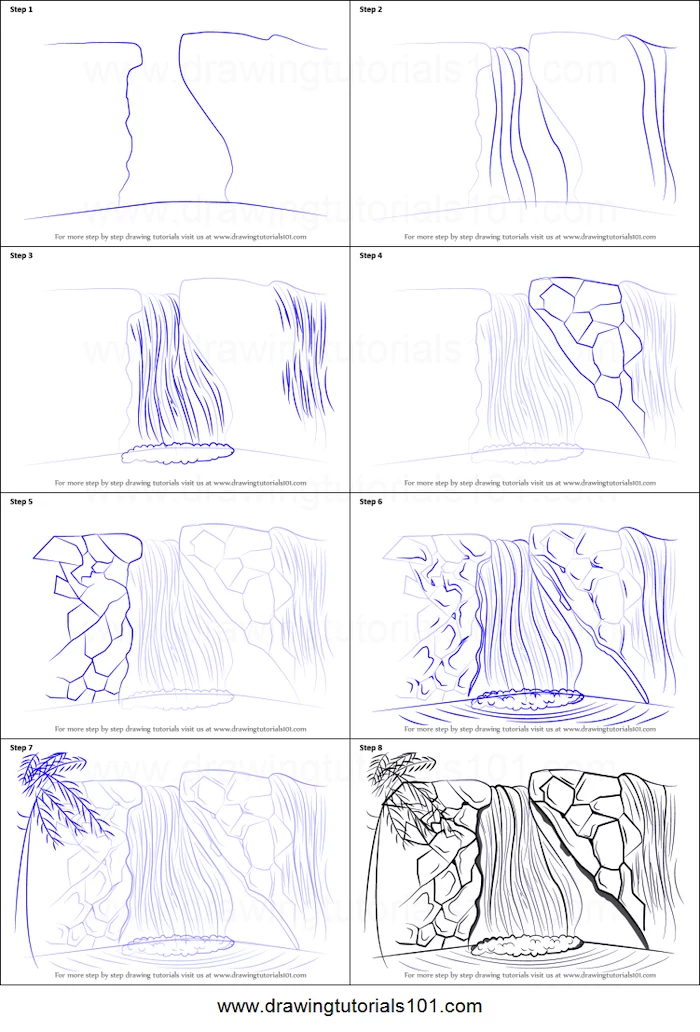
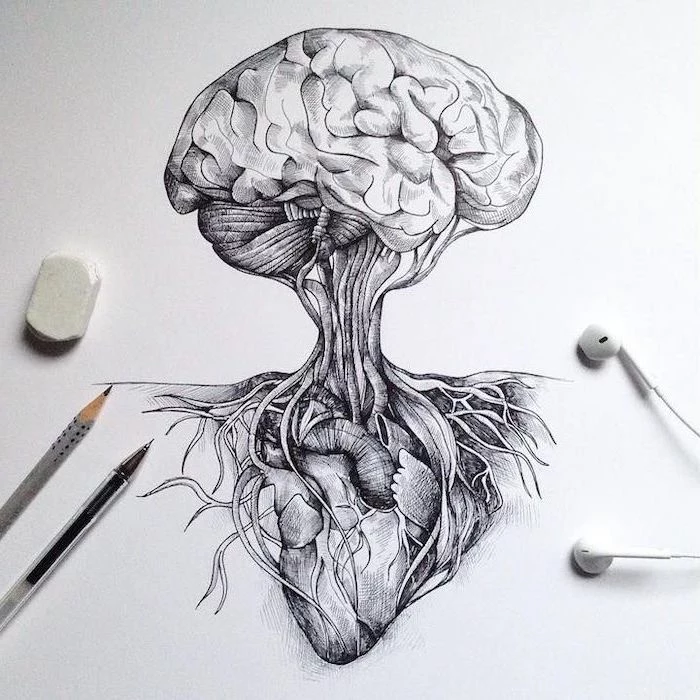
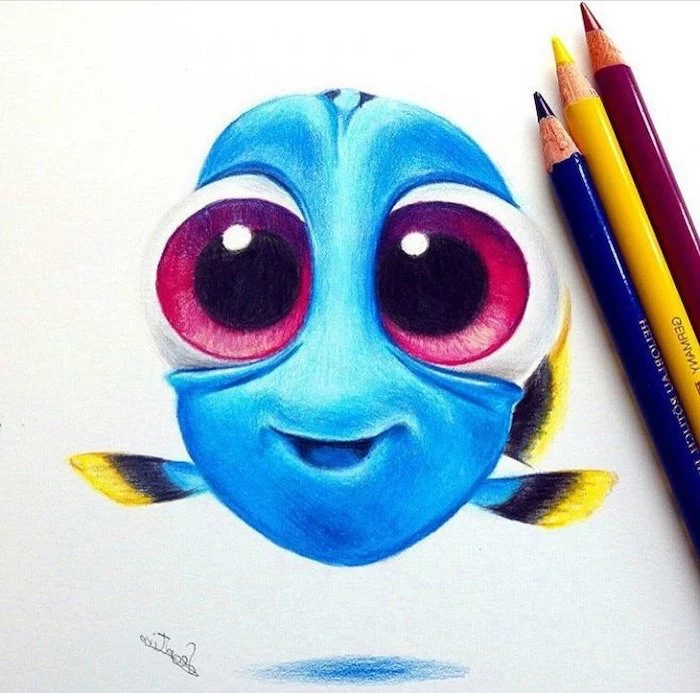
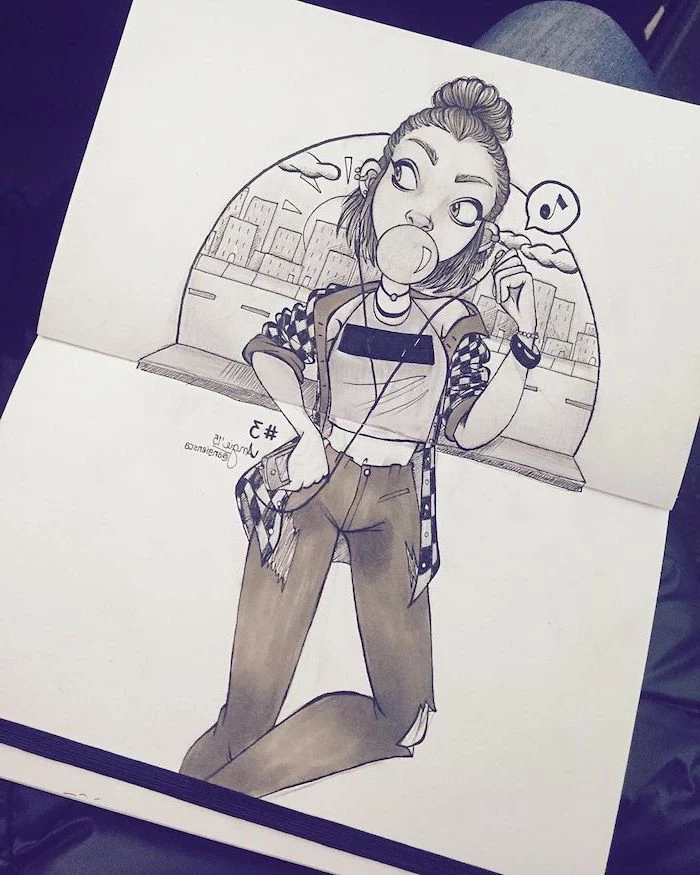
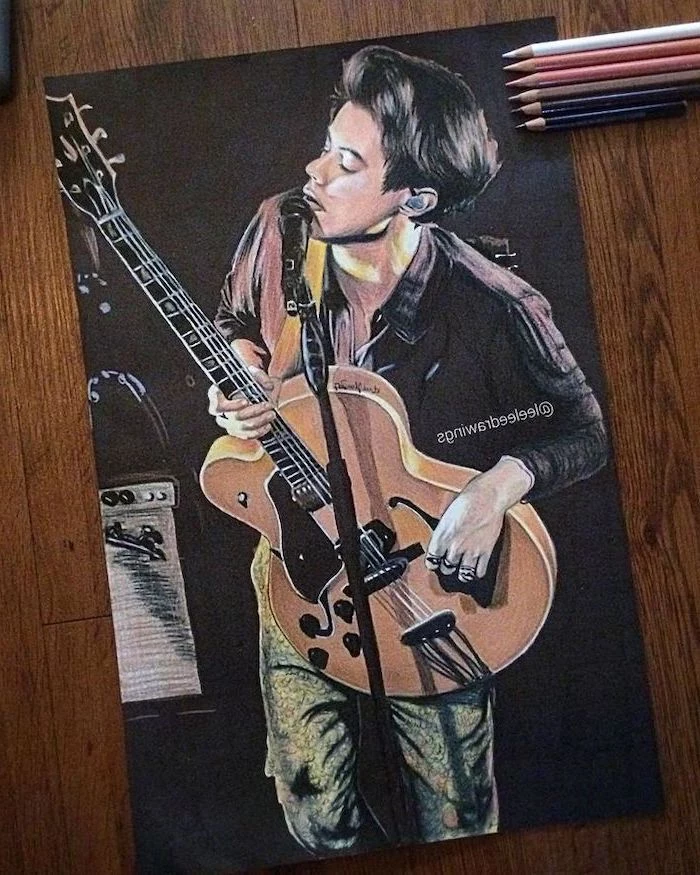
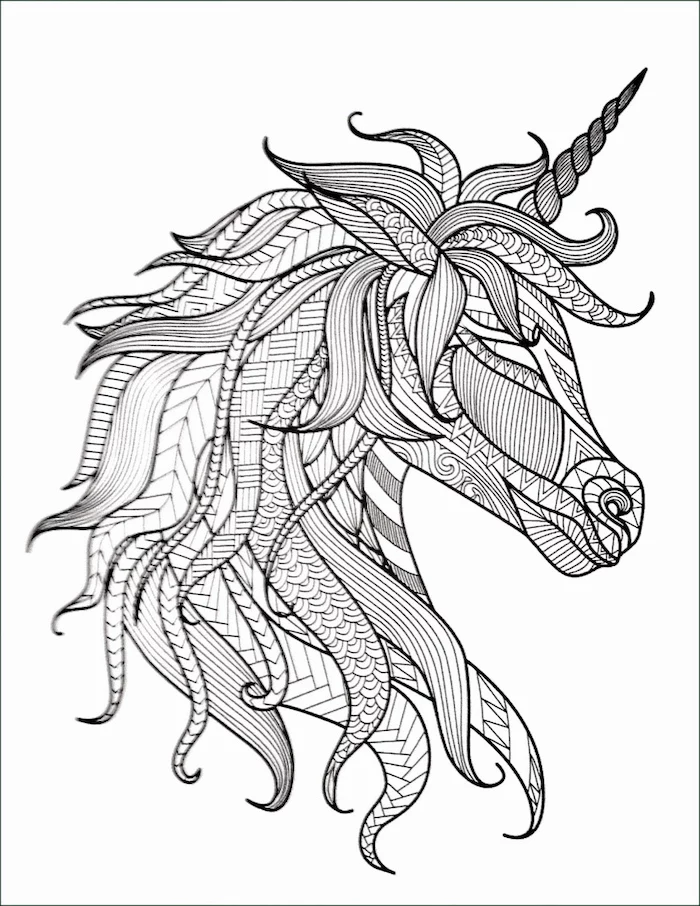
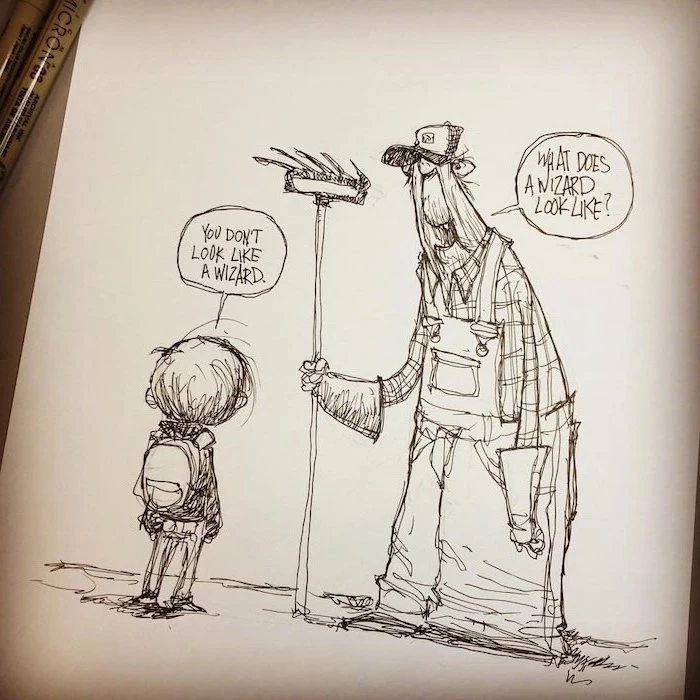
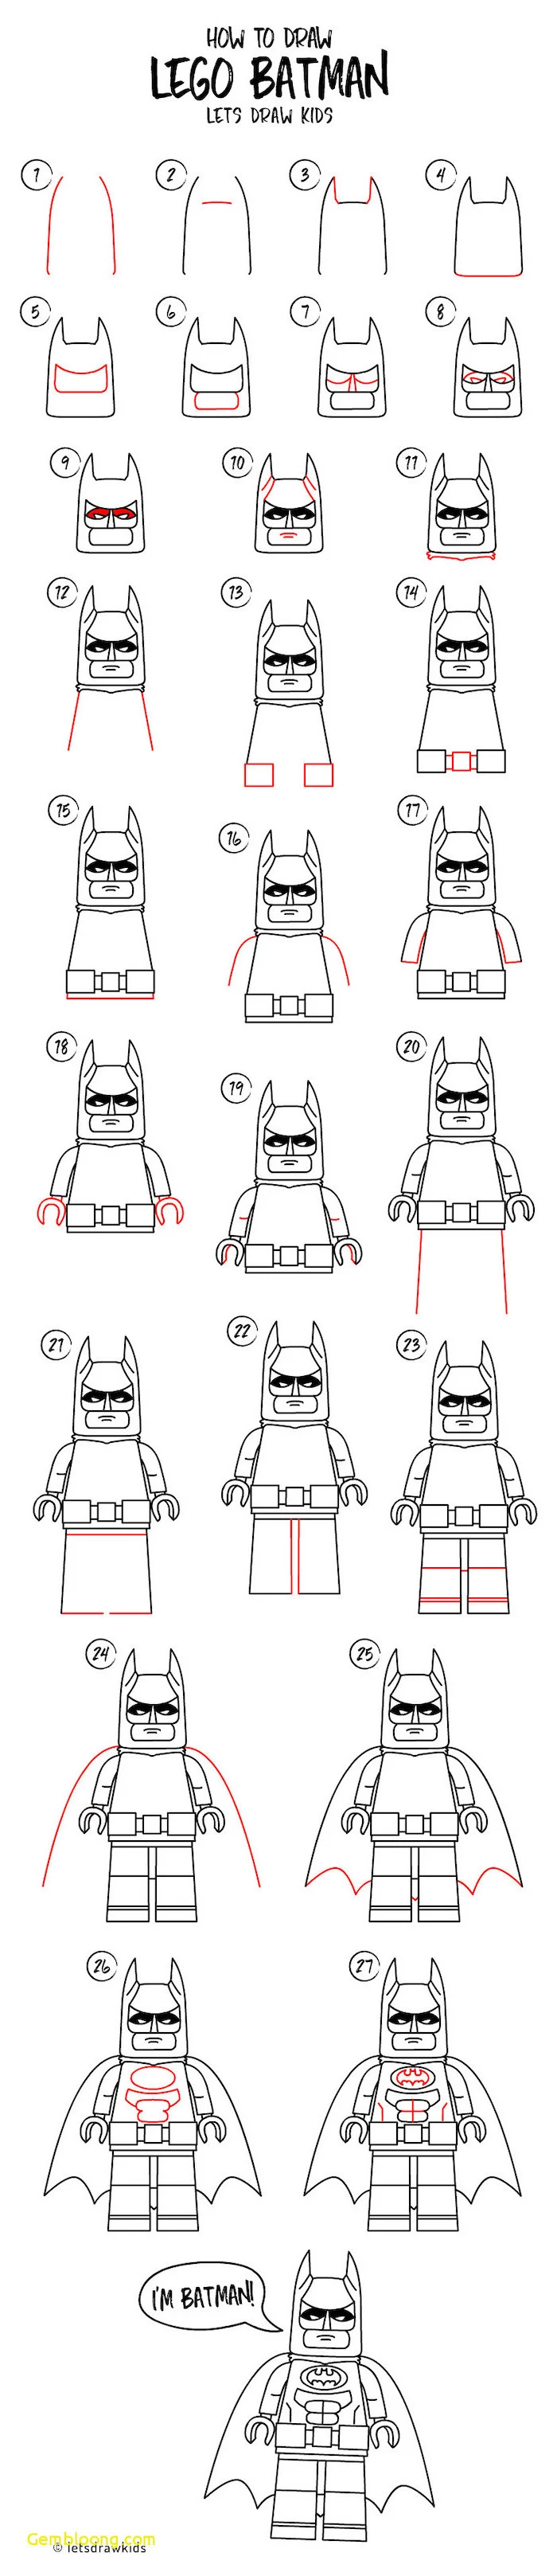
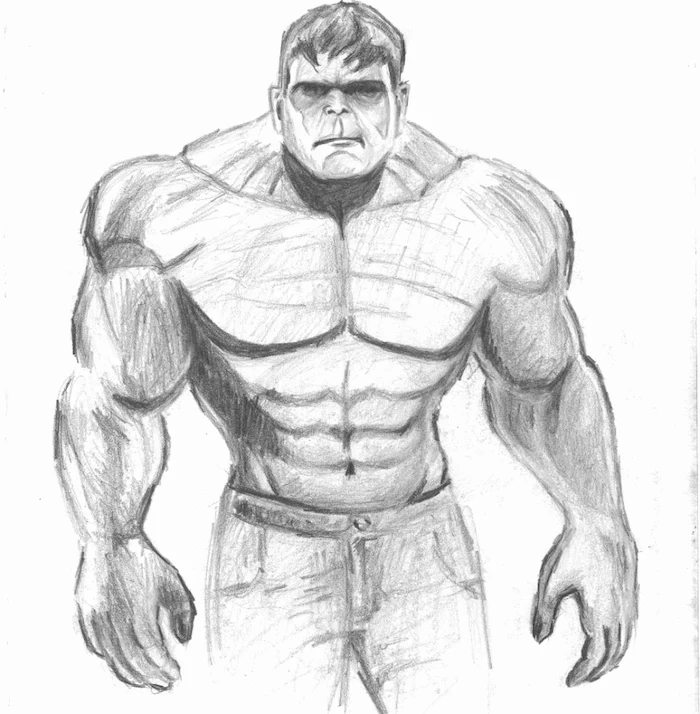
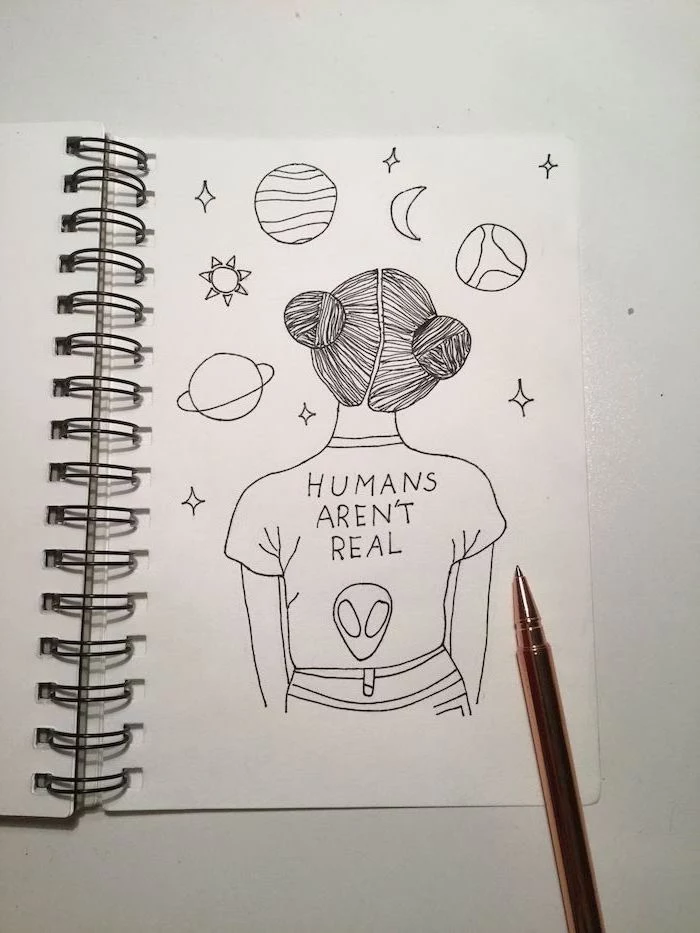
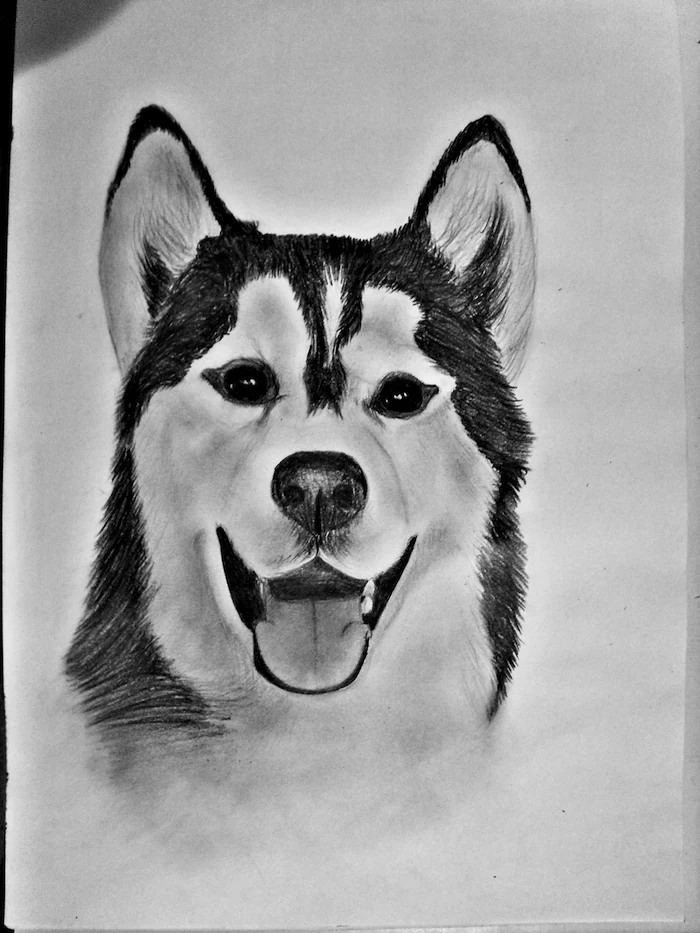
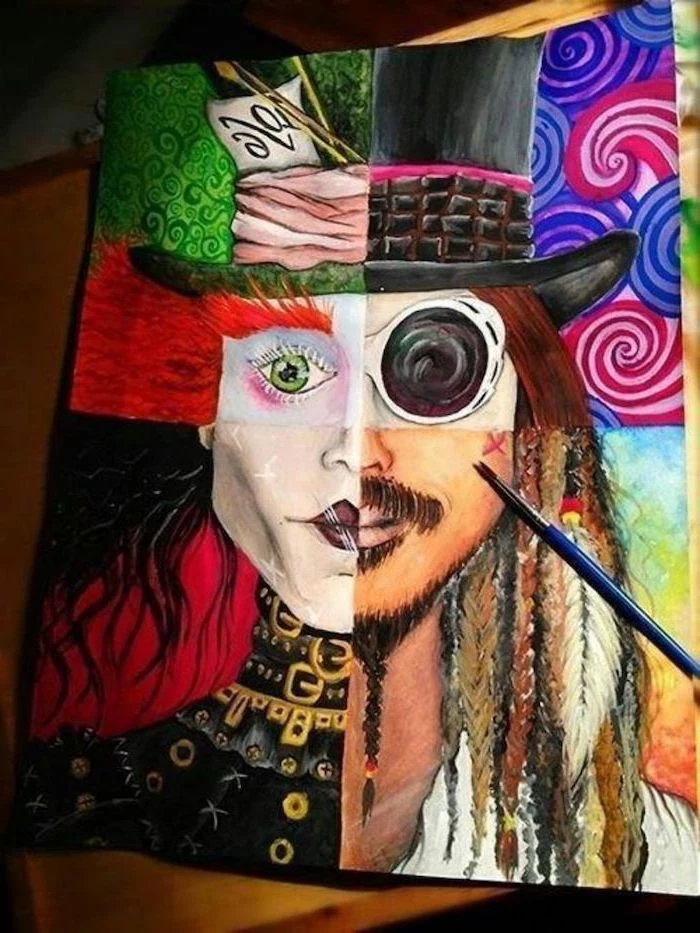
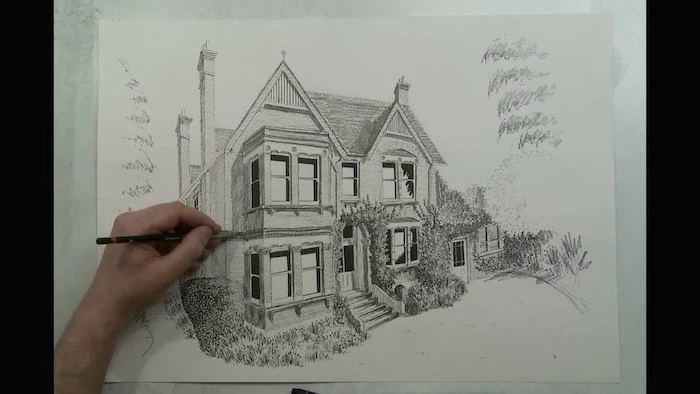
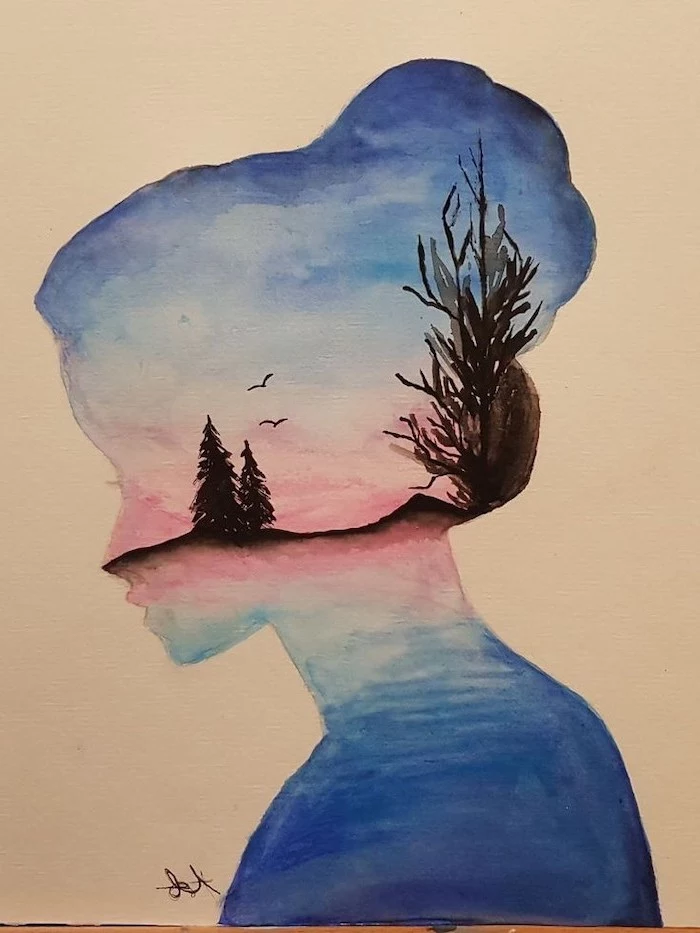
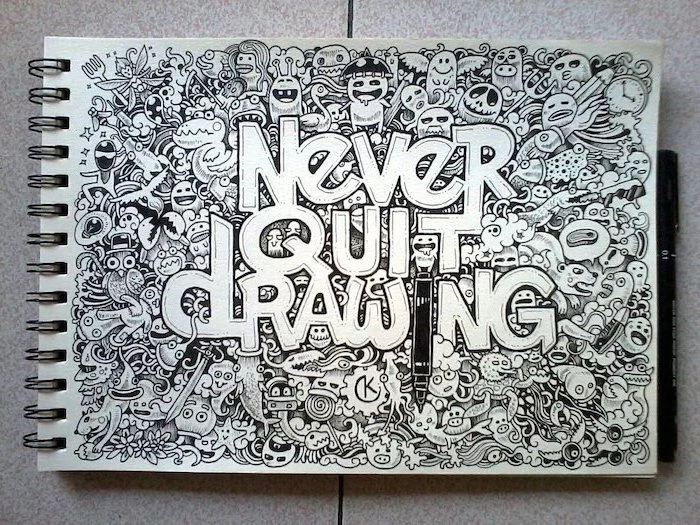
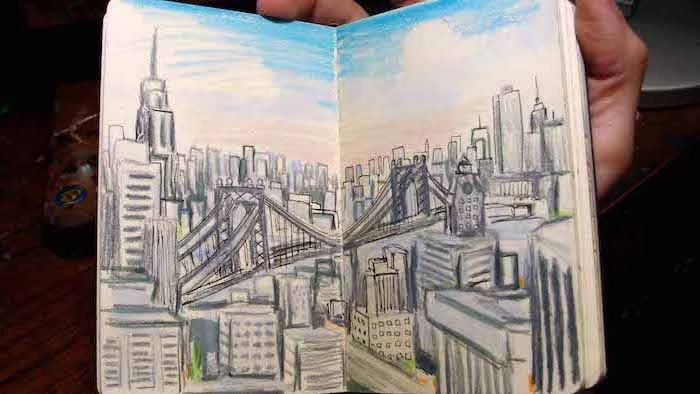
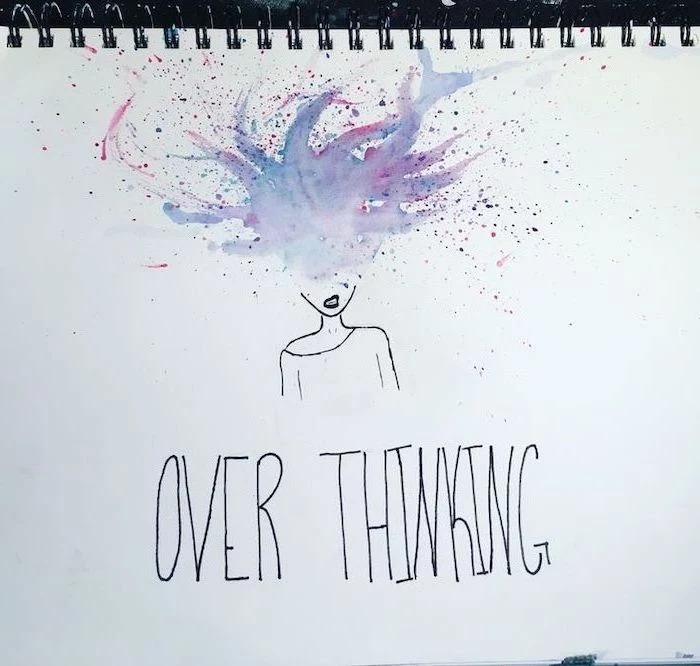
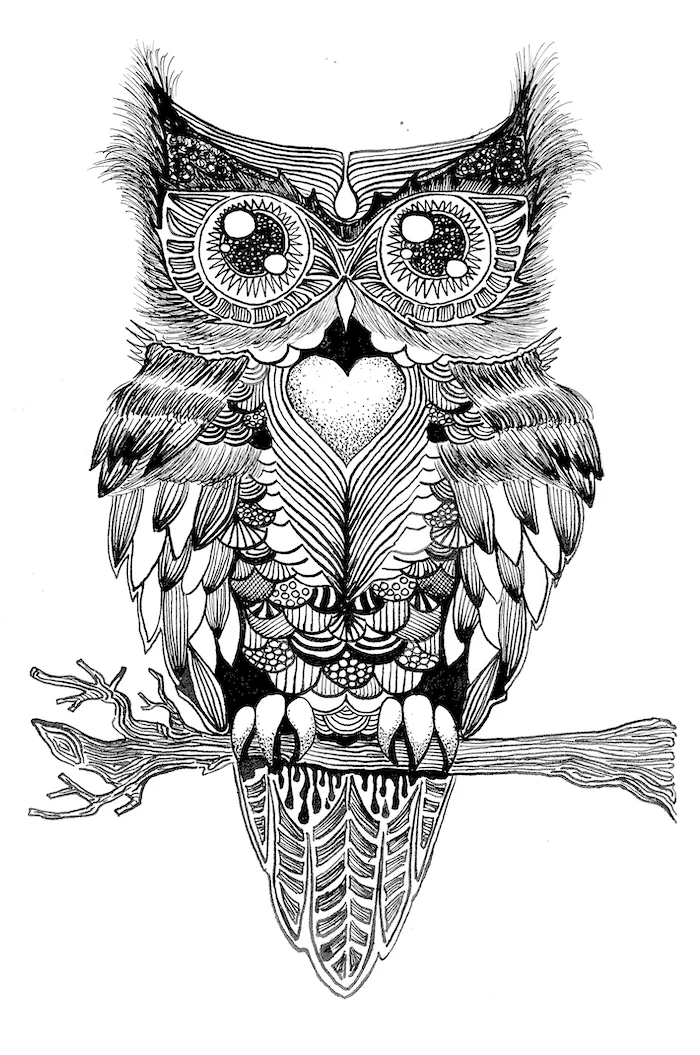
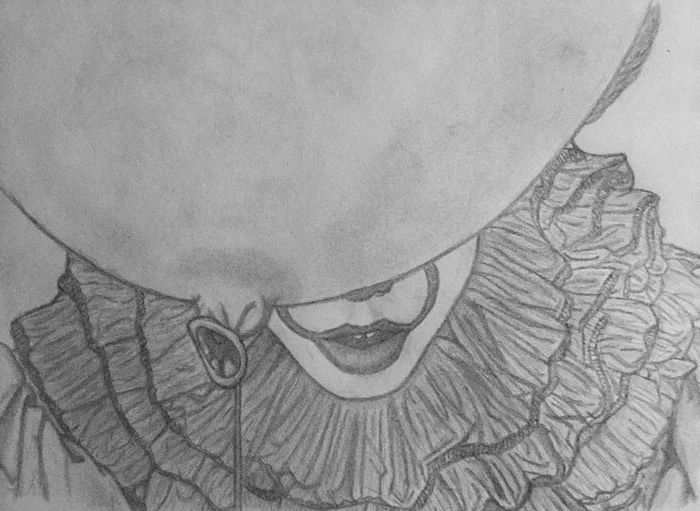
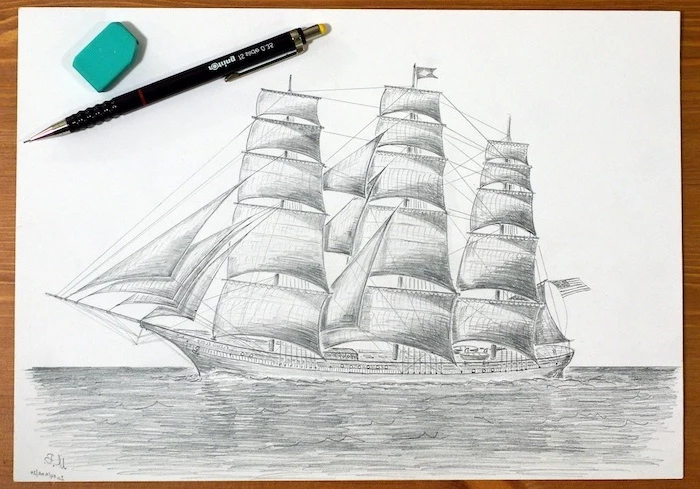
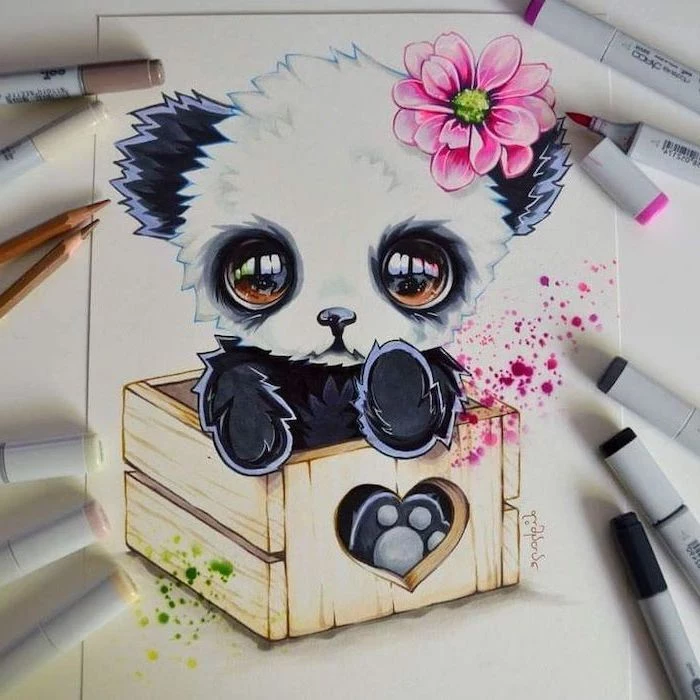
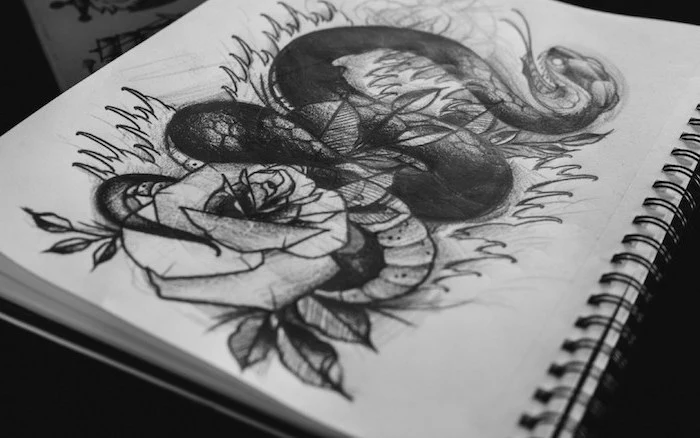
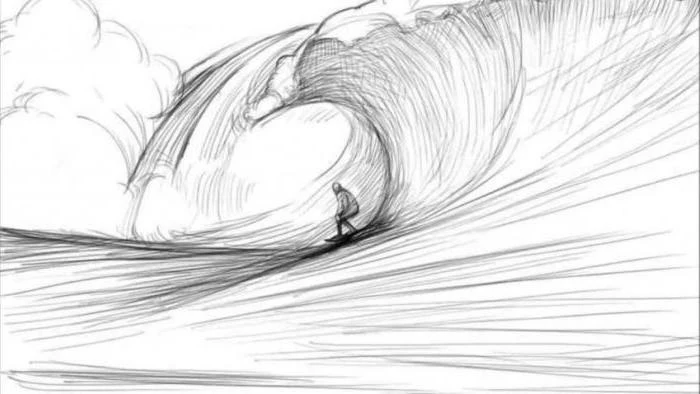
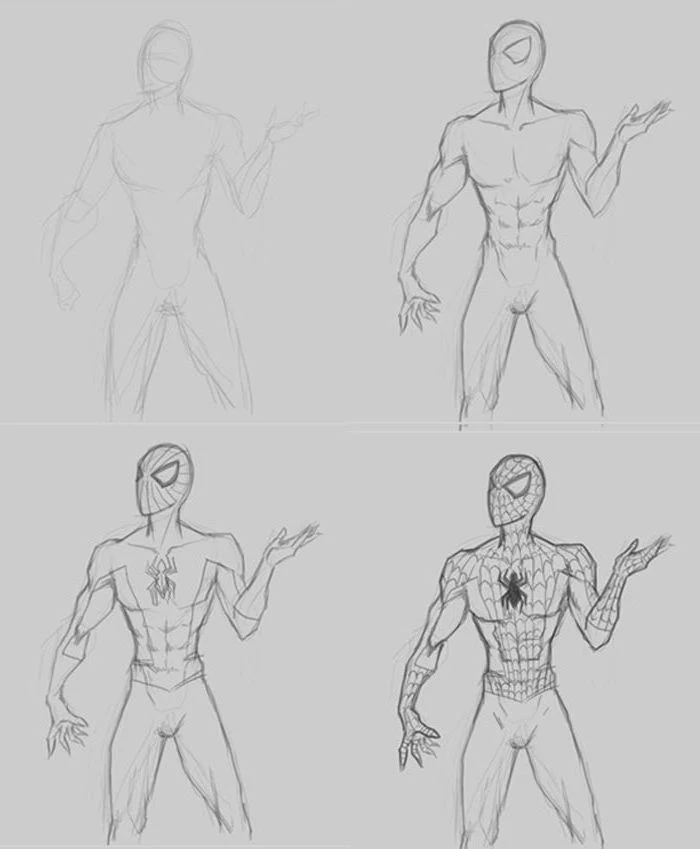
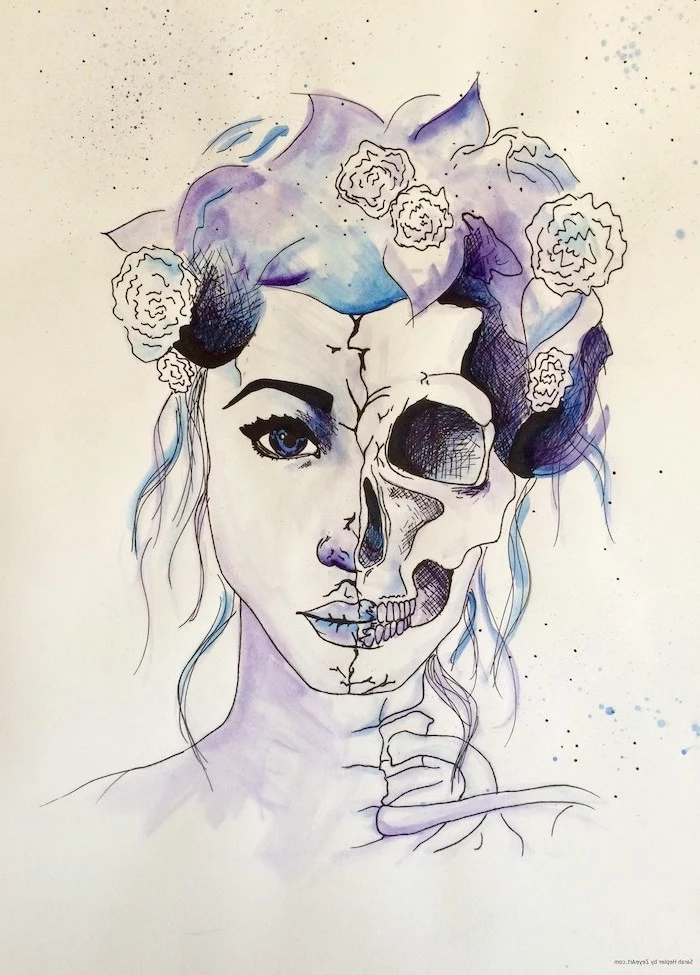
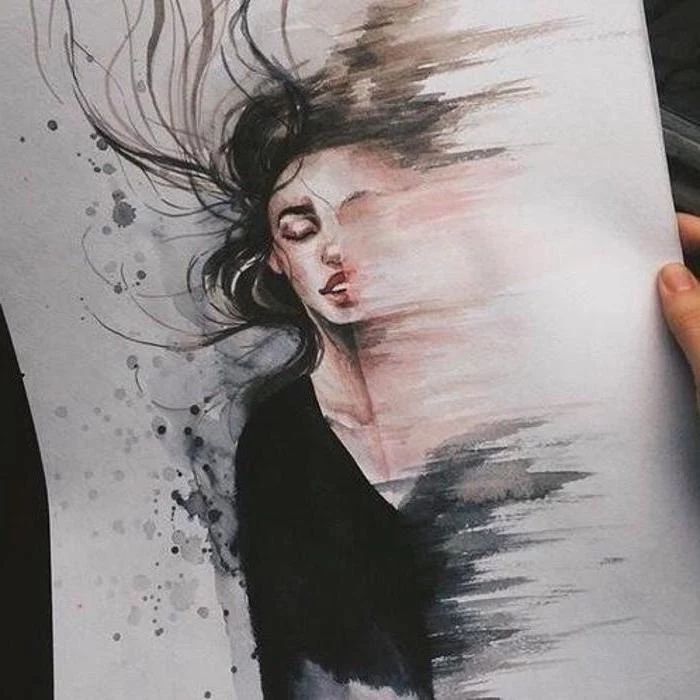
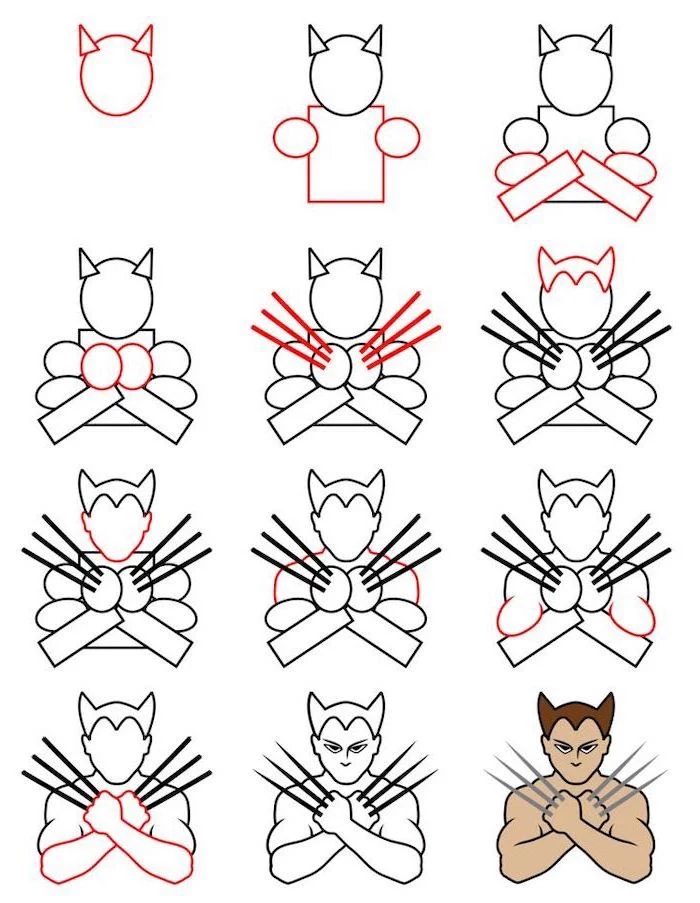
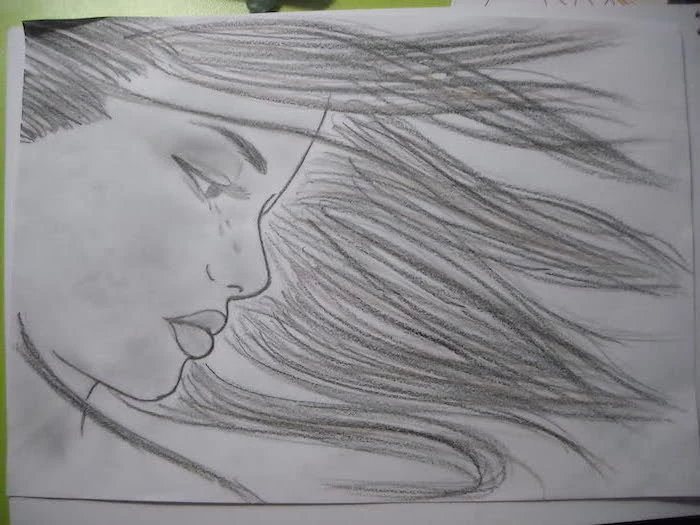
Inspiration Gallery
The right eraser is as important as the right pencil. Forget the pink rubber nub on your school pencil. A kneaded eraser is essential for lifting graphite gently without smudging, while a precision eraser like the Tombow Mono Zero is a secret weapon for creating sharp highlights in hair or on reflective surfaces.
It forces you to truly see lines and curves, not just symbols.
It dramatically improves your hand-eye coordination.
It’s a meditative exercise that silences your inner critic.
The secret? Blind contour drawing. Look only at your subject—not your paper—and draw its outline in one continuous line. The results will be wonderfully weird, but the practice is pure gold.
Don’t know what to draw? Try looking at negative space. Instead of drawing the chair itself, focus on drawing the shape of the air between the chair legs or the space between the handle and the body of a mug. This trick forces your brain out of its symbolic thinking and into seeing pure shape, a fundamental artistic skill.
My drawings always look so flat. How do I give them depth?
Depth comes from a full range of values, from the whitest white to the blackest black. A common beginner mistake is being too timid with shadows. Don’t be afraid to use a soft, dark pencil, like a Faber-Castell 6B or 8B, to really push the dark areas. This contrast is what makes an object feel three-dimensional and pop off the page.
You don’t need a massive, expensive kit to begin. In fact, limiting your tools can be freeing. Start with this simple, powerful trio:
A Staedtler Mars Lumograph 2B pencil (versatile for lines and light shading).
A Canson XL Mix Media sketchbook (sturdy paper that can handle erasing).
A kneaded eraser.
The magic is in the mileage you get out of them, not the size of your collection.
Graphite Pencils: The classic choice. Versatile, easy to erase, and great for detailed work. They come in a range of hardness (H) to blackness (B).
Charcoal Pencils: Offer deep, rich blacks that graphite can’t match. They are smudgier and harder to control, but perfect for expressive, dramatic drawings with high contrast.
For beginners, starting with graphite is recommended before exploring the beautiful messiness of charcoal.
A 2014 study found that even just 45 minutes of creative activity, like drawing, can significantly reduce stress-related hormones in your body.
That feeling of calm you get when you’re focused on a sketch isn’t just in your head; it’s a real physiological response. Your art practice is also a wellness practice.
Stop drawing ‘hairy’ lines. Many beginners sketch with short, uncertain, overlapping strokes because they fear making a mistake. Challenge yourself to draw with long, confident lines instead. Use your whole arm, not just your wrist, to guide the pencil. Your work will look cleaner and more professional almost instantly.
Take your sketchbook outside. The practice of ‘urban sketching’—drawing on location in a park, café, or on a street corner—is an incredible skill-builder. It teaches you to capture the essence of a scene quickly, focusing on gesture and atmosphere rather than getting bogged down in tiny details. It’s about capturing a moment, not creating a masterpiece.
Find a simple object in your home—a spoon, a key, a leaf.
Set a timer for just five minutes.
Draw it. When the timer rings, you’re done.
This quick exercise removes the pressure of creating something ‘good’ and gets your hand and eye working together. Do this daily, and you’ll be amazed at the progress.
The global community Urban Sketchers operates on a simple motto:
How do artists get proportions right? It seems like magic.
It’s not magic, it’s measuring! Use your pencil as a ruler. Hold it out at arm’s length, close one eye, and use the tip of the pencil to mark the top of an object and your thumb to mark the bottom. This ‘unit of measure’ can then be used to compare the height and width of different parts of your subject, ensuring everything stays in proportion. It’s a foundational technique for realistic drawing.
Keep a dedicated ‘bad drawing’ sketchbook. Seriously. This is a no-pressure zone where you are *allowed* to experiment, make mistakes, and create ugly art. Giving yourself explicit permission to fail is incredibly liberating. It’s in this freedom to play that you’ll make your most important discoveries and build real confidence.
When you’re ready to explore digital drawing, Procreate for the iPad is the undisputed industry standard for a reason. But for a zero-cost entry point, try Autodesk Sketchbook. It’s a surprisingly powerful and free application for desktop and mobile that offers a wide range of professional-grade tools to get you started without the investment.
Ever wonder why some pencil sketches look so good on tan or grey paper? It’s because the paper itself provides the mid-tone. An artist then only needs to add the darkest shadows with charcoal or a soft pencil and the brightest highlights with a white pencil. It’s a shortcut to creating impressive depth. Try a Strathmore 400 Series Toned sketchbook to experiment with this technique.
It makes your subject look solid and three-dimensional.
It creates mood and a clear focal point.
It anchors your object in its environment.
The secret? Drawing the cast shadow. Don’t just draw the object; draw the shape of the shadow it casts on the surface beside or beneath it. This simple addition makes your drawing instantly more believable.
Finished a pencil drawing you love? Protect it from smudging. A light coating of spray fixative is the professional’s choice. Krylon Workable Fixatif is a popular option because it sets the graphite but still allows you to erase and rework areas later. For a quick, low-cost alternative, place a clean sheet of glassine or even wax paper over the drawing in your sketchbook.
The iconic black Moleskine notebook, a modern favorite, was designed to replicate the simple, oilcloth-covered notebooks used by avant-garde artists like Vincent van Gogh and Henri Matisse in Paris.
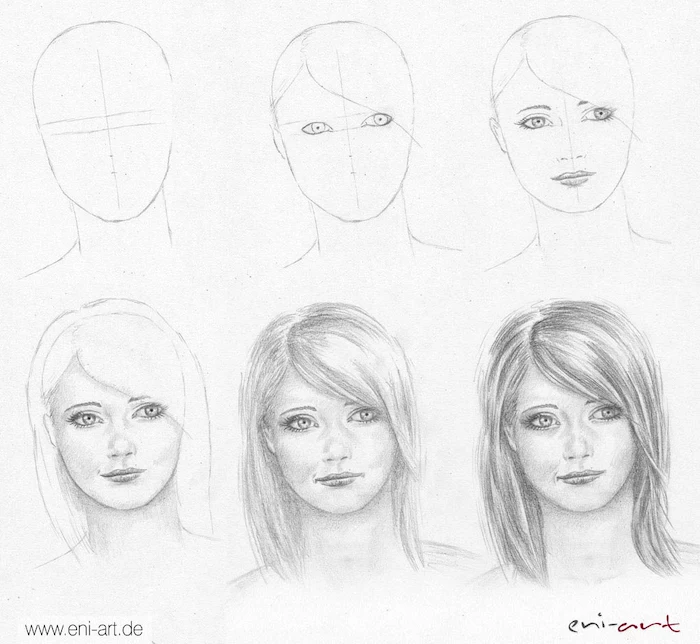
Don’t get lost in the details too soon. It’s tempting to perfectly render an eye before you’ve even sketched the rest of the head. Resist! Always work from big to small. Start by mapping out the largest, simplest shapes to lock in the composition and proportions. Once the foundation is solid, you can start refining the smaller details. Structure first, details last.
Your phone’s camera is a powerful drawing tool. Use it to capture interesting light and shadow patterns you see during the day. Don’t just take a photo of the object, take a photo of the long shadow it casts in the afternoon sun. You can also switch your phone’s screen to grayscale to help you see values (lights and darks) more clearly, making it easier to translate them into your drawing.
A great way to learn is to stand on the shoulders of giants. A ‘Master Study’ doesn’t mean recreating the Mona Lisa. Instead, try these simple exercises:
Sketch one of Leonardo da Vinci’s hands from his notebooks.
Copy the simple, bold line work from a cartoon by Saul Steinberg.
Analyze and draw the shapes of shadow in a still life by Giorgio Morandi.
What do the letters and numbers on pencils mean?
It’s a simple grading scale. ‘H’ stands for Hard, creating lighter, finer lines perfect for initial sketches. ‘B’ stands for Blackness, indicating a softer lead that produces darker, richer marks ideal for shading. A standard #2 pencil is an ‘HB’—right in the middle. A good starter set would include a 2H, an HB, a 2B, and a 4B.
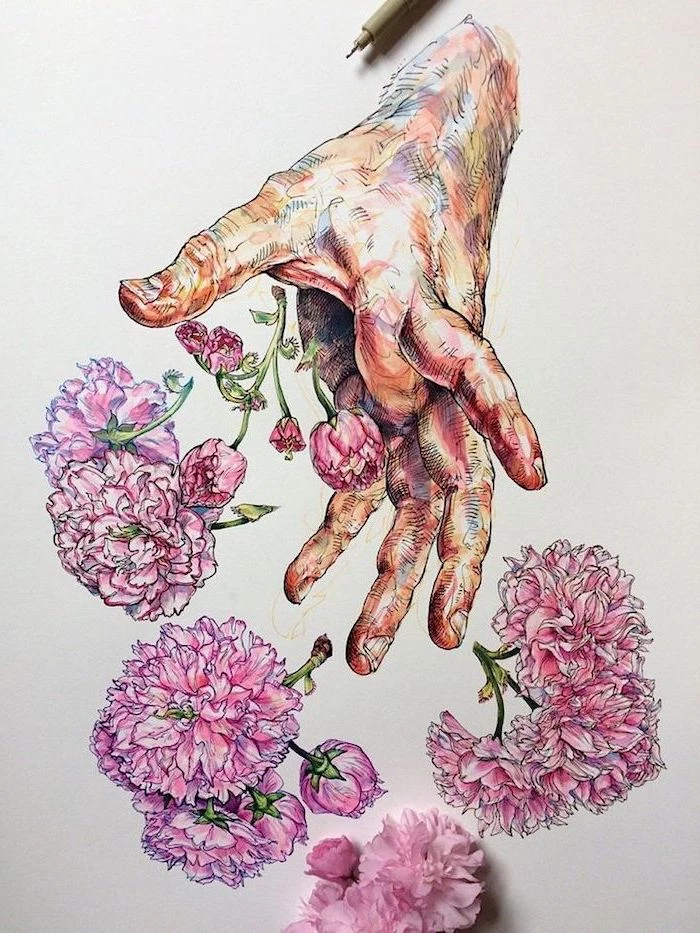
An artist’s hand is an incredible subject: it’s always available, it has complex organic forms, and you can pose it in infinite ways. Great masters from Dürer to Escher were obsessed with drawing them.
Feeling the texture of a surface with your non-drawing hand while you look at it can actually help you draw it better. This sensory input—feeling the roughness of bark or the smoothness of glass—engages another part of your brain, enriching the visual information you’re trying to capture on the page. It’s another way to move beyond just looking and start truly observing.
John combines 12 years of experience in event planning, interior styling, and lifestyle curation. With a degree in Visual Arts from California Institute of the Arts and certifications in event design, he has styled luxury weddings, corporate events, and celebrity celebrations. John believes in creating memorable experiences through innovative design and attention to detail.
To provide the best experiences, we use technologies like cookies to store and/or access device information. Consenting to these technologies will allow us to process data such as browsing behavior or unique IDs on this site. Not consenting or withdrawing consent, may adversely affect certain features and functions.
Functional
Always active
The technical storage or access is strictly necessary for the legitimate purpose of enabling the use of a specific service explicitly requested by the subscriber or user, or for the sole purpose of carrying out the transmission of a communication over an electronic communications network.
Preferences
The technical storage or access is necessary for the legitimate purpose of storing preferences that are not requested by the subscriber or user.
Statistics
The technical storage or access that is used exclusively for statistical purposes.The technical storage or access that is used exclusively for anonymous statistical purposes. Without a subpoena, voluntary compliance on the part of your Internet Service Provider, or additional records from a third party, information stored or retrieved for this purpose alone cannot usually be used to identify you.
Marketing
The technical storage or access is required to create user profiles to send advertising, or to track the user on a website or across several websites for similar marketing purposes.