Stop Building Cute Garden Junk: A Guide to Birdhouses Birds Actually Use
I have to confess, my first birdhouse was a total disaster. I was a kid, armed with some plywood scraps from the garage, a handsaw, and a very fuzzy idea of what I was doing. The result was a lopsided box with a little dowel perch right under the entrance hole, just like in the cartoons. I hung it up and waited. And waited. Of course, no birds ever moved in. A year later, it was just a sagging, waterlogged mess.
In this article
That failure taught me something critical: building a birdhouse isn’t about making a cute decoration. It’s about building a safe, functional home for a wild animal. Fast forward a couple of decades, and I’ve spent a lot of time with wood, building everything from custom cabinets to furniture. But I always come back to making birdhouses. It’s a craft that connects you to the world right outside your window. This guide isn’t about a bunch of fancy designs. It’s about the nitty-gritty details that make the difference between an empty box and a thriving bird family.
Oh, by the way, here’s a quick win you can do in five minutes: Go look at any birdhouses you currently have. If one has a perch on the front, saw it off. Seriously. You just made that house ten times safer from predators. Now, let’s build one from scratch the right way.
First Things First: Think Like a Bird
Before you even touch a piece of wood, you have to get into the mind of your future tenants. We’re building for small, cavity-nesting birds—the kinds of birds that would naturally look for a hole in a dead tree. Think chickadees, wrens, bluebirds, and titmice. They aren’t scrolling through Pinterest for design ideas; they’re looking for security, the right amount of space, and shelter from the elements. Every single feature we build is for them.
The Make-or-Break Feature: The Entrance Hole
The size of the entrance hole is, without a doubt, the most important part of the entire build. It’s the bouncer at the door, deciding who gets in and—more importantly—who stays out. A hole that’s even a little too big is an open invitation for aggressive species like House Sparrows or European Starlings, which will bully native birds and destroy their nests. Too small, and your target bird can’t even get in. Precision is key.
Honestly, it’s worth investing in the right drill bit. I use forstner bits because they drill a perfectly clean hole, but a spade bit will also get the job done (it just might be a bit rougher around the edges, which the birds won’t mind). Here are the dimensions recommended by just about every wildlife expert:
- For smaller birds like House Wrens and Chickadees: Aim for a 1 1/8-inch hole. This is perfect for them and keeps most bullies out.
- For Tufted Titmice or Nuthatches: A 1 1/4-inch hole is the sweet spot.
- For Bluebirds (Eastern, Western, and Mountain): You need a 1 1/2-inch hole. This size is just right for them but too snug for starlings.
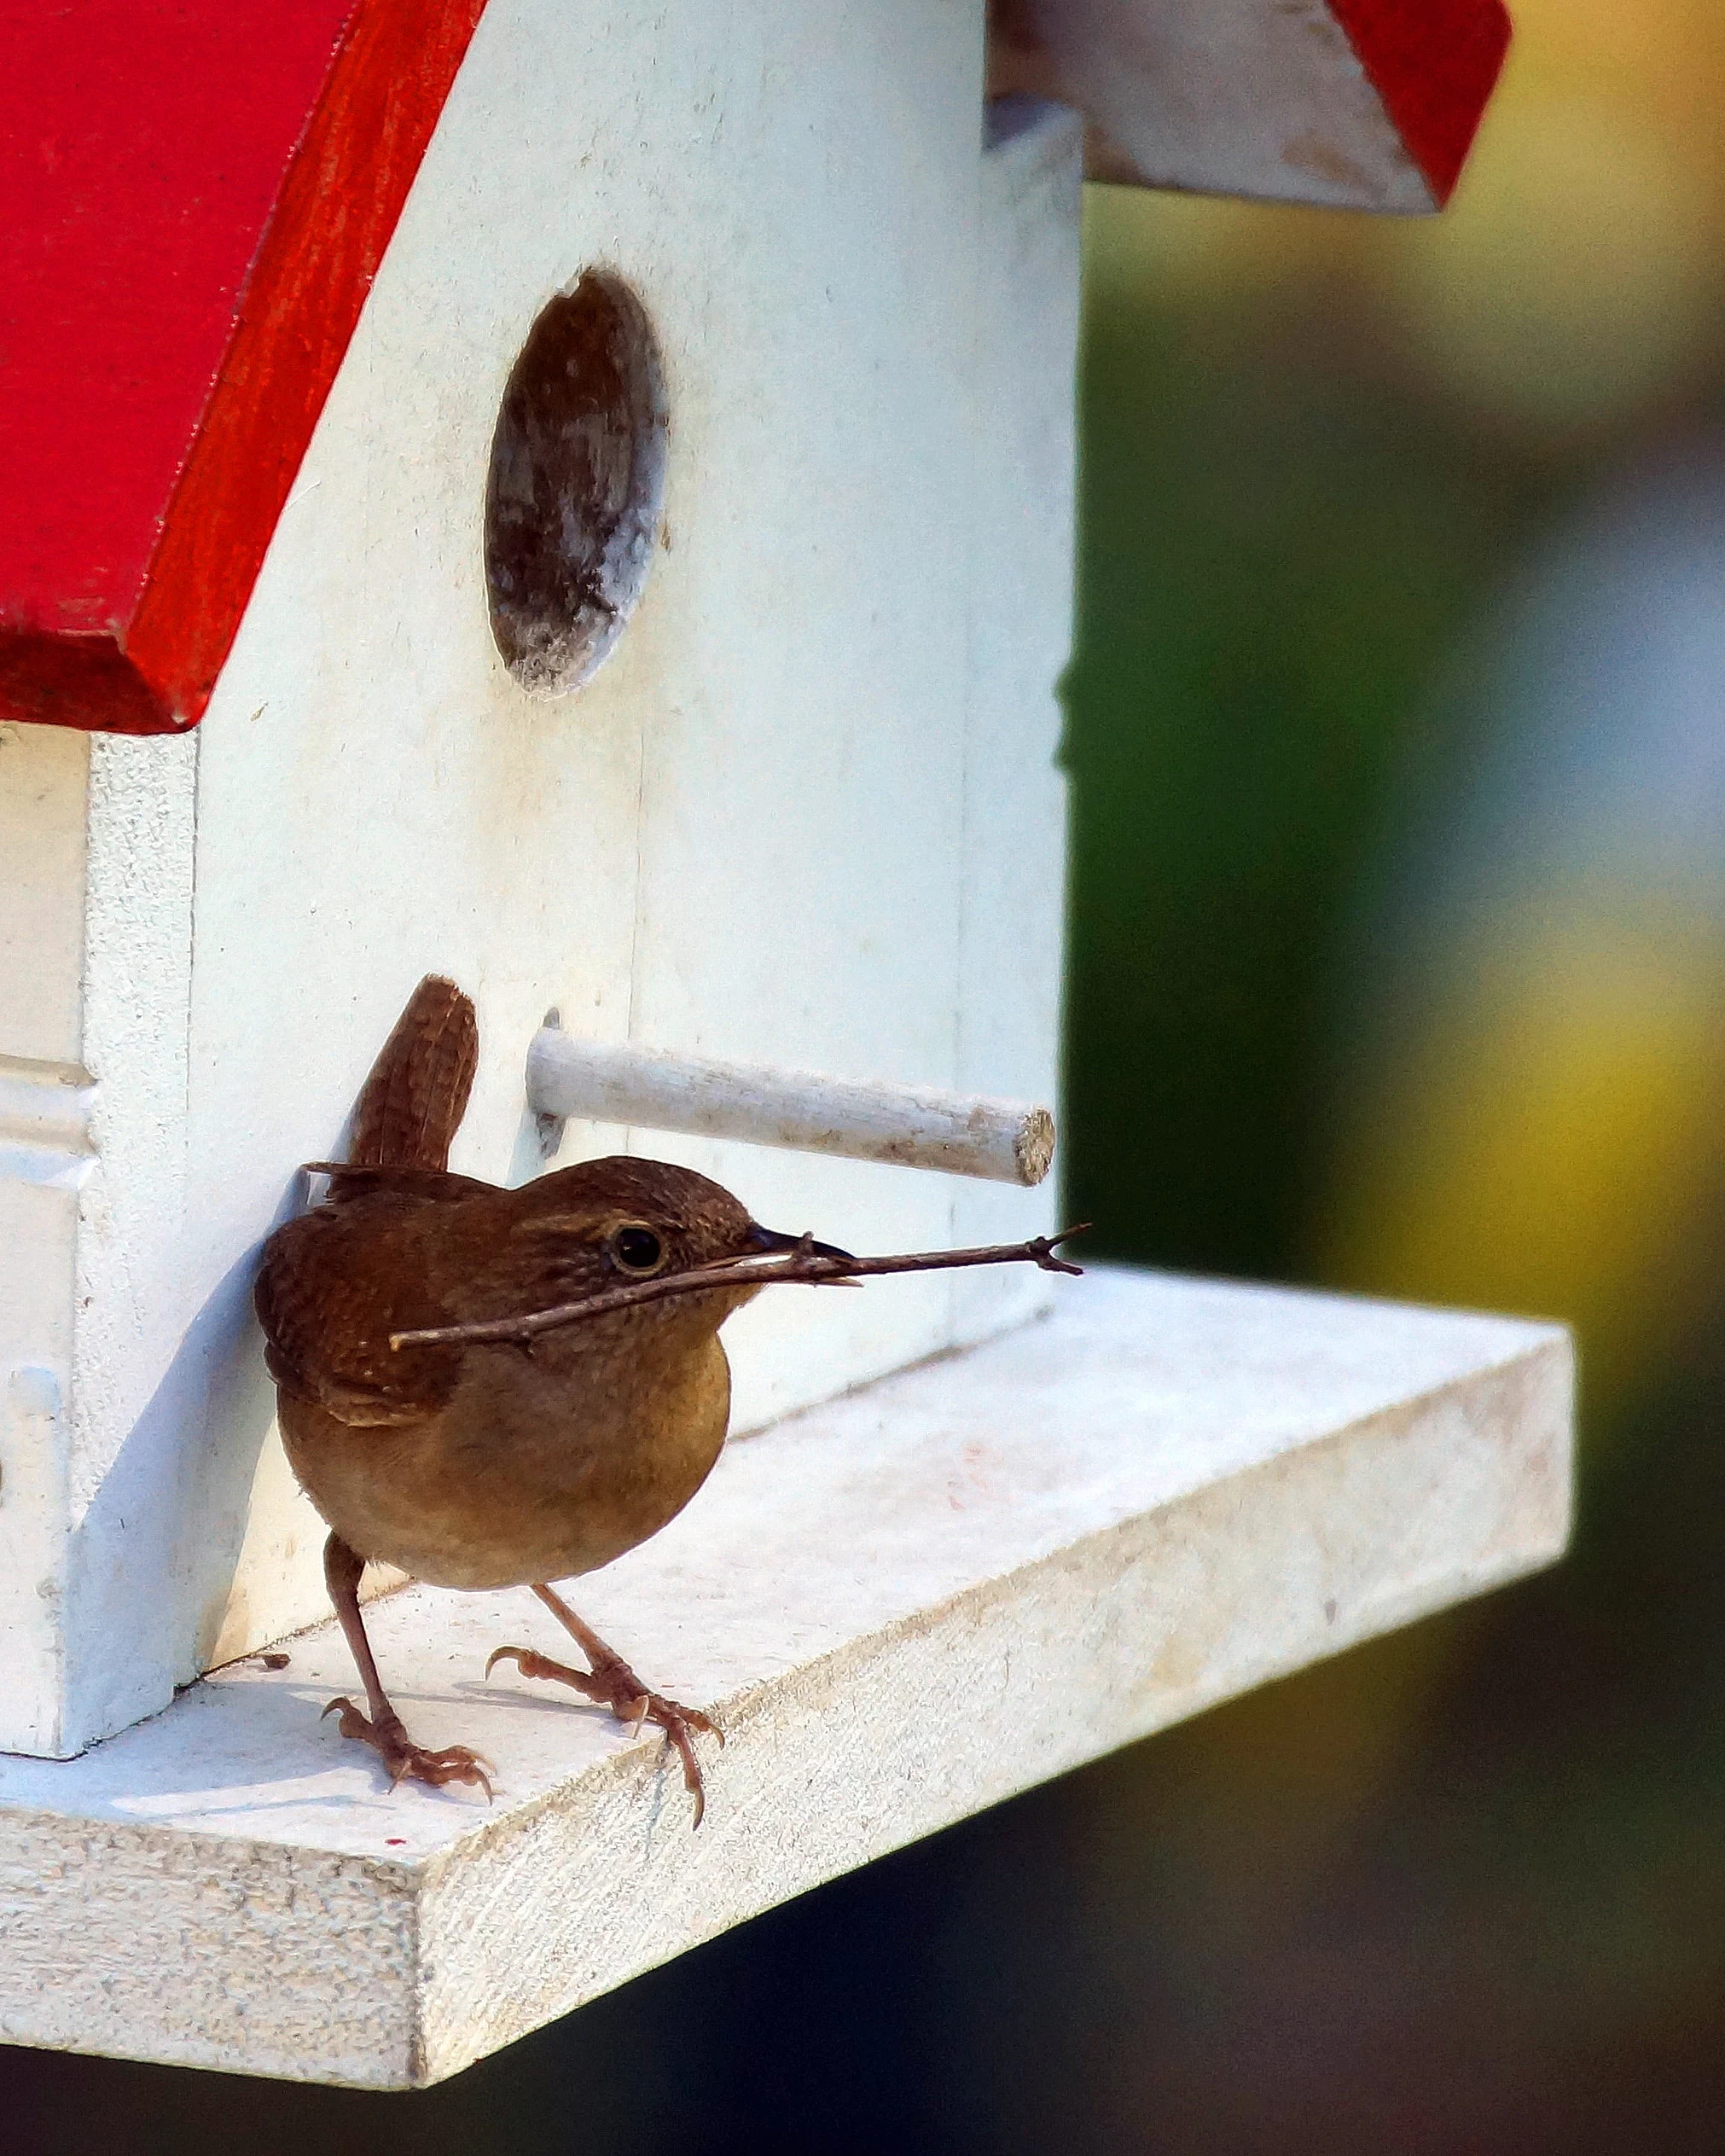
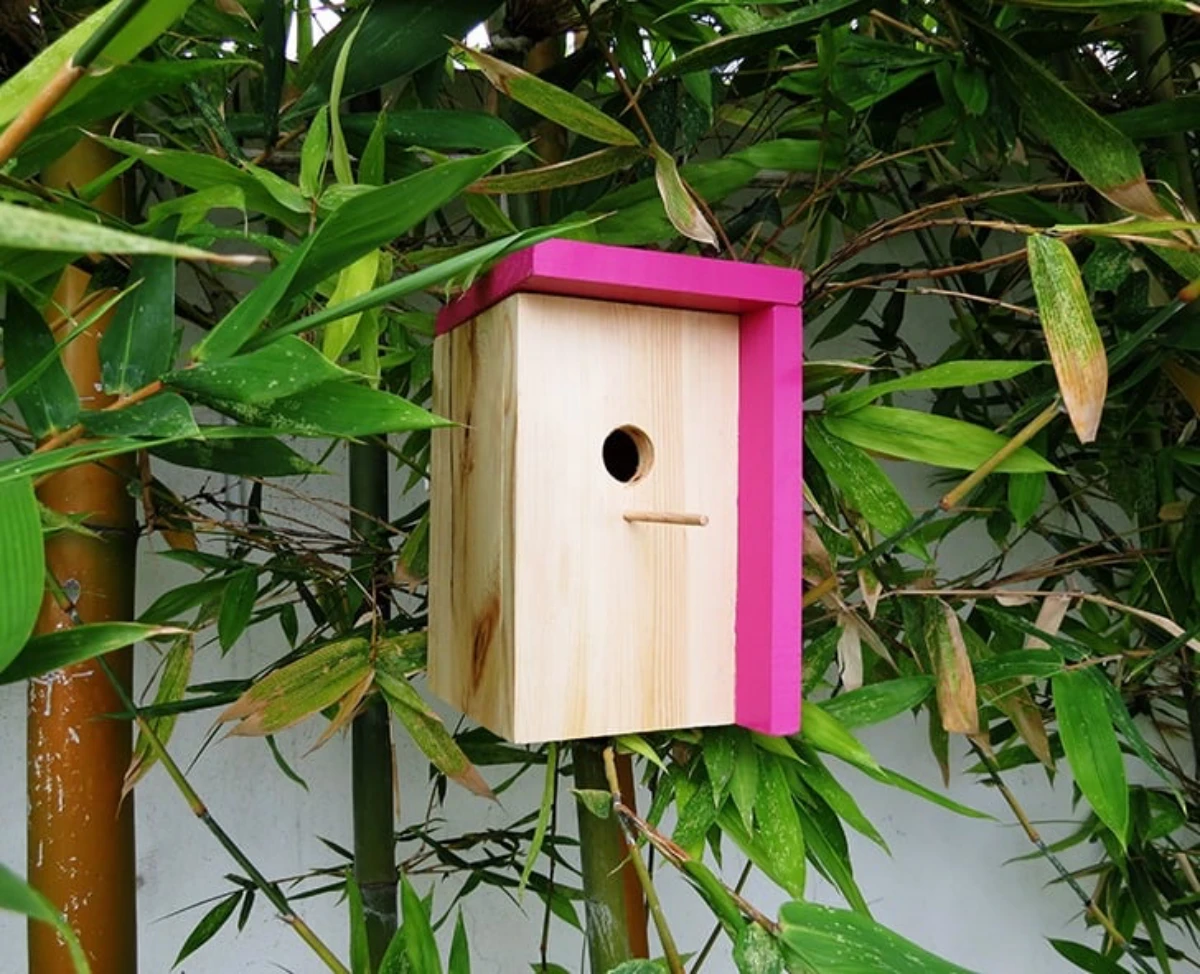
And let’s be crystal clear about perches: NEVER add one. Native birds don’t need a little stick to land on; they can cling to the wood just fine. A perch is just a convenient handle for a raccoon or other predator to grab while raiding the nest. It was the first big mistake I ever made.
The Insides: Room for a Family
The interior space needs to be just right. Too small, and a full clutch of chicks will be dangerously cramped. Too big, and the little ones might struggle to stay warm. The floor size is what really matters here. A good rule of thumb is a 4×4 inch floor for smaller birds like wrens and a 5×5 inch floor for bluebirds. The depth, measured from the bottom of the entrance hole to the floor, should be between 5 and 8 inches. This keeps little predators from reaching their paws in for a snack.
Survival 101: Airflow and Drainage
A poorly designed birdhouse can become a death trap on a hot day or during a heavy rain. Overheating and dampness are serious threats to young birds. Luckily, the fix is simple.
For ventilation, just drill two or three 1/4-inch holes at the top of the side walls, close to the roof. This lets hot air escape out the top while cool air comes in through the entrance. It’s a lifesaver.
For drainage, no matter how good your roof is, some water might get in. Drill four 1/4-inch holes in the corners of the floor piece. This ensures the nest never turns into a soggy, bacteria-filled sponge.
The Build: A Classic, No-Nonsense Birdhouse
Alright, let’s get our hands dusty. We’re going to build a classic box that’s perfect for bluebirds but easily adapted for smaller birds by just changing the hole size. The best part? We can make the whole thing from a single, standard board of wood.
Materials, Costs, and Time
Choosing the right wood is a safety issue. Please, avoid pressure-treated wood. The chemicals in it can be harmful. Plywood is also a bad choice because it delaminates when wet and the glues can off-gas. Stick with natural, rot-resistant wood.
- Wood: Grab one 1″ x 6″ x 6-foot board of cedar, redwood, or even just plain white pine. Cedar is my personal favorite; it’s light, naturally resists rot, and smells amazing. Expect to pay around $15 to $25 for a good cedar board at a place like Home Depot or Lowe’s. (Heads up: a “1-inch” board is actually about 3/4-inch thick).
- Fasteners: You’ll need about 20 exterior-grade screws. A 1 5/8-inch length is perfect. A box will run you about $8. I recommend screws over nails because they let you open the box later for cleaning.
- Tools: You’ll need a tape measure, pencil, safety glasses (don’t even think about skipping these), a saw (a handsaw is fine, but a miter saw makes it way faster), and a drill with bits for your screws, drainage/ventilation holes (1/4-inch), and the main entrance hole (e.g., a 1 1/2-inch spade or forstner bit).
Good to know: For a first-timer, plan for about 2-3 hours for this project, from the first cut to the last screw. Take your time!
The Cut List
Measure twice, cut once! It really does save a lot of headaches. Imagine your 6-foot (72-inch) board laid out. Here’s how you’ll cut it to get all your pieces with minimal waste from your 1×6 board (which is actually 5 1/2 inches wide):
- Back: 14 inches long (the extra length is for mounting it later)
- Front: 9 inches long
- Side 1 (Fixed): 9 inches long
- Side 2 (Pivoting Door): 8 7/8 inches long (that 1/8-inch difference is crucial so the door can swing open freely!)
- Roof: 7 inches long
- Floor: 4 inches long
Don’t worry if your cuts aren’t perfectly square. This isn’t fine furniture! The birds won’t care, and a small gap here or there actually helps with ventilation.
Step-by-Step Assembly
1. Drill First, Assemble Later: On your 9-inch Front piece, measure 2 inches down from the top and drill your entrance hole in the center. On the Floor piece, drill your four 1/4-inch drainage holes. On both Side pieces, drill two 1/4-inch ventilation holes near the top.
2. Give ’em Some Grip: This is a pro-tip that makes a huge difference. The inside of the front panel, right below the hole, needs to be rough. This gives the fledglings something to cling to when they’re ready to leave the nest. If your wood is smooth, just take your saw and cut a few shallow horizontal grooves (called kerfs) on the inside face. Don’t skip this!
3. Build the Box: Start by attaching the Fixed Side (the 9-inch one) to one edge of the 14-inch Back piece. Then, attach the Front piece to the other side of your Fixed Side. Now, slide the Floor piece in, flush with the bottom of the front and side, and screw it in place from the outside.
4. The Pivoting Door: This is the secret to easy cleaning. Take your slightly shorter Side 2 piece. Don’t screw it in all the way. Drive just one screw through the Back panel into the top edge of this side piece. This one screw acts as a hinge. To hold it closed at the bottom, you can use a single removable screw or even just a nail slipped into a pre-drilled hole. Each year, you just pop out that bottom fastener, and the side swings open.
5. Put a Lid On It: Place the Roof on top, making sure it overhangs the front and sides to keep rain out. Screw it down into the front, back, and the fixed side. But remember: do NOT attach it to the pivoting door side.
6. To Paint or Not to Paint: Never, ever paint or stain the inside. The fumes are dangerous. Honestly, the best finish for the outside is no finish at all. Cedar will weather to a beautiful silver-gray. If you absolutely must paint it to match your trim, use a light-colored, water-based latex paint on the exterior ONLY. Dark colors can turn the box into a solar oven.
Location, Location, Location
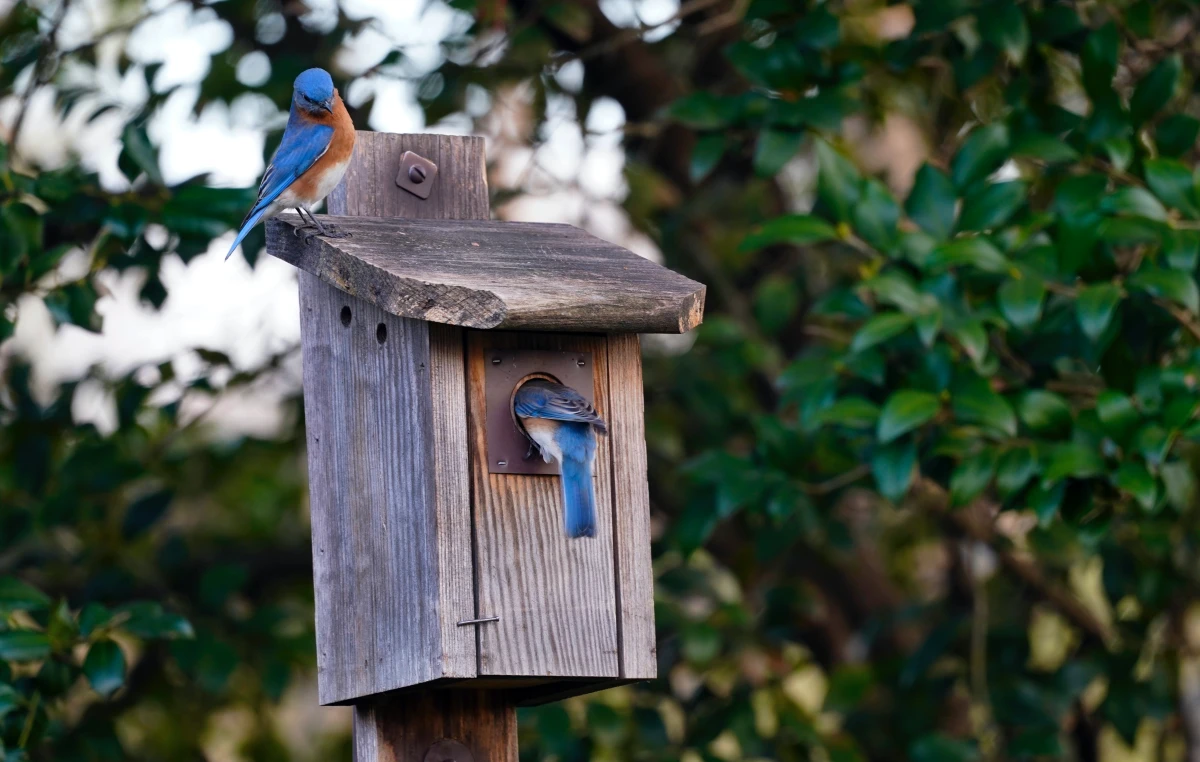
You can build the perfect birdhouse, but it’ll stay empty if you put it in the wrong spot. Bluebirds, for instance, want open spaces. They need to see big lawns or fields where they hunt for insects. They prefer a house mounted on a pole, facing the open area, with a tree line about 50-100 feet away for their fledglings’ first flight. Wrens are the opposite; they like their homes tucked into or near thick bushes where they feel safe.
How to Actually Mount the Thing
The safest way to mount a birdhouse is on a smooth metal pole (a piece of electrical conduit works great). This makes it much harder for climbing predators to reach. Avoid hanging it from a tree branch—it’s too easy for raccoons and cats to access, and the swinging motion can disturb the birds.
So, how do you attach the box to the pole? It’s pretty simple. Go to the hardware store and grab two U-bolts or a couple of pipe straps that are the right diameter for your pole. Just drill holes through the long backboard of your birdhouse and use the bolts or straps to clamp it securely to the pole. You want the entrance hole to be about 5 to 8 feet off the ground.
And please, for the love of birds, install a predator baffle on the pole! A baffle is just a cone or stovepipe-shaped piece of metal that keeps raccoons and snakes from climbing up. You can find them at wild bird supply stores or online. A birdhouse on a pole without a baffle is basically a feeder for predators.
The Annual Clean-Out
Your job isn’t done after the birds move out. By late summer or fall, you need to clean out the old nest. This is why we built that cool pivoting door. Old nests can be full of parasites. Open the side, pull out the old material (wear gloves!), and give it a quick scrub with a stiff brush. This simple chore dramatically increases the chance of a new family moving in next year.
Troubleshooting Common Problems
“Help! Aggressive sparrows have taken over!”
If House Sparrows move in, you have to be persistent. They’re invasive and will drive out native birds. Check the box every few days and remove any of their nesting material. It’s a battle of wills, but you have to win.
“My birdhouse has been empty for a whole year.”
Patience is key, but if it’s still vacant, it’s probably the location. Is it right for the bird you want to attract? Is it too exposed? Too hidden? Try moving it a few dozen feet. It can make all the difference.
“A predator got to the nest…”
This is heartbreaking. The first step is to immediately install or upgrade your predator baffle. You can also add a small block of wood around the outside of the entrance hole to make it deeper, which makes it harder for a raccoon to reach inside.
Building a birdhouse is so much more than a woodworking project. It’s an act of stewardship. And when you finally see a bird carrying that first twig into the home you built with your own hands, the feeling is incredible. You’re not just a spectator anymore; you’re part of the local ecosystem. You’ve built something that truly works.
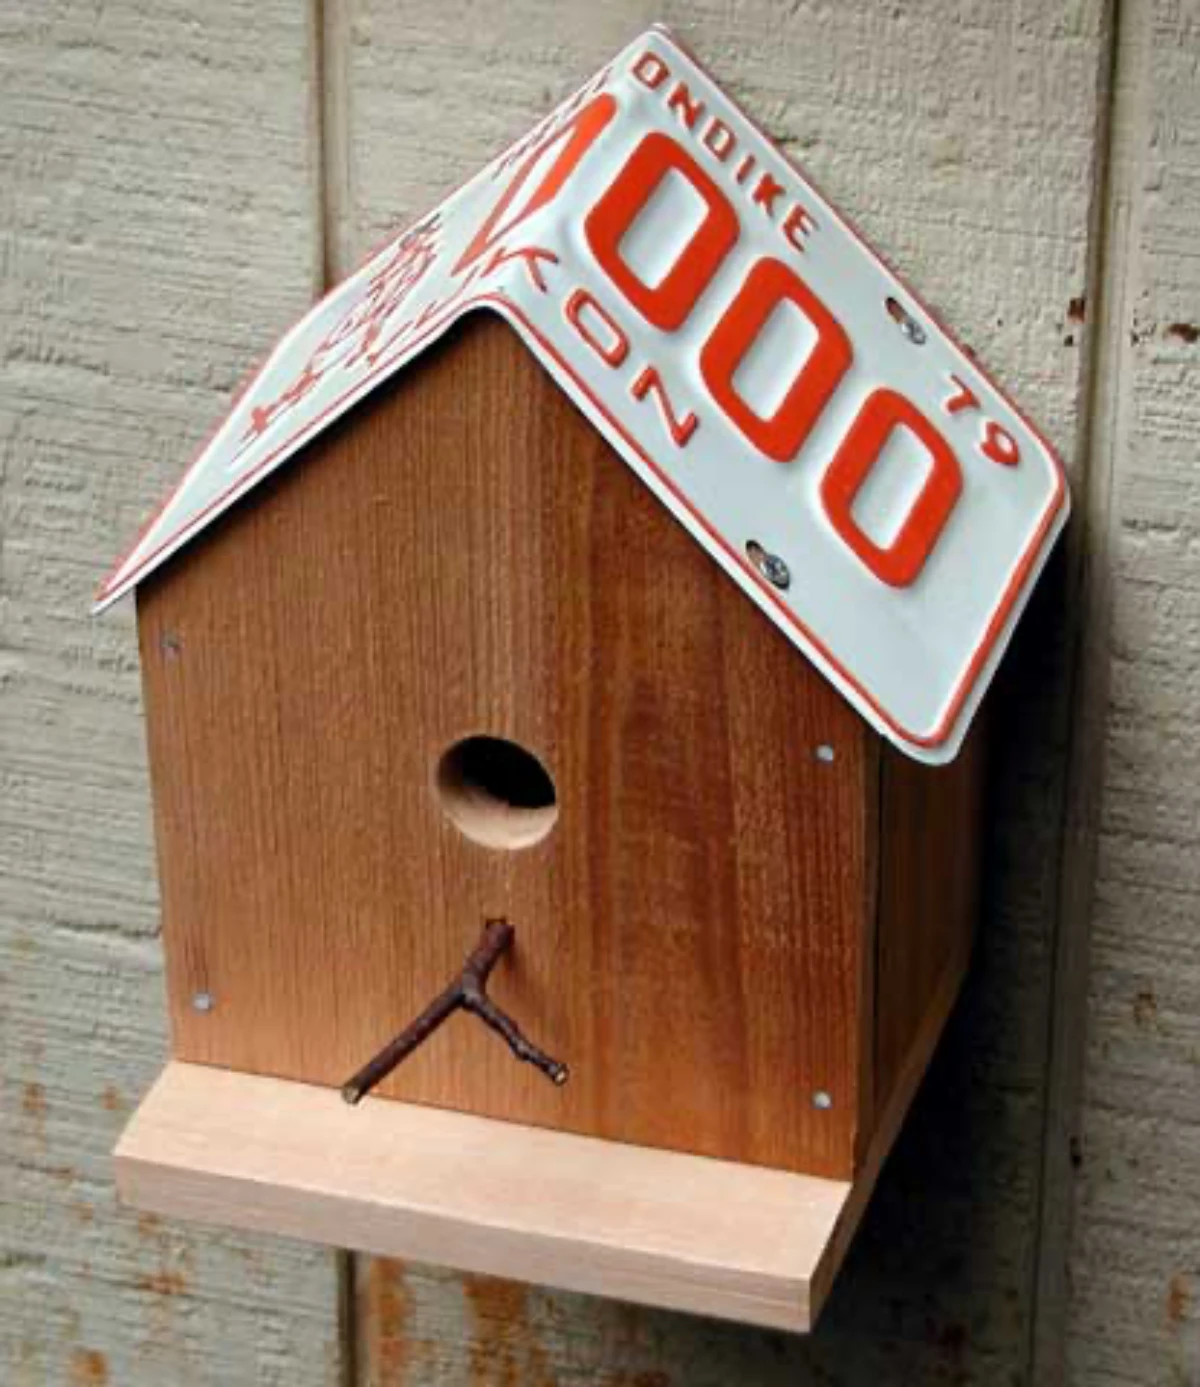
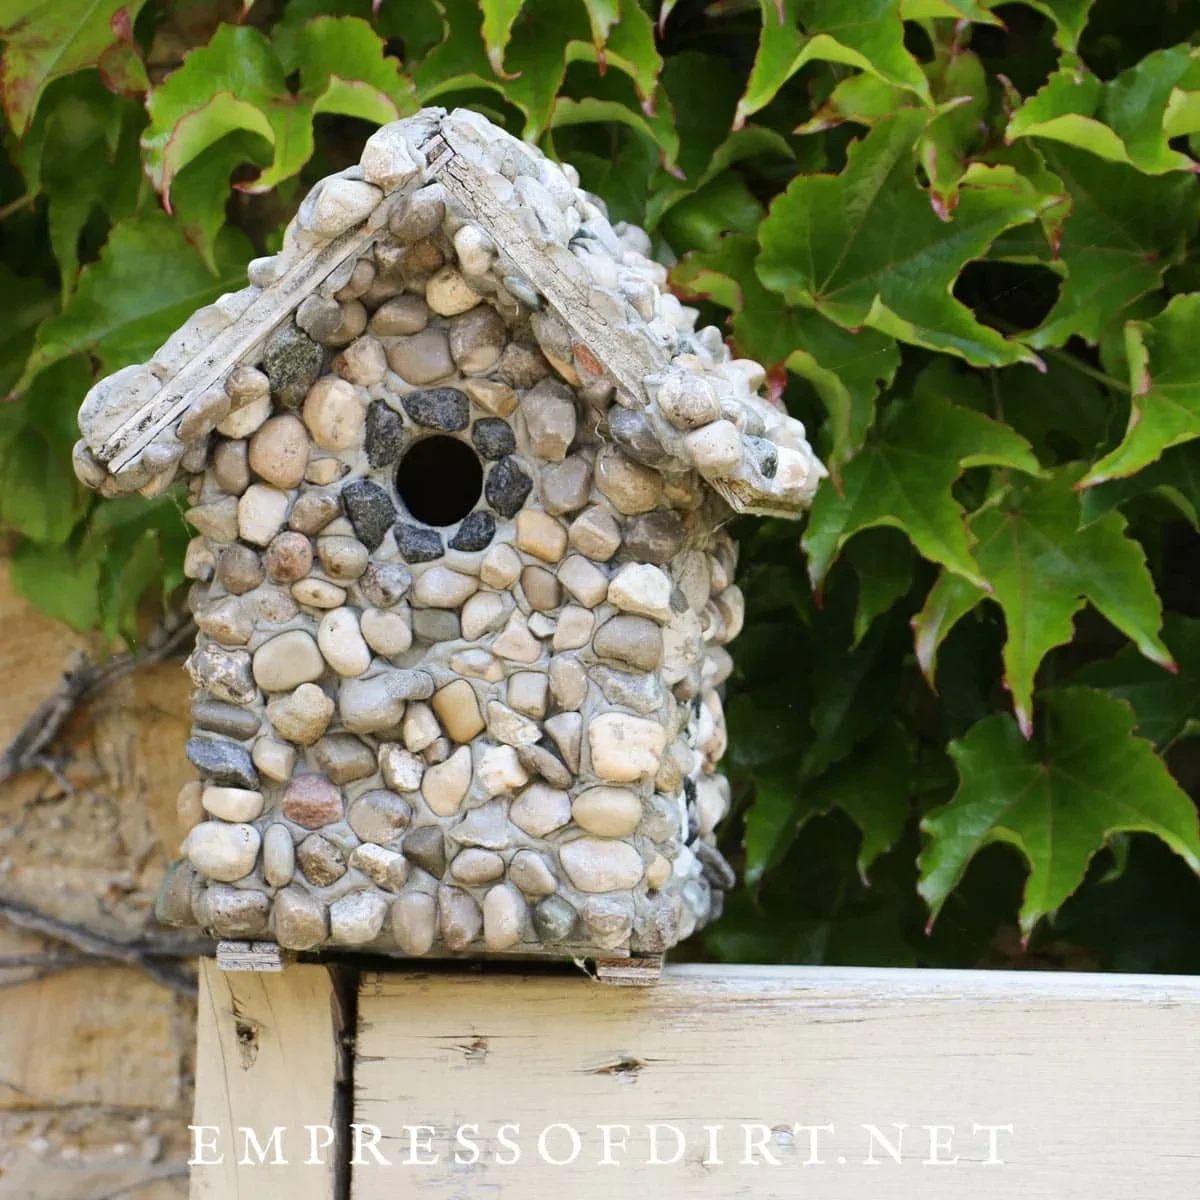
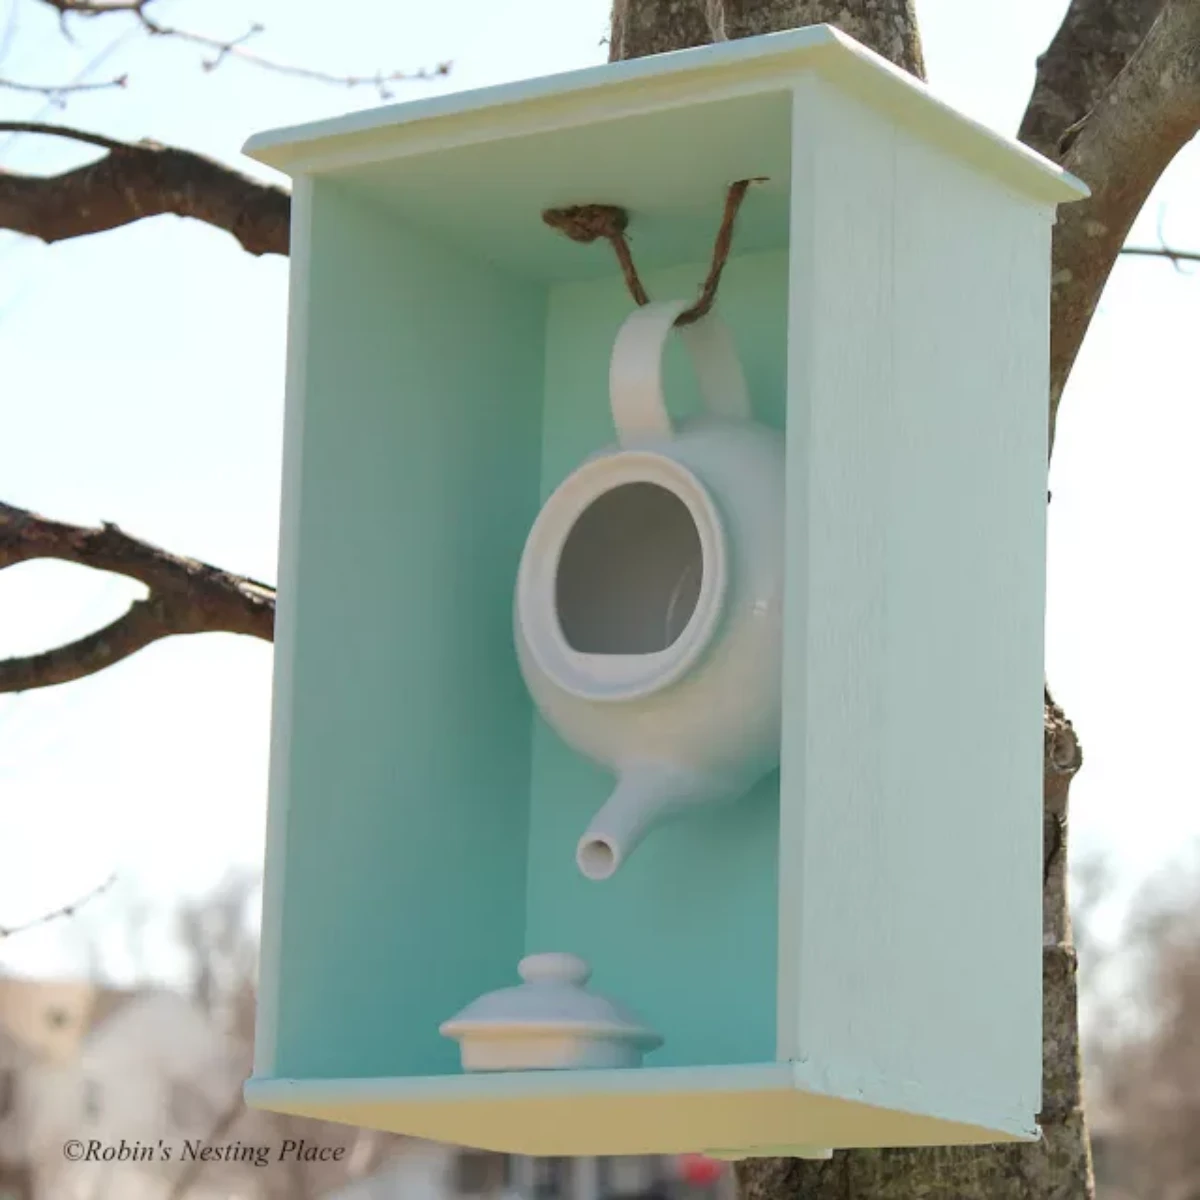
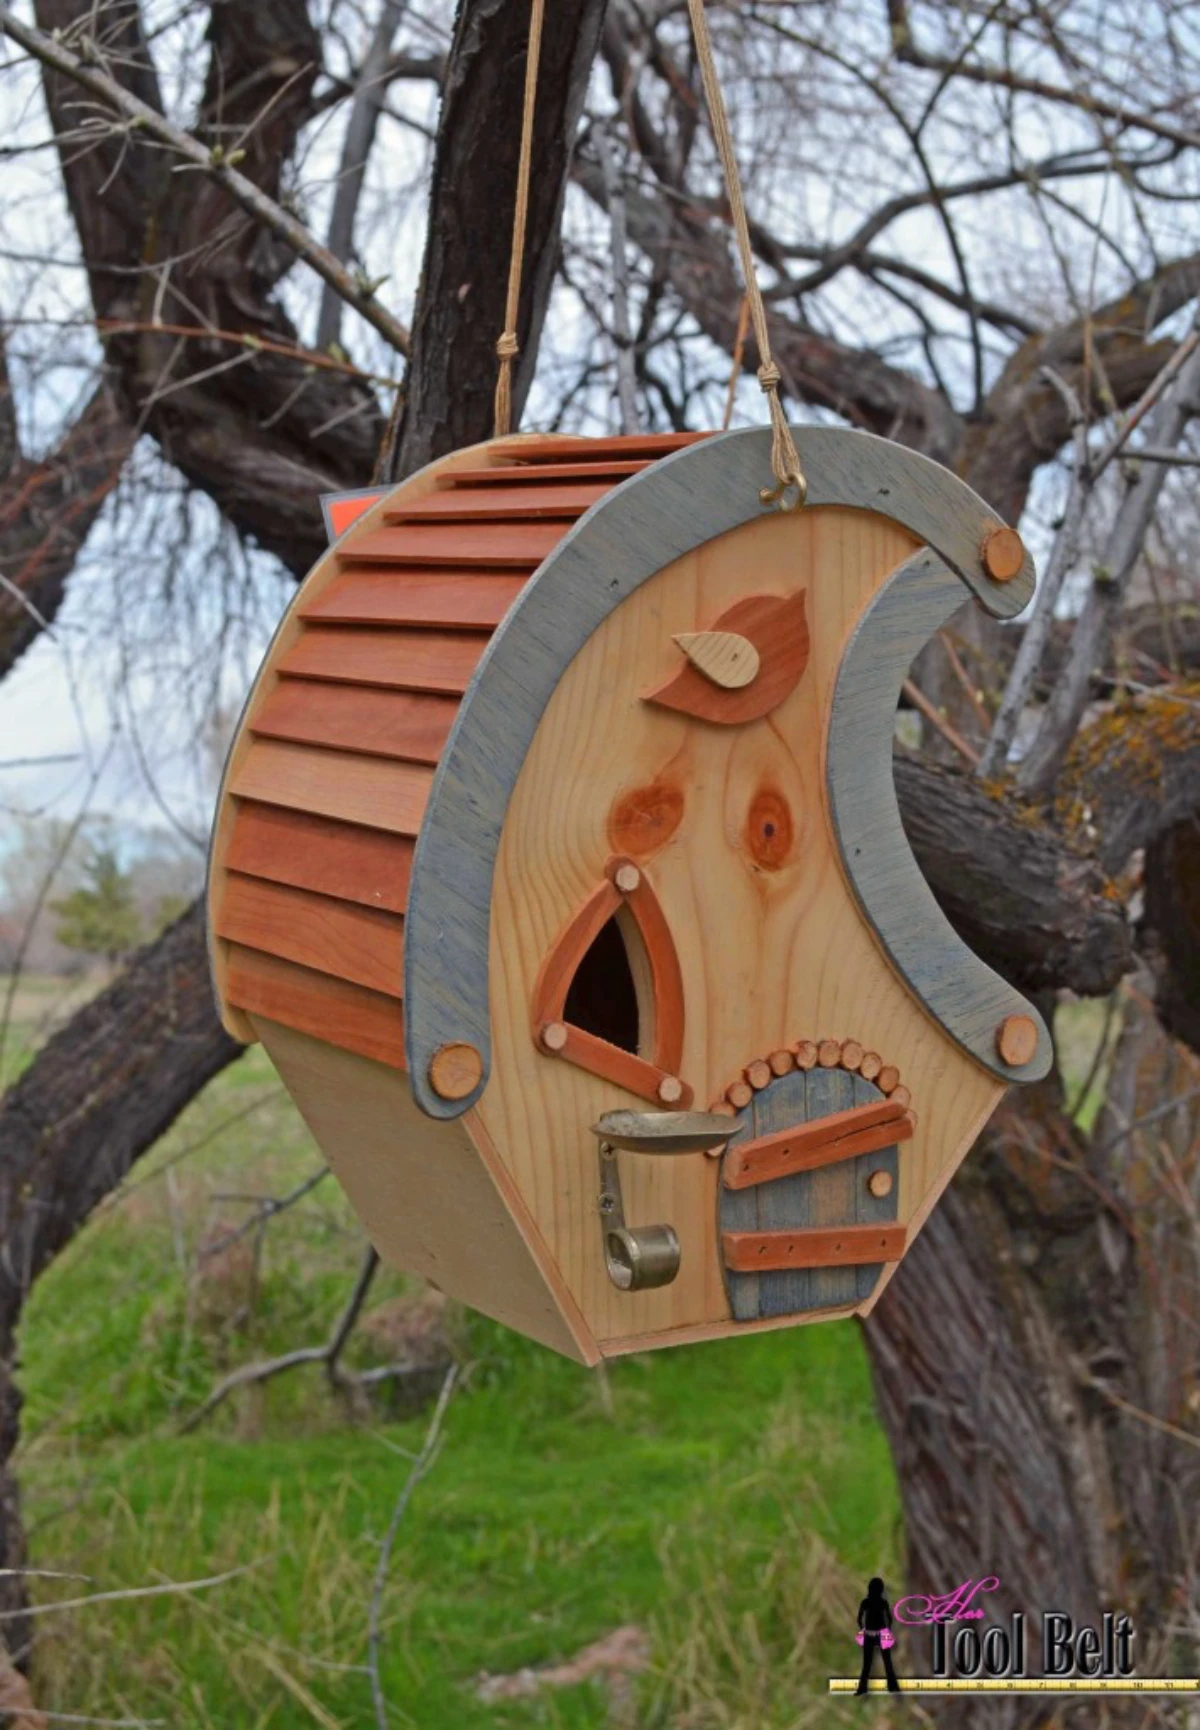
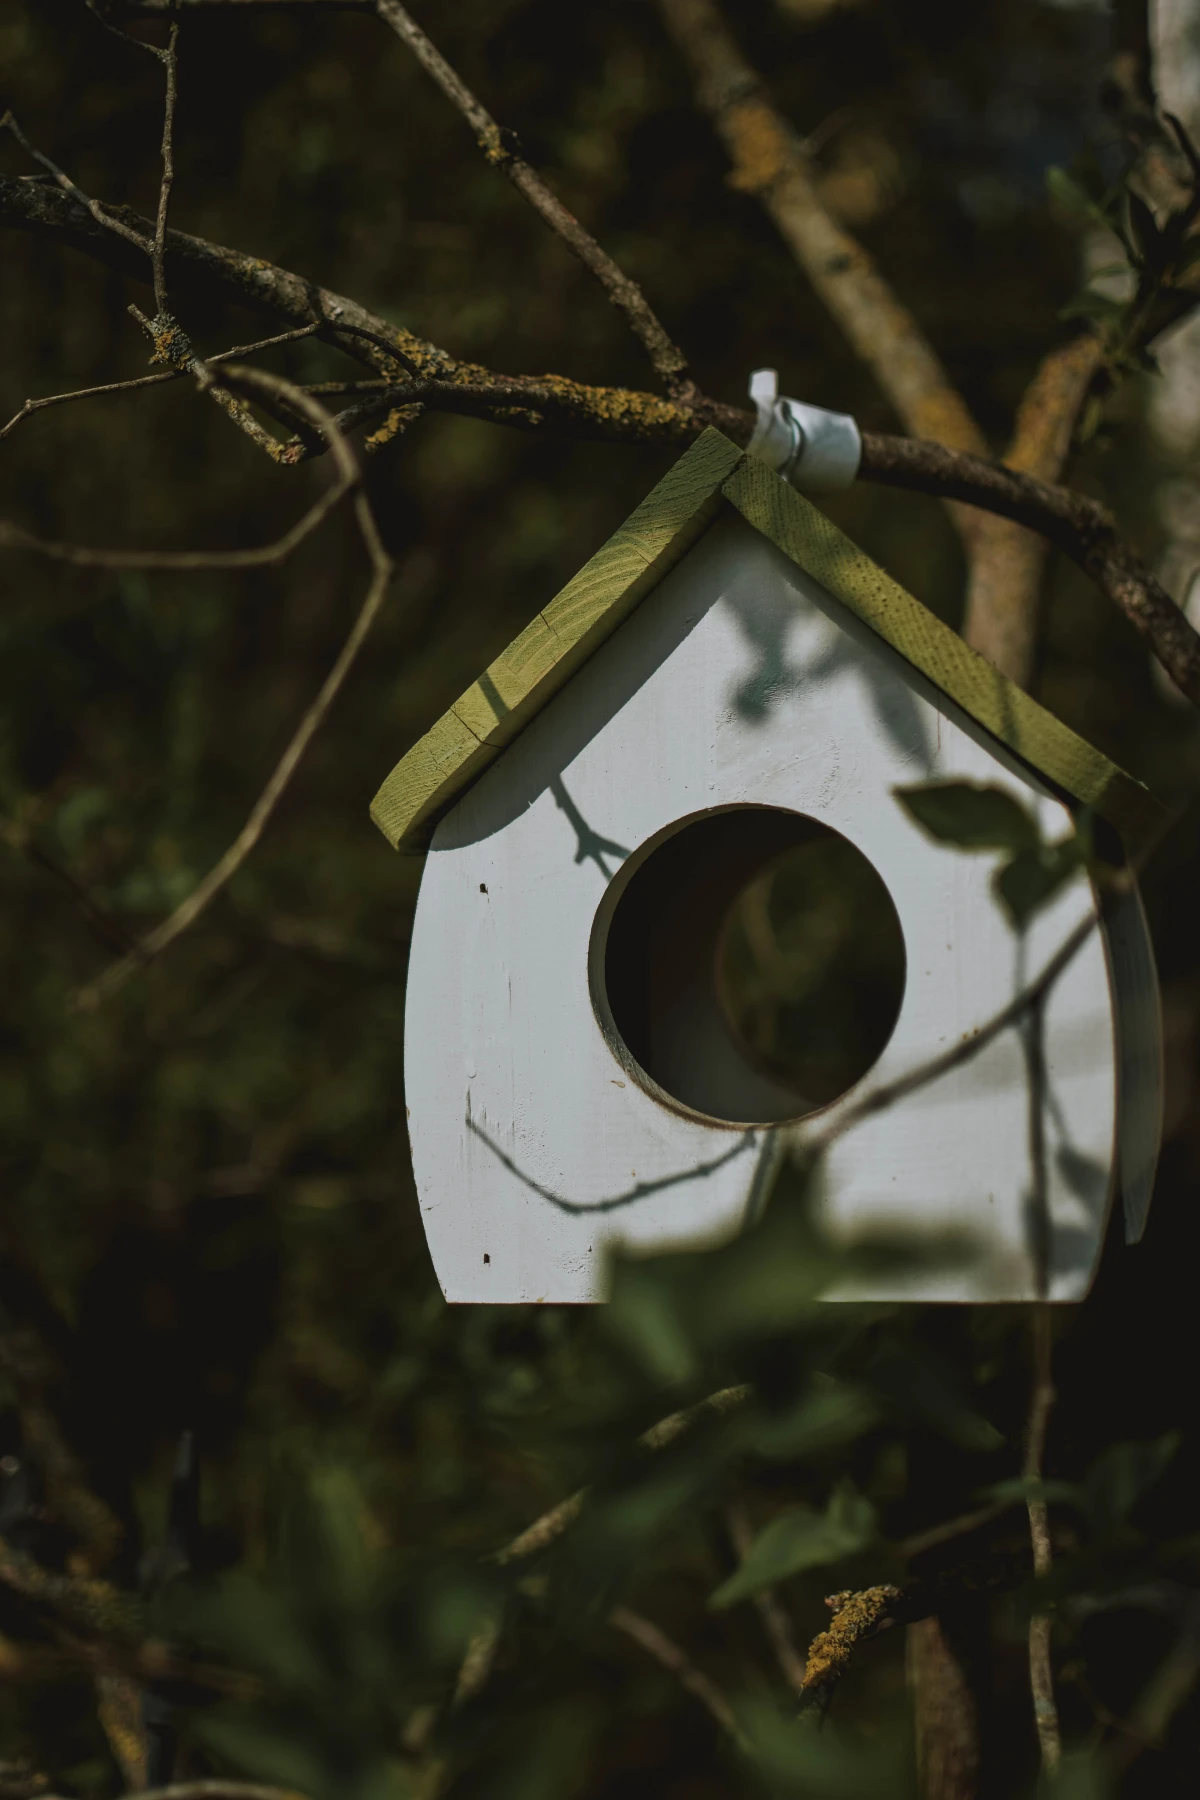
Inspirational Gallery
A crucial safety note: Never use pressure-treated wood for a birdhouse. The chemicals used to preserve the wood can be toxic to birds as they leach over time. Stick to naturally rot-resistant woods like cedar, cypress, or even untreated pine. The birds’ health is worth the extra thought when selecting your materials.
- Mount your birdhouse 5 to 10 feet off the ground for most small songbirds.
- Face the entrance hole away from prevailing winds, usually to the east.
- Avoid direct, all-day sun which can dangerously overheat the box. Morning sun is ideal.
- Place it away from busy areas and at least 20 feet from bird feeders to reduce conflicts.
The vast majority of small cavity-nesting birds don’t excavate their own homes; they rely on abandoned woodpecker nests.
This is why our man-made houses should mimic these natural cavities. Think rough, unfinished wood on the inside for grip, a distinct lack of perches (woodpecker holes don’t have them!), and dimensions that feel snug and secure, not vast and exposed. We’re not inventing a home; we’re recreating what nature has already perfected.
Do I really need to clean out my birdhouse every year?
Yes, absolutely. After a nesting season, the old nest can be filled with mites, parasites, and droppings. A clean-out provides a healthy start for the next family. Wait until fall, once you’re certain the nest is empty. Simply open the side or roof panel, scrape out all the old materials with a putty knife, and let it air out. A rinse with a very weak bleach solution (one part bleach to nine parts water) can help, but make sure it dries completely for several days before closing it up.
The real reward isn’t the finished box, but the first sign of life. It’s the moment you see a Carolina Wren meticulously carrying bits of moss through the hole, or the day you first hear the faint, high-pitched peeping of new chicks from within. That’s when your simple wooden box becomes a tiny, vibrant center of the world, a success story unfolding right in your own backyard.
A good roof does more than just keep the rain out; it protects the nest from sun and predators. For maximum effectiveness, your roof design should include two key features:
- A Gentle Slope: A flat roof allows water to pool and seep into the nest box, chilling the eggs and chicks. A sloped roof ensures water runs off immediately.
- A Generous Overhang: Extend the roof at least two inches over the entrance hole. This helps keep rain from blowing in and also makes it harder for predators like cats or raccoons to reach in from above.
- Prevents baby birds from getting trapped inside.
- Gives them the grip they need to climb to the entrance hole.
- Mimics the rough interior of a natural tree cavity.
The secret? A simple finishing touch. Before assembling the front panel of your birdhouse, use an awl or the tip of a screw to score a series of horizontal grooves on the inside surface, starting about an inch below the hole. This
Cedar: The gold standard. Naturally resistant to rot and insects, it weathers to a beautiful silver-gray and requires no protective finish. Brands like Western Red Cedar are ideal.
Pine: A budget-friendly choice. It’s easy to work with but will rot quickly if left unfinished. If you use pine, a coat of exterior-grade, low-VOC latex paint (on the OUTSIDE ONLY!) is essential to extend its life.
For longevity and bird safety, cedar is the superior, maintenance-free option.
Raccoons are clever climbers with a reach of over 10 inches. This is why mounting a house on a tree or a simple pole is an open invitation.
Adding a conical or stovepipe-style predator baffle, like those made by Woodlink or Erva, below the house is the single best way to protect eggs and fledglings. It creates a physical barrier that snakes, squirrels, and raccoons simply can’t defeat.
Want a bird’s-eye view of the family you’re hosting? A mini Wi-Fi camera offers an incredible, non-intrusive look inside. Models like the Green Feathers bird box camera are designed for this, but a small Wyze Cam can also be adapted. The key is safety: ensure the camera produces no light (disable any status LEDs!) and doesn’t generate heat. Mount it securely to the roof or an interior wall *before* a bird ever claims the box.


