How to Make a Travel Journal That Actually Lasts (A Pro’s Guide)
I still remember my very first travel journal. It was for a big trip through Asia, and I cobbled it together with a cheap spiral notebook and a glue stick I grabbed at the airport. To be honest, it’s a wreck today. The pages are yellow and feel like they could turn to dust, photos have fallen out, and the glue left these ugly brown stains everywhere. It’s a perfect example of what not to do.
In this article
But it taught me something crucial: a travel journal isn’t just a scrapbook. It’s a real, physical artifact of your life. If you build it the right way, with the right stuff, it can literally last for generations. I’ve spent years as a professional bookbinder and paper conservator, and I’ve seen firsthand what makes things fall apart and what makes them endure. The good news? You don’t need a fancy workshop to do it right. You just need a little know-how.
So, let’s talk about how to craft a truly durable, meaningful record of your journeys. This isn’t about looking perfect for social media; it’s about creating something you can hold in your hands a lifetime from now.
First Things First: Your Essential Starter Kit
Before we dive in, let’s get the shopping list out of the way. It’s way more affordable than you might think to get started with professional-grade materials. For a great foundation, here’s what you’ll need:
- A Smyth-sewn journal with acid-free paper (around $20-$30).
- An archival ink pen (like a pigment-based one, usually $3-$5).
- A bottle of archival PVA glue (about $10 for a bottle that will last ages).
- A pack of archival photo corners (around $5-$8).
- A good craft knife and a steel ruler (about $15 for a basic set).
All in, you’re looking at about $50 to $70 to build a journal that will genuinely stand the test of time. You can find all of this at a dedicated art supply store like Blick, on Amazon, or even in the finer art section of a big-box craft store.
The Foundation: Paper, Binding, and Glue are Everything
The choices you make before you even write a single word will determine if your journal survives for five years or a hundred. This is the science behind the craft, and honestly, it’s the most important part.
Why Your Paper Choice Matters So Much
So, what’s the big deal with paper? Most of the paper you run into every day—from notebooks to printer paper—is acidic. That acid, a leftover from the manufacturing process, slowly eats away at the paper fibers. It’s why old newspapers turn yellow, get brittle, and basically crumble if you look at them wrong. An acidic journal will literally self-destruct, taking your photos and mementos with it.
The solution is to only use paper that’s labeled “acid-free” or “archival-quality.” This paper has a neutral pH, so it won’t degrade. You can often feel the difference; it’s smoother and feels more substantial. Also, pay attention to paper weight, measured in GSM (grams per square meter). Standard office paper is a flimsy 80 GSM. For a journal, you want something in the 100 to 140 GSM range. It’s thick enough to handle ink, glue, and even a light watercolor wash without turning into a wrinkled mess.
How Your Journal is Held Together (The Binding)
The binding is the spine of your whole project, both literally and figuratively. Here’s the breakdown of what you’ll find out there:
- Spiral-Bound: Super convenient because they lay flat, I get it. But the pages tear out way too easily, and the wire gets crushed in a backpack. I’d skip these for any long-term project.
- Perfect-Bound (Glued Spine): This is how most paperback books are made. It’s cheap, but not durable. Over time, that glue dries, cracks, and pages just start falling out. Not ideal.
- Smyth-Sewn Binding: This is the one you want. The pages are folded into little groups (called signatures) and then all sewn together with thread. It’s incredibly strong, and you can open the book relatively flat without ever breaking the spine. Most high-quality notebooks from reputable brands use this method. It’s the only type I trust for serious work.
The Hidden Danger: Adhesives
That glue stick from my first journal taught me a hard lesson. Most craft glues are acidic and will ruin your work over time. Here’s a quick guide to sticking things down the right way:
- Good: For just sticking paper to paper, an “acid-free” craft stick is okay in a pinch. They’re better than the standard stuff but can still lose their grip over time.
- Better: Archival PVA glue. This is the white glue bookbinders use. It’s pH-neutral, flexible, and creates a permanent bond. A small $10 bottle of a trusted archival brand will last you for several journals.
- Best: For photos, always use archival photo corners. These are little paper or plastic pockets that stick to the page, so the adhesive never even touches your photograph. This is the professional standard. For incredibly delicate, antique paper, the pros use a powder called methyl cellulose that you mix into a reversible paste, but for most of us, PVA and photo corners are perfect.
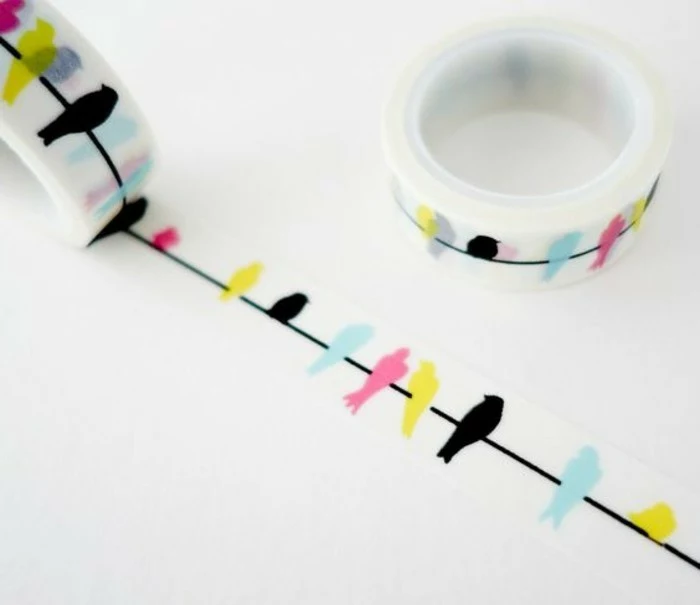
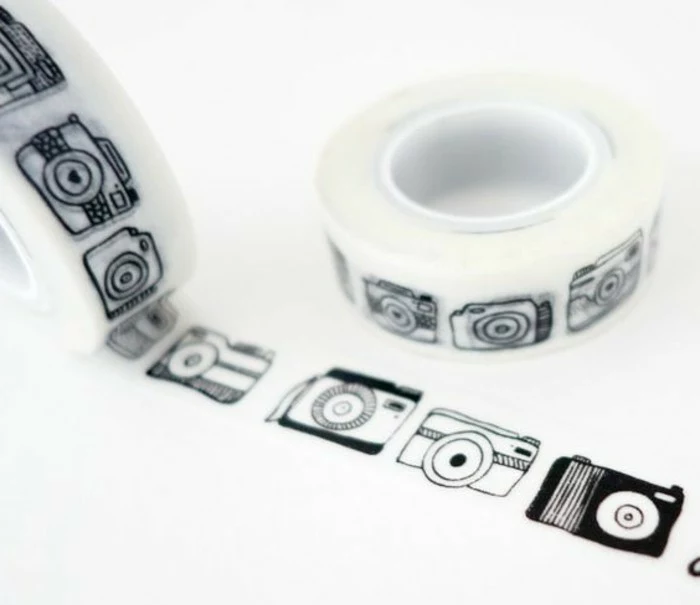
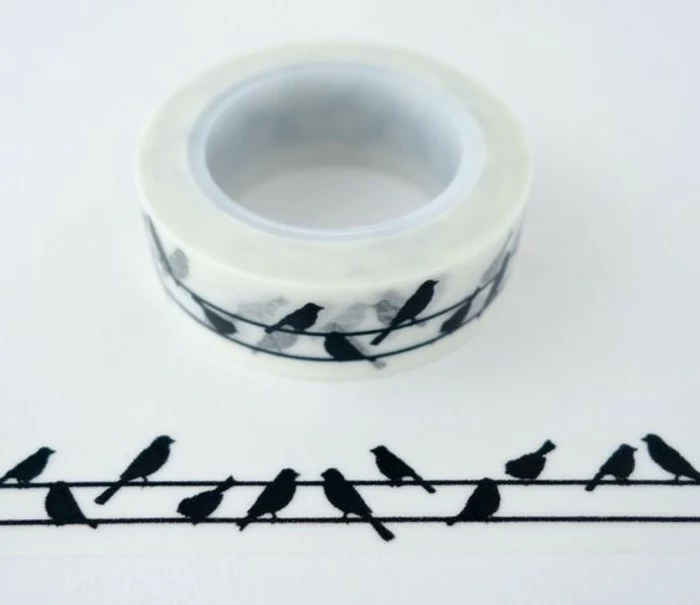
Oh, and a quick note on tape: just don’t. Standard clear tape will yellow, get brittle, and leave a sticky, damaging mess. If you love the look of washi tape, make sure it’s specifically acid-free, and even then, use it for decoration, not for holding anything important.

The Pro’s Toolkit: Working Clean and Smart
You don’t need a huge workshop, but a few key tools will make your journal look less like a scrapbook and more like a well-crafted book. Precision and cleanliness are the name of the game.
For clean, straight cuts, nothing beats a sharp craft knife, a self-healing cutting mat, and a steel ruler. A steel ruler is non-negotiable—a knife will just chew up a plastic one and ruin your line. Safety first, and I’m not kidding about this. Always cut away from your body and keep your fingers clear. I have a tiny scar on my finger from one moment of inattention with a dull blade. It’s a permanent reminder to respect the tool.
Pro-Tip: A sharp blade is a safe blade. Dull blades require more pressure, and that’s when you slip.
When it comes to gluing, don’t squeeze it directly from the bottle. Put a little puddle on some scrap paper, and use a small, stiff brush to apply a thin, even layer. When you place the item on the page, cover it with a piece of wax paper and press it down firmly with a bone folder or the edge of a ruler. This gives you a perfect, bubble-free bond without any mess.
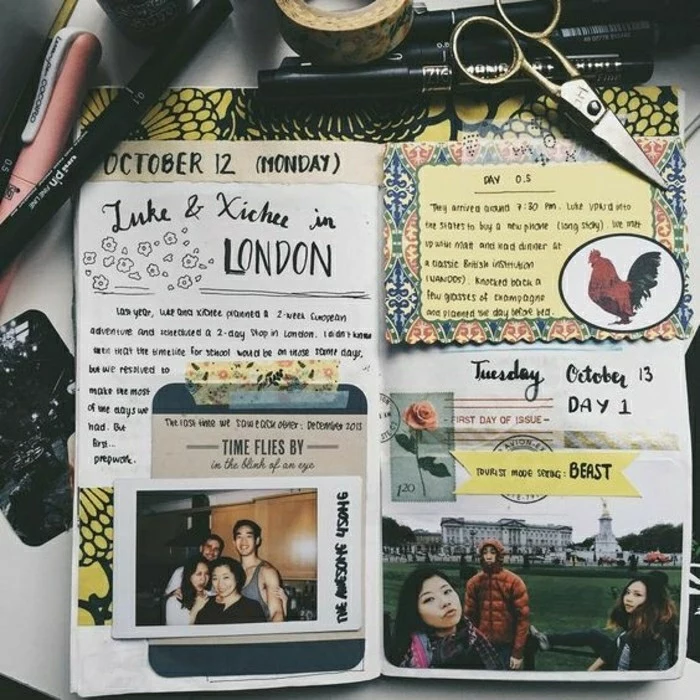
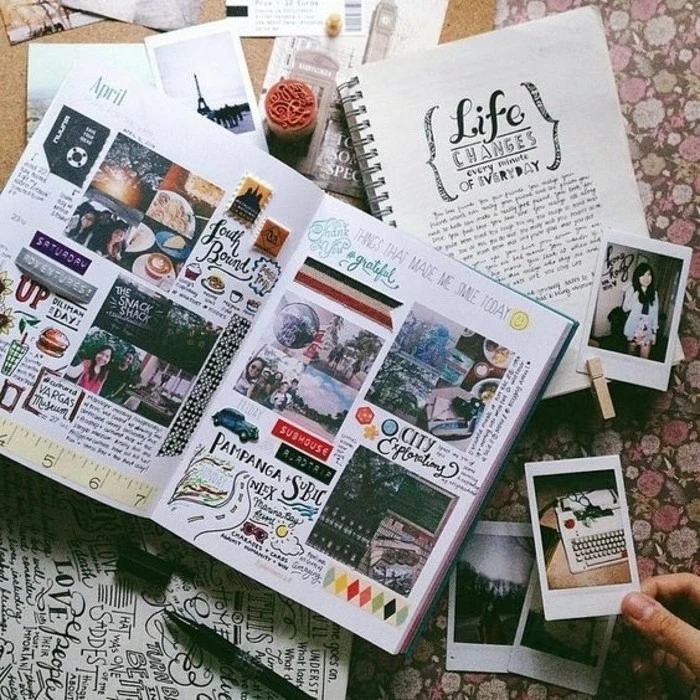
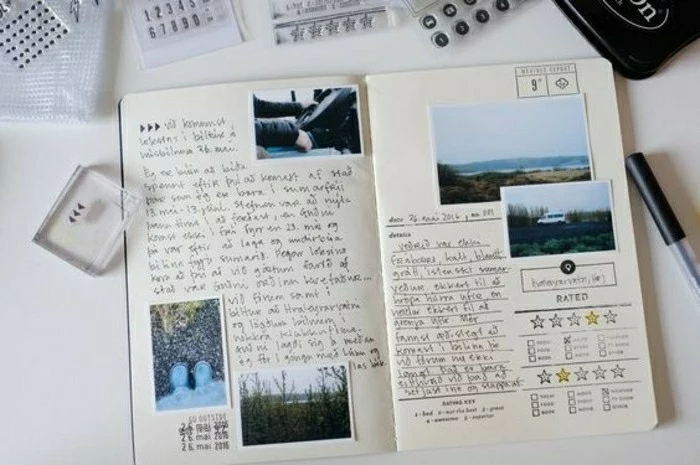
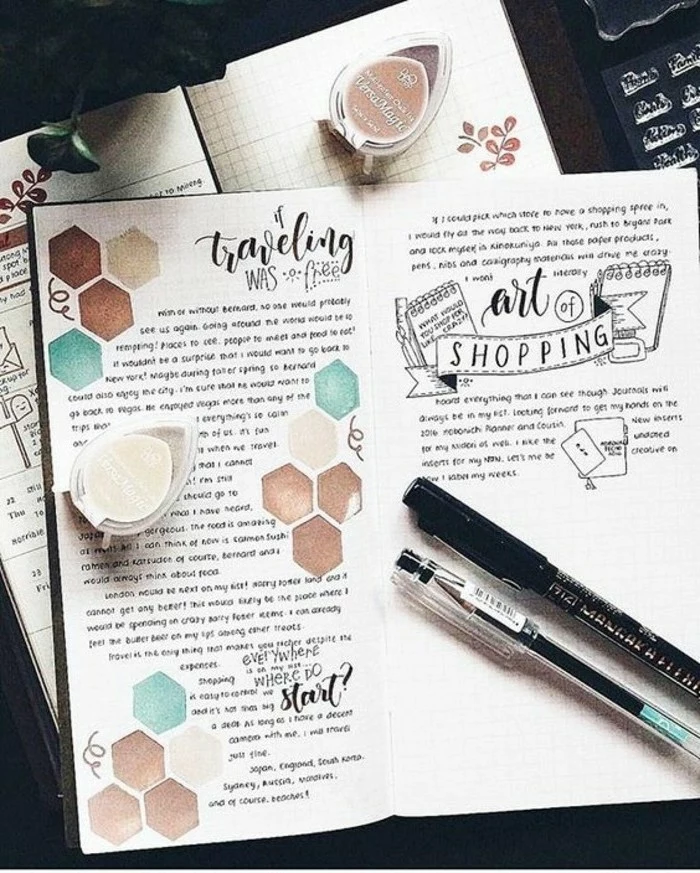
Telling a Story with Your Pages
A great journal page doesn’t just hold stuff; it guides the eye and tells a story. Don’t feel like you have to fill every square inch. Empty space—or negative space—is your friend. It gives the important things room to breathe and makes your layouts feel calm and deliberate instead of chaotic.
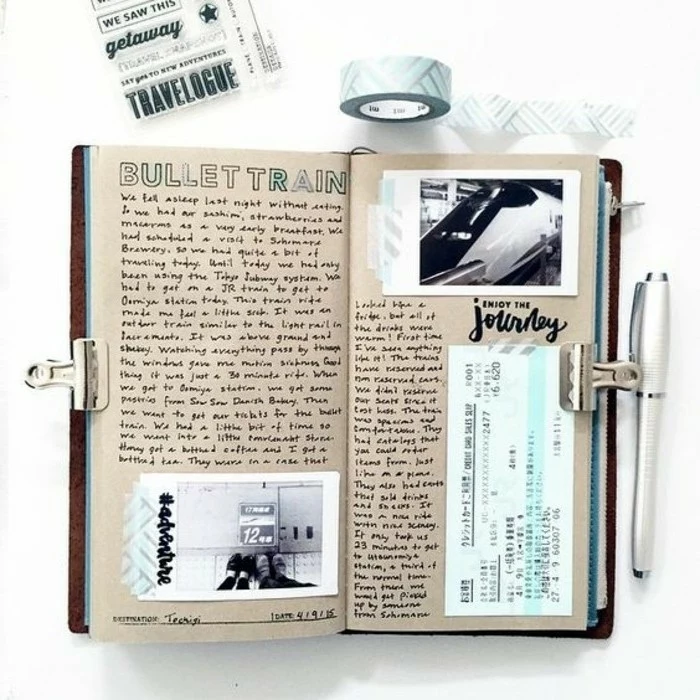
Dealing with Bulky Stuff (Like Tickets and Coins)
So you want to include a thick train ticket or a cool foreign coin? If you just glue it in, you’ll get a lumpy journal that won’t close right, which can damage the spine. The pro technique is to create a “stub” to compensate for the thickness.
It sounds harder than it is. Here’s how:
- Decide where you want your bulky item.
- Apply a thin layer of archival glue around the edges of the 3-5 pages behind that spot, gluing them together into a thick block. Press them under a heavy book until dry.
- Place your object on the top page of this new block and lightly trace its outline.
- Using a very sharp craft knife, carefully cut out the window for your object. Start small—you can always shave more away. Be patient!
- Mount your object inside this new recessed space. Your journal will now close perfectly flat!
A simpler alternative? Just be smart about placement. Glue a thick item near the spine on one page, and then put your next bulky item near the outer edge a few pages later. This helps distribute the bulk more evenly.
Heads Up! The Problem with Modern Receipts
That cool ticket or receipt you got? It might be printed on thermal paper. This stuff is coated with a chemical that turns black with heat, and it’s incredibly unstable. The text can fade to nothing in a few years, sometimes even months. Imagine that vibrant concert ticket, now just a ghostly gray smudge. It’s a tragedy!
The solution is to scan or photograph these items immediately. Print the image on your good, acid-free paper and put that in your journal. This is your rescue plan. If you already have thermal paper items in an existing journal, carefully remove them if you can, scan them now before they fade further, and replace them with a permanent printout.
Long-Term Care: Protecting Your Finished Work
You did it! You built a beautiful, durable journal. Now, just put it somewhere safe. The biggest enemies of paper are light, heat, and humidity. A bookshelf in a normal, temperature-controlled room is great. An archival box is even better. Just avoid the basement (damp) or the attic (extreme temperature swings).
Ultimately, a well-made travel journal is a time capsule. It’s a conversation with your future self and a legacy for others. The care you put into making it is an act of respect for your own experiences. Start with one good journal, use the right materials, and enjoy the process. The reward is a memory you can hold in your hands for the rest of your life.
Inspiration Gallery
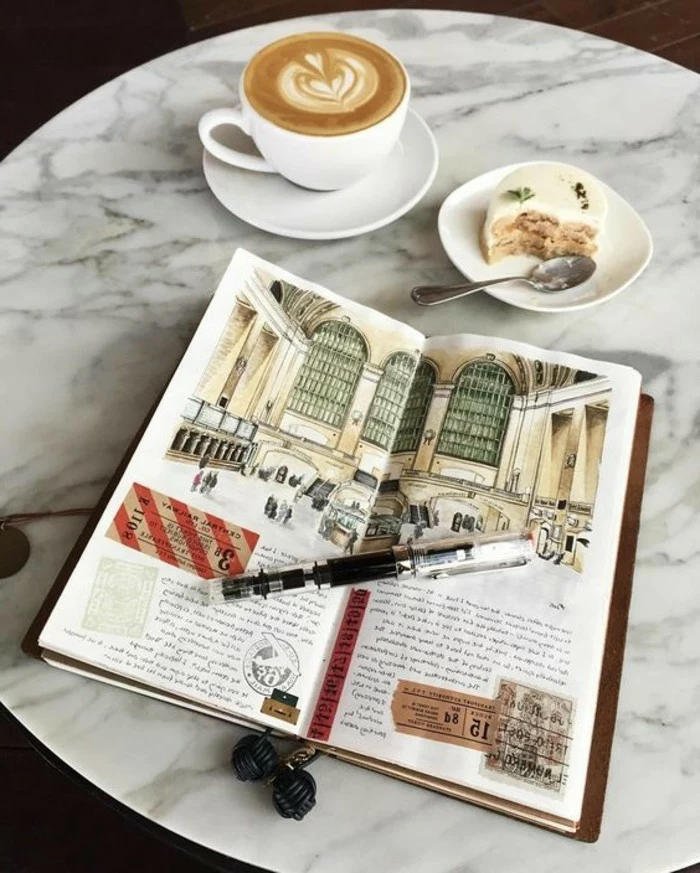
Choosing Your Pen: A Deeper Dive. The article mentions an archival pen, but the options are vast. For ultra-fine, waterproof lines perfect for sketching architecture, the Sakura Pigma Micron in a 005 or 01 size is a gold standard. For bolder, brush-like strokes in your headers or calligraphy, a Faber-Castell Pitt Artist Pen with a brush tip offers the same lightfast, permanent ink in a more expressive format. Don’t mix them with standard ballpoint or gel pens, whose oil and dye-based inks can fade or bleed over time.
A key enemy to preservation is lignin, a natural polymer in wood pulp that, when it breaks down, releases acids and causes paper to yellow and become brittle.
This is why choosing a journal labeled
How do I include bulky souvenirs like shells, coins, or pressed flowers?
The key is to create space. You can carefully cut a window in a page (or several stacked pages) to create a recessed niche for the object. Place the item inside and glue a transparent sheet (like archival polyester) over it. Alternatively, create small, durable envelopes from acid-free paper and glue them directly onto a page. This contains the item securely without stressing the journal’s spine.
- Create a cohesive visual narrative.
- Avoid a chaotic, overwhelming look.
- Make layout decisions faster and more intuitive.
The secret? A pre-defined color palette. Before you even leave, pick 3-4 complementary colors. This could be based on your destination (terracotta and cobalt blue for Greece) or a personal preference. Buy a few Tombow Dual Brush Pens or washi tapes in these shades. Using them consistently will tie every page together beautifully.
The Alligator Mouth Problem: A common mistake is filling a journal so full of thick items that it won’t close properly, creating a ‘gator mouth’ effect. This puts immense strain on the spine. To prevent this, consider removing a few pages from the center of each signature (the stitched bundles of paper) *before* you start. This preemptively creates room for your additions to expand into.

Don’t just write what you saw; document what you experienced with all your senses. What did the market in Marrakech smell like? What was the sound of the rain on your tent in the Amazon? Create a ‘sensory snapshot’ on each page.
- Smell: Describe the scent of street food, salty air, or ancient stone. You can even place a sealed coffee bean or a bay leaf in a tiny archival baggie.
- Sound: Write down lyrics to a song you kept hearing, or describe the unique chime of the local subway.
- Touch: Note the feeling of worn cobblestones under your feet or the texture of a hand-woven blanket.
The Library of Congress states that for a material to be considered truly ‘archival,’ it must be permanent, durable, and chemically stable. Standard cellophane tape is none of these things.
That cheap, clear tape from your desk drawer will yellow, dry out, and fall off within a few years, often leaving a sticky, brown residue that can ruin whatever it was holding. Always opt for archival alternatives like Japanese washi tape (for decoration) or acid-free document repair tape for anything structural.

Archival Photo Corners: The professional choice. These small, acid-free paper or plastic triangles hold photos securely by the corners. They allow you to easily remove or swap photos later without any damage. Best for longevity and flexibility.
Archival PVA Glue: A thin, even layer applied directly to the back of a photo. This creates a permanent, flat bond. It’s faster, but irreversible. Make sure you use a true pH-neutral PVA glue like Lineco’s Neutral pH Adhesive to avoid chemical damage to the photo emulsion.
For ultimate preservation, corners are king.
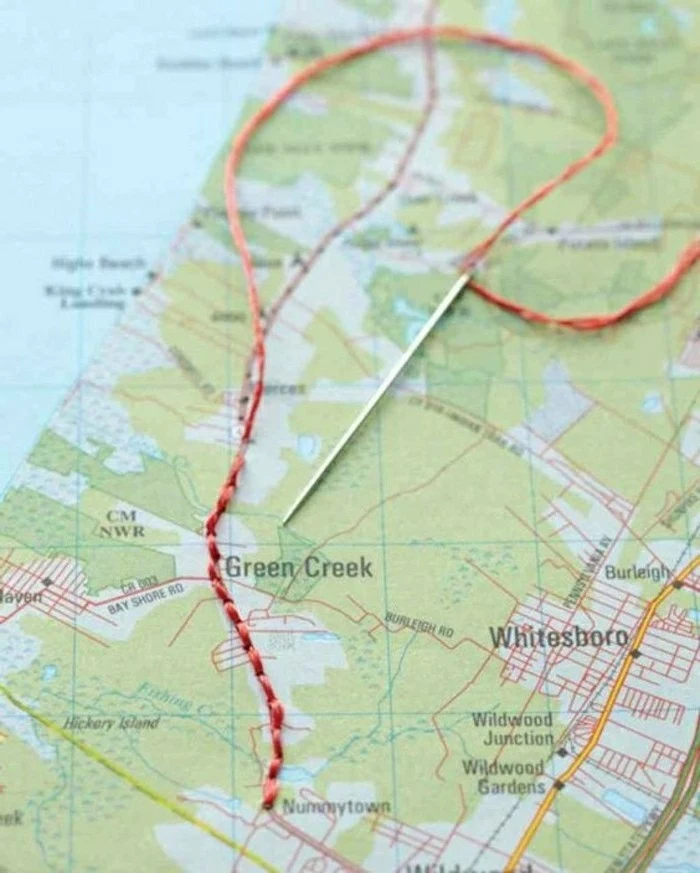
Give your journal a tactile dimension by incorporating textiles. A small swatch of fabric from a market, a piece of ribbon from a gift, or even a colorful thread can be attached with a few stitches sewn directly through the page or with a pH-neutral fabric glue. This adds texture and a powerful, tangible link to a specific place or moment.
I want to include lots of photos but don’t want to wait until I get home. What’s the solution?
Invest in a portable, inkless photo printer. Models like the Canon Ivy 2 or the HP Sprocket use ZINK (Zero Ink) technology, printing onto special paper that develops with heat. While not as high-resolution as a professional print, they are incredibly convenient for on-the-go journaling. The prints are often stickers, making them easy to add to your pages instantly. For better long-term stability, mount the ZINK print onto an acid-free card before sticking it in your journal.
- Prevents fading and discoloration from UV light.
- Protects from dust, moisture, and insects.
- Maintains the structural integrity of the binding.
The secret? A custom-fit archival box. Once your journal is complete, its preservation journey isn’t over. Storing it in a clamshell-style box made from acid-free, lignin-free board (available from archival suppliers like Gaylord Archival) provides the ultimate protection against environmental damage for generations to come.
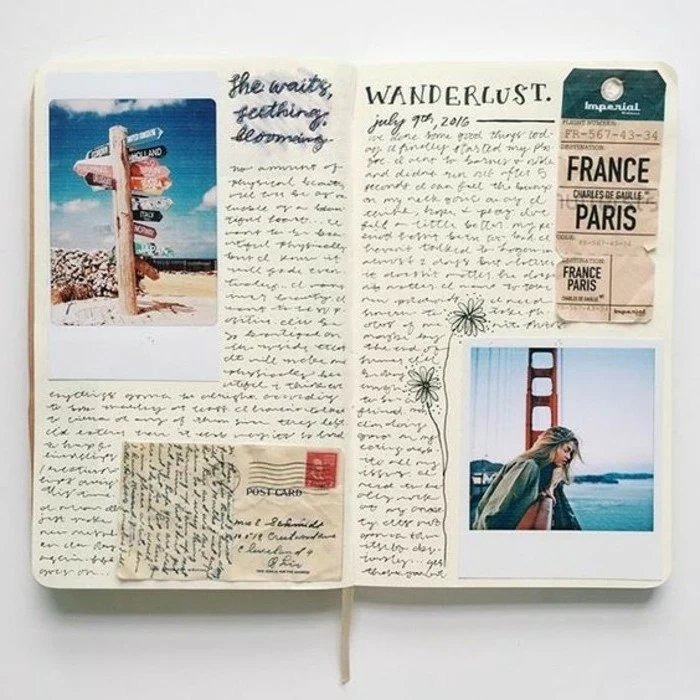
A word of caution on found objects: That authentic train ticket, newspaper clipping, or brochure adds incredible character, but they are often printed on highly acidic, low-quality paper. To include them safely, you have two options: either scan and print a high-quality replica on archival paper, or use an archival deacidification spray (like Bookkeeper) to neutralize the acids in the original item before you glue it in.
Create dynamic layouts with hidden pockets and fold-out sections. To make a simple pocket, cut a decorative piece of cardstock and glue it on three sides to your journal page. For a fold-out, hinge a larger piece of paper to your page with a strip of washi tape or archival document repair tape, allowing you to unfold a large map or a series of small photos.
A 2021 study in *Frontiers in Behavioral Neuroscience* found that the physical act of writing by hand activates parts of the brain related to memory and idea formation more effectively than typing.
This is the magic of a travel journal. The act of forming letters, sketching a landmark, and physically placing a ticket on the page cements the memory in a way that a digital photo album simply can’t. You’re not just recording the trip; you’re reliving it.
Smyth-Sewn Journal: The gold standard mentioned in the article. Pages are folded into groups (signatures) and then stitched together along the spine. This allows the book to lie perfectly flat when open, which is ideal for writing and pasting. Example: Leuchtturm1917 or Moleskine Art Collection sketchbooks.
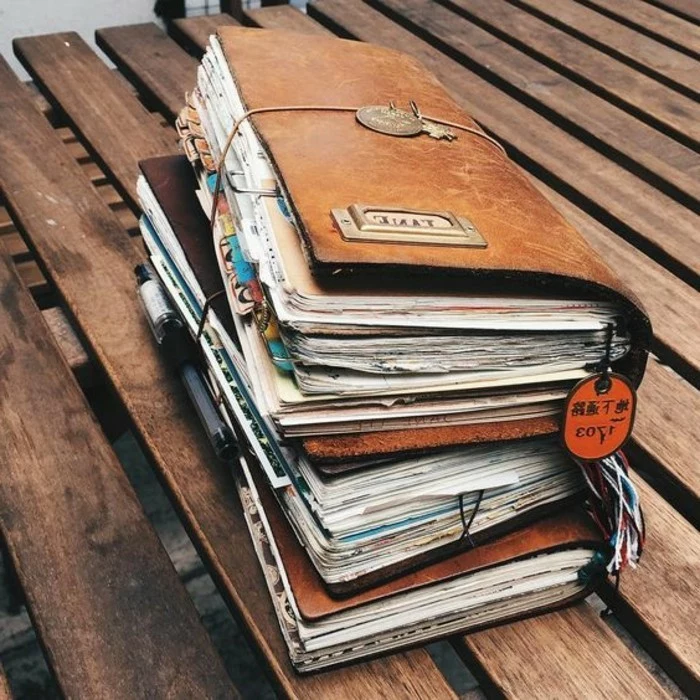
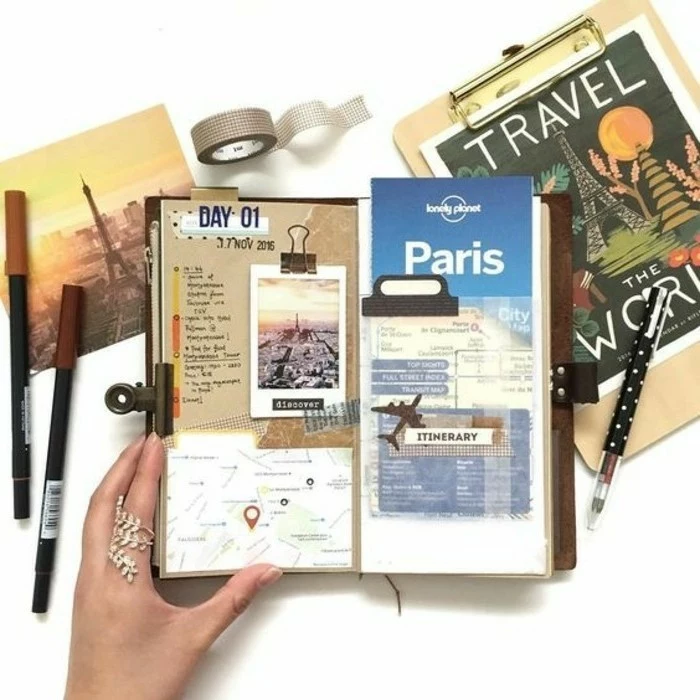
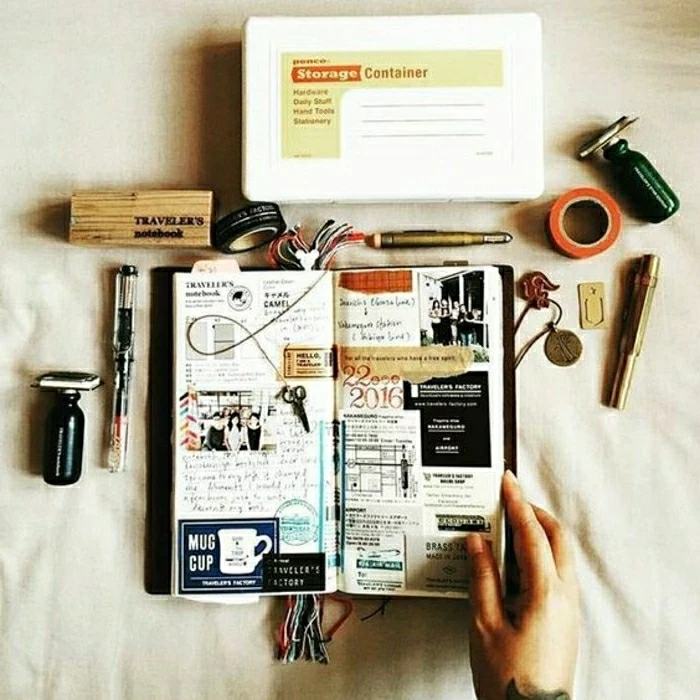
Traveler’s Notebook: A different, modular approach. It consists of a durable leather cover with elastic bands inside. You can slide multiple thin notebooks (or ‘inserts’) onto the bands. This is great for organizing a long trip by location or theme, but the inserts themselves may not be as robust as a Smyth-sewn book.
Choose Smyth-sewn for a single, monolithic archive; choose a Traveler’s Notebook for flexibility and organization.
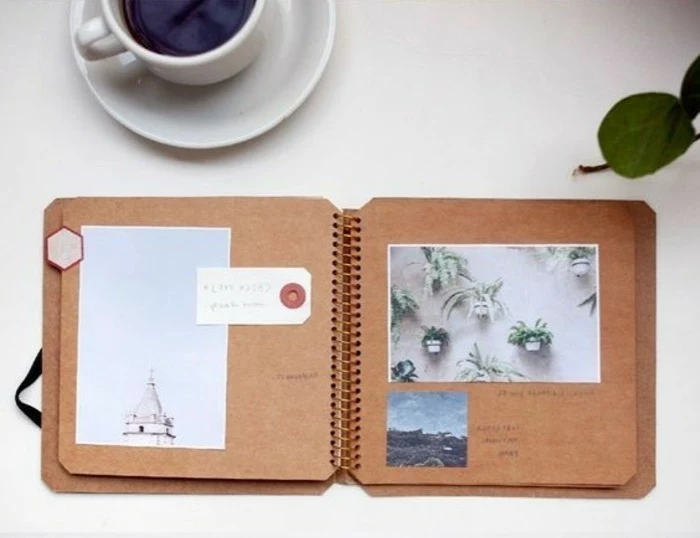
Don’t be afraid of negative space. A page crammed with text and images can feel overwhelming. Leaving a third or even half of a page blank can be a powerful design choice. It gives your entries room to breathe and draws the eye to the most important element, whether it’s a single, stunning photograph or a poignant quote.
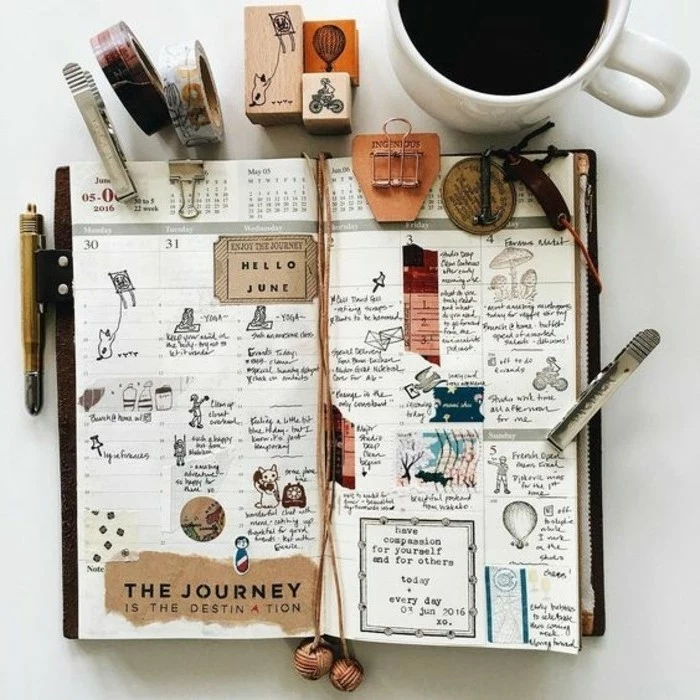
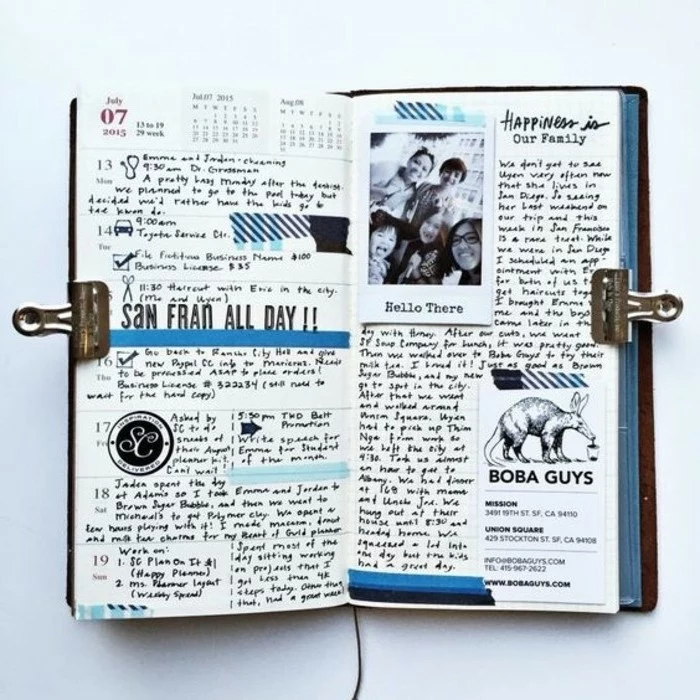
Inspired by the meticulous, artful pages of Japanese planners like the Hobonichi Techo, consider a
What if I hate my handwriting?
This shouldn’t stop you! First, remember this journal is for you, and your authentic script is part of its charm. But if you truly want a different look, try these tricks: use small alphabet stamps with an archival ink pad for titles. Print out your favorite quotes or longer text passages in a font you love onto thin, acid-free paper and tip them in. Or, practice a simple, all-caps architectural lettering style—it’s clean, legible, and easy to master.
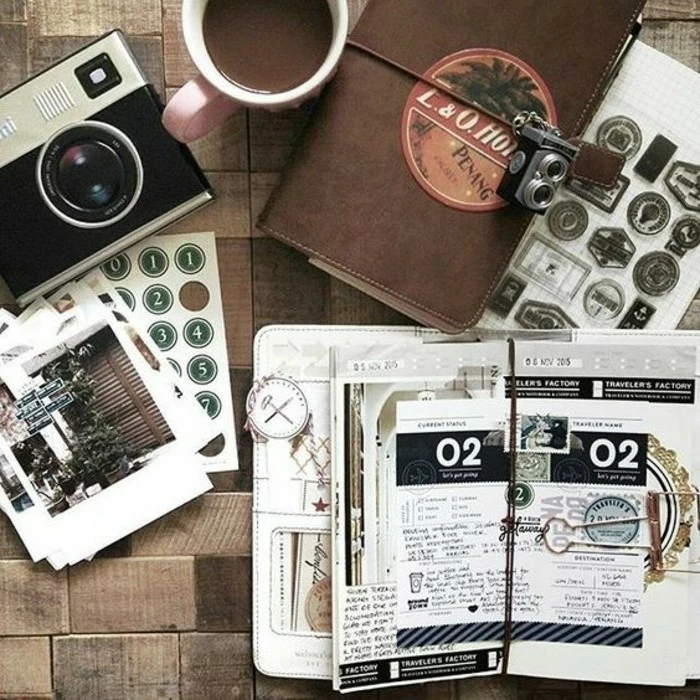
Create a dedicated, minimalist ‘on-the-go’ kit to capture moments as they happen. You don’t need your whole supply box. A small pouch with one archival pen (like a Uni-ball Signo), a small glue stick (UHU’s acid-free version is great), and a tiny pair of foldable scissors is all you need to jot down notes and collect ephemera in real-time. You can then integrate these into your main journal back at the hotel.
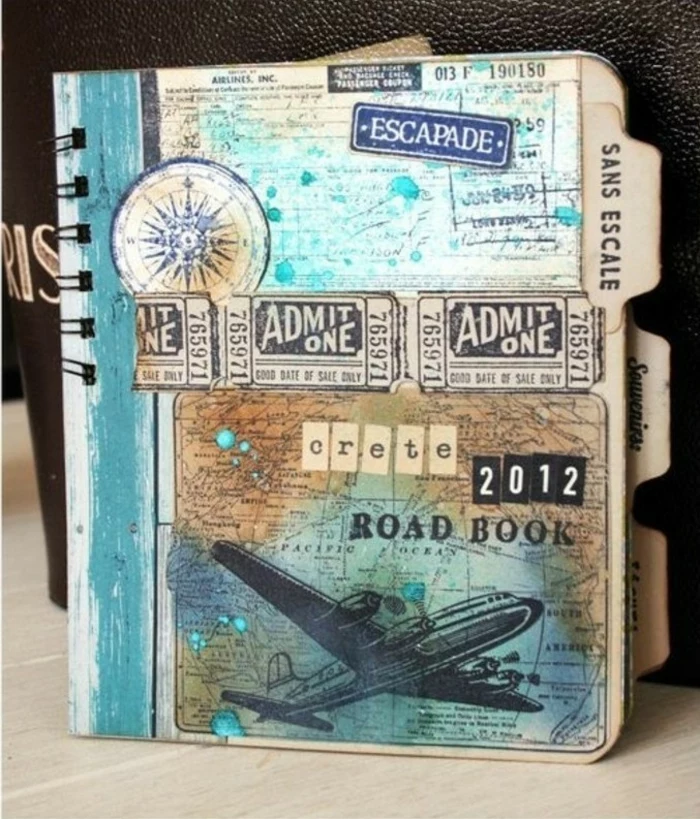
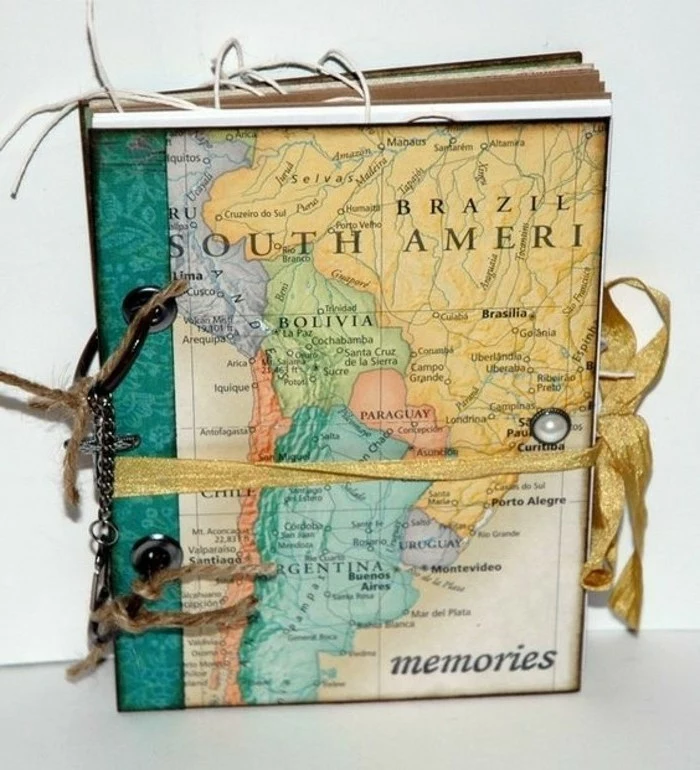
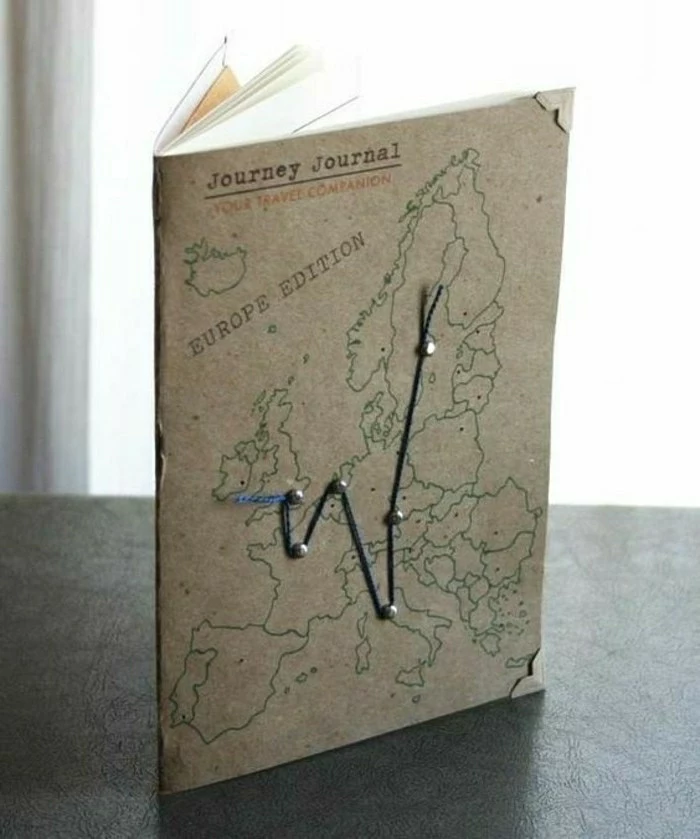
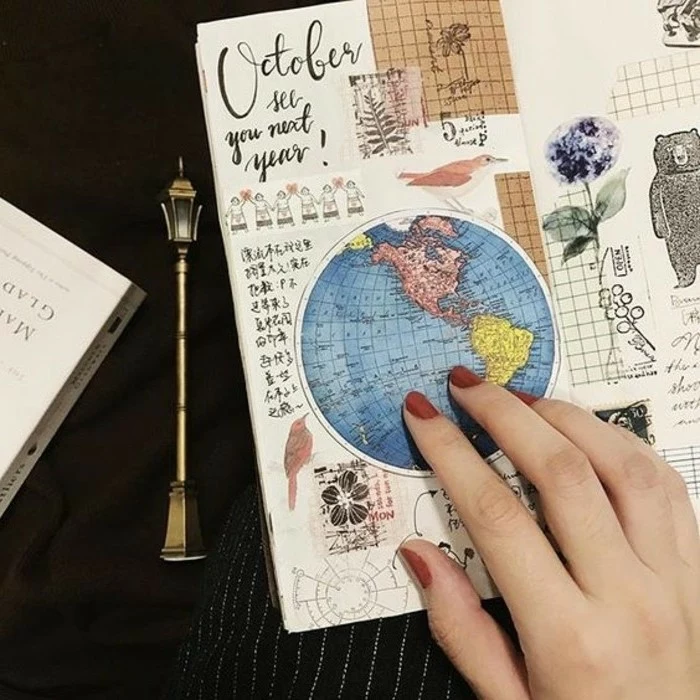
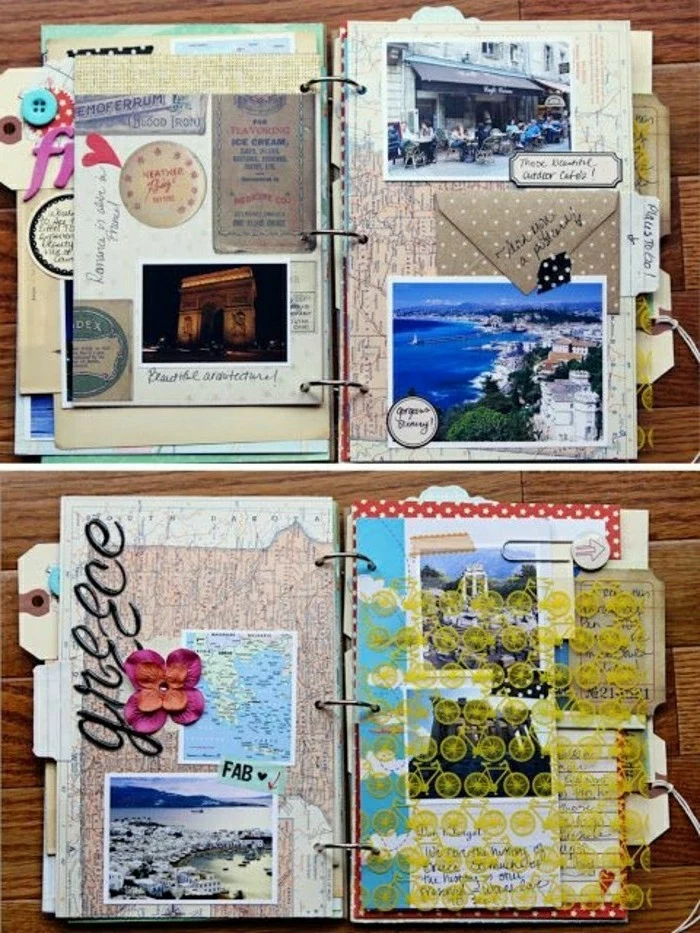
Think beyond the country map. Use maps in more creative ways to tell your story.
- Use a city transit map and trace your daily route with a colored pen.
- Cut a small heart or star out of a map from the exact location you loved and paste it on the page.
- Use a section of a topographical map as a background for a page about a hike.
This adds layers of geographic context and visual interest.
A note on washi tape: While beautiful and trendy, not all washi tape is created equal. True Japanese washi tape is made from natural fibers and is generally acid-free. However, many cheaper, decorative tapes are just printed paper with low-quality adhesive. For true archival work, stick to reputable brands like mt Masking Tape or test the tape’s acidity with a pH testing pen if you’re unsure.
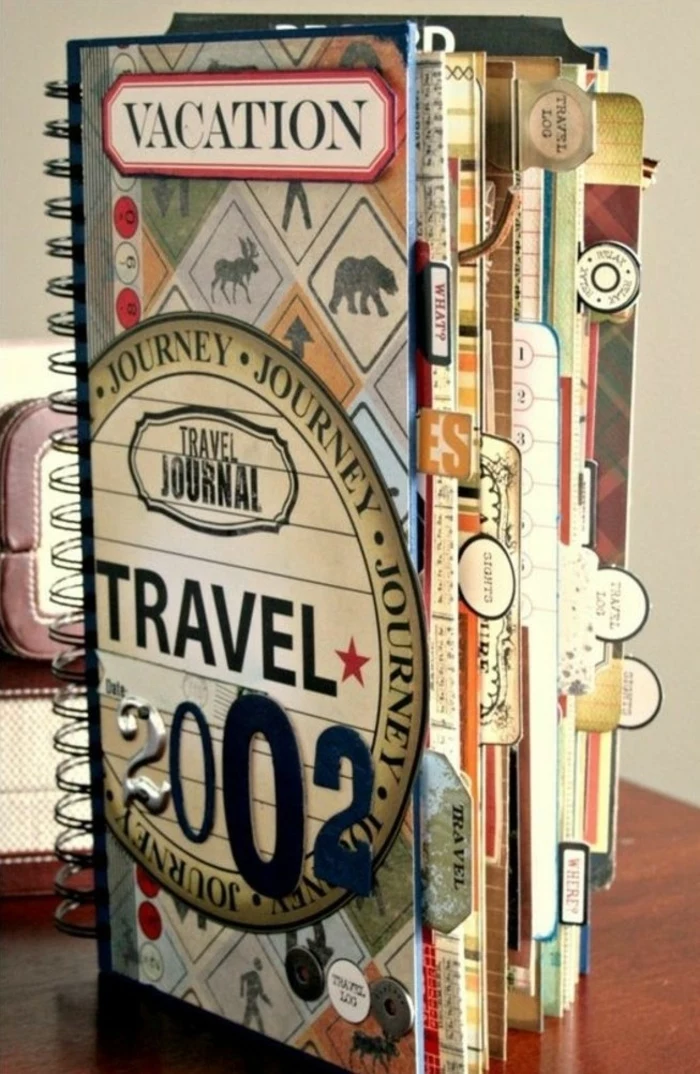
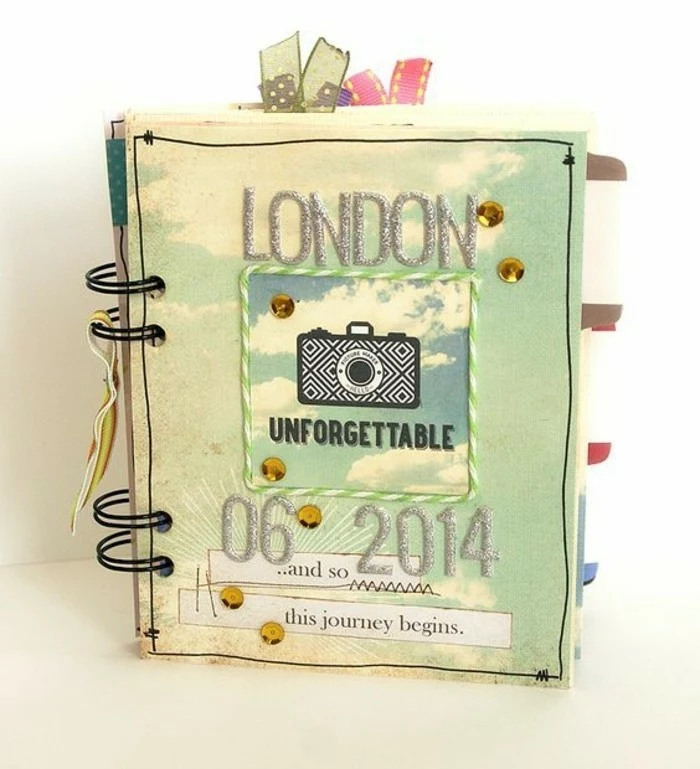
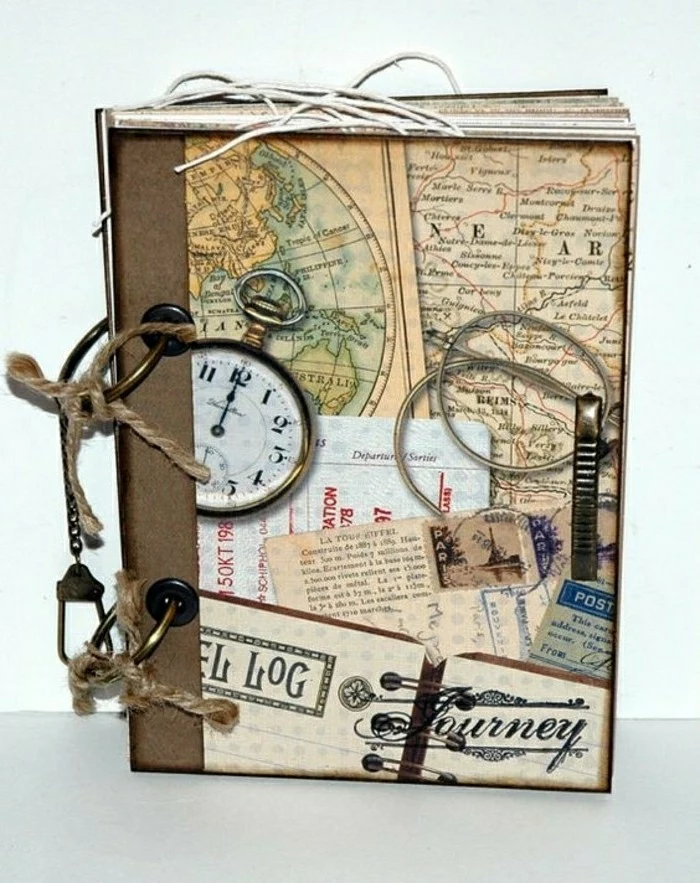
- A beautiful, personal artifact from the very start.
- Extra durability against the rigors of travel.
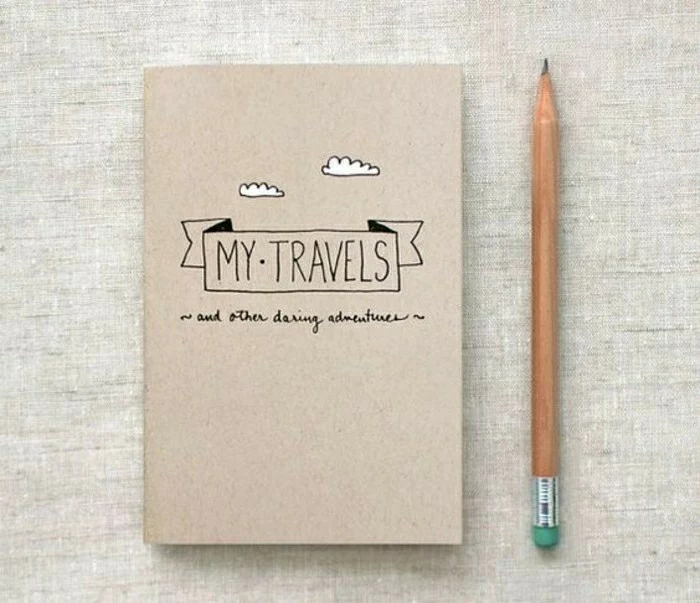
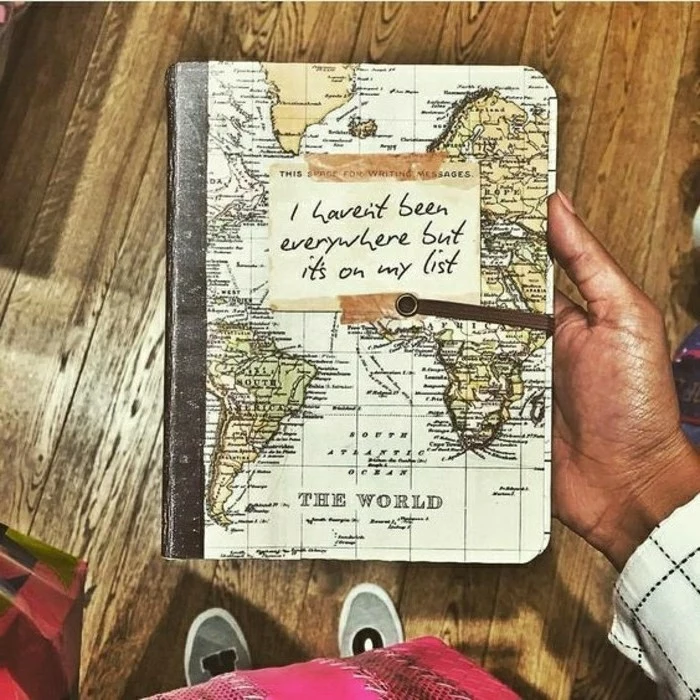
- A perfect canvas for your journey’s name and date.
The secret? Customizing your cover. Before your trip, decorate the journal’s cover. You can use acrylic paints to create a scene, use archival decoupage techniques with maps or papers, or even tool a custom design onto a leather-bound journal. This makes the book uniquely yours and builds excitement for the journey ahead.
Pigment-based ink, the ‘archival’ standard, consists of microscopic solid particles of color suspended in a liquid. Once the liquid evaporates, the solid pigment is physically bonded to the paper fibers, making it resistant to water, chemicals, and fading from UV light.
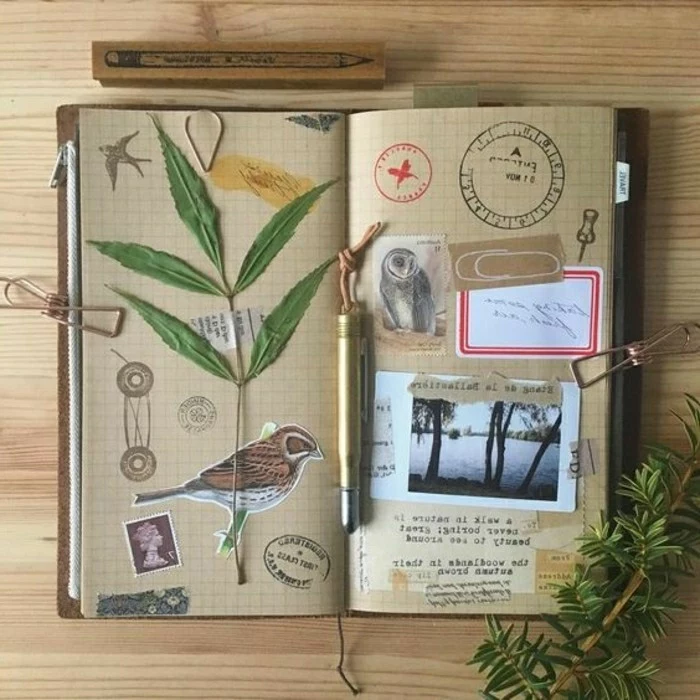
Don’t just press flowers—preserve them. Simply squashing a flower in a book can lead to mold and decay. For best results, place the flower between two sheets of absorbent paper (like blotting paper, not paper towels which can imprint texture) and press it inside a heavy book for 2-3 weeks *before* your trip. Once completely dry and paper-thin, it can be safely glued into your journal with a tiny dab of archival PVA.