From Plant to Palette: Your Guide to Making Natural Watercolors at Home
I’ve spent years getting my hands dirty with pigments and paints, and if there’s one thing I’ve learned, it’s this: there’s a special kind of magic in making your own materials from scratch. I once had a student in a workshop whose whole face just lit up when she turned simple charcoal dust into a deep, velvety black paint. That moment of discovery… that’s why I still get excited about this stuff.
In this article
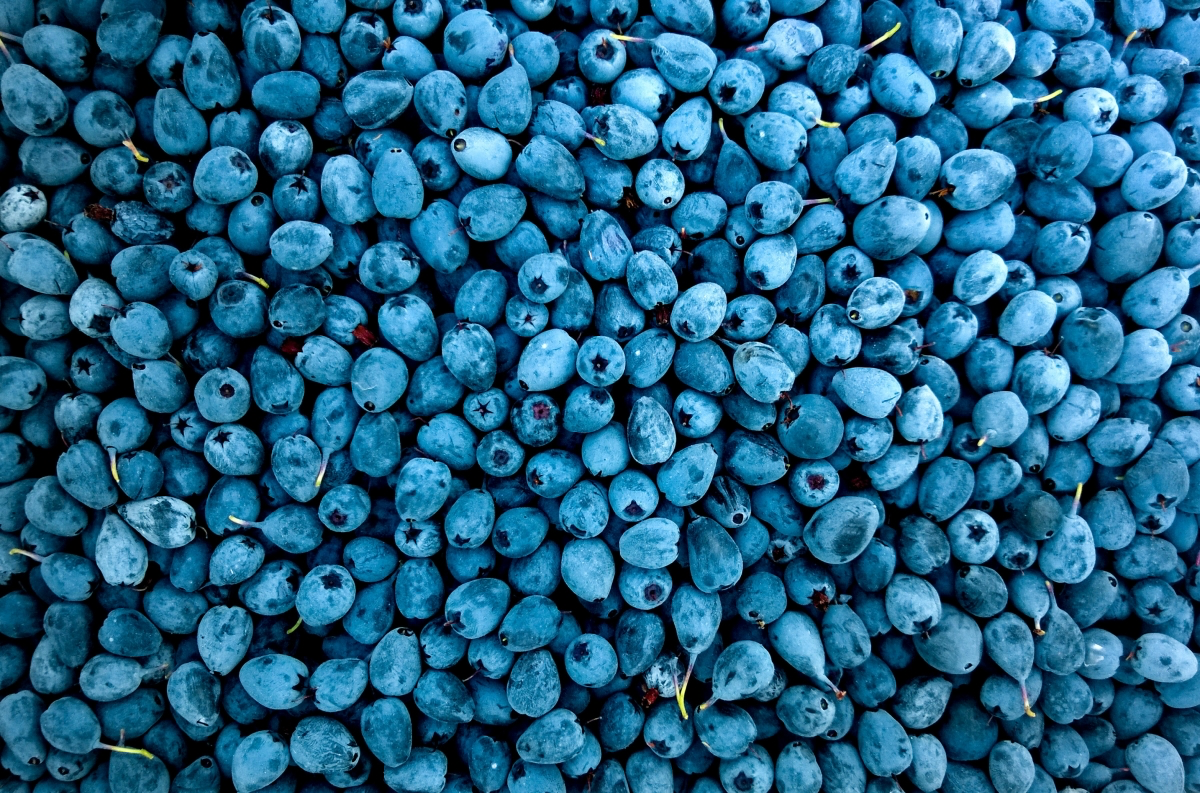
Now, if you’re just starting, it’s easy to get confused between a simple stain and a real paint. And that’s okay! Boiling some berries to make colored water gives you a stain—it soaks right into the paper fibers. But true paint is a different beast. It’s made of tiny, solid bits of color (the pigment) that are suspended in a special glue (the binder). That binder is what holds the color together and sticks it onto your paper. Getting that difference is your first big step.
Making your own paints is incredibly rewarding. It connects you to an ancient tradition of artists who foraged for their own colors. But let’s be real: it takes patience. These homemade paints have their own personality. Some colors will be amazingly permanent, while others might fade in the sun. This guide is here to walk you through the whole journey, sharing the good, the bad, and the beautiful.
The Two Key Ingredients: Pigment and Binder
Every great paint boils down to two things. First, you’ve got the pigment. This is the stuff that gives paint its color—it’s basically super-fine colored dust that doesn’t dissolve. Think of it like fine sand swirled in water. Then you have the binder, which is the glue that holds all those little dust particles together and makes them stick to a surface. Without it, you’ve just got a pile of colorful powder.
What Makes a Good Pigment?
So, what are we looking for in a pigment? A few things. It needs to have strong color, what the pros call “tinting strength.” It also has to be ground into incredibly fine particles. Gritty, coarse bits make for weak, sad-looking paint. Traditionally, artists would spend hours grinding pigments with a heavy stone muller to get that perfect consistency.
And here’s a big one: lightfastness. This is just a fancy word for how well a color stands up to light without fading. Professional artist colors are rated for this, but with natural pigments, it’s more of a learn-as-you-go experience. A lot of beautiful colors, especially from flowers and berries, have terrible lightfastness. We call these “fugitive pigments.” They’re perfect for sketchbooks or for work you plan to scan and print, but you probably wouldn’t hang a masterpiece made with them in a sunny room.
Whipping Up the ‘Magic Glue’: Your Binder Recipe
For watercolors, the classic binder is gum arabic, which is just hardened sap from the acacia tree. It dissolves in water and dries clear. But we’re going to jazz it up a little to make our paints even better. This is the secret sauce!
To make a batch of binder that will last you a while, here’s what you’ll need:
- Gum Arabic Powder: You can find this online or at most art supply stores. A jar usually costs between $15 and $25 and will last a long time.
- Warm Water: Just from the tap is fine.
- Honey or Vegetable Glycerin: Honey works great. Glycerin is a good vegan alternative and costs about $8 at a pharmacy or craft store. This keeps your dried paints from getting too brittle and cracking.
- Clove Essential Oil: This is our preservative. It smells great and, more importantly, stops mold from growing in your paints. I learned this the hard way after a beautiful batch of red earth paint turned fuzzy.
The Recipe: Start with a ratio of 1 part gum arabic powder to 2 parts warm water in a small, clean jar. Stir it well, then put the lid on and let it sit for a few hours, or even overnight, until all the powder is completely dissolved. Give it another good stir. Now, for every quarter-cup of your binder liquid, stir in about one teaspoon of honey and just one or two drops of clove oil. Mix it all up, and that’s it! You’ve made your own watercolor binder.
Setting Up Your Paint-Making Station
You don’t need a fancy lab, just a dedicated space and a few key tools. And a heads-up: don’t use your kitchen tools for this. Keep your paint-making supplies separate from your food-prep stuff to avoid any cross-contamination.
Your Basic Toolkit:
- Mortar and Pestle: A ceramic or stone one is perfect for grinding up your pigments. An unglazed inside surface gives you better grit for grinding. No mortar and pestle? A sturdy ceramic bowl and the back of a heavy spoon can work in a pinch for softer materials.
- Glass Muller and Slab (The Upgrade): If you get serious about this, a glass muller and slab are the gold standard. It’s a flat-bottomed glass tool you use to grind the pigment and binder together, making sure every particle gets coated. You can find starter sets online for around $40-$60.
- Small Jars and Containers: Old baby food jars, cosmetic pots, or small jam jars are perfect for storing your binder and pigments.
- Palette Knife: A cheap plastic or metal one is a lifesaver for scraping and mixing.
- Watercolor Pans: You’ll need somewhere to put your finished paint. You can buy empty half-pans online, or just use bottle caps. An old mint tin makes a fantastic, portable palette for them.
- Good Paper: Get some decent watercolor paper (at least 140 lb / 300 gsm) to test your colors. Cheap paper won’t show you what your paint can really do.
Cover your work table with newspaper or a craft mat. Some of these pigments, especially turmeric, will stain everything. Keep paper towels and water handy for quick cleanups. And if you’re grinding dry powders, make sure your area is well-ventilated.
Let’s Make Some Color!
Okay, this is the fun part. We’re going to turn everyday stuff into real, usable pigments. I’ll be honest about how permanent each one is and what it’s best for.
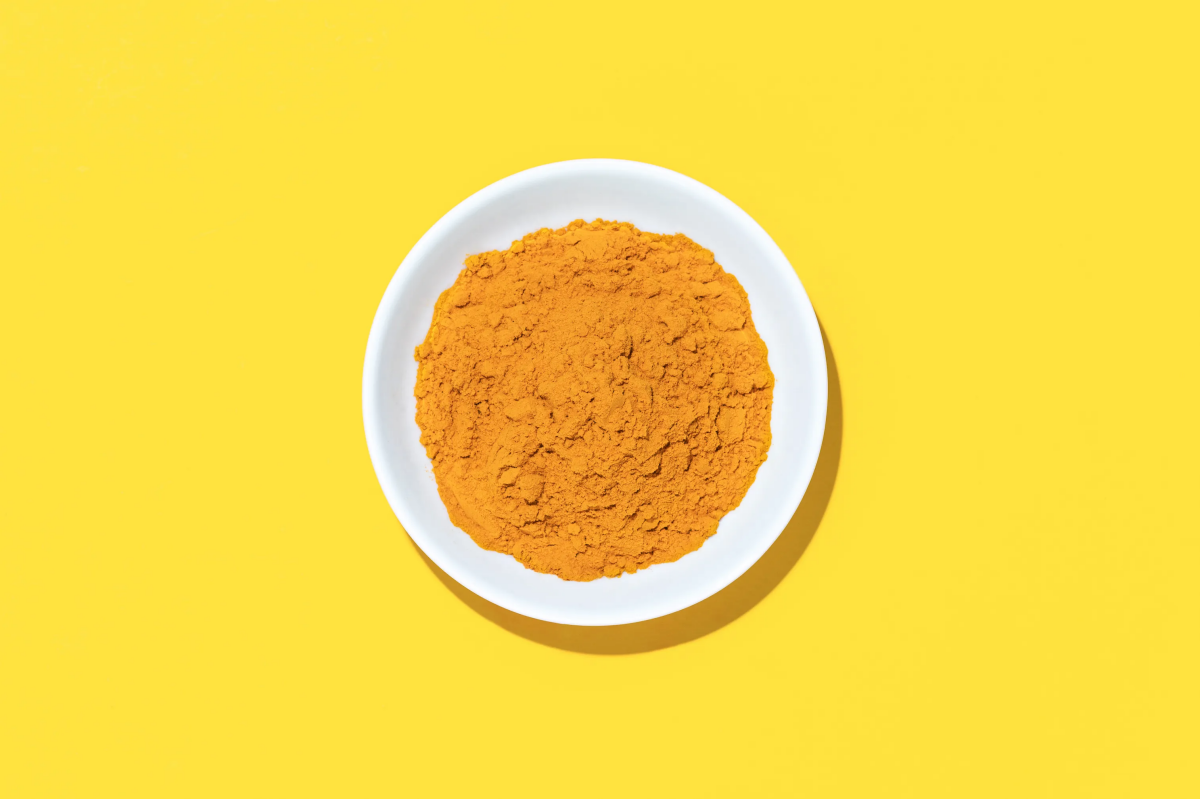
Turmeric Yellow: A Bold but Fading Gold
Turmeric makes an absolutely stunning, fiery yellow. But, and this is a big but, it’s famous for being fugitive. Sunlight will make it fade over time. I love using it in my art journals or for pieces that I’m going to scan right away.
To make it, put a tablespoon of good-quality turmeric powder in your mortar. Slowly add a few drops of water while grinding with the pestle. You’re not trying to dissolve it; you’re making a thick, smooth paste. When it feels silky instead of gritty between your fingers, you’re there. Quick tip: Wear gloves for this one. I once stained a favorite shirt, and that color never came out.
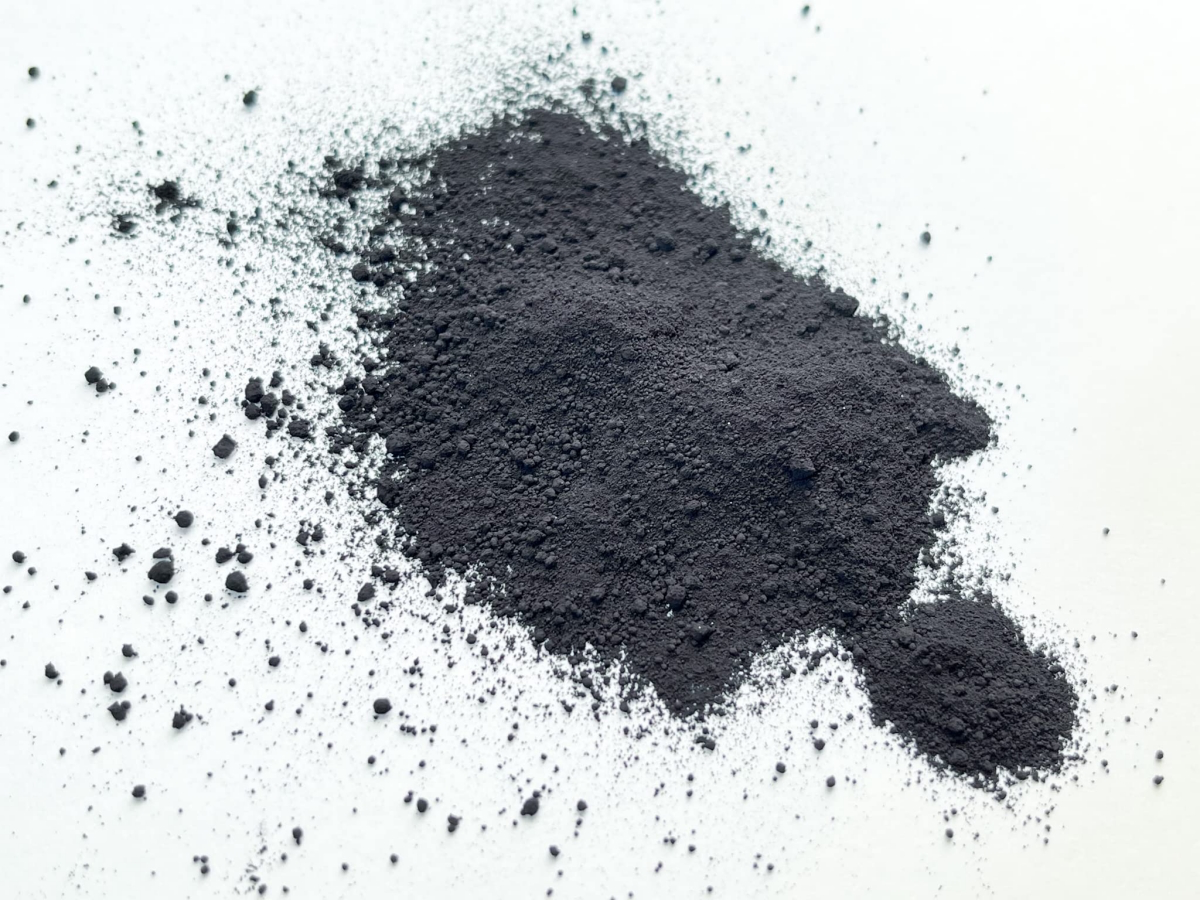
Charcoal Black: An Ancient, Permanent Classic
Charcoal is basically pure carbon, and it’s one of the most permanent pigments you can find. It’s literally what was used for ancient cave paintings that are still around today. This is a color you can trust.
If you have a stick of willow charcoal, break it up and grind it in your mortar. It takes a little elbow grease—plan on a good 15-20 minutes of grinding to get a truly fine, flour-like powder. Sift it through a fine-mesh tea strainer to get out any chunky bits. A quick safety note: charcoal dust is super light and can get in your lungs, so it’s a good idea to wear a simple dust mask while you’re grinding.
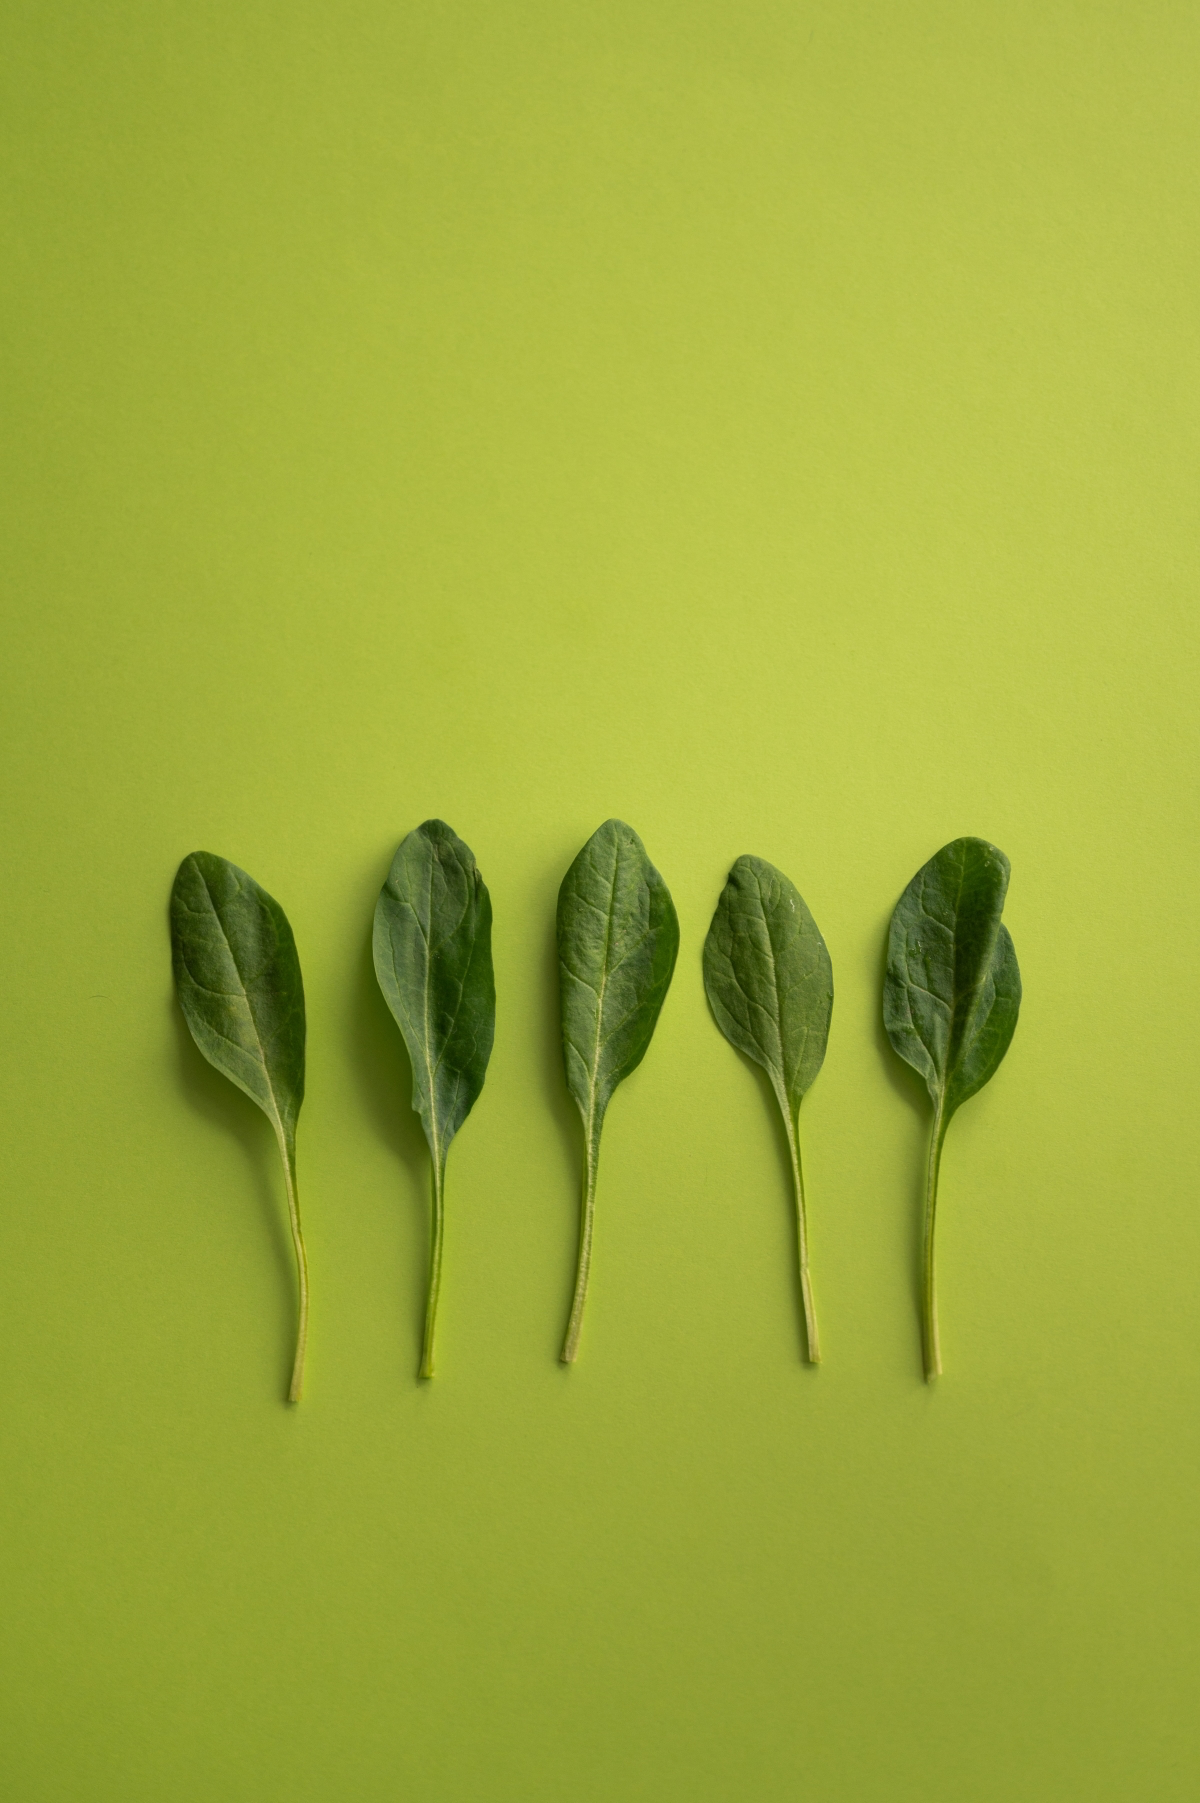
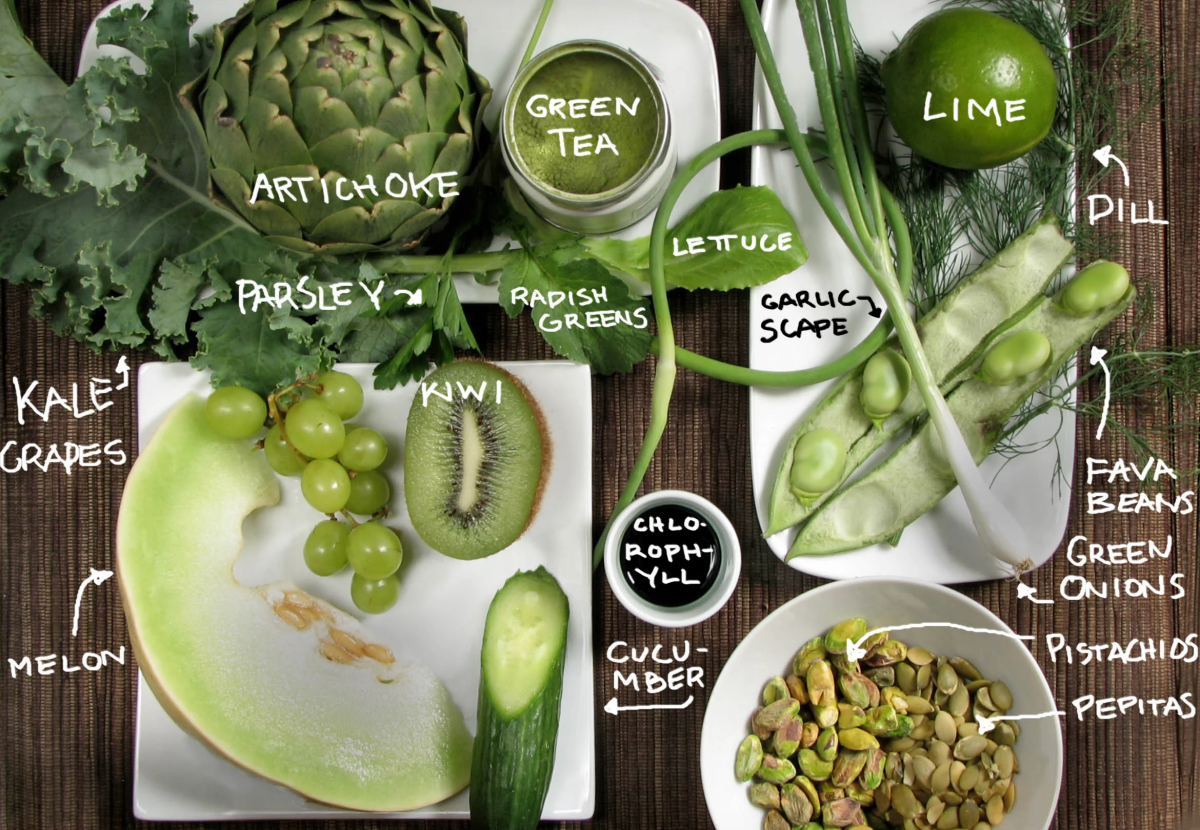
Spinach Green: Making a True Lake Pigment
You can get a simple green stain by just blending spinach, but to create a real, stable pigment, we can use a cool historical process to make what’s called a “lake pigment.”
So, what the heck is a lake pigment? It’s a clever way to turn a dye (like the color from spinach juice) into a solid particle. You basically get the dye to cling onto a neutral white powder, turning it into a pigment you can actually make paint with. It’s a bit more involved, but the results are so worth it.
Here’s how you do it: Boil a large handful of spinach in some water to get a deep green liquid. Strain out all the plant bits. Now, to that green liquid, add a pinch of alum (the stuff used for pickling, found in the spice aisle for a few dollars). Stir it in. Next, you’ll dissolve some washing soda in water and slowly add it to your green mix. You should see cloudy bits start to form and sink—that’s your pigment! Let it all settle, carefully pour off the clear water from the top, and then strain the green sludge through a coffee filter. Let that green paste dry completely (this can take a few days), and then you can grind it into a fine powder, ready for painting.
The Final Step: Mixing Your Paint!
You’ve got your pigment powder and your binder. It’s time to make paint! On your glass slab (or a ceramic plate), place a small mound of your pigment powder—say, a teaspoon’s worth. Use your palette knife to make a little well in the center, like a tiny volcano.
Now, pour a small amount of your homemade binder into the well. A good starting point is a 1:1 ratio of pigment to binder, but this will vary a lot. Some pigments are thirstier than others. Mix it into a paste with your palette knife.
Then, the real work begins. Take your glass muller and begin grinding the paste in a circular or figure-eight motion. This process, called mulling, ensures every tiny particle of pigment gets fully coated in the binder. It’s what makes the difference between gritty, streaky color and smooth, vibrant paint. Plan on mulling for a good 10-15 minutes. You’re looking for a smooth, thick consistency, something like honey. Once it’s perfect, use your palette knife to scrape your beautiful, fresh paint into an empty watercolor pan. Let it dry for a few days before you use it.
A Few More Kitchen Cabinet Colors
Once you get the hang of it, you’ll see pigments everywhere. Here are a few more to try:
- Earthy Browns: Finely ground coffee or cocoa powder make for lovely, warm browns. They are moderately lightfast and smell amazing.
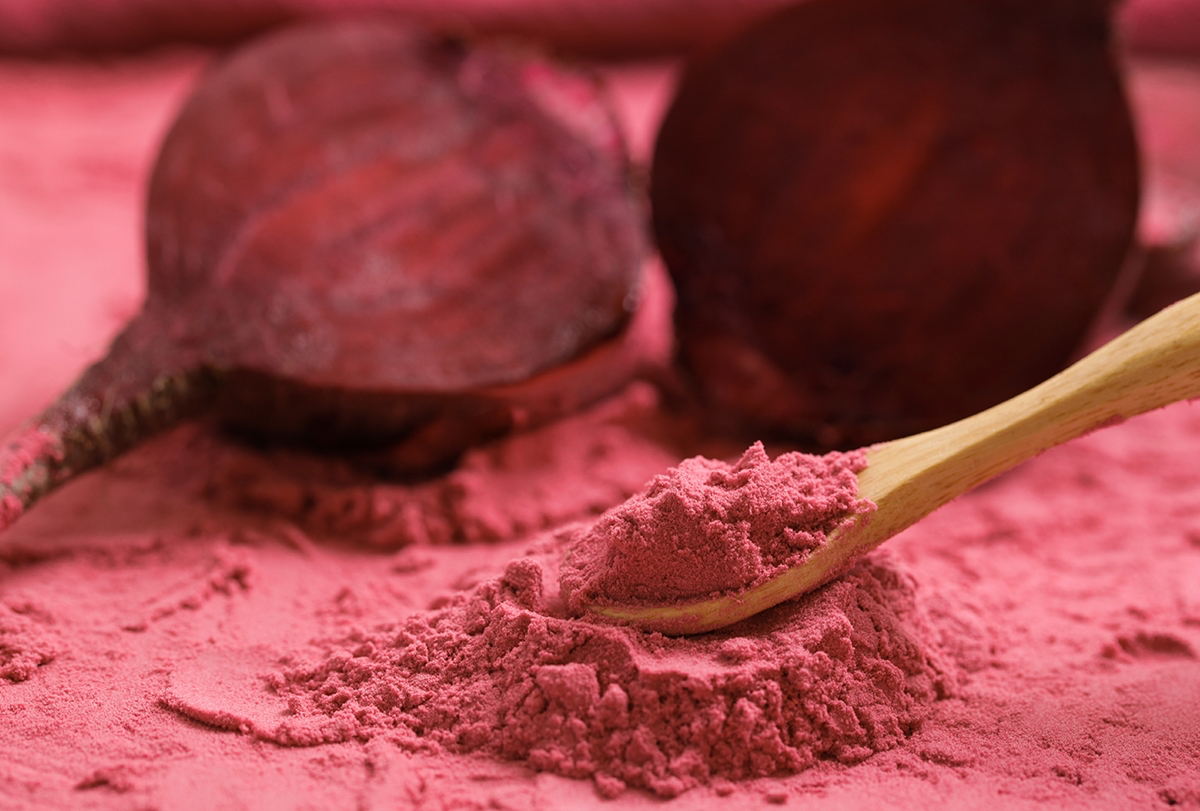
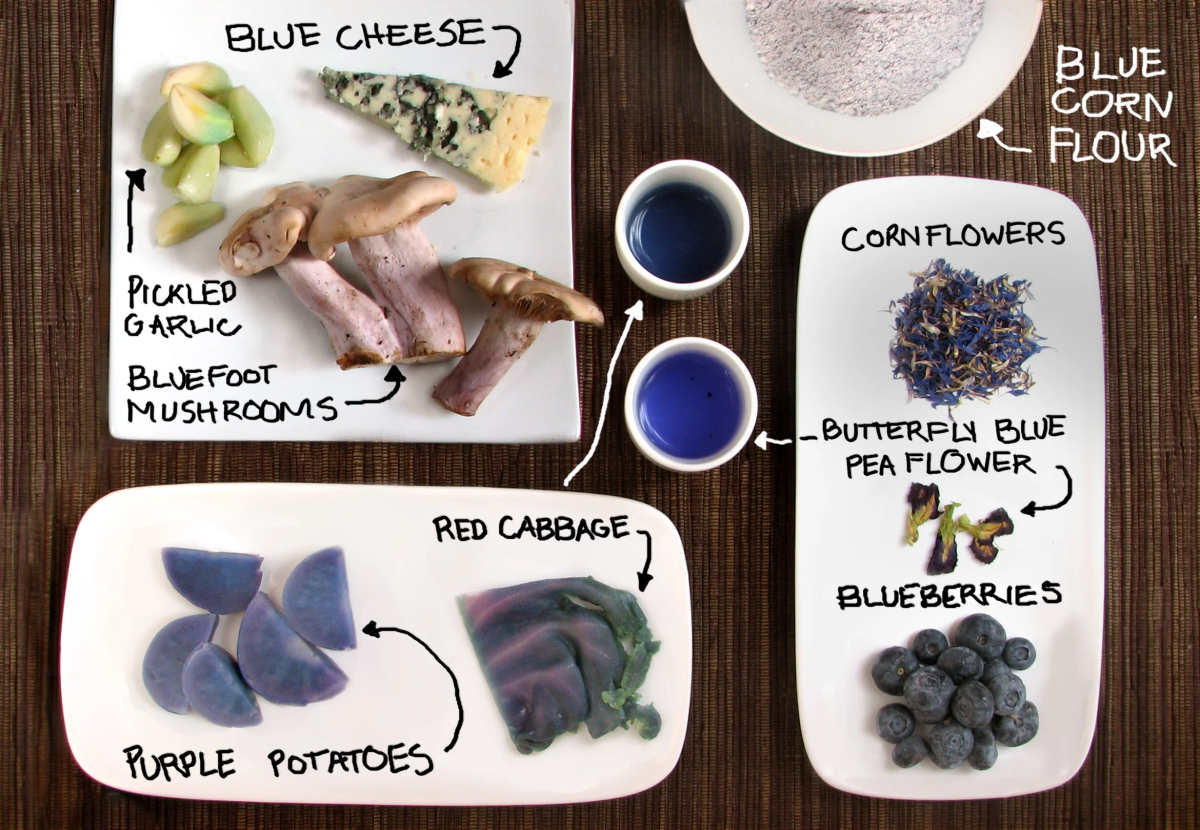
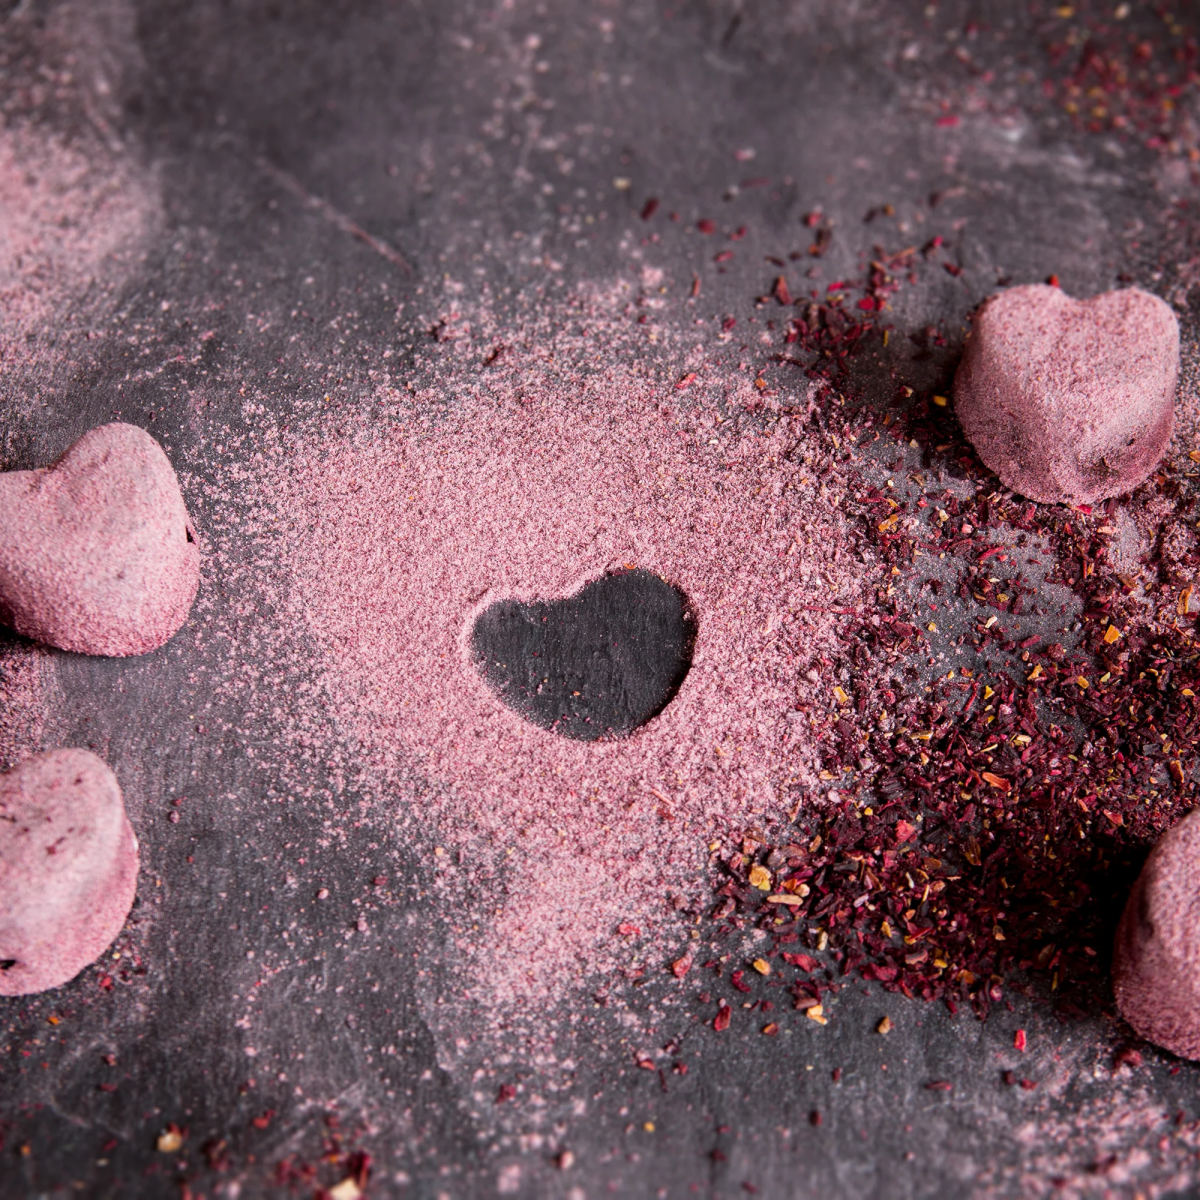
- Fugitive Pinks & Purples: Beetroot powder creates a stunning magenta, but it will fade very quickly. It’s another great one for sketchbooks.
- Rustic Yellows & Oranges: Don’t throw out your onion skins! Boiling yellow onion skins creates a dye that can be turned into a surprisingly beautiful and fairly stable lake pigment, just like with spinach.
Quick Troubleshooting
Things not going perfectly? No worries, it happens to everyone.
- Is your dried paint cracking in the pan? You probably need a little more honey or glycerin in your binder. It acts as a plasticizer.
- Is your paint color weak and watery? You’ve likely added too much binder for the amount of pigment. Just add a bit more pigment powder to your paste and keep mulling.
- Uh oh, is that mold? You might have forgotten the clove oil, or didn’t add enough. It’s a crucial step for keeping your water-based paints fresh.
By the way, if you want a super-fast win, try this: take some of that fine charcoal powder you made, mix it with a few drops of water and a tiny dot of dish soap (this helps the ink flow). Boom. You just made your own drawing ink in under a minute. Go draw something with it!

Honestly, the best part of this whole process is the experimentation. Have fun, get your hands a little dirty, and create colors that are uniquely yours.
Inspirational Gallery
My homemade paint looks gritty on paper. What am I doing wrong?
This is the most common hurdle! The magic is in the grind. Natural pigments need to be incredibly fine to bind correctly and flow smoothly. If the paint feels sandy or the color is weak, you haven’t ground the pigment long enough. A glass muller on a glass slab is the traditional tool for a reason: it creates the perfect shearing force to break down particles into a silky-smooth powder. A mortar and pestle is good for initial crushing, but the muller is what gives you that professional, creamy consistency.
The famous Lapis Lazuli blue, prized by Renaissance painters, was once more valuable than gold. Its rarity and laborious extraction process made it a symbol of prestige, reserved for painting the robes of the Virgin Mary.
While you might not find Lapis Lazuli on your next walk, this illustrates the incredible value once placed on natural color. Every pebble, root, or flower you forage is part of this ancient tradition of finding treasure in the landscape.
Gum Arabic Binder: This is the classic, professional choice. It’s a hardened sap from the Acacia tree that dissolves in water to create a clear, strong binder. A few drops of this turn your pigment powder into true watercolor. Brands like Winsor & Newton or Schmincke sell it in both liquid and crystal form.
Honey/Glycerin Binder: Adding a tiny drop of honey or vegetable glycerin to your gum arabic mixture acts as a humectant. This makes the dried paint easier to re-wet in the pan and can give your colors a subtle, luminous glow.
These two are often used together for the best results.
- Achieve deep, earthy reds and vibrant yellows.
- Create beautiful, textured blacks and browns.
- Enjoy a palette that is fragrant and completely non-toxic.
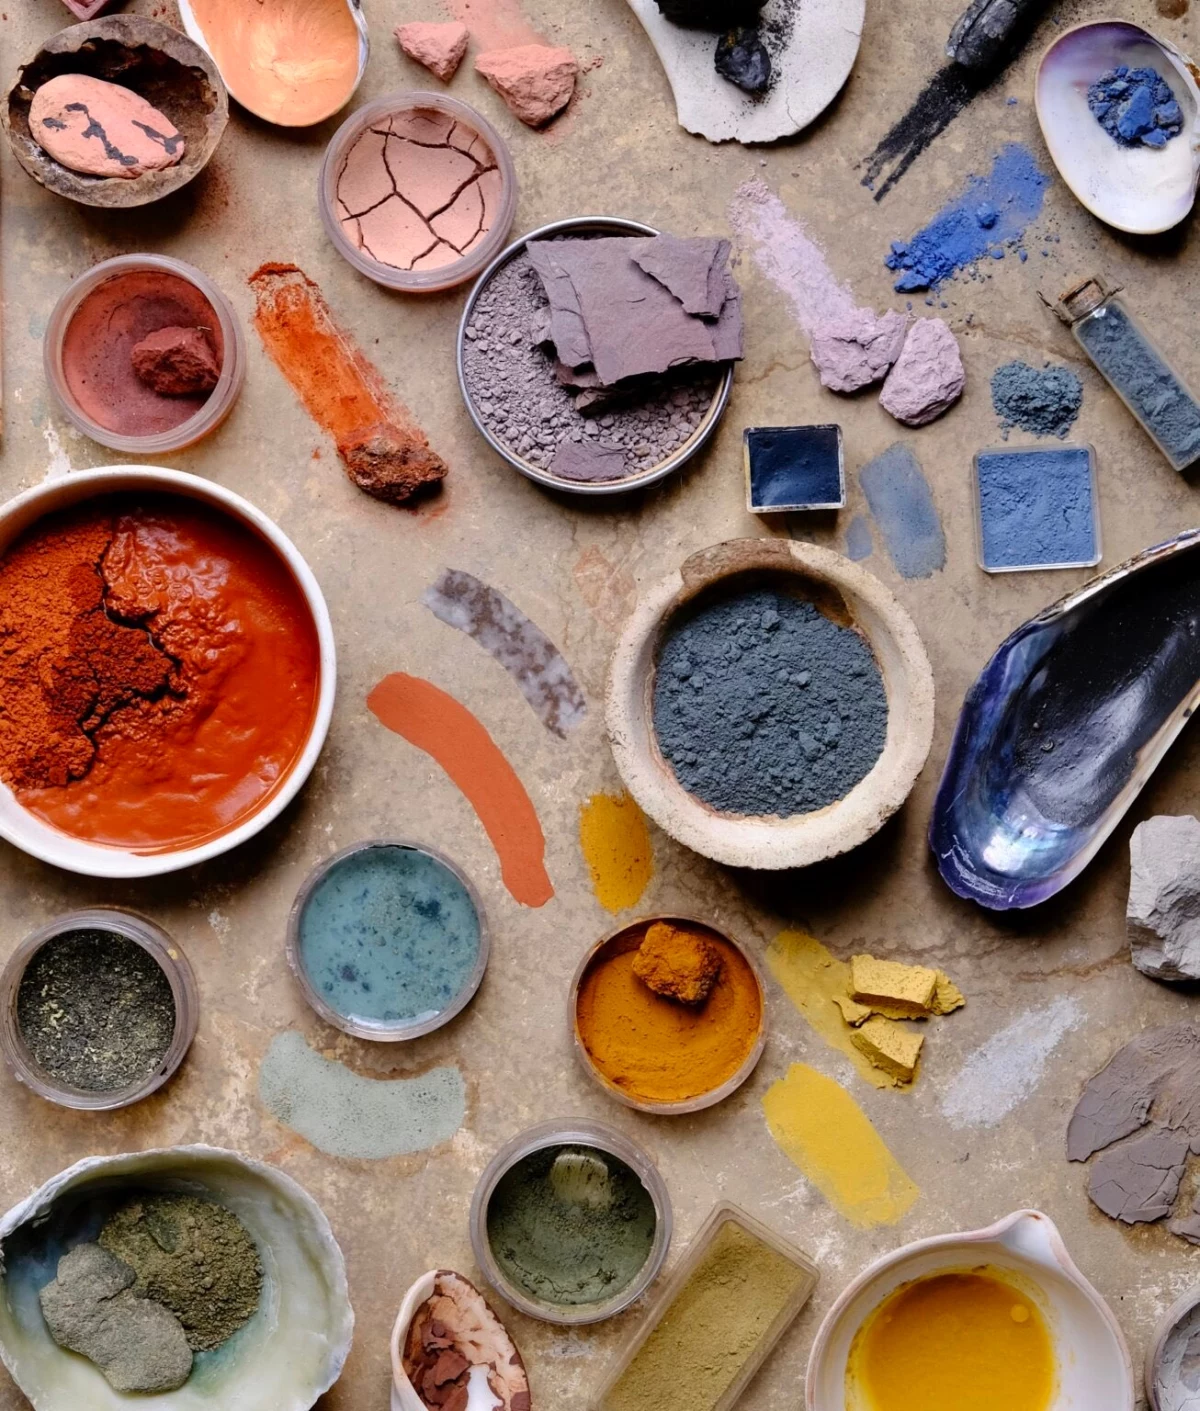
The secret? Your kitchen spice rack. Turmeric creates a stunning, though not always lightfast, yellow. Paprika provides a rich, warm red. Activated charcoal or finely ground coffee beans can be used to produce surprisingly deep, granulating darks.
When you begin foraging for your palette, think like a respectful guest of nature. Follow the rule of thirds: observe a third of the plants, gather no more than a third, and leave the final third to ensure the plant population remains healthy and can support local wildlife. Always be 100% certain of your plant identification, as some can be toxic.
Don’t forget preservation! Because your paints are made with organic binders like gum arabic or honey, they can be susceptible to mold. The traditional, wonderfully fragrant solution is to add a single drop of clove essential oil to your binder mixture. It acts as a natural preservative, keeping your precious colors fresh and ready for your next masterpiece.
Did you know that some of the earliest art ever created, like the 30,000-year-old paintings in the Chauvet Cave, was made with earth pigments? Artists used red and yellow ochre, charcoal, and manganese oxide mixed with water or animal fat.
One of the joys of natural pigments is their unique personality. Unlike uniform synthetic colors, earth pigments like ochres and green earths often have a quality called ‘granulation’. This means the heavier pigment particles settle into the valleys of the watercolor paper, creating a beautiful, subtle texture that can’t be replicated. It adds a living, breathing quality to your work that feels connected to the earth itself.
Once you’ve mixed your perfect paint, you need a place to keep it. You don’t need to buy expensive equipment; the process can be just as organic as the paint itself.
- Seashells: For centuries, artists have used clean, found seashells as natural paint pans. Their beautiful shape is both functional and inspiring.
- Bottle Caps: Clean metal or plastic bottle caps are a great upcycled option for small amounts of color.
- Ceramic Palettes: A simple, small ceramic tasting dish or soy sauce dish works perfectly for mixing and storing larger batches.
A word on lightfastness: This is a crucial test for any serious work. To see if your new color will stand the test of time, paint a swatch on a piece of paper. Cover one half of the swatch with thick, dark paper or tape, and leave the other half exposed. Tape the paper to a sunny window for several weeks. When you remove the cover, you’ll see exactly how much, if at all, your beautiful color has faded.


