Your First Guide to Hand-Building with Clay (Without the Headaches)
I’ve been messing with clay for what feels like a lifetime. Honestly, my hands have probably shaped thousands of pounds of the stuff, from gritty stoneware to porcelain that’s as fussy as a cat. I still remember my very first day in a community studio. The instructor plonked a 5-pound ball of clay in front of me and just said, “Make a bowl.” An hour later, I had this lopsided, thick-walled monstrosity that looked more like a helmet. And, of course, it cracked in the kiln.
In this article
That first failure taught me the most important rule of pottery: you don’t tell the clay what to do. You have to listen to it.
Think of clay as a responsive partner in a dance. It has its own rules, dictated by geology and physics. If you learn them, you can create beautiful things that last. If you ignore them, you’re just signing up for cracks, warping, and a whole lot of frustration. So, this isn’t just a list of cute projects. It’s the foundational knowledge I share with anyone who wants to learn. We’re going to focus on the core hand-building techniques, because once you master these, you can make anything you can dream up.

So, You Wanna Get Your Hands Dirty? Here’s What You Actually Need.
Before we dive in, let’s talk about your starter kit. People often think you need a ton of expensive gear, but you really don’t. You can get a solid setup for under $50.
- Your First Clay: Don’t start with the fancy stuff. I’d strongly recommend a forgiving, low-fire earthenware, often called terra cotta. It’s cheap, easy to work with, and you’ll have fewer heartbreaks from cracking. A 25-pound bag will probably run you between $20 and $40 at a local art supply store or online, and that’s enough for dozens of small projects.
- Basic Tool Kit: You can buy a beginner’s pottery tool kit for about $15. It usually includes the essentials: a needle tool (for cutting and scoring), a wire cutter (for slicing clay off the block), a couple of simple wooden modeling tools, a sponge, and a metal rib (a flat scraper for smoothing).
- A Work Surface: You just need a smooth, non-porous surface that clay won’t stick to. A piece of canvas stretched over a board is classic, but a sturdy vinyl placemat or a piece of countertop offcut works great, too.

The Science Bit: What Clay Is and Why It Matters
Okay, before you even open that bag of clay, understanding its personality will save you so much trouble. It’s not just mud; it behaves in very specific ways.
The Three Main Clay Families
You’ll generally run into three types of clay. Choosing the right one is your first big decision.
- Earthenware: This is your best friend as a beginner. It matures at a low temperature (around 1800-2000°F), making it easy to fire. It stays porous after firing, so you have to glaze it to make it hold water. You see this kind of clay a lot in traditional pottery from warmer climates. It’s forgiving, great for sculpting, and relatively inexpensive.
- Stoneware: This is the workhorse of the pottery world. It’s a mid-to-high-fire clay that gets incredibly strong and durable once fired, making it perfect for everyday mugs and bowls. It often has a slightly sandy texture from added grog (which is just fired, ground-up clay), which gives it strength. It’s a fantastic all-arounder, but a little less forgiving than earthenware.
- Porcelain: This is the diva. It’s a high-fire clay, famous for its pure white color and smooth, almost glass-like finish. But honestly? It’s a nightmare to work with when you’re starting out. It loves to slump, crack, and generally misbehave. Its beauty is incredible, but save this one for when you have more experience under your belt.
The Lifecycle of Clay: Knowing When to Touch It (and When Not To)
Clay goes through several stages of dryness, and messing up the timing is a classic rookie mistake. Getting this right is everything.
- Slip: This is just clay and water mixed to a creamy, yogurt-like consistency. It’s the glue we use to join pieces of clay together.
- Plastic: This is the clay right out of the bag—soft, workable, and ready for shaping.
- Leather-Hard: This is the magic stage. The clay has dried enough to hold its shape without flopping over, but it’s still damp enough to be carved, trimmed, and joined. It feels a bit like a block of firm cheddar cheese. This is when most of the construction and detail work happens.
- Bone-Dry: Now the clay is completely dry and very fragile. It’s lighter in color and ready for its first firing. At this point, no more joining or shaping! Trying to attach wet clay to bone-dry clay is a guaranteed crack.
- Bisqueware: This is what you have after the first firing. The piece is now hard like a rock but still porous enough to absorb glaze.
- Glazeware: The final form! The glazed bisqueware has been fired a second time, melting the glaze into a glassy, protective layer.
Heads up on timing: People always ask how long these stages take. It completely depends on your climate. Getting to leather-hard could take a few hours on a dry, warm day or a full day in a humid basement. Reaching bone-dry can take anywhere from two to seven days. The key is to never, ever rush it.
Oh yeah, and clay shrinks! It shrinks as it dries and shrinks again when fired, anywhere from 8% to 15%. This means you need to make your pieces a little bigger than you want the final product to be. More importantly, uneven drying causes uneven shrinkage, which is the number one cause of cracks. Always dry your work slowly by covering it loosely with a piece of plastic. And keep it away from drafts or direct sun.
A Quick But Critical Word on Safety
Before we build anything, we have to talk about safety. This is non-negotiable. Dry clay dust contains silica, and inhaling it over many years can cause a permanent lung disease called silicosis. There’s no cure. So, you have to be smart about it.
- Work Wet: The best way to prevent dust is to not make it. Wipe down your surfaces and tools with a wet sponge instead of letting clay dry and flake off.
- Never Sweep: Don’t sweep up dry clay scraps. Use a mop or a wet/dry vac with a HEPA filter.
- Smooth with Water: When your piece is bone-dry, use a damp sponge to smooth rough spots instead of sanding it.
I am a stickler about this in my own space. Your lungs are more important than any pot you’ll ever make.
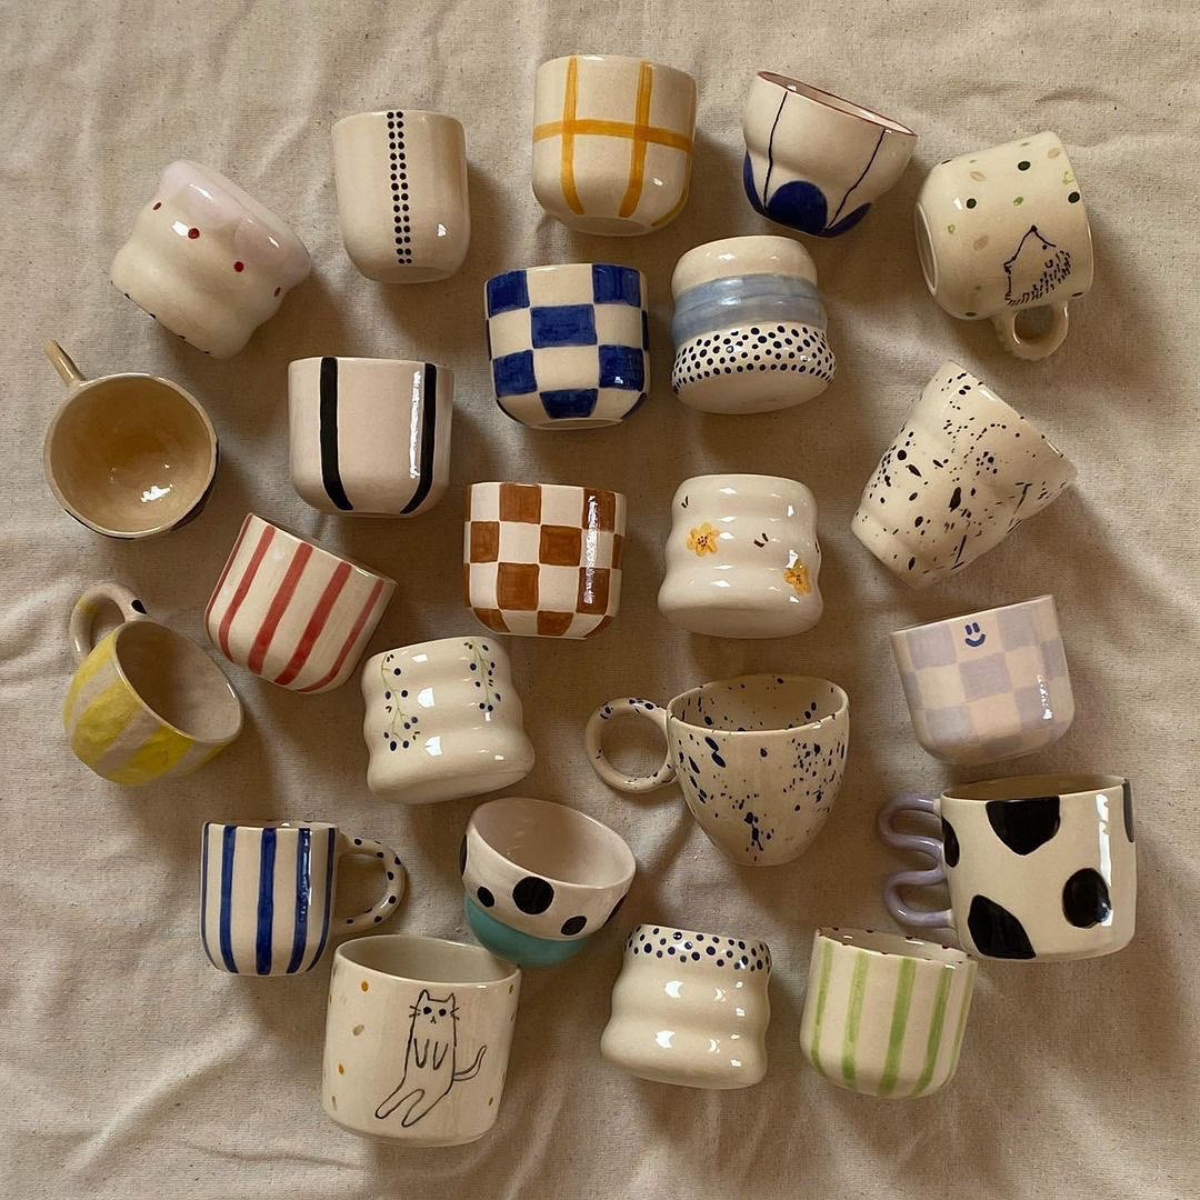
Technique 1: The Pinch Pot — Your Starting Point
Every potter starts with a pinch pot. It’s the most direct way to feel the clay and learn its limits. The goal isn’t just a bowl; it’s learning to create an even wall thickness with your fingertips. This is probably the most important skill in all of hand-building.
- Wedge Your Clay: Start with a ball of clay the size of a lemon. You have to wedge it first to remove air bubbles (which can explode in the kiln) and align the clay particles. It’s a bit like kneading bread dough. To be frank, this is tricky to learn from text. I’d highly recommend searching on YouTube for a “cone wedging” or “ram’s head wedging” video to see it in action.
- Open the Pot: Roll the wedged clay into a smooth ball. Hold it in one hand and gently press the thumb of your other hand into the center, stopping about a half-inch from the bottom.
- Pinch and Rotate: This is the main event. Place your thumb inside and your fingers outside. Start at the bottom and begin gently pinching as you spiral your way up. With every pinch, rotate the pot a little in your other hand. You’re aiming for a consistent wall thickness of about 1/4 inch.
- Feel, Don’t Just Look: Your fingertips are your best guide. Close your eyes and feel for thick and thin spots. If the rim starts cracking, just gently compress it with your fingers.
- Refine the Shape: Once the walls feel even, you can smooth the surfaces with a damp sponge or a flexible rib (a flat tool, usually made of rubber or metal, used for smoothing).
A common mistake: If your rim gets all wavy and uneven, you’re pinching too hard. Slow down and use gentle, consistent pressure. And if you get an S-shaped crack on the bottom after firing, it means the base was too thick compared to the walls.
Your First Win: Your mission, should you choose to accept it, is to make one small pinch pot this week. Don’t stress about it being perfect. Just make one. That’s a huge first step!
Technique 2: Coiling — Building with Ropes
Coiling is how you build bigger and more complex forms. You’re literally building the walls with ropes of clay. It’s an ancient technique that gives you amazing control over the shape.
- Make a Base: Start with a flat, circular base, about 1/4 inch thick.
- Roll Your Coils: On a clean surface, roll lumps of clay into even, finger-thick coils. Use your whole hand and apply even pressure. It takes practice, so don’t worry if your first ones are lumpy.
- Score and Slip: This is the golden rule of joining clay. To attach a coil, you MUST score and slip. Use a needle tool to scratch a crosshatch pattern onto the base where the coil will sit, and do the same to the side of the coil. Then, paint a thin layer of slip (your clay glue) on both scored areas. This creates a powerful bond.
- Attach and Blend: Press the coil firmly onto the base. Now, blend the seam. Using your thumb or a wooden tool, drag clay from the coil down onto the base on the inside, and then do the same on the outside. You want to completely erase the seam for strength.
- Build Upwards: Keep scoring, slipping, and adding coils. To make the pot wider, place each new coil slightly to the outside of the one below it. To bring it in, place it slightly to the inside.
Quick Tip: Don’t build too high too fast! If the walls are still soft, the weight will cause them to collapse. Build a few rows, then let the piece sit for an hour or so to firm up to a soft leather-hard before you add more. That’s the secret to making large coiled pieces.
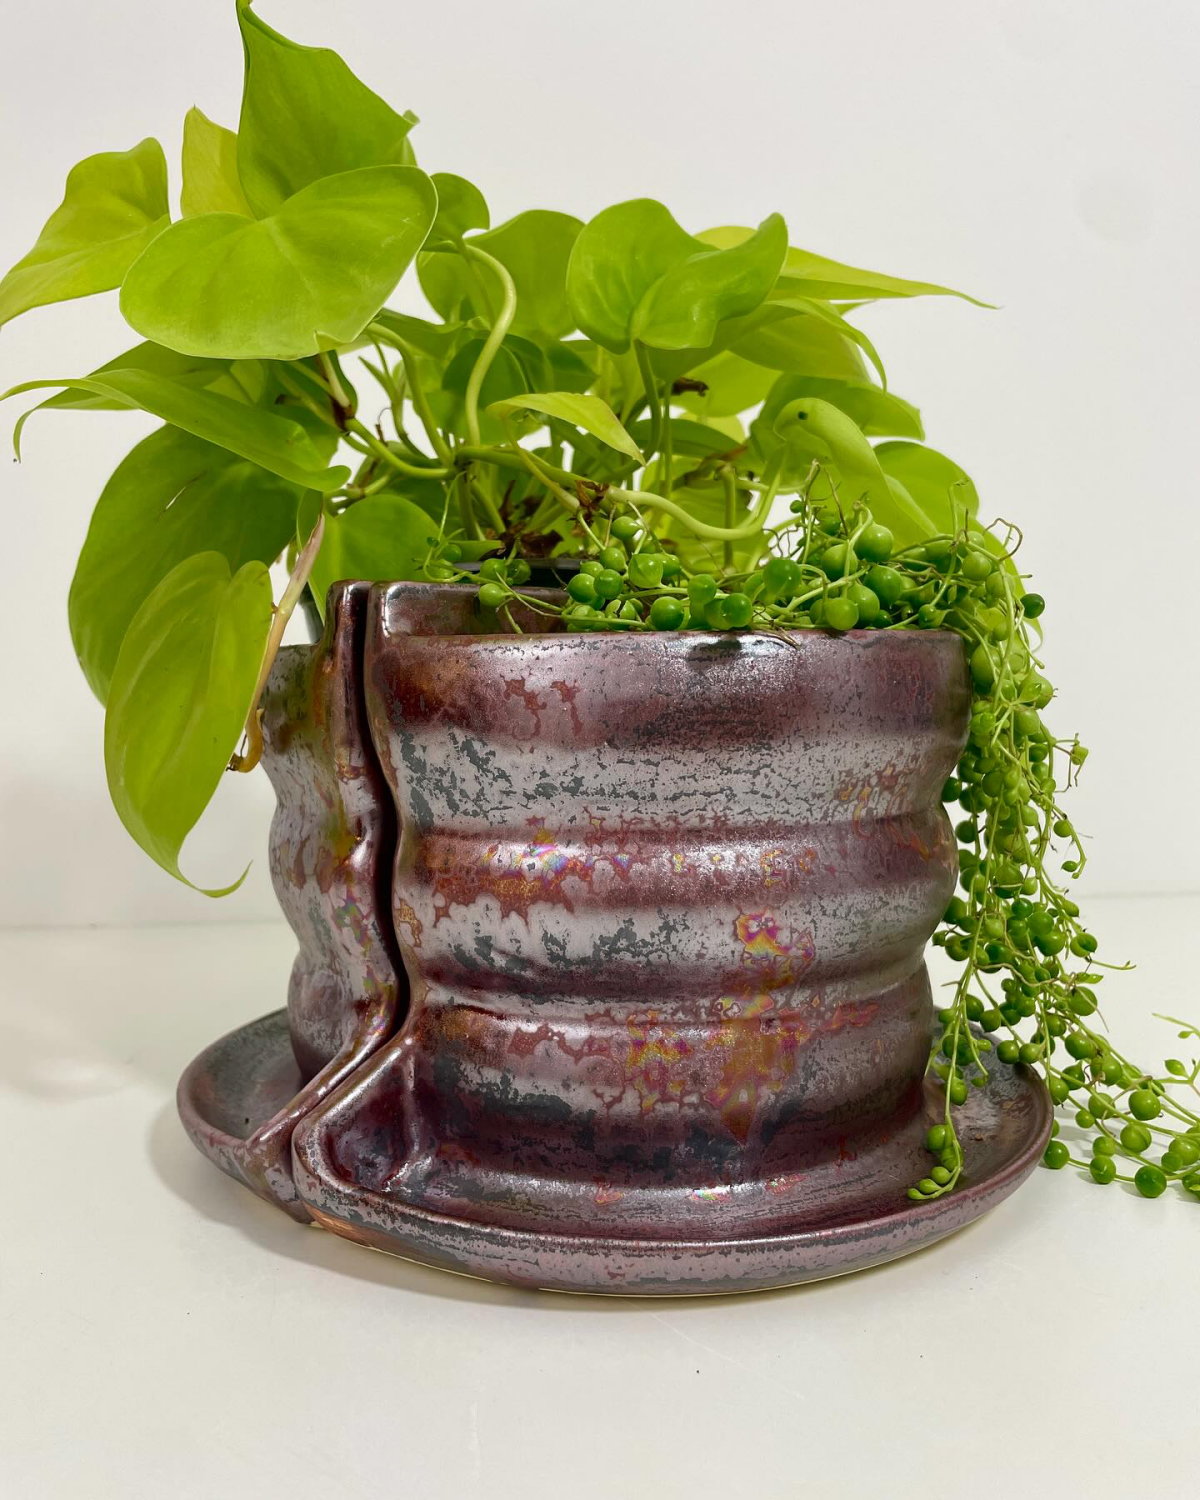
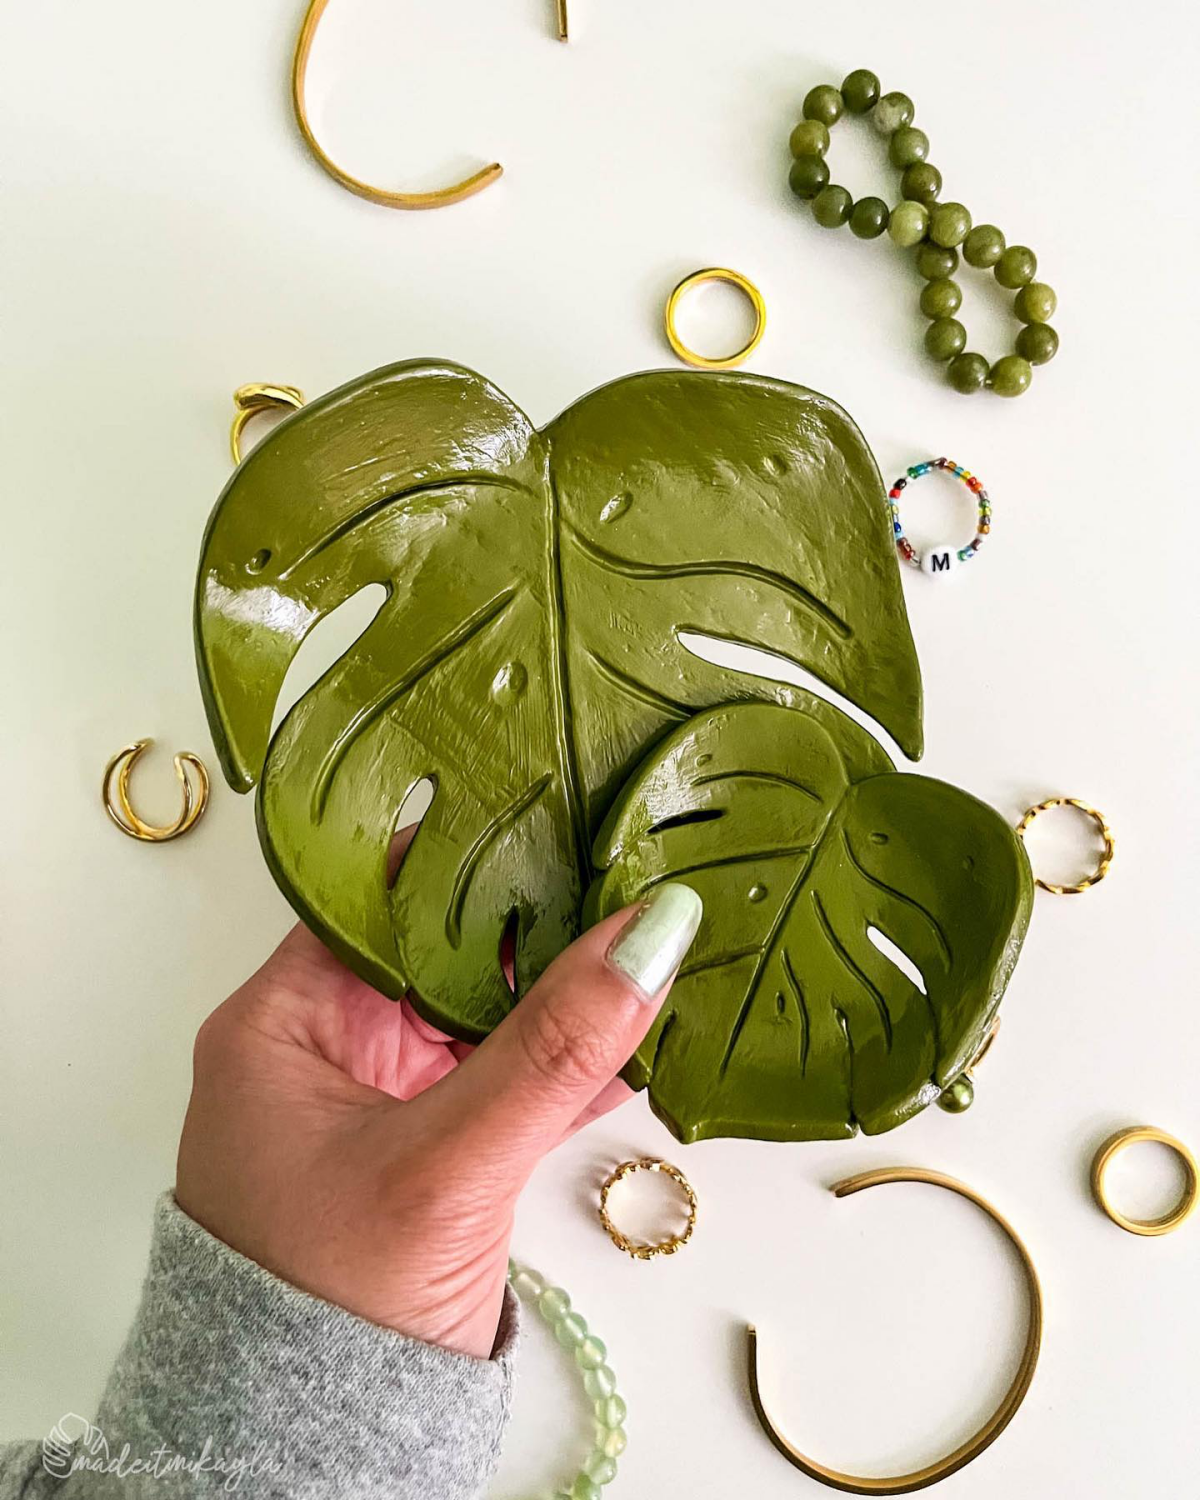
Technique 3: Slab Building — The Architecture of Clay
Slab building is all about creating forms from flat sheets of clay. It’s perfect for making more geometric pieces like mugs, boxes, or planters.
- Create Even Slabs: An even slab is critical to prevent warping. The easiest way to do this without a big, expensive slab roller is to use two parallel wooden dowels (you can find these at any hardware store). Place them on either side of your clay and use a rolling pin. The dowels act as rails, ensuring your slab is perfectly even. A 1/4 inch thickness is a great place to start.
- Let Them Firm Up: Freshly rolled slabs are too soft and floppy. You need to let them dry on a flat surface until they reach the leather-hard stage. You should be able to pick up a slab by its edge without it bending.
- Cut Your Pieces: Once your slabs are firm, you can cut out your shapes using a sharp knife and a ruler, just like you would with cardboard. For a box, you’d cut a base and four walls.
- Join the Walls: Here we go again with the golden rule! Score and slip all the edges you’re going to join. Press them together firmly but gently. To really secure the seam, you can roll a very thin coil of clay and press it into the inside corner, like caulking a bathtub. This adds a ton of strength.
- Support Your Structure: For angular forms like boxes, it’s a good idea to lightly stuff them with crumpled newspaper while they dry. This helps them hold their shape and prevents sagging.
The Elephant in the Room: How to Actually Fire Your Pottery
So you’ve made a beautiful piece, it’s bone-dry, and now… what? This is the part nobody talks about enough. You can’t just bake clay in your kitchen oven. It needs to reach extreme temperatures (we’re talking 1800°F and up) in a special oven called a kiln.
So how do you get access to one?
- Community Studios: This is your best bet. Most towns and cities have a community pottery studio that offers memberships or “firing services.” You can pay a small fee, usually based on the size of your piece (expect something like $5-$15 for a mug-sized object), to have them fire your work in their kilns.
- Local Colleges & Art Centers: Check with the art department of a local community college. Sometimes they will rent out kiln space to the public for a reasonable price.
- Ask a Potter: If you see a local potter selling their work at a farmers market, don’t be shy! Ask them if they ever rent out space in their kiln. The worst they can say is no, and you might just make a new friend.
Finding a place to fire your work is the final piece of the puzzle. Once you figure that out, you’re truly on your way. The process can seem intimidating at first, but just take it one step at a time. Be patient with the clay, and more importantly, be patient with yourself.
Galerie d’inspiration
My piece is bone-dry. Can I paint it with colorful glazes now?
Not quite! Your fragile
Did you know? Clay can shrink anywhere from 5% to 20% as it dries and is fired.
This isn’t a flaw; it’s physics. As water evaporates, the clay particles pull tighter together. That’s why a handle attached to a mug that has already started to dry is almost guaranteed to crack off—they shrink at different rates. The key is to ensure all parts of your piece dry slowly and evenly. A loose plastic grocery bag is your best friend here.
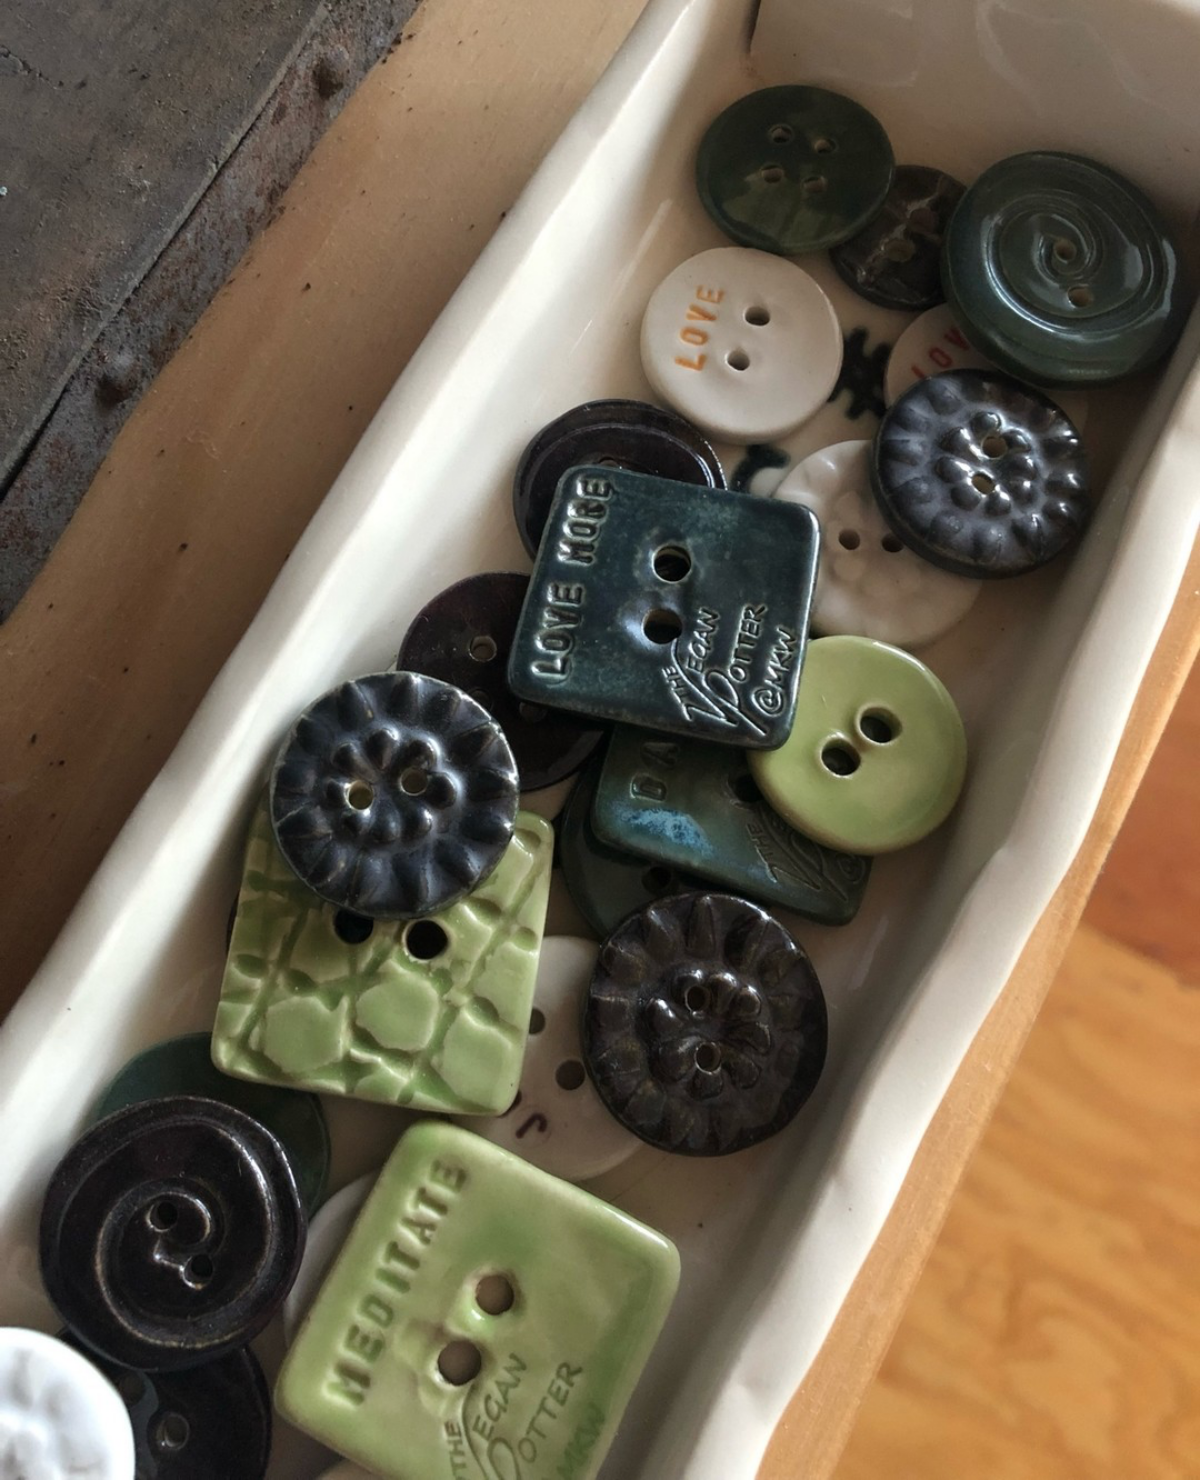
The secret potter’s glue: It’s called slip. When you score (scratch) two pieces of clay you want to join, you must paint this magical mud in between. Without it, the pieces will likely separate during drying or firing. You don’t need to buy it—just mix a few dry scraps of your clay with a little water until it has the consistency of thick yogurt. It’s the single most important trick for building anything beyond a simple pinch pot.
- Gives you a clean, white canvas perfect for bright, modern glazes.
- Has a finer, smoother texture that’s a joy to work with.
- Is incredibly strong once fired, making it great for functional items like mugs and plates.
The secret? Trying a mid-fire white stoneware clay. While terra cotta is fantastic, a forgiving stoneware like Laguna’s B-Mix is the perfect next step when you want to explore more vibrant colors and a sleeker finish.
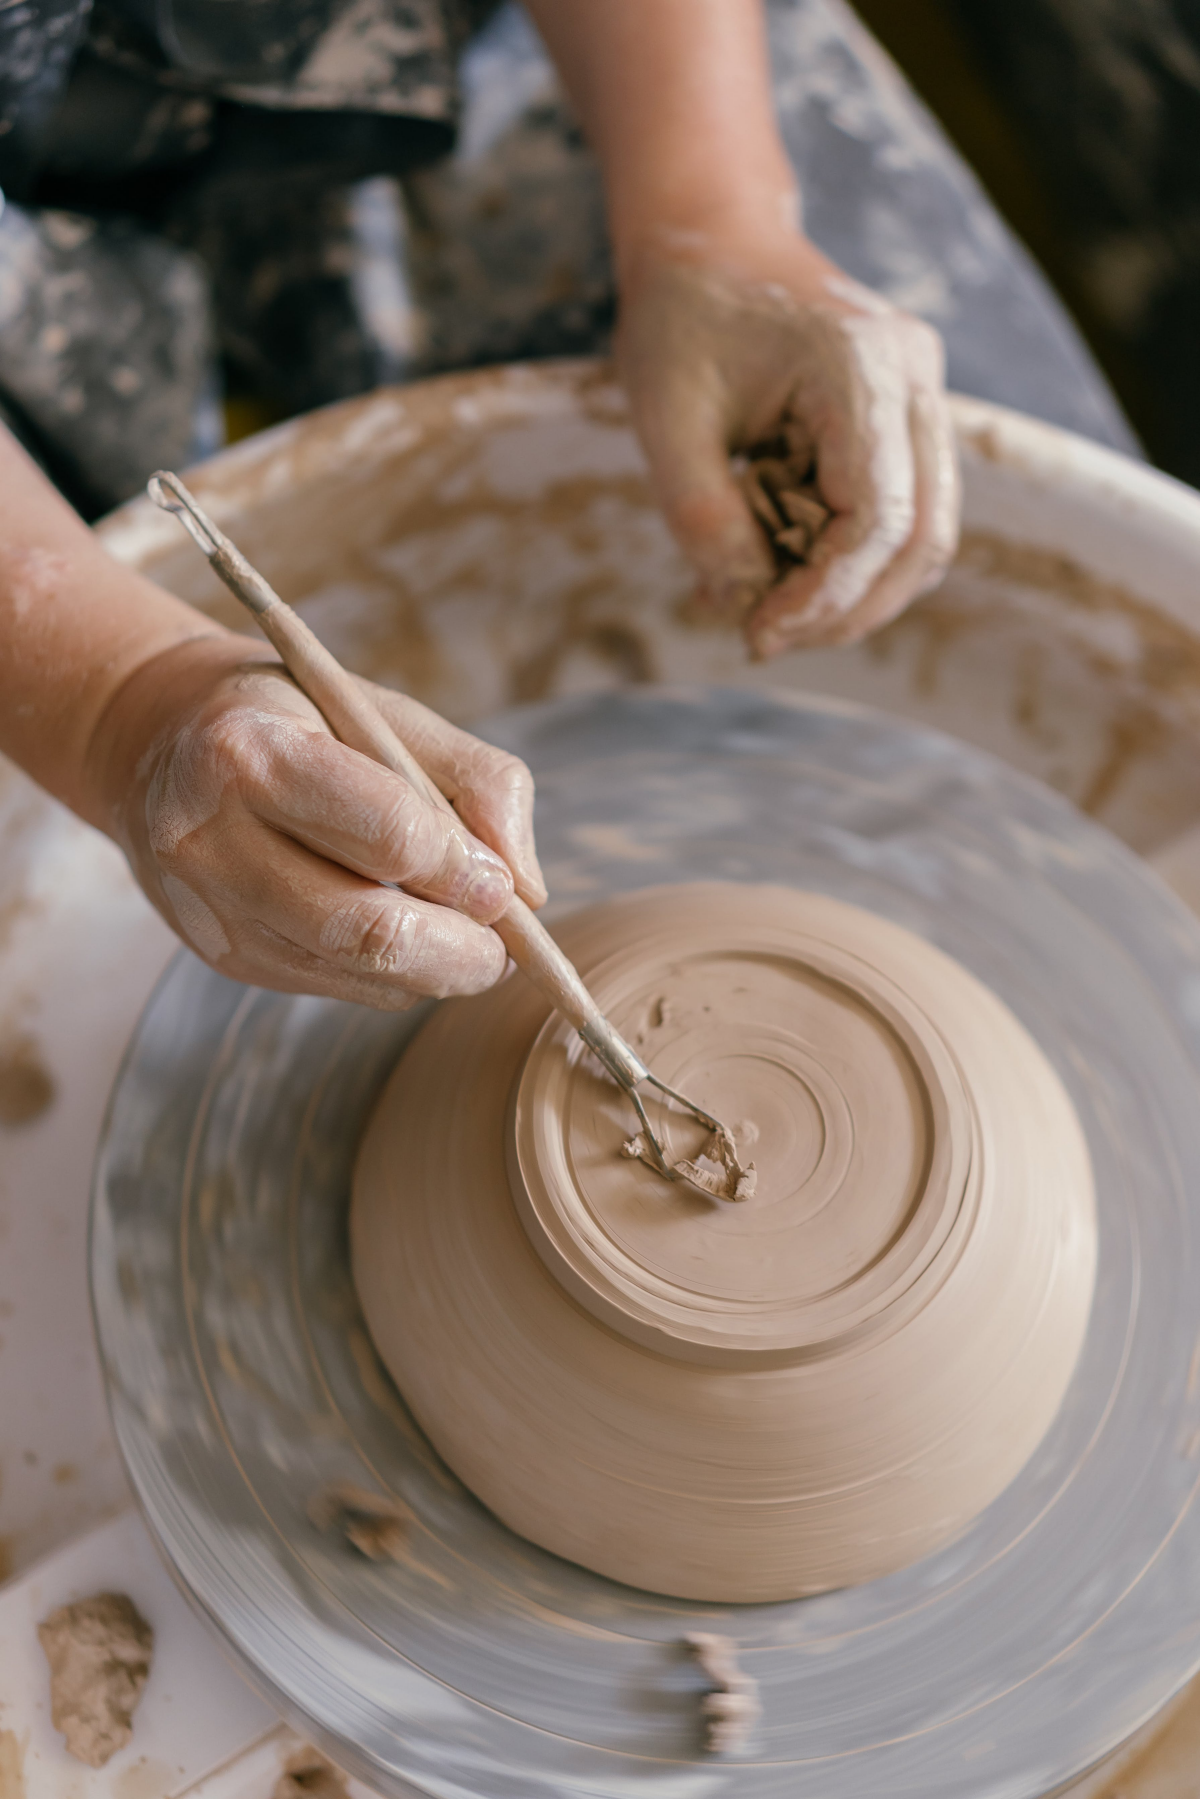
Before your creation ever sees a kiln, give it personality with texture. While the clay is still soft but not sticky (called
Pinch Pots: Start with a ball of clay. You press your thumb into the center and gently
Don’t have a dedicated work surface? The key is to find something non-porous that clay won’t stick to. A large, smooth ceramic floor tile from a hardware store is a fantastic, cheap, and portable option. A piece of heavy canvas or an old vinyl placemat also works wonders to protect your table and make cleanup easier.


