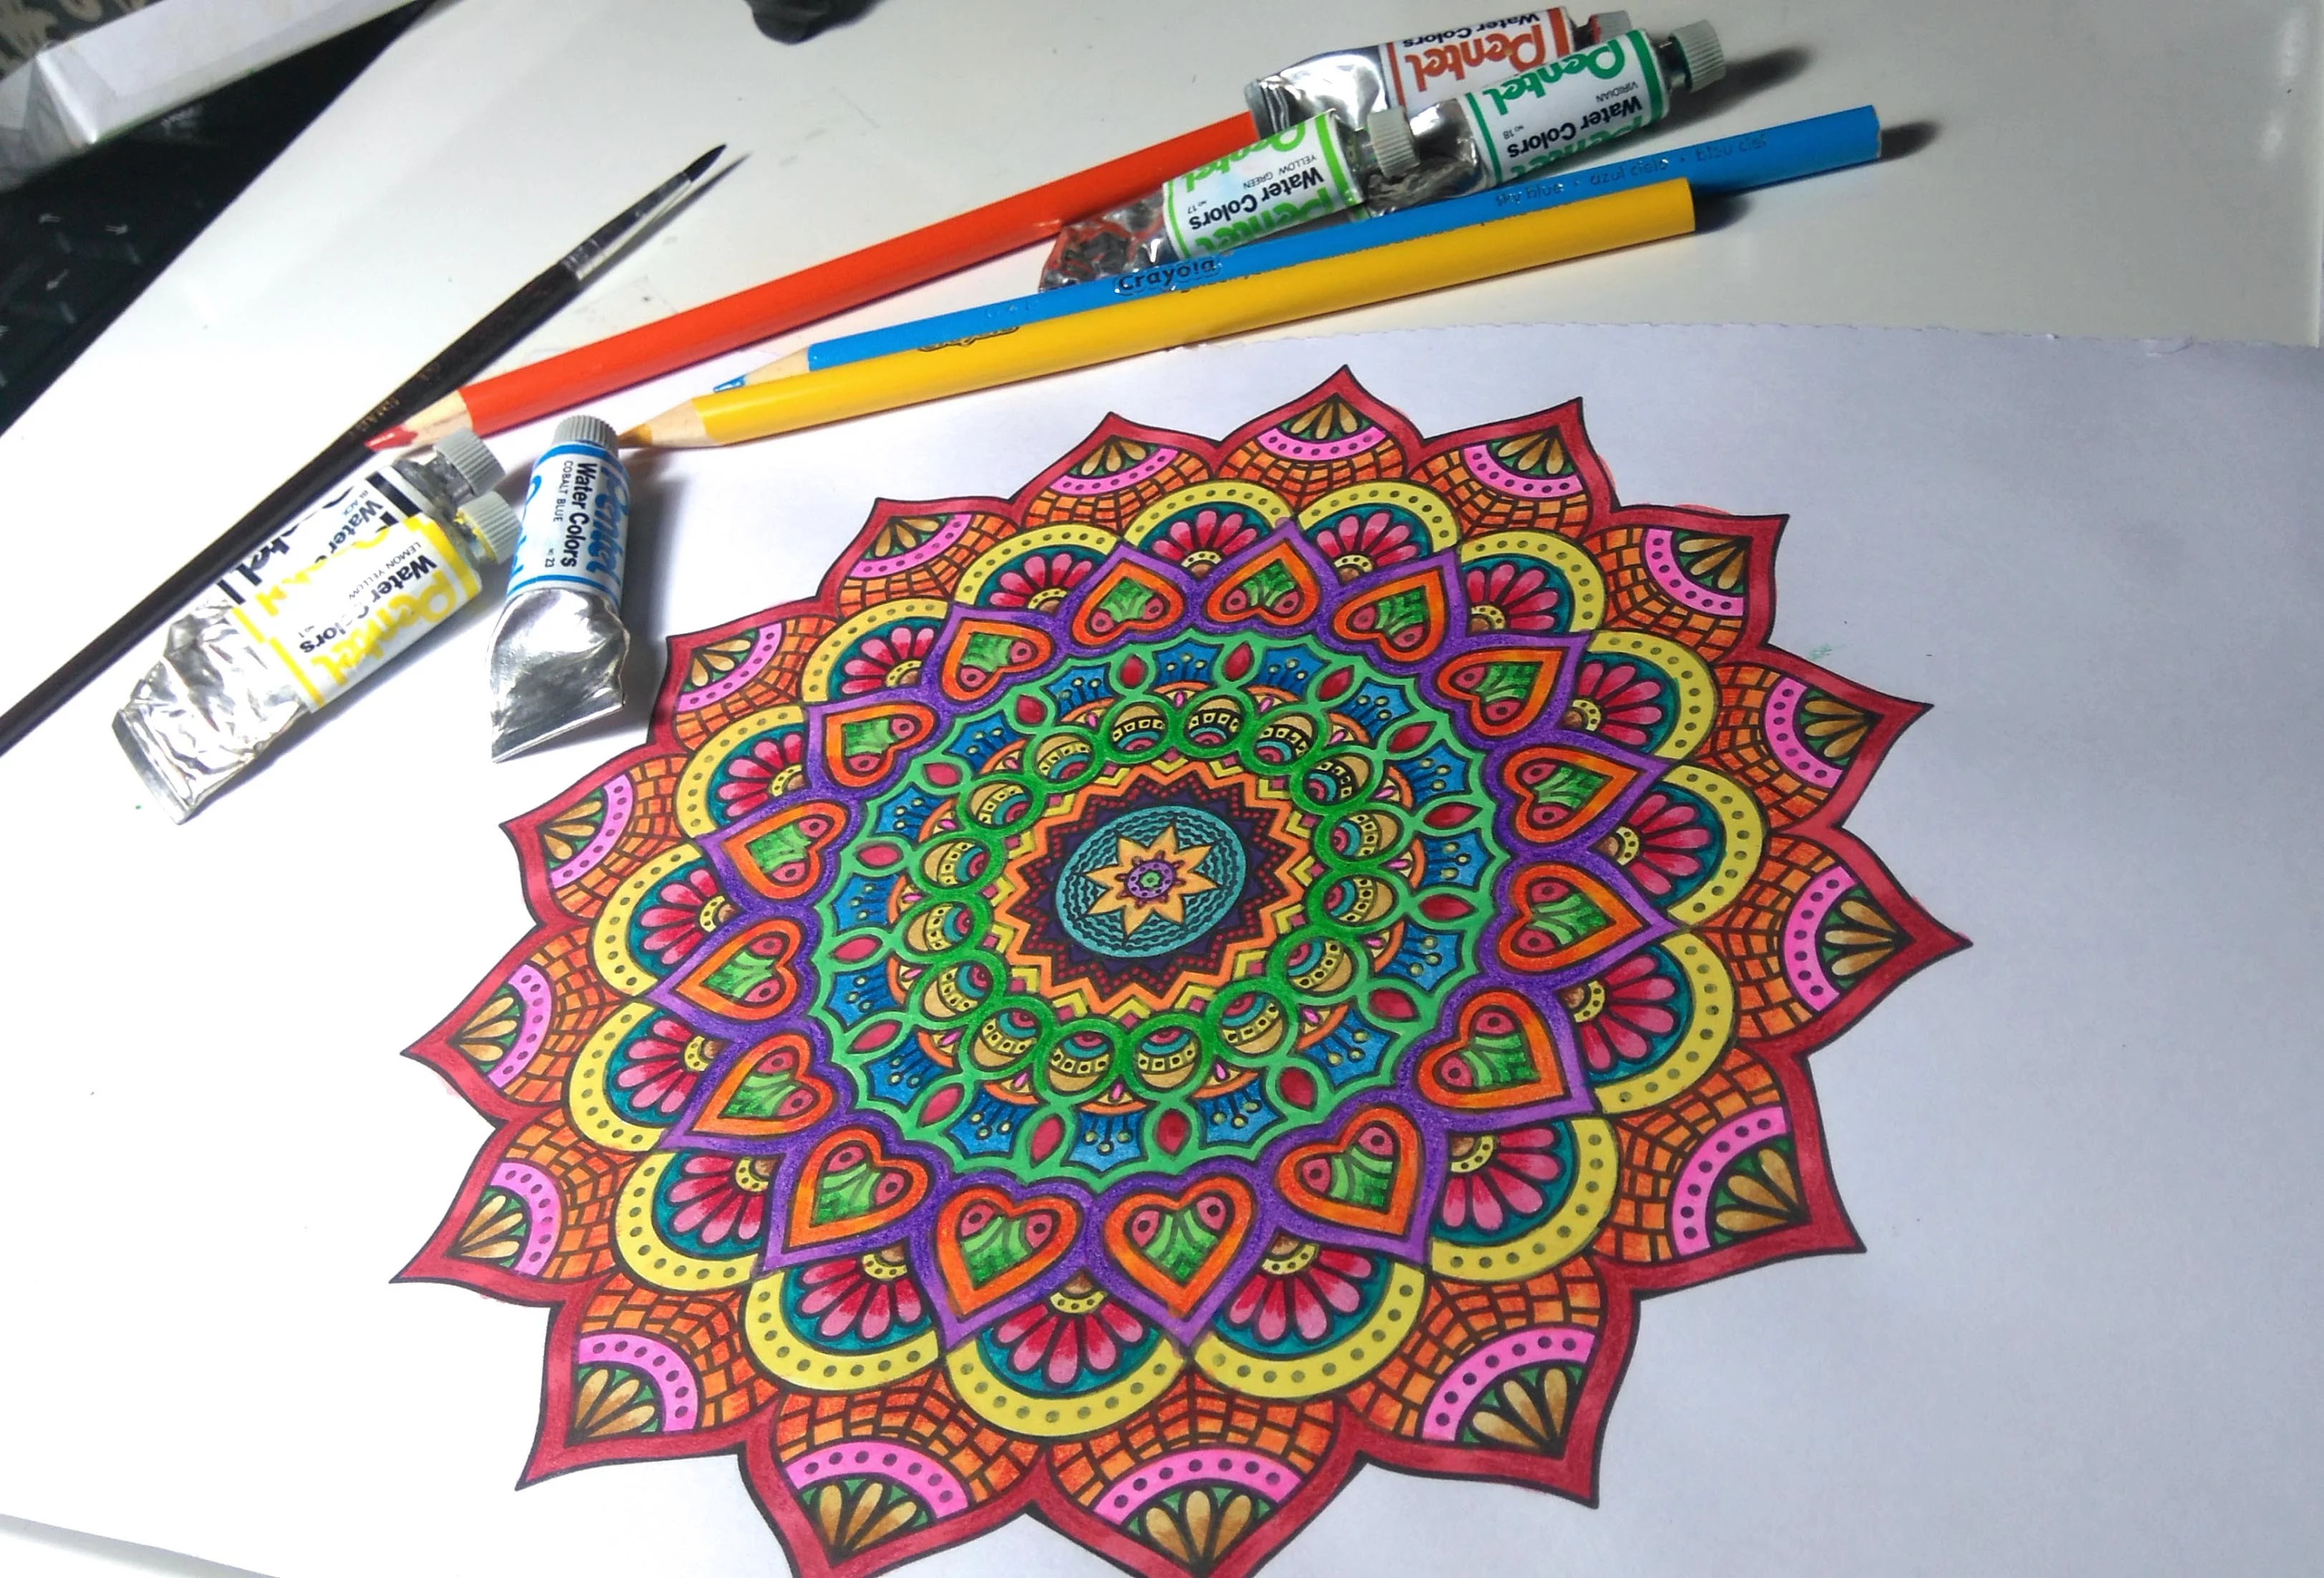
From Junk to Gem: A Hands-On Guide to Upcycling Like a Pro
I’ve probably spent more time in my workshop than anywhere else. There’s something about the smell of wood, paint, and finishing oil that just feels like home. And over the years, I’ve realized the most rewarding projects aren’t always the ones I build from scratch. The real magic is in finding something forgotten—a dusty wooden box, a plain glass jar—and bringing it back to life.
In this article
It’s a process that’s part patience, part technique, and honestly, it’s something anyone can learn. A lot of people get discouraged when their projects end up with peeling paint or wrinkly paper, especially after seeing all the perfect-looking stuff online. But trust me, the difference between a project you love and one that ends up in the trash isn’t about expensive tools. It’s all about the prep work.
So, I’m going to walk you through the methods I use every day. Think of this as the foundation for doing this work the right way, so you can start creating pieces you’re actually proud to show off.
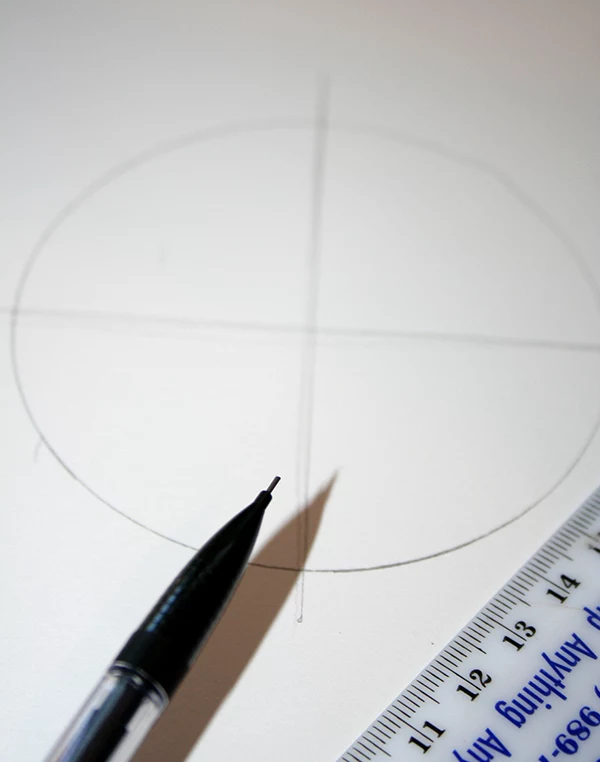
The Most Important Step: Nailing the Prep Work
Before you even think about popping open a can of paint, your project’s fate has already been decided by how you prep the surface. Seriously. Paint and glue need something to grab onto. If the surface is dirty, slick, or oily (even from your own fingerprints), they just won’t stick for long.
This is why a quick wipe-down almost never cuts it. I’ll never forget the time I got impatient and decided to paint a beautiful glass vase without priming it first. I spent hours getting the design perfect. A week later, the paint peeled off in one giant, soul-crushing sheet. That’s a mistake you only make once!
Primers are your secret weapon. They’re designed to grip onto tricky surfaces and then provide a perfect, new surface that your topcoat of paint is made to love. Skipping primer to save an hour can literally cost you the entire project.
How to Prep Different Materials
Every surface needs a slightly different approach. Here’s my go-to process for the most common materials you’ll find.
Unfinished Wood:
Raw wood is thirsty and will soak up paint unevenly if you’re not careful. Start by sanding with 150-grit sandpaper, always moving with the grain to avoid ugly scratches. Oh, and a quick tip on sandpaper: the lower the number (like 150-grit), the coarser it is. The higher the number (like 400-grit), the finer and smoother it is. After sanding, wipe away all the dust with a tack cloth. (By the way, a tack cloth is just a sticky cheesecloth made for picking up fine dust. You can find them in the paint aisle at Home Depot for a couple of bucks, but a slightly damp, lint-free rag also works great in a pinch.) Then, hit it with a wood primer to seal it up. Once that’s dry, a super-light sanding with 220-grit paper will make it feel like silk.
Wood That’s Already Painted or Varnished:
You can’t just paint over a glossy, shiny finish. You have to give the new paint something to adhere to. Start by ‘scuff sanding’ the whole piece with 120-grit sandpaper. You’re not trying to strip the old paint off, just knock off the shine. Then, clean it really well. A simple mix of water and a few drops of dish soap works, followed by a rinse with a clean, damp cloth. Let it dry completely before you even think about priming.
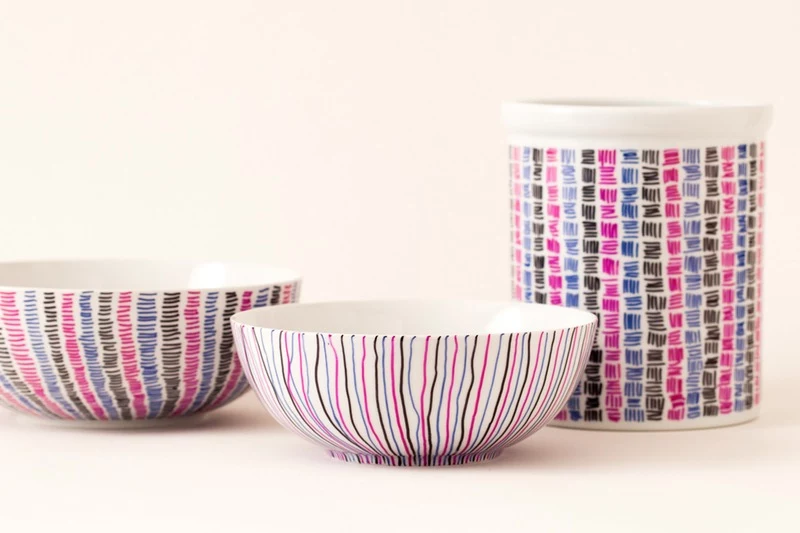
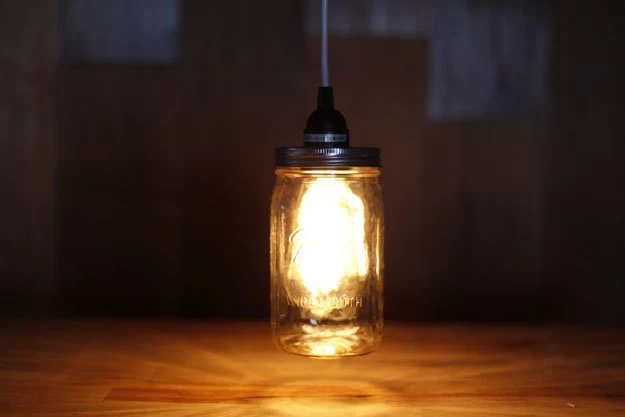
Glass and Ceramics:
Glass is tricky because it’s non-porous. The absolute key here is getting it perfectly clean. Wash it with hot, soapy water, then wipe the whole thing down with alcohol on a lint-free cloth. I usually use denatured alcohol from the hardware store, but the regular rubbing (isopropyl) alcohol you have in your medicine cabinet works just as well for this. After that, you must use a special bonding primer designed for slick surfaces. A spray-on version is your best bet for a thin, even coat. A good go-to is Rust-Oleum’s 2X Ultra Cover Primer, which costs around $6-$9 a can.
Metal:
First thing’s first: if there’s any rust, it has to go. A wire brush or some steel wool will do the trick. For bare metal, scuff it with 180-grit sandpaper to give it some ‘tooth,’ then clean it with a degreaser or mineral spirits to get rid of any oily residue. Then, apply a metal primer. This is non-negotiable, as it both helps the paint stick and prevents rust from coming back later.
Heads up! Always work in a well-ventilated area, especially when you’re using sprays or chemical cleaners. And please, wear a dust mask when you’re sanding. You never know what’s in old layers of paint.
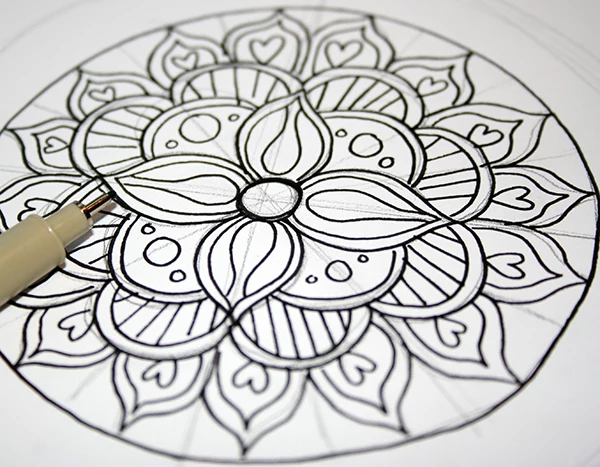
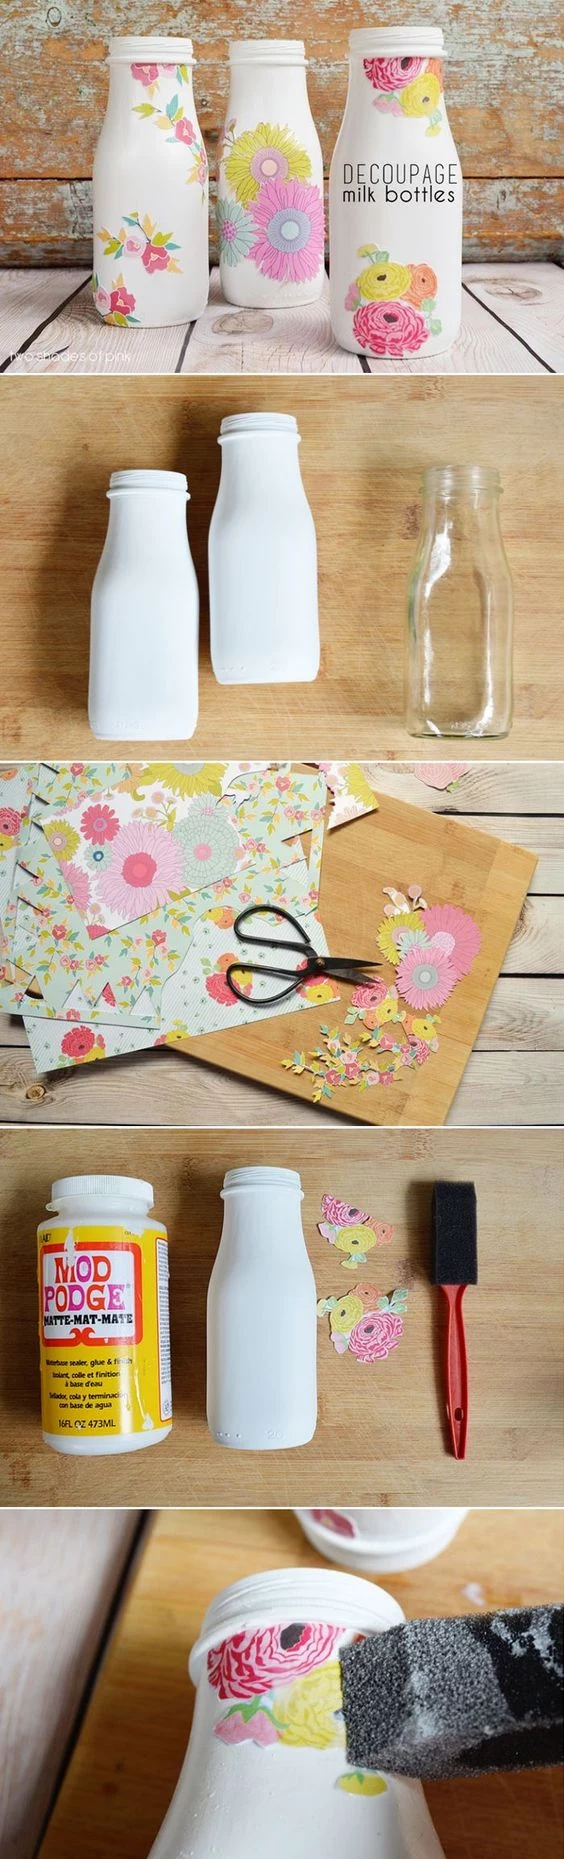
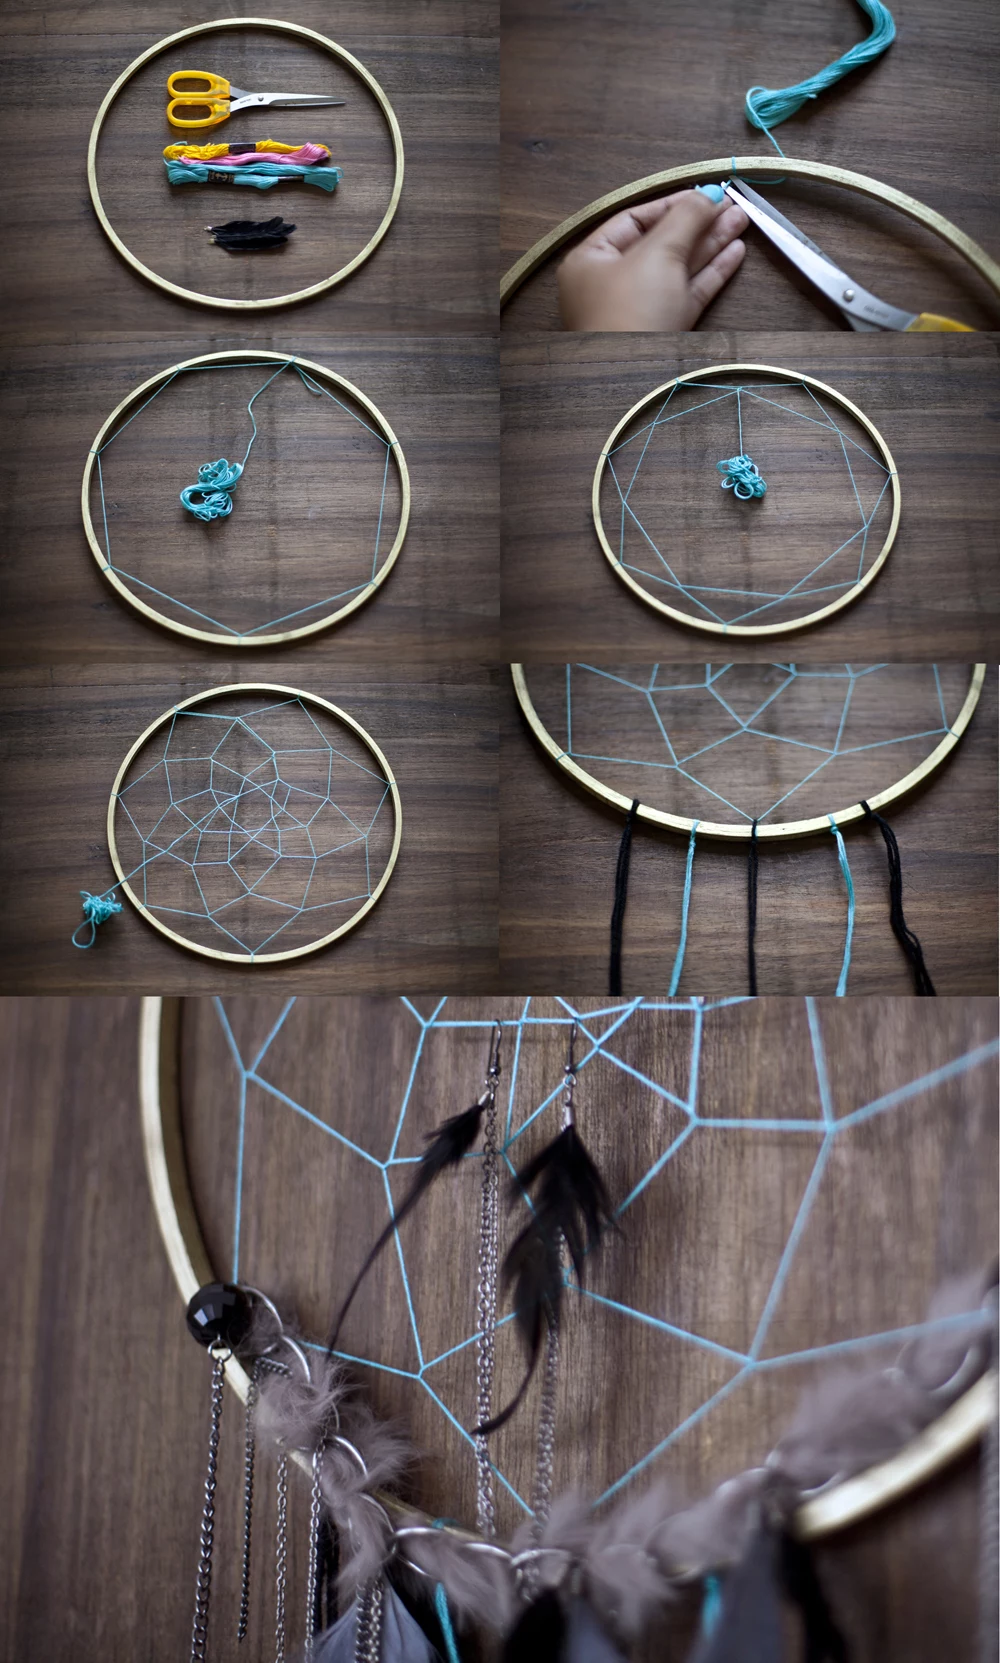
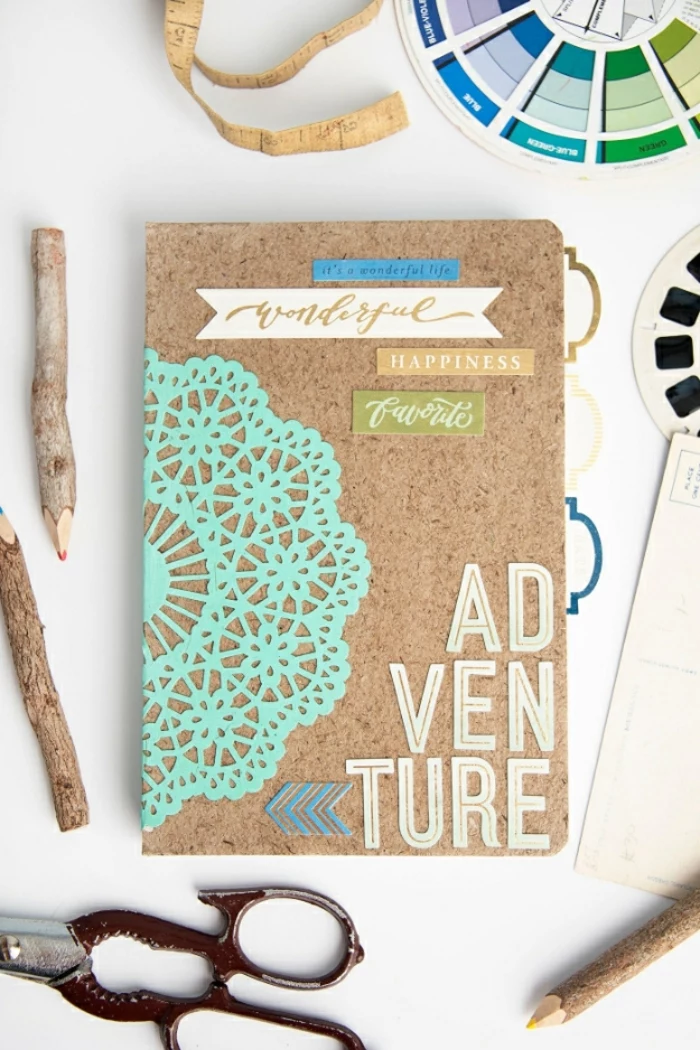
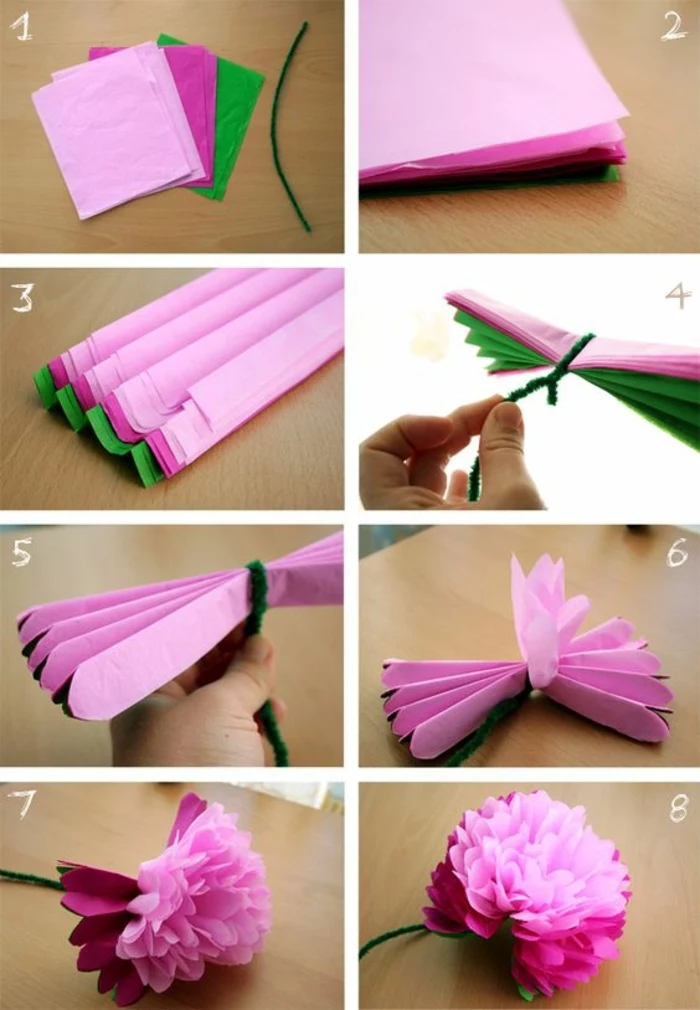
The Secret to Decoupage That Actually Lasts
Decoupage is just a fancy word for gluing paper cutouts onto something. But there’s a world of difference between a smooth, seamless finish and a lumpy mess. The secret is all in the medium you use and how you apply it.
Choosing Your Stuff
The paper you pick makes a big difference. Thin paper, like napkins or rice paper, is delicate but it’s amazing for wrapping around curves. It practically melts into the surface. Thicker scrapbook paper is easier to handle but you risk seeing the edges. A pro tip: if you’re using thicker paper, you can gently ‘feather’ the edges with sandpaper before you glue them down to help them blend in.
As for the glue, don’t reach for Elmer’s. You need a proper decoupage medium, which acts as a glue, sealer, and finish all in one. The most famous brand is Mod Podge, and for good reason. It comes in different finishes like matte, satin, and gloss, and an 8oz jar will only set you back about $5 to $10. I usually lean towards matte or satin, as high gloss can look a bit plasticky and highlights every tiny flaw. For things that will get a lot of use, like a tray, grab their ‘Hard Coat’ formula for extra durability.
The Two-Method System
Depending on the paper, I use one of two methods:
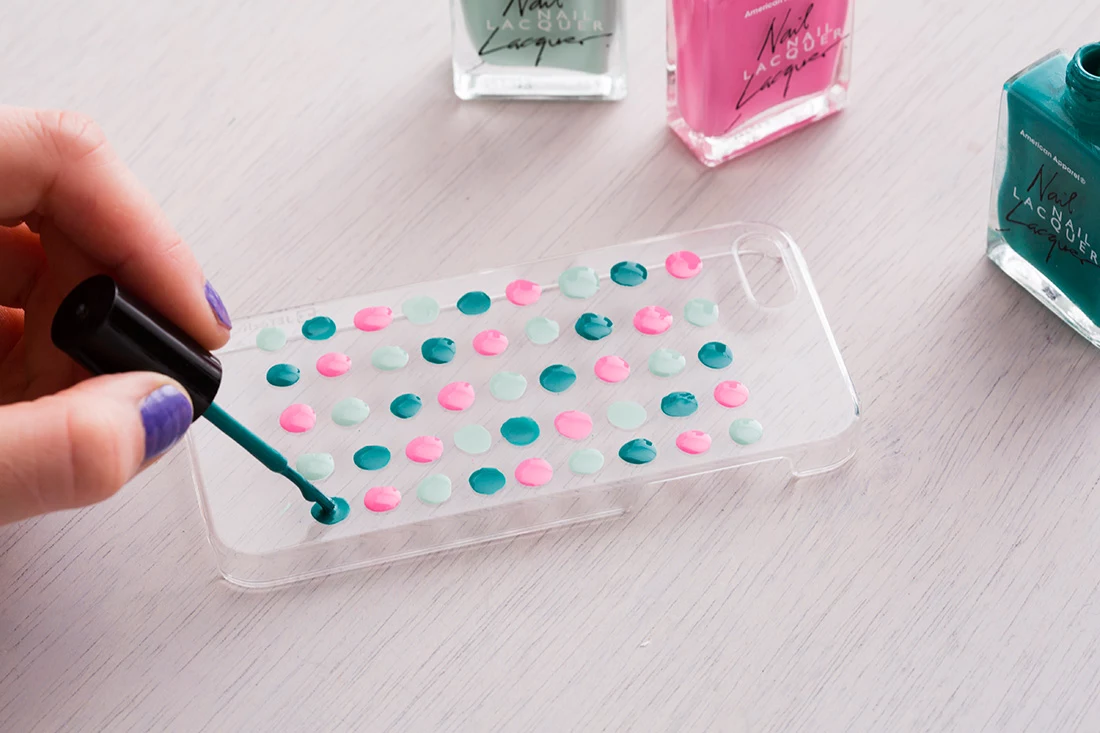
- The Wet Method (for thin paper): Brush a thin layer of medium onto your object. Carefully place the paper down, smoothing from the center out with your fingertips. Then, brush another thin layer of medium over the top, again going from the center out to push out any air bubbles. Be gentle here—wet paper tears easily!
- The Dry Method (for thicker paper): This time, brush the medium onto the back of the paper itself. Let it sit for a minute until it’s tacky, not sopping wet. This makes the paper a bit easier to handle. Place it on your object and press it down firmly. I love using a small rubber roller called a brayer (about $8 at a craft store) to get a perfect, bubble-free bond.
One top coat is not enough for a real professional finish. You need several thin layers. After the first top coat is dry, add another. For a truly seamless look, you can very lightly sand between coats with extra-fine sandpaper (400-grit or higher) to knock down the paper edges. Just wipe away the dust before your next coat. For a small box, I’ll do 3-4 coats. For a tray, it’s more like 5-7, with a final coat of clear polyurethane for good measure.
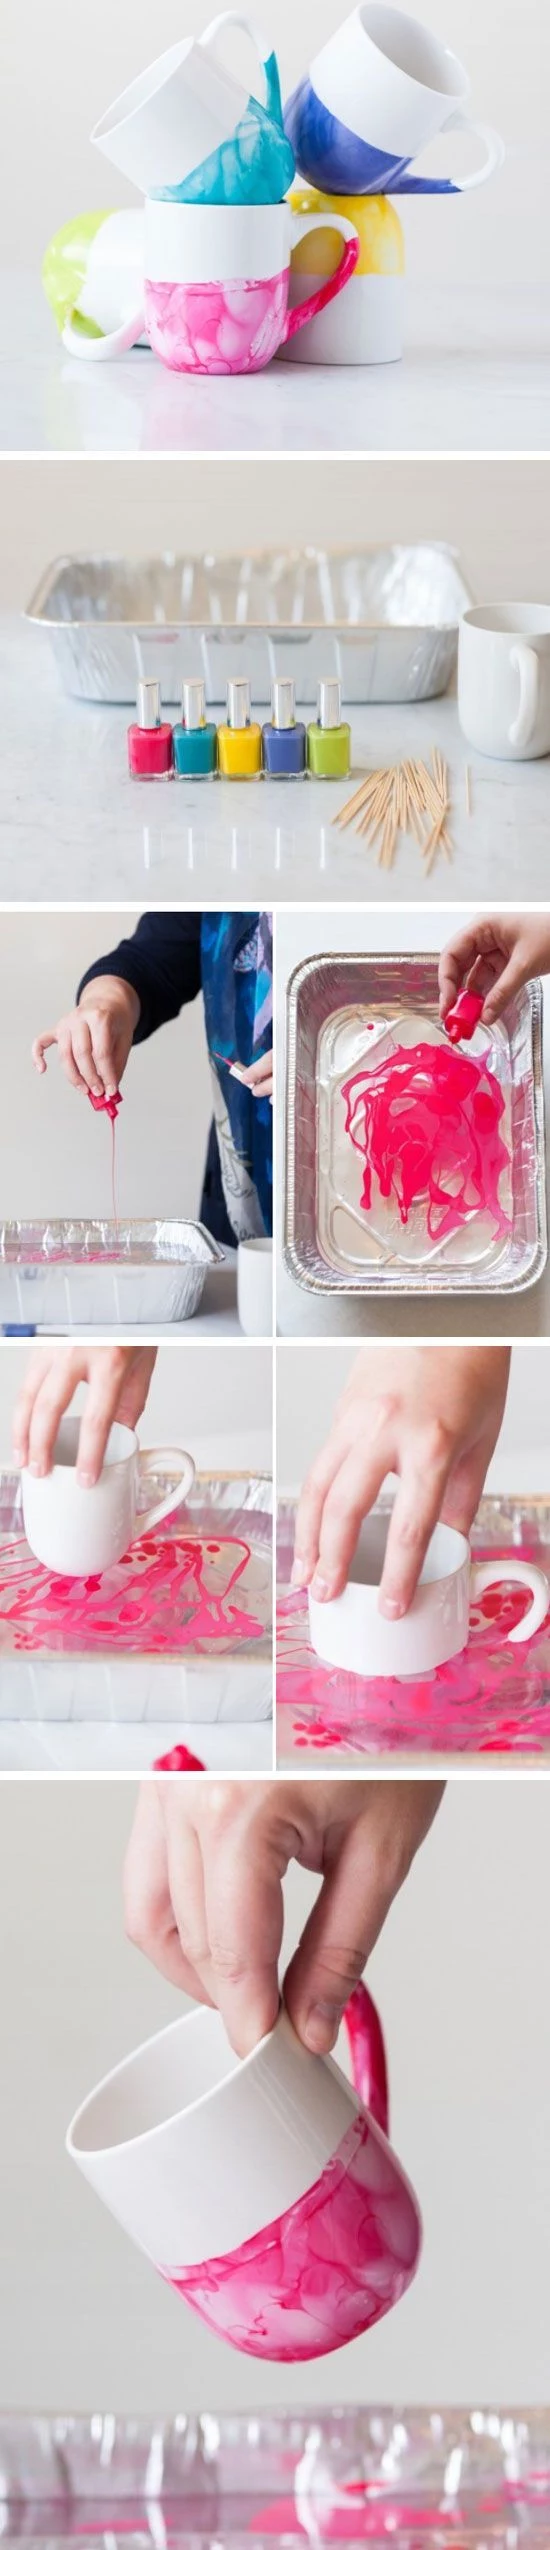
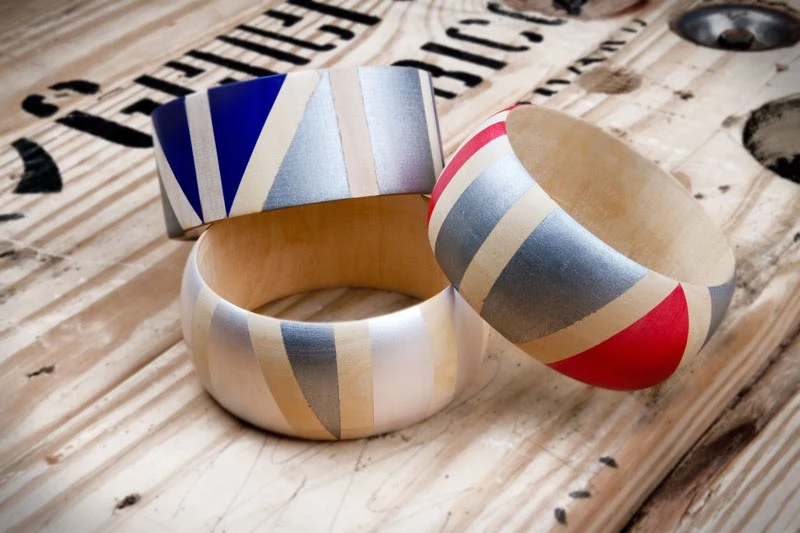
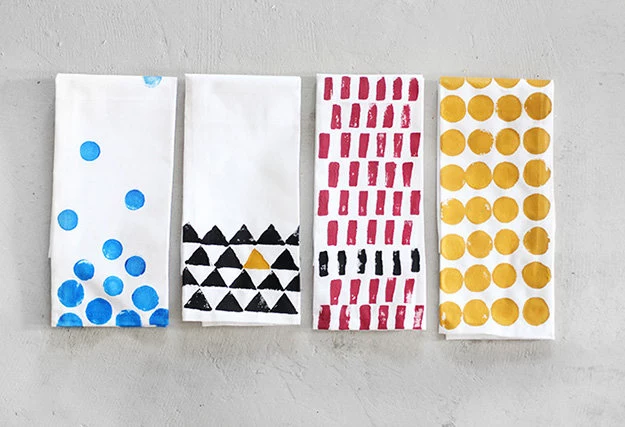
Choosing the Right Paint for the Job
Paint can completely change the character of a piece. Here’s a quick rundown of the main types and what they’re best for.
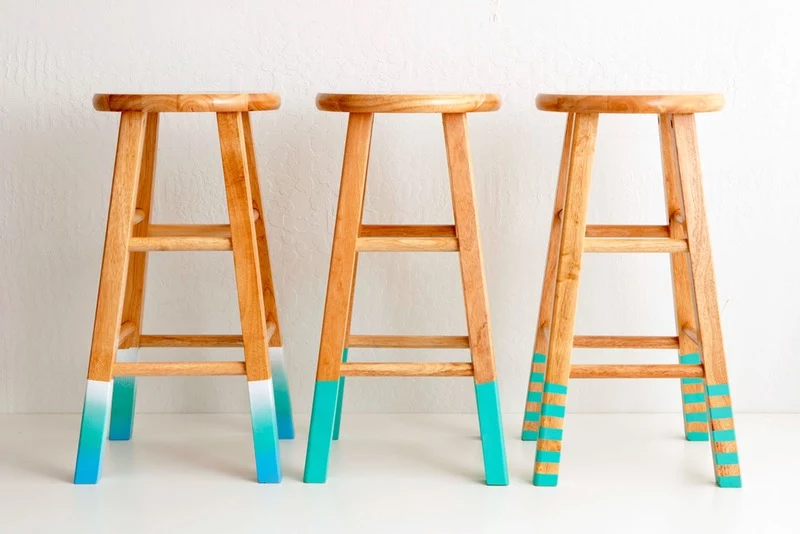
For a super smooth, almost factory-like finish with zero brushstrokes, spray paint is your best friend. It’s fantastic for metal, plastic, or anything with weird shapes. The trick is to shake the can for a full minute, hold it about 10 inches away, and use light, sweeping motions. It’s always better to do three thin coats than one heavy one that will just drip everywhere.
Then you have acrylic craft paint, the versatile workhorse of any craft room. It’s water-based and easy to clean up. But a word of advice: spend the extra buck or two on the higher-quality acrylics from an art supply store instead of the cheapest little bottles. They have way more pigment, which means you get better coverage with fewer coats. Use a soft-bristled brush to minimize those pesky brushstrokes.
And of course, there’s chalk-style paint, which has become a superstar for that rustic, ultra-matte look. Its biggest selling point is how well it sticks to almost anything with very little prep. It’s thick and covers like a dream. The only catch? You absolutely have to seal it with a special wax or a water-based topcoat to protect the finish, which is quite soft on its own. It can be a bit pricier, sometimes running $20-$35 for a quart, but a little goes a very long way.
Putting It All Together: A Tea Box Transformation
Let’s make this real. I found a plain wooden tea box at a flea market for $3. It was solid, but had a boring, orangey varnish. Here’s how I gave it a new life.
Before we start, here’s a rough idea of what a project like this might cost if you’re buying everything new:
- Thrift Store Box: $2 – $5
- Spray Primer: $6 – $9
- Small Acrylic Paints (2 colors): $4 – $8
- Mod Podge (8oz): $5 – $10
- Sandpaper Pack: $5
- Total Beginner Cost: Around $22 – $37
Here’s the step-by-step:
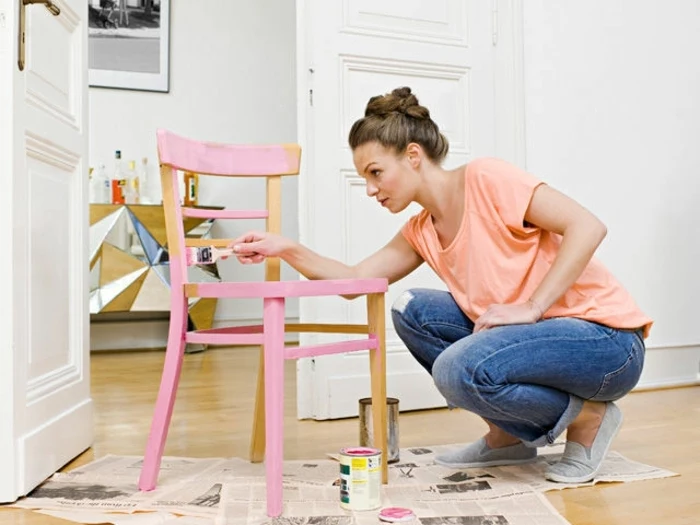
- Prep: I took off the old hinges and latch and put them in a small bag so they wouldn’t get lost. I gave the whole box a quick scuff sand with 120-grit paper to kill the shine, then wiped it clean.
- Prime: One coat of white spray primer, inside and out, covered that ugly orange and gave me a fresh start. I let it dry for a couple of hours.
- Paint: I went with a deep blue acrylic for the outside and a warm cream for the inside dividers. I applied two thin coats with a soft brush, letting it dry in between.
- Decoupage: I had some beautiful floral rice paper. I cut out a piece for the lid and used the wet method. I brushed matte Mod Podge on the lid, laid the paper down, and sealed it with another coat on top. The paper became almost translucent, letting the blue peek through. It was gorgeous.
- Seal: This is where patience comes in. Over the next day, I applied four thin coats of the matte Mod Podge over the entire outside of the box. This unified the finish and gave it great protection. After the third coat, I gave it a quick, light sand with 400-grit paper, which made the final coat buttery smooth.
- Finish: I polished the original brass hardware to bring back its shine and, after letting the box cure for a full 24 hours, I reattached everything. It looked like something you’d buy in a boutique, not for a few bucks at a flea market.
The joy in this work comes from seeing the potential in things others have tossed aside. It’s a quiet skill, but once you get the hang of these basics, you can create some truly beautiful, personal things that last.
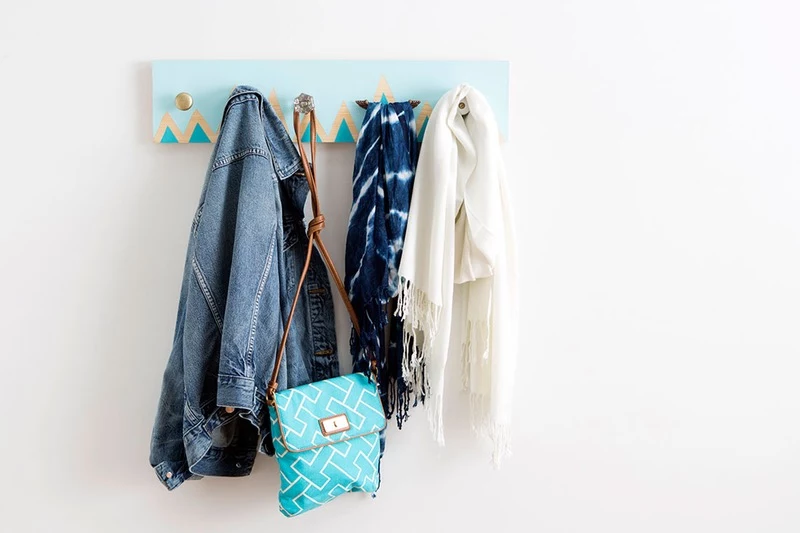
And hey, feeling inspired but not ready for a whole box? Here’s a quick win: Find a boring picture frame, give it a light sanding, and hit it with a can of bold spray paint. It’s a 20-minute project that can completely change the feel of a room!
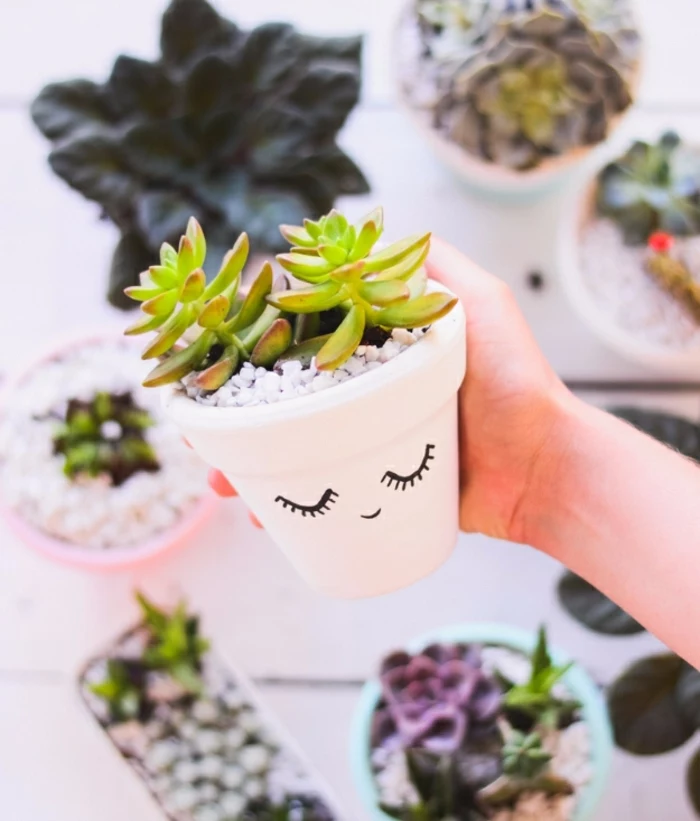
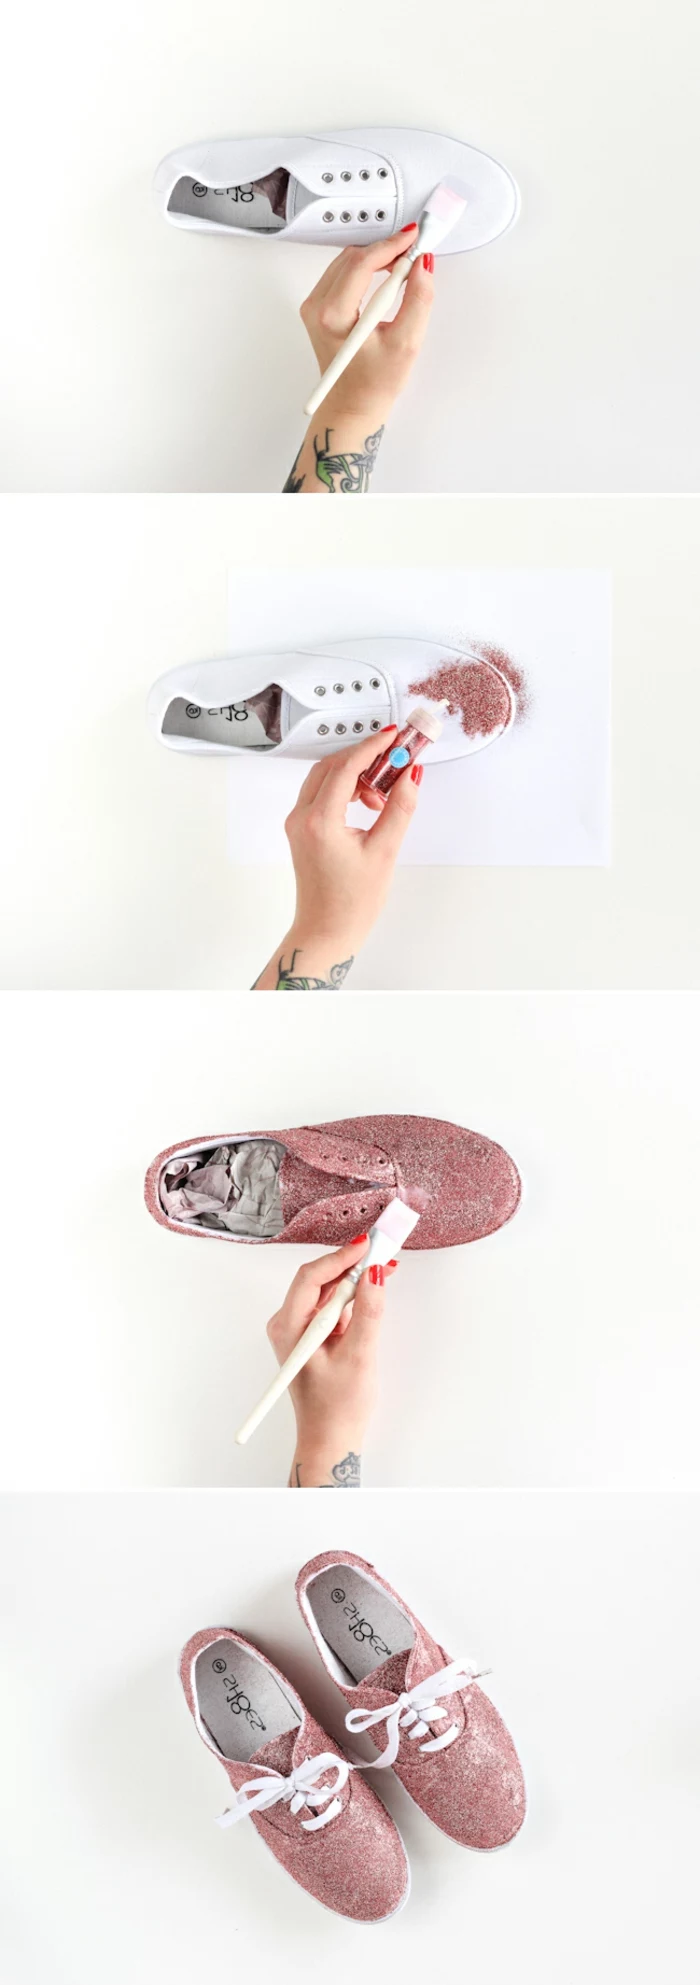
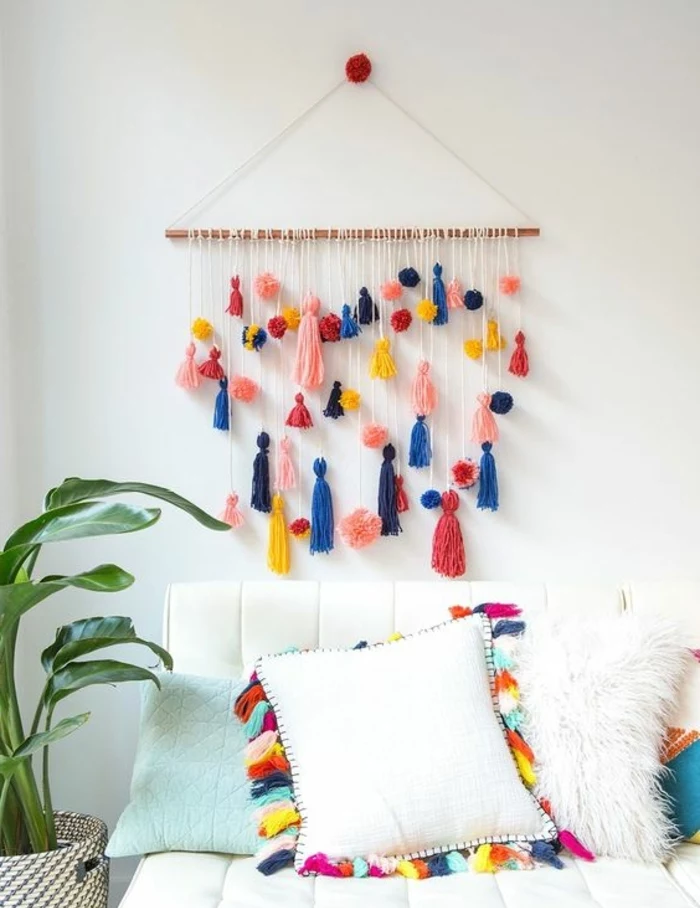
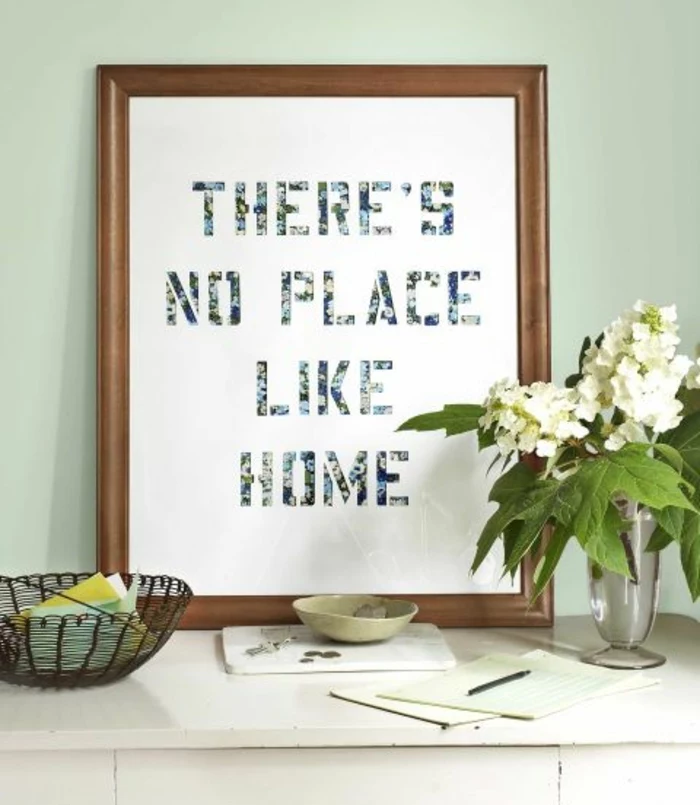
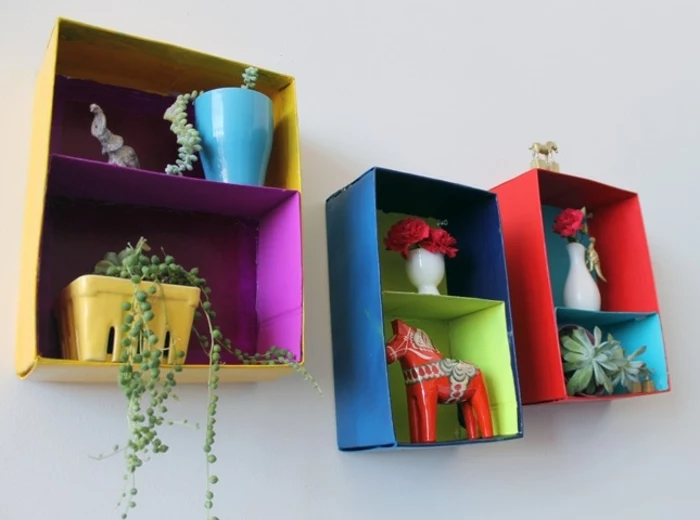
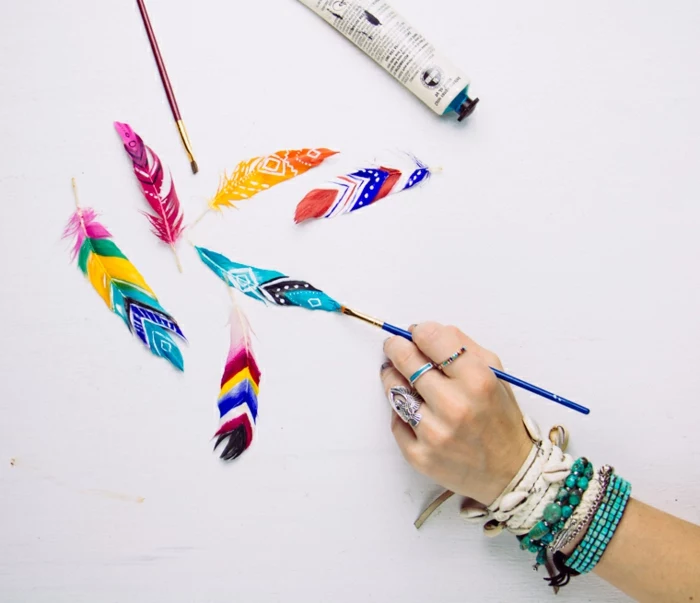
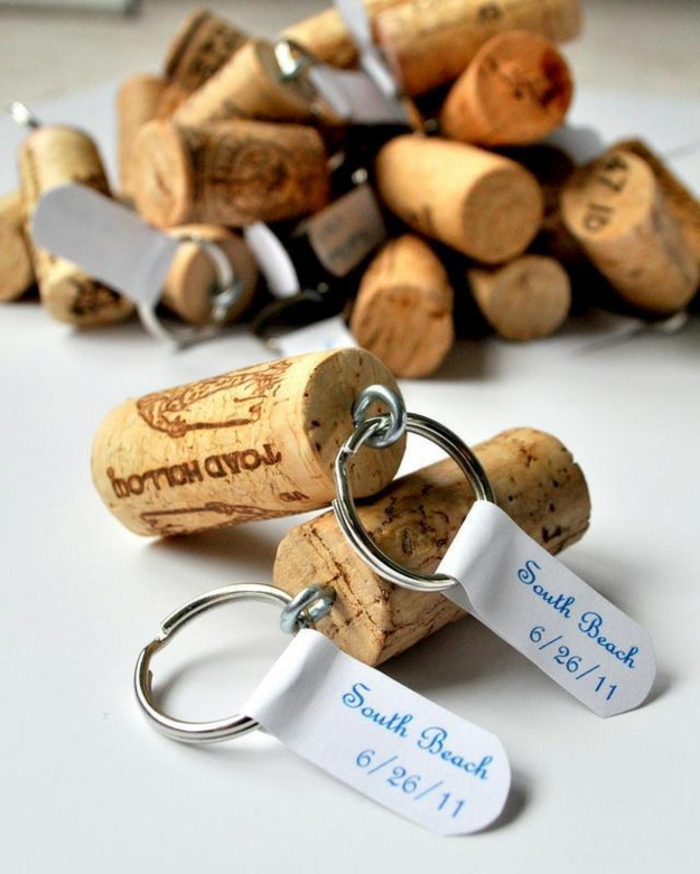
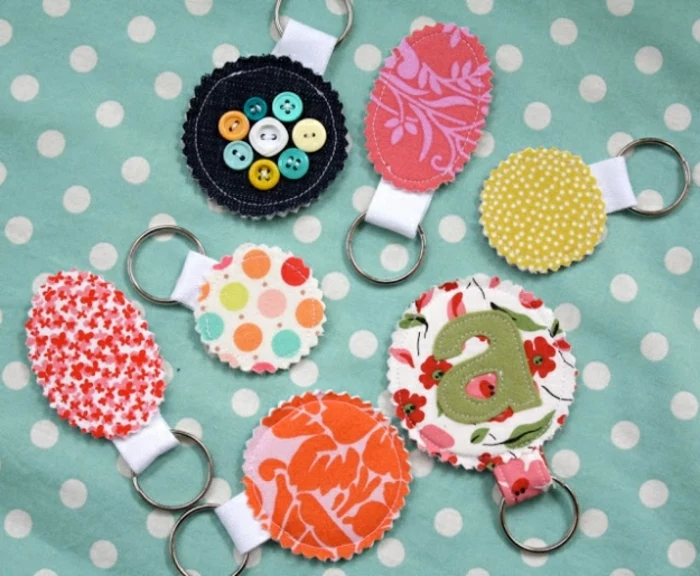
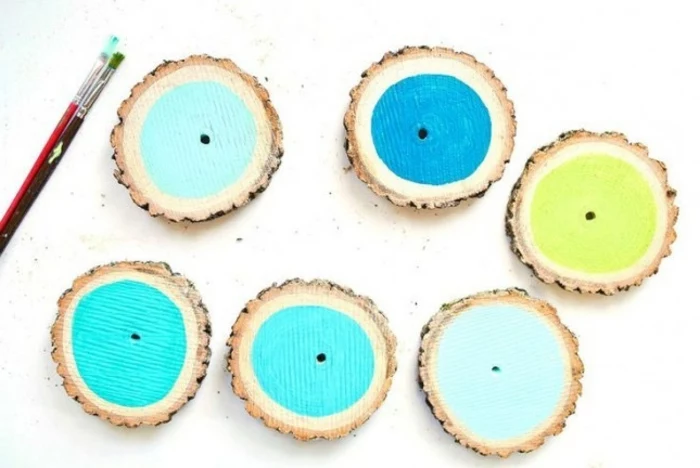
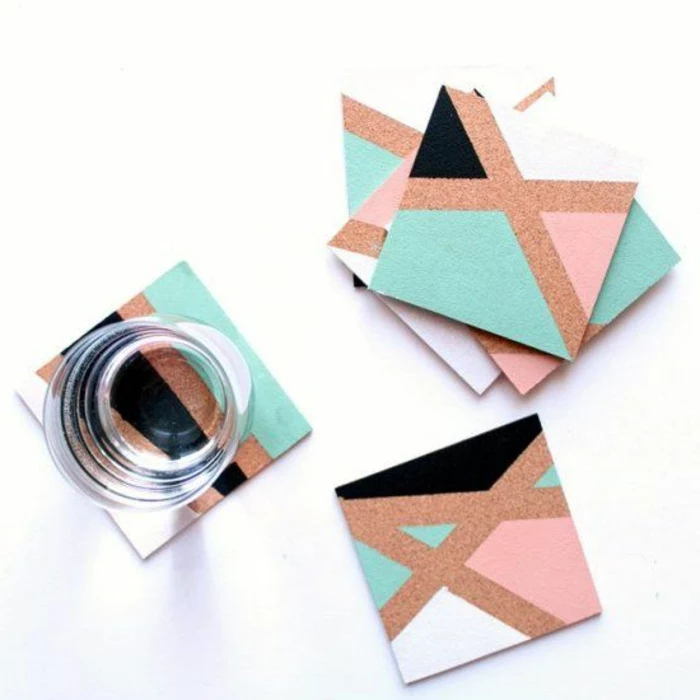
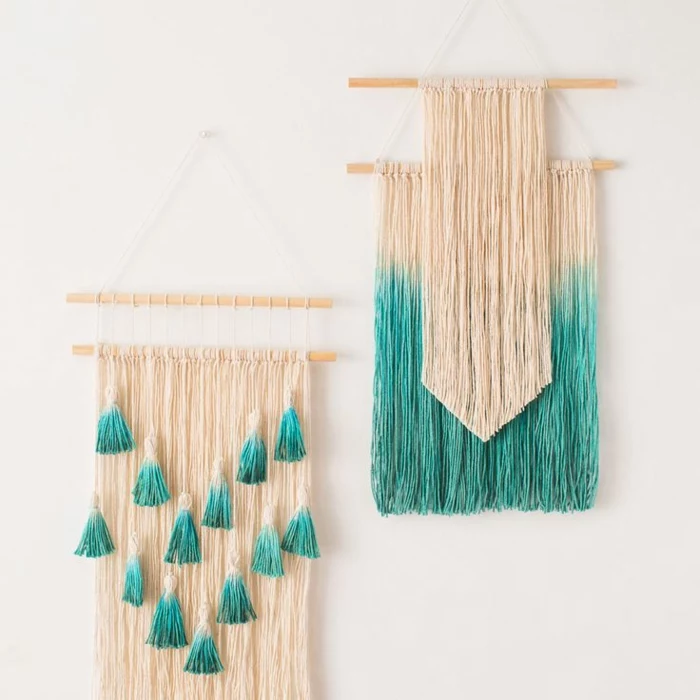
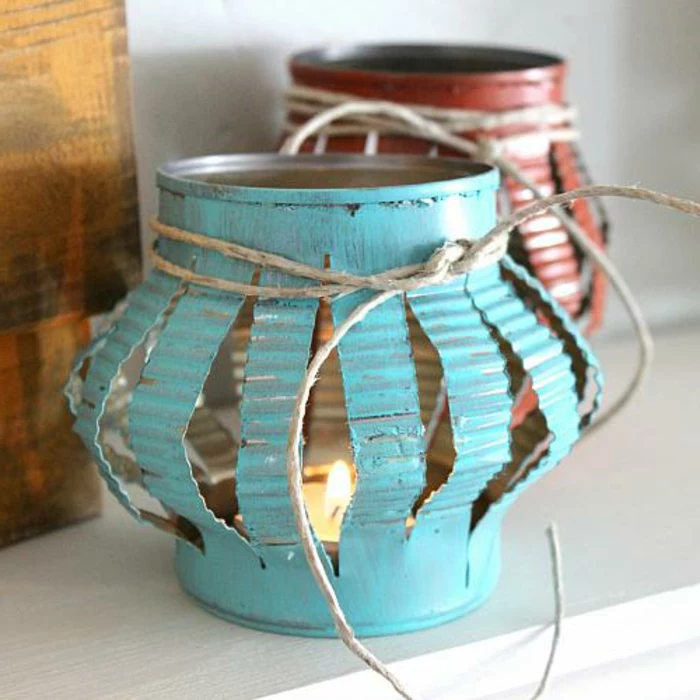
Inspirational Gallery
Chalk Paint vs. Milk Paint: Both are darlings of the upcycling world for their matte, vintage finish. Chalk paint (like Annie Sloan’s famous line) requires almost no prep and adheres to nearly anything, offering a thick, easily distressable coat. Milk paint, which often comes in powder form, creates a more authentically aged, chippy look as it can self-distress, but it bonds best with porous surfaces like raw wood.
Globally, we generate about 92 million tonnes of textile waste each year.
Every time you upcycle an old chair with fabric scraps instead of buying new, or turn a worn-out pair of jeans into a tote bag, you’re not just making something beautiful. You’re actively participating in a creative solution to a massive environmental problem, one stitch at a time.
How do you get paint to stick to slick surfaces like glass or plastic permanently?
While the article mentions primers, the type matters. For glass, ceramics, or glossy plastic, your best friend is a spray-on bonding primer designed for non-porous surfaces. Look for products like Rust-Oleum’s 2X Ultra Cover Primer. After priming, use acrylic craft paints and finish by baking the piece (if safe) or applying a clear, water-resistant sealant for durability.
- A flawless, professional-looking sheen.
- Protection against scratches, moisture, and daily wear.
- Enhanced depth of color and texture.
The secret? The final top coat. Never skip sealing your work. Whether you choose a spray-on polyurethane varnish, a brush-on water-based polycrylic, or a soft finishing wax, this last step is what transforms a ‘craft project’ into a durable piece of decor.
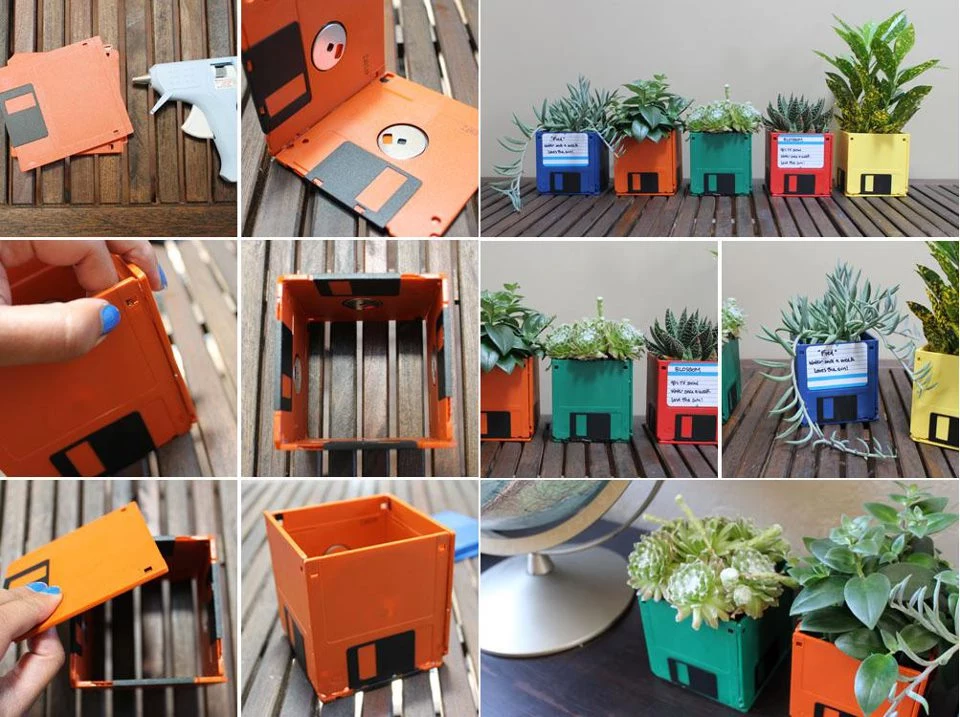
Before you start, gather your ‘un-doing’ tools. Sometimes the most important part of upcycling is disassembly. You’ll want:
- A set of precision screwdrivers for tiny screws in old electronics or furniture.
- A staple remover (not just for paper!) to get old upholstery off cleanly.
- Pliers for pulling out stubborn nails and pins.
- A craft knife for cutting away old glue or fabric.
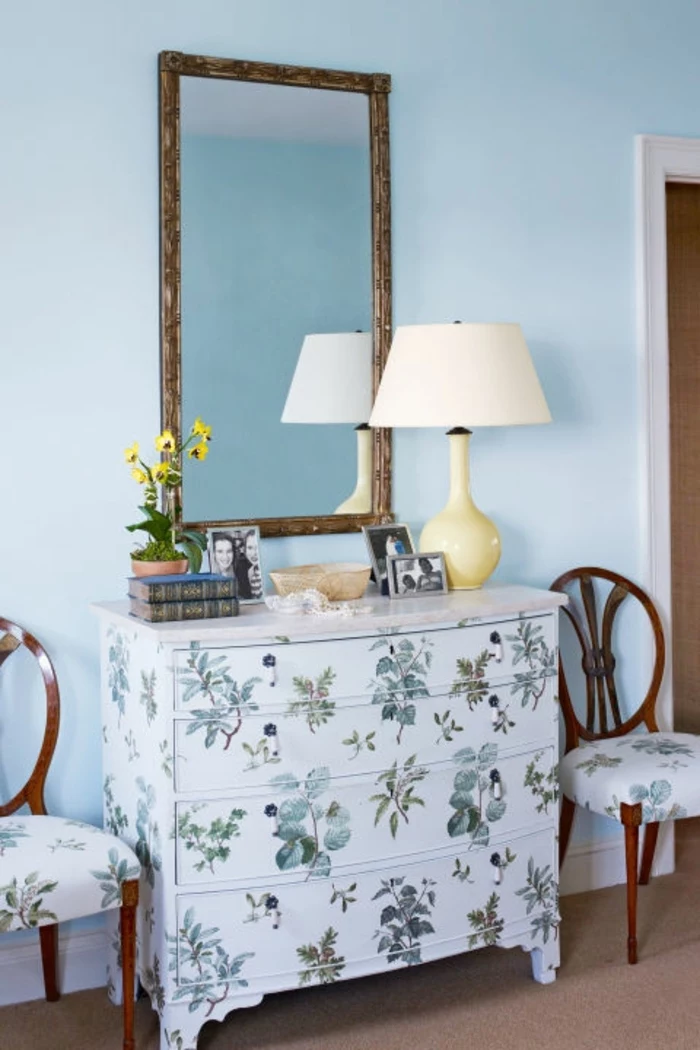
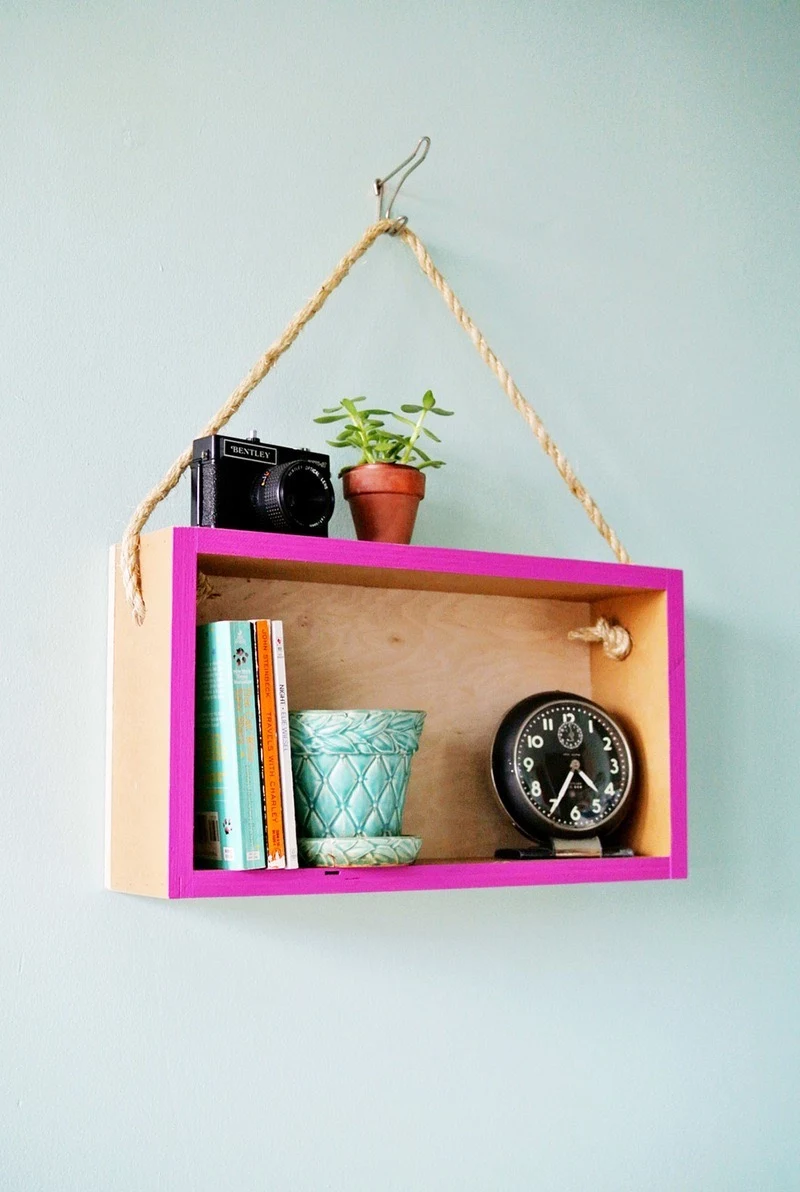
Important point: Don’t underestimate the power of new hardware. A dated dresser or drab cabinet can be completely transformed in minutes just by swapping out the old knobs and pulls. Look for unique options on sites like Etsy, or even browse the aisles of Anthropologie for a high-end touch. It’s the simplest, most effective facelift for furniture.
The Japanese art of Kintsugi—repairing broken pottery with gold-dusted lacquer—is a beautiful philosophy for any upcycler. It teaches that an object’s history of breakage and repair makes it more, not less, beautiful. Embrace the imperfections in your found objects; they are part of its unique story.
“Creativity is making marvelous out of the discarded.” – Linda Naiman
Want to achieve that perfect, wrinkle-free decoupage finish with Mod Podge?
- Apply a thin, even layer of glue to both the surface AND the back of the paper.
- Working from the center out, use a squeegee tool or an old credit card to smooth the paper down, pushing out all air bubbles.
- Let it dry completely before applying your top seal coat to avoid tearing the paper.
The real fun often starts before the project itself—during the hunt. Spend a Saturday morning exploring flea markets, charity shops, and car boot sales. Look past an item’s current state and see its potential. That gaudy 80s lamp has great lines, that chipped side table is solid wood. Training your eye to see the ‘bones’ of an object is the most exciting skill you can develop.
My project looks terrible halfway through. Should I give up?
Absolutely not! Every single upcycling project goes through an ‘ugly stage’. This is the point after stripping and sanding, or after a messy first coat of primer, where it looks worse than when you started. Trust the process. This awkward phase is temporary and a sign that you’re on your way to the final, beautiful result.

Stripping Varnish: For thick, glossy finishes, a chemical stripper like Citristrip is effective and less harsh-smelling. Apply a thick layer, wait for it to bubble up, then scrape away.
Just Sanding: If the finish is thin or you just need to scuff the surface for paint to adhere, an orbital sander with 120-grit sandpaper will save you hours of manual labor.
For most paint-over projects, a good cleaning and a light sanding is all you need.

- Get professional results without brush marks.
- Cover intricate details and hard-to-reach areas evenly.
- Dramatically speed up your painting time.
The secret? Mastering spray paint. Use light, sweeping motions about 8-12 inches from the surface. It’s better to apply two or three thin coats than one thick, drippy one. A product like Rust-Oleum’s Comfort Grip can make a huge difference in preventing finger fatigue on big projects.
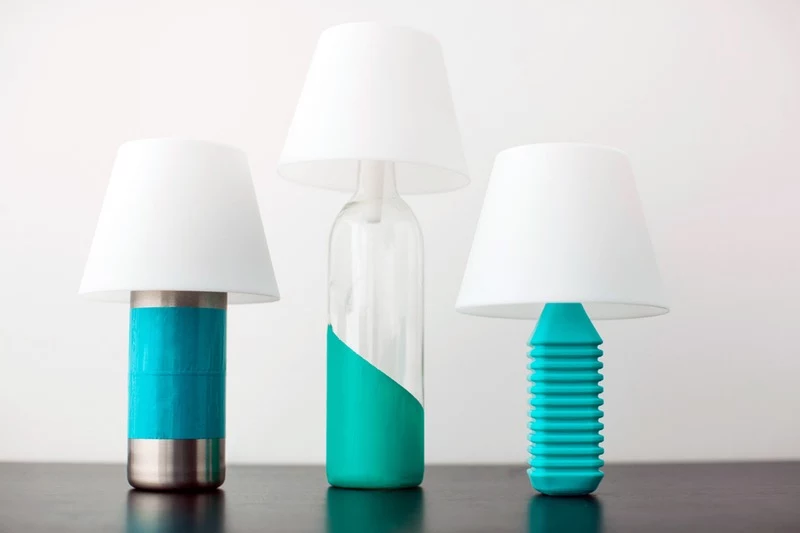
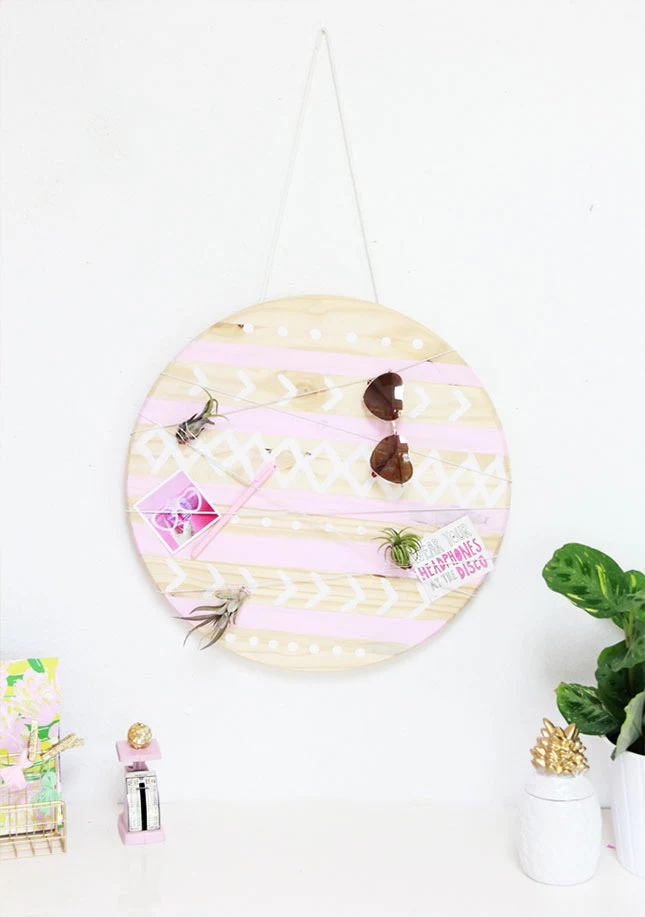
Think beyond paint. Combining textures is a pro move that adds depth and interest. Consider wrapping the base of a plain vase with jute rope, applying textured wallpaper to drawer fronts, or adding a leather pull tab to a canvas storage box. The contrast between smooth and rough, or soft and hard, is what makes a piece feel custom and expensive.
According to a 2021 Pinterest trend report, searches for ‘visible mending’ have surged.
This trend celebrates repair rather than hiding it. Inspired by the Japanese Sashiko technique, it involves using contrasting thread to create beautiful patterns over rips in clothing or textiles. It’s a sustainable and stylish way to give your favorite garments a second, more interesting, life.
A crucial choice: The right adhesive is everything. For joining different materials, like metal to wood or plastic to glass, an industrial-strength glue like E6000 is unbeatable. It dries clear and flexible. For quick, strong bonds on porous materials like wood or ceramic, a two-part epoxy or a strong wood glue like Gorilla Glue is your best bet. Don’t rely on a simple craft glue for anything that needs to be durable.
Want to add custom text or images to your project?
The wax paper transfer method is a game-changer. Print your mirrored design onto a sheet of wax paper with an inkjet printer. Carefully place the wet side down onto your wooden surface and burnish it gently with a credit card. The ink will transfer beautifully. Just be sure to seal it with a clear coat once it’s dry!
- Roadside collection days in your neighborhood.
- Local buy-and-sell groups online (many people offer items for free if you can pick them up).
- Asking friends and family—they might have exactly what you’re looking for gathering dust in their attic.

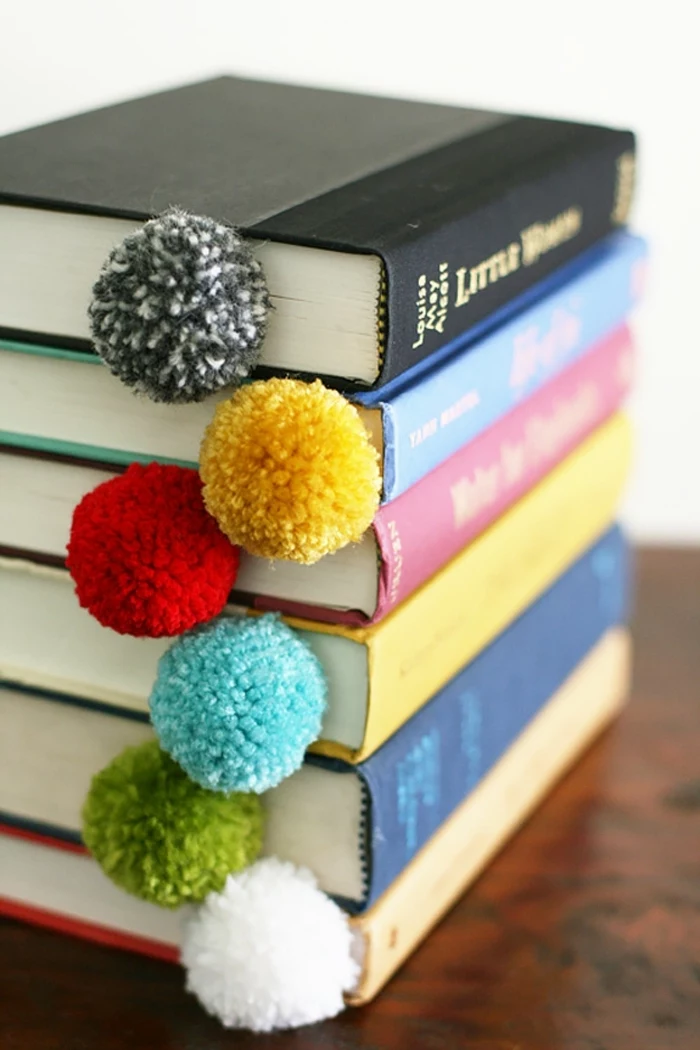
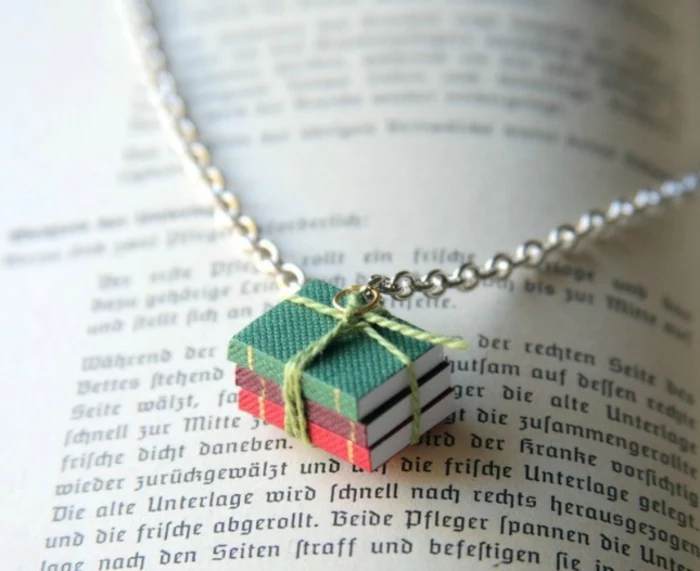
Don’t throw away old, damaged books. They are a treasure trove for upcyclers.
- Use the pages for unique decoupage backgrounds on furniture or trays.
- Cut and fold the pages to create stunning paper sculptures or wreaths.
- Hollow out a thick hardcover book to create a secret storage box.
The aged paper and beautiful typography add a layer of history and charm that new materials can’t replicate.
Save money and reduce waste: Head to the paint section of your local hardware store and ask for the ‘oops paint’ rack. This is where they sell cans of custom-mixed paint that were returned by customers or mixed in the wrong color. You can often find high-quality paint for a fraction of the original price—perfect for small to medium-sized upcycling projects.
Don’t be afraid to tackle rusty metal! It often adds character. To stop the rust and seal it, first use a wire brush to remove any loose flakes. Then, you can either apply a clear sealant to preserve the rusted patina, or you can use a rust-inhibiting primer like Tremclad Rust Paint, which chemically converts the rust and primes the surface for any color of top coat.

The term ‘Shabby Chic’ was coined by designer Rachel Ashwell in the 1980s.
What started as a style defined by her finds at flea markets and swap meets—faded floral fabrics, white-painted furniture, and a sense of comfortable elegance—became a global design movement. Every time you distress a piece of furniture, you’re tapping into this legacy of finding beauty in imperfection and age.
Emphasis point: Health and safety are not optional. When sanding, painting, or using chemical strippers, always work in a well-ventilated area or outdoors. A good quality dust mask is essential to protect your lungs from fine particles, and gloves will protect your skin from chemicals and hard-to-remove paints.
Tired of seeing your upcycled items as a random collection? Create a cohesive look by defining a simple color palette. Choose three to five complementary colors—like navy, coral, and gold—and use them across different projects. A painted jar, a stenciled tray, and a reupholstered footstool will suddenly look like a curated collection when they share the same color DNA.
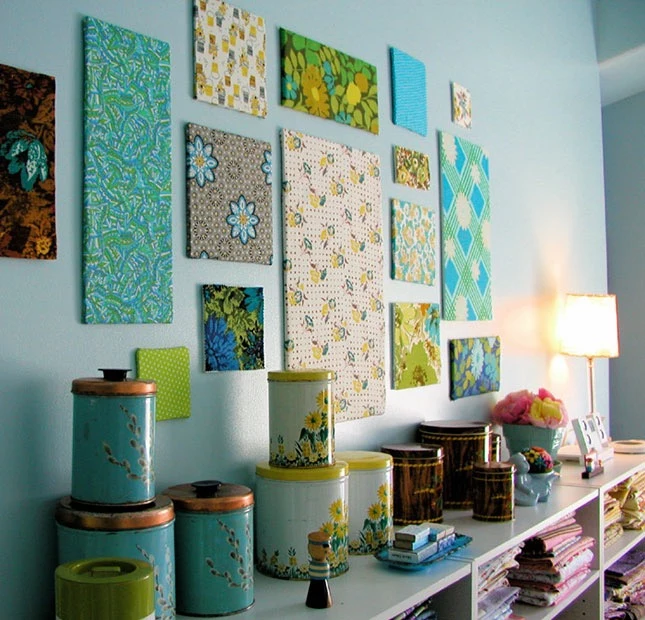
Fabric scraps are too precious to throw away. Even small pieces can be used to create stunning projects. Think patchwork cushion covers, fabric-wrapped bangles, custom lampshades, or covering the back panel of a bookcase for a pop of color and pattern. It’s a perfect way to use up every last bit of a fabric you love.


