Your Ultimate Guide to Painting Mason Jars That Actually Last
I’ve spent more time in my workshop than I can count, surrounded by paints, pigments, and half-finished projects. And you know what people always seem surprised by? The rows of simple glass canning jars. They see them as something for pickles or rustic centerpieces, but I see a perfect, inexpensive canvas. Their clean lines and smooth surface are just begging for a little creative transformation.
In this article
- First, Your Shopping List (The Fun Part!)
- Step 1: Prep Work is Everything
- Step 2: The Non-Negotiable Primer Coat
- Step 3: Choosing Your Paint & Finish
- Step 4: Adding Texture & Details
- Step 5: Curing and Sealing for Long-Term Durability
- Help! What to Do When Things Go Wrong
- A Few Critical Safety Reminders
- Inspirational Gallery
My obsession with them started when I needed a bunch of custom-colored containers for a project on a super tight budget. My usual sources were a no-go, so I grabbed a crate of old jars I had stashed away. After a weekend of trial and error, I figured out a method that made them not just beautiful, but tough enough to handle daily use. It taught me a valuable lesson: it’s not about the cost of the material, it’s about knowing the right techniques.
So, this isn’t another guide for a trendy craft that will peel in a month. This is about doing it the right way, so you end up with something you can be proud of for years. Let’s get our hands dirty.
First, Your Shopping List (The Fun Part!)
Wandering the aisles of a craft or hardware store can be overwhelming. Here’s a no-fuss list of what you’ll actually need to get a professional result. Don’t worry, I’ll recommend some specific brands that have never let me down.
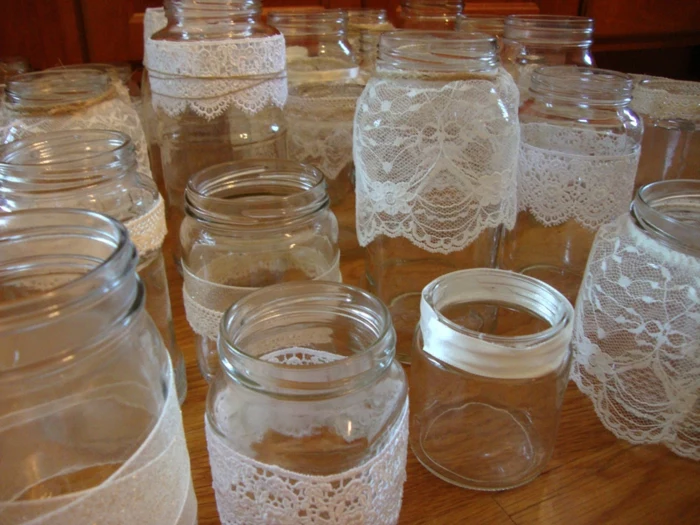
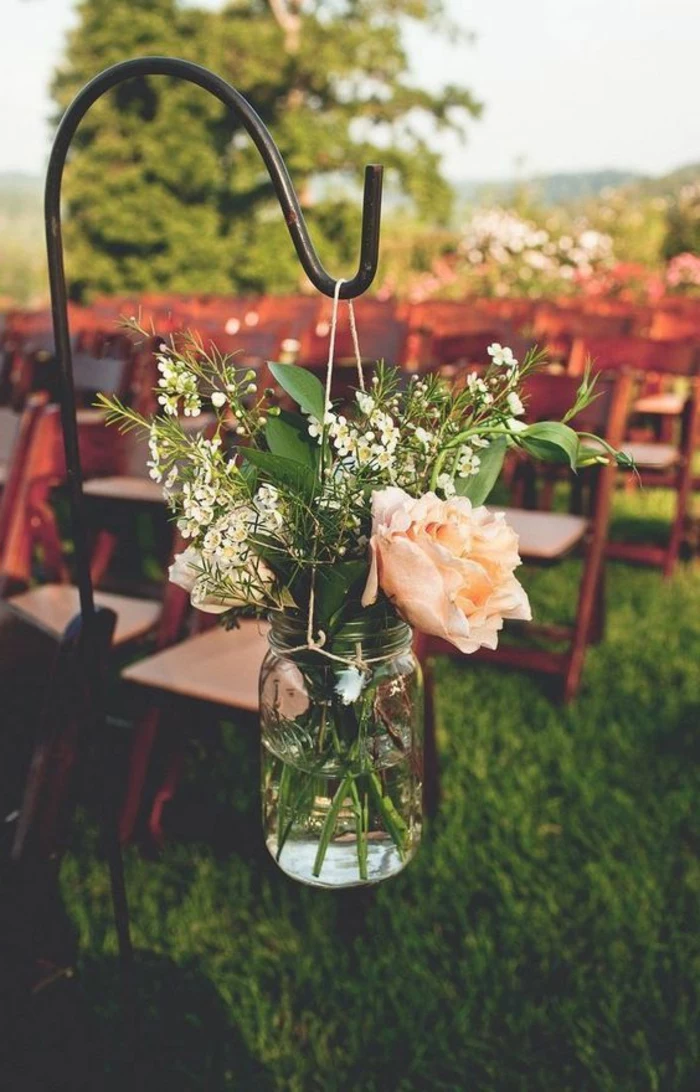
- Glass Jars: Any smooth glass jar will do! New canning jars are great, but so are old pasta sauce or pickle jars (once they’re super clean).
- Isopropyl Alcohol: The higher the percentage, the better. Look for 90% or more. This is for getting the glass squeaky clean.
- Lint-Free Cloths: Microfiber cloths are perfect for this.
- A Good Bonding Primer: This is the secret weapon. My go-to is Rust-Oleum 2X Ultra Cover Primer. It’s designed to stick to slick stuff like plastic and glass. Expect to spend between $8 and $15 for a can – it’s the most important money you’ll spend on this project, I promise.
- Your Paint of Choice: We’ll dive into the options below, but brands like Krylon (for chalky finish spray paint) or standard acrylic craft paints all work great on a primed surface.
- Brushes or Foam Pouncers: If you’re not using spray paint, a mix of soft-bristle brushes and foam pouncers will help you avoid brush strokes.
- Sandpaper: Grab a couple of different grits. A fine 220-grit for prepping and a medium 150-grit for distressing effects.
- A Clear Sealer: To protect your masterpiece! Mod Podge (I prefer the matte finish) is great for decoupage, and a water-based polyurethane spray sealer provides a tough top coat.
Step 1: Prep Work is Everything
I know, I know, you want to get to the painting. But if you skip this step, I guarantee your paint will scratch right off. Glass is a non-porous surface, meaning it’s incredibly smooth and has nothing for paint to grip onto. Our job is to create that grip.
First, get the jar perfectly clean. Even a brand-new jar has factory oils and dust on it. Wash it with hot, soapy water. If you’re upcycling a jar, you’ll probably have a stubborn label to deal with. Soak it in hot water to get the paper off, then attack the sticky glue residue with that isopropyl alcohol. It cuts through grease and evaporates without leaving a film. A little heads-up: wear gloves and make sure you have some fresh air flowing when using any kind of solvent.
Once it’s clean and bone dry (use a lint-free cloth), try to only handle it from the inside. This prevents the oils from your fingers from getting on your perfectly prepped surface.
Your First Quick Win: Feeling intimidated? Just grab one jar and clean it with alcohol right now. That’s it. See? Step one, done. You’re already on your way.
Step 2: The Non-Negotiable Primer Coat
If you remember one thing from this guide, let it be this: you MUST use a primer. A “paint and primer in one” product is not going to cut it here. You need a dedicated bonding primer that’s made to grab onto slick surfaces.
I almost always use a spray primer for a super smooth, even coat. The key to avoiding drips is technique. I’ll never forget the time I rushed a project on a humid summer day. The primer went on all gritty and I had to strip four jars and start over. A true lesson in patience! Work in a well-ventilated space (outside is best), on a day with low humidity.
Shake that can for at least a full minute after you hear the little ball start rattling. Hold the can about 10-12 inches away from the jar. Here’s the pro trick: start spraying just before the jar and stop spraying just after it. This prevents ugly, thick spots at the start and end of your pass. Apply two or three very light coats, waiting 5-10 minutes in between. A light coat should look almost see-through. Let the primer dry for at least an hour before you even think about grabbing your color.

Step 3: Choosing Your Paint & Finish
Now that your jar is primed, it’s a perfect blank canvas. The paint you choose determines the whole vibe of the project. Here’s a quick rundown to help you decide.
For a Rustic, Matte Vibe: Chalk-Style Paint
This stuff is super forgiving and dries to a beautiful, velvety finish. It’s fantastic for that popular farmhouse or shabby-chic look. Just brush on two coats, letting it dry in between. The best part? It’s incredibly easy to distress. Just take some 150-grit sandpaper and lightly scuff the raised parts of the jar, like the lettering or the rim. The paint will rub away, revealing the glass underneath and creating a naturally worn look.
Lesser-known trick: For a really cool two-tone effect, paint a dark color first (like charcoal gray), let it dry, then paint a lighter color (like cream) on top. When you sand the edges, the dark color will peek through instead of the plain glass. It looks amazing!
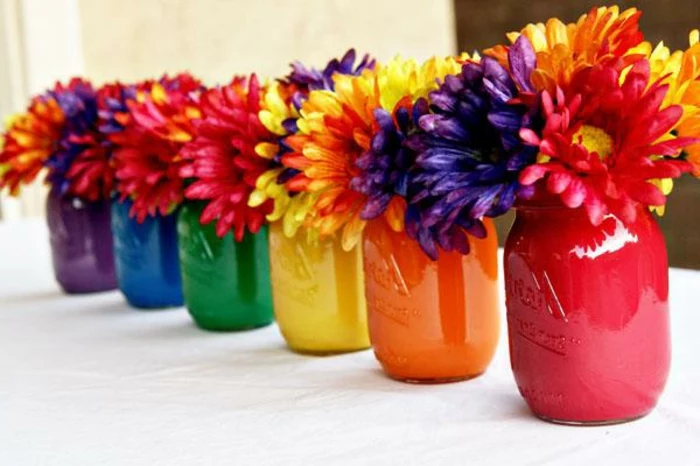
For a Smooth, Solid Color: Acrylic Craft Paint
This is your go-to for an endless selection of colors. The quality can vary, so I’d suggest avoiding the really cheap, watery kinds and opting for a satin or heavy-body acrylic that offers better coverage. To avoid brush strokes, use a soft synthetic brush or a foam pouncer. Apply a few thin coats instead of one goopy one. And for cleanup? Since it’s water-based, just use soap and water to clean your brushes before the paint dries.
For a Sleek, Pro Finish: Spray Paint
Nothing beats spray paint for a flawless, factory-like finish. The technique is exactly the same as with the primer: multiple light coats, steady passes, and plenty of patience. If you get a drip, don’t you dare touch it! Let it dry completely, then gently sand the drip smooth with fine-grit sandpaper before applying another light coat to blend it in.
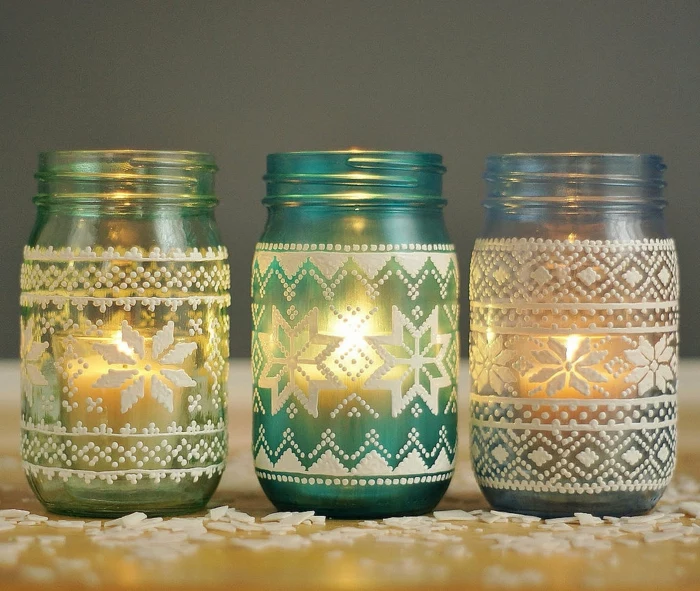
Step 4: Adding Texture & Details
Why stop at paint? This is where you can really get creative.
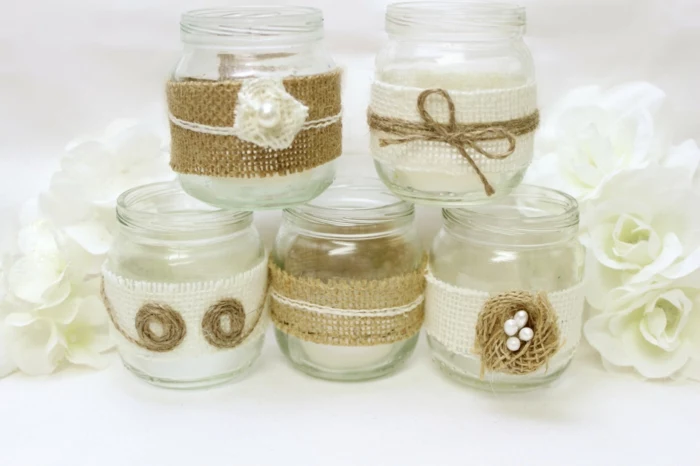
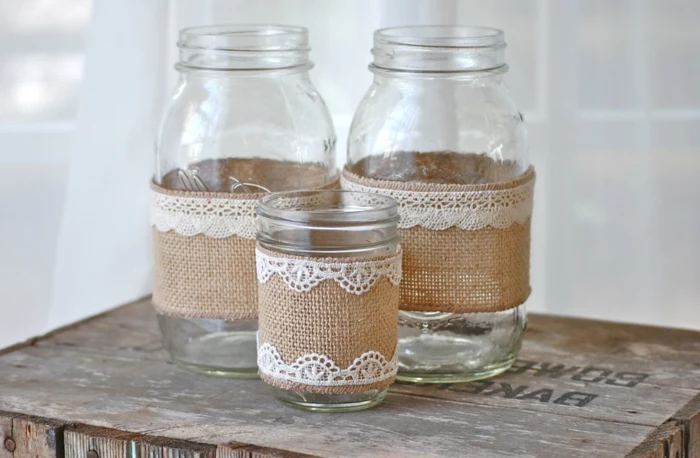
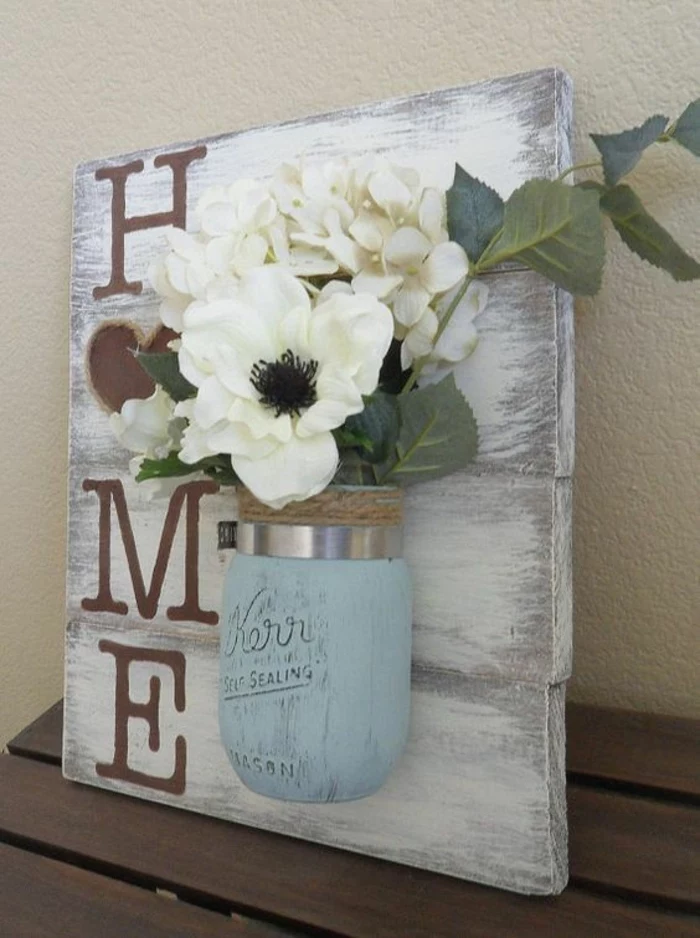
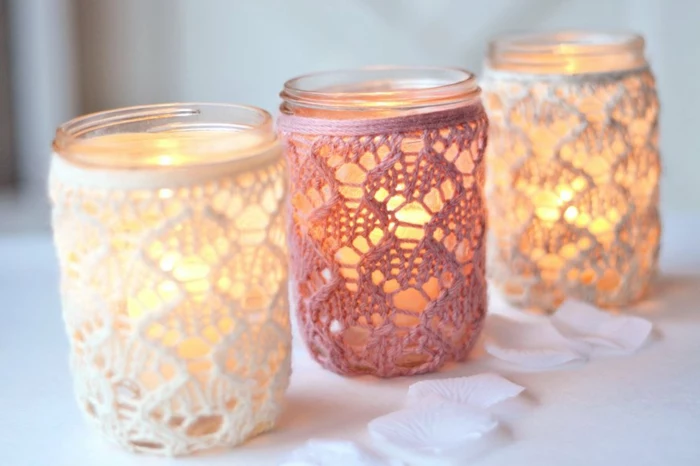
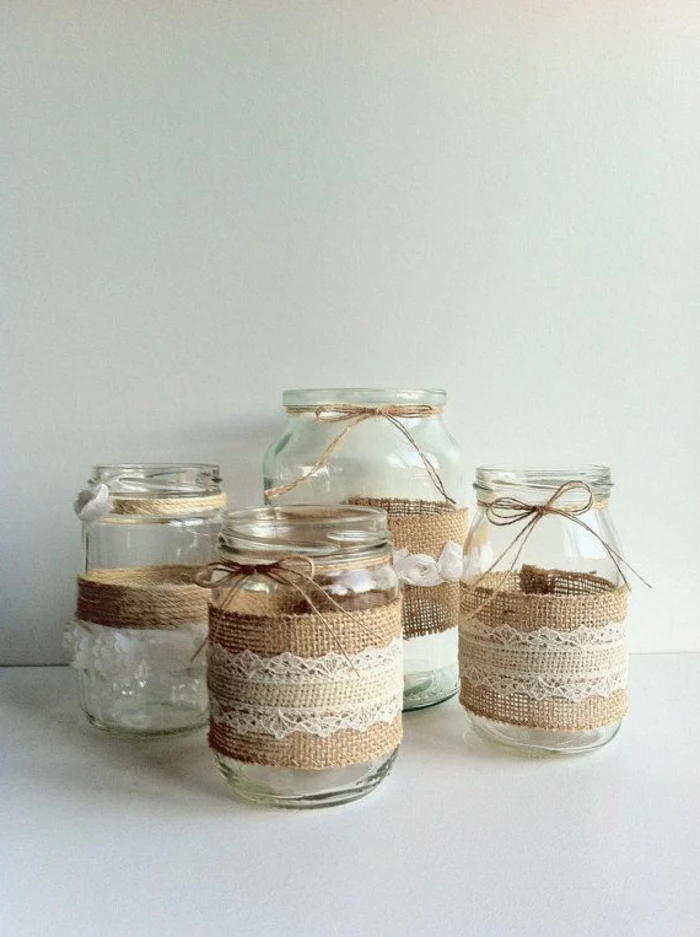
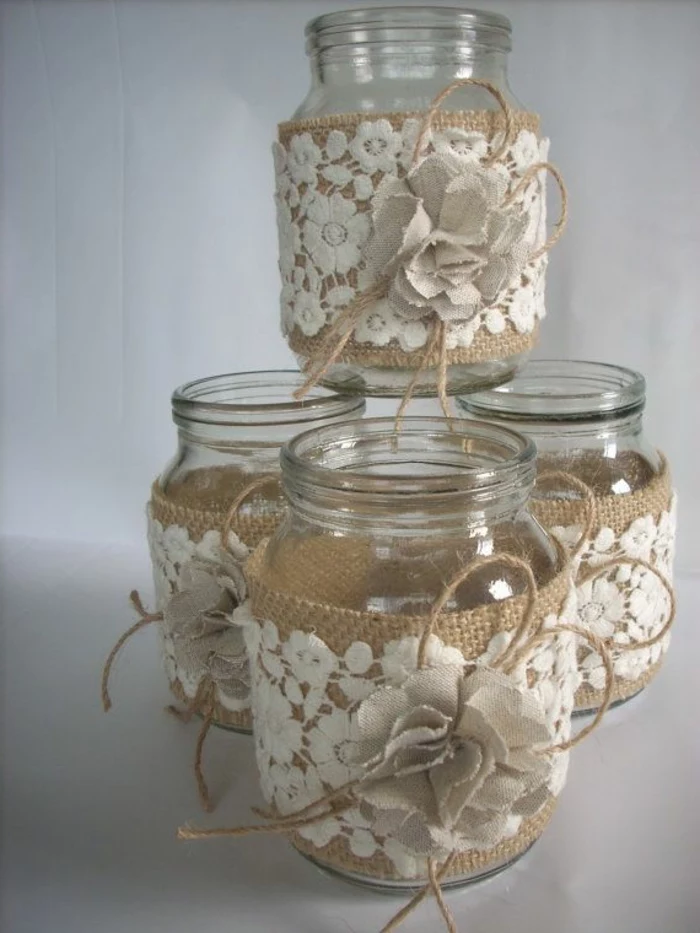
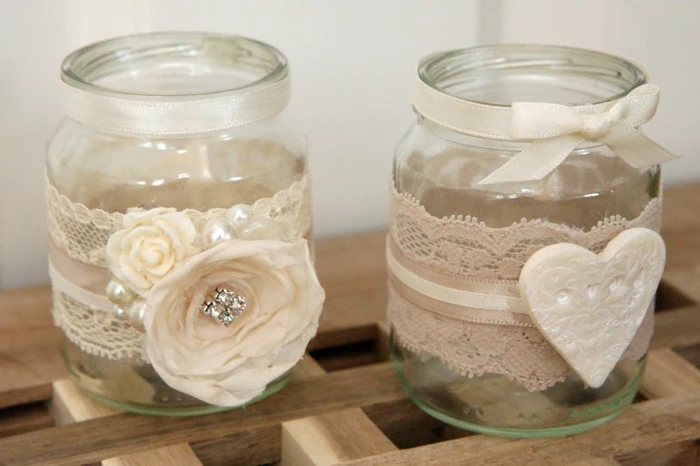
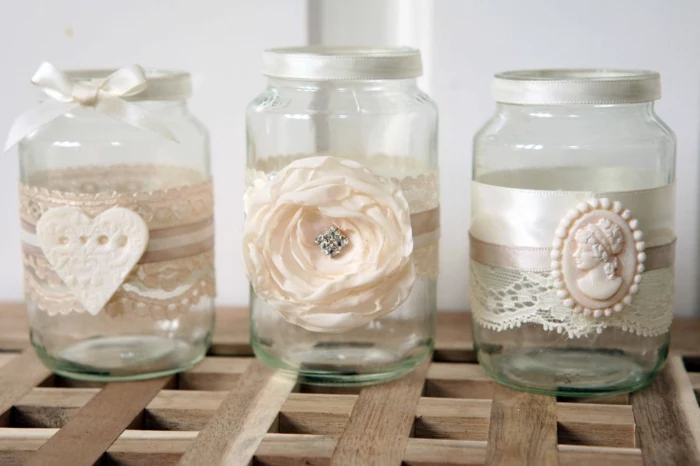
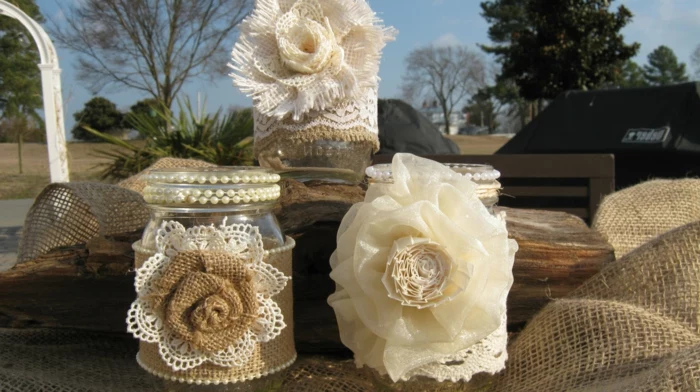
- Working with Fabric or Lace: Use a water-based sealer and glue like Mod Podge (the matte finish looks more natural). Paint a thin layer onto the jar, press your fabric on, and then paint another thin layer over the top. This seals the fabric, prevents fraying, and makes it super durable.
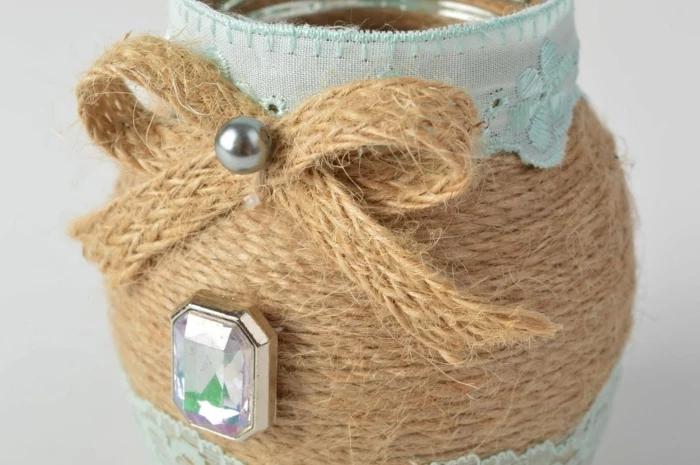
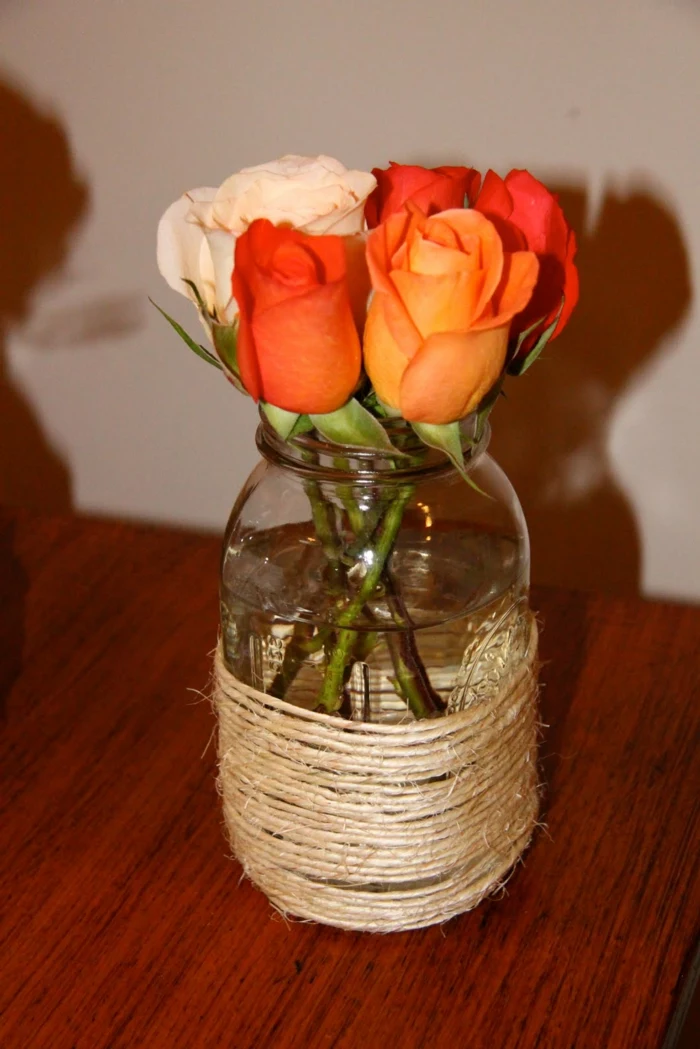
- Wrapping with Twine or Jute: The secret here is to use hot glue sparingly. Put one tiny dot of glue at the bottom to secure the start of the twine. Wrap tightly, keeping the rows snug against each other. You shouldn’t need any more glue until the very end, where you’ll add another tiny, hidden dot to secure it.
- Creating a Raised, Embossed Look: This is an advanced technique that looks so high-end. You’ll need a stencil and some modeling paste. Hold the stencil firmly against your primed jar and use an old credit card to spread a thin layer of the paste over the design. Carefully lift the stencil straight up. Let the raised pattern dry completely (it can take a few hours), then you can paint over it or highlight it with a metallic wax.
Step 5: Curing and Sealing for Long-Term Durability
Okay, your project is dry to the touch, but it’s not done. There’s a difference between ‘dry time’ and ‘cure time.’ Cured means the paint has reached its maximum hardness. For most paints, this can take up to 28 days! But don’t worry, you can speed this up.
For items that need to be extra tough, like a soap dispenser, you can bake them. Place your fully dried jars on a baking sheet in a COLD oven. Never put cold glass into a hot oven; it will shatter. Turn the oven to 350°F (175°C). Once it reaches temperature, set a timer for 30 minutes. Then, turn the oven off and let the jars cool down completely inside the oven. This hardens the paint into a durable, enamel-like shell.
Finally, a clear top coat is always a good idea. It protects against scratches and moisture. Apply two or three light coats of a non-yellowing, water-based polyurethane spray, and your jars will be ready for anything.
Help! What to Do When Things Go Wrong
Even seasoned crafters have slip-ups. Here’s how to fix the most common problems.
- The Problem: Drips and Runs. The Fix: Resist the urge to wipe it! Let the drip dry completely. Then, take fine-grit sandpaper and gently sand the drip until it’s smooth with the rest of the surface. Wipe away the dust and apply a very light coat of paint to blend it in.
- The Problem: The Paint is Peeling or Scratching Off Easily. The Fix: Ah, the classic symptom of skipped prep. To be frank, there’s no easy fix here. You likely missed the primer step. You’ll have to strip the paint off, clean the jar properly with alcohol, and start again. This time, don’t skip the primer!
- The Problem: My Finish is Bumpy or Gritty. The Fix: This is usually caused by dust in the air or, if you’re spray painting, high humidity. Let it dry, lightly sand the surface smooth with a fine-grit sandpaper, and apply another thin coat in a clean, dry, low-humidity environment.
A Few Critical Safety Reminders
Crafting should be fun, not a health hazard. Please take these points seriously.
- Ventilation is NOT optional. I can’t say this enough. When you’re using spray cans or solvents like alcohol, the fumes are no joke. Work outside, in a garage with the door open, or wear a respirator rated for paint fumes.
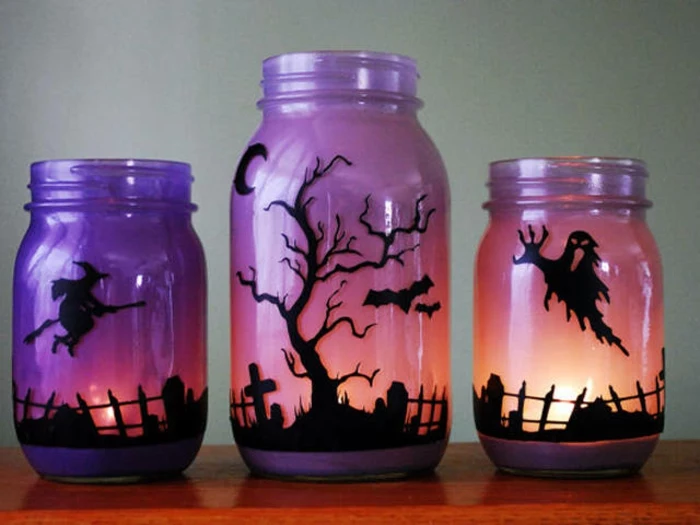
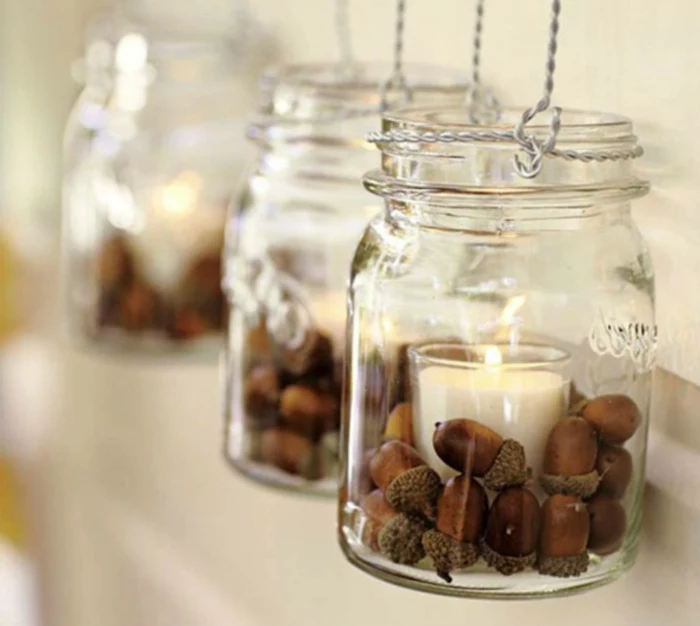
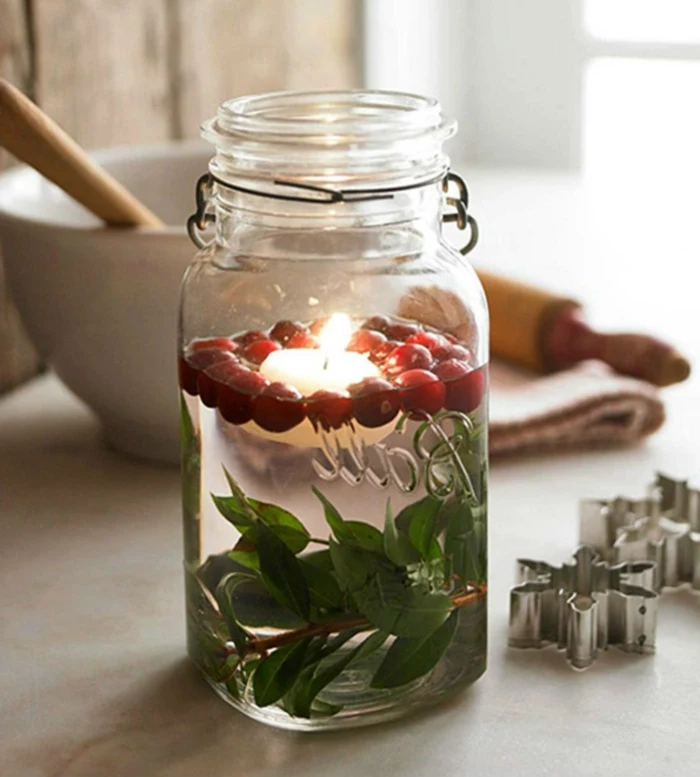
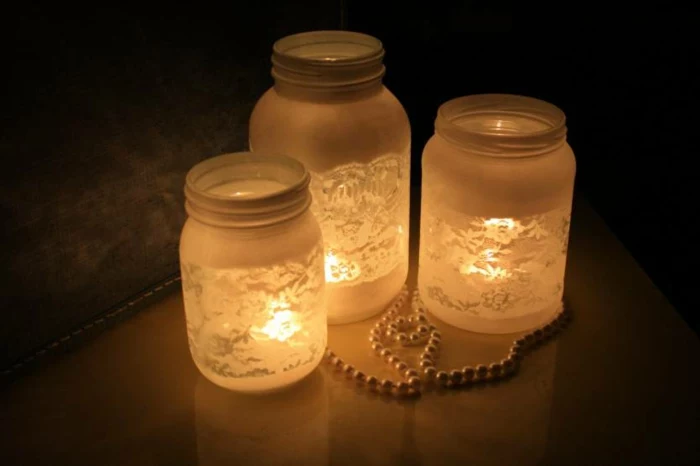
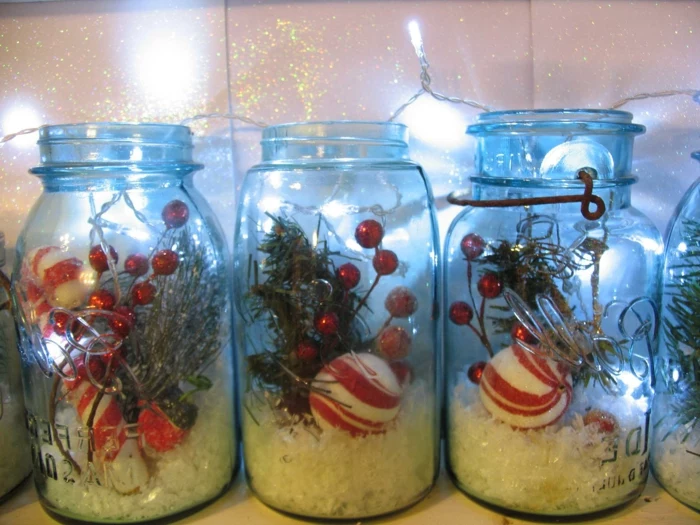
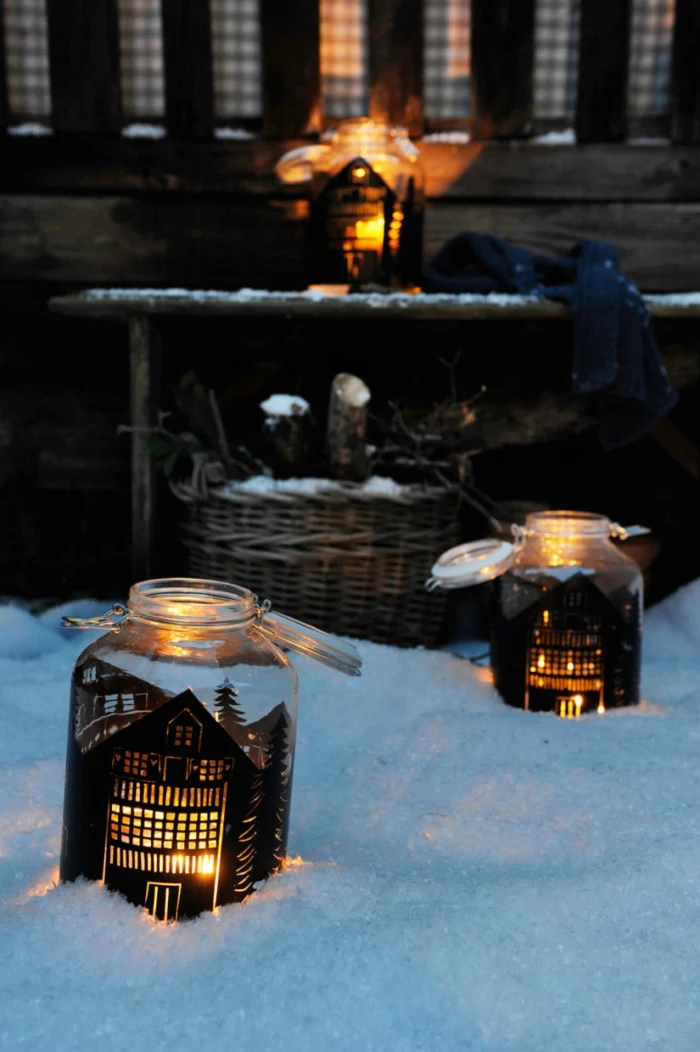
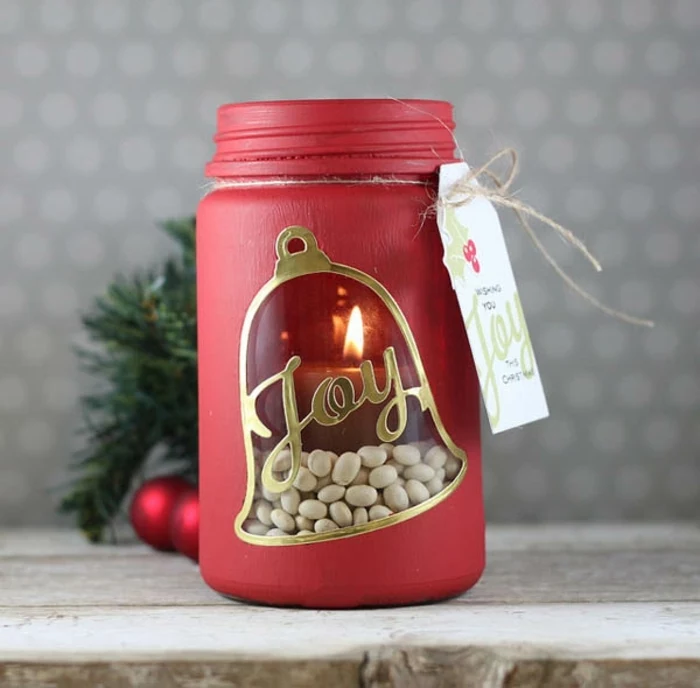
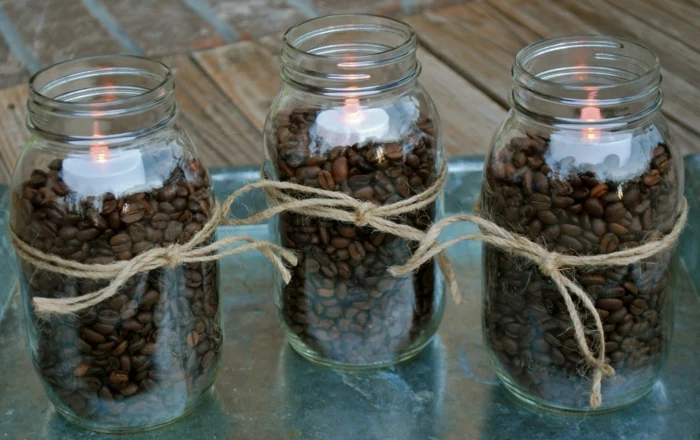
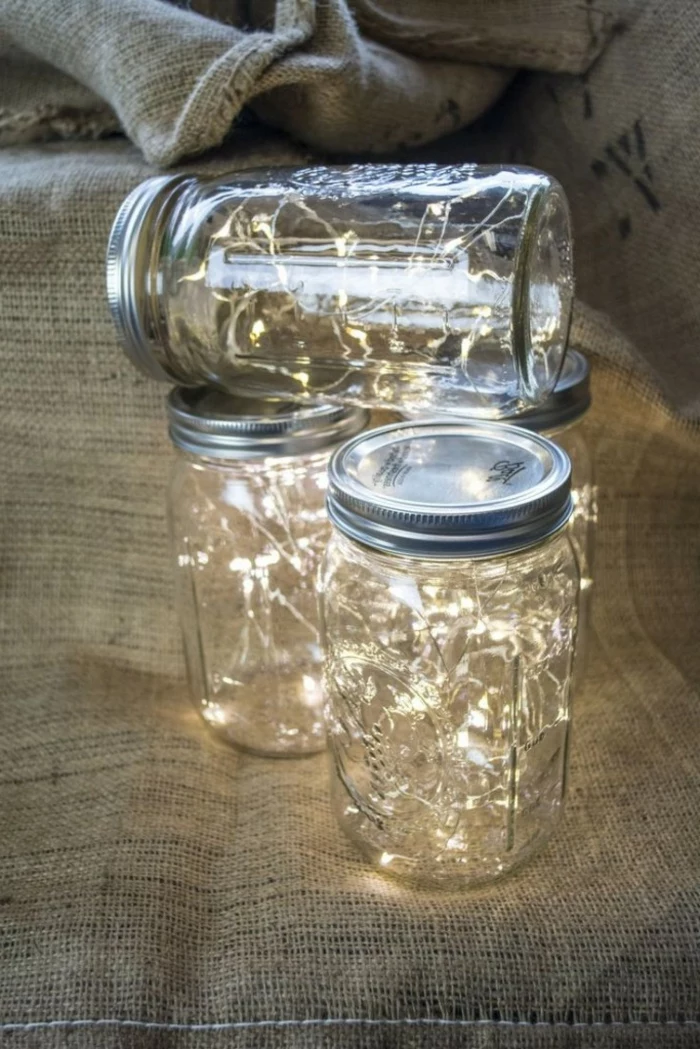
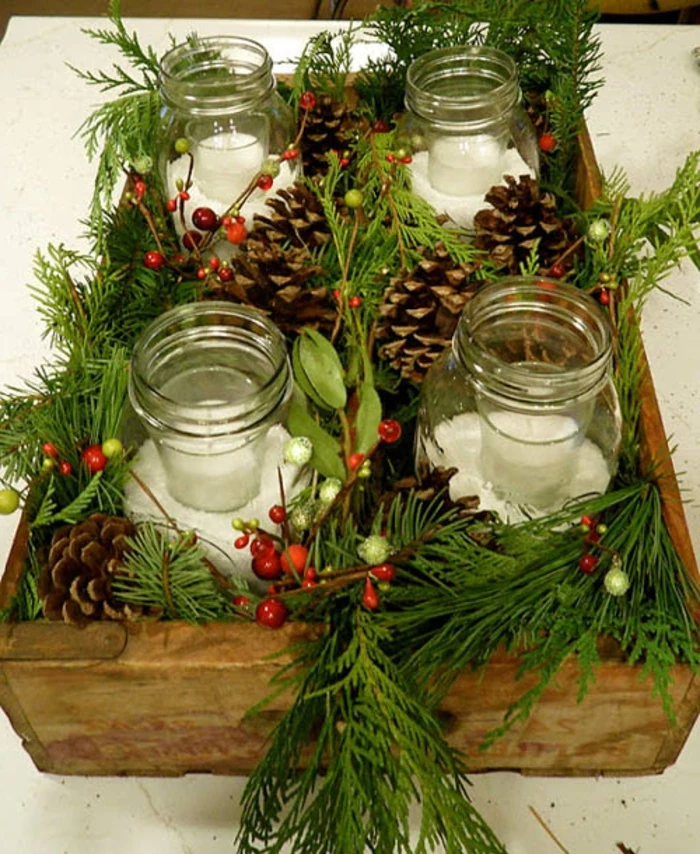
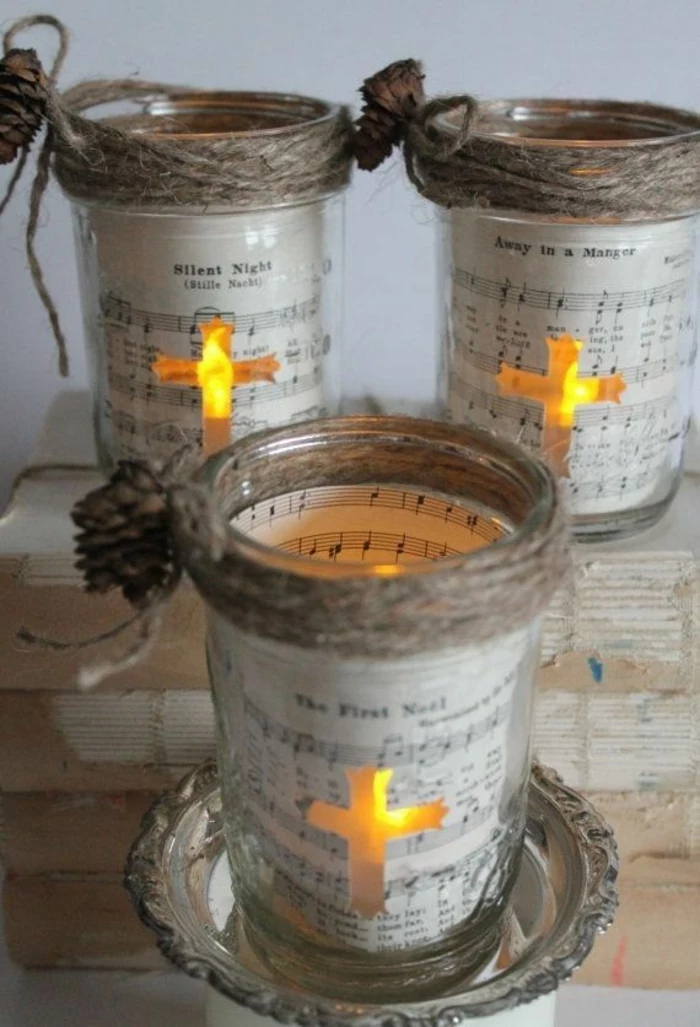
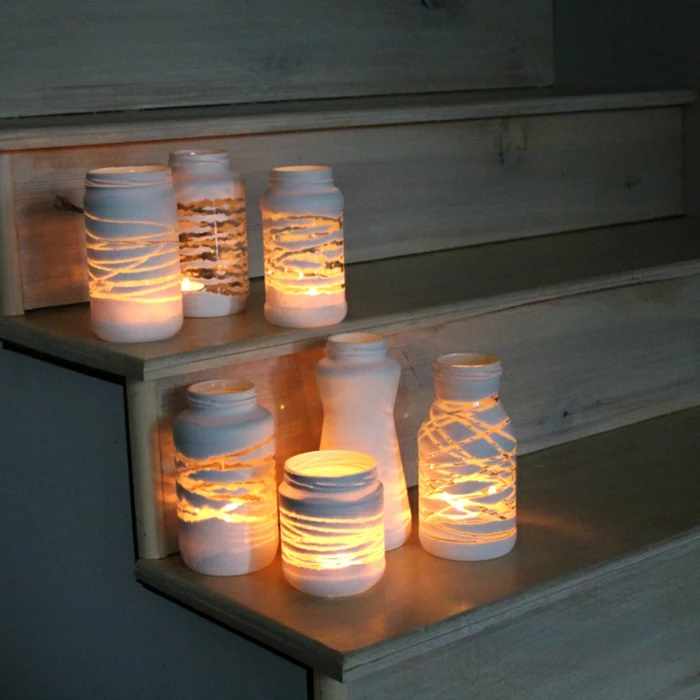
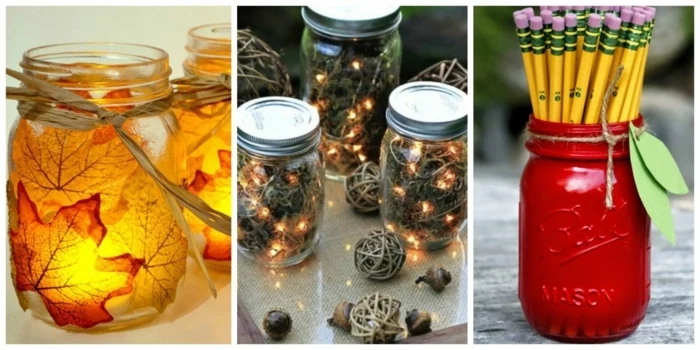
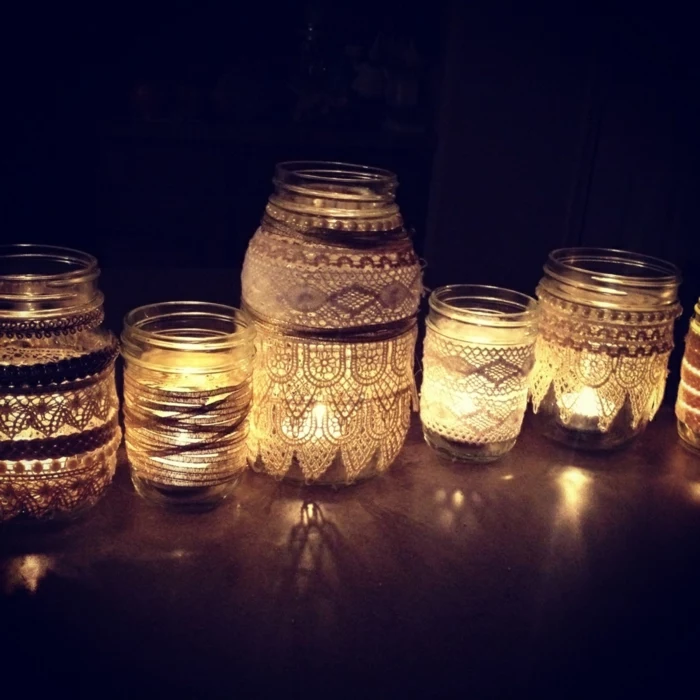
- Fire Hazard: A Hard No on Real Candles. Once painted and sealed, your jar is basically coated in a thin layer of plastic. Never, ever put a real flame inside. The heat can release toxic fumes or even cause the coating to ignite. Stick with battery-operated LED candles; they look great and are perfectly safe.
- Food Safety: The Most Important Rule. A common question is, “Can I paint the inside of the jar?” The answer is an absolute NO, unless you are using paints and sealers specifically certified as food-safe. Assume all craft paints are NOT food safe. Only decorate the outside of jars that will hold food or be used for drinking, and keep the paint well away from the rim.
And there you have it. It might seem like a lot of steps, but the whole process of getting a few jars prepped, primed, and painted can easily be done in a Saturday afternoon (not counting the final cure time). By taking the time to do it right, you can turn a humble glass jar into something durable and beautiful that truly reflects your own style.
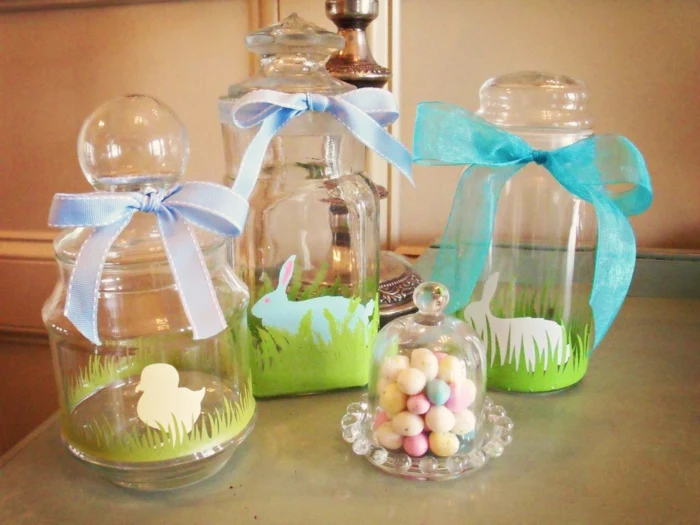
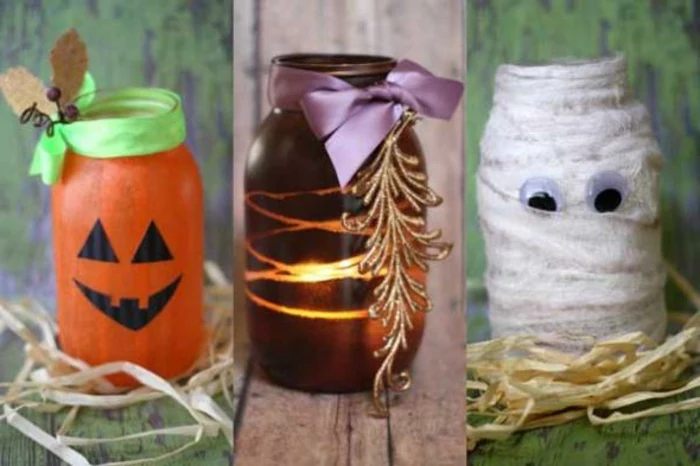
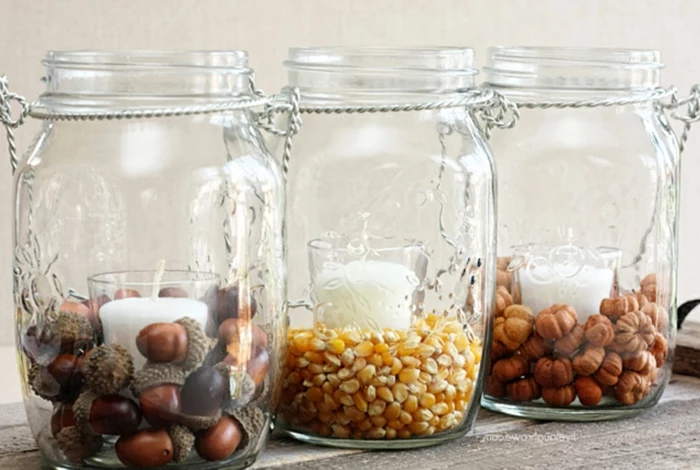
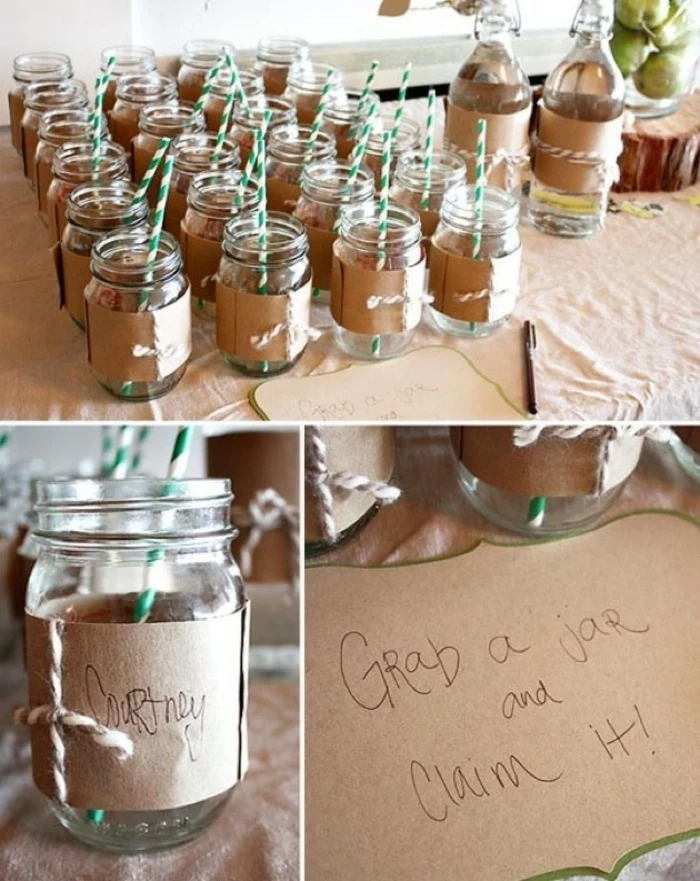
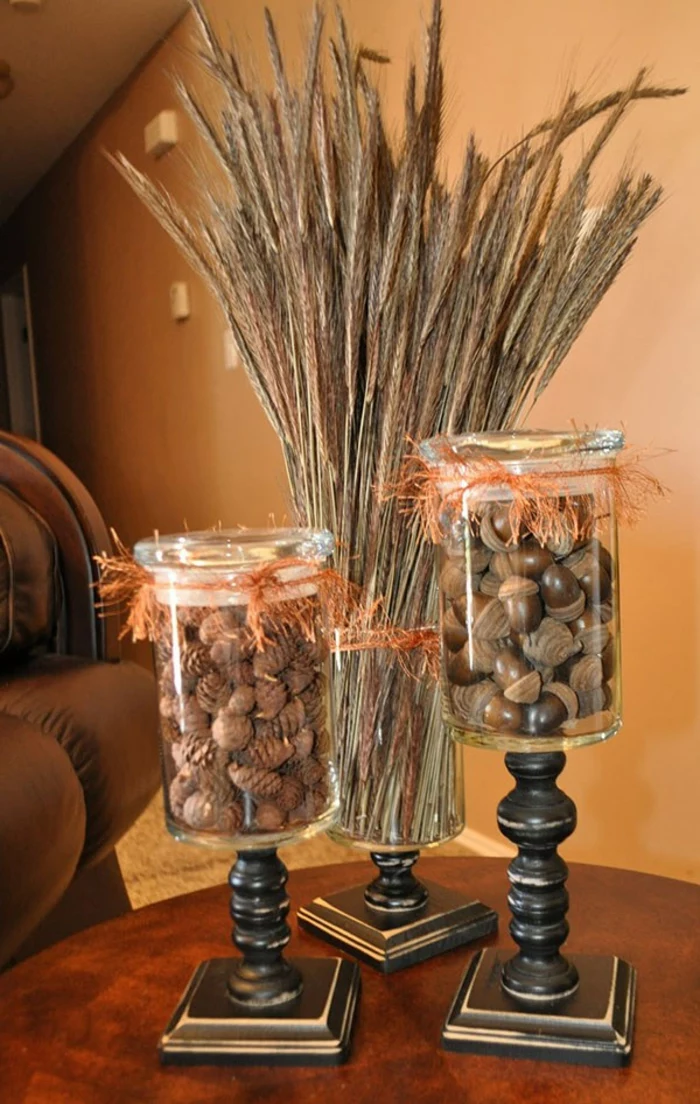
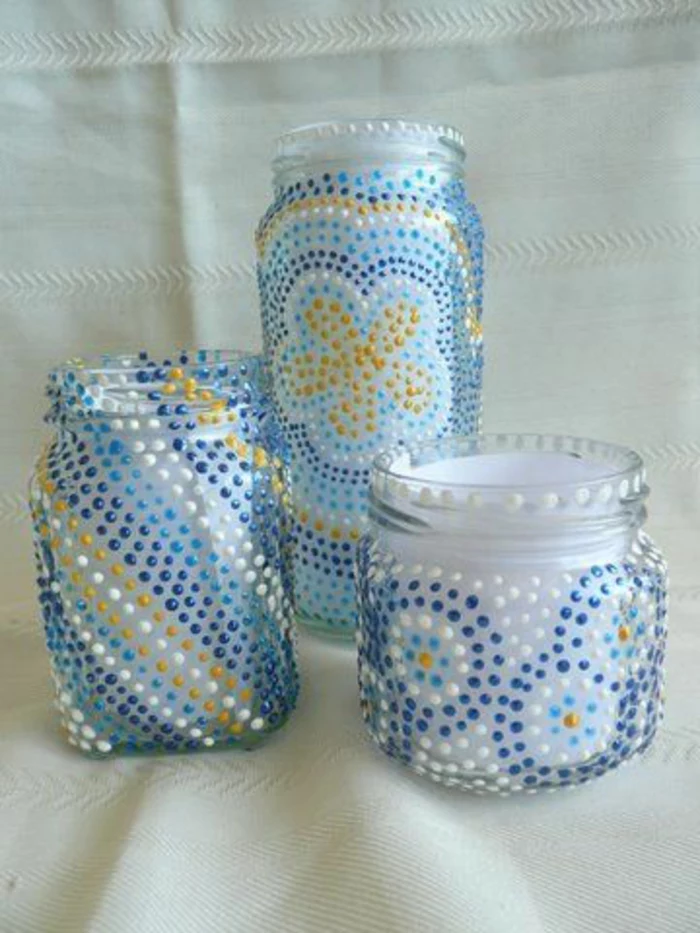
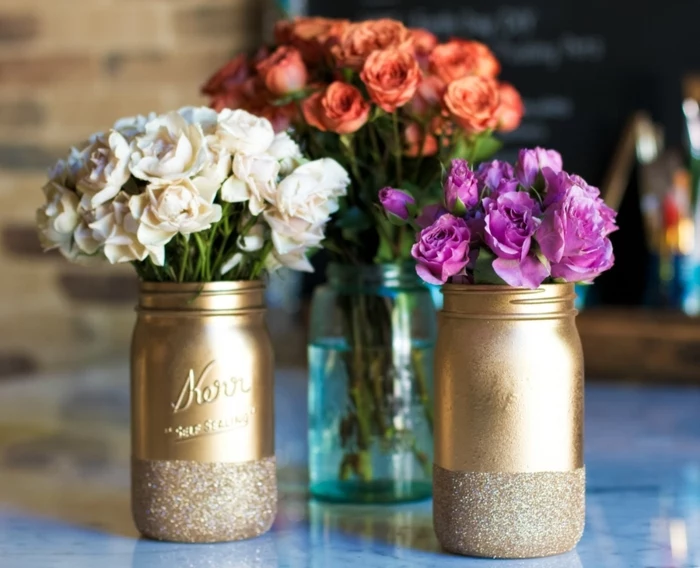
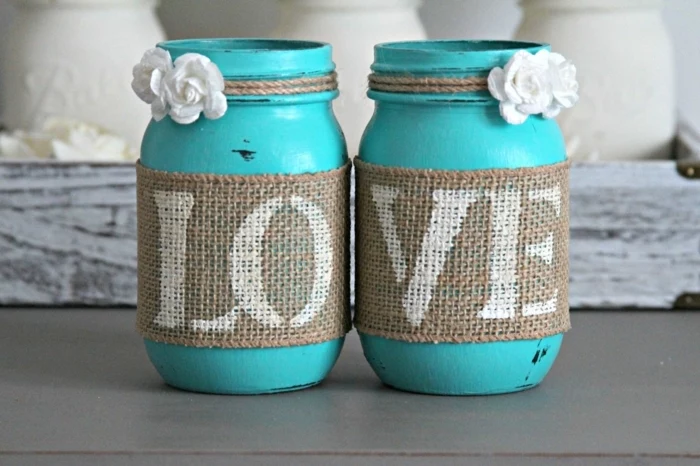
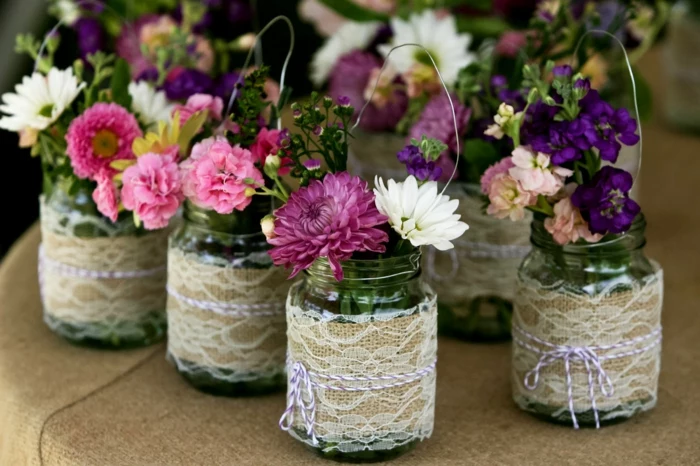
Inspirational Gallery

A great paint job deserves protection. Once your paint is fully cured, apply two thin coats of a clear sealer. For a durable, non-yellowing finish that can withstand gentle handling, a water-based polycrylic like Minwax Polycrylic Protective Finish is an excellent choice. Spray versions offer a quick, even coat, while the brush-on type gives you more control.
- Coastal Charm: Think seafoam green, sandy beige, and crisp white.
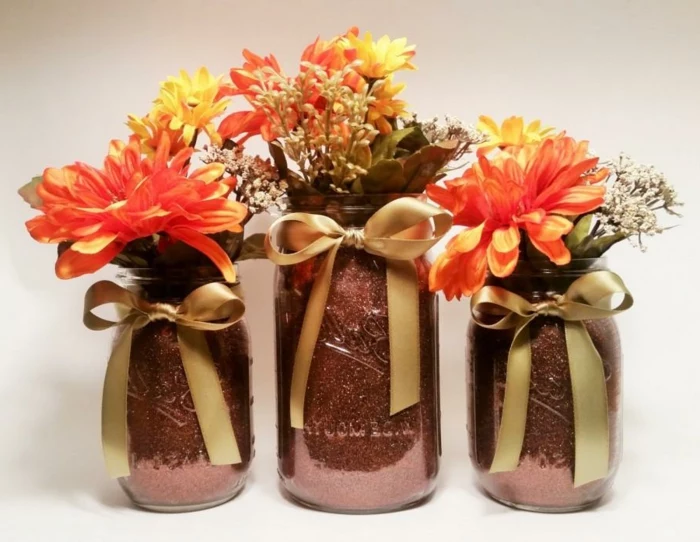
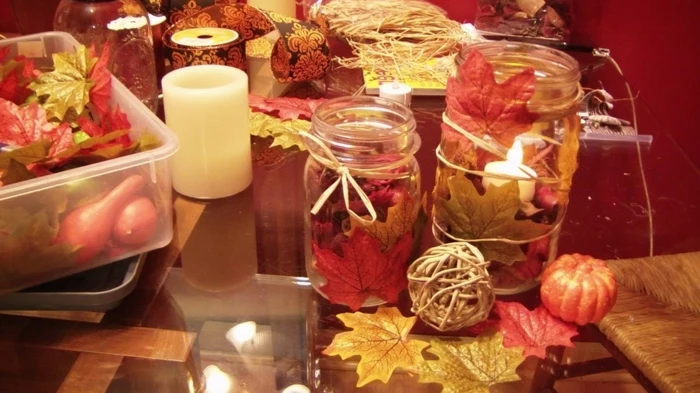
- Autumn Warmth: Combine deep burgundy, mustard yellow, and burnt orange.
- Modern Minimalist: A simple palette of charcoal grey, white, and a single pop of a primary color.
- Boho Chic: Mix earthy tones like terracotta with dusty rose and sage green.
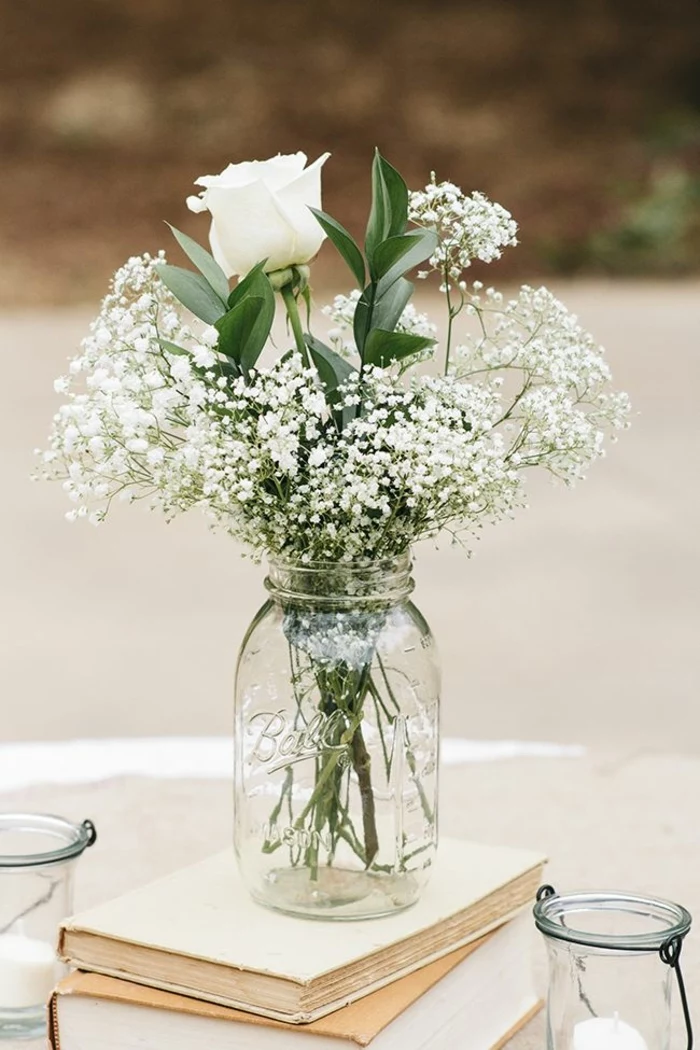
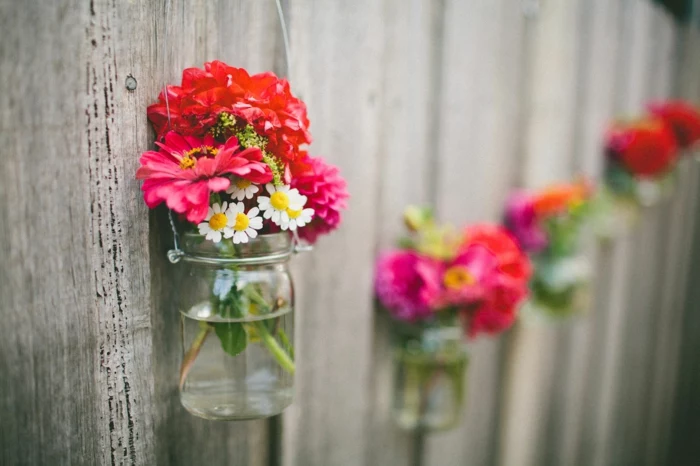
One crucial tip: Unless you’re using a certified food-safe paint and sealer, never paint the inside of a jar that will hold unwrapped food, liquids for drinking, or fresh flowers. The paint can chip and contaminate the contents. For vases, painting the exterior is always the safest and most durable option.
The first Mason jar was invented and patented in 1858 by John Landis Mason. Its screw-on, airtight lid revolutionized home canning and food preservation.
For that coveted rustic, shabby-chic look, distressing is key. After your paint has dried but before sealing, follow these simple steps:
- Lightly sand the raised areas of the jar with fine-grit sandpaper (220-grit works well).
- Focus on the screw threads, the embossed lettering (like


Can I make my painted jars dishwasher safe?
Unfortunately, no. Even with the best primer and sealer, the high heat, harsh detergents, and strong water pressure of a dishwasher will likely cause the paint to peel or chip over time. To clean your painted jars, simply wipe them down with a damp cloth. Gentle hand-washing of the exterior is okay, but avoid soaking them.


Matte Sealer: Choose a matte or flat finish sealer (like Krylon’s Matte Finish Spray) for a modern, chalky, or rustic look. It hides minor imperfections and provides a soft, non-reflective surface.
Gloss Sealer: A gloss finish makes colors pop and gives a sleek, polished look, almost like colored glass. It’s easier to wipe clean but can highlight any brushstrokes or bumps in the paint underneath.
The choice is purely aesthetic, so pick the one that best suits your desired style!

The ombré effect, a gradual blending of one color hue to another, remains a powerful trend in home decor.
On a Mason jar, this technique looks stunning. To achieve it, spray your lightest color over the whole jar. Then, holding the can further away, lightly spray your darker color on just the bottom third, feathering the spray upwards. The key is a light touch and building the color slowly.
- A subtle, tactile surface that catches the light beautifully.
- An added layer of depth and a unique, artisanal feel.
The secret? Mix a small amount of baking soda or unsanded tile grout into your acrylic paint before brushing it on. This creates a wonderful, chalky texture reminiscent of old pottery.

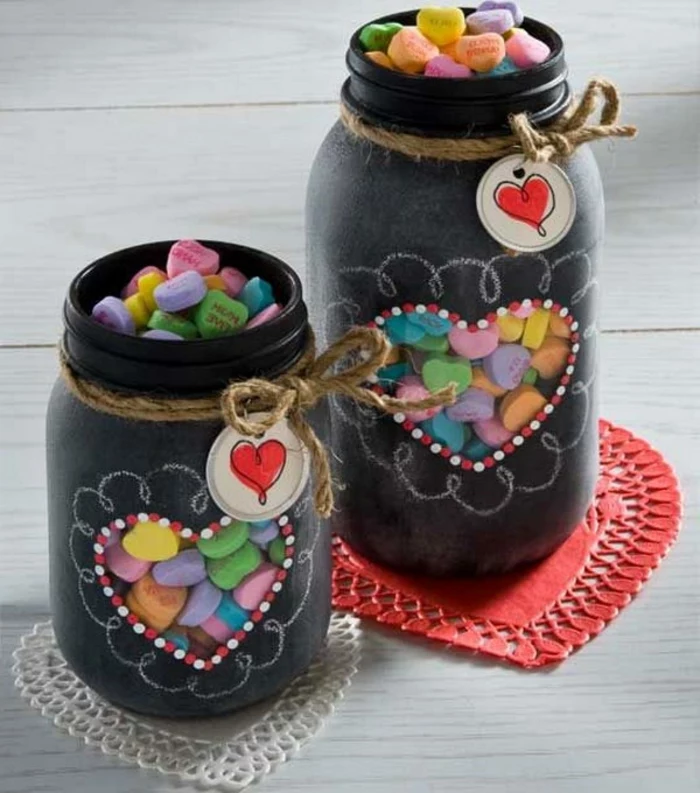
Draw inspiration from Moroccan design by using vibrant jewel tones like sapphire blue, emerald green, and ruby red. Once painted, use a gold or silver permanent paint pen, like a Sharpie Oil-Based Paint Marker, to draw intricate dots and paisley patterns. They become instant miniature lanterns.

- Bathroom Organizer: Hold cotton balls, Q-tips, or makeup brushes.
- Desk Caddy: Perfect for pens, pencils, and scissors.
- Kitchen Utensil Holder: A colorful spot for wooden spoons and spatulas.
- DIY Soap Dispenser: Kits are available online to screw a pump top right onto a standard jar.

Patience is a virtue: Don’t rush the curing process! While paint might feel dry to the touch in an hour, it needs several days (sometimes up to a week, check the paint can) to fully

According to the EPA, glass is 100% recyclable and can be recycled endlessly without loss in quality or purity.
By upcycling that old pickle or jam jar, you’re not just making something beautiful; you’re participating in a cycle of sustainability and giving a piece of


Stencils open up a world of creative possibilities. For crisp, clean results, follow this method:
- Choose an adhesive stencil or apply a light tack spray (like Krylon Easy-Tack) to a regular one to prevent paint from bleeding underneath.
- Instead of a brush, use a foam pouncer or a makeup sponge to dab the paint on in thin, even layers.
- Peel the stencil off while the final paint coat is still slightly wet for the sharpest lines.


I have leftover latex wall paint. Can I use that?
Yes, you can! It’s a fantastic way to create decor that perfectly matches your walls. The key, as the main article stresses, is the primer. As long as you’ve used a quality bonding primer designed for slick surfaces, your wall paint will adhere beautifully. Just be sure to seal it afterwards, as most interior wall paint isn’t designed for the kind of handling a decorative jar will get.


Chalk Paint: Brands like Krylon Chalky Finish offer an ultra-matte, velvety finish that is very popular for rustic and farmhouse styles. It’s thick, provides great coverage, and is very easy to distress with sandpaper.
Milk Paint: Traditionally a powder you mix with water, milk paint gives a more authentically aged, sometimes

Achieving a
- Perfectly straight stripes.
- Clean, geometric patterns.
- A professional, color-blocked look.
The trick is using the right tape. Don’t use regular masking tape, which can let paint bleed. Instead, use a painter’s tape like FrogTape, which has a polymer that reacts with latex paint to create a micro-barrier for super sharp lines.


To keep your painted creations looking fresh, avoid abrasive cleaners and scrubbing pads. A gentle wipe with a microfiber cloth is usually enough. For a bit more grime, use a soft, damp cloth with a tiny drop of mild dish soap, then wipe dry. Remember, they are art pieces, not utility-grade kitchenware.

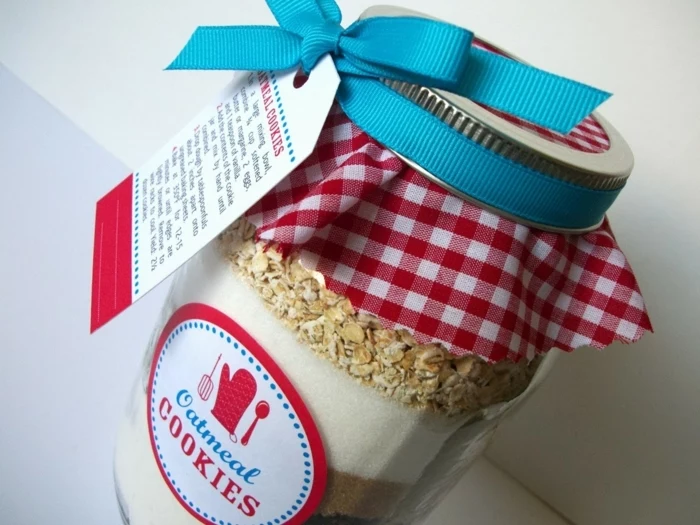
Turn your painted jars into thoughtful, personalized gifts:
- Hot Cocoa Kit: Layer cocoa mix, chocolate chips, and mini marshmallows inside.
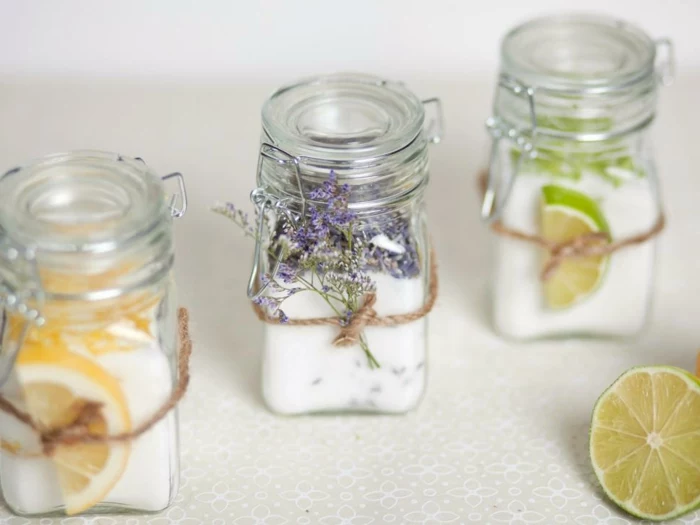
- Spa In a Jar: Fill with bath salts, a small soap, and a rolled-up washcloth.
- Gardener’s Friend: A jar decorated with botanical prints can hold seed packets and garden markers.


Think beyond the craft store: You don’t always need to buy new jars. Ask friends and family to save their empty pasta sauce, pickle, or coffee jars for you. A good soak in hot, soapy water followed by a run through the dishwasher (before you paint!) will remove most labels and odors, giving you a free canvas.

In color psychology, shades of blue and green are known to evoke feelings of calm and serenity, while warm yellows and oranges can create a sense of energy and happiness.
Consider the mood you want to create in a room when choosing your jar colors. A set of serene blue jars on a bathroom counter can create a spa-like feel, while a bright yellow utensil holder can bring a little sunshine to your kitchen.
A touch of metallic can elevate a simple painted jar into something truly chic. It’s all about restraint and placement.
- Use metallic craft paint (like DecoArt Dazzling Metallics) to carefully paint just the rim and screw threads of the jar.
- Tape off a stripe or a geometric block on your main color and fill it in with shimmering gold, silver, or copper.
- Lightly dry-brush a metallic shade over a textured jar to catch the high points.

What should I do with the lids?
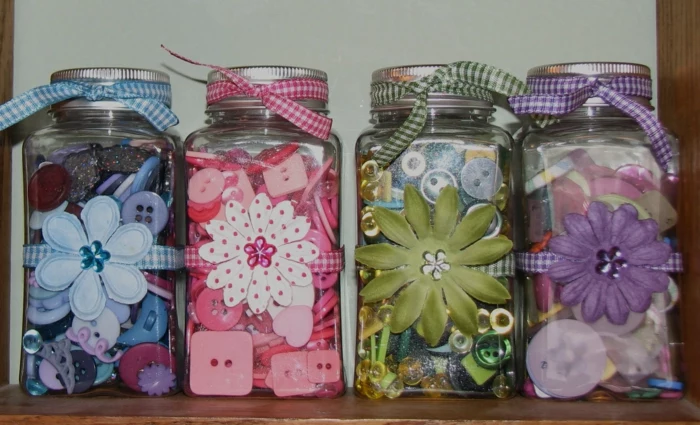
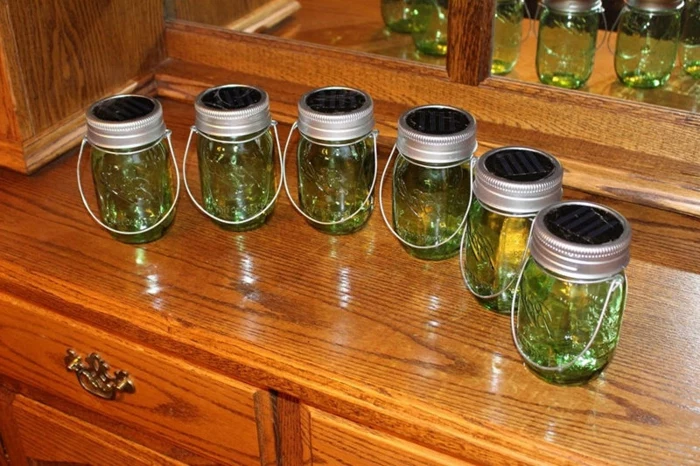
Don’t throw them out! The flat metal lid and the screw band can be painted to match or contrast with your jar. Use the same primer-paint-sealer method. A painted lid makes the jar perfect for storing dry goods like tea bags or craft supplies. You can also drill a hole in the center of the flat lid to create a coin bank or a straw holder for parties.

Foam Brush: Your best bet for a flawless, brushstroke-free finish with acrylic paint. They are inexpensive and disposable. Use a dabbing or