Bringing the Beach Home: A Hands-On Guide to Coastal Decor
I’ve spent a lot of my life working with natural materials. My hands know the feel of fine sand, the surprising smoothness of a sea-tumbled stone, and the beautifully rough texture of driftwood. So many of us want to bring a little piece of that coast back home. We collect shells and stones on vacation, little pockets full of happy memories. But honestly, where do they end up? Usually in a jar, collecting dust on a shelf.
In this article
My goal here is to show you how to use those treasures with real skill and respect. We’re going to make decorations that feel authentic, look professional, and actually last.
This isn’t about trendy, throw-away crafts. It’s about getting to know the materials you’ve found. It’s about learning the techniques the pros use to create beautiful, durable pieces that honor the wild beauty of the coast. We’ll cover everything from properly preparing your finds to using the right tools and designing pieces that just work with the light and space in your home. I’ll even share a few mistakes from my own workshop that taught me some very valuable lessons.
First Things First: Understanding Your Materials
Before you even think about building something, you have to get to know your supplies. A shell isn’t just a shell. And driftwood is way more than just old wood. Each one has its own quirks, strengths, and weaknesses. Nailing these details is the first step to creating something you’re truly proud of. It’s the difference between a project that falls apart in a year and one that becomes a family heirloom.
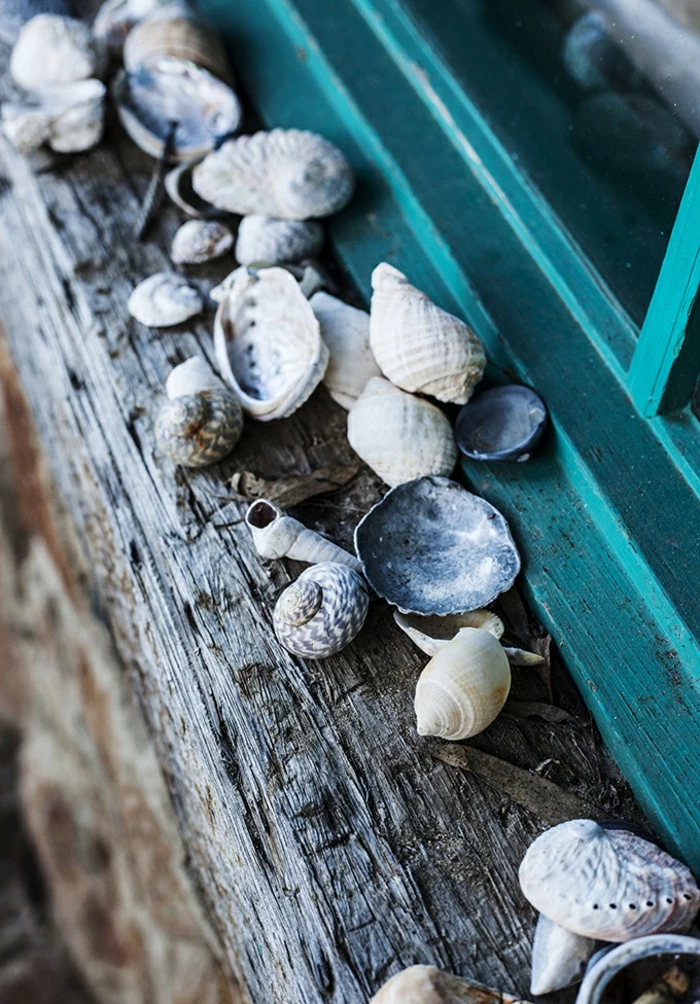
Seashells, Stones, and Sea Glass
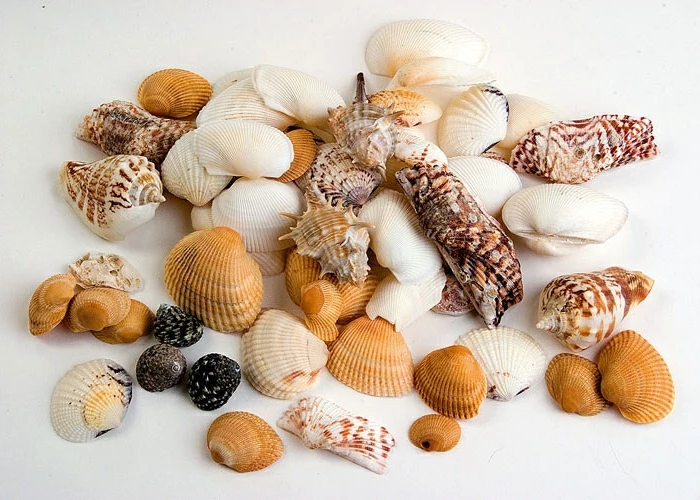
These are the absolute jewels of the beach. They look tough, but they can be surprisingly delicate to work with.
Most seashells are made of calcium carbonate, which makes them strong if you squeeze them but brittle if you try to drill them. Think of it like a stack of potato chips—strong from the top down, but easy to snap from the side. Sea glass is just old glass that’s been beat up by the ocean. Its beautiful frosted surface comes from a process where water slowly pulls out some of the soda and lime, leaving behind a pitted texture that diffuses light in a really gorgeous way.
Did you know? It can take the ocean anywhere from 20 to 50 years to tumble a piece of broken glass into the smooth, frosted gem you find on the beach. And if you ever find red or orange sea glass, you’ve found something truly rare!
Prepping and Cleaning Your Finds
Heads up! Anything you bring home from the ocean has to be cleaned thoroughly. I’ve seen projects get ruined by leftover salt, which can corrode cords and attract moisture, or by tiny sea critters you didn’t see.
- Start by rinsing everything in fresh water to get the loose sand and salt off.
- Next, give your shells and rocks a good soak for about 24 hours in a 50/50 mix of plain white vinegar and water. This helps dissolve any gunk you can’t see. An old toothbrush is perfect for scrubbing any stubborn spots.
- If the shells have a strong fishy smell, you can soak them for a few hours in a diluted bleach solution (about one part bleach to ten parts water). Just be sure to do this in a well-ventilated area. If you’re not a fan of bleach, a long soak in a solution of one part hydrogen peroxide to three parts water also does a great job of sanitizing and whitening shells without the harsh smell.
- After any deep clean, rinse them completely in fresh water and let them air dry for at least a full day.
Pro Technique: Drilling Holes in Shells
This is where most people mess up. They grab a high-speed drill with a standard bit, and the shell instantly shatters. Here’s the right way to do it.
First, please wear safety glasses. A tiny shell fragment can fly off with a surprising amount of force. The key is to use a rotary tool (like a Dremel) or a drill on its absolute lowest speed setting. And you need the right bit—a small, diamond-tipped bit (about 1mm to 2mm) is what you want. They’re designed for glass and tile, so they grind rather than cut. You can find a Dremel-style tool for $50-$150, but honestly, you can get an off-brand version online for under $40 that’ll work just fine for a project like this. The diamond bits usually come in a set for about $10 at any hardware store or on Amazon.
Here’s the trick: place your shell in a shallow tray with just enough water to cover the spot you’re drilling. The water acts as a coolant and lubricant, preventing heat from building up and cracking the shell. Start the drill before you touch the shell, and then apply very light, steady pressure. Let the bit do the work. It should feel more like you’re sanding a hole than punching through it. This might take 30 to 60 seconds per shell, so patience is key here.
Driftwood and Found Wood
Driftwood has so much character, shaped by sun, water, and sand. But it can also bring unwanted guests into your home.
Trust me on this. I once used a stunning piece of driftwood for a client’s mantlepiece. A month later, I got a call—tiny insects had hatched and were crawling out of the wood. It was an embarrassing lesson I only had to learn once. Now, I sanitize every single piece of found wood, no exceptions.
Cleaning and Sanitizing Driftwood
- First, scrub the wood with a stiff brush and soapy water to get off all the dirt and algae. Then, soak it in a tub of fresh water for a few days, changing the water daily to help leach out all the salt.
- To kill any bugs, eggs, or mold spores, you need to use heat. If the piece is small enough, you can bake it in your oven. Pop it on a baking sheet at around 200°F (about 95°C) for several hours. A piece that’s an inch thick needs at least two hours. Please, stay home and keep an eye on it while you do this.
- But what if the wood is too big for the oven? This is a common problem. The best DIY solution is a borax soak. In a large plastic tub, mix a solution of about one part borax to ten parts hot water and let the wood soak for at least 24 hours. This kills critters and helps prevent mold. Afterward, you’ll still need to let it dry completely, which can take days or even weeks depending on how thick it is.
- Let the wood dry completely for several days before you use it. If you seal it while it’s still damp inside, it can rot from the inside out.
Cords, Adhesives, and Hardware
The stuff that holds your project together is just as important as the pretty parts. Using the wrong glue is a classic rookie mistake.
For Cords and Lines:
- Monofilament (Fishing Line): This is perfect for a “floating” look. It’s strong and almost invisible. I usually use a 30 to 50-pound test line, which you can get at Walmart or any sporting goods store for about $5 a spool. Its only real weakness is that it can get brittle after years in intense, direct sunlight.
- Waxed Linen Cord: This gives you a more natural, earthy vibe. The wax makes it more durable and helps knots hold tight. It’s my go-to for rustic, handcrafted pieces.
- Jute or Hemp Twine: These look great for a nautical style, but be aware that they can fray and aren’t as strong as synthetic options. Use them for decorative wraps, not for holding heavy weight.
For Adhesives:
- Two-Part Epoxy: This is my champion for a permanent, waterproof bond between different materials, like gluing a shell to wood. The five-minute set time gives you a little wiggle room to get things perfect.
- Clear Silicone Adhesive: The kind used for aquariums is fantastic for attaching things to glass. It stays a little bit flexible, which is great, and it’s completely waterproof and UV-stable.
- Super Glue (Cyanoacrylate): Good for a quick, temporary hold, but the bond is very brittle and can snap easily. I sometimes use a tiny dot to hold something in place while the stronger epoxy sets.
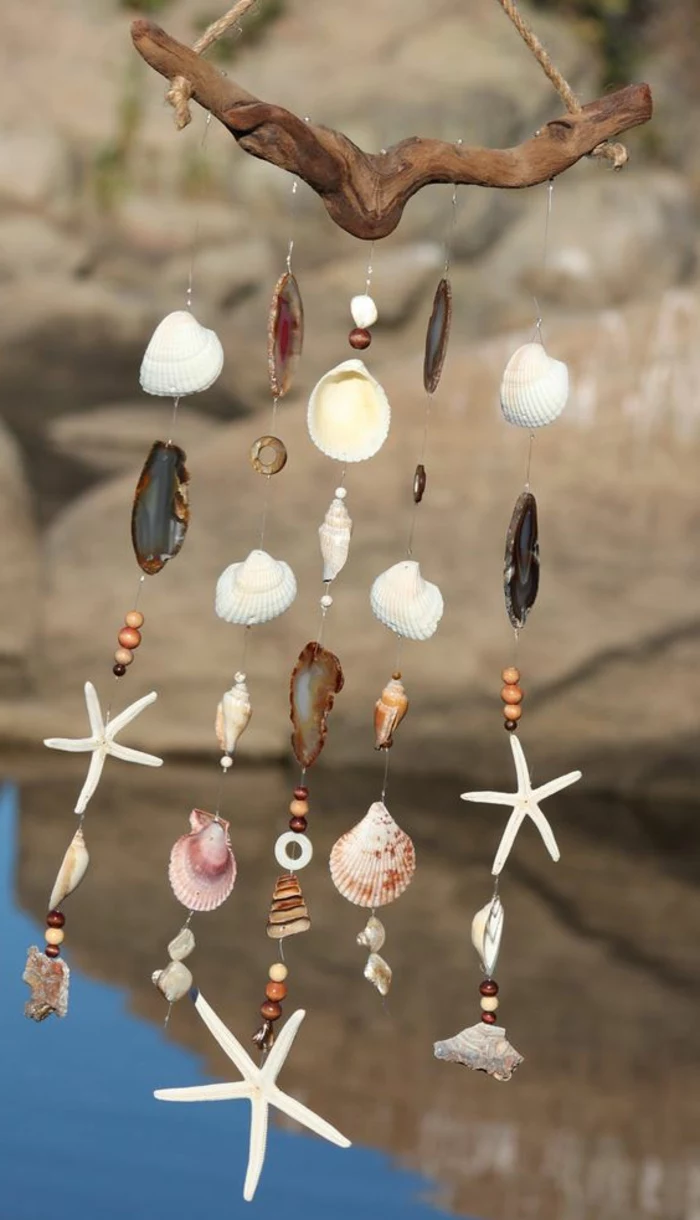
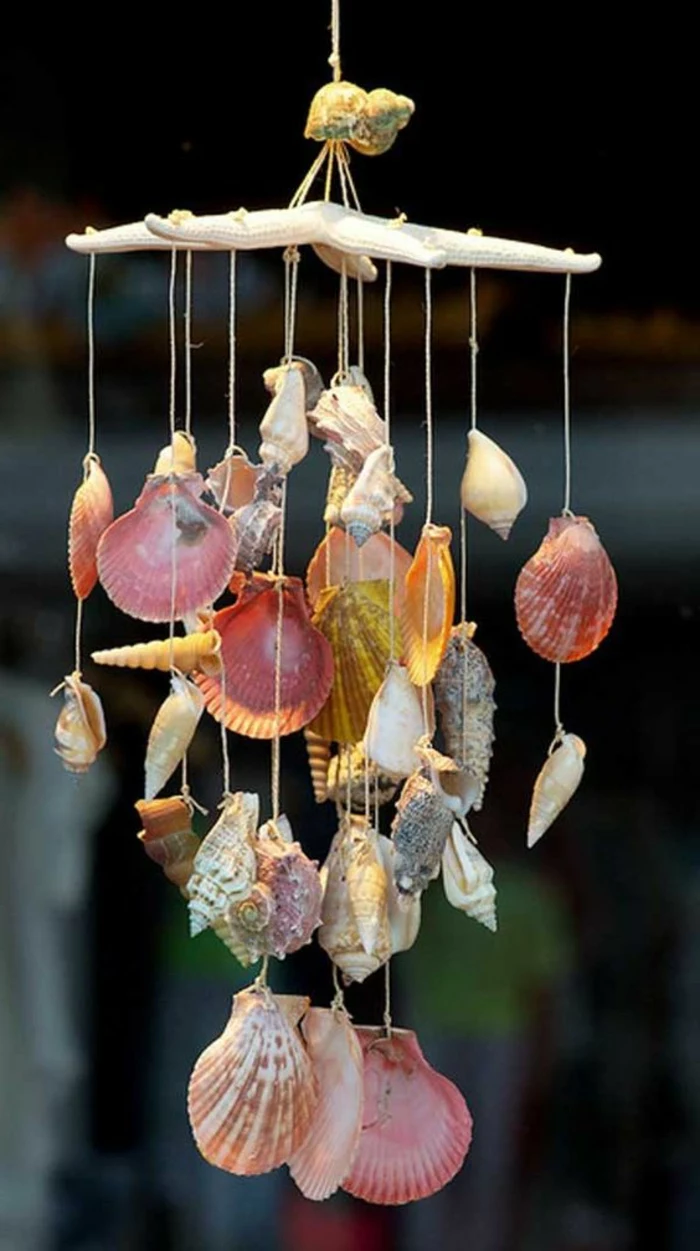
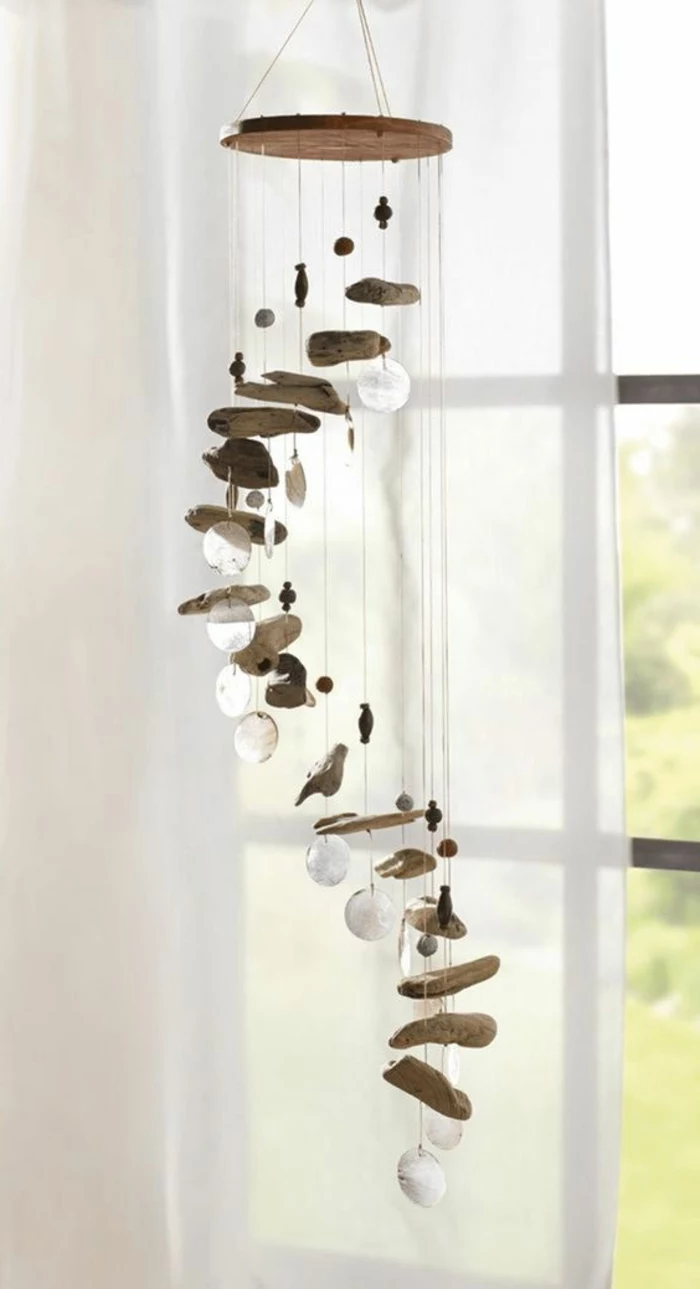
Project Deep Dive: The Balanced Wind Chime
A good wind chime is a musical instrument played by the breeze. A bad one is just a tangled, clattering mess. The difference is all in the balance. Plan for a good afternoon for this project, maybe 2-3 hours of active work, not including the time for your materials to dry.
What You’ll Need:
- One piece of sanitized driftwood (12 to 24 inches long)
- About 20-30 drilled seashells of different sizes
- Optional: A few pieces of sea glass or smooth stones
- 50 feet of 40-pound test monofilament fishing line
- One small screw eye
- A drill, scissors, and a measuring tape
Budget & Sourcing: The good news? Your main decorative items are free! The fishing line will cost about $5, and a screw eye is less than a dollar at the hardware store. The main cost is tools if you don’t already own them.
Step-by-Step Assembly
1. Design and Layout: Before you cut anything, lay out your design on a table. Arrange your shells in vertical lines. Think about the sound—heavier shells make lower tones, while lighter shells create higher tinkles. A common mistake is hanging everything at the same level, which just makes a single ‘clack’ sound. Stagger them so they’ll gently tap each other.
2. Prepare the Hanger: Find the balance point of your driftwood by balancing it on your finger. Mark that spot. This is where you’ll drill a small pilot hole and screw in your screw eye. This is way more secure than just tying a rope around the wood.
3. Attach the Strands (The Pro Way): Space your strands 2-3 inches apart along the driftwood. At each spot, drill a small hole all the way through the wood. Do not just tie the strings around the branch—they’ll slide around and ruin the balance. This is a critical step!
4. Tying the Strands: Cut a piece of line that’s twice the length of your longest strand, plus a foot or so extra. Thread the line up through a hole in the driftwood and tie a secure knot on the top side. Now you have a long, dangling line to string your shells on.
5. Securing the Shells: Thread your first shell onto the line. To hold it in place, use a little fisherman’s trick. Tie a simple slip knot using the tag end of the line around the main line itself, just above the shell. Cinch it down. This creates a tiny, clean stop. It’s much neater than tying a big knot underneath. Keep adding shells this way.
6. The Bottom Weight: The last shell on each strand should be the heaviest. This helps keep the line taut and prevents tangling. Secure it with a good knot and add a tiny drop of super glue for extra security.
7. Repeat and Balance: Repeat for all your strands. After adding each one, hang the chime by its screw eye to check the balance. If it’s tipping, you might need to use lighter shells on one side or heavier ones on the other. This little adjustment process is what makes it look handcrafted, not just homemade.
My first few chimes tangled like crazy. I learned that the strands were either too close together or too long for the weight of the shells. If yours tangles, it’s a design issue. Try shortening the strands or spacing them out more.
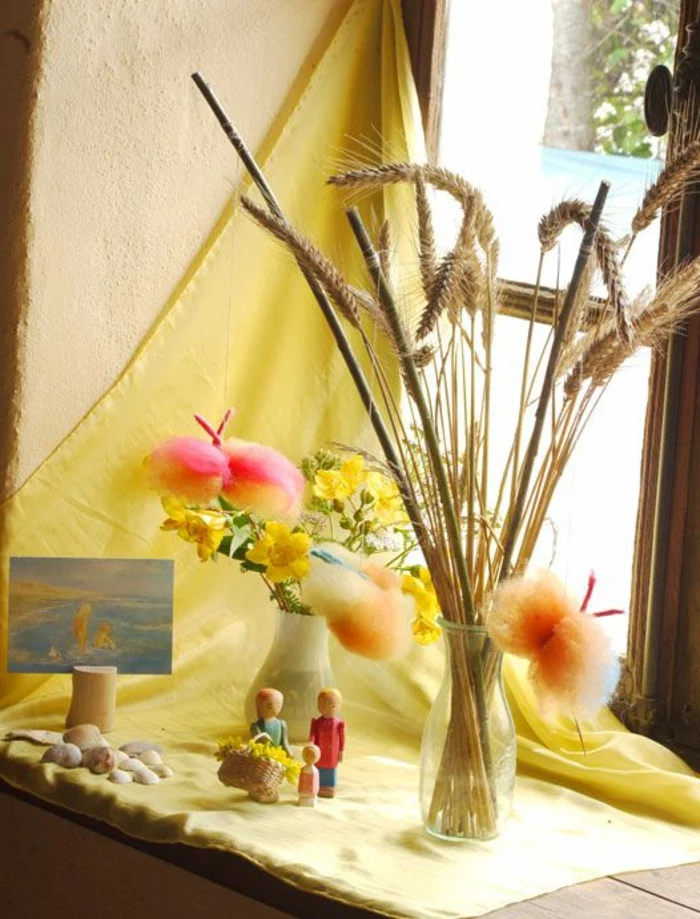
Working with Fabric and Light
For a coastal feel, you want your space to feel bright and airy. The curtains you choose are key. Heavy, dark drapes will completely kill the vibe.
Choosing the Right Fabric
Semi-sheer fabrics are your best friend here. They don’t block light; they diffuse it, scattering the rays to soften harsh sun and reduce glare. Linen is my top choice for an authentic look. It hangs beautifully and has a natural texture. Yes, it wrinkles, but that’s part of its relaxed charm. Just so you know, linen can be pricey, often running $20-$40 per yard.
A fantastic budget-friendly alternative with a similar feel is cotton voile, which you can often find for $5-$10 per yard at fabric stores. It gives a clean, crisp look. And while I prefer natural fibers, a high-quality polyester sheer can be a smart choice for a window that gets blasted with sun all day, as it’s more resistant to UV damage.
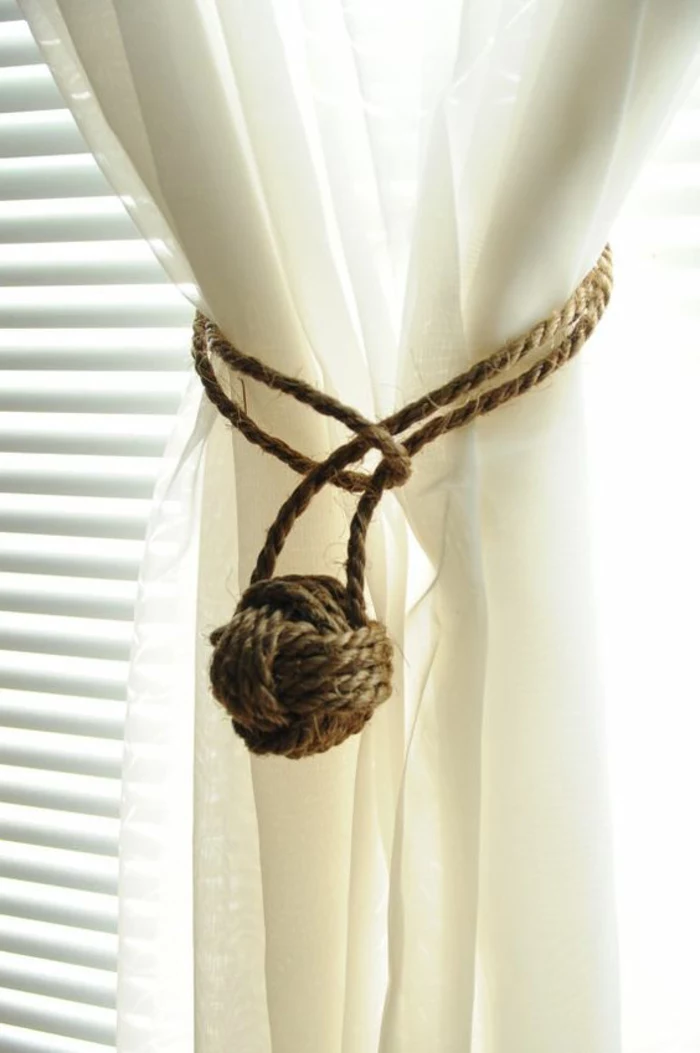
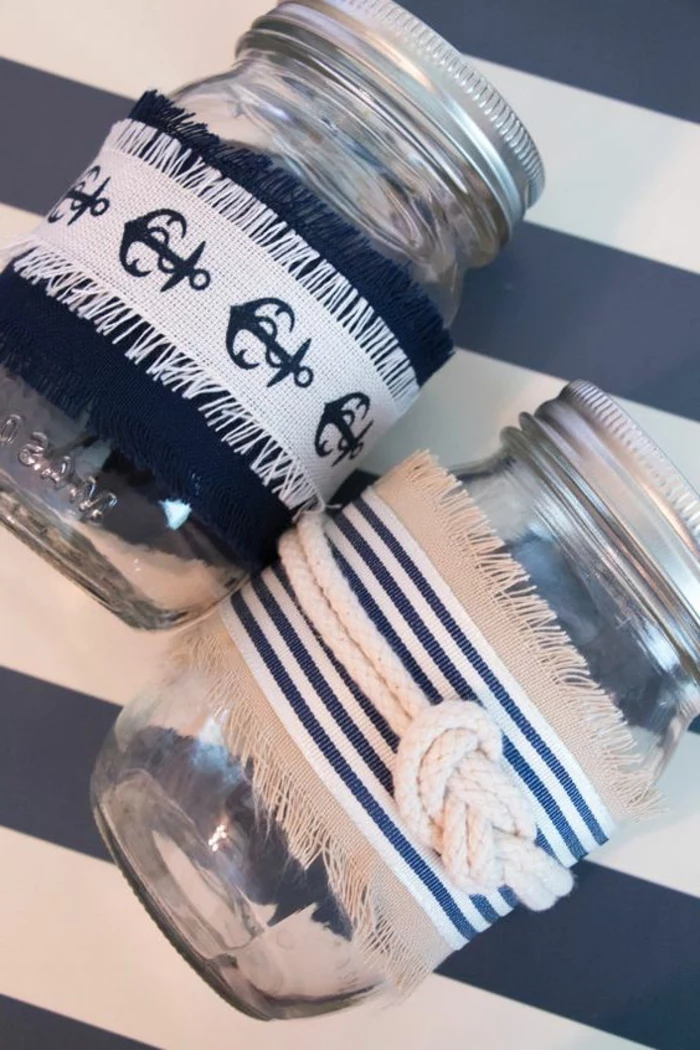
Creating Nautical Accents
Instead of just tying a curtain back with a piece of rope, a proper nautical knot shows real craftsmanship. The Monkey’s Fist knot is a classic. It looks complex, but it’s really just a series of wraps. I highly recommend looking up a video tutorial to get the hang of it. Once you make one with some nice cotton rope, you can attach it to a simple loop to create a stunning, functional tie-back.
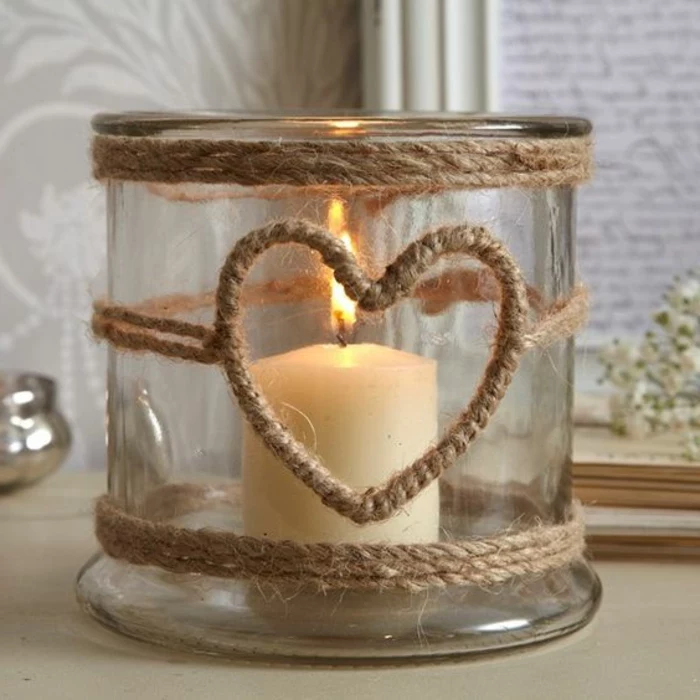
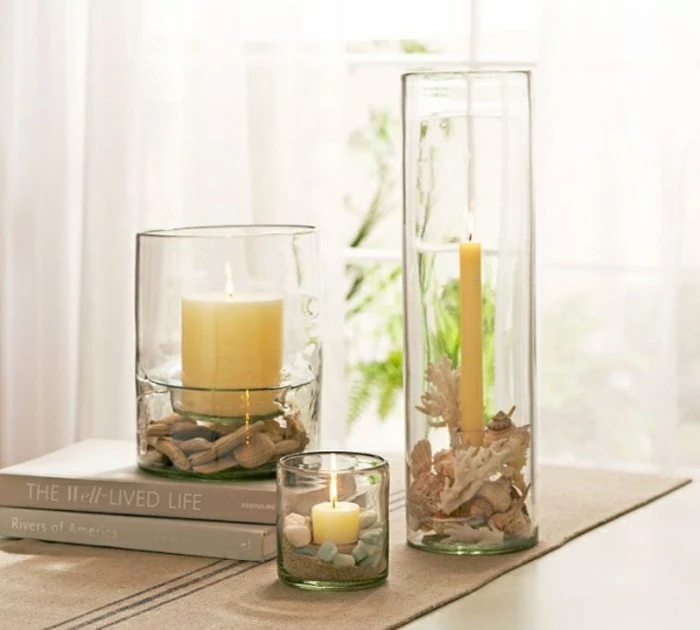
A Serious Note on Candle Safety
A candle on a windowsill is beautiful, but it’s also a major fire risk. I once visited a home where a breeze blew a sheer curtain into a tea light on the windowsill. They caught it in time, but it was a scary-close call.
My rules for window candles are simple and non-negotiable:
- Always use a stable, non-flammable holder.
- Ensure there’s at least a foot of clearance between the flame and any fabric. If the sill is narrow, don’t put a candle there.
- Never, ever leave a lit candle unattended.
- Honestly, for windowsills, just get some good LED candles. The modern ones are incredibly realistic and give you all the cozy glow with none of the risk.
More Ideas and Final Advice
Once you’ve got the hang of the basics, you can try some other cool projects.
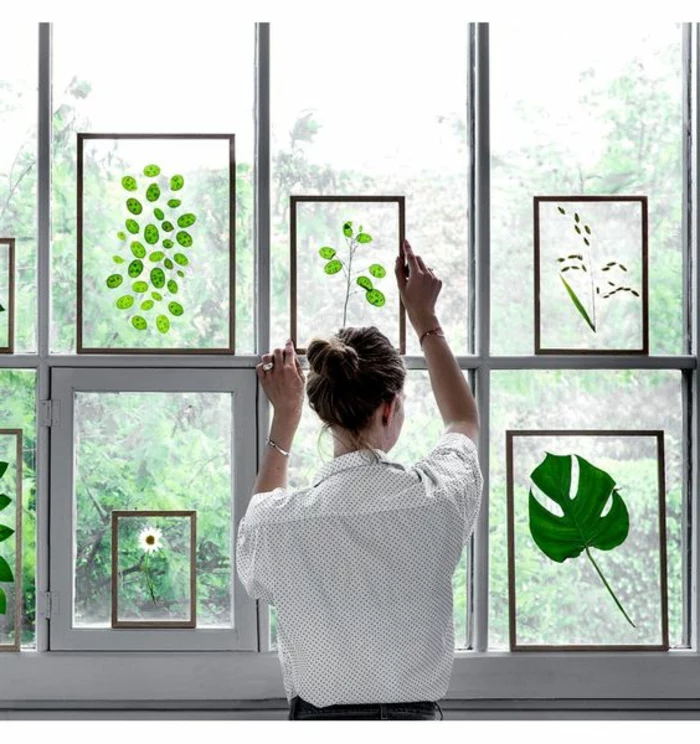
Pressed Seaweed in Glass
Framing pressed seaweed or coastal ferns looks like something straight out of a museum, especially with light shining through. You press the plants between sheets of absorbent paper inside a heavy book for a few weeks. Now, the professional way to frame them is between two pieces of glass sealed with metal foil tape, but that’s a pretty advanced skill.
Lesser-known trick: For a much simpler approach, look for “floating glass frames” at craft stores like Michaels or online. They’re basically two pieces of glass already in a frame, perfect for sandwiching your pressed botanicals and hanging them up immediately. So easy!
Need a Quick Win? Try This.
Feeling inspired but short on time? Try this 10-minute project. Find one perfect, flat-bottomed stone. Clean it well. Use a dab of your two-part epoxy to glue a single, beautiful small shell to the top. And just like that, you’ve made a coastal paperweight or a lovely ‘worry stone’ with a story.
When to Call a Professional
Knowing your limits is a sign of wisdom, not weakness. If you’re hanging something really heavy from a wall or ceiling, please consult a contractor to make sure you’re anchoring it to a stud. And for any electrical work, always hire a licensed electrician. Safety first, always.
Final Thoughts from the Workshop
Working with these materials teaches you patience. Each shell and every piece of wood has a story. Your job isn’t to force them into a shape, but to work with them to show off their natural beauty. Take your time, clean your materials properly, and use the right techniques. The satisfaction you’ll get from creating something beautiful and lasting with your own hands is just immense. Now go build something you can be proud of for years to come.
Inspiration Gallery
How do you get that perfect, tiny hole in a delicate shell without it shattering?
The secret is patience and water. Submerge the shell in a shallow dish of water and use a rotary tool like a Dremel with a small, diamond-tipped burr (1-2mm). The water acts as both a lubricant and a coolant, preventing dust and reducing the risk of fracture. Apply very light, intermittent pressure, letting the tool do the work.
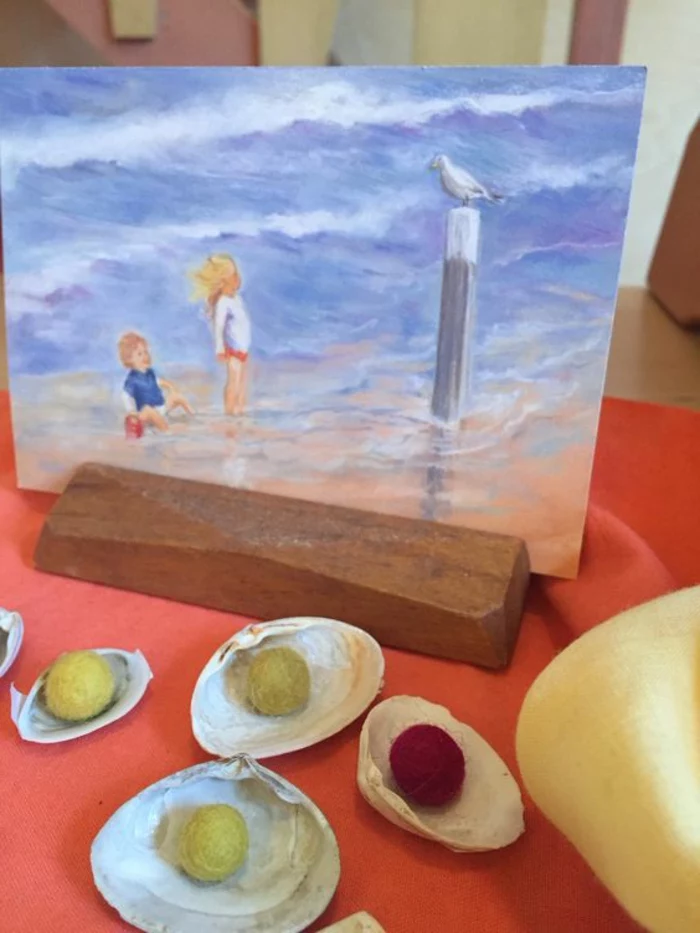
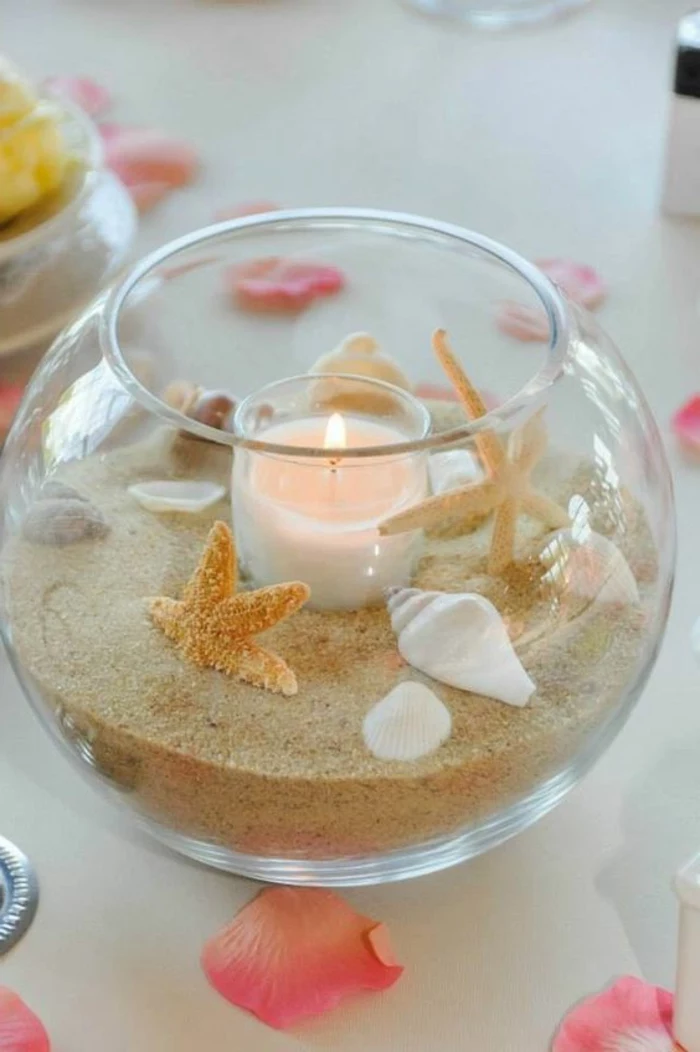
For every one million sand-sized shell fragments on a Hawaiian beach, there are particles from an estimated 4,000 different species.
This incredible biodiversity is why a simple jar of sand and shells can be so captivating. When arranging them, think like a geologist. Create distinct layers using different colors and textures of sand, separating them with lines of tiny, uniform shells to tell a miniature story of the shoreline.
Epoxy Resin: Provides a super-strong, waterproof, and clear bond, perfect for creating sea glass mosaics on trays or tables. It requires mixing and has a longer curing time.
E6000 Craft Adhesive: A flexible, paintable, and incredibly strong single-part glue. It’s the go-to for attaching shells or driftwood to frames, mirrors, or wreaths where you need a bit of working time and a shock-resistant hold.
To truly capture the coastal essence, move beyond the classic navy and white. Draw inspiration from the full beachscape palette:
- Stormy Grey: The color of an overcast sky or wet stones.
- Sandy Beige: Warm, neutral tones from dry and wet sand. Think Benjamin Moore’s ‘Muslin’ CC-110.
- Misty Green: The subtle hue of sea spray and beach grasses.
- Coral Blush: The delicate pinks and oranges found inside shells.
A word on ethical collecting: The most beautiful finds are often those left behind. Always check local regulations before beachcombing. As a rule, never take live shells (with an inhabitant), and avoid disturbing fragile dune ecosystems or tide pools. A beautiful photo can be as treasured as a physical object.
- Prevents musty odors from developing.
- Stops unseen pests from infesting your home.
- Creates a stable base for paints or sealants.
The secret? A simple cleaning solution. Scrub your driftwood with a stiff brush and a 1:10 solution of white vinegar and water. Rinse thoroughly and let it dry completely in the sun for several days until it’s lightweight and bone-dry.
Found sea glass is a treasure, but sometimes you need a specific color or shape. You can mimic the ocean’s process at home. Use a rock tumbler with a mix of sand, small pebbles, and water to soften the edges of broken glass from bottles or craft store sheets. It’s a faster way to achieve that soft, frosted look for larger projects.
It can take the ocean 20 to 40 years, and sometimes as long as 100 years, to transform a piece of broken glass into the smooth, frosted jewel we know as sea glass.
Create a stunning focal point by framing a simple bathroom or hallway mirror with driftwood. Start with a basic, inexpensive mirror with a flat, wide frame. Arrange your cleaned and dried driftwood pieces around the frame, layering them for texture. Attach smaller pieces with E6000 adhesive and secure larger, heavier ones by drilling through the back of the frame into the wood.
- A small rotary tool (Dremel Stylo+ is great for detail work)
- Diamond-tipped drill bits/burrs (for shells and glass)
- Safety glasses (non-negotiable!)
- E6000 adhesive and a high-temp glue gun
- Clear matte spray sealant, like Krylon Matte Finish 1311.
My driftwood piece is too heavy to hang with a simple nail. What’s the best method?
For heavy or awkwardly shaped pieces, professional picture-hanging hardware is your best friend. For a flush mount, install two D-rings on the back of the wood, ensuring they are level. For very heavy or long pieces, a French cleat system provides incredible stability and distributes the weight evenly across the wall.
Don’t neglect the power of scent to complete your coastal atmosphere. Instead of overly sweet, artificial air fresheners, opt for more subtle, natural fragrances. A few drops of driftwood or sea salt essential oil on an unglazed ceramic diffuser, or a high-quality soy candle with notes of salt, orchid, or linen can evoke the feeling of a fresh sea breeze.
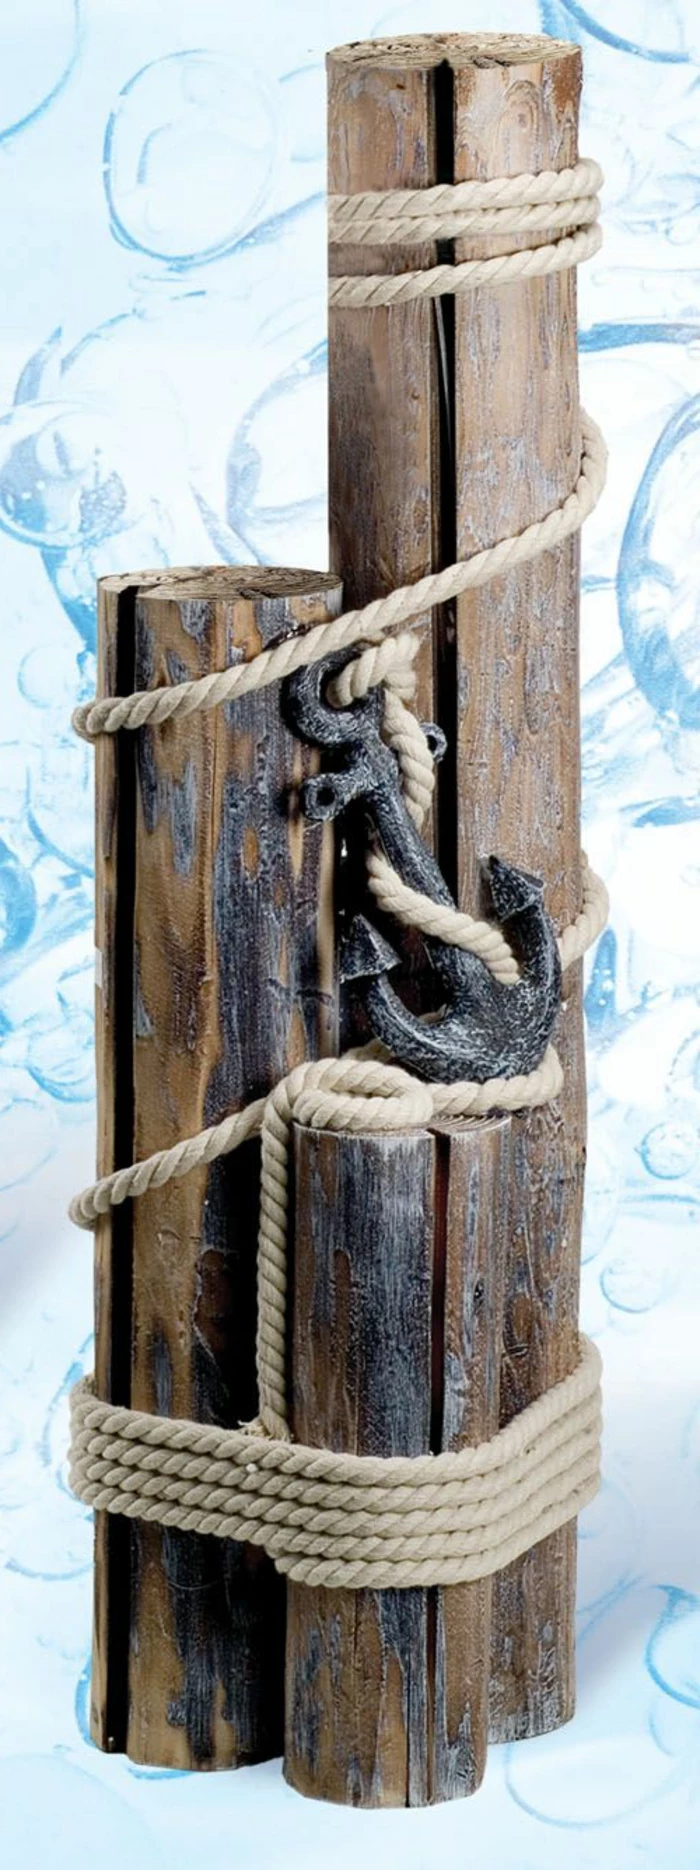
A common pitfall: Making everything too ‘themey’. A home filled with shells, nets, and anchors in every corner can feel more like a tourist shop than a serene retreat. The key is subtlety. Let one stunning, handmade piece—like a large driftwood sculpture or a detailed shell wreath—be the star, and support it with a simple color palette and natural textures like linen and jute.
Elevate simple furniture with custom hardware. Find shells like flat scallops or the tops of sand dollars that have a naturally smooth surface.
- First, ensure the shell is clean and dry.
- Using a strong epoxy like Loctite Marine Epoxy, glue the shell to the front of a plain, flat-faced cabinet knob.
- Let it cure completely before installing. It’s a small detail that adds a truly custom touch.
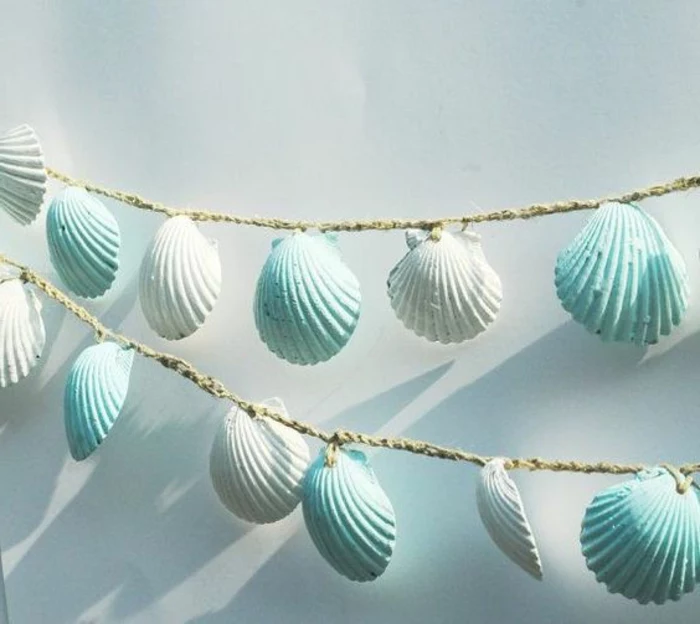
The ‘Coastal Grandmother’ trend is all about an authentic, comfortable, and timeless seaside aesthetic. Your handmade coastal crafts are perfect for this. Think less about bright, tropical kitsch and more about the enduring beauty of natural materials. A simple arrangement of sand-colored pebbles in a stoneware bowl or a hand-tied garland of white shells perfectly captures this elegant, lived-in style.
Matte Sealant: A spray like Rust-Oleum’s Painter’s Touch 2X Ultra Cover Matte Clear is ideal for driftwood and most shells, as it provides protection from dust and moisture without adding an artificial shine, preserving the natural texture.
Glossy Sealant: Use a gloss finish to give smooth beach stones or pebbles that ‘wet look’, which makes their colors appear deeper and more vibrant. It can also add a nice finish to sea glass projects.
Want to use sand in your art? It must be perfectly, utterly dry, or you risk mold and adhesion failure. To be certain, spread your collected sand on a baking sheet and bake it in the oven at a low temperature (around 80-100°C or 180-200°F) for an hour. Let it cool completely before mixing it into resin or paint.
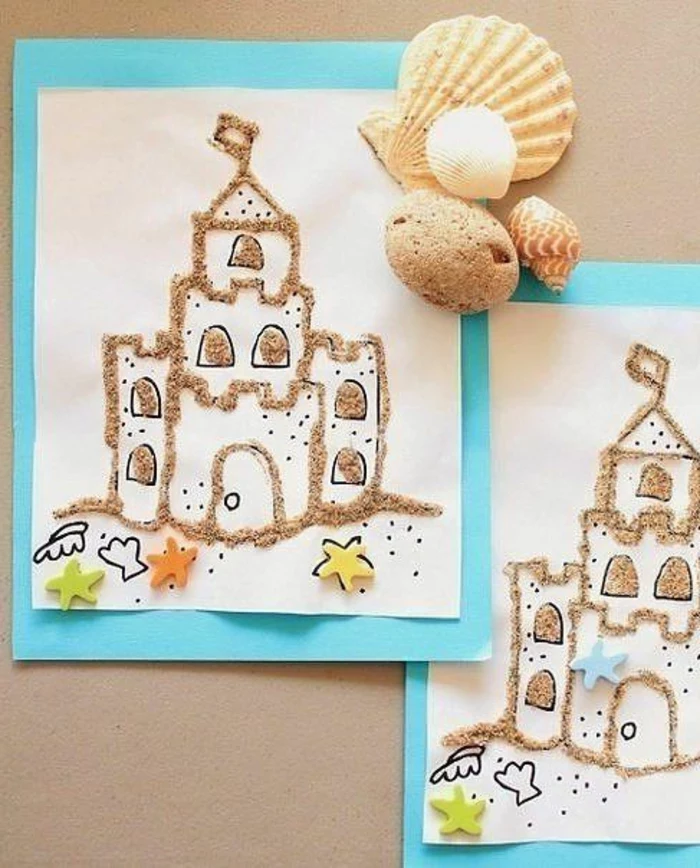
- They can be embedded in clear resin to make unique coasters or jewelry.
- Use them to create a delicate mosaic border on a plain photo frame.
- Glue them onto tiny magnets for a subtle coastal touch on the fridge.
Even the smallest beach treasures have creative potential. Don’t overlook the tiny shells and minuscule pebbles you find; they are perfect for adding fine detail to your projects.
The secret to a dynamic arrangement lies in contrasting textures. Don’t just group similar items together. Create visual interest by pairing the rough, gnarled surface of driftwood with the smooth, polished sheen of sea-tumbled stones. Place a delicate, lacy sea fan behind a solid, chunky piece of coral. This interplay of textures is what makes a coastal display feel alive and authentic.
Can I use hot glue for my shell projects?
Yes, but with caution. Hot glue is excellent for quick, temporary arrangements or lightweight crafts that won’t be handled much. For anything that needs to be durable, bear weight, or will be exposed to temperature changes (like a wreath on a door), it’s better to use a stronger, more permanent adhesive like E6000 or a two-part epoxy.
Protect your colours: The beautiful, subtle colours of seashells and sea glass can fade over time with prolonged exposure to direct sunlight. If your creation will live in a sunny spot, give it a final coat of a UV-resistant clear spray. Krylon’s UV-Resistant Clear Coatings are available in both gloss and matte finishes to protect your work without changing its style.
The ‘lines’ you see on a sand dollar are actually areas with thousands of tiny, microscopic holes. In life, these allowed tiny tube feet to emerge, which the animal used for breathing and moving along the seafloor.

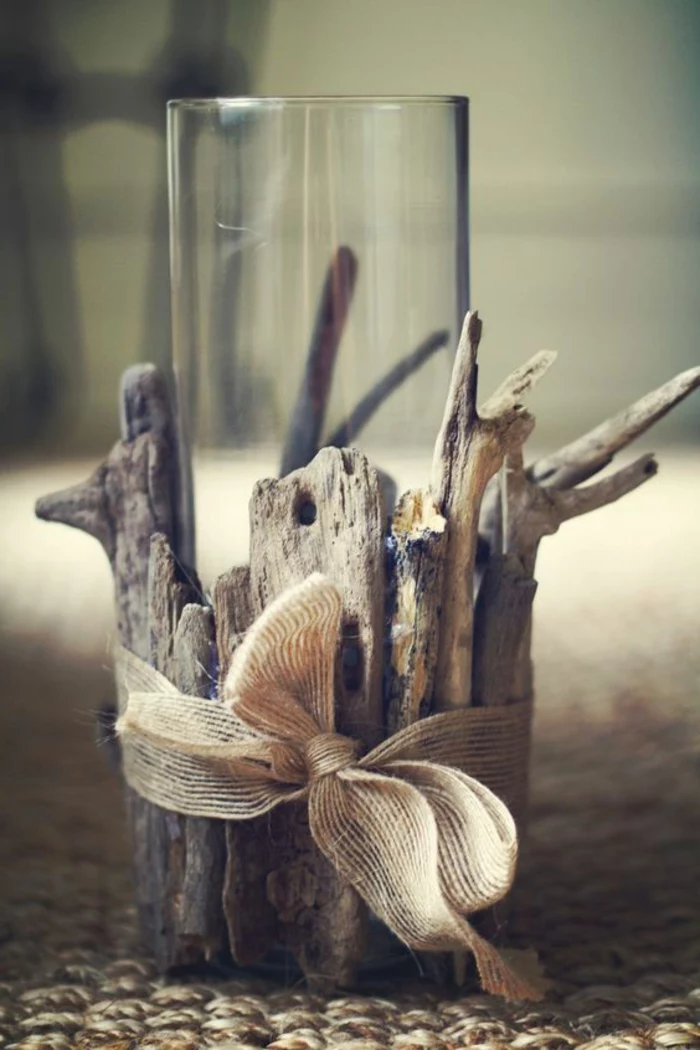
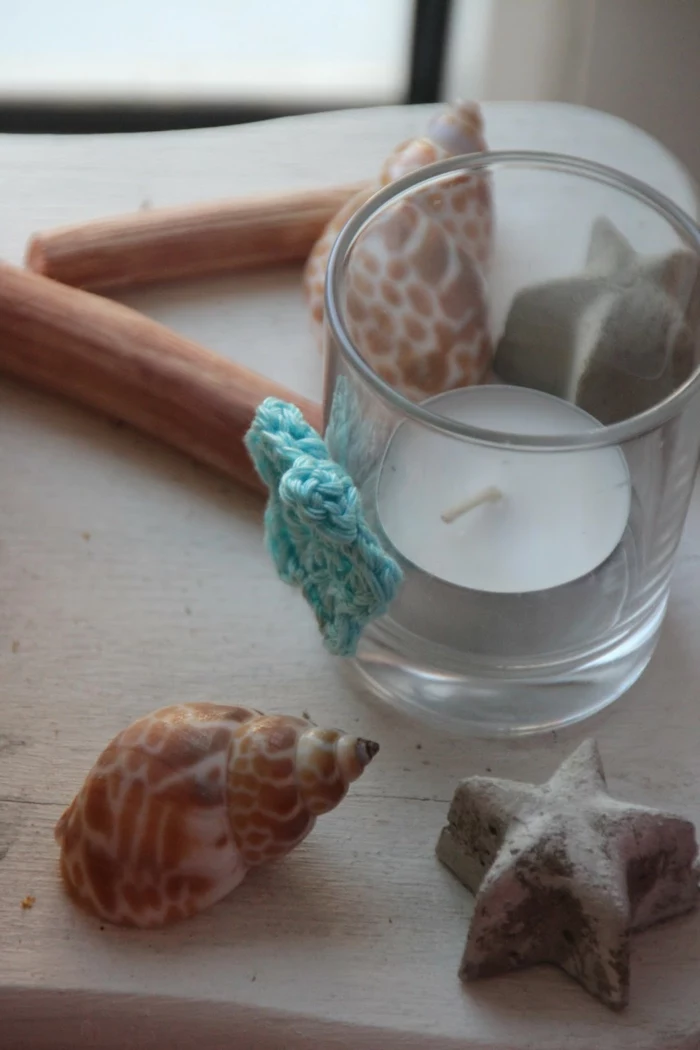
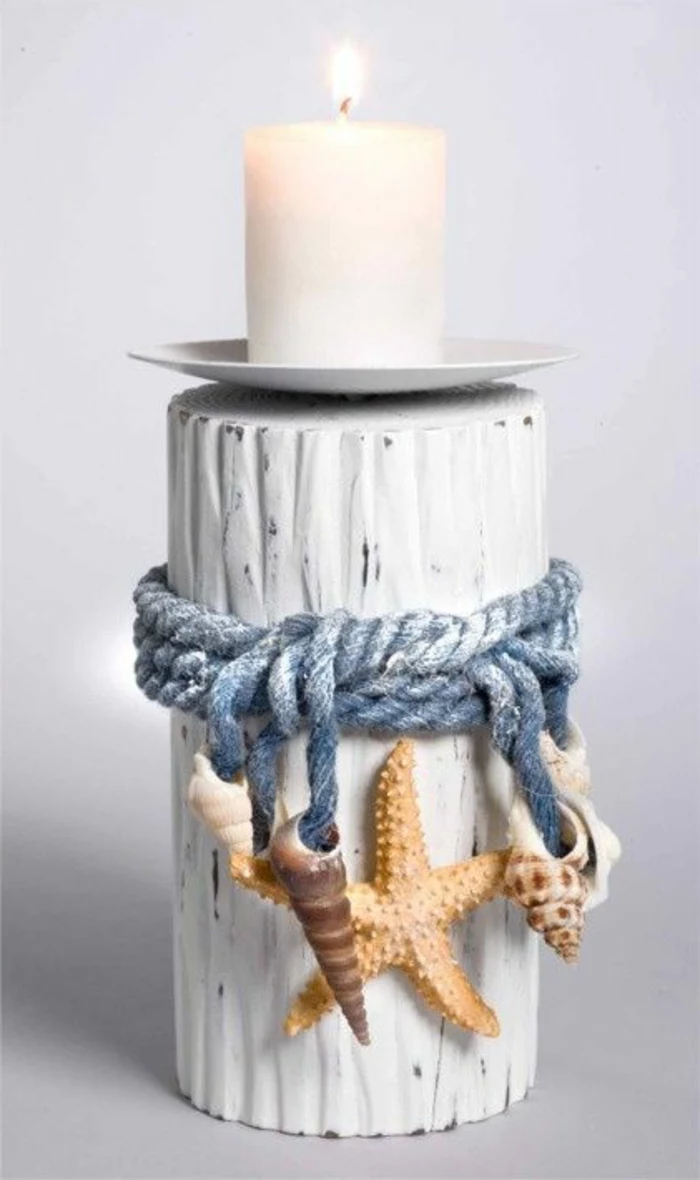
Think beyond garlands and wreaths. Use your beachcombing finds to create a one-of-a-kind votive holder.
- Select a simple glass cylinder or jar.
- Working in sections, apply a thin layer of clear-drying glue.
- Press tiny shells or crushed, colourful shell fragments into the glue.
- For a different look, use sand-textured paint on the outside before adding a few select shells.
Your hands will be working with abrasive materials and strong adhesives. A good pair of nitrile-coated work gloves can protect your skin from scratches when handling rough driftwood. When working with epoxy or strong glues like E6000, always work in a well-ventilated area and wear disposable gloves to avoid skin contact.


