Want Your Nail Rhinestones to Actually Last? Here’s How.
I’ve been doing nails for a long, long time, and I’ve seen every trend you can imagine. But you know what never goes out of style? A little bit of sparkle. Rhinestones, when they’re done right, can take a manicure from nice to absolutely stunning. I still remember a bride who came to me, totally panicked because the stones from her trial manicure at another salon popped off in less than a day. We fixed her up, and her wedding nails didn’t just last through the ceremony—they made it through the honeymoon, too. That’s the power of good technique.
In this article
- First, a Little Science (The Not-Boring Version)
- Your Beginner’s Shopping List (Without Breaking the Bank)
- Choosing Your Glue: The Good, The Bad, and The Temporary
- Step-by-Step: The Application Process
- Troubleshooting: When Things Go Wrong
- The Right Way to Take Them Off (Please Don’t Pick!)
- A Final Word on Nail Health
- Inspiration Gallery
This isn’t about just sticking on some glitter and hoping for the best. It’s a craft. Understanding why things stick to a nail is the key to creating durable, gorgeous nail art that doesn’t wreck the natural nail underneath. So whether you’re a nail enthusiast wanting to up your game or just curious about the service you’re paying for, I’m going to break it all down.
First, a Little Science (The Not-Boring Version)
Ever wonder why some things stick and others don’t? It’s all about creating a surface the adhesive can grab onto. A natural nail looks smooth, but it’s actually got microscopic texture. When we gently buff the nail, we’re creating even more texture for the adhesive to grip. Think of it like trying to climb a smooth wall versus a brick wall—the adhesive needs those little ledges to hold on tight.
This is called a mechanical bond, and it’s the foundation for everything we do. Without proper prep, even the best glue in the world will fail. It’s a step you just can’t afford to rush.
Your Beginner’s Shopping List (Without Breaking the Bank)
Before we get into the how-to, let’s talk about what you actually need. You can get a seriously professional setup for less than you might think.
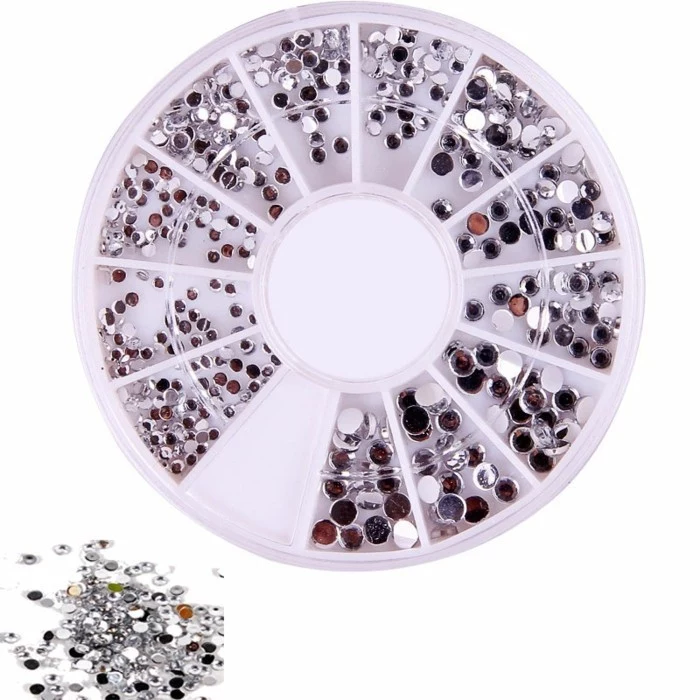
- Nail Rhinestones: Go for glass or high-quality crystal stones. The cheap plastic ones just look dull and can even be damaged by nail products. You can find a wheel with multiple sizes online for about $5 to $15.
- A Pickup Tool: A wax-tipped pen is a lifesaver for picking up and placing tiny stones. They usually cost between $3 and $8. Quick tip: Don’t have one? No worries. Just dip the very tip of a toothpick into a tiny bit of clear top coat, let it get tacky for a moment, and it’ll pick up stones like a charm.
- The Right Adhesive: This is a big one. We’ll dive deeper into this next, but a dedicated rhinestone gel is your best bet. A small pot from a brand like Beetles, Makartt, or Kiara Sky will run you $10 to $20 and will last you forever.
- A Detail Brush: You’ll need a super fine liner brush for sealing. You can grab one for as little as $2 to $7 at a beauty supply store or online.
See? You can get all the essential gear for under $50, which is a great investment for countless sparkly manicures.

Choosing Your Glue: The Good, The Bad, and The Temporary
Okay, let’s get one thing straight: step away from the super glue. It’s terrible for your nails and can cause some nasty reactions. For results that last, you need a cosmetic-grade product.
For Gel Manicures (The Pro’s Choice):
Honestly, this is the most secure method by a long shot. The secret weapon here is a dedicated rhinestone adhesive, often called “gem gel.” It’s a super thick gel that won’t slide around, giving you time to place your stones perfectly. Its durability is excellent, easily lasting for 2+ weeks until your next fill. It’s the best option for pretty much any design.
For Acrylic Nails:
You can use the same gem gel method right on top of a finished acrylic nail. For an even stronger bond, though, the pros sometimes embed the stone directly into the acrylic. This involves placing the stone into the acrylic while it’s still setting. It’s a more advanced move that requires some speed and precision, but the hold is incredible.
For Regular Nail Polish (The Quick Fix):
I want to be real with you—applying rhinestones over regular polish is for temporary wear only. Think 24 to 48 hours, max. The polish itself isn’t a stable enough base. For a weekend event, it’s totally fine! A strong, resin-based nail glue is what you want. A great, easy-to-find option is the Kiss Brush-On Nail Glue, which you can find at most drugstores.
Step-by-Step: The Application Process
Ready to get started? If this is your first time, give yourself a good 30 minutes just for the rhinestone part on a couple of accent nails. Don’t rush it!
Step 1: Flawless Prep
You have to start with a clean canvas. Push back and gently remove any dead cuticle skin from the nail plate. Shape the nail, and then gently buff the surface with a light-grit buffer to remove the shine. Finally, scrub the nail with a lint-free wipe soaked in 99% isopropyl alcohol to get rid of any dust or oils.
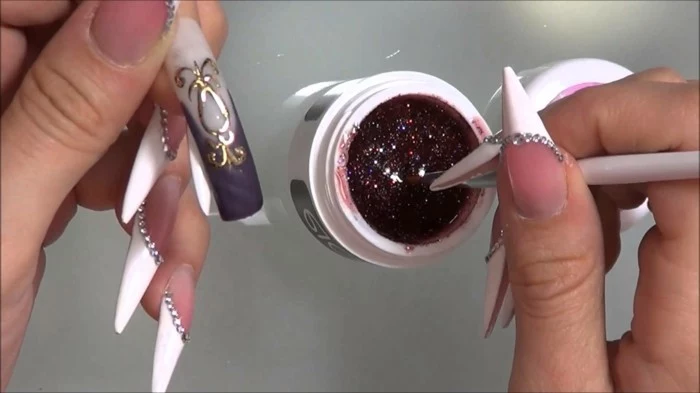
Step 2: Apply Your Adhesive
If you’re using gem gel, apply a small bead of it where you want the stone to go (after your color coats are cured, but before the top coat!). The bead should be just a little bigger than the base of the stone to create a small cradle for it to sit in.
Step 3: Place and Cure
Use your wax pen or tacky toothpick to pick up the rhinestone. Press it firmly into the gel and give it a tiny, gentle wiggle. This helps the gel squish into all the little gaps for a solid connection. If you’re doing a cluster of stones, it’s a good idea to “flash cure” for 10 seconds under your LED lamp after placing each one to lock it in place. Once all stones are on, do a full 60-second cure.
Step 4: Seal the Deal (The Right Way!)
This is the most common mistake I see. DO NOT paint top coat over the entire rhinestone. It kills the sparkle and makes it look like a dull blob. Instead, take your fine liner brush and a no-wipe gel top coat. Carefully trace the top coat around the base of the stone, creating a seal that locks it in from the sides. For clusters, dab the top coat into the little gaps between the stones. Then, do a final full cure. A quick wipe with alcohol over the top of the stones at the end will make them shine like crazy.
Troubleshooting: When Things Go Wrong
It happens! Here are the most common issues and how to fix them.
- The Problem: My stones fell off in a few days!
The Fix: 99% of the time, this is a prep or sealing issue. Be honest—did you skip the buffing? Did you forget to seal the edges with top coat? Go back through the steps and pinpoint where you might have cut a corner. - The Problem: My crystals look cloudy and have no sparkle.
The Fix: You painted top coat over them. You have to trust the gem gel to do the holding and use the top coat only to seal the base. Trying to file off the top coat is a pain, so it’s best to learn the technique right from the start.
The Right Way to Take Them Off (Please Don’t Pick!)
Whatever you do, don’t pry or pick your rhinestones off. You’ll rip off layers of your natural nail and cause serious damage. In the salon, we use an e-file to gently grind away the stone and adhesive.
But you can do it safely at home without one! Here’s how:
- Grab a coarse hand file (a 100-grit file works well) and gently file the top of the rhinestone until the sparkle is gone. This breaks the top coat’s seal.
- Soak a piece of a cotton ball in 100% pure acetone.
- Place the soaked cotton directly on top of the nail.
- Wrap your fingertip tightly in a small piece of aluminum foil.
- Now, just relax! Let it sit for about 15-20 minutes.
- After unwrapping, the leftover adhesive and stone should be soft enough to gently scrape away with a wooden cuticle stick.
A Final Word on Nail Health
Part of being a pro is knowing when to say no. If a client comes in with thin, damaged nails, I won’t put a heavy set of rhinestones on them. The first priority is always the health of the natural nail. Sometimes, that means recommending strengthening treatments first.
And once you have your gorgeous nails, take care of them! Wear gloves for cleaning, don’t use your nails as tools, and apply cuticle oil daily. With a little practice and the right technique, you can create stunning, durable nail art that looks and feels amazing.
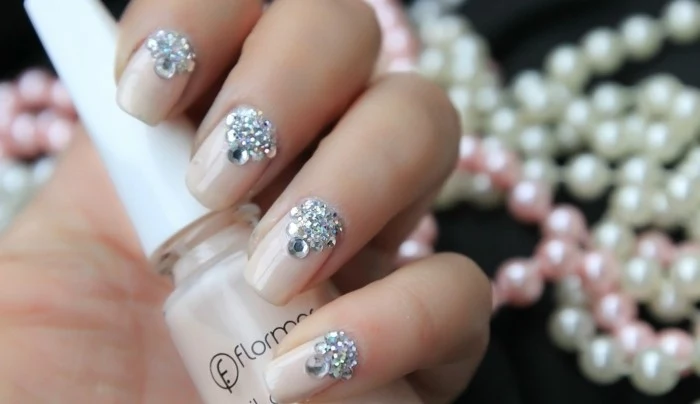
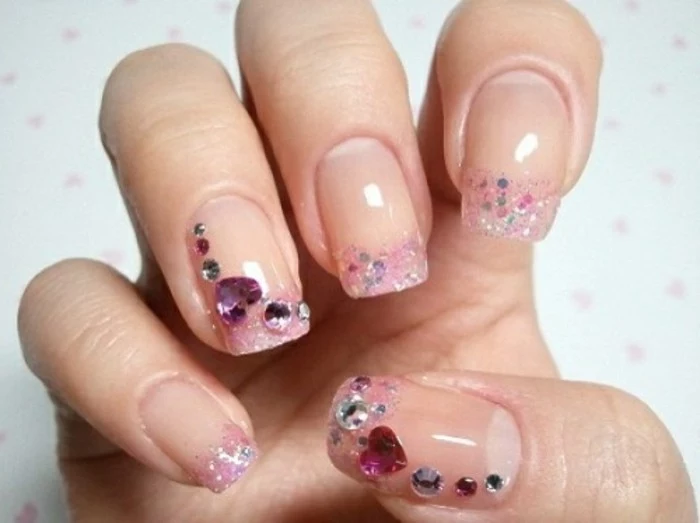
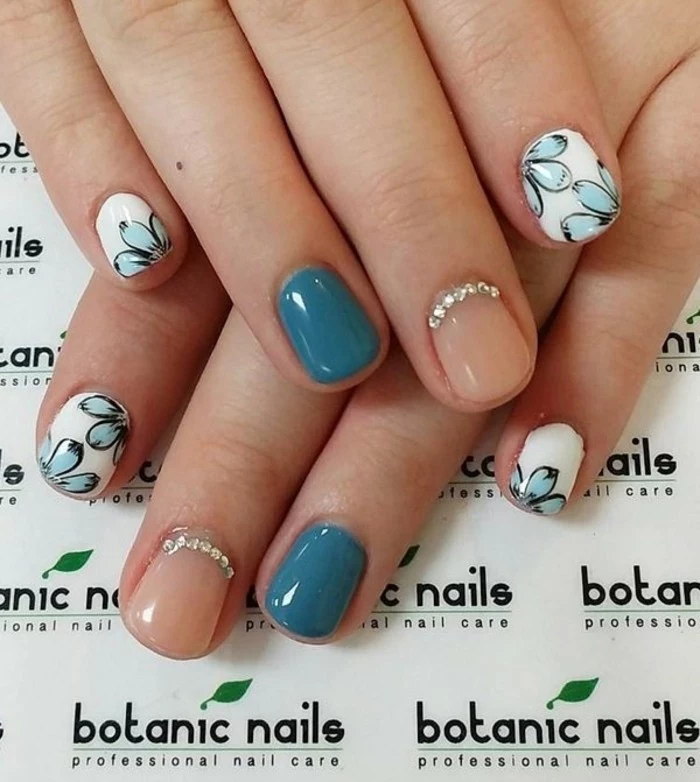
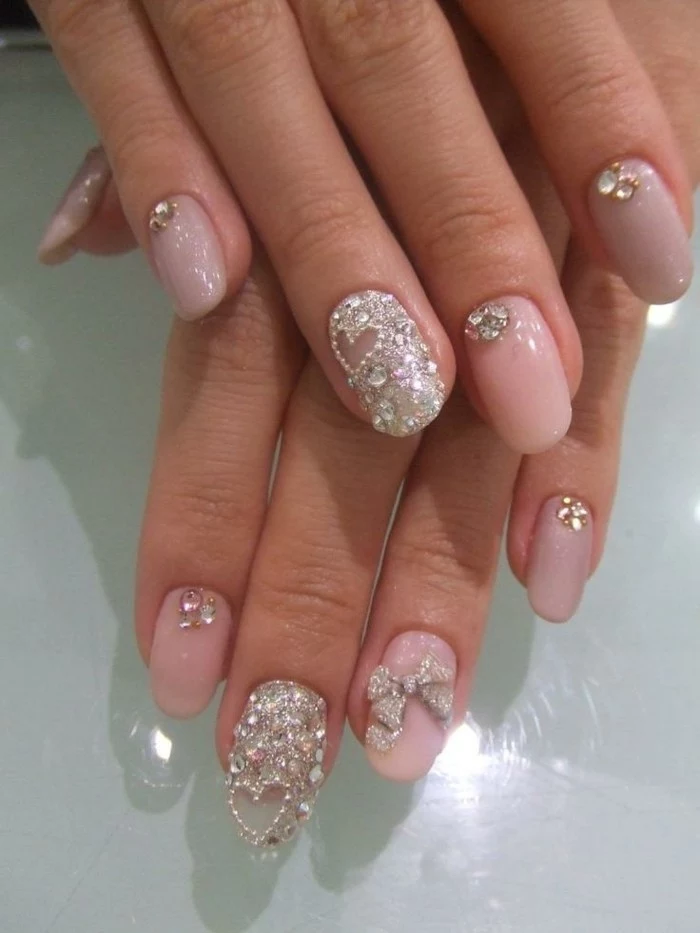
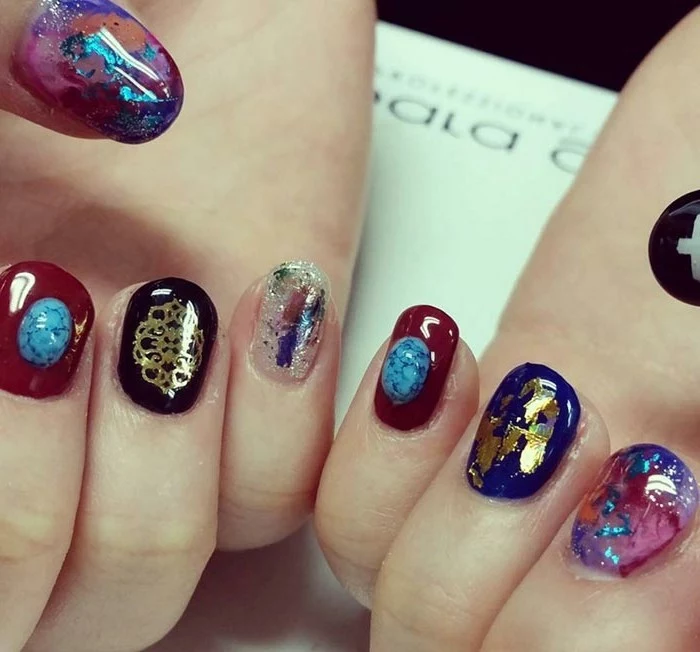
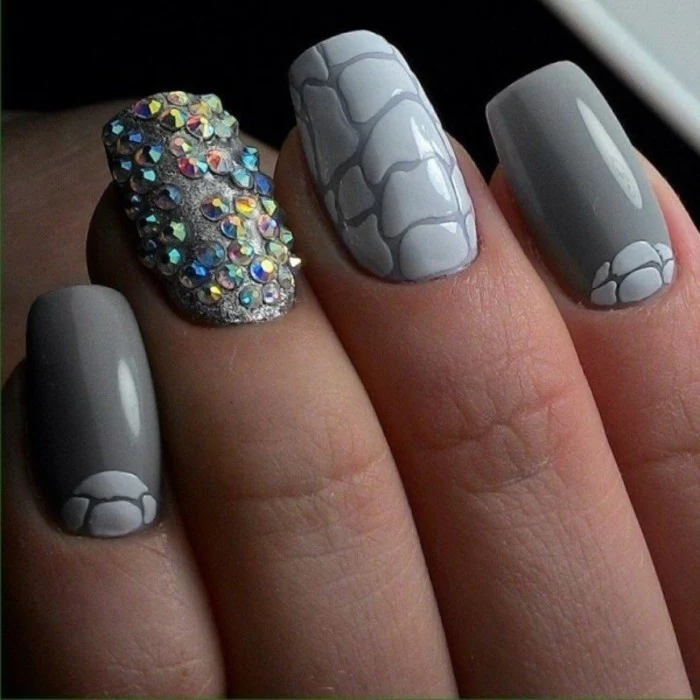
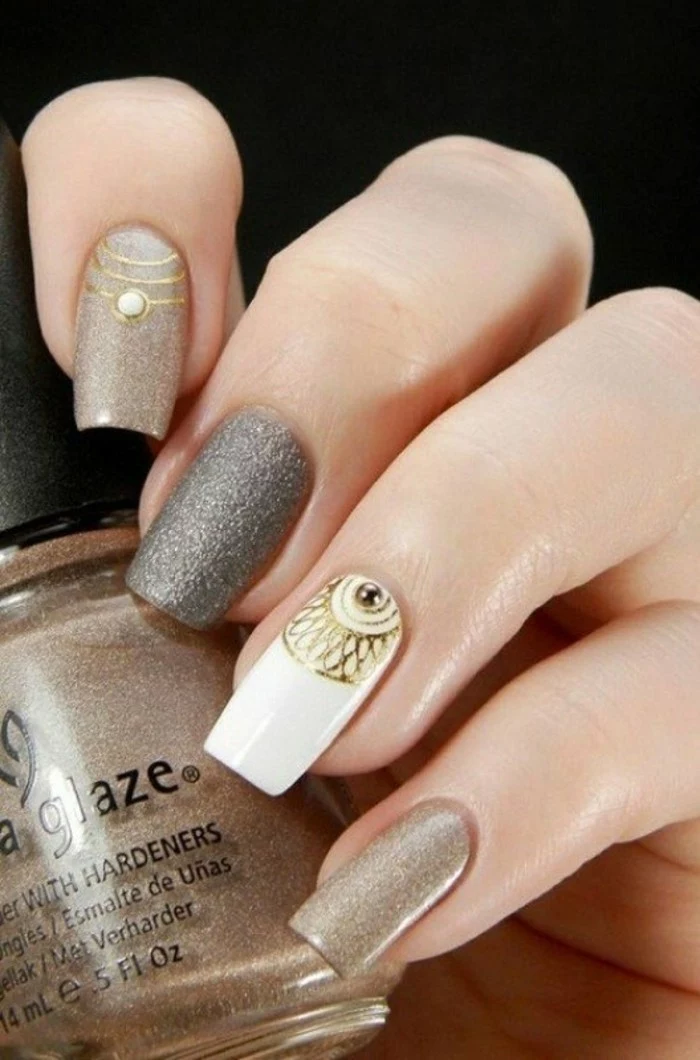
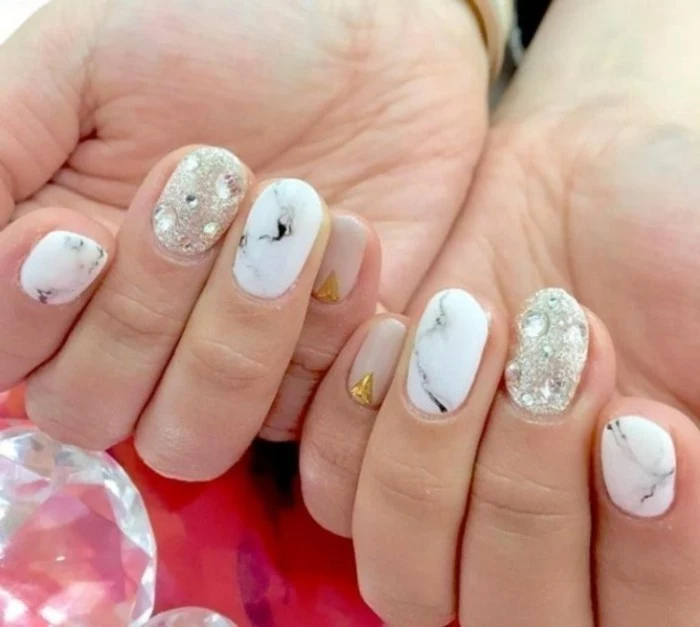
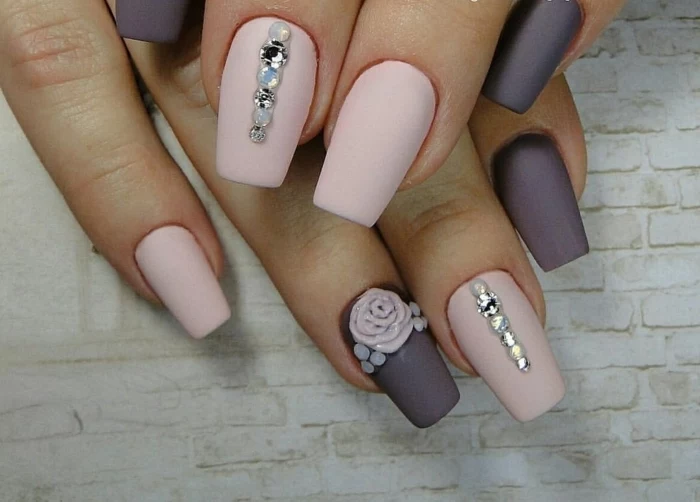
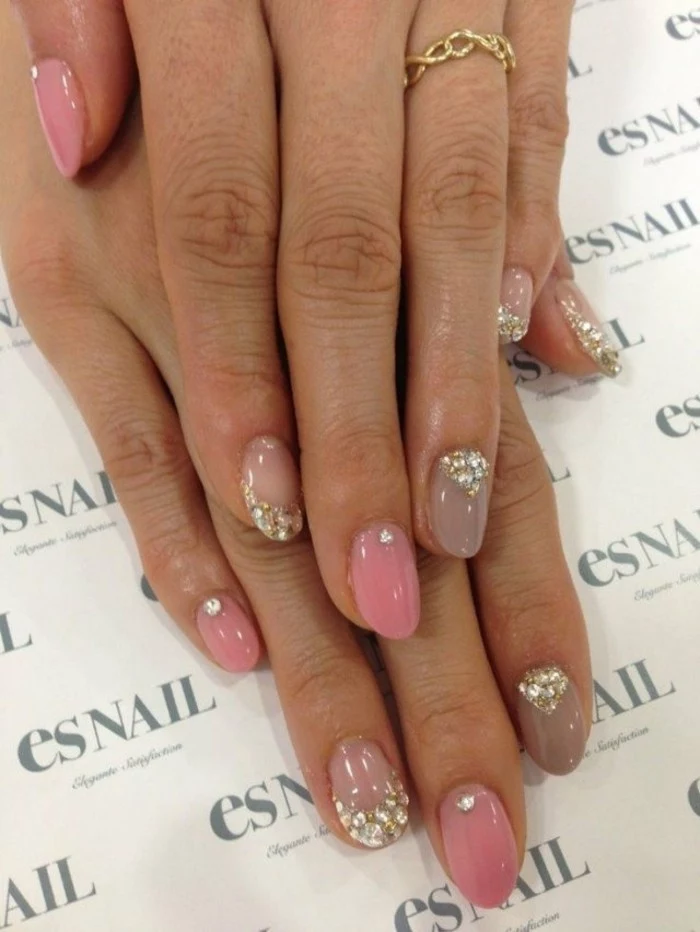
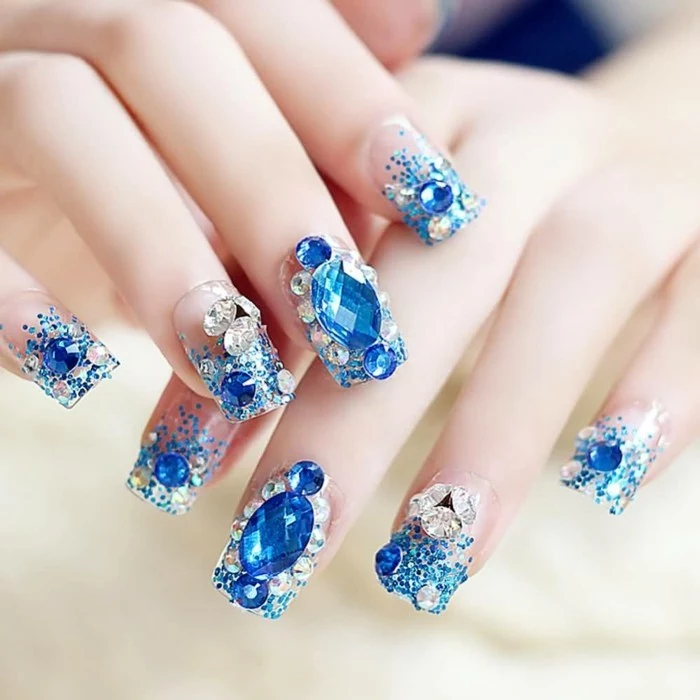
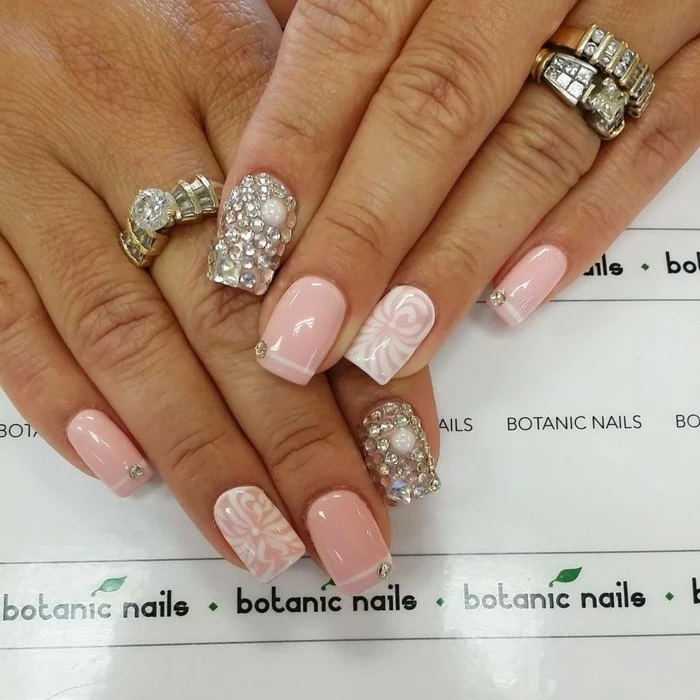
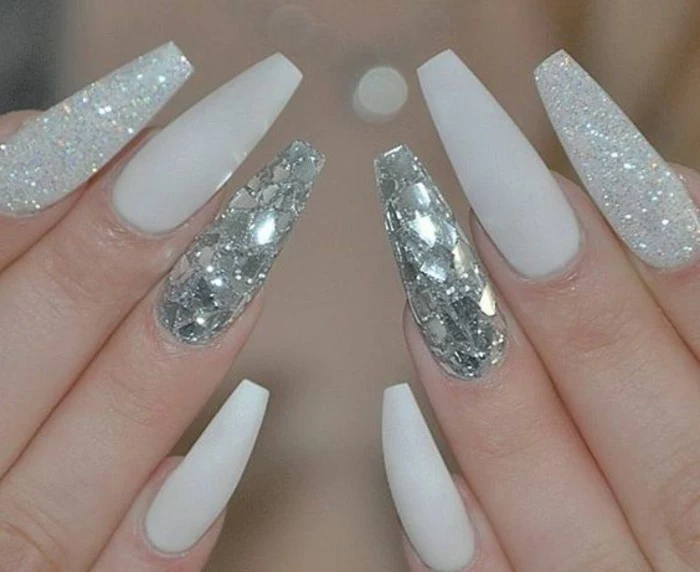
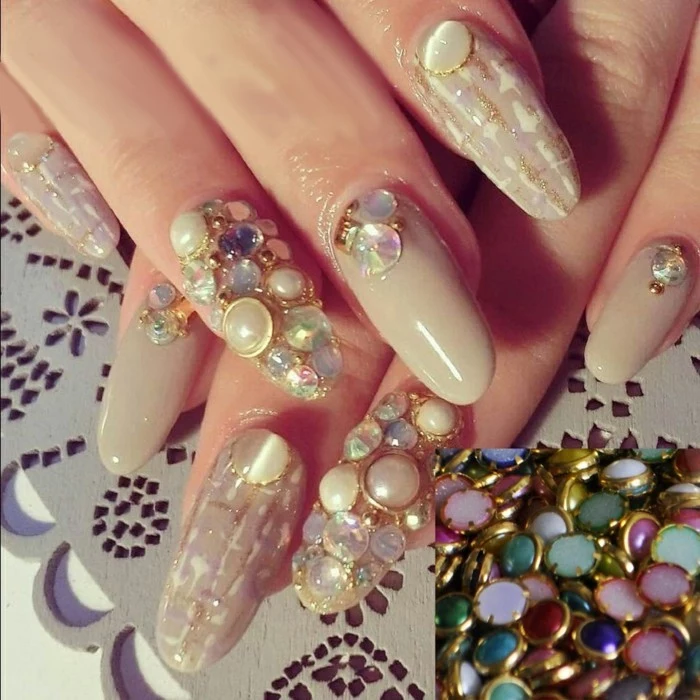
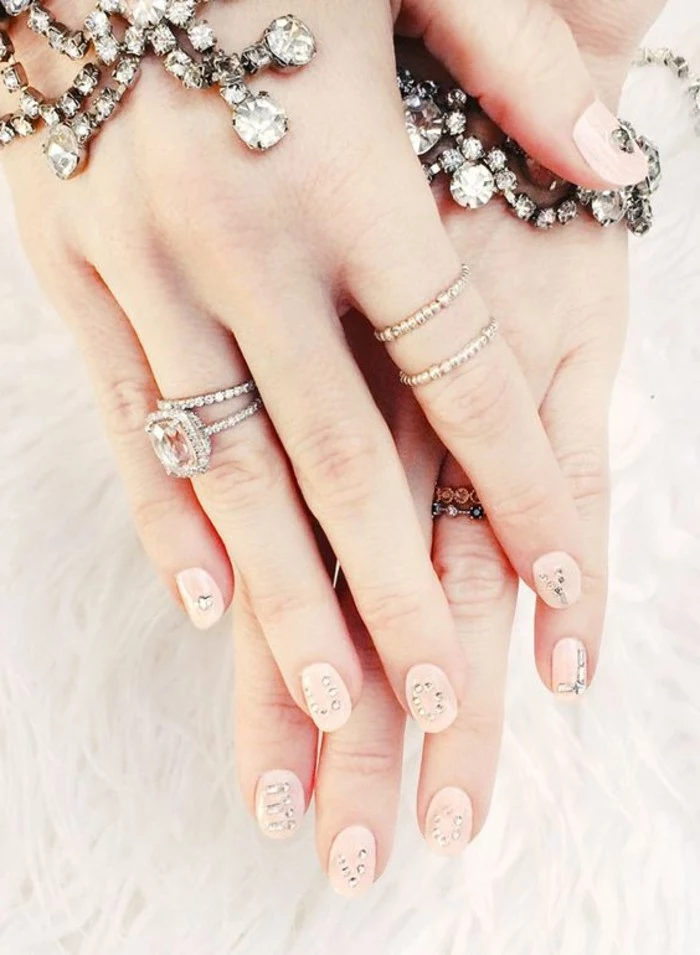
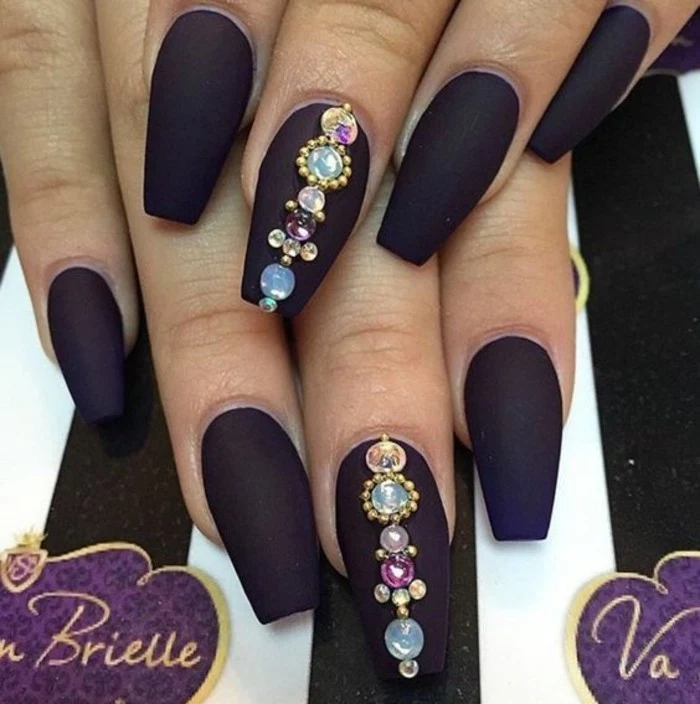
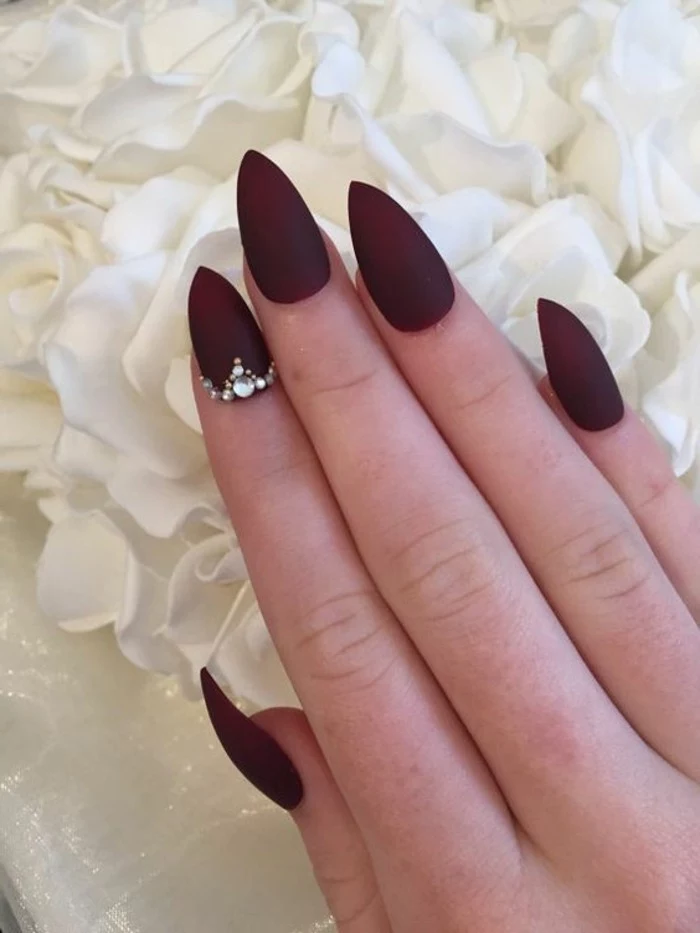
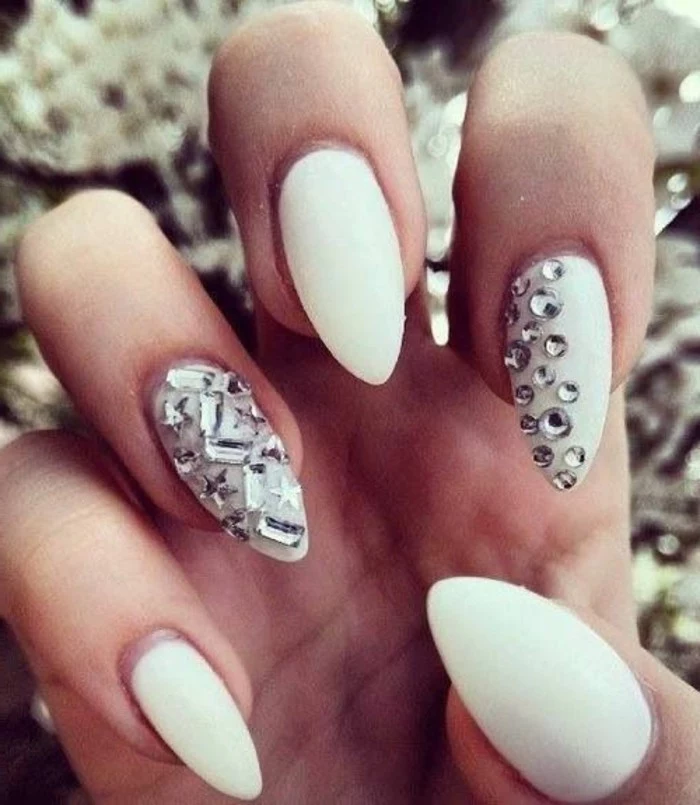
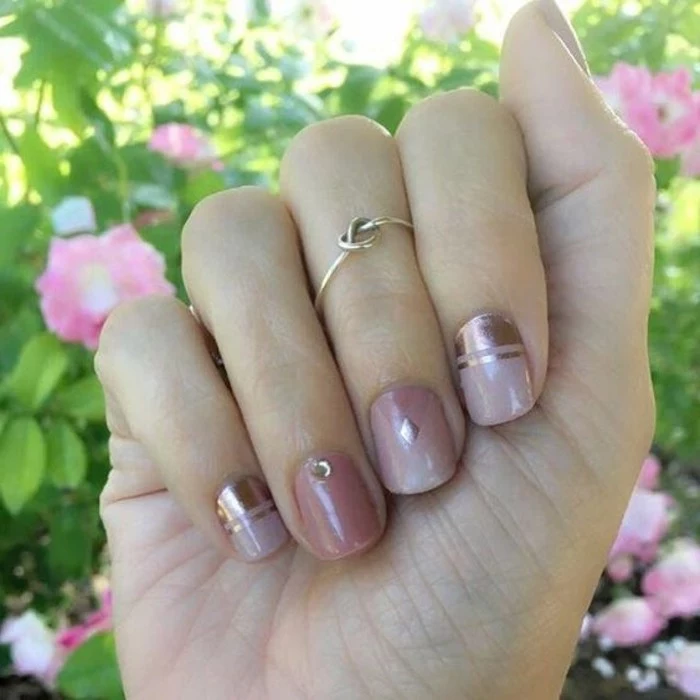
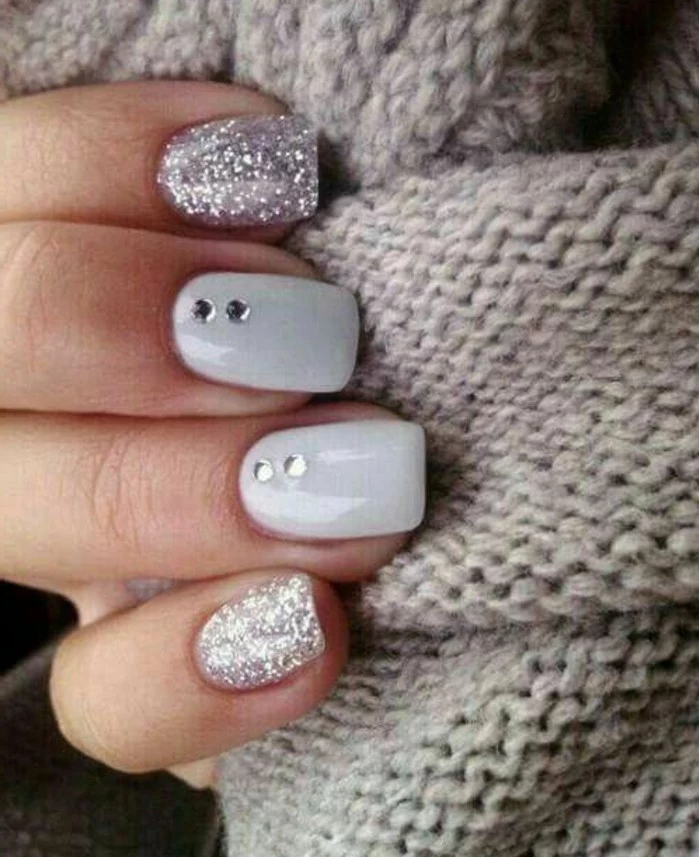
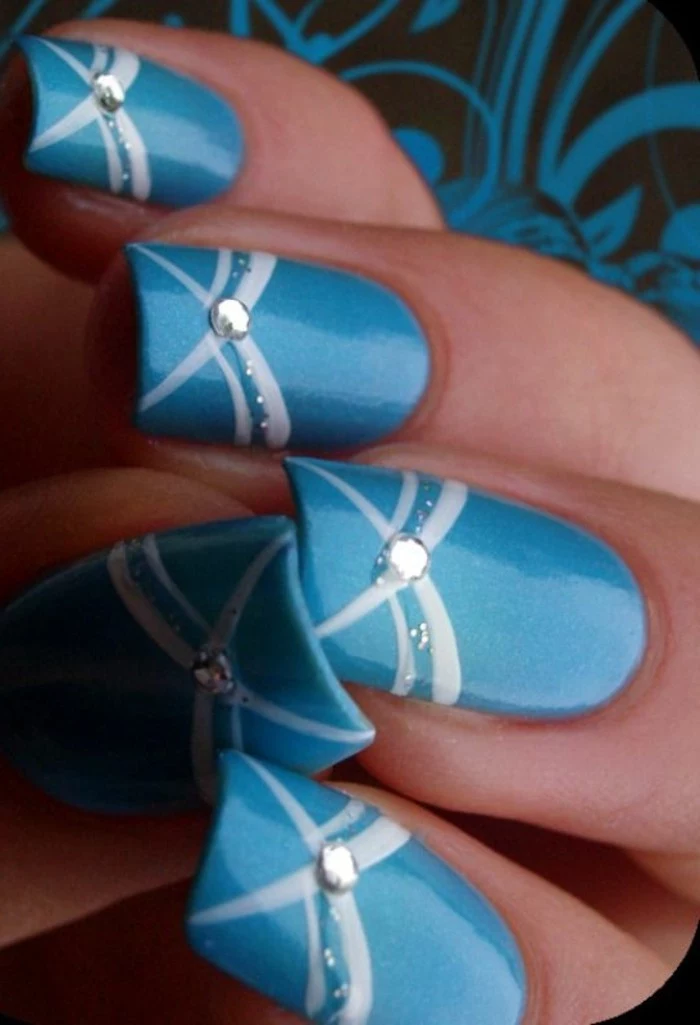
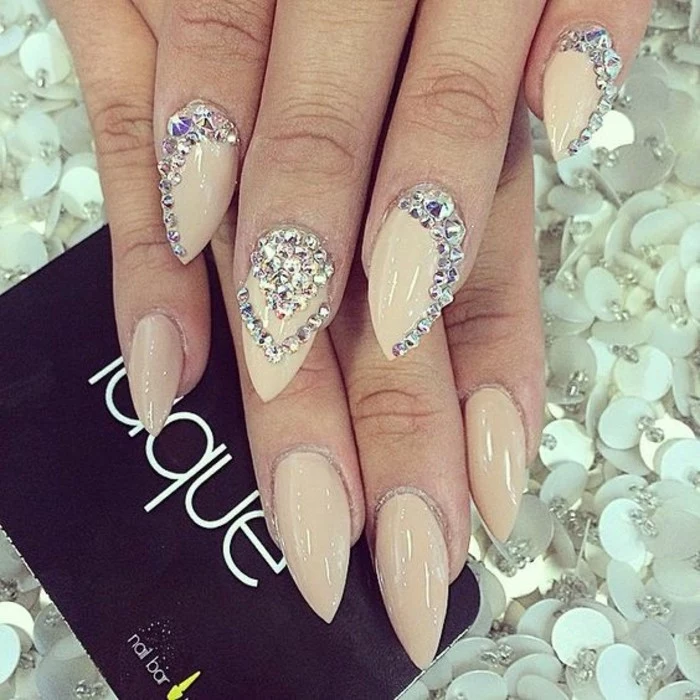
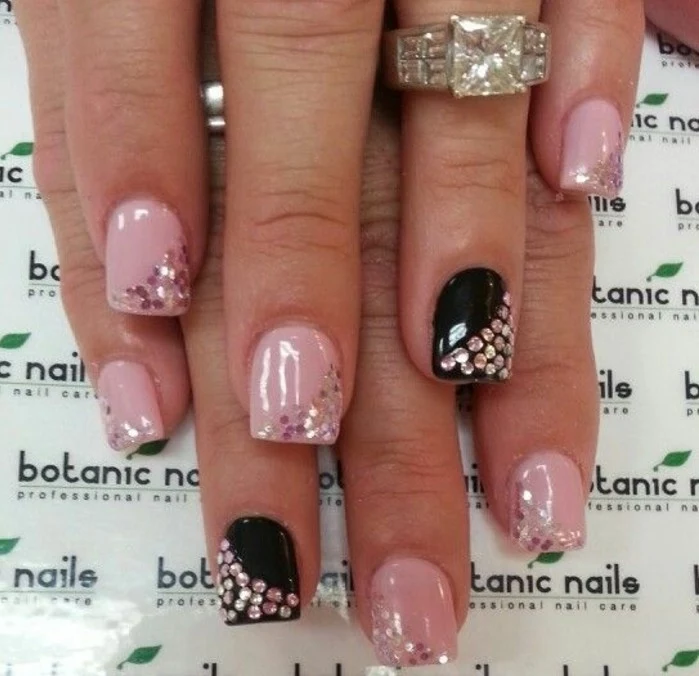
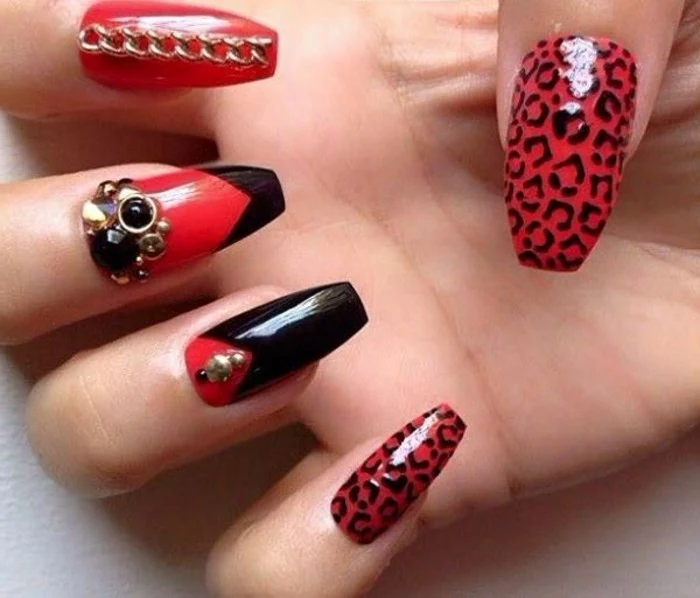
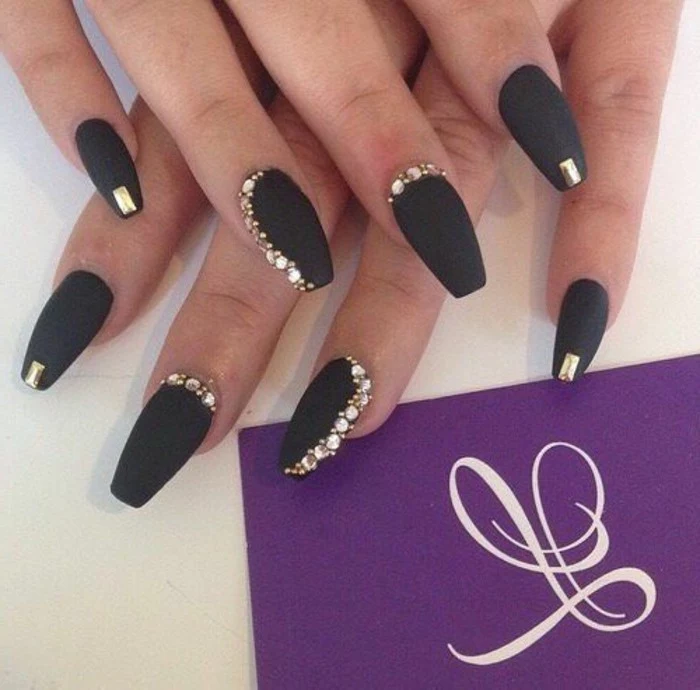
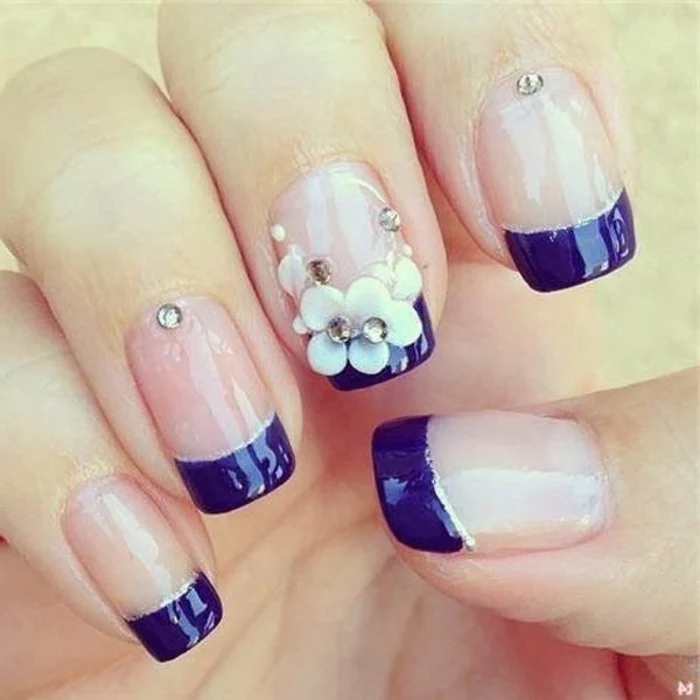
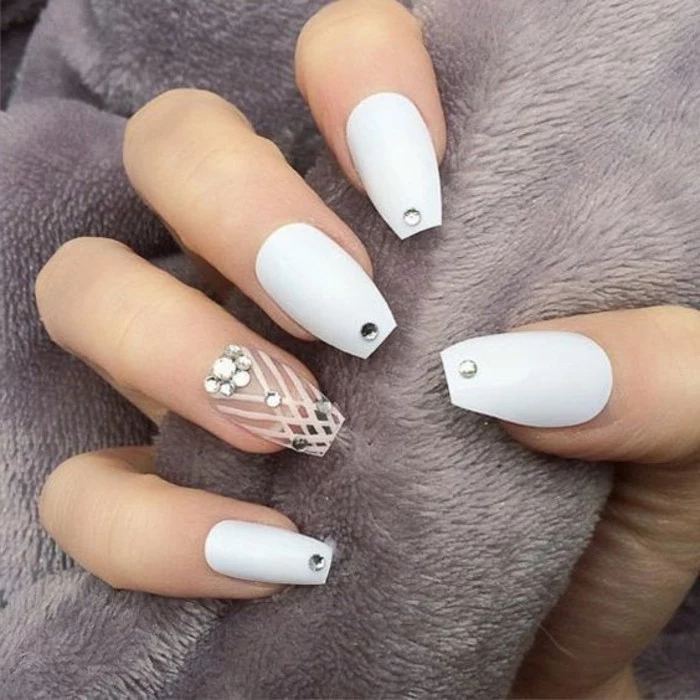
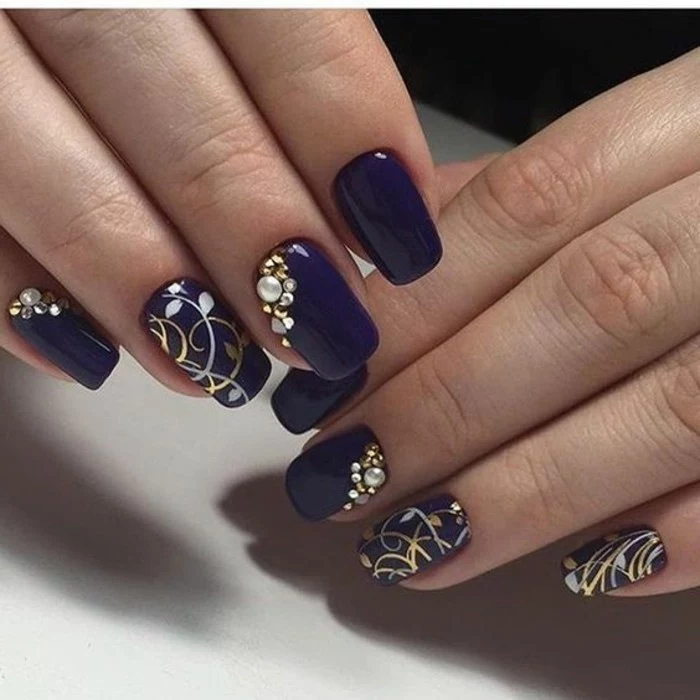
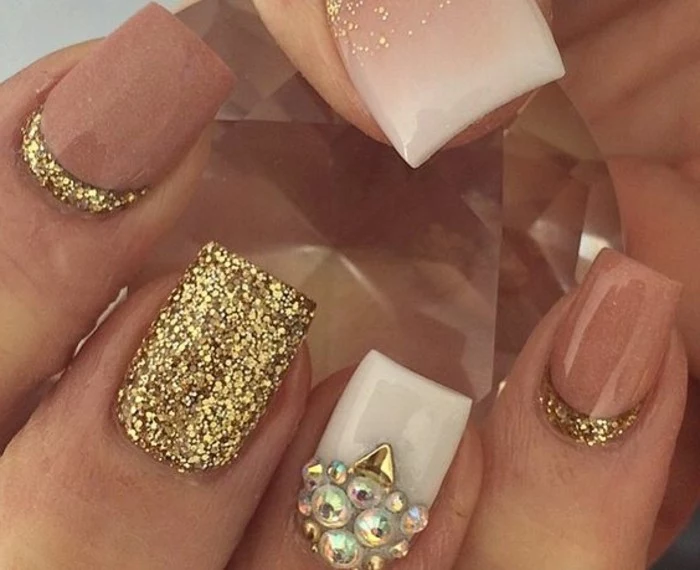
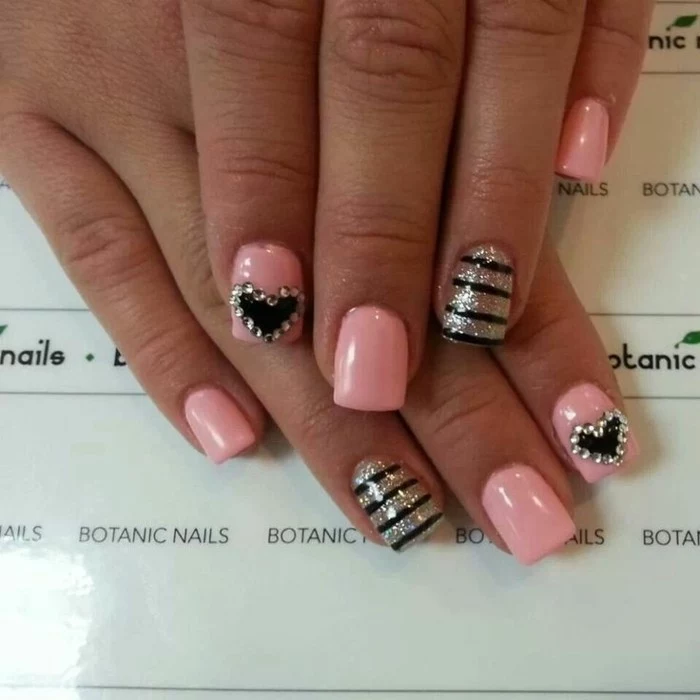
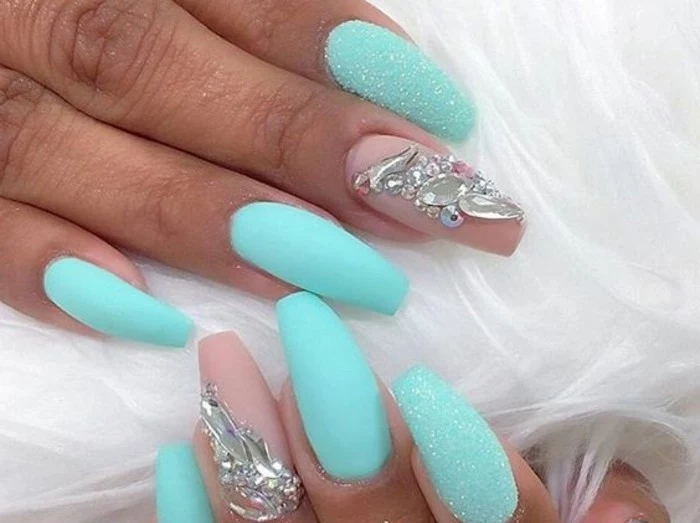
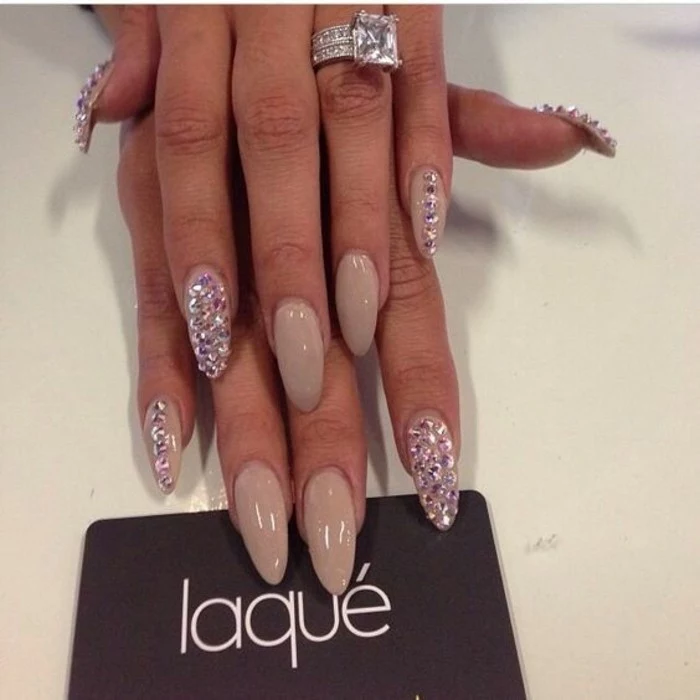
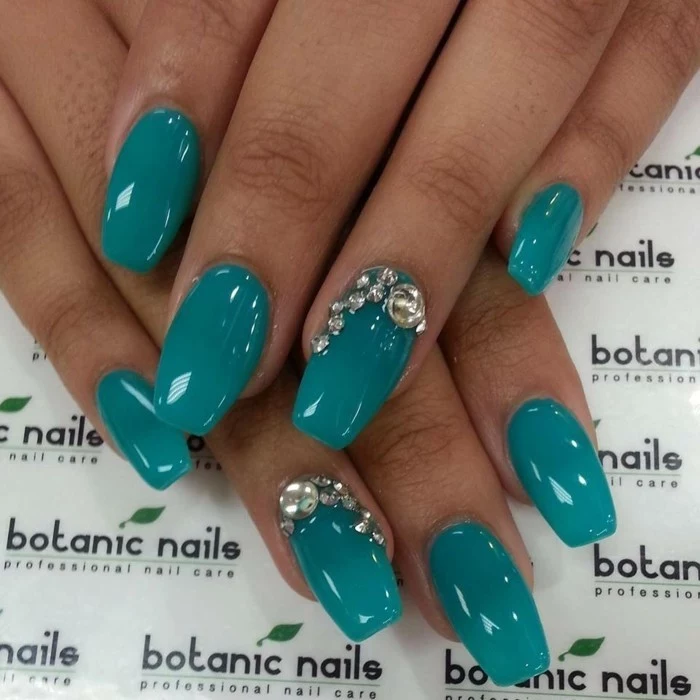
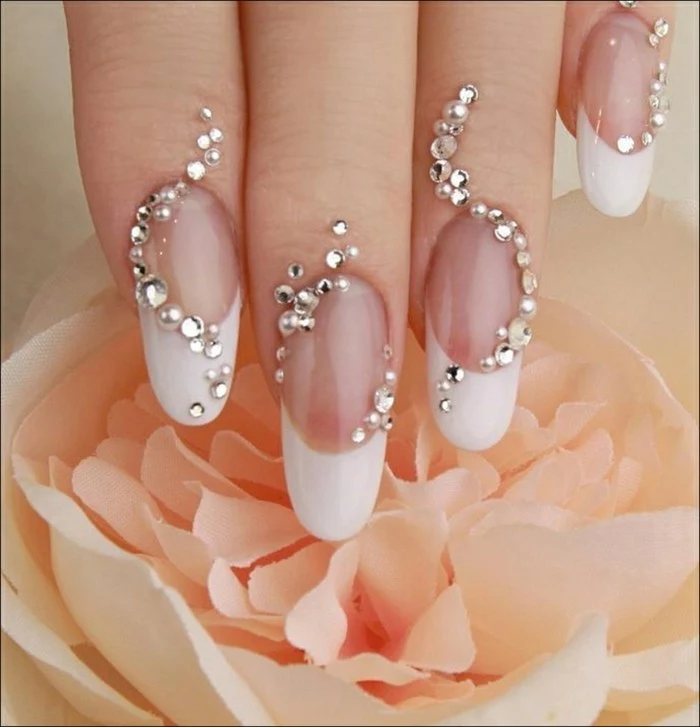
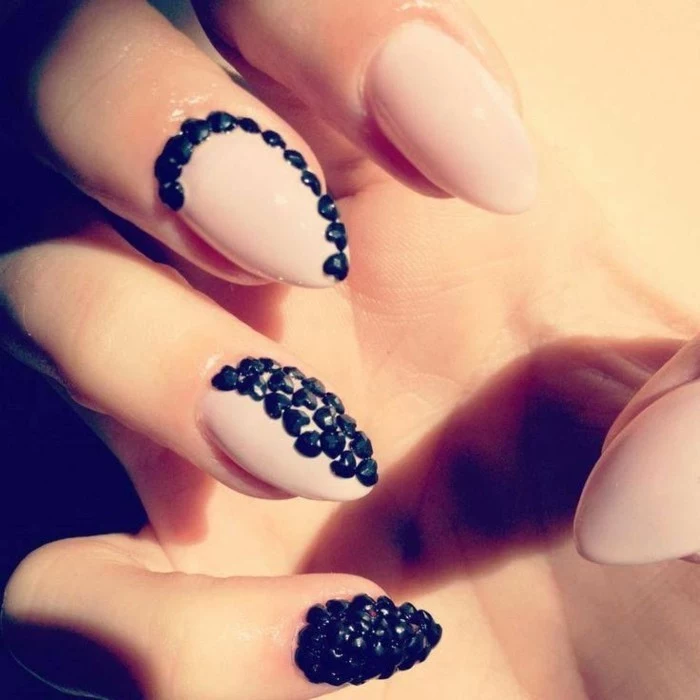
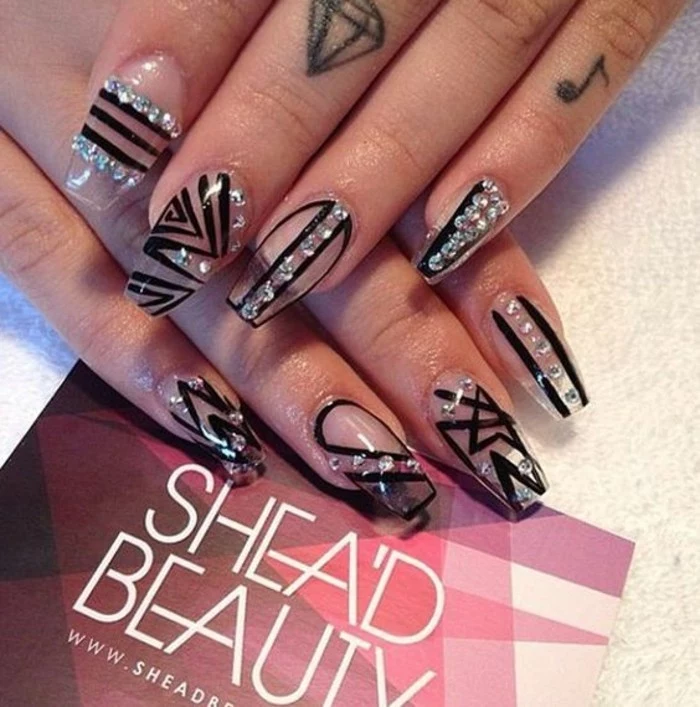
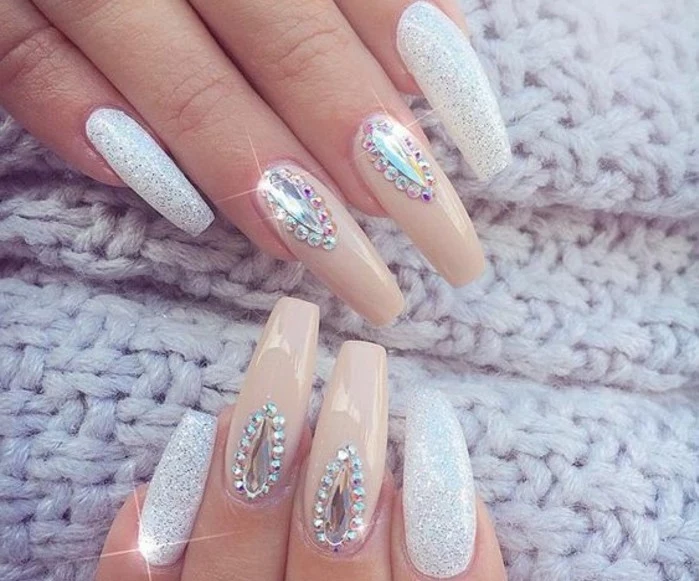
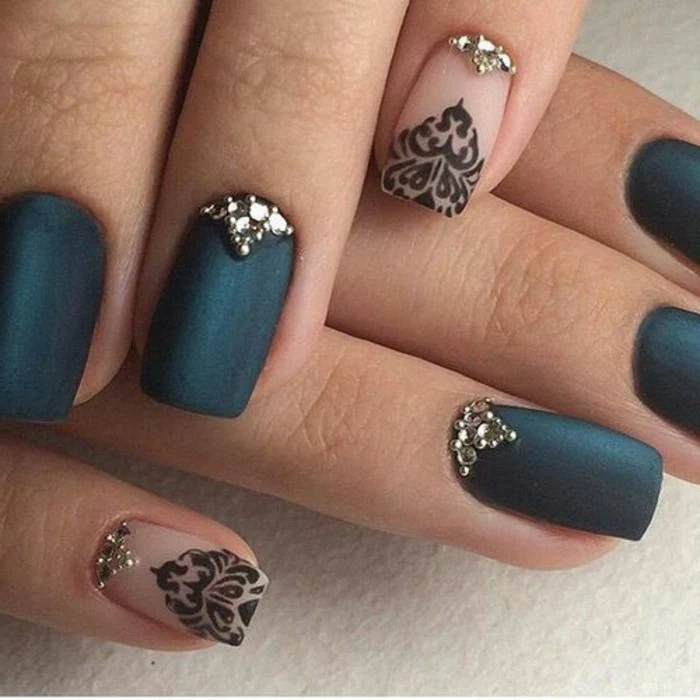
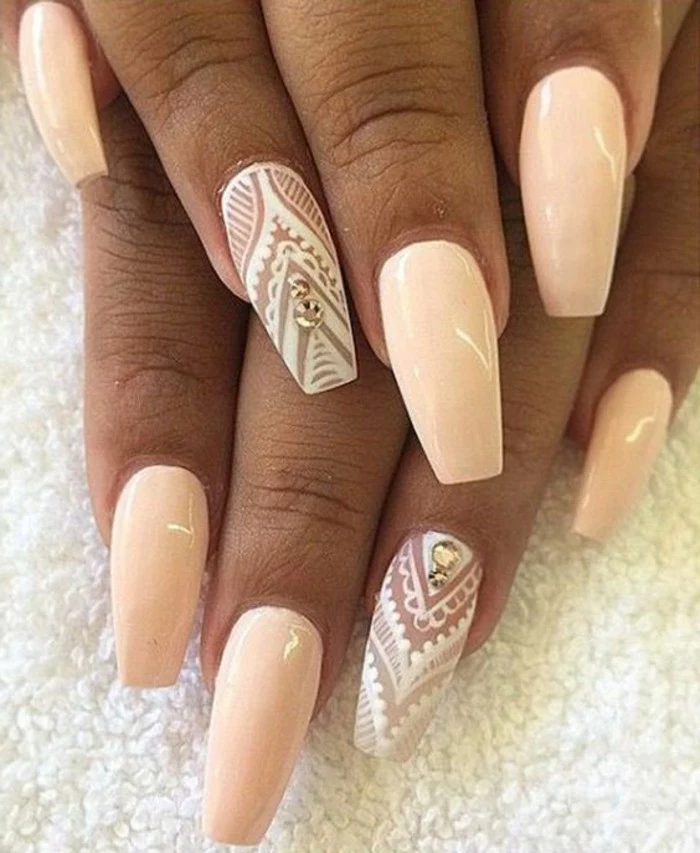
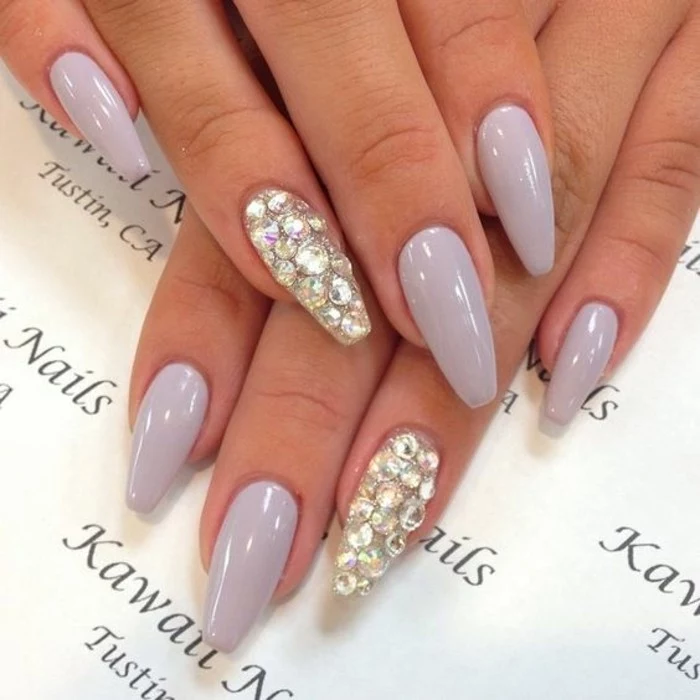
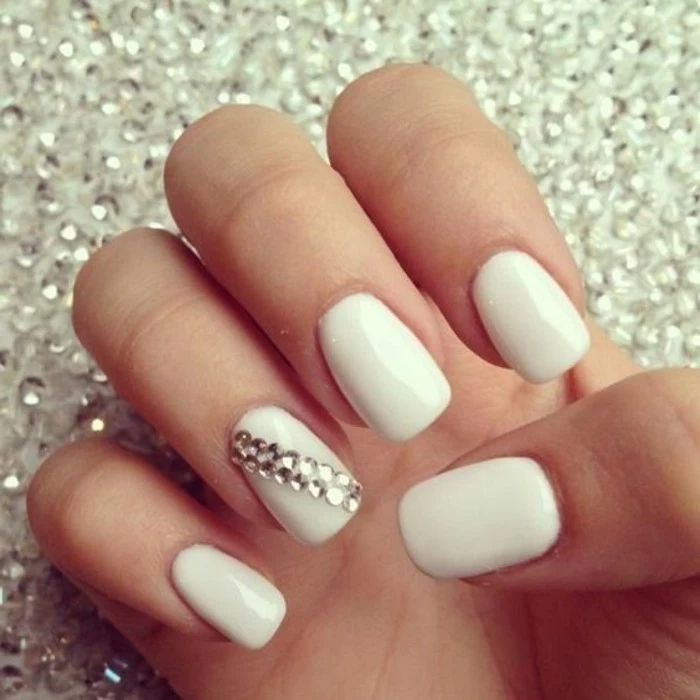
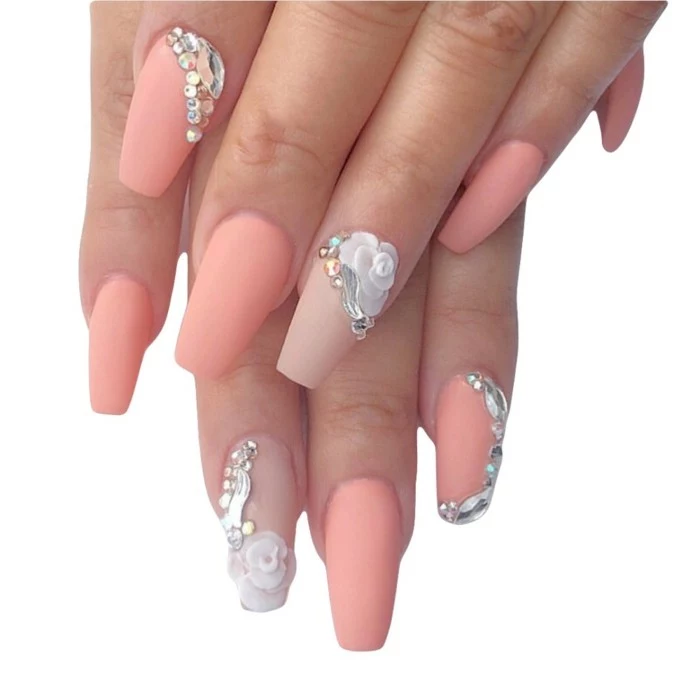
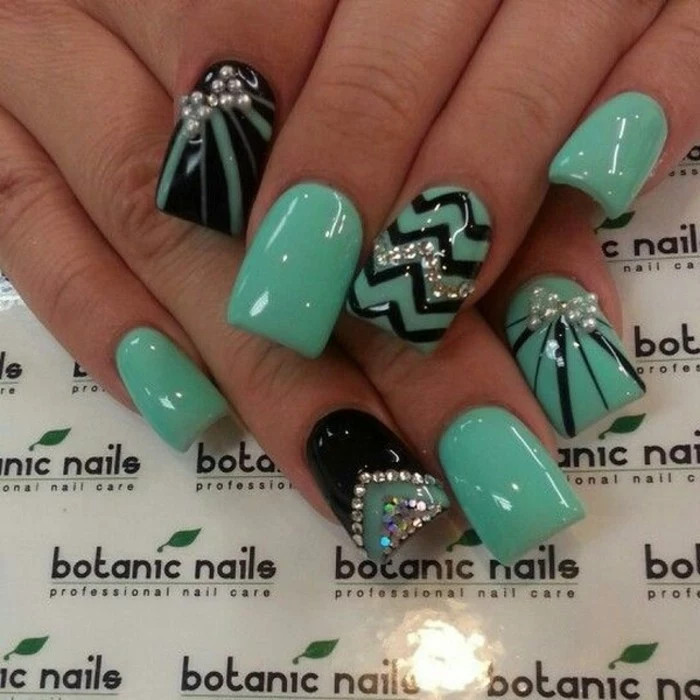
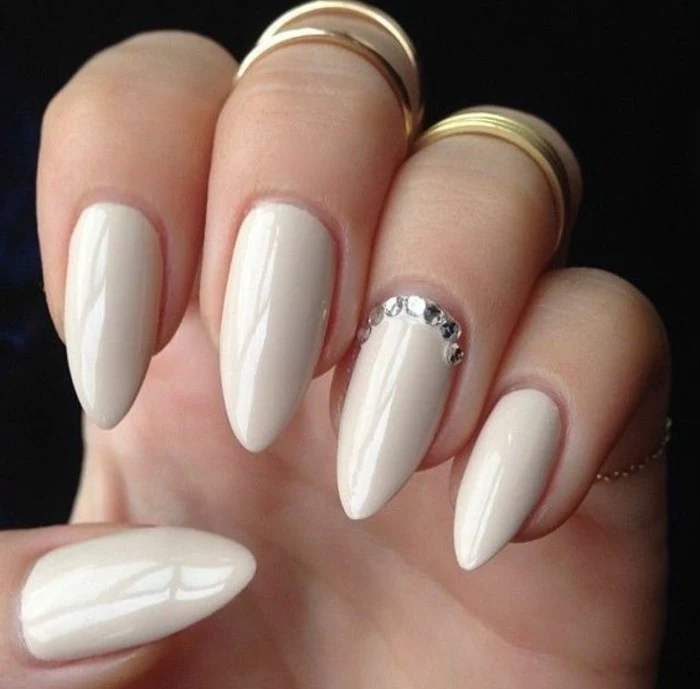
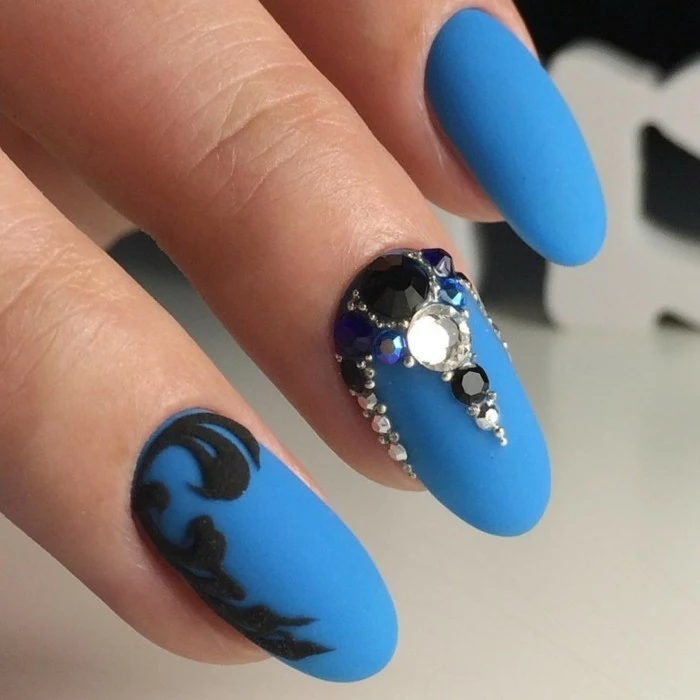
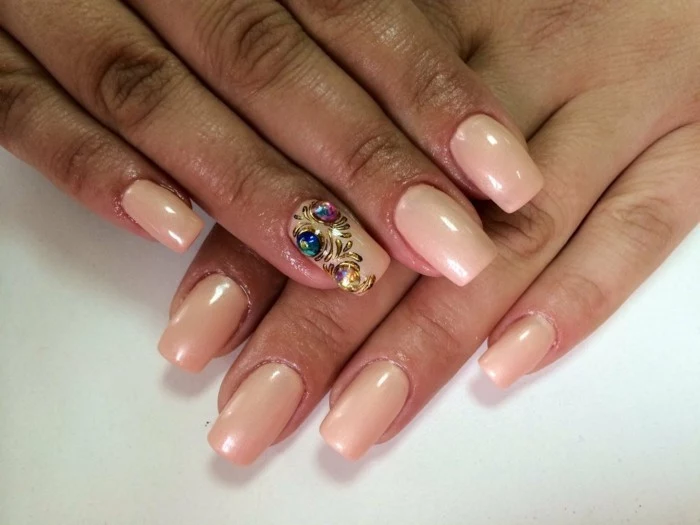
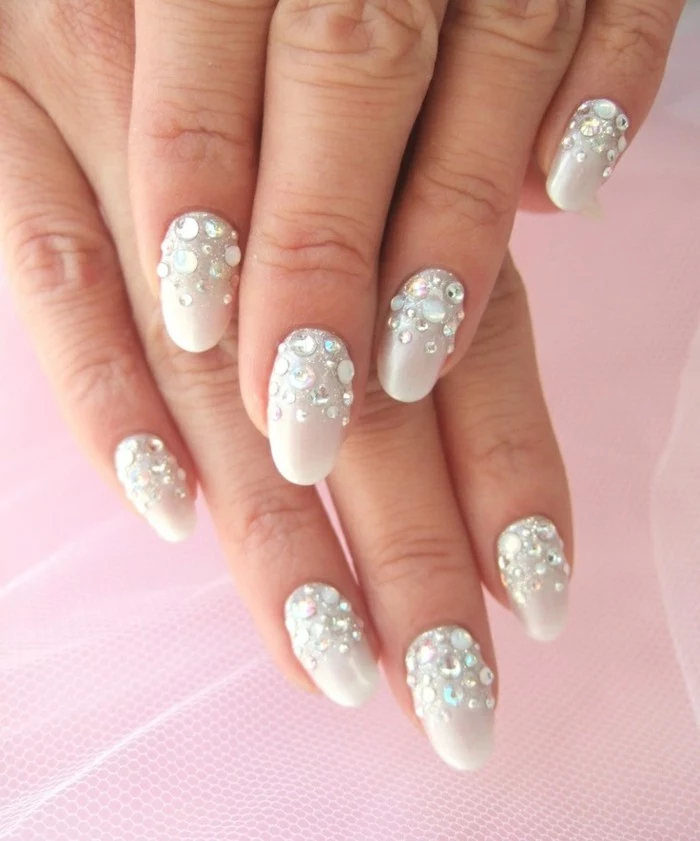
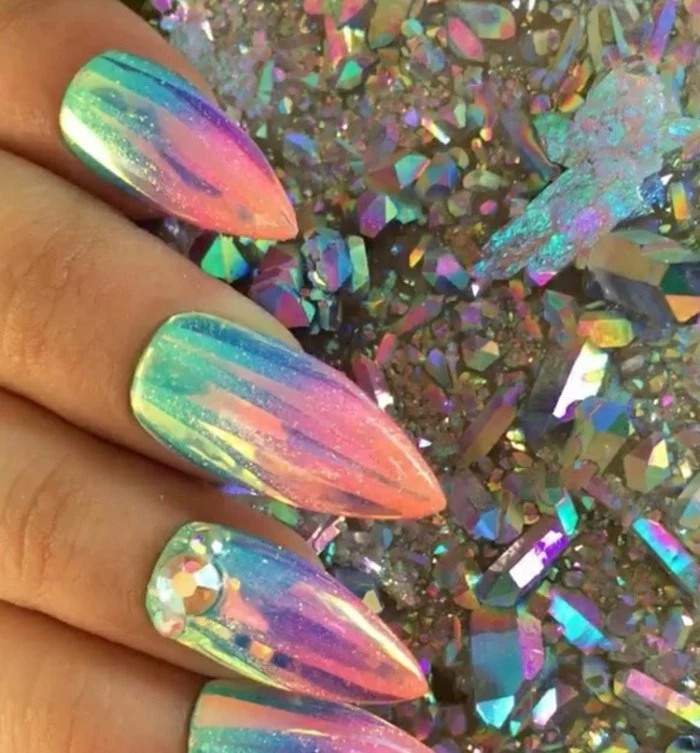
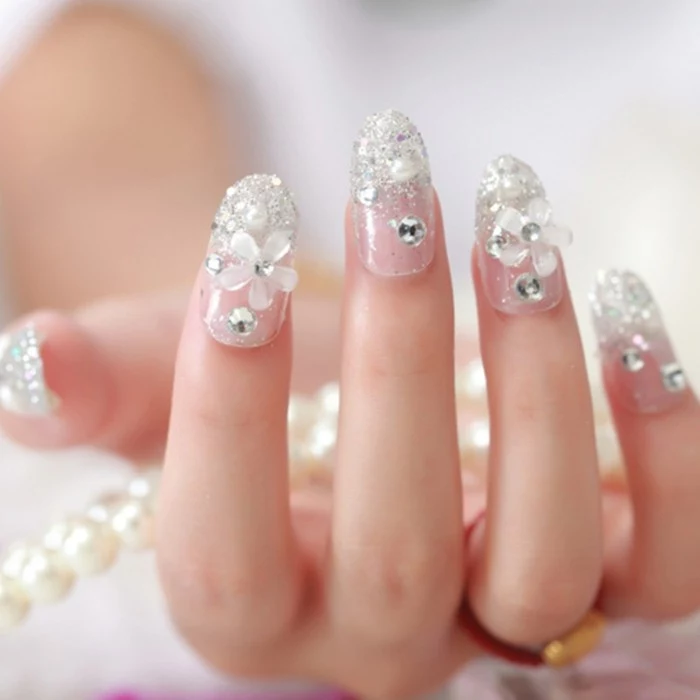
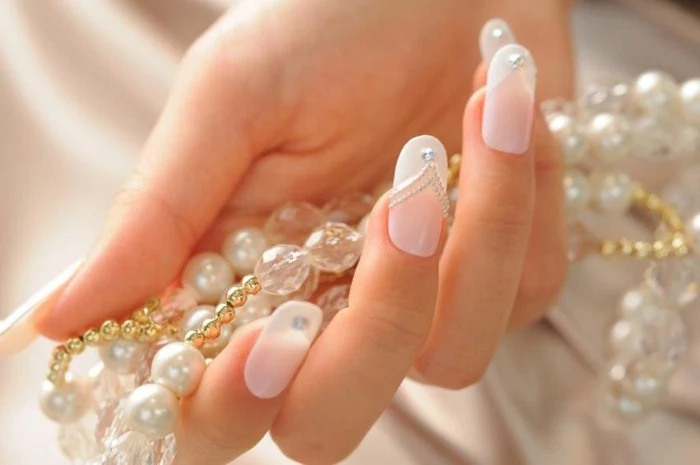
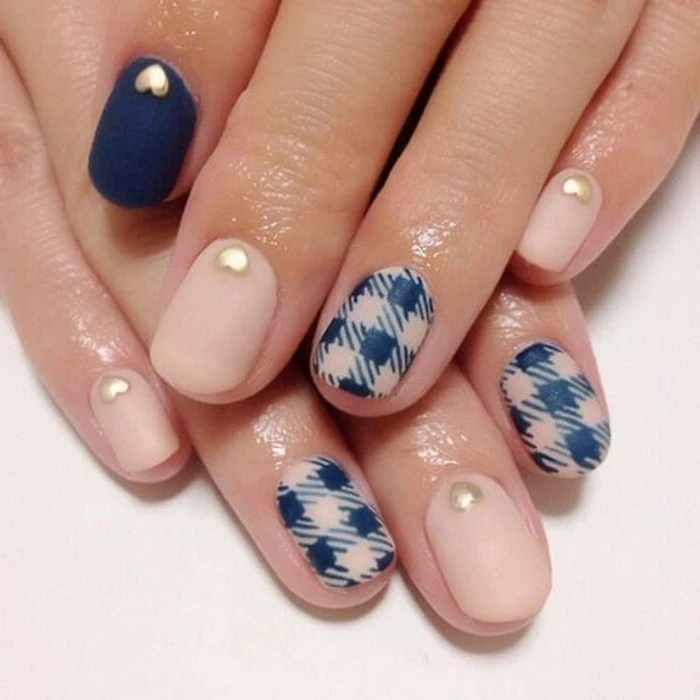
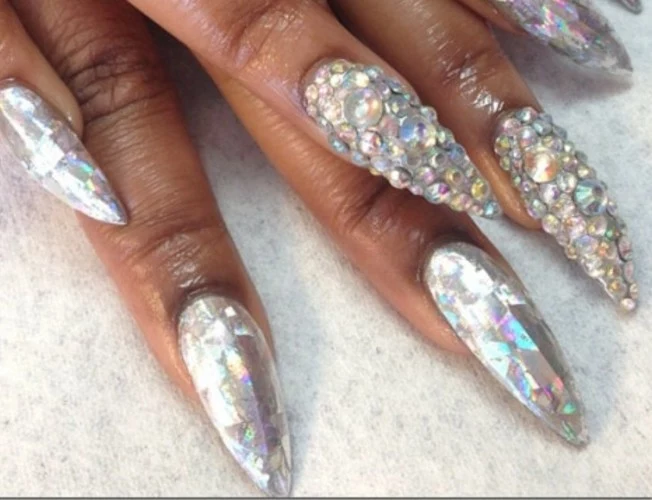
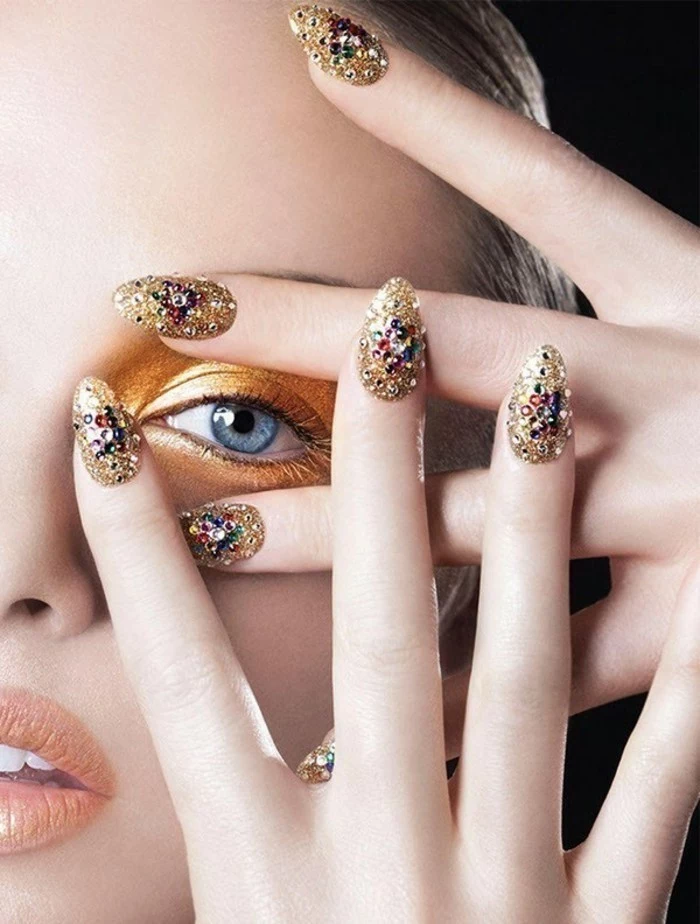
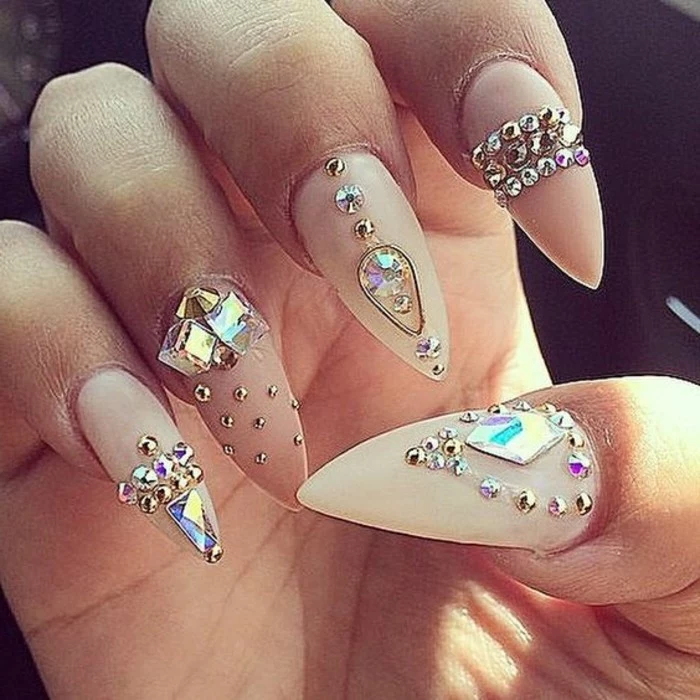
Inspiration Gallery

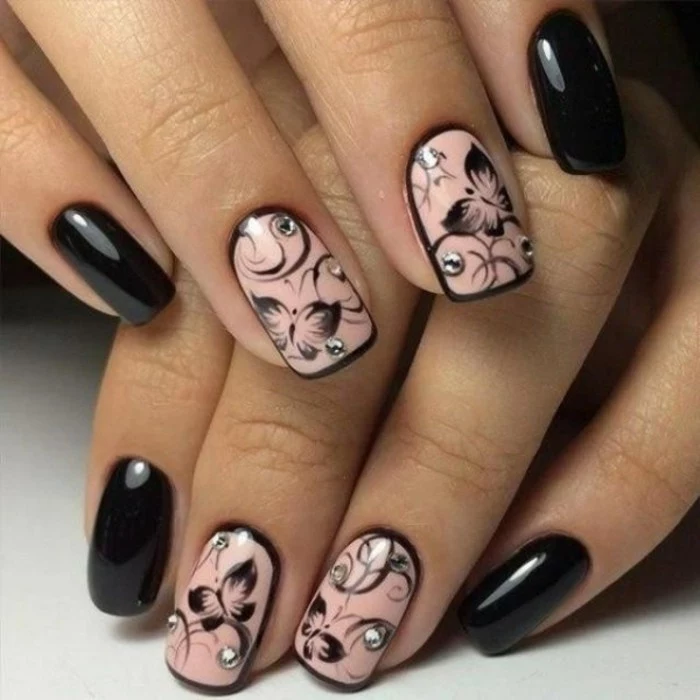
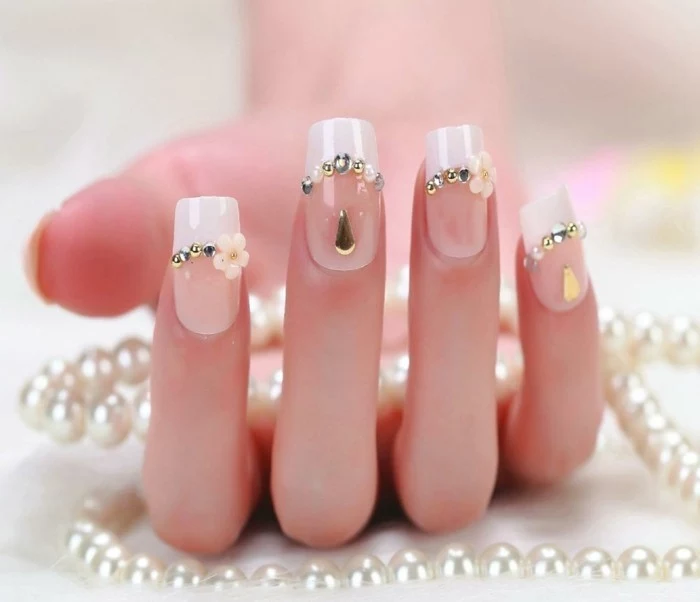
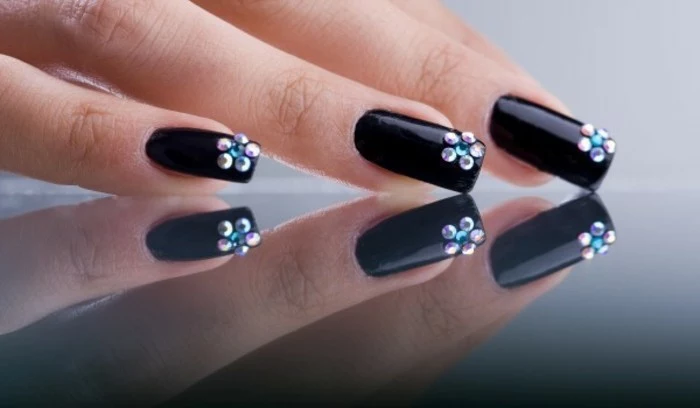
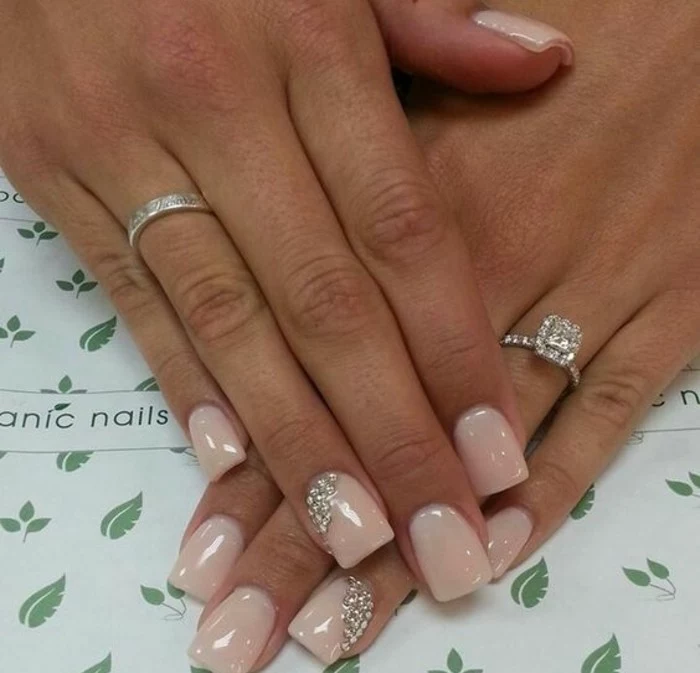
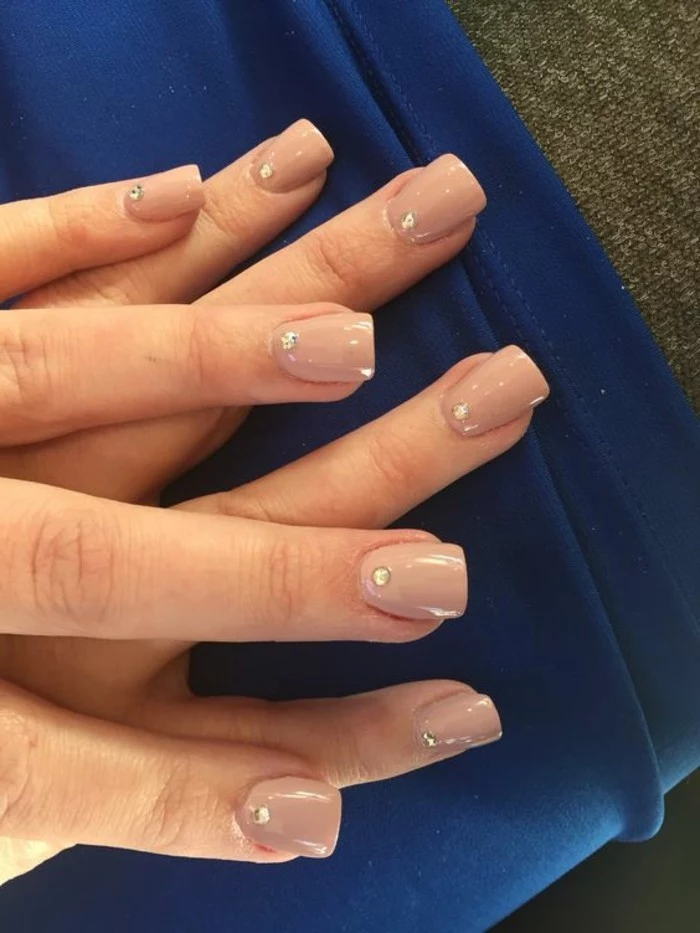
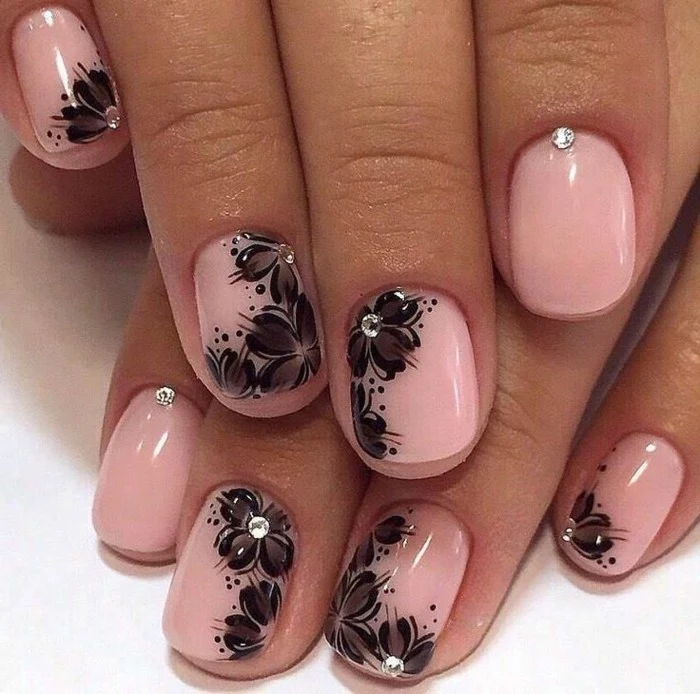
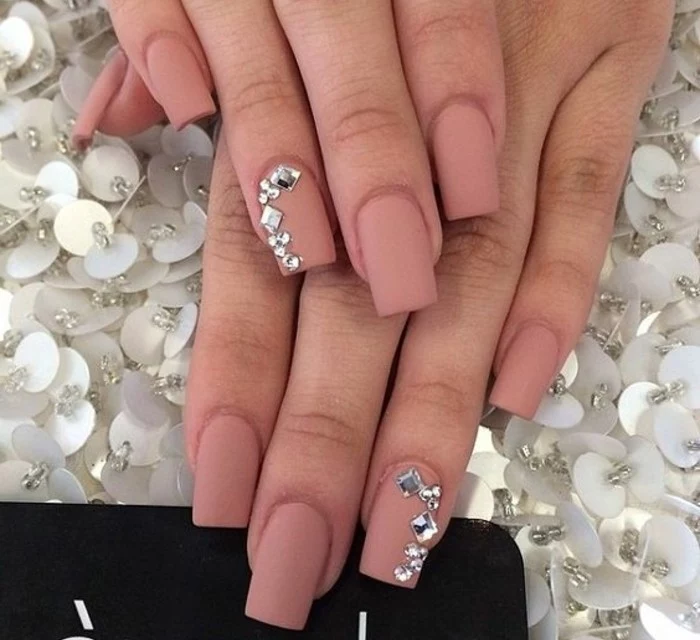
Beyond the classic accent nail, consider a ‘crystal cascade’ design. This involves placing a dense cluster of rhinestones near the cuticle, which then ‘scatters’ and becomes sparser towards the tip of the nail. It’s a dynamic, eye-catching look that adds a touch of modern glamour.
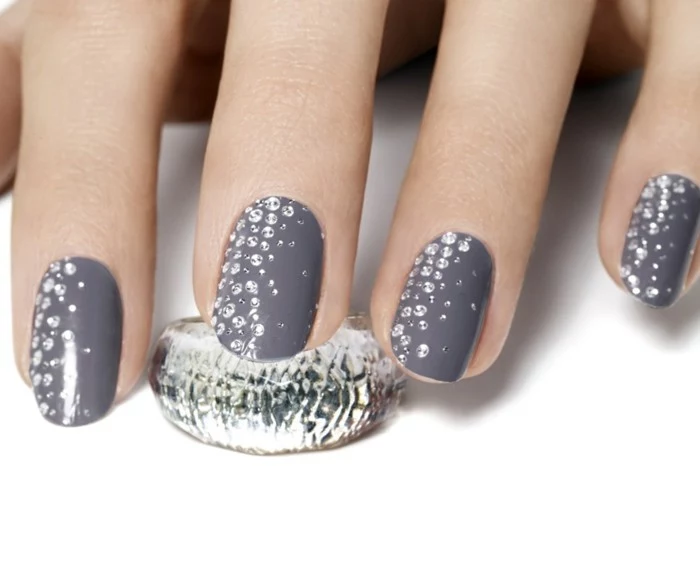
- A perfectly smooth, even line of crystals.
- A design that lasts weeks without a single stone snagging on your clothes.
The secret? After placing your stones in wet gel, use a fine liner brush dipped in the same gel to ‘tuck in’ the edges of each crystal, creating a tiny, secure bezel around its base before curing.

Why do my rhinestones look dull after I apply a top coat?
You’re likely painting over the top of them! This is the most common mistake. The facets of a crystal are what create its sparkle, and covering them with a top coat refracts the light differently, making them look like dull plastic bumps. Always use a fine detail brush to apply a no-wipe top coat just around the base of the stones, sealing them to the nail without covering their surface.
Swarovski crystals are not made from natural quartz but from a patented mix of quartz sand, potash, and other minerals heated to extreme temperatures. It’s this precise formula that gives them their renowned clarity and brilliance.
Gel Glue: A thick viscosity gel, like Beetles Rhinestone Glue, is applied before the stones. It won’t dry until cured under a UV/LED lamp, giving you unlimited time to perfect your placement.
Nail Art Glue: A cyanoacrylate-based glue (like super glue for nails) that air-dries quickly. It’s great for fast, individual stone applications but offers very little playtime.
For intricate designs, gel is the clear winner for its workability.
The most crucial step you might be skipping: After placing your gems, don’t go straight into a full cure. ‘Flash cure’ them for 10-15 seconds with a small, handheld LED light. This freezes them in place so they don’t shift while you work on other nails or before the final top coat and full cure.
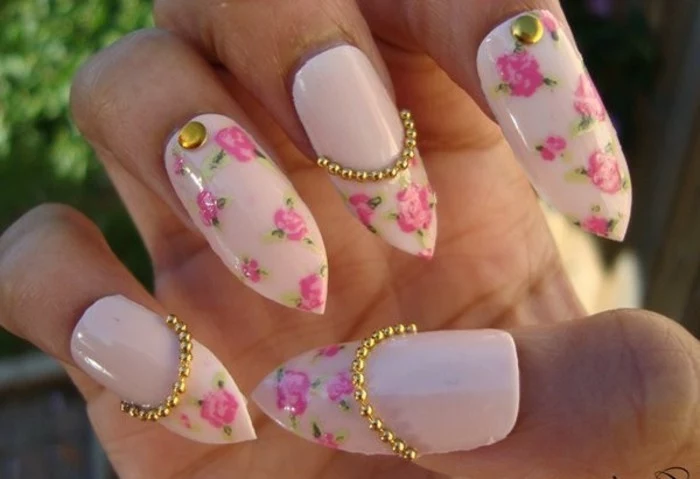
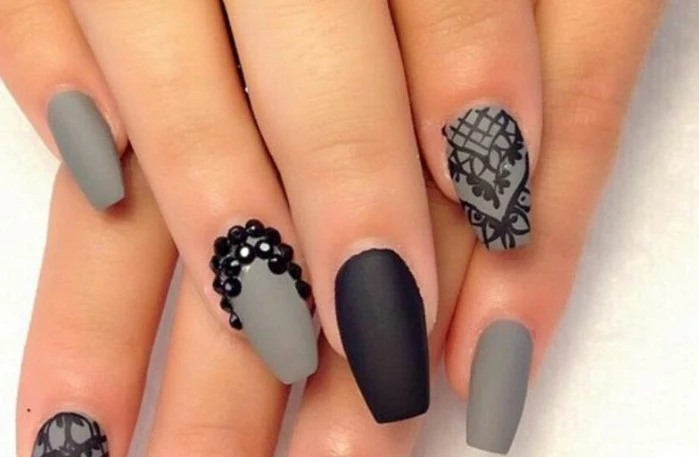
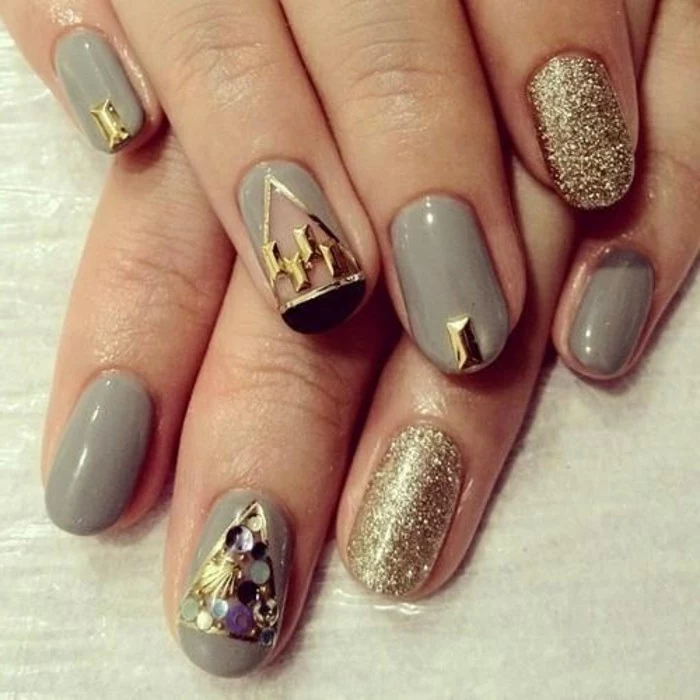
For a truly professional finish, think about the flow of your design across all ten nails. Here are a few ideas beyond the single accent finger:
- The Bookend: Decorate the thumb and pinky nails, leaving the three middle fingers simpler.
- The Wave: Create a gentle S-curve of tiny stones that flows from one side of the pinky nail across to the other side of the index finger nail.
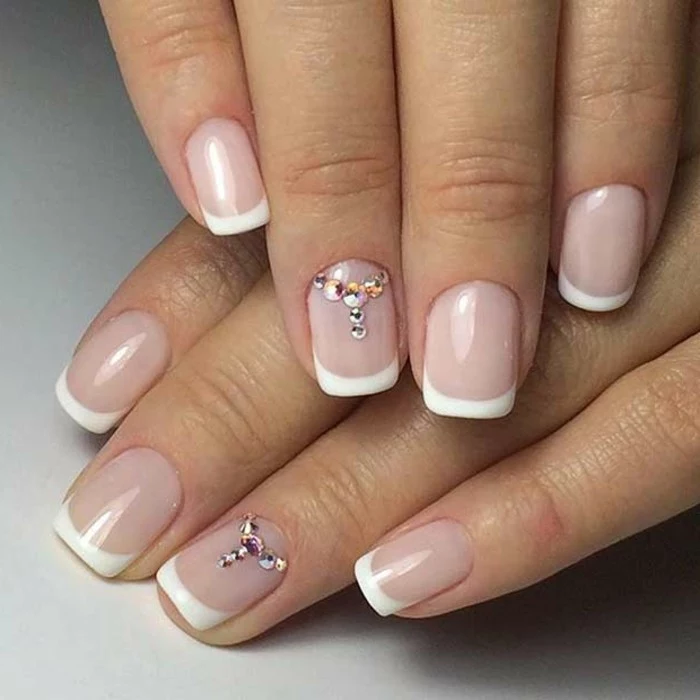
- The Reverse French: Place a delicate line of micro-crystals along the cuticle line for a subtle, sophisticated sparkle.
The global nail care market was valued at over $23 billion in 2023 and continues to grow.
This massive market means more innovation and accessibility than ever before. Products once exclusive to high-end salons, like high-clarity glass crystals, professional-grade gel glues, and specialized application tools, are now readily available to at-home enthusiasts online and in beauty supply stores.

How do I safely remove rhinestones applied with gel glue?
Don’t pry or pick them off, as this will damage your natural nail. The safest method is to use a coarse grit file or an e-file with a gentle bit to file down the stone and the gel holding it in place. Once the bulk is removed, you can soak off the remaining gel polish as you normally would with acetone.
Create your own custom bling mixes! Instead of using just one size or color, buy a few different multi-size wheels of rhinestones in a complementary color palette. Mix them in a small dish with some iridescent mylar flakes or tiny metallic microbeads. This creates a unique, multi-dimensional texture that looks incredibly luxurious and custom-made.
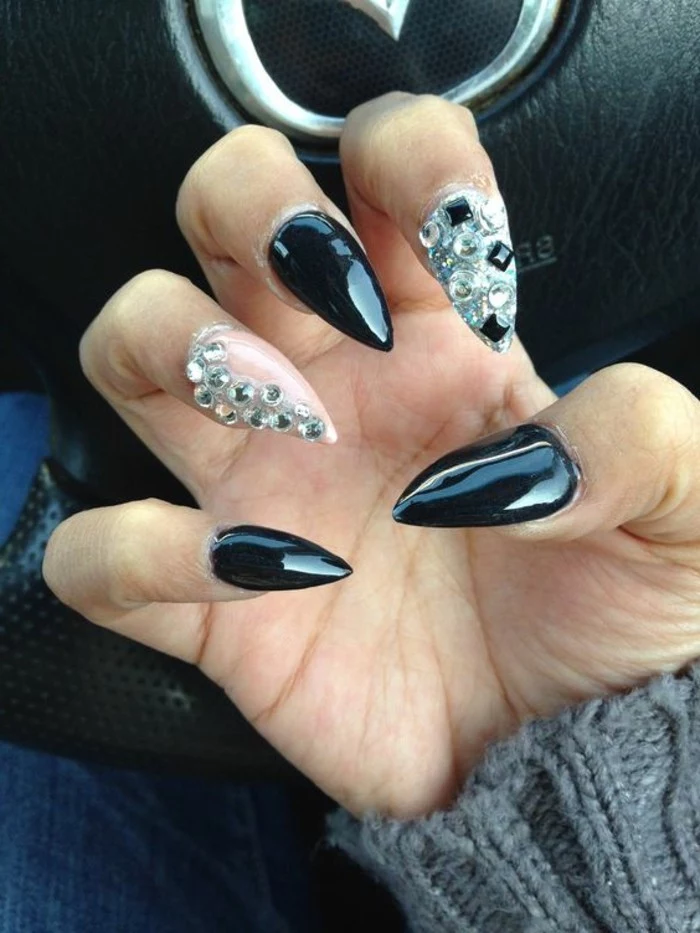
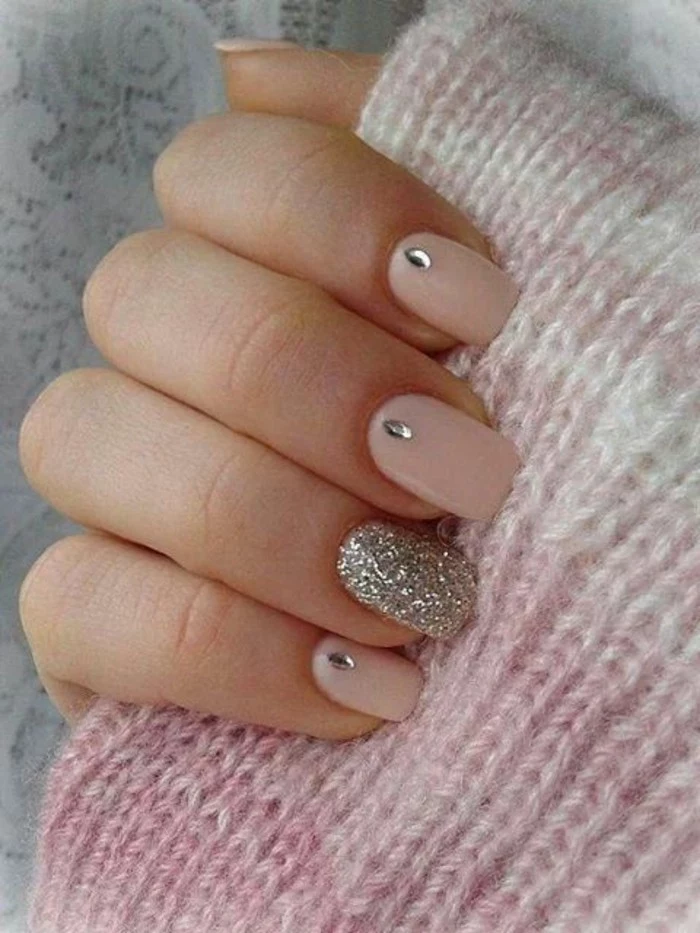
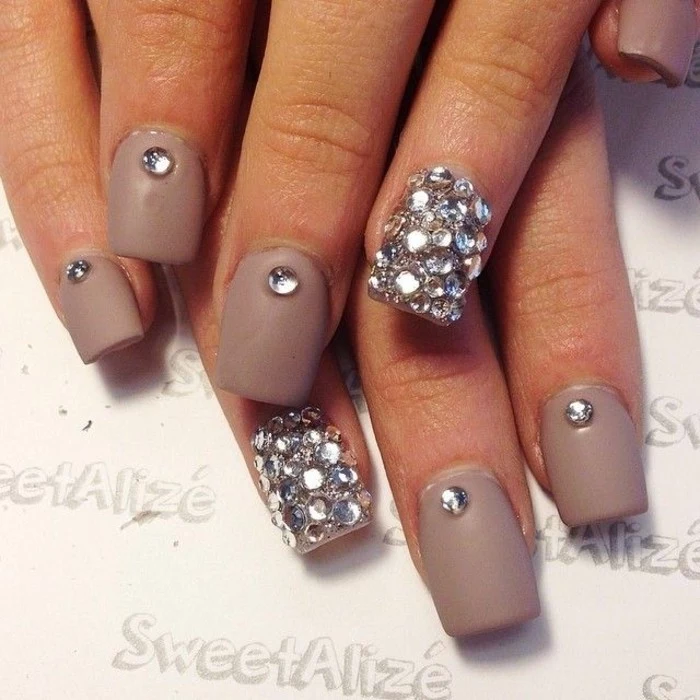
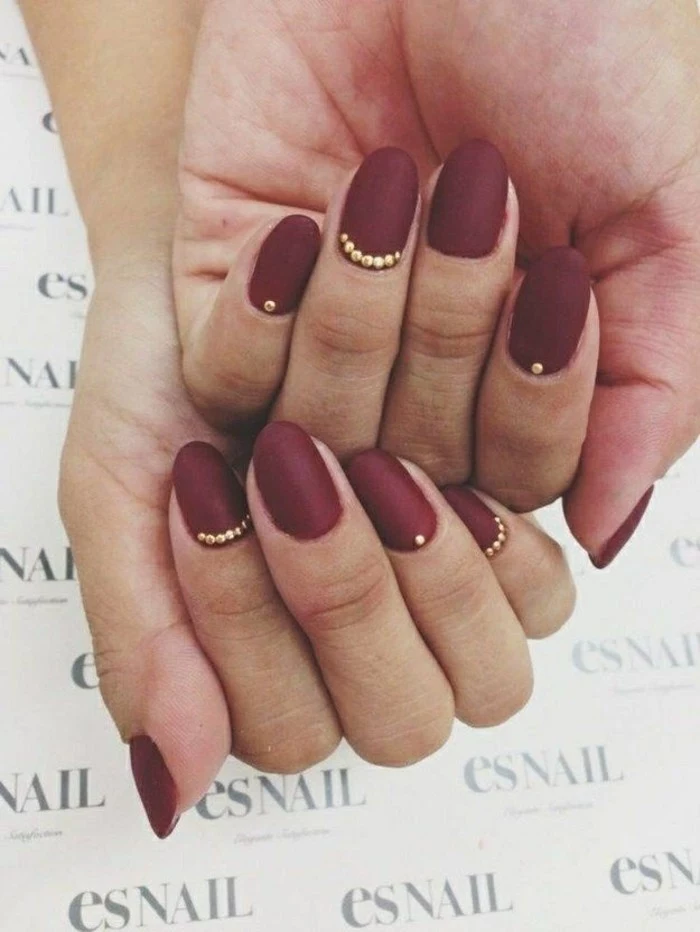
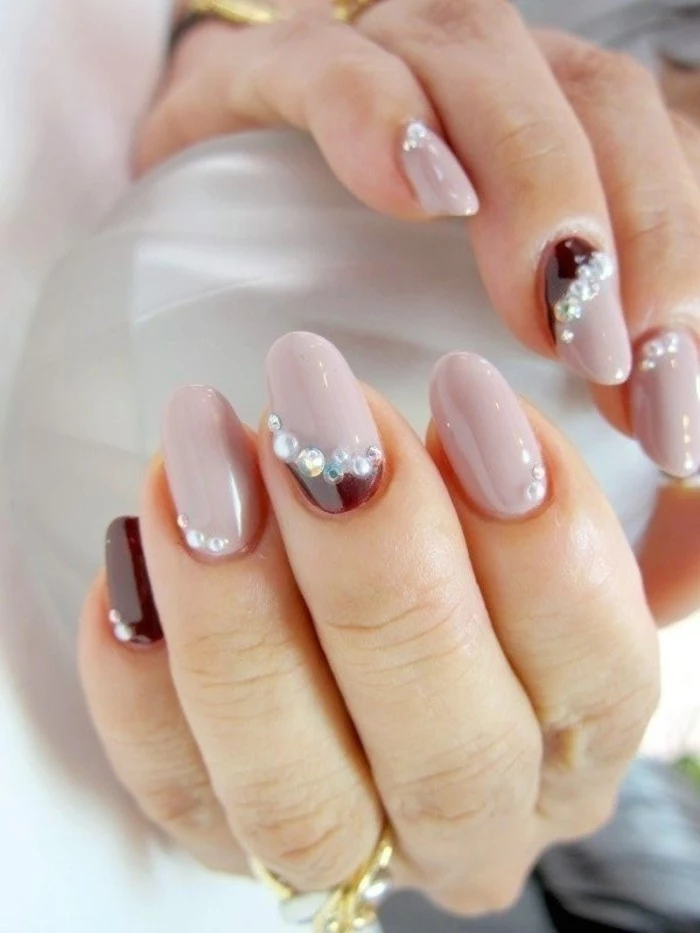
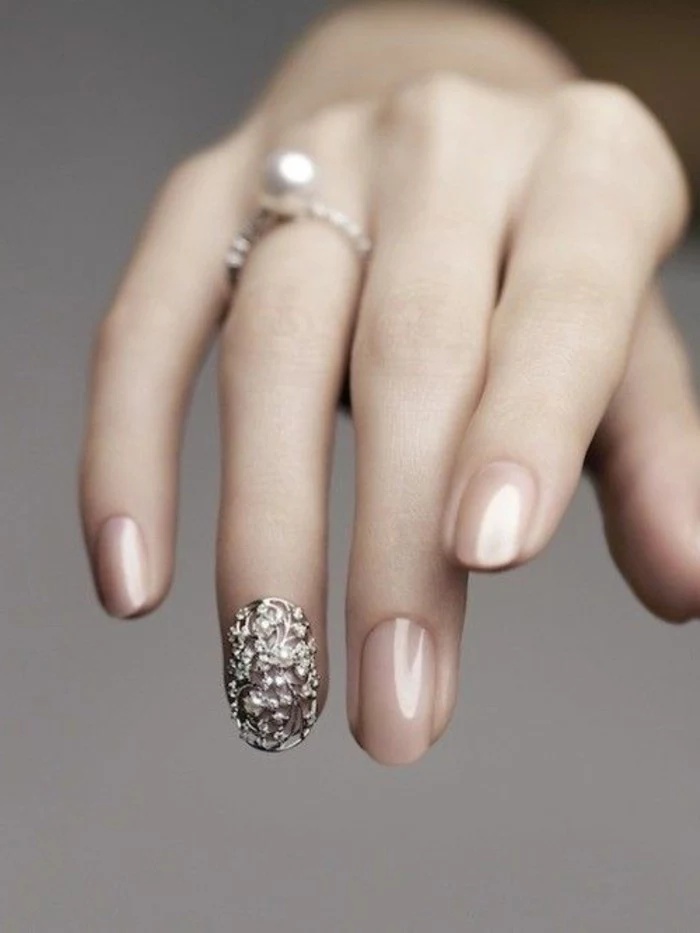
Don’t underestimate the power of ‘negative space’. Sometimes, the most striking designs aren’t fully covered in bling. A single, perfectly placed 3mm crystal on an otherwise nude, glossy nail can make a more powerful and elegant statement than a finger loaded with stones. It’s all about intentionality.
- Crystal Katana: This is the pro’s choice. One end has a premium wax tip for pickup, and the other end is a metal point for pressing and nudging stones into place.
- Fine-Tipped Tweezers: Essential for applying larger or uniquely shaped crystals (like marquise or teardrop) with precision.
- Silicone-Tipped Tool: Great for pressing down foils or decals around the base of your crystals for mixed-media designs.
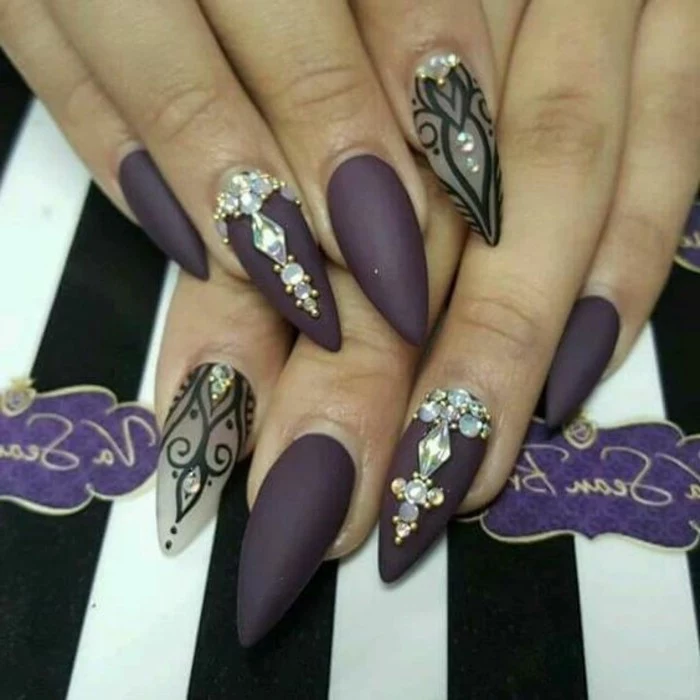
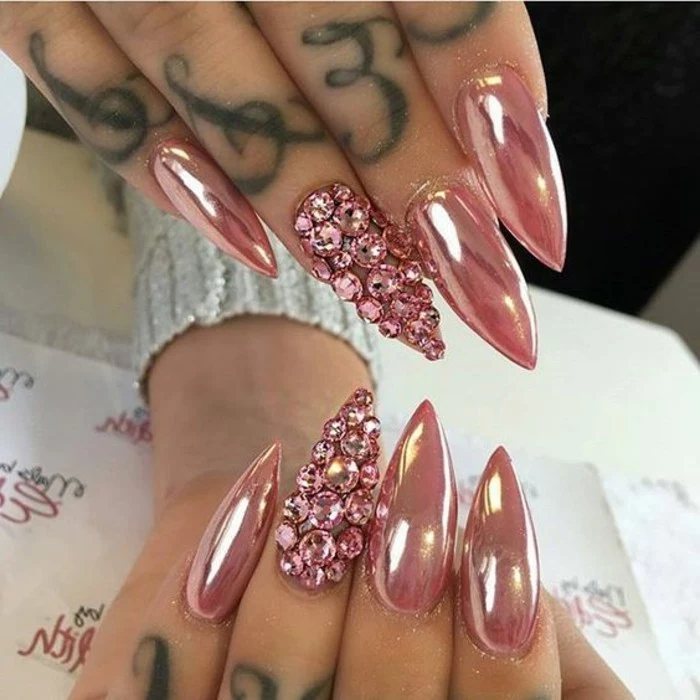
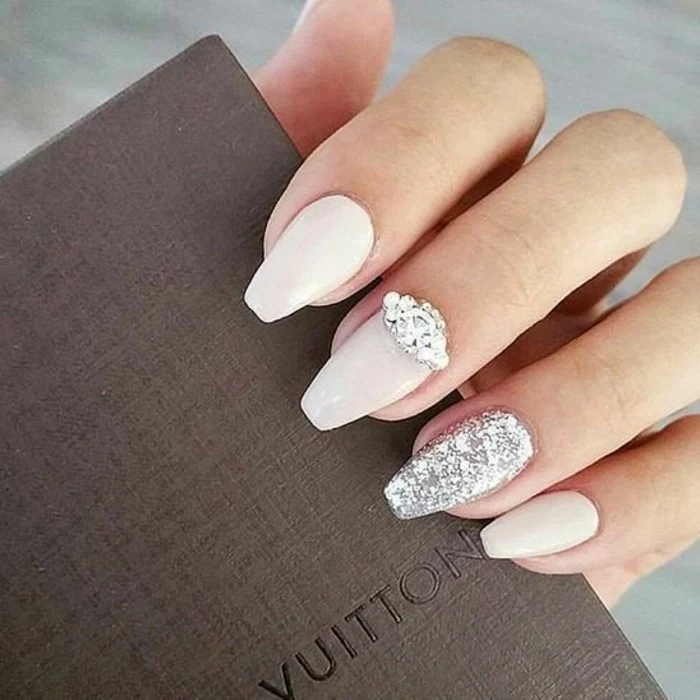
For the ultimate bling, think like nail artist Jenny Bui: it’s not just about one stone, but how it’s framed. She often surrounds a large central gem with smaller ones, creating a ‘halo’ effect that amplifies the sparkle and creates a single, cohesive jewelry piece on the nail.

Glass Crystals: These offer superior sparkle due to their high refractive index and precise machine-cut facets. Brands like Preciosa or high-quality non-branded options provide a look very close to Swarovski for a fraction of the cost.
Resin/Acrylic Crystals: Much cheaper and lighter, but they have a duller, more plastic-like shine. They are also prone to scratching and can be damaged by certain chemicals like acetone.
For that high-impact, jewelry-like finish, always opt for glass.
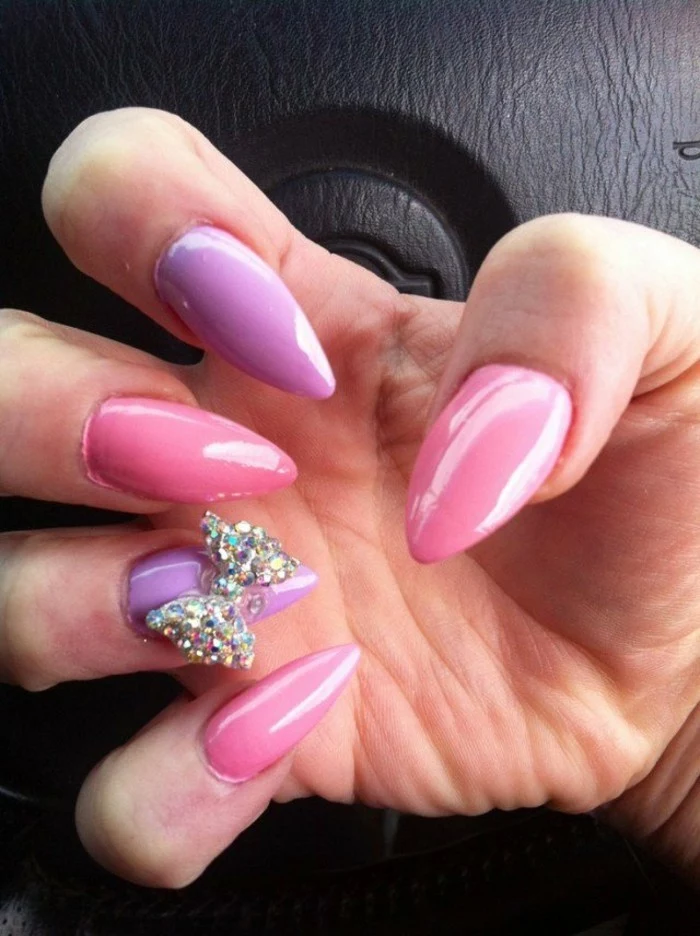
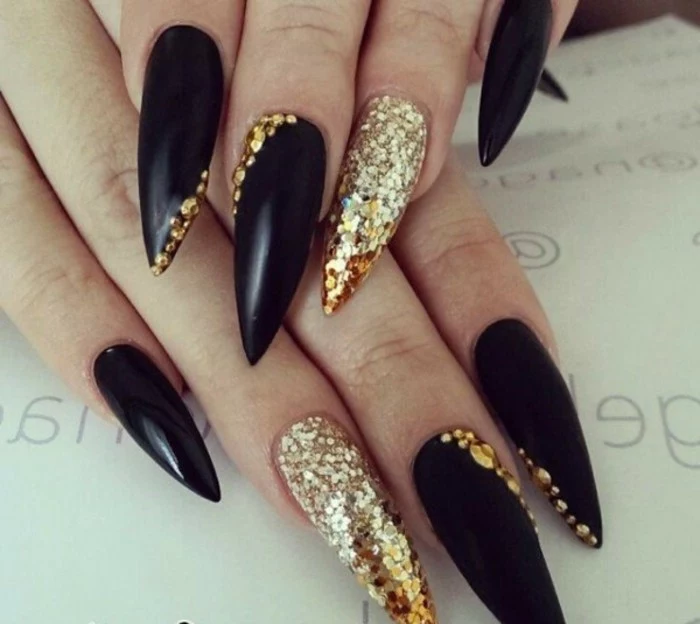
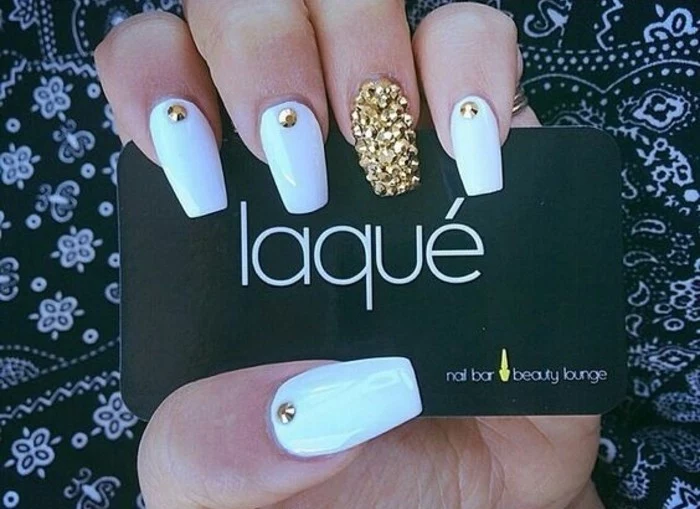
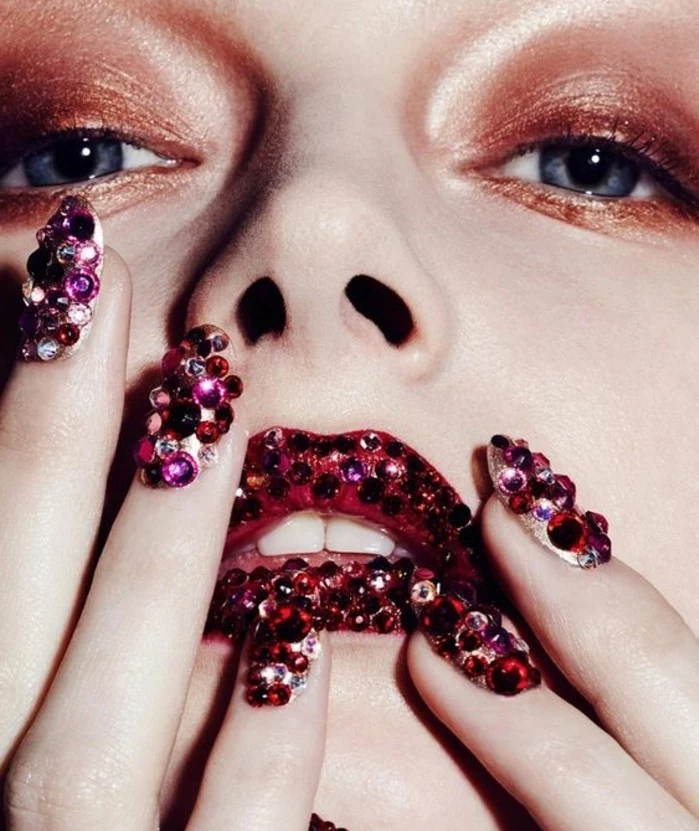
Your rhinestones are an accessory for a special night, so treat them like jewelry. For a wedding, gala, or big birthday, consider a ‘couture’ nail. This means designing the nail art to complement your outfit or other jewelry, matching the metal tones (silver, gold, rose gold) and gemstone colors for a truly cohesive and high-fashion look.

- They don’t shift or slide during application.
- They adhere perfectly to the nail’s curve.
- They look professionally placed every time.
The trick? Place a small bead of thick gel glue, then gently press the rhinestone into it. The thickness of the gel will create a small ‘cushion’ that the stone sinks into, securing it on all sides before you even cure it.
If you’re applying rhinestones over traditional nail polish instead of gel, timing is everything. Apply the stones when your final color coat is still slightly tacky, not fully wet. Use a tiny dot of nail art glue or a thick, clear top coat like Seche Vite as your adhesive. Press the stone in gently and finish with a top coat applied carefully around the base.

The ‘AB’ in ‘Crystal AB’ stands for Aurora Borealis. This special coating, co-developed by Swarovski and Christian Dior in 1956, creates a rainbow-like shimmer that changes with the light.
Think beyond the obvious: The cuticle area isn’t the only place for a statement. For long nails, try placing a small, vertical line of 3-4 tiny stones right at the free edge. This ‘jeweled tip’ is an unexpected and modern twist on the classic French manicure.

To protect your masterpiece, simple daily habits are key. Wear gloves when doing dishes or cleaning, as harsh chemicals and prolonged water exposure are the biggest enemies of nail adhesive. Also, apply a quality cuticle oil, like CND SolarOil, daily. This keeps the surrounding nail and skin hydrated, preventing lifting at the edges.
Want to buy stones without breaking the bank? Look for variety packs or wheels first. Once you know which sizes you use most (typically SS3 to SS10 for detailed work), buy those specific sizes in bulk bags from online nail art supply stores rather than craft stores. The cost-per-stone drops dramatically.
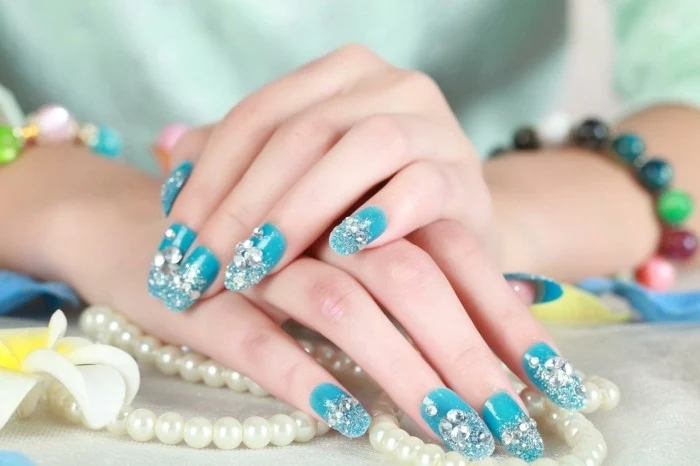
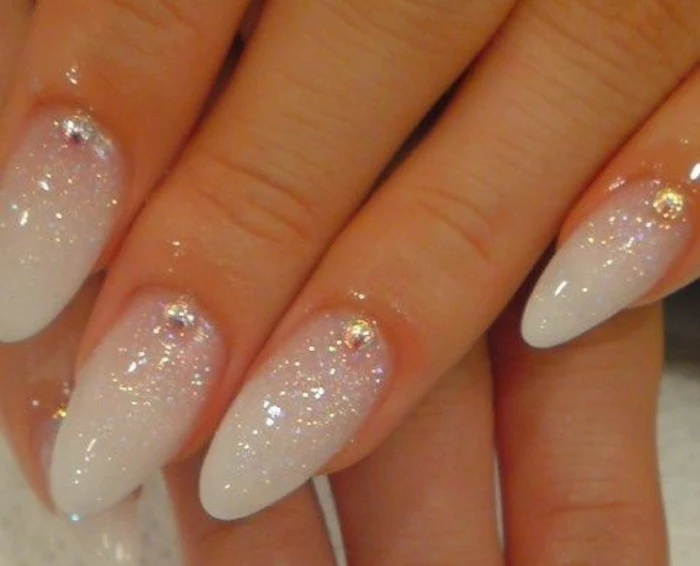
The ‘Fairy Dust’ or ‘Sugar’ effect is a huge trend. After your color coat, apply a thin layer of no-wipe top coat but don’t cure it. Generously sprinkle ultra-fine micro-crystals or pixie dust (like the kind from Preciosa Crystal) over the entire nail. Pat it down gently, cure, and then brush off the excess. The result is a stunning, textured, and intensely sparkly finish.
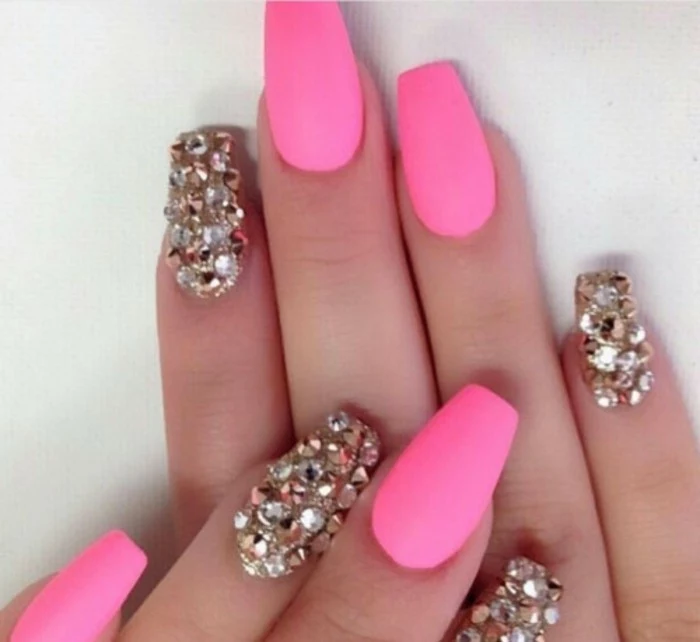
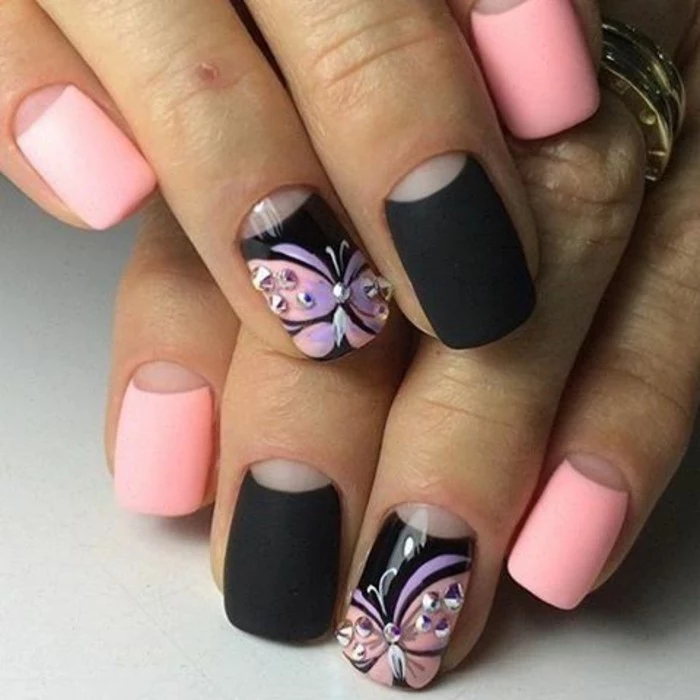
A key to balanced design: Vary the size of your stones. A design using only one size of rhinestone can look flat and a bit dated. Combining two or three different sizes in a cluster or a line adds depth, visual interest, and a more organic, professional feel. Even a simple design looks more dynamic this way.

Ever wondered why a quality crystal sparkles so much? It’s the faceting. A standard high-quality round rhinestone (Xirius Rose cut) has 16 facets. These tiny angled planes are cut to catch and reflect light from every direction, creating that signature, fiery sparkle.
This is why protecting those facets from top coat is so important; you’re preserving the very engineering that makes the stone brilliant.
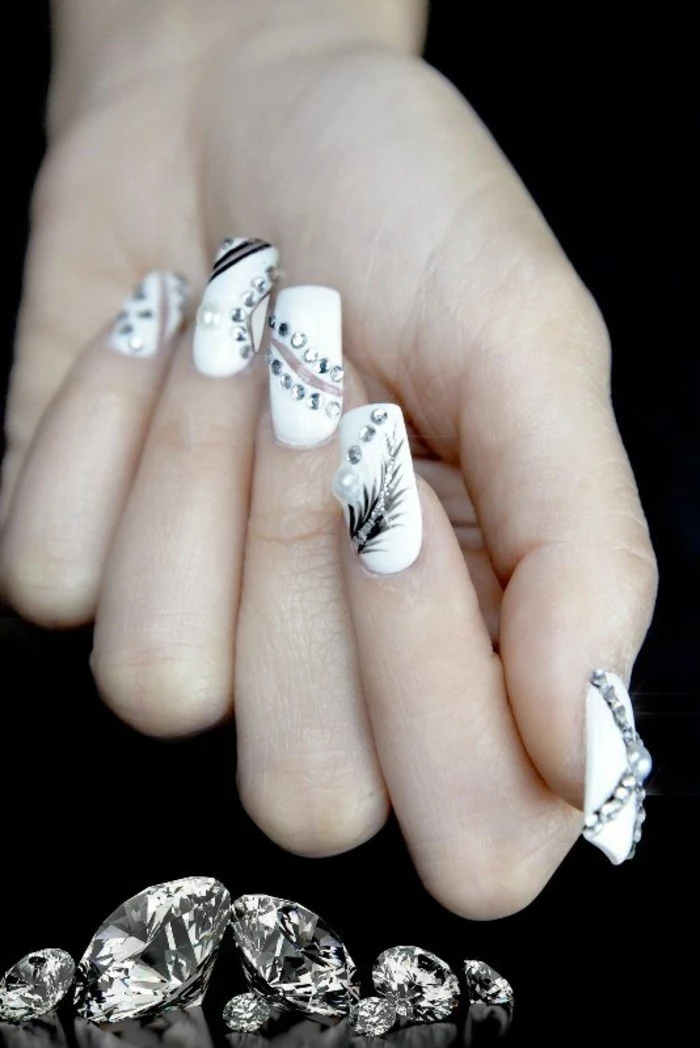
Runway fashion is a fantastic source of nail art inspiration. Look at the embellishments on dresses from designers like Elie Saab or Zuhair Murad. The way they mix pearls, crystals, and beads in intricate patterns can be translated directly to a smaller scale on the nail for a truly high-fashion, opulent look.


