Your Kitchen Isn’t As Clean As You Think. Here’s How to Fix It.
I’ll never forget one of my first big lessons working in professional kitchens. I had just finished wiping down a huge stainless-steel prep table, and honestly, I was pretty proud of how it gleamed under the lights. The head chef, a guy who treated sanitation like a religion, walked over. He ran a gloved finger across the surface, held it up to my face, and asked a question that has stuck with me ever since: “It looks clean, but is it safe?”
In this article
That one question perfectly sums up the huge gap between a kitchen that appears tidy and one that is genuinely sanitary. So many of us think our kitchen is the cleanest spot in the house, but in reality, it’s often the opposite. We’re constantly handling raw ingredients, creating food waste, and touching surfaces, which basically rolls out the red carpet for bacteria. The goal isn’t to turn your kitchen into a sterile operating room, but to build a few simple, effective habits that make a massive difference. This guide is all about bringing those pro-level principles into your home kitchen, minus all the stress.
Why We’re Cleaning in the First Place
Before you grab a single spray bottle, it helps to know what you’re up against. In the food world, we don’t just clean randomly; every action is guided by a little basic science. Think of it as knowing your enemy.
The Invisible Troublemakers
Your kitchen can be a playground for all sorts of microscopic critters, but we’re mostly concerned with the ones that can make you sick. We’re talking about pathogens like E. coli, often found in raw meat and unwashed veggies, and Salmonella, a classic culprit from raw poultry and eggs. Then there’s Listeria, a tough little bug that can even grow in the cold temperatures of your fridge, and Norovirus, which spreads like wildfire from contaminated hands or surfaces.
The tricky part? They’re completely invisible. A cutting board can look perfectly clean after a quick rinse, but it could still be hiding enough bacteria from that raw chicken breast to cause some serious trouble.
The Difference Between Clean and Safe
This is probably the single most important concept to get right. We use these words interchangeably, but in the professional world, they mean very different things.
- Cleaning is just about removing the visible stuff—crumbs, grease, and food gunk. You do this with soap, water, and a bit of elbow grease. Here’s the key: You always have to clean before you sanitize. Sanitizer just can’t do its job if it has to fight through a layer of grime.
- Sanitizing is what happens next. It’s the process of reducing the number of those invisible germs on an already clean surface to a safe level. We’re talking about a 99.9% reduction. This is what truly makes a surface safe to put food on.
- Disinfecting is a level above, killing nearly everything (99.999%). This is usually overkill for a kitchen and is better saved for things like doorknobs when someone in the house is sick. For our purposes, we’re all about that clean-then-sanitize combo.
A classic mistake is spraying a cleaner on a counter full of crumbs and just wiping it once. That just turns the crumbs into a germ-filled paste. The right way is always: clean first, then sanitize.
The Three Zones of Kitchen Contamination
To keep things from getting overwhelming, I like to break the kitchen down into three zones based on risk. Let’s tackle them one by one.
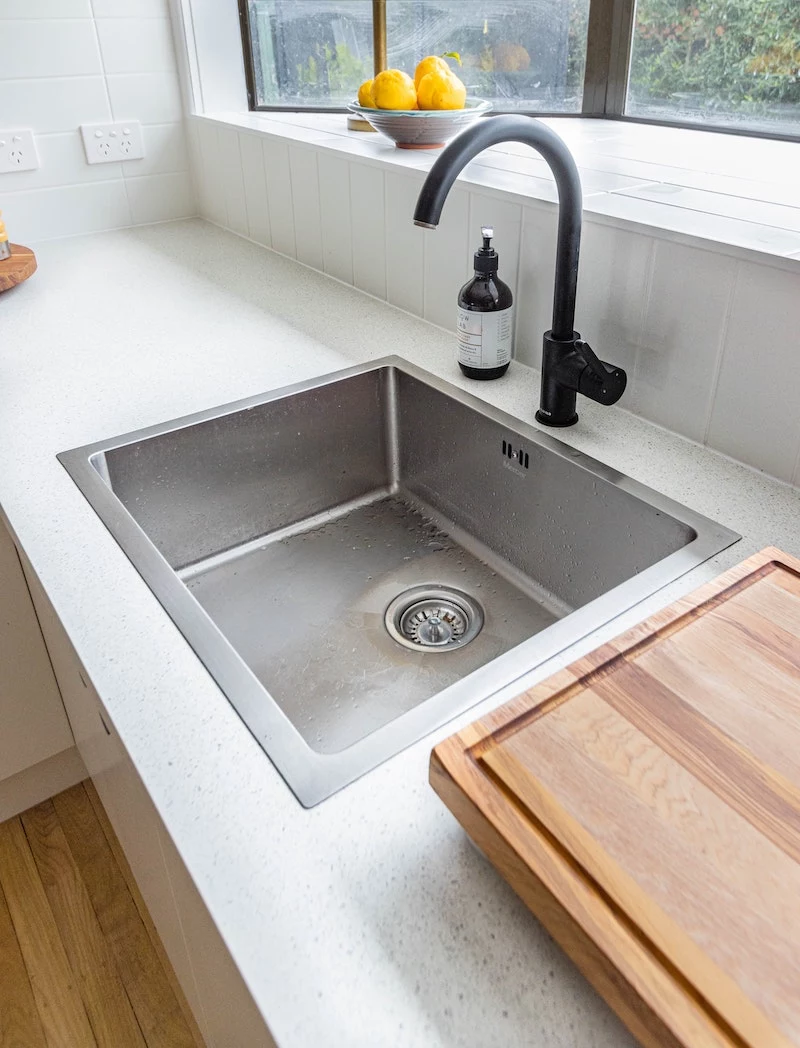
Zone 1: The Sink (aka Germ Central)
Believe it or not, your kitchen sink is probably one of the grimiest places in your entire home. You rinse raw chicken, dirty vegetables, and your own hands all in the same basin. The constant moisture makes it a five-star resort for bacteria.
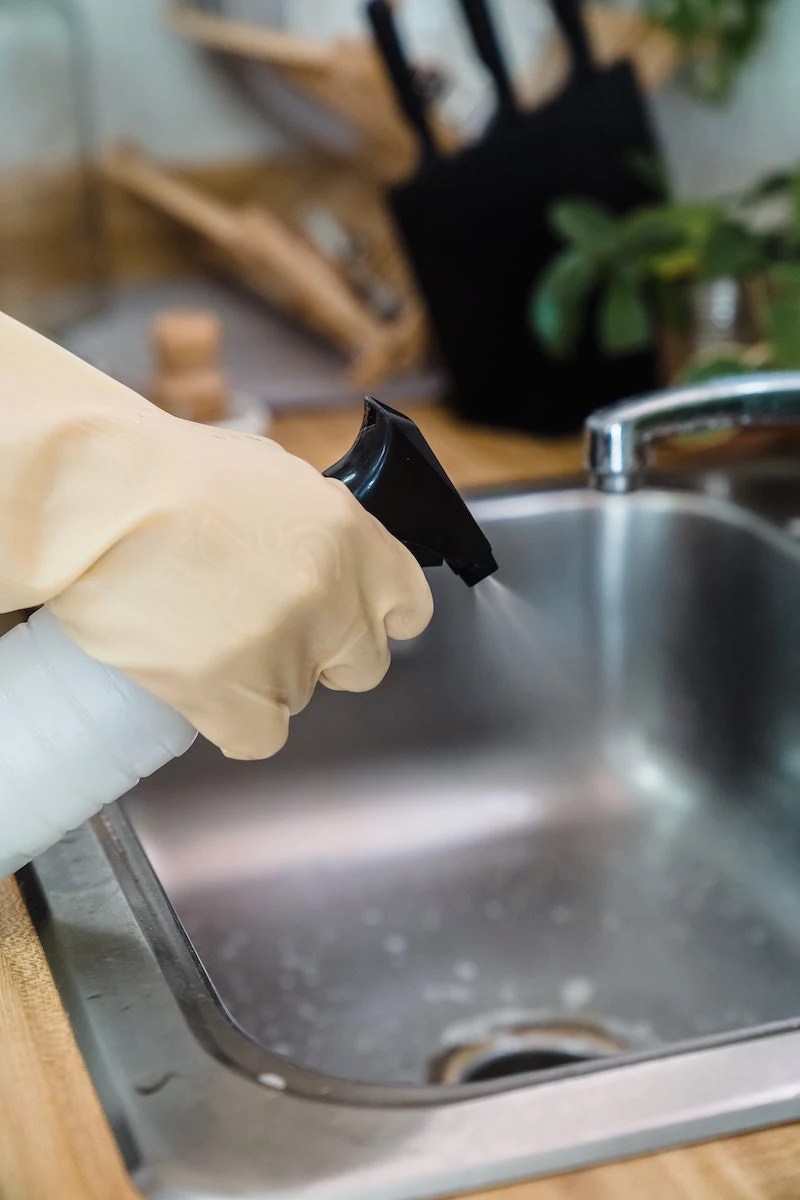
How to Properly Sanitize Your Sink
- Clear It Out: First, get all the dishes and food bits out. Use a strainer to catch debris and toss it in the trash, not the garbage disposal. A clogged disposal is another germ magnet.
- Scrub It Down: With the sink empty, give it a thorough scrub with hot water, a good degreasing dish soap, and a dedicated brush (please, not your dish sponge!). Get the basin, drain, faucet, and especially the handles.
- Rinse It Clean: Wash away all the soap suds with hot water. Any leftover soap can actually make your sanitizer less effective.
- Time to Sanitize: Now that it’s clean, you can make it safe. You’ve got a couple of great options.
- The Pro’s Bleach Solution: This is the gold standard because it’s cheap and incredibly effective. Just mix one teaspoon of regular, unscented household bleach into one gallon of cool water. (Heads up: using hot water can cause the active ingredient to evaporate). For a more practical amount, you can make a small batch for a standard 32oz spray bottle by using just ¼ teaspoon of bleach. Plug the sink, pour in the solution, and let it sit for at least one minute. You can also use this solution on a cloth to wipe down the faucet and handles. After a minute, just let the water drain and let the sink air dry.
- Food-Safe Commercial Sanitizer: You can also buy ready-made, food-safe sanitizers. Look for ones based on “quaternary ammonium compounds,” or “quat” sanitizers. A popular and inexpensive option is Steramine tablets, which you can find on Amazon for around $10 a bottle—it lasts forever. Just follow the instructions on the label for mixing and contact time.
By the way, that common DIY trick of mixing vinegar and baking soda? It’s great for cleaning drains because of the fizzing action, but it’s useless for sanitizing. When you mix the acid (vinegar) and the base (baking soda), they neutralize each other, leaving you with little more than salty water. Stick to a proven sanitizer for killing germs.
Zone 2: Cutting Boards & Knives
These tools touch your food directly, so their cleanliness is non-negotiable. A dirty cutting board is the fastest way to get bacteria from raw meat onto the salad you’re about to eat.
The Great Debate: Wood vs. Plastic
I’ve used both for years, and honestly, either can be great if you handle it right.
- Plastic or Composite Boards: Their big win is being non-porous and dishwasher-safe. A super-hot dishwasher cycle is fantastic for sanitizing. The downside? Once they get covered in deep knife grooves, they’re impossible to truly clean. Bacteria love to hide in those little canyons. A quick tip: run your fingernail across the board. If it catches in deep cuts, it’s time to replace it. A good set of color-coded boards will run you about $25-$30 online.
- Wooden Boards: Hardwoods like maple actually have natural antimicrobial properties, which is pretty cool. They can also be a bit “self-healing,” as the wood fibers swell to close minor cuts. The main drawback is that they are porous and absolutely cannot go in the dishwasher—they’ll warp and crack. They need to be washed by hand and oiled now and then.
In pro kitchens, we use a color-coded system to prevent mix-ups (red for meat, green for veggies, etc.). You don’t need a whole rainbow at home, but I strongly recommend having at least two boards:
- Board
1: For Raw Meat, Poultry, and Fish Only.
I personally prefer a plastic one for this, since it can go straight into the dishwasher for a high-heat sanitizing blast. - Board
2: For Everything Else.
Use this for bread, fruit, vegetables, and anything that’s ready to eat. A nice wood or composite board is perfect here.
As soon as you’re done cutting raw meat, clean that board and knife immediately. Don’t let it sit on the counter. Wash with hot, soapy water, then sanitize. For wood, you can spray it with your sanitizer solution, let it sit for a minute, then rinse and dry it thoroughly. To keep your wood board happy, give it a little spa day once a month. Here’s how you do it:
- Make sure the board is completely clean and dry.
- Pour a bit of food-grade mineral oil (about the size of a quarter) onto the board. You can get a bottle for under $10 at places like Home Depot or online, and it will last you ages.
- Use a clean cloth or paper towel to rub the oil into the wood on all sides. Let it soak in for a few hours, or even overnight.
- Wipe off any excess, and you’re done! This keeps the wood from drying out and cracking.
Zone 3: High-Touch Surfaces & Hidden Gunk
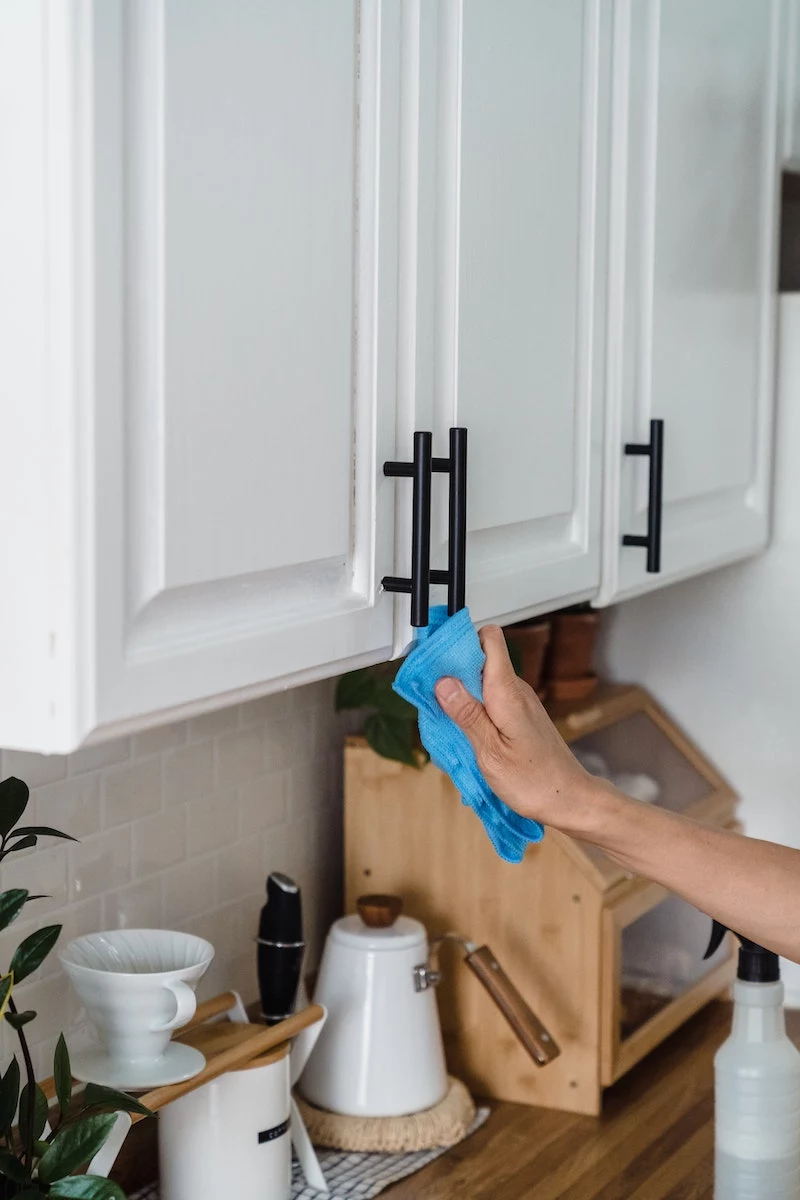
This zone covers everything you touch while you cook, often without thinking. You handle a package of raw chicken, then you open the fridge. Boom. You’ve just moved any bacteria from the package to the fridge handle.
Think about all the hotspots: refrigerator handles, cabinet pulls, microwave buttons, light switches, and the lid of your trash can. And let’s be real, your phone, which you’re probably using to read this recipe.
The key is to wipe these down frequently. At the end of each day, take two minutes and wipe down all those high-touch spots with your sanitizing solution. It’s one of the highest-impact habits you can build. And here’s another common mistake I see all the time: people will wash their hands meticulously after handling raw meat, then dry them on the same cloth kitchen towel they’ve been using all day, instantly re-contaminating their clean hands. Use a paper towel or a designated clean hand towel!
My Go-To Tools (and What to Avoid)
Using the right tools makes this whole process so much easier and more effective.
I’m just going to say it: please, get rid of your kitchen sponge. They are porous, they stay damp, and they trap food particles, making them the perfect incubator for bacteria. If you must use one, you have to sanitize it daily by soaking it in a bleach solution or microwaving it while damp for a minute (be careful, it’s hot!).
A much better approach is to switch to tools you can actually get clean:
- Microfiber Cloths: These are my favorite. They’re designed to trap dirt and germs. You can get a pack of 10 for about $12. Use one color for cleaning, another for sanitizing, and toss them in the hot cycle of your washing machine at the end of the day.
- Silicone Scrubbers: These don’t absorb water and dry quickly, so they don’t harbor germs. Plus, you can just toss them in the dishwasher.
- Paper Towels: I try to limit waste, but I always have paper towels for one job: cleaning up high-risk messes like raw meat juices. It allows you to wipe up the spill and throw the contamination straight into the trash.
Your Action Plan
Okay, that might feel like a lot. I get it. The goal here isn’t to scare you; it’s to empower you. These aren’t extreme measures—they are the standard practices that keep people safe in restaurants every single day. You don’t have to be perfect, but being consistent is what counts.
Your Kitchen Sanitation Shopping List
Here’s a quick list to get you started. You probably have most of this already!
- The Basics: Unscented household bleach (around $5) and a pack of microfiber cloths (around $12).
- The Upgrades: A set of color-coded plastic cutting boards (about $25), some food-grade mineral oil for your wooden board (under $10), and a bottle of Steramine sanitizing tablets (about $10 online).
Try This Tonight: The 2-Minute Challenge
After you finish the dishes tonight, I want you to try something. Set a timer for two minutes. In that time, use a cloth with your sanitizing solution and wipe down all the high-touch spots in your kitchen: the fridge and freezer handles, the faucet, all your cabinet and drawer pulls, and your microwave buttons. You’ll probably be done before the timer even goes off. See how easy that was?
A truly safe kitchen isn’t about scrubbing for hours. It’s about working smart. It’s a skill, and like any skill, it gets easier the more you do it. By adopting a few of these professional habits, you’re taking a huge step in protecting the health of yourself and your family.
Inspirational Gallery
According to a study by NSF International, over 75% of household kitchen sponges and dishcloths contain Coliform bacteria, a family that includes Salmonella and E. coli.
The takeaway? Your sponge is likely the dirtiest item in your entire home. Sanitize it daily by running it through a hot cycle in the dishwasher, or replace it every one to two weeks without fail.
The Two-Towel Rule: Never use the same towel for drying your hands and drying your dishes. One towel (perhaps a striped one) should be exclusively for hands, which carry bacteria from all over. The other (a solid color) is for pristine, clean dishes and countertops. This simple separation is a pro-chef habit that drastically cuts down on cross-contamination.
Is my cell phone really a problem in the kitchen?
Absolutely. We place our phones on countless public surfaces, then set them right on the kitchen counter where we prepare food. Studies have shown phones can be ten times dirtier than a toilet seat. When you bring it into the kitchen, you’re potentially introducing a universe of germs to your food prep zone. Designate a “phone-free” area or use a stand to keep it upright and away from surfaces.
- A kitchen that smells consistently fresh
- Fewer mysterious fruit flies
- A faster-draining sink
The secret? Giving your sink drain and garbage disposal a weekly deep clean. A handful of baking soda followed by a cup of white vinegar, a 10-minute wait, and a rinse with boiling water will neutralize odors and break down greasy food buildup.
Don’t forget the hidden grime on your can opener. Tiny food particles get trapped in the gears and on the cutting wheel, creating a haven for mold and bacteria. After each use, take a moment to scrub the wheel and gears with an old toothbrush and hot, soapy water. Dry it thoroughly before returning it to the drawer.
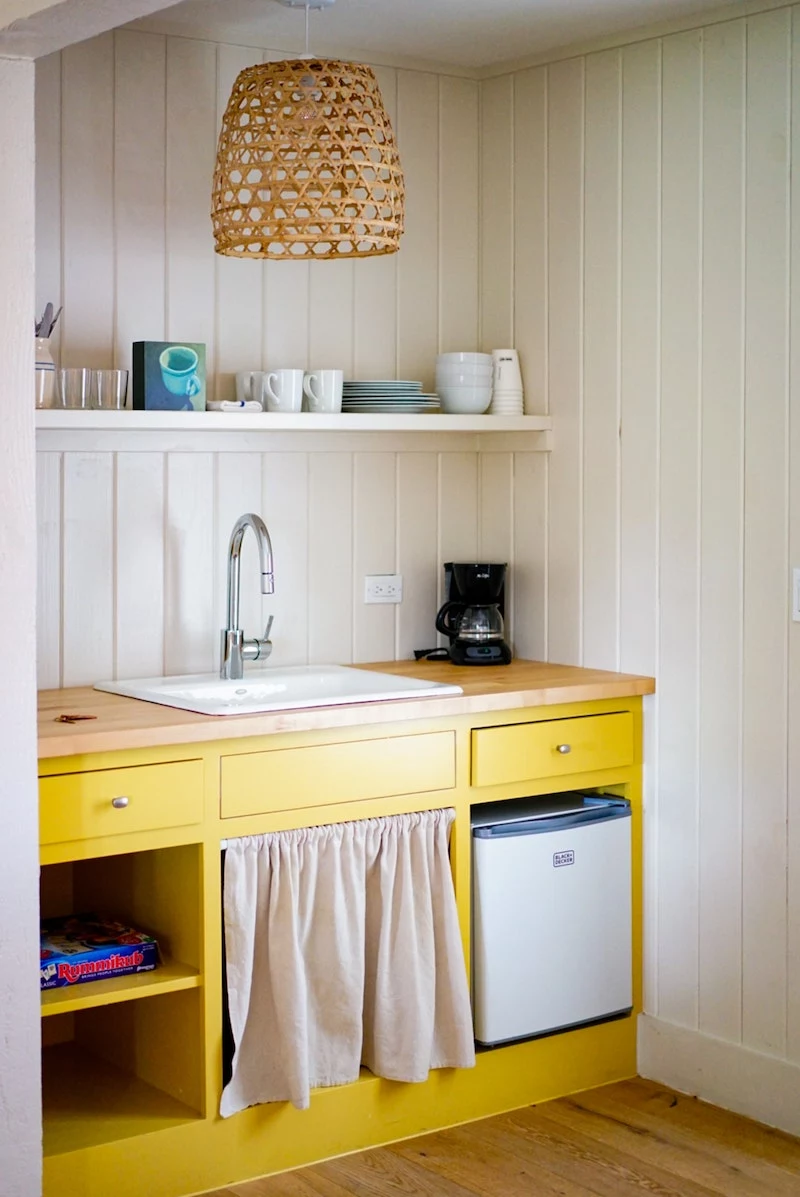
Quartz Countertops: This non-porous engineered stone is a hygiene champion. It resists staining and doesn’t provide nooks and crannies for bacteria to hide, making cleanup simple. Brands like Silestone and Caesarstone are popular choices.
Butcher Block: Beautiful, but its porous wood surface can harbor bacteria if not sealed and sanitized meticulously. It requires regular oiling with a food-grade mineral oil and immediate cleanup of any spills, especially from raw meat.
Even your cleaning tools need cleaning. A dirty sponge or sour-smelling cloth just spreads bacteria around, defeating the purpose of your efforts. Build these habits into your routine:
- Sponges: Run them through a full hot cycle in your dishwasher on the top rack daily.
- Microfiber Cloths: Wash them in a hot water laundry load, separate from other items, and skip the fabric softener, which clogs their effective fibers.
- Brushes: Place them bristles-down in the cutlery basket of your dishwasher once a week.
Your reusable grocery bags can be a major source of cross-contamination, carrying bacteria from leaky meat packages to your fresh produce. Machine-wash them in hot water regularly, especially the ones you use for meats and produce. A quick spray with a fabric-safe disinfectant like Lysol can also help between washes.
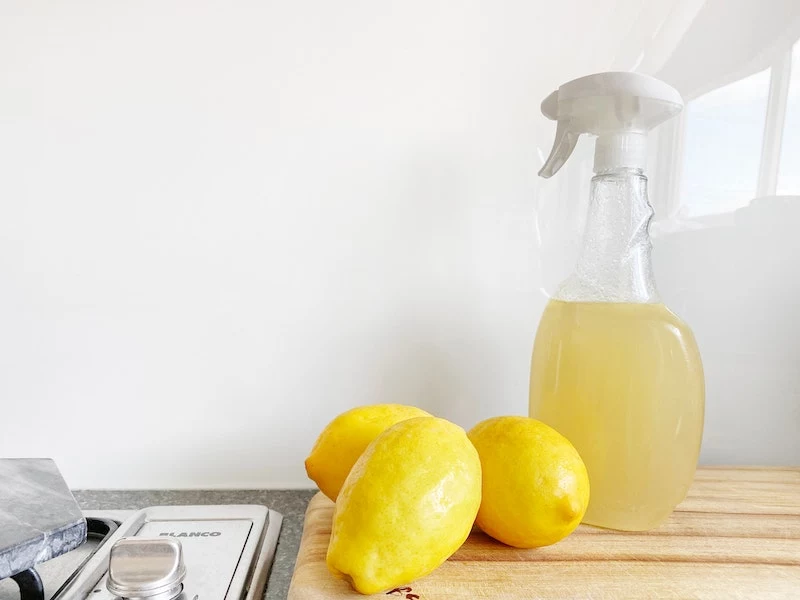
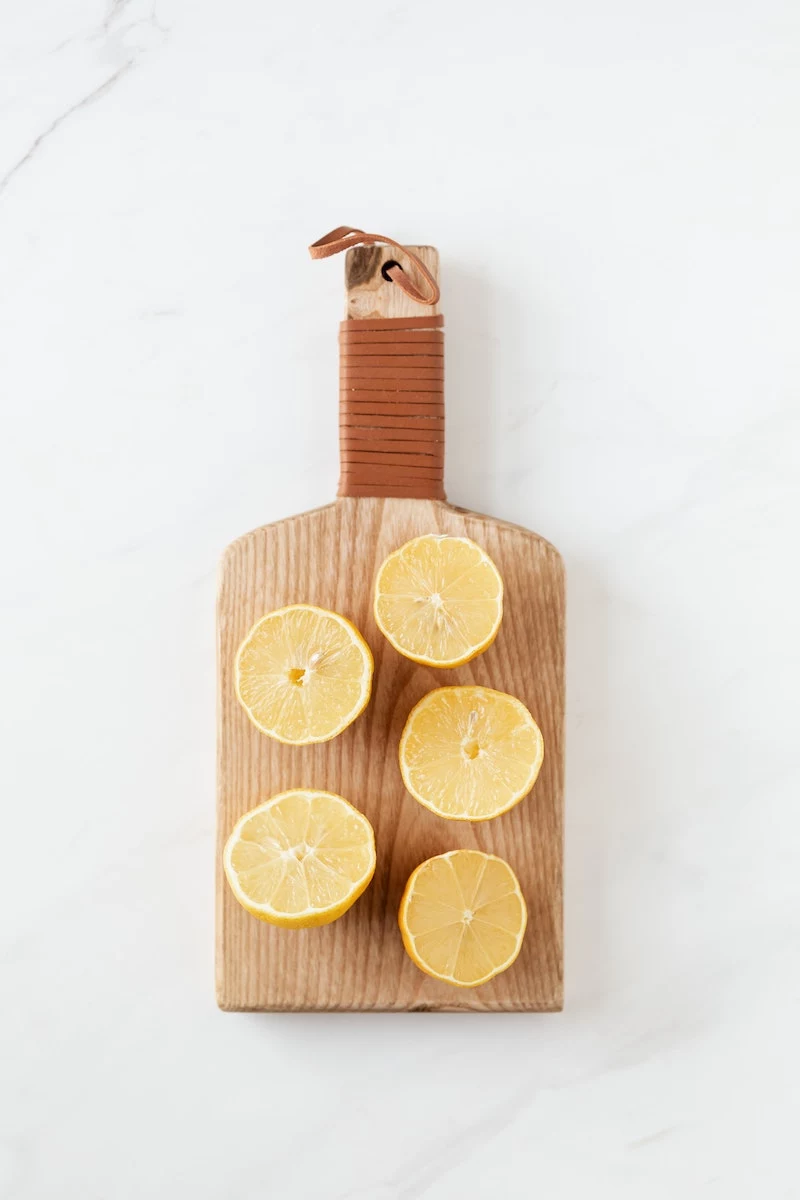
A final touch for the senses: After you’ve cleaned and disinfected your sink, plug the drain and fill the basin with a few inches of very hot water. Add a few slices of lemon and a sprig of rosemary. Let it sit for ten minutes before draining. It leaves the entire kitchen smelling genuinely fresh and clean, turning a chore into a small ritual.


