Your Go-To Guide for Making Perfect Slime (No More Sticky Fails!)
I’ve probably made thousands of batches of slime over the years, running workshops for kids and community groups. I’ve seen the pure joy on their faces when it all comes together. But oh boy, have I also seen the frustration when a batch goes wrong. We’re talking sticky hands, rubbery blobs, and looks of total disappointment.
In this article
That’s exactly why I put this guide together. This isn’t just another list of recipes. It’s a real deep dive into how slime actually works, packed with all the tips and tricks I’ve learned from countless messy, fun, and sometimes chaotic sessions. Think of me as your personal slime coach!
Making great slime is part science, part art. Once you understand the ‘why’ behind the steps, you can fix any problem and even start inventing your own creations. So, let’s get into it.
By the way, if you’re short on time and just want to get your hands dirty, feel free to jump straight to the Master Recipe. You can have a perfect batch of slime ready to go in about 15 minutes!
The Simple Science Behind That Awesome Stretch
Before we start mixing, let’s quickly talk about what’s actually happening in that bowl. It sounds complicated—polymer chemistry!—but the core idea is surprisingly simple. And honestly, knowing this is the difference between just following directions and becoming a true slime master.
The main ingredient in most slime recipes is plain old school glue. That glue is filled with long, chain-like molecules called polymers. In the bottle, these chains just slide past each other, which is why glue is a liquid. Think of it like a bowl of cooked spaghetti; all the strands are slippery and separate.
To turn that liquid glue into stretchy slime, you need an ‘activator’. This could be a borax solution, liquid starch, or a mix of saline solution and baking soda. The activator’s job is to create what are called ‘cross-links’. Imagine tossing tiny hooks into that bowl of spaghetti. The hooks would start grabbing onto different strands, connecting them all into one jiggly, connected mass. That’s exactly what the activator does to the glue’s polymer chains! It links them all together, creating the gooey, stretchy substance we’re after.
Why does this matter? Because it’s your ultimate troubleshooting tool. If your slime is a sticky mess, it means you need more ‘hooks’—more activator. If it’s stiff and rubbery, you added too many ‘hooks’ and it’s over-activated. Simple as that.
Gathering Your Gear: A Pro’s Checklist
Your success really hinges on using the right stuff. I’ve seen perfectly good workshops hit a wall because someone grabbed the wrong kind of glue or contact solution. Here’s what you actually need.
Your First-Timer’s Shopping List
Good news: you don’t need to spend a fortune to get started. In fact, you can probably make your first few batches for under $10. Here’s a typical shopping list:
- White School Glue (4oz): The classic stuff. A small bottle usually costs around $2.
- Baking Soda: You probably already have this! A box is about $1.
- Saline Solution: Look for a store-brand multi-purpose solution. It’s key that it contains boric acid. A bottle costs around $3-$5.
The Glue: Your Slime’s Foundation
The type of glue you choose sets the stage. For most of my projects, I buy it by the gallon to save money, but a standard 4-ounce bottle is perfect for starting out.
- Standard White School Glue (PVA): This is your go-to for classic, opaque slime. It’s reliable and creates a wonderful, pliable stretch.
- Clear School Glue (PVA): Also a PVA glue, this is what you’ll want for making crystal-clear or vibrant ‘glass’ slimes. The texture is often a bit firmer and less stretchy than slimes made with white glue, which is actually a good thing for certain types, like crunchy slime.
- Heads Up! Not all glues work. Wood glue, super glue, and epoxies are chemically different and won’t react with the activators. Stick to basic school and craft glues that are PVA-based.
The Activator: The Magic Ingredient
Choosing your activator is a big deal. Here are the three main players.
1. The Saline Solution & Baking Soda Method
This is my favorite method to teach because the ingredients are so easy to find. But there’s a catch, and it’s a big one. You MUST use a saline solution (the kind for contact lenses) that lists boric acid and sodium borate in its ingredients. If it only says sodium chloride, it absolutely will not work. Check the label! This is the #1 mistake I see beginners make. The baking soda is mixed in first to change the glue’s pH, which then allows the boric acid to do its magic.
2. The Borax Solution Method
This is the old-school, classic way. You just dissolve borax powder, found in the laundry aisle, in warm water. My standard recipe is 1 teaspoon of borax powder completely dissolved in 1 cup of warm water. A quick safety note: Borax powder itself should only be handled by adults, as it can be a skin irritant. But the heavily diluted solution we use is much safer. Always, always wash your hands thoroughly after playing with any slime, no matter the recipe.
3. The Liquid Starch Method
In some places, especially North America, you can find liquid starch in the laundry aisle. This stuff is basically a pre-made, ready-to-go activator because it already contains a form of borax. It’s super simple to use, but can be tricky to find depending on where you live.
The Master Recipe: Your Foundation for Fun
Let’s make a perfect, basic slime using the saline and baking soda method. Once you nail this, you can make almost any variation you can dream of.
Time Commitment: About 10-15 minutes from start to finish.
Here’s what you’ll need:
- 1/2 cup (4 ounces) of white PVA school glue
- 1/2 teaspoon of baking soda
- 1/4 cup of water (this is optional, but it makes the slime stretchier)
- 1 tablespoon of saline solution (the kind with boric acid!)
- A few drops of food coloring or some glitter (optional)
The Step-by-Step Technique
- Create the Base: Pour your glue into a mixing bowl. If you want a more pliable slime, stir in the water now until it’s a smooth, consistent liquid. This just helps spread everything out evenly.
- Add Baking Soda: Sprinkle in the baking soda and stir until it’s completely dissolved. You shouldn’t feel any grit. This step is prepping the glue for the activator.
- Add Your Flair: Now’s the time for color or glitter! It’s way easier to mix color into the liquid base than to knead it into a finished slime. Trust me on that one.
- Activate! Here comes the magic. Add the 1 tablespoon of saline solution and start stirring. You’ll see it change almost instantly. The mixture will start pulling away from the sides of the bowl and get all stringy and clumpy. It will look like a soupy mess. This is totally normal!
- Knead, Knead, Knead: Once it’s too thick to stir, it’s time to use your hands. The slime will feel incredibly sticky at first. Your brain will scream, “It needs more activator!” Resist that urge. Scrape the slime out of the bowl and just start kneading it. Stretch it, fold it, squish it. After 3-5 minutes of solid kneading, the stickiness will vanish, and you’ll be left with a smooth, stretchy, perfect slime. The kneading is what really completes the chemical reaction.
Troubleshooting: What to Do When Things Go Wrong
Even the pros have a bad slime day. The trick is knowing how to fix it. Here are the most common problems and how to solve them.
- Problem: “Help! My slime is a sticky nightmare!”
Cause: This is the classic issue. It just means the slime is under-activated. You either haven’t kneaded it long enough or you need a tiny bit more activator.
Solution: First, just keep kneading for another minute or two. If it’s still sticky, add a tiny bit more activator. I mean a few drops of saline, or just dip your fingertips in the borax solution before kneading. It’s always easier to add more than to take it away. - Problem: “My slime is stiff and snaps instead of stretching.”
Cause: You guessed it—over-activated! Too many cross-links have formed, making it rigid.
Solution: This is tougher to fix. Try kneading in a small pump of lotion or a few drops of baby oil. This can sometimes help soften it up. If it’s really overdone, you might just have to call it a lesson learned and start over. - Problem: “My clear slime isn’t clear at all!”
Lesser-known trick: This isn’t a mistake, it’s just part of the process! Kneading traps millions of tiny air bubbles in the slime, making it look cloudy or white.
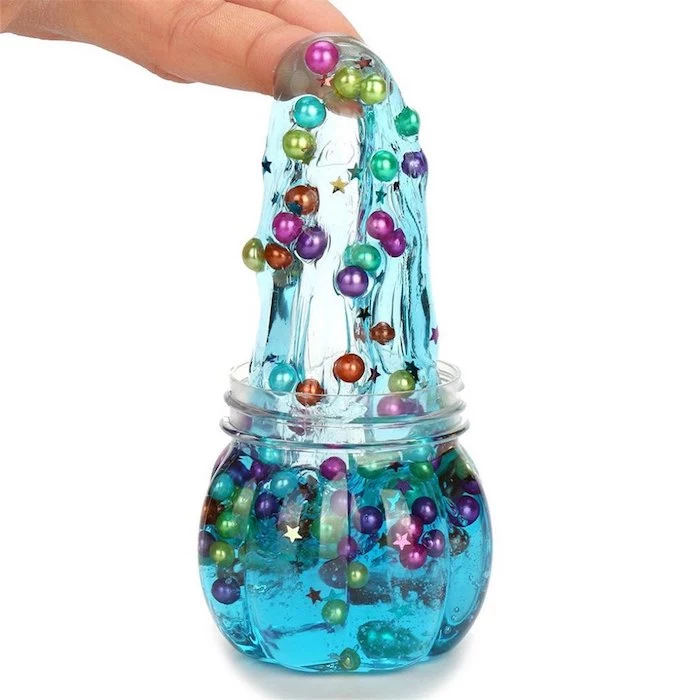
Solution: Patience! Put your cloudy slime in an airtight container and leave it in a safe spot for 2 to 7 days. The air bubbles will slowly rise to the top and pop, leaving you with a stunning, crystal-clear slime. It’s so worth the wait. - Problem: “My beads and glitter keep falling out.”
Cause: Your slime base is probably too thin to hold onto the add-ins. This happens a lot with watery slimes.
Solution: For holding heavy items like foam beads, you need a thicker base. Try a recipe using clear glue and skip adding any extra water. This creates a much stronger, tackier slime that will grip your add-ins perfectly.
Level Up: Exploring Fun Slime Textures
Once you’ve got the basic recipe down, a whole world of textures opens up.
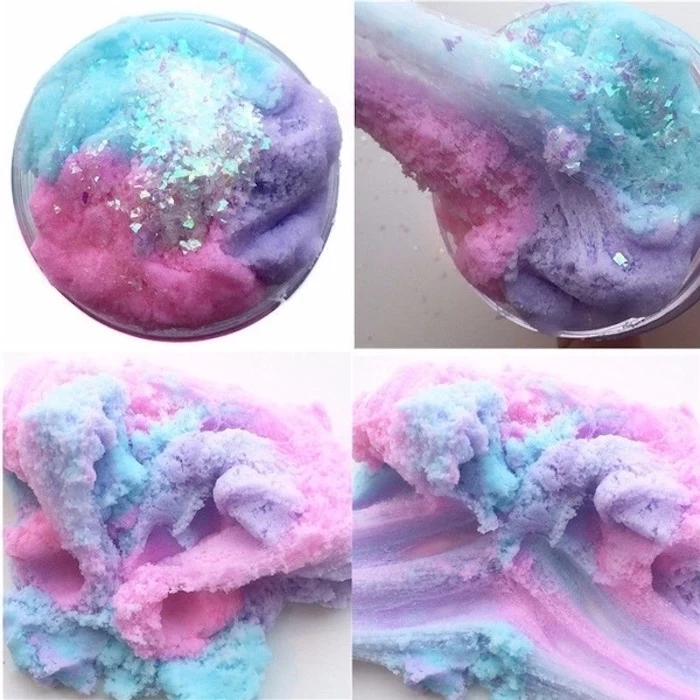
Cloud Slime
This one is famous for its soft, drizzly texture. The secret ingredient is instant snow powder, a superabsorbent polymer you can find online or in some craft stores. You make a basic white glue slime (leave it a little sticky), then mix in prepared instant snow. A good starting point is to mix about 1 cup of your base slime with 2-3 tablespoons of fluffed-up instant snow, adding more until you get that amazing, fluffy drizzle.
Crunchy Slime (Floam)
For that satisfying, crunchy sound, you’ll need small polystyrene foam beads (often called ‘floam’ beads, available at craft stores). The best base is a thick, clear glue slime, as it holds the beads in tightly. Just make your slime and then gently fold it into a pile of the beads until it’s fully loaded for maximum crunch.
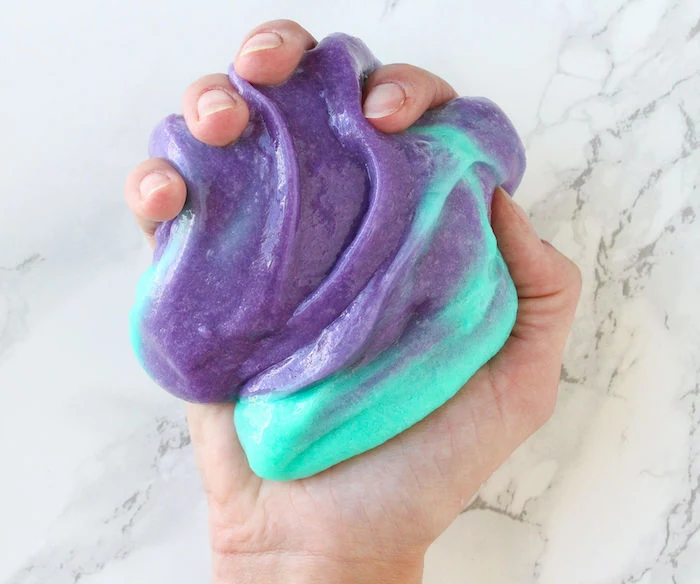
Butter Slime
This texture is incredibly smooth, matte, and spreadable, just like soft butter. The magic ingredient is a soft, air-dry clay. A famously soft version from Japan is the gold standard, but other soft modeling clays can work too. Just make a basic white glue slime, then knead in a piece of the clay (a ratio of about one part clay to three parts slime is a good start). It’s a fan favorite for a reason!
The Responsible Stuff: Safety, Storage, and Cleanup
Okay, let’s wrap up with the important stuff. A little responsibility makes the fun last longer.
- Safety First: Slime is a science experiment, not a snack. An adult should always be around, especially when mixing activators. And please, wash your hands before and after playing!
- Storage: To keep your slime from drying out, store it in an airtight container or a resealable plastic bag. With clean hands and good storage, it can last for a week or more. If it starts to look or smell funky, it’s time to toss it.
- Cleanup: For spills on tables or floors, white vinegar works wonders to dissolve slime. Same goes for getting it out of hair or clothes. And whatever you do, never wash large amounts of slime down the drain. It can cause serious clogs. I promise, you don’t want to call a plumber over a slime incident. Always throw old slime in the trash.
And there you have it. You’re officially armed with the knowledge to go from a beginner to a slime pro. Have fun, get creative, and make something awesome!


