Handmade Gifts That Don’t Look…Well, Handmade
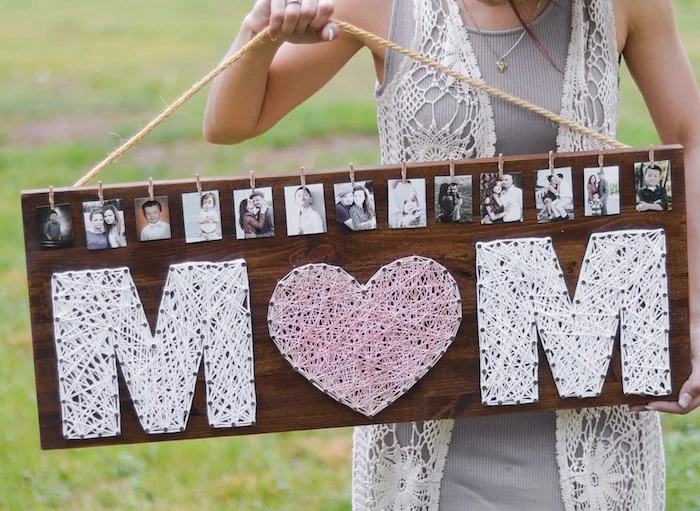
I’ve spent a lot of time behind a table at craft fairs and leading workshops, and the one question that always pops up, especially in the spring, is this: “How can I make a gift that actually feels special and looks good?” It’s a great question. So many of us want to give something from the heart, but we’re worried it’ll end up looking like a kid’s art project instead of a cherished keepsake.
In this article
Honestly, I get it. The desire to create something lasting, something that whispers about the time and care you poured into it, is a powerful one. I learned the real value of a handmade gift from my own mom. She wasn’t some famous artist, but she knew how to do things—mend a tear in my jeans, bake bread, keep a little garden alive. The gift wasn’t ever about a perfect, store-bought result. It was about the shared time, the work of our hands, and the story woven into the object.
That’s what this is all about. This isn’t just a list of cutesy, five-minute crafts. We’re going to dive deep into a few timeless projects, focusing on the techniques the pros use. We’ll talk about the right materials (and where to get them), the simple science that makes them work, and the little details that make all the difference. My goal is to give you the skills to create something you’re genuinely proud to give.
Making Your Own Botanical Goodies
Creating your own soaps, salves, or scented oils is a beautiful way to give a truly personal gift. It taps into a long tradition of home remedies and care. But let’s be real, it’s a bit more involved than just stirring some nice-smelling flowers into a jar. To make something that’s both safe and effective, you need to understand the basics of what you’re actually doing.
The Simple Science: Pulling Goodness from Plants
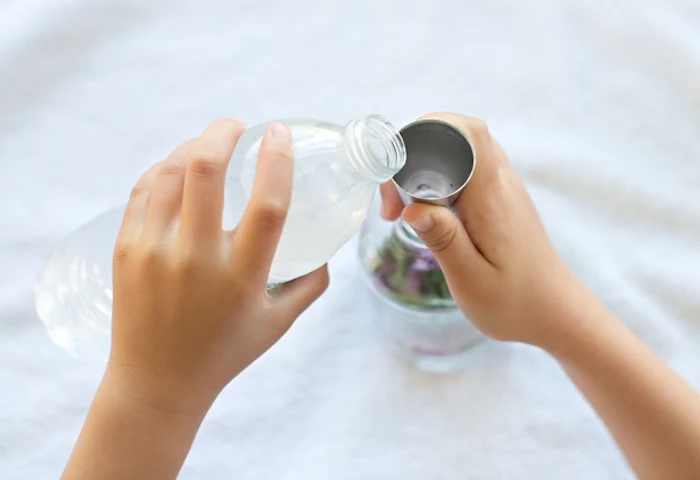
At its heart, making a botanical-infused oil is all about extraction. Think of it like making a really potent tea, but instead of using water, you’re using oil to pull out all the good stuff from the plants. The most common way to do this at home is a gentle, heated infusion. You slowly warm herbs like calendula or chamomile in a carrier oil (sweet almond or olive oil are great choices). The low, steady heat coaxes the plant’s beneficial compounds and lovely scents into the carrier oil. And I do mean low heat—if you get it too hot, you can actually destroy the very properties you’re trying to capture.
A balm or a salve is what happens next. It’s simply a mix of that infused oil and some wax. By melting beeswax into your infused oil and letting it cool, the wax solidifies and traps the oil in a smooth, spreadable matrix. The magic ratio? A good starting point is about 1 part beeswax to 4 parts oil by weight. That’s why a kitchen scale is your best friend here.
Project: A Soothing Calendula & Chamomile Salve
This is my absolute go-to recipe for a gentle, all-purpose healing salve. It’s fantastic for dry hands, rough spots, or minor skin irritations. The calendula and chamomile are well-known for their calming, skin-friendly properties.
What You’ll Need (The Shopping List):
- Digital Kitchen Scale: Non-negotiable for getting the ratio right. You can find one for $15-$20 on Amazon or at Target.
- Double Boiler: Or just a small saucepan with a heatproof glass bowl that fits on top.
- Cheesecloth or Fine-Mesh Strainer: For getting a perfectly smooth oil.
- Small Tins or Jars: 2 oz tins are perfect. Make sure they’re sterilized.
- Dried Herbs: 1/2 cup each of dried calendula and chamomile flowers. For high-quality, organic herbs, I recommend online shops like Mountain Rose Herbs. Expect to pay around $15-$20 for a bag that will last you many batches.
- Carrier Oil: 2 cups of a high-quality sweet almond or jojoba oil.
- Beeswax: 1/2 cup of beeswax pastilles (they melt way easier than a solid block). A local beekeeper is your best bet for quality, but you can also find good options online for about $10-$15 a pound.
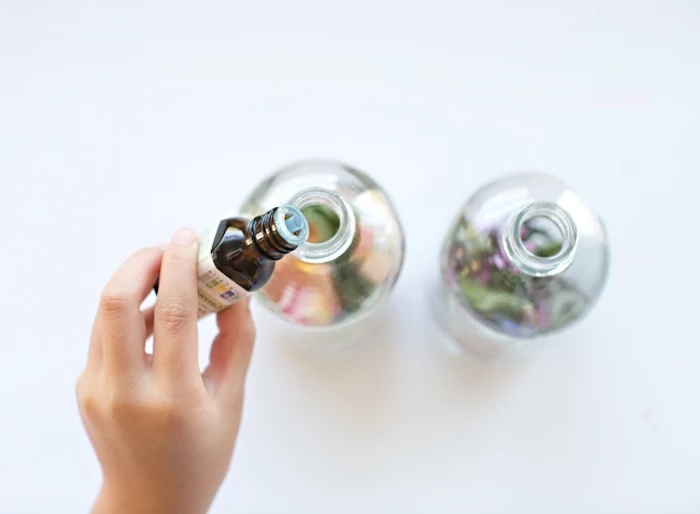
- Optional Scent: 10-15 drops of lavender essential oil for an extra calming boost.
The Slow-and-Steady Method:

- Infuse the Oil: Combine the dried flowers and your oil in the double boiler. Gently heat it over a low simmer for at least 2 to 4 hours. The oil should never bubble or smoke! You’re aiming for warmth, not frying. It should smell floral and lovely; a burnt smell means you’ve gone too far. (By the way, some people do a slow, no-heat infusion by just letting the herbs steep in oil in a sunny window for a few weeks.)
- Strain It Out: Let the oil cool a bit, then pour it through a cheesecloth-lined strainer into a clean bowl. Squeeze the cloth to get every last drop of that liquid gold.
- Make the Salve: Clean out your double boiler pot, then add the infused oil and the beeswax. Heat gently again, stirring until the beeswax is totally melted.
- Add the Scent: Take it off the heat and let it cool for a minute or two. If you add essential oils when the base is screaming hot, the scent will just evaporate. Now’s the time to stir in your lavender oil.
- Pour and Set: Carefully pour the liquid into your sterilized tins. Here’s a key tip: leave the lids off while they cool for several hours. This prevents condensation from forming, which can introduce water and spoil your beautiful salve.
A Few Pro-Tips to Keep in Mind:

- Shelf Life & Storage: If you keep water out of it, this salve should last a solid 6 to 12 months. Store it in a cool, dark place like a cabinet or drawer.
- Troubleshooting: Is your finished salve too hard? Gently remelt it and add a splash more oil. Too soft? Remelt and add a few more beeswax pastilles. It’s very forgiving!
- Safety First: Always label the tin with all the ingredients. It’s a thoughtful touch and super important for anyone with allergies. It’s also wise to recommend a small patch test on the inner arm, just in case.
- Get Creative: Once you’ve got the basic recipe down, feel free to experiment! Try adding a tablespoon of shea butter with the beeswax for an extra-creamy texture, or use peppermint oil for a cooling foot balm.
Crafting Jewelry That Lasts
A handmade necklace or bracelet is such a personal gift. But honestly, the difference between a kid’s craft and an artisan piece often boils down to the finishing. I learned this the hard way. I once sold a necklace at a fair, and the customer brought it back a week later because the clasp had failed. I was mortified. It forced me to learn the right way to secure jewelry from a seasoned pro, and it completely changed my work.
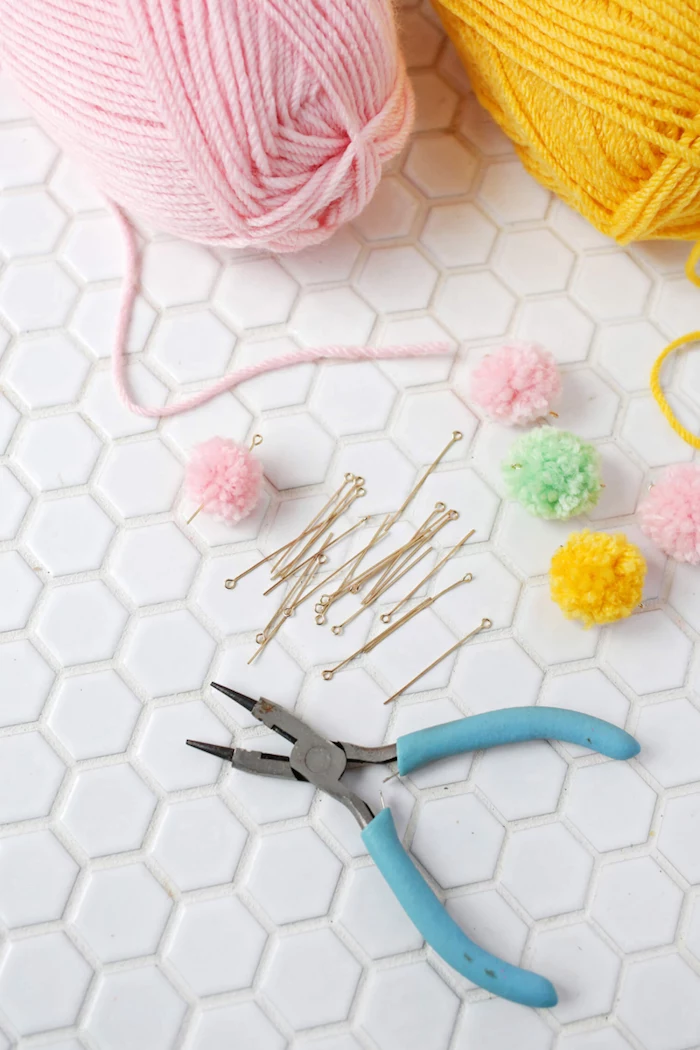
The Tools You Actually Need
You don’t need a massive workshop, but you do need three specific pairs of pliers. And please, don’t just grab pliers from the garage—their teeth will chew up your materials. For about $20-$30, you can get a decent starter set from a craft store or online.
- Chain-Nose Pliers: These have flat, smooth jaws that taper to a point. They’re your go-to for gripping things, making sharp bends, and opening/closing jump rings.
- Round-Nose Pliers: Both jaws are cone-shaped. Their only job is to make perfect, consistent loops in wire.
- Flush Cutters: These are for cutting wire. One side is flat, which gives you a clean, flush cut. Always have the flat side facing the part of the wire you’re keeping.
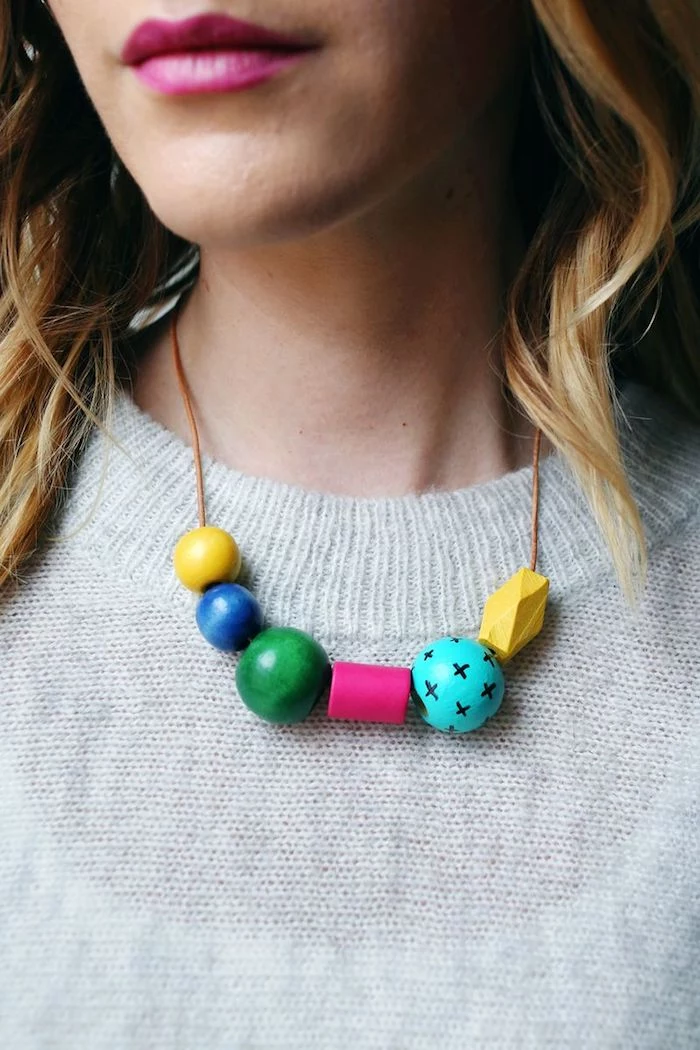
Project: A Perfectly Balanced Stone Bead Necklace
Let’s move beyond just stringing beads on a piece of leather. We’re going to use professional-grade beading wire and crimping techniques to make a necklace that is secure, drapes beautifully, and will last for years. Plan on this taking about 1-2 hours for your first time—patience is key!
Your Shopping List:
- Your three essential jewelry pliers
- A bead design board (this is optional, but for about $10 it’s a huge help for planning your layout)
- Flexible beading wire. Look for brands like Soft Flex or Beadalon. The 49-strand version is the best; it’s super flexible and strong. A good all-purpose size is the .019 inch diameter. A spool costs around $10-$15.
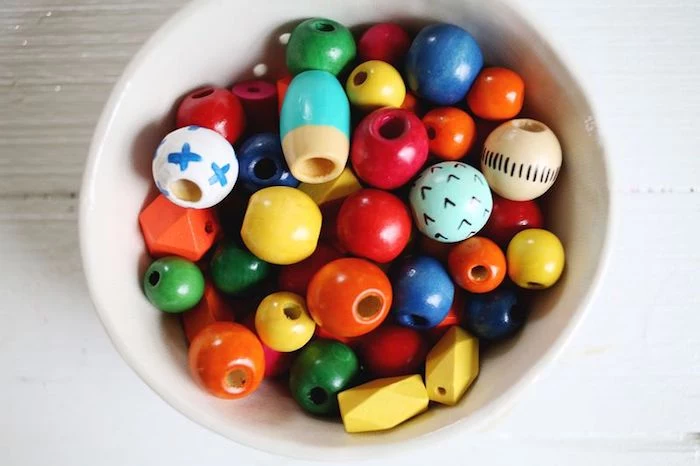
- Your beads! Pick a focal bead and some smaller complementary ones. A strand of nice stone beads can run anywhere from $8 to $25.
- 2x2mm crimp tubes and a quality clasp. You can get these at Fire Mountain Gems online or at a local bead shop.
- Optional: Crimp covers to hide the mechanics for a super-polished look.
The Professional Technique: Plan, Crimp, and Finish
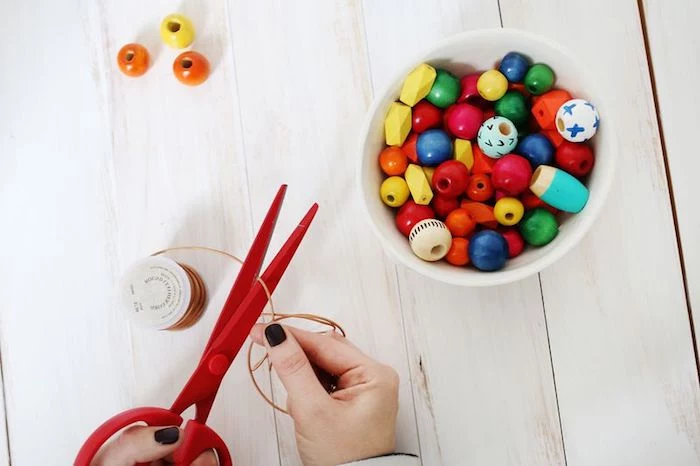
- Plan Your Design: Lay out your beads on the board or a towel. This is where you finalize your pattern and length. A standard necklace is about 18 inches, but it’s always best to measure. Remember your clasp will add about an inch.
- Cut Your Wire: Cut a piece of beading wire that’s about 5-6 inches longer than your final design. That extra length is your working room.
- Attach the First Clasp: On one end of the wire, thread on a crimp tube, then your clasp. Loop the wire’s end back down through the crimp tube, forming a small loop that holds the clasp.
- The Perfect Crimp: This is the most crucial step! Slide the crimp tube up toward the clasp, leaving a tiny bit of wiggle room. Use your chain-nose pliers to squash the tube flat. It needs to be TIGHT. Give it a good tug to make sure it’s secure.
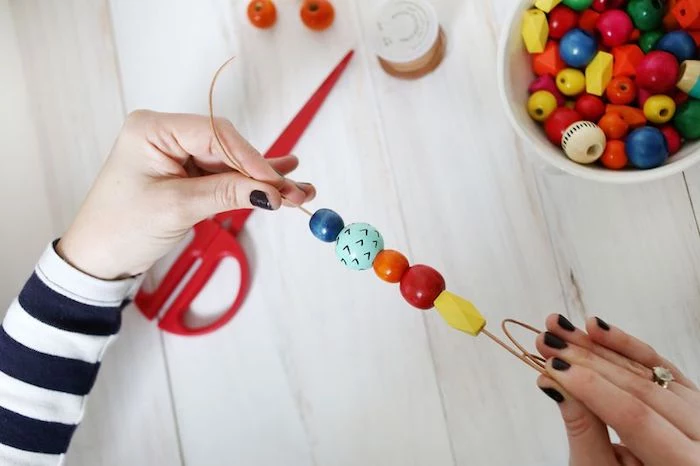
- String ‘Em Up: Thread that little tail of wire through your first few beads to hide it, then string all your beads in the pattern you designed.
- Finish the Other Side: Once all beads are on, thread on your second crimp tube and the other half of the clasp. Loop the wire back down through the crimp tube and the last 3-4 beads. Gently pull the wire to remove slack, but don’t pull it so tight that the necklace is stiff—it needs to drape naturally. Crimp this tube just like the first one, then use your flush cutters to trim the excess wire as close as possible.
- The Final Touch: If you have crimp covers, use your chain-nose pliers to gently squeeze one over each crimp. It makes the connection look just like another little silver bead.
A Common Mistake to Avoid: When you open a jump ring (the little circle that often connects the clasp), never pull it apart. Instead, use two pairs of pliers to twist it open sideways. This preserves its shape and strength. Twist it back the same way to close it.
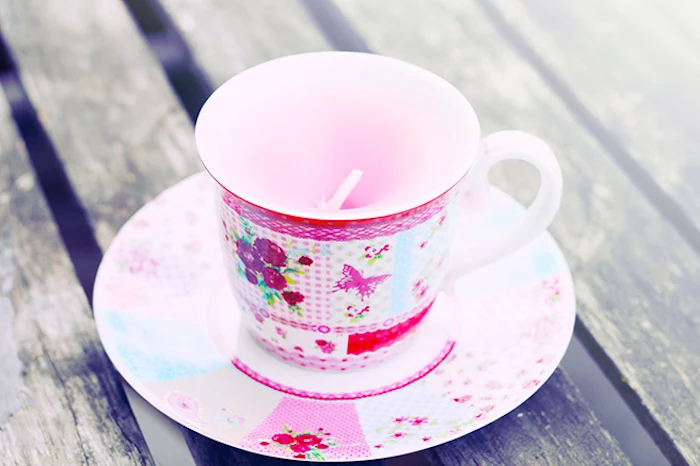
Decorating Ceramics for a Lasting Memory
A hand-painted mug is such a classic gift. But who hasn’t felt the sting of disappointment when their beautiful design washes right off in the sink? The problem is almost always the paint. Real ceramic decoration requires a kiln that fires at mind-bogglingly high temperatures. Since most of us don’t have one of those in the garage, we need to use the right kind of paint for the job.
The Right Stuff: Curing vs. Firing
Let’s get straight to it: the paints you find in most craft aisles are not true ceramic glazes. They’re special acrylic-based pigments made to stick to a smooth surface like a mug. Forget the ones that just air-dry; they’re fine for decorative plates you’ll never eat off of, but they won’t survive a wash.
What you need are heat-set enamels. These are the game-changers. After you paint your design, you bake the piece in your regular home oven. The heat cures the paint, forming a hard, durable bond with the ceramic. When done right, these can even be top-rack dishwasher safe.

HEADS UP! A Critical Note on Food Safety:
This is really important. Read the paint label carefully and ONLY use paints that are explicitly labeled as non-toxic and food-safe after curing. Even then, the best practice is to never paint on any surface that will directly touch food or a person’s mouth. So, keep your design on the outside of the mug and at least an inch down from the rim.
Project: A Truly Permanent Personalized Mug
Your Shopping List:
- A blank ceramic mug: You can get these for a few bucks at places like Target or a dollar store.
- Heat-set ceramic paints: Look for brands like Pebeo Porcelaine 150 or FolkArt Enamels. A small bottle costs between $3 and $5 and will last for multiple projects.
- Rubbing alcohol and cotton balls.
- Good quality paint brushes.
The Simple Steps to a Pro Finish:
- Prep is Everything: Wash and dry the mug thoroughly. Then, give the entire surface a wipe-down with rubbing alcohol on a cotton ball. This removes any finger oils and ensures the paint will stick perfectly.
- Paint Your Design: Have fun with it! If you’re nervous about free-handing, you can use a pencil to lightly sketch your design first—it will burn off in the oven. You can also use painter’s tape to create crisp, straight lines.
- Let It Dry: Let the paint air-dry for a full 24 hours. Don’t rush this step. It allows the paint to settle before it gets baked.
- Bake to Cure: This part is key. Place your mug in a COOL oven—do not preheat it! Close the door, set the temperature to what the paint bottle recommends (usually around 300-350°F), and let it bake for about 30-35 minutes. When the time is up, turn the oven OFF and leave the mug inside to cool down completely with the oven. This slow heating and cooling prevents the ceramic from cracking due to thermal shock.
And that’s it. You’ve just created a beautiful, durable, and completely personal gift that will actually last. It’s more than just an object; it’s a story you can hold in your hands.
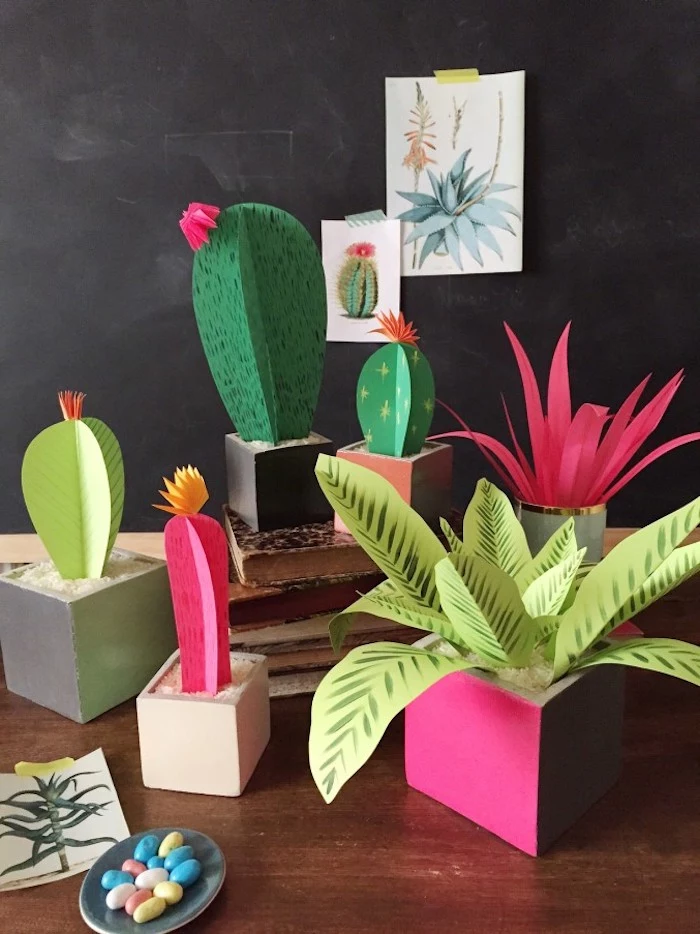
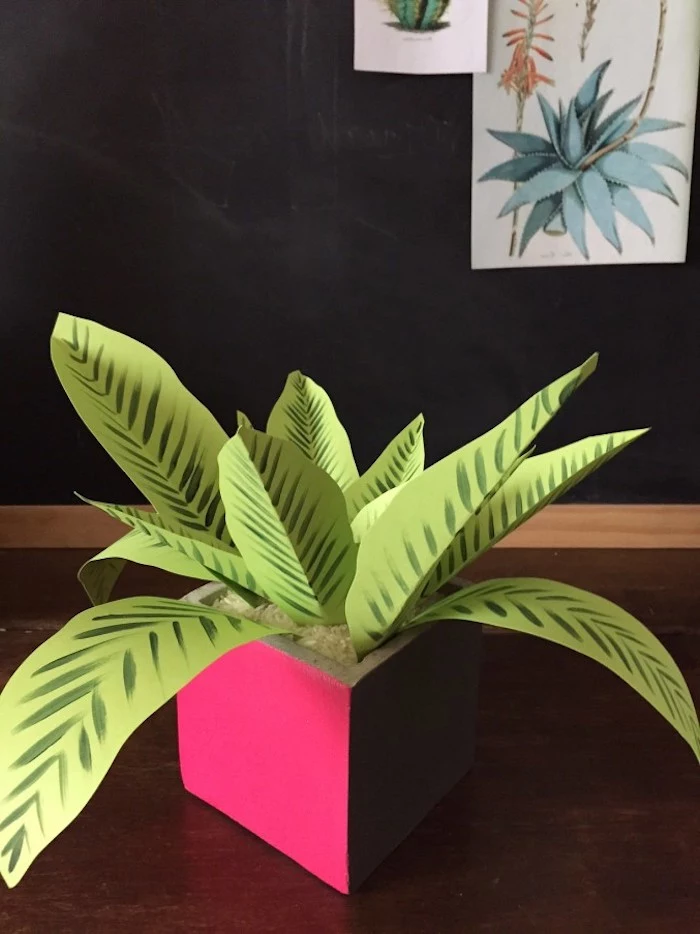
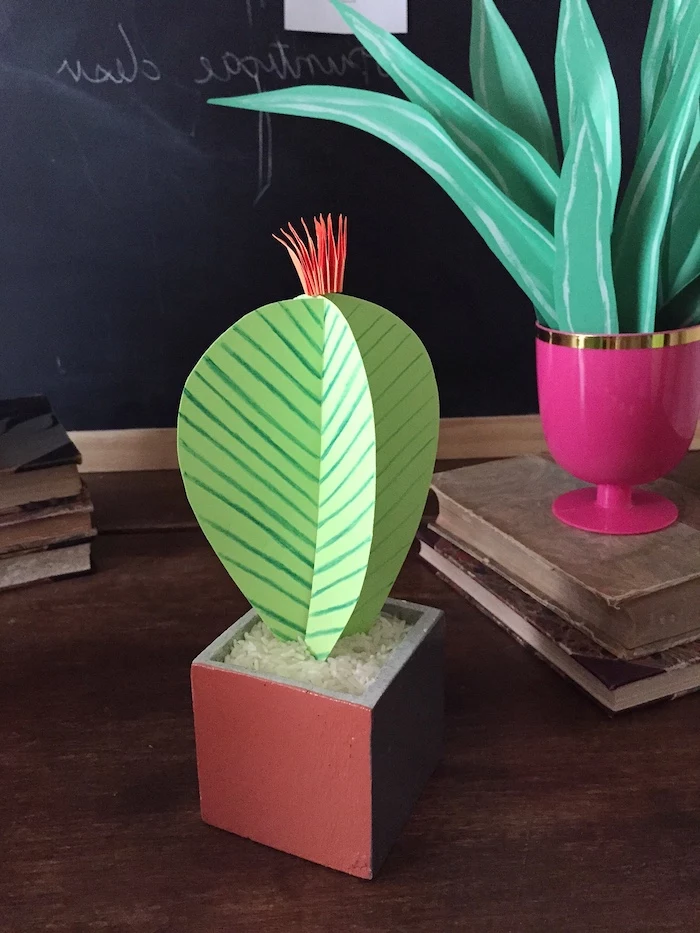
Inspirational Gallery
The small details often make the biggest difference. For any jewelry project, from beaded necklaces to leather bracelets, invest in quality findings. A well-made clasp or jump ring from a brand like Beadalon not only looks more professional but also ensures the piece will last. It’s the equivalent of putting good buttons on a handmade shirt.
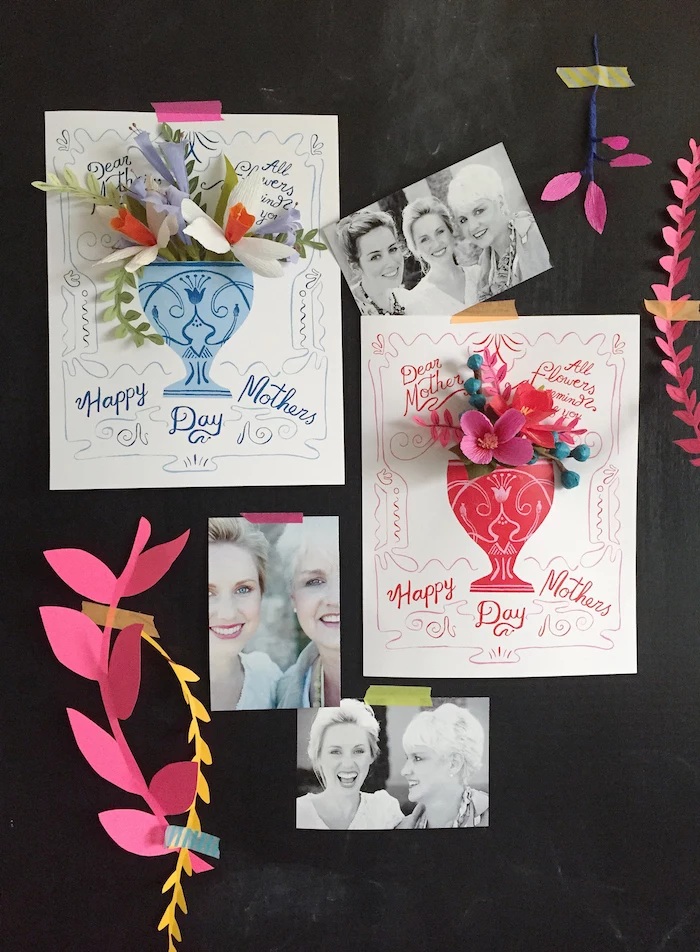
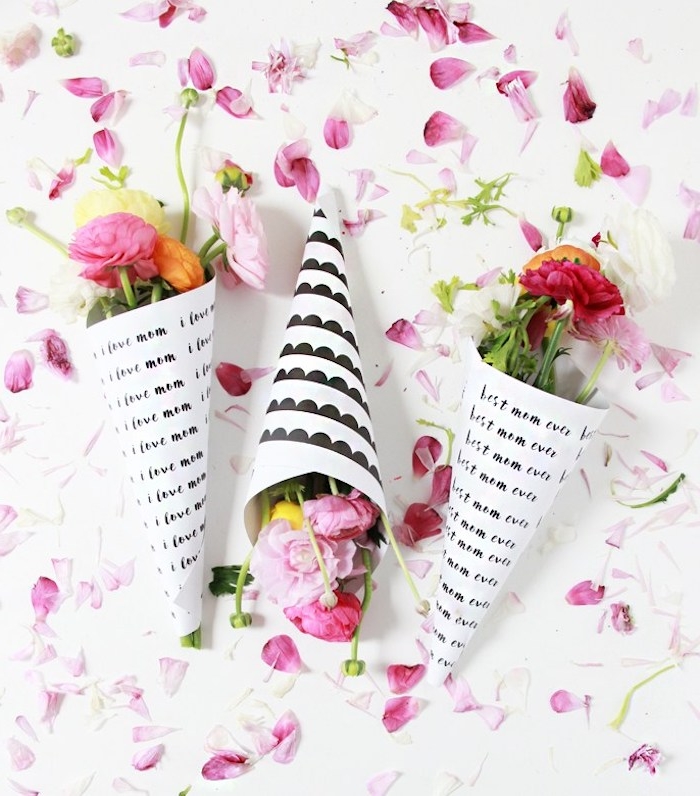
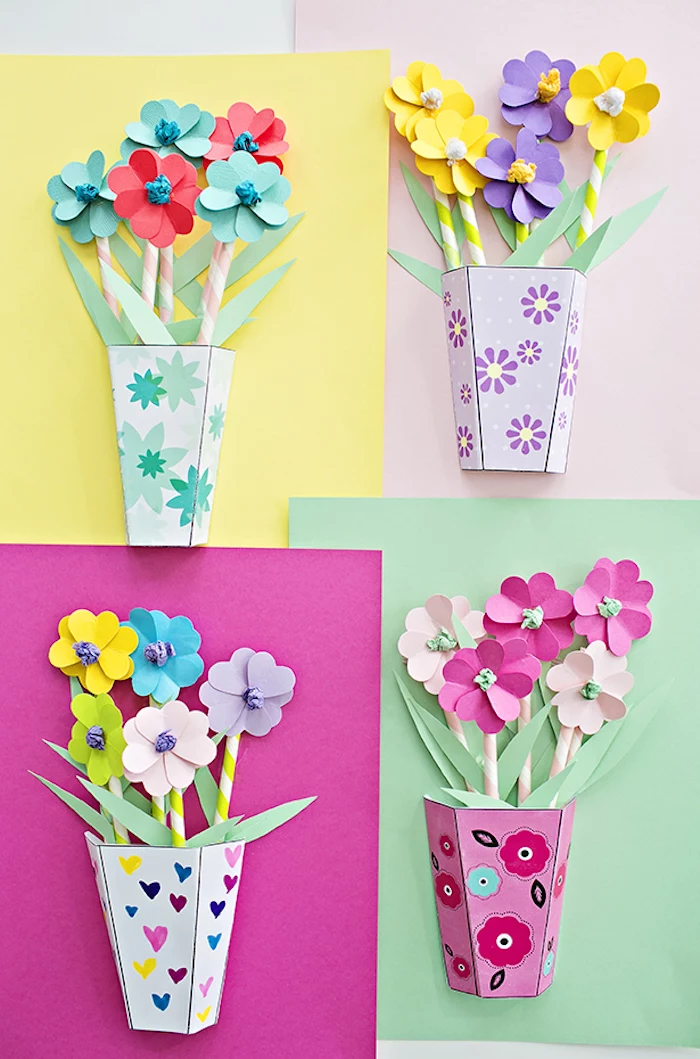
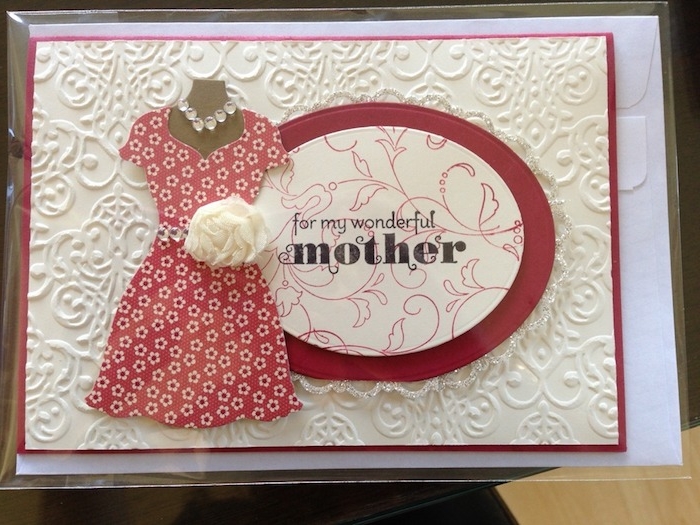
The secret to professional-looking paper goods: It’s all in the paper’s weight. For cards or gift tags that feel substantial and luxurious, look for cardstock that is at least 100 lb / 270 GSM (grams per square meter). Brands like G.F Smith or French Paper Company offer incredible color palettes and textures that instantly elevate a simple design.
- Sand the edges of wooden or clay items until they are perfectly smooth.
- Apply a subtle, protective sealant to coasters or beads.
- Polish any metal components until they shine.
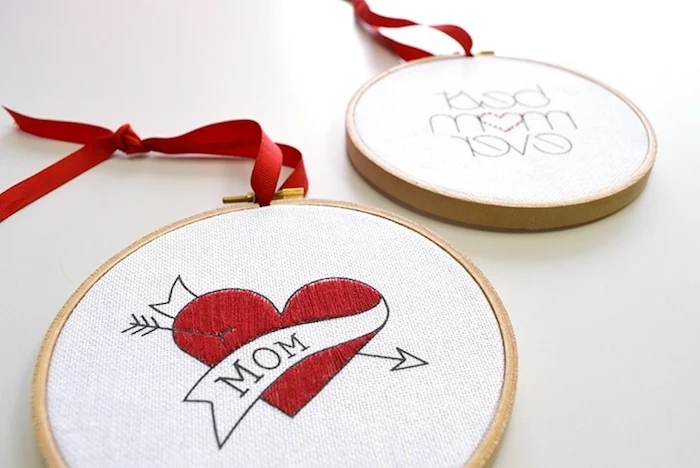
- Press your finished fabric items, like embroidered pouches, with an iron.
These final steps are what separate a ‘craft project’ from a ‘handcrafted gift’.

My polymer clay creations look a bit dull. How do I get that glossy, professional finish?
The magic happens after baking. Start by wet-sanding your piece with progressively finer grits of sandpaper (from 400 up to 2000) to remove fingerprints and imperfections. Then, use a rotary tool with a soft buffing wheel to bring out a natural, satin sheen. For a high-gloss, glass-like finish, apply a thin coat of a dedicated polymer clay varnish like Sculpey Gloss Glaze.

Presentation is half the gift. Instead of disposable paper, consider these elevated wrapping techniques:
- Furoshiki: Use a beautiful piece of fabric, like a silk scarf or linen tea towel, to wrap the gift using the traditional Japanese art of fabric folding.
- Botanical Accents: Tuck a sprig of dried lavender, eucalyptus, or a single fresh flower under a simple twine ribbon.
- Wax Seals: A personalized wax seal on a simple kraft paper wrapping adds a touch of old-world elegance and intention.
Vegetable-Tanned Leather Cord: Natural, stiff at first but softens beautifully with age, developing a rich patina. Perfect for classic, minimalist pieces that will be worn for years.
Waxed Cotton Cord: More casual, flexible, and available in a huge range of colors. It’s waterproof and great for adjustable macrame-style closures or layered bracelets.
For a gift meant to last a lifetime, veg-tanned leather is the premium choice; for colorful, trendy items, waxed cotton is ideal.

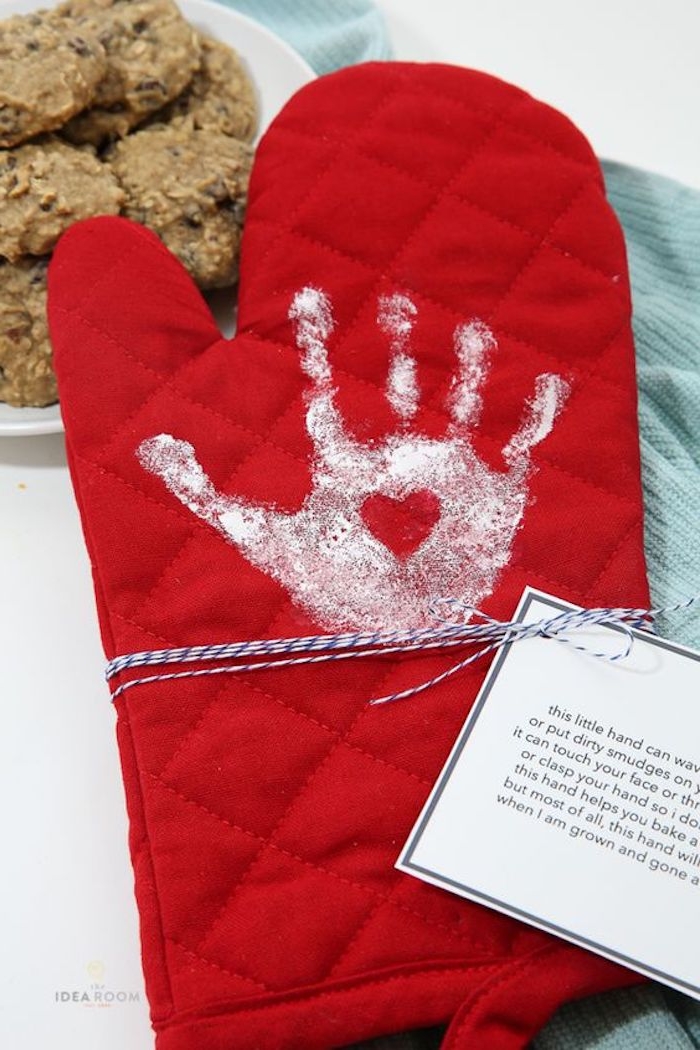
A 2016 study in the Journal of Marketing found that givers of handmade gifts feel a special connection—a concept they call ‘love personalization.’
This means the effort and thoughtfulness you pour into the creation process are actually transmitted to the recipient. They don’t just receive an object; they receive a tangible piece of your time and care, which makes the gift feel significantly more meaningful than a store-bought equivalent.

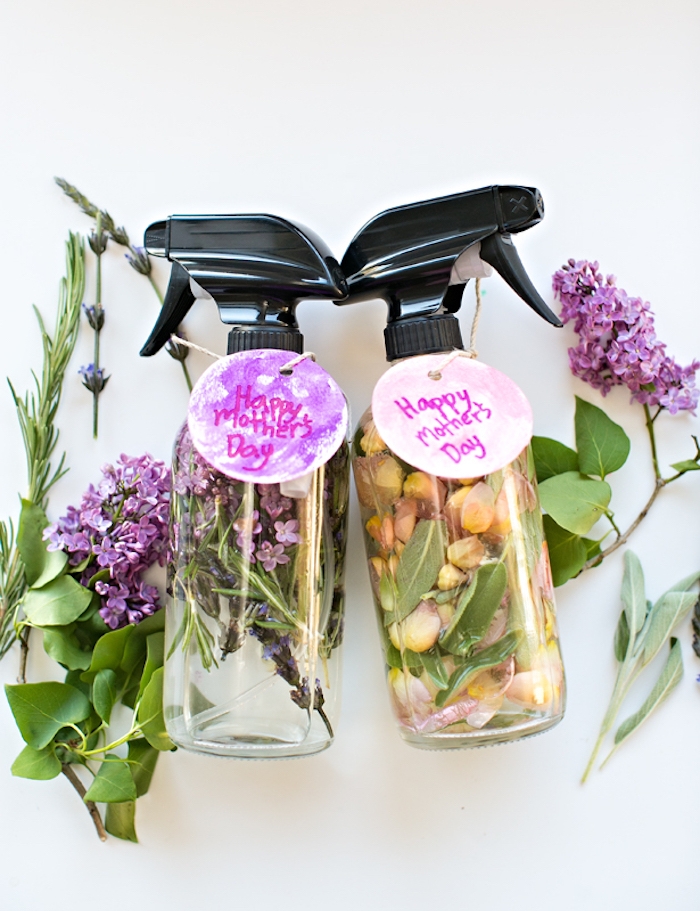
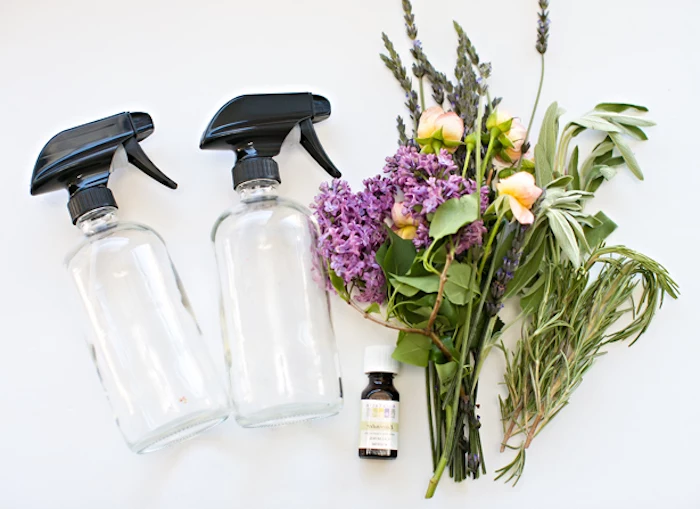
Creating a ‘signature scent’ for a homemade room spray or oil diffuser blend is easier than you think. Start with a simple 3-2-1 formula. Combine 3 parts of a top note (like sweet orange or lemon), 2 parts of a middle note (like lavender or geranium), and 1 part of a base note (like cedarwood or frankincense) with distilled water or a carrier oil.
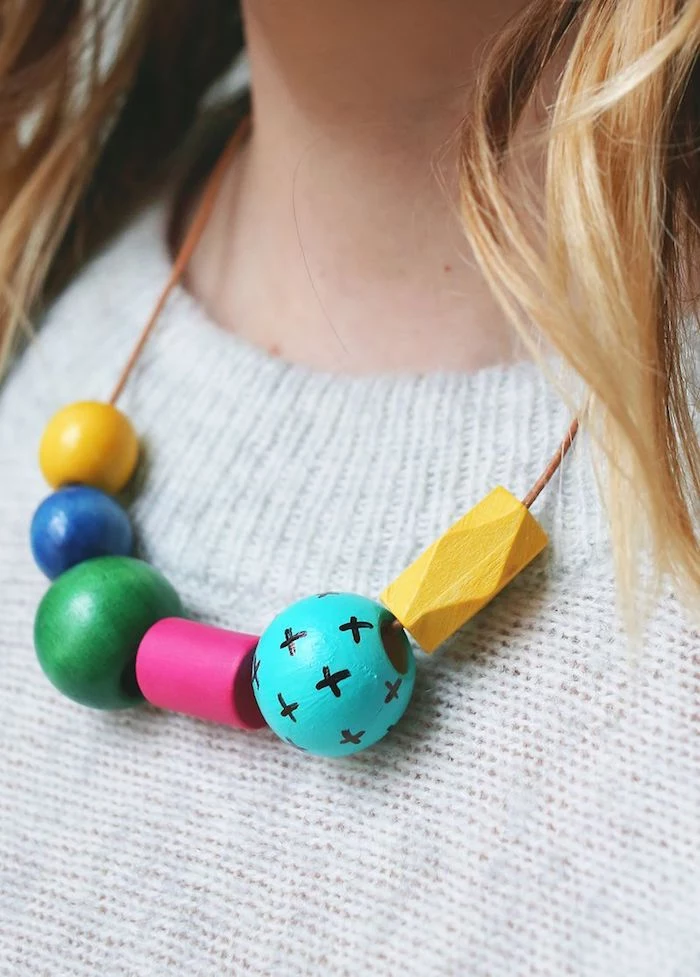
- It makes wooden beads resistant to moisture and smudging.
- It brings out the natural depth and grain of the wood.
- It provides a durable, non-toxic, and skin-safe finish.
The secret? A simple wipe-on coat of pure Tung oil or a beeswax/mineral oil blend, which seals and protects the wood beautifully.
Don’t skip the prototype. Before you cut into that expensive piece of leather or use your prized Japanese paper, do a full test run. Use cheaper materials like craft foam instead of leather, or printer paper instead of cardstock. This allows you to perfect the pattern, check the dimensions, and anticipate tricky steps without risking your best supplies.
On Etsy, searches for ‘personalized gift’ and ‘custom gift’ have historically increased by over 100% in the months leading up to major holidays.
The beauty of the Japanese philosophy of Wabi-Sabi is its embrace of imperfection. When you’re making something by hand, don’t despair over a slightly uneven stitch or a smudge in the glaze. These unique marks are signs of the human hand, telling the story of the object’s creation and making it truly one-of-a-kind.
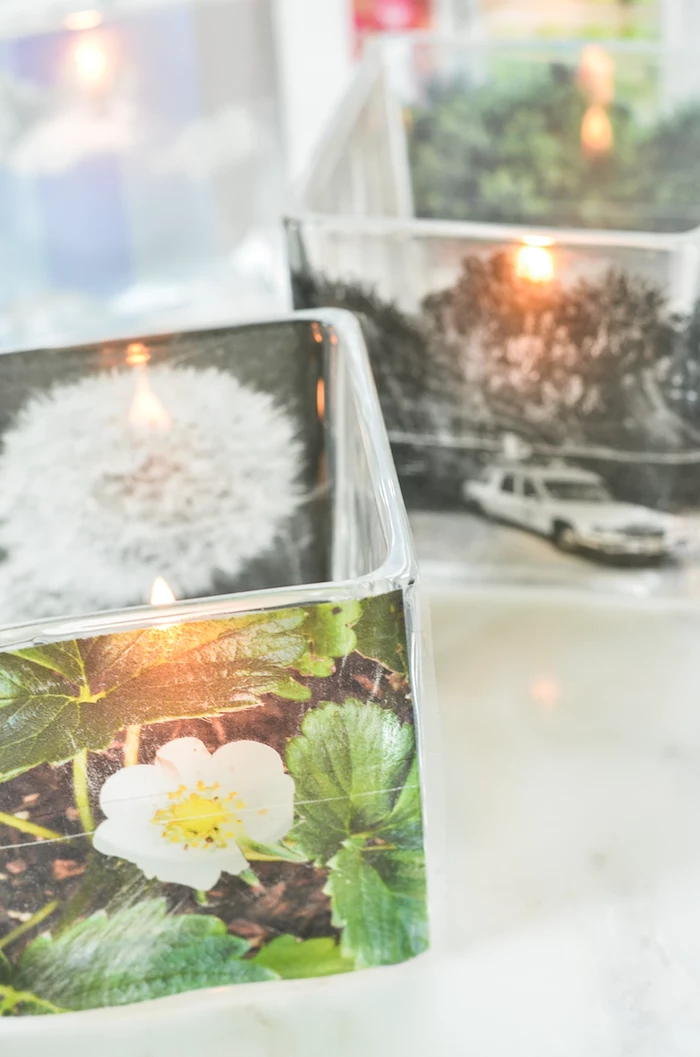
To create candles that look and burn like those from a high-end boutique, two things are key. First, use a natural wax like soy or a coconut-soy blend for a cleaner, longer burn than traditional paraffin. Second, choose the right wick. Use an online wick calculator or the supplier’s guide (like those from CandleScience) to match the wick size precisely to your container’s diameter for an even melt pool.

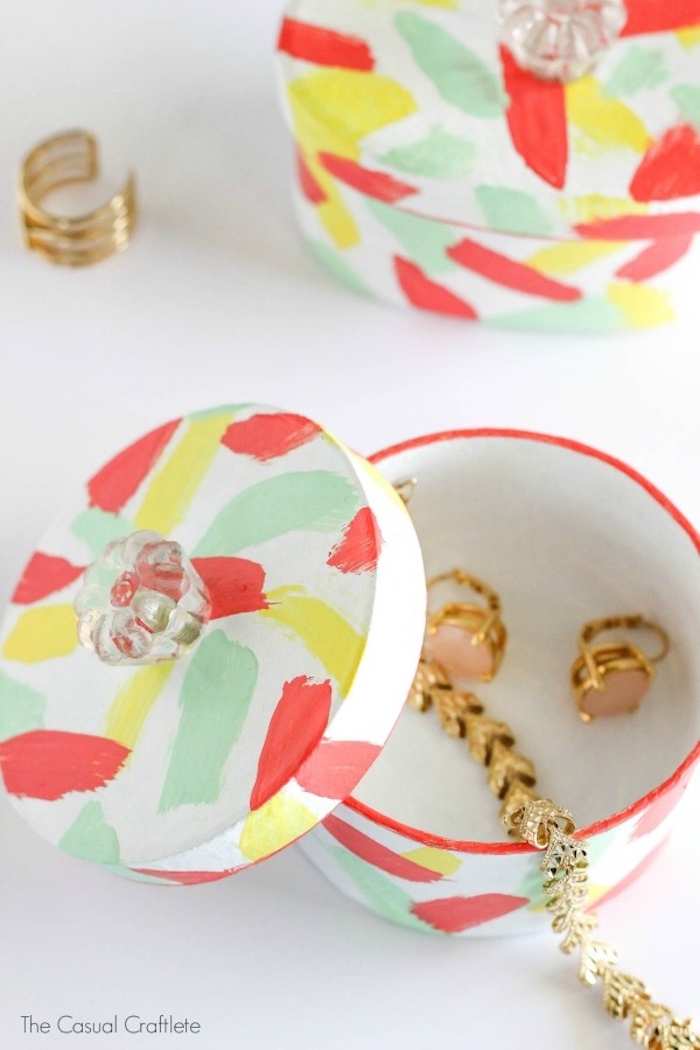
Air-Dry Clay: Inexpensive and easy to work with—no baking required. It’s perfect for decorative objects like trinket dishes or ornaments. It must be sealed with a varnish (like Mod Podge) to have any water resistance and remains more fragile.
Polymer Clay: Requires baking in a home oven but cures into a hard, durable, and waterproof plastic. It’s the superior choice for anything that needs to be durable, like jewelry, keychains, or coasters.
Giving a set of personalized stationery is a timeless gift. You don’t need to be a calligraphy expert. Invest in a beginner-friendly brush pen, like the Tombow Fudenosuke Hard Tip, and practice a simple, elegant script for the recipient’s initial or name. Paired with high-quality envelopes, it’s a gift that feels both personal and incredibly chic.
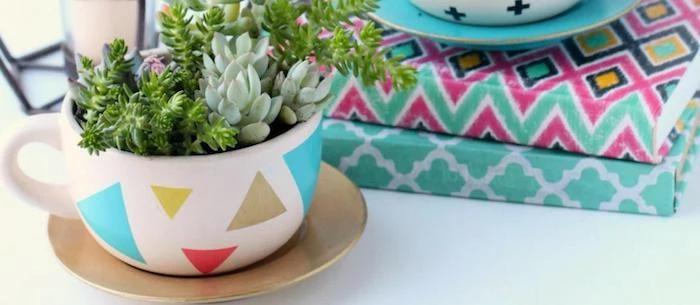
- Crisp, sharp geometric lines.
- Perfectly painted color blocks.
- No bleeding or smudging.
The trick is simpler than you think: use high-quality painter’s tape (like FrogTape) to mask off your design on a wooden tray, ceramic pot, or canvas pouch before painting. Peel it off before the paint fully dries for the cleanest edge.

Where to Spend Your Crafting Budget:
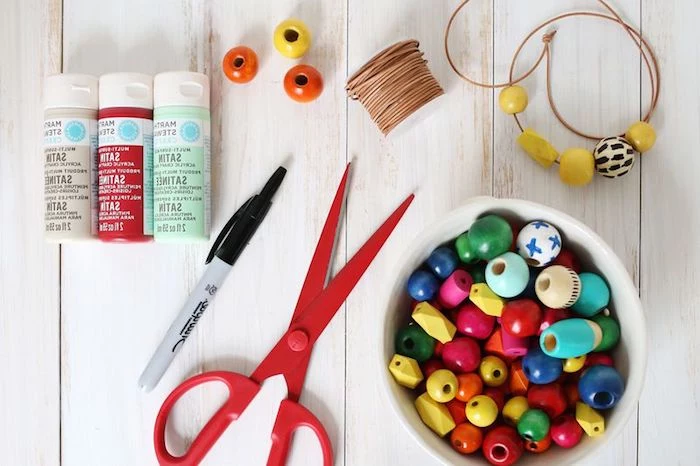
- Splurge on… The parts people touch. Quality jewelry clasps, smooth leather cord, and high-grade essential oils make a noticeable difference. Good tools, like a sharp rotary cutter or quality pliers, will also make the process easier and the result cleaner.
- Save on… Practice materials. Use scrap fabric or cheaper beads for your trial runs. Look for secondhand items like ceramic dishes or wooden boxes at thrift stores that can be beautifully upcycled.
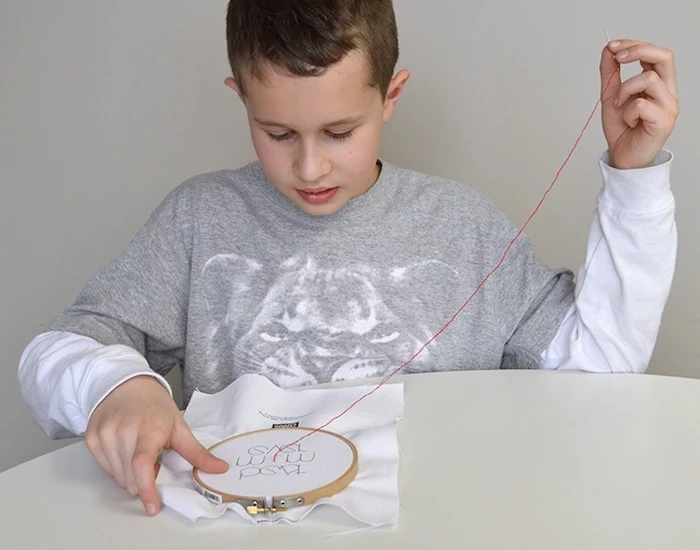
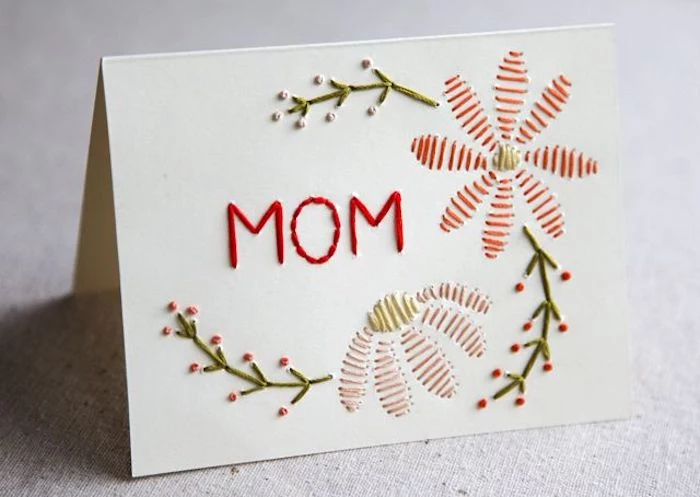
The word ’embroidery’ comes from the Old French ‘broderie,’ meaning embellishment, and has been practiced across cultures for millennia, from ancient China to Viking-age Scandinavia.
When you embroider a simple line design onto a linen bag or handkerchief, you’re not just decorating it; you’re participating in a rich, global history of adding beauty and meaning to everyday objects.

How do I choose the right glue for a project with mixed materials?
It’s crucial for a professional, lasting finish. For bonding non-porous surfaces like metal to glass or plastic to ceramic, a heavy-duty industrial adhesive like E6000 is the go-to for crafters. It dries clear and flexible. For paper and wood, a simple PVA glue works well. For instant bonds, a gel-based super glue provides more control than a liquid one.
Embarking on a new craft project should be a sensory pleasure. Take a moment to appreciate the materials themselves: the earthy smell of air-dry clay, the cool weight of glass beads in your hand, the subtle scent of beeswax, the satisfying sound of sharp scissors slicing through thick paper. This mindful approach infuses the process itself with joy, which will radiate from the finished gift.
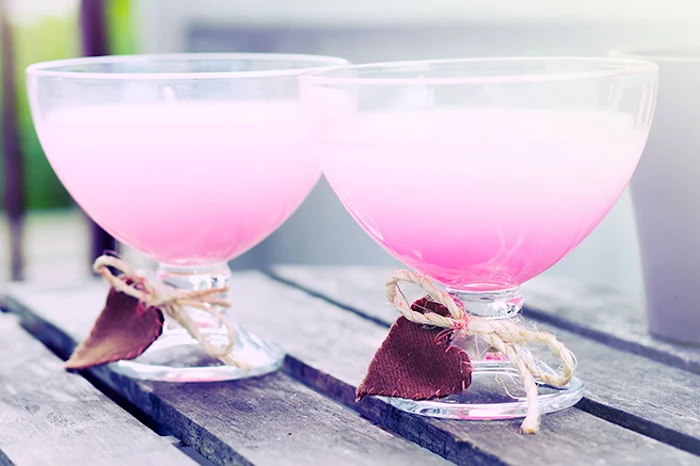
Want to dye your own yarn or fabric gift wrap? You can create stunning, subtle colors using kitchen scraps.
- Avocado Pits & Skins: Create dusty, millennial pinks.
- Yellow Onion Skins: Yield a range of yellows, golds, and rusty oranges.
- Black Tea: Provides a perfect antique beige for a vintage look.
Simply simmer the materials in water, strain the liquid, and add your pre-mordanted natural fabric (like cotton or wool).

DMC Mouliné Étoile: This premium floss has a delicate sparkle woven in, perfect for adding a touch of magic to a celestial or festive design without being overtly glittery.
Anchor Cotton Floss: Known for its exceptional softness and smooth finish, this brand is a pleasure to stitch with and gives a classic, matte look to your embroidery projects.
For a subtle shimmer, choose Étoile. For a timeless, classic feel, Anchor is a reliable and beautiful choice.

Did you know? The essential oil from a single rose is made from the petals of approximately 60,000 roses, making it one of the most precious botanical extracts in the world.
When creating your own infused oils or scents, this highlights the value of the process. You are capturing the potent essence of a plant, concentrating its beauty into a gift that can be enjoyed long after the flowers would have faded.
The tools for making simple leather goods are surprisingly accessible. You don’t need a massive workshop. For small projects like keychains, cord organizers, or luggage tags, a basic starter kit is enough.
- A self-healing cutting mat
- A sharp rotary cutter or craft knife
- A metal ruler
- A leather hole punch
- Waxed thread and two needles for a simple saddle stitch


