Skip the Store: How to Make Potent Peppermint-Infused Oil at Home
I get this question all the time: “How can I make peppermint essential oil in my kitchen?” I always smile, because it’s a great question that gets to the heart of a common mix-up. What we can realistically make at home isn’t a true essential oil—that requires some serious industrial equipment—but a gorgeous, potent peppermint-infused oil. And honestly, it’s one of the most useful and rewarding things you can create yourself.
In this article
True essential oils are made through steam distillation, a process that uses hundreds of pounds of plant material just to get one of those tiny, expensive bottles. It’s a whole different ballgame.
What we’re doing here is much more ancient and accessible. We’re using a carrier oil (like almond or jojoba) to pull all the good stuff directly from the peppermint leaves. The final product is gentler than an essential oil but still incredibly effective for things like soothing sore muscles or easing a tension headache. Let’s dive in and do it right.
First, Your Shopping List
Before you start, let’s make sure you have everything. Nothing’s worse than getting halfway through a project and realizing you’re missing something. Here’s a quick rundown:
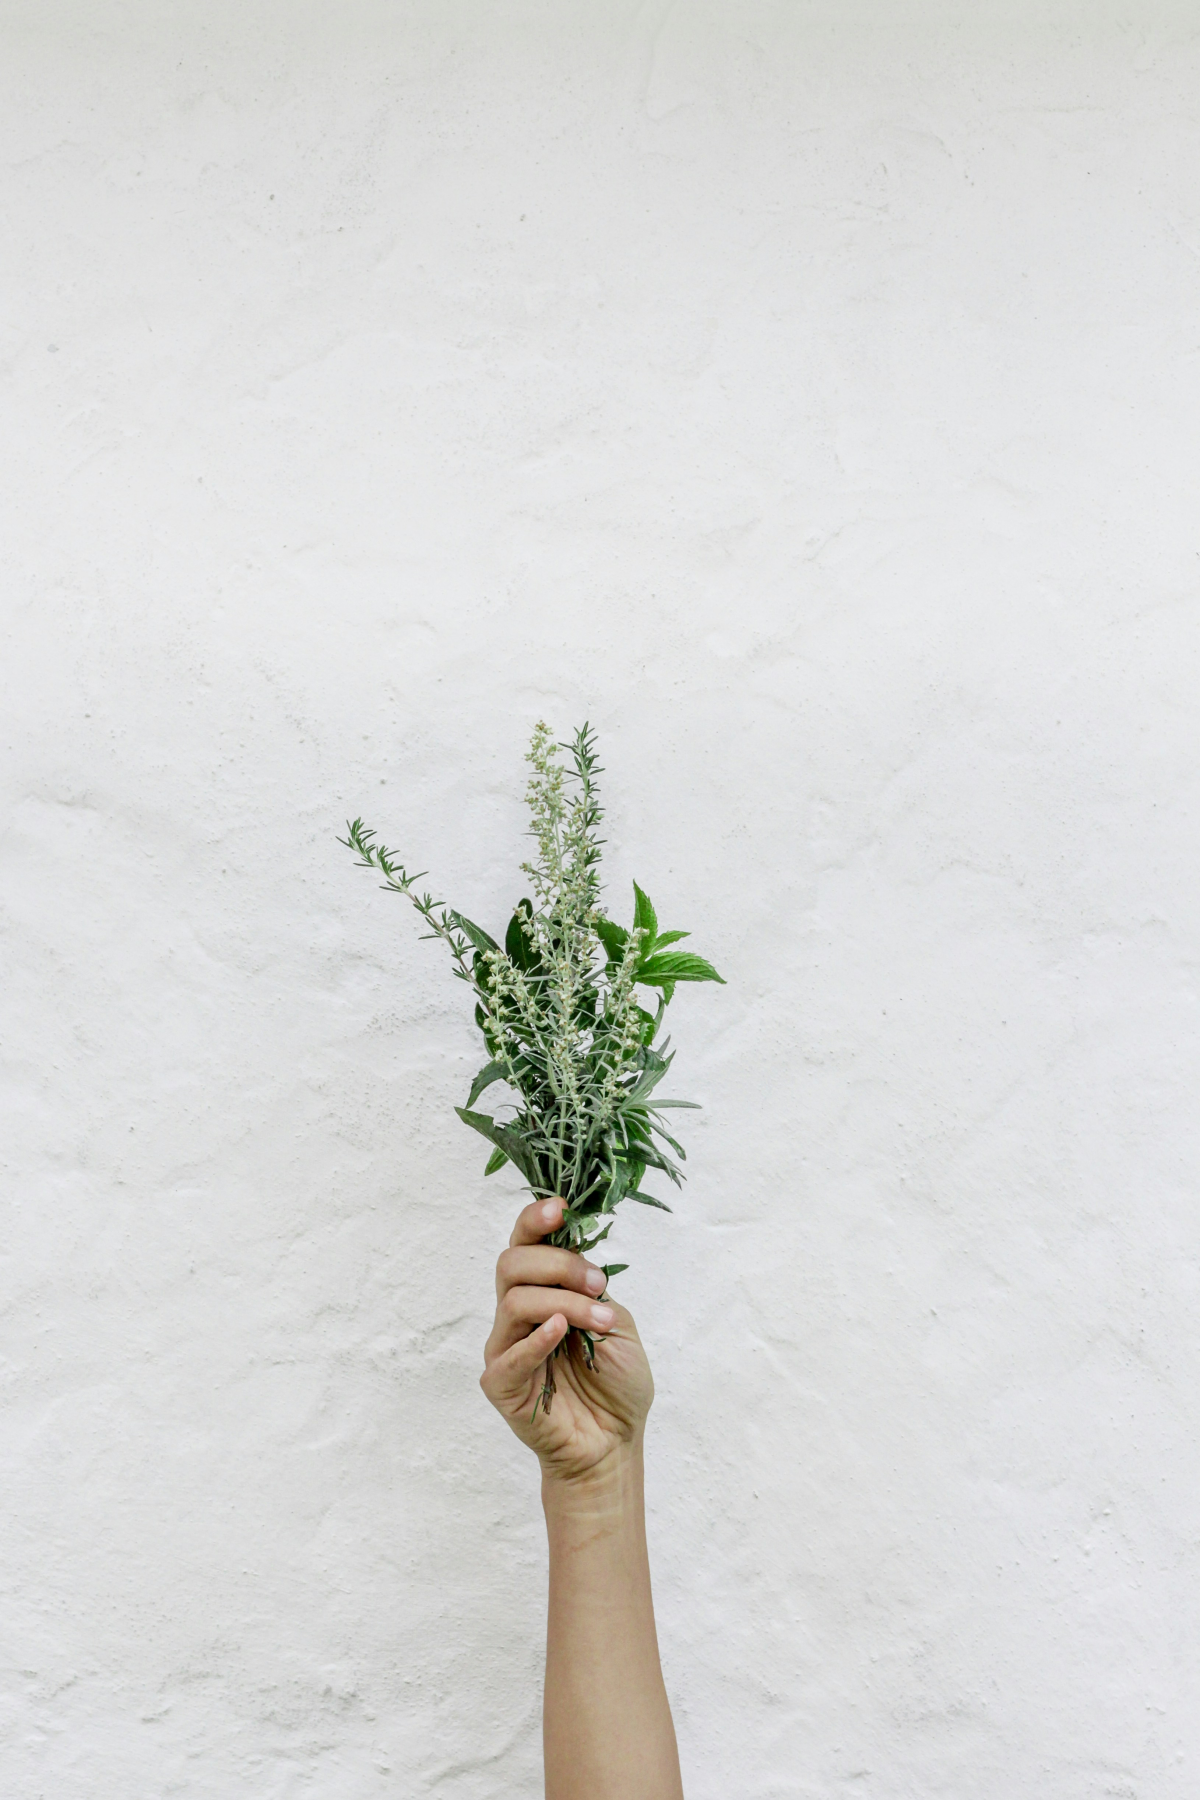
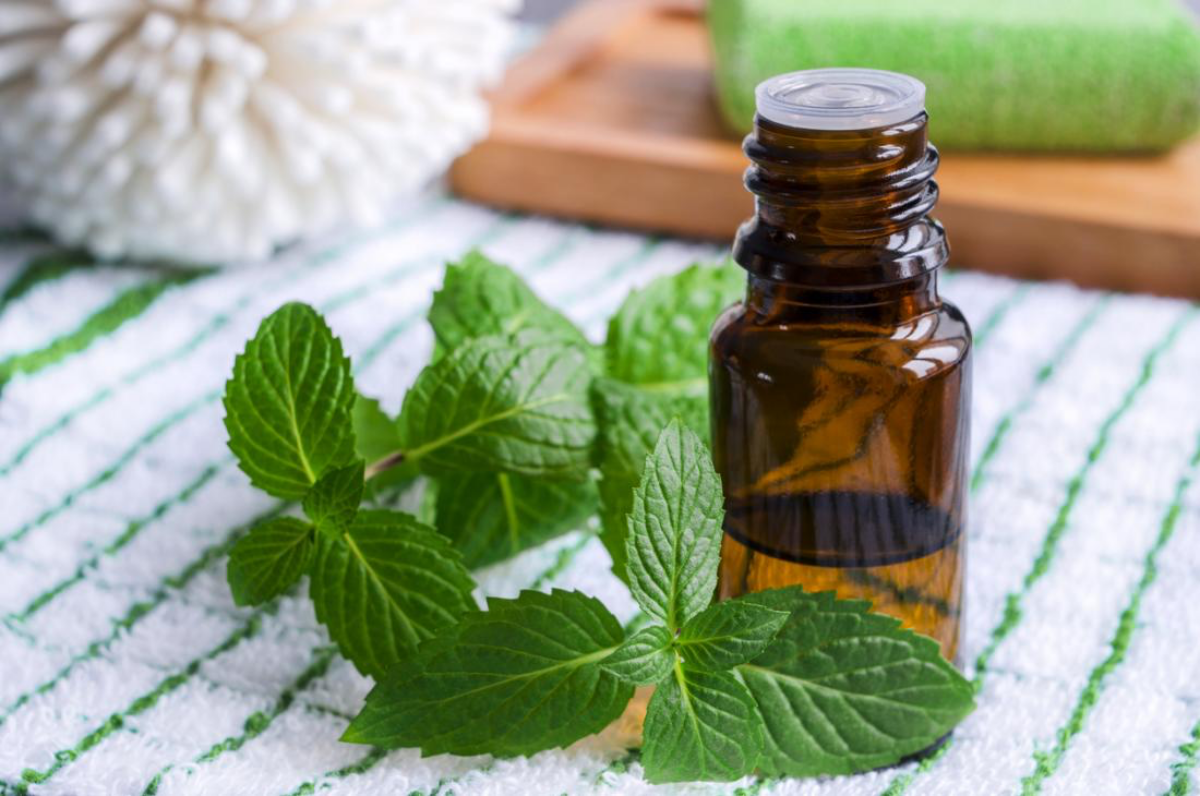
- Peppermint Leaves: Fresh is absolutely best. If you have a garden, you’re golden. If not, check a local farmer’s market. You’ll want a big bunch, about 3-4 loosely packed cups. (We’ll talk about using dried mint in a bit!)
- Carrier Oil: This will be the base of your infusion. You’ll need about 2 cups. The price varies wildly depending on what you choose, from about $8 for a bottle of grapeseed oil to $15-$20 for high-quality jojoba oil.
- A Glass Jar: A clean, completely dry 16oz (pint-sized) mason jar with a tight-fitting lid is perfect.
- Straining Supplies: You’ll need a simple fine-mesh kitchen strainer and some cheesecloth or a nut milk bag. You can find cheesecloth at most grocery stores for a few bucks.
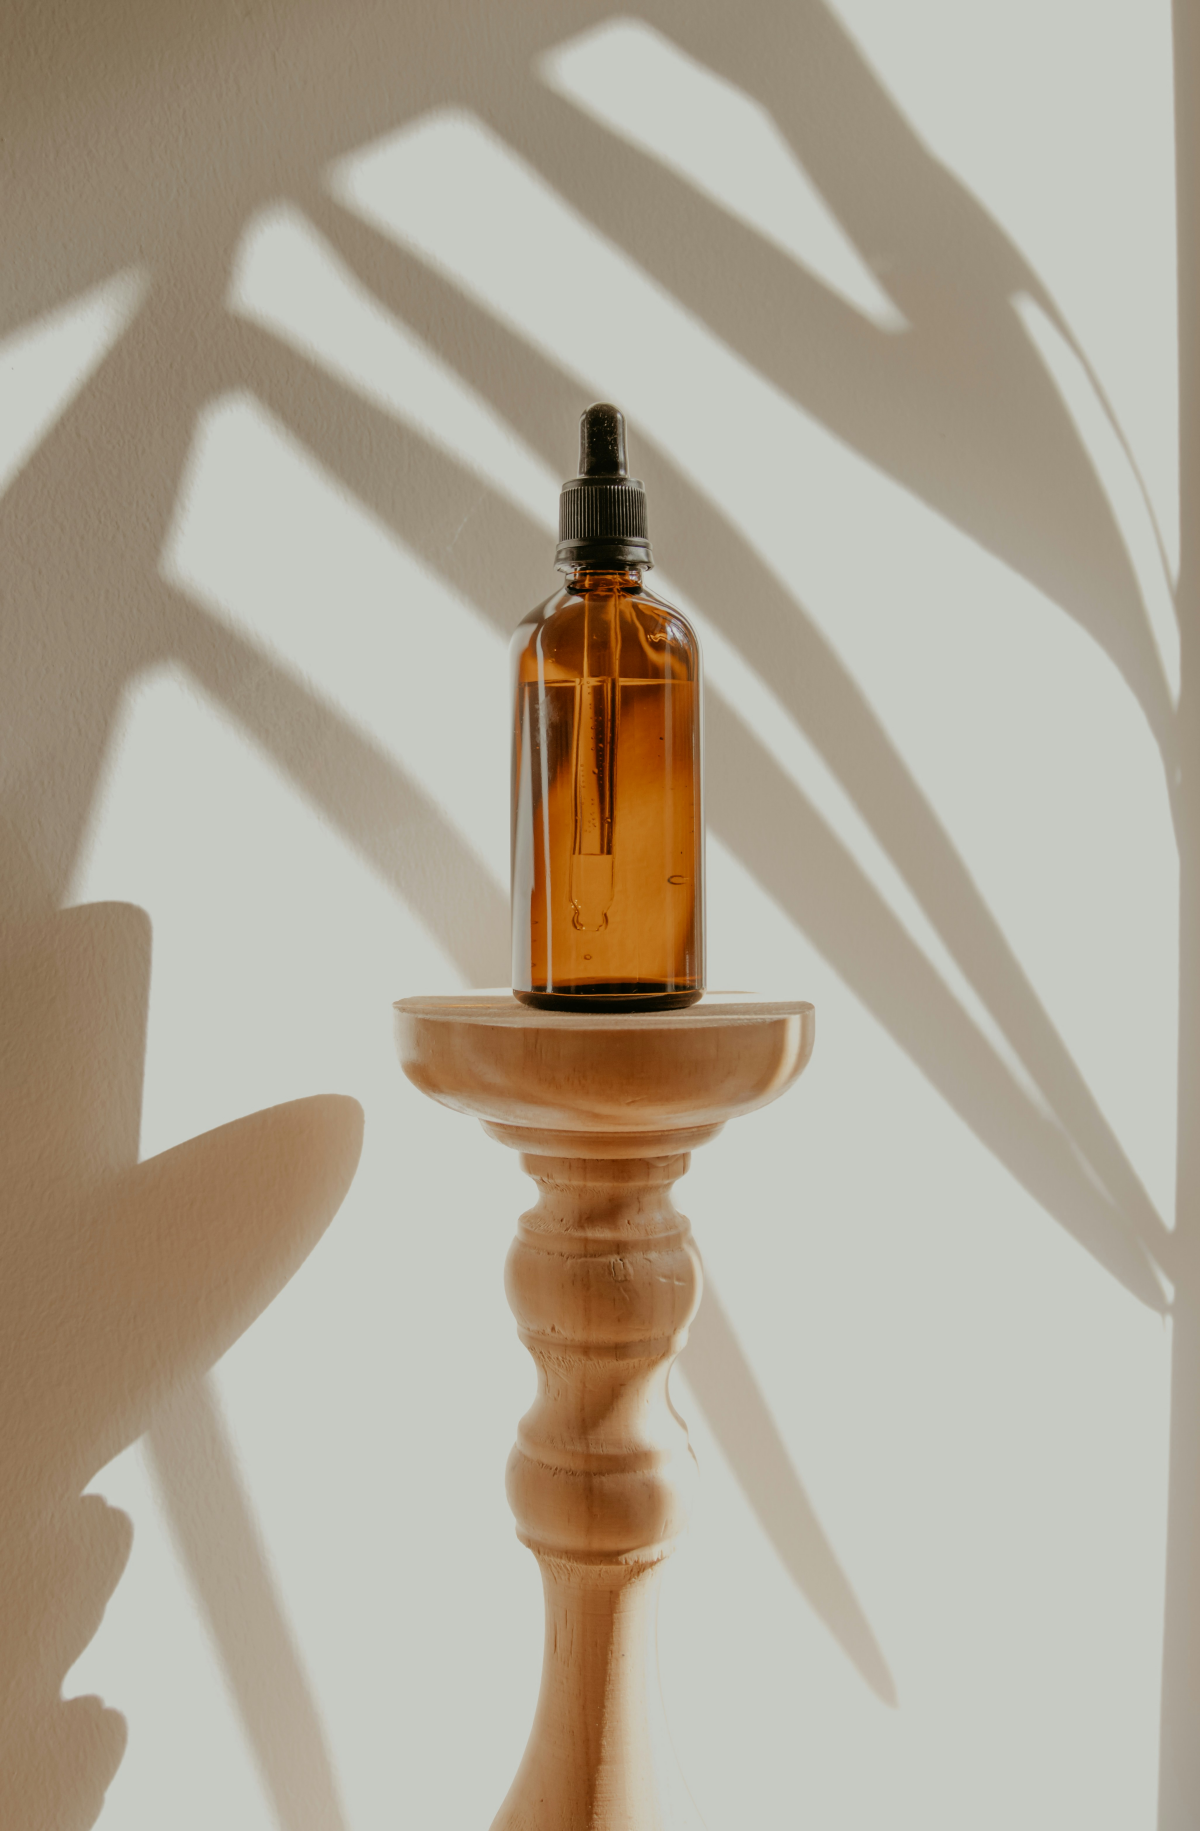
- Dark Glass Bottles: For storage! Amber or cobalt blue bottles protect your finished oil from light. You can find these online or at natural food stores, usually for $2-$3 apiece.
Choosing Your Ingredients Like a Pro
A fantastic finished oil starts with fantastic raw materials. This is probably the most important step, so don’t skim it!
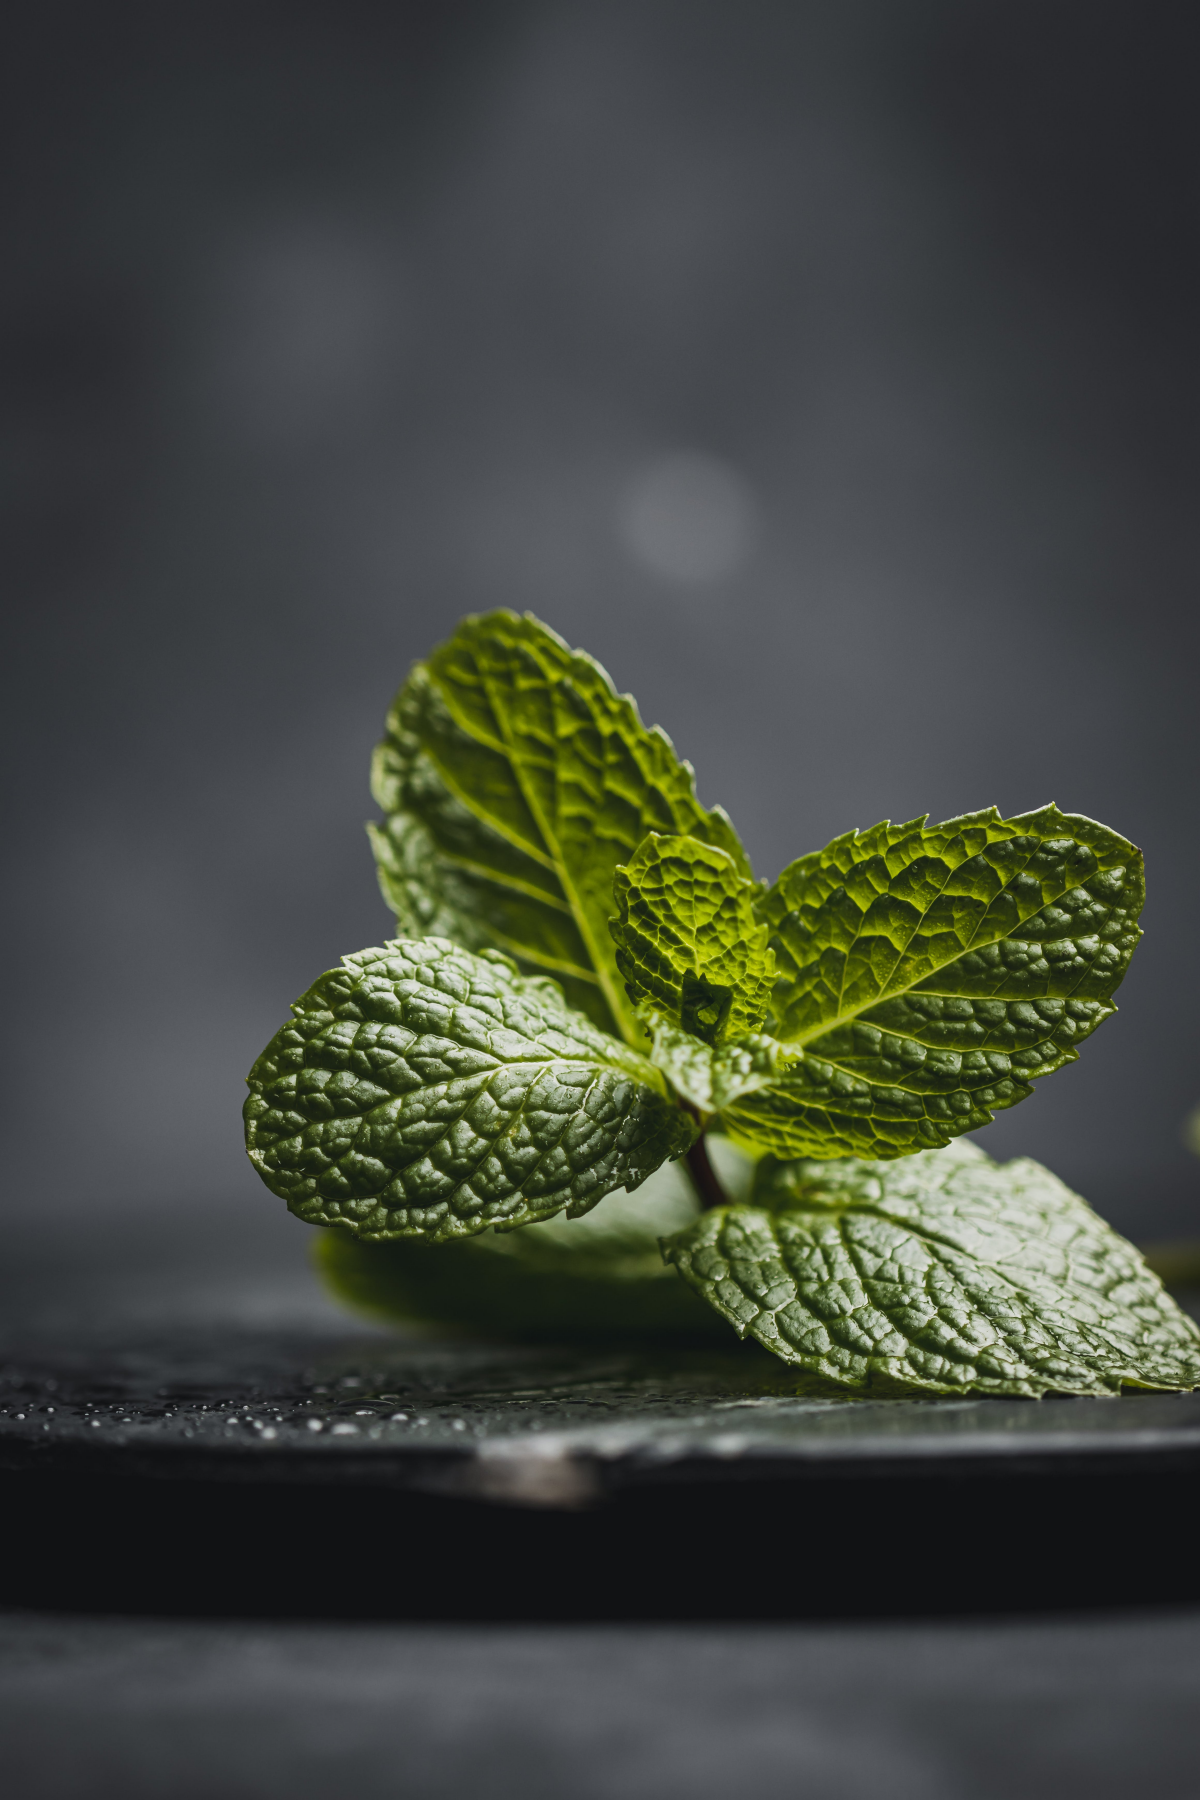
The Right Mint for the Job
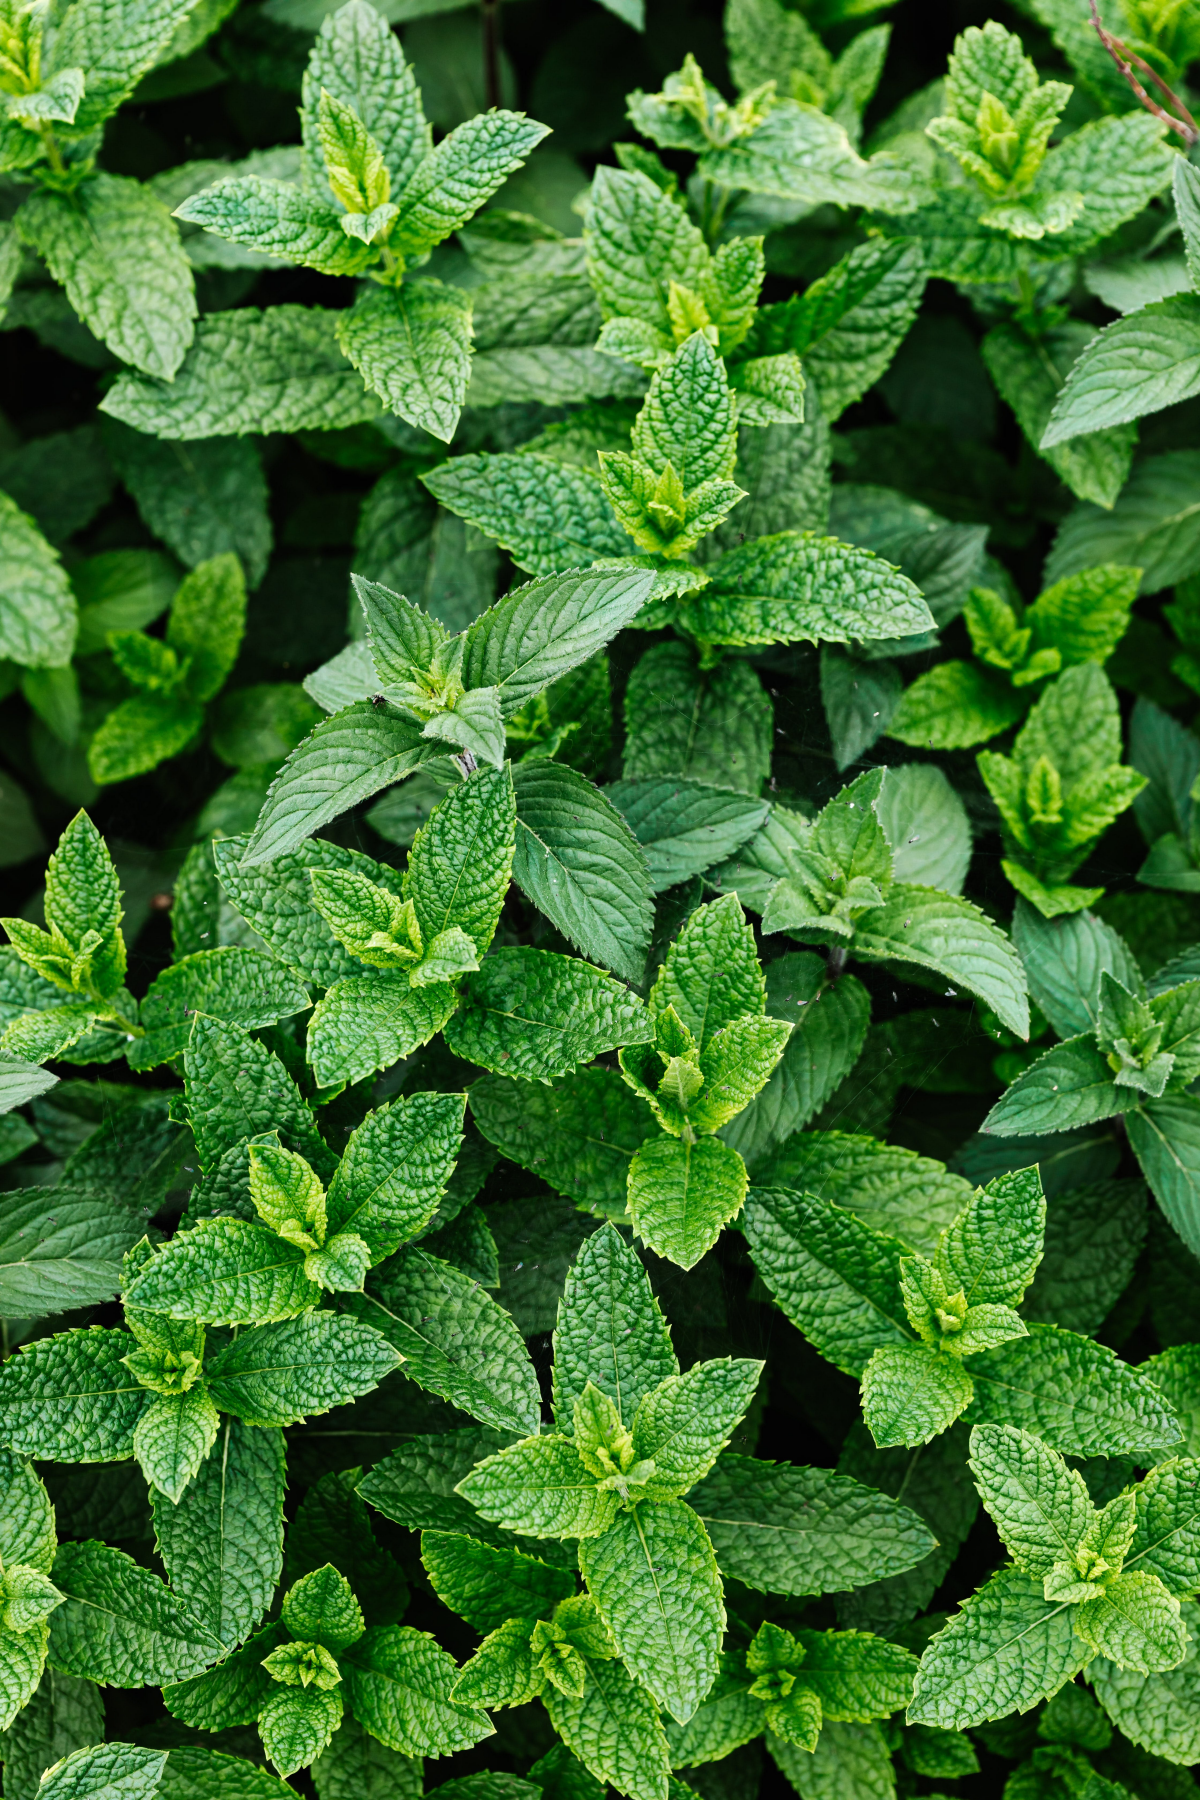
For that classic, sharp, cooling sensation, you’ll want to use true peppermint. It’s a specific hybrid that’s famous for its high menthol content. Some professional growers use a special dark-stemmed variety prized for its oil quality, so if you see that at a market, grab it!
When to Harvest: If you’re picking it fresh, the best time is mid-morning, right after the dew has burned off but before the sun gets scorching hot. You want the plant to be vibrant and healthy, ideally right before it bursts into full flower—that’s when the oil production is at its peak.
A Quick Note: Can I Use Dried Peppermint?
Yes, you absolutely can! It’s the most common question I get from folks without a garden. The oil might be a little less vibrant and potent than one made with fresh-wilted leaves, but it will still work. The key is to use about half the amount of dried mint as you would fresh. So, for a 16oz jar, start with about 1 cup of dried leaves, as they are much more concentrated.
Picking a Carrier Oil
The oil you choose is a huge part of the final product. It affects the feel, scent, and shelf life. Here’s a quick breakdown to help you decide:
- For a Light, Fast-Absorbing Feel: Grapeseed oil or fractionated coconut oil are your best bets. Fractionated coconut is awesome because it’s super stable (lasts for years) and has no scent. Grapeseed is light and great for facial applications, but has a shorter shelf life, maybe 6-9 months. A bottle of either will typically run you between $8 and $12.
- For a Rich, Nourishing Feel: Sweet almond oil and apricot kernel oil are my top picks for massage blends or for drier skin. They feel incredible. Olive oil works in a pinch, but be sure to get a “light” or refined version—extra virgin olive oil has a strong smell that will bully your peppermint.
- For the Longest Shelf Life: Jojoba oil is the undisputed champion. It’s technically a liquid wax, not an oil, and its structure is very similar to our skin’s own sebum. It almost never goes bad, lasting for years. It is more expensive, often $15 or more for an 8oz bottle, but I think it’s worth it for any blend you want to keep for a long time.
Heads up! Always smell your carrier oil before you use it. If it has a weird, sharp, or crayon-like smell, it’s rancid. Don’t use it; it will ruin your entire batch.
The Maceration Method: Step-by-Step
Alright, let’s get our hands dirty. Follow these steps and you’ll end up with a beautiful, fragrant oil.
Step 1: Prep the Leaves
First, sort through your peppermint. This is called garbling. Pick out any yellow or damaged leaves, thick stems, or bits of grass. We only want the good stuff.
Next is a step that many guides skip, and it’s CRITICAL: wilting. Never use freshly picked, wet leaves. The water in them is a breeding ground for mold and bacteria in your oil. To wilt them, just spread the leaves in a single layer on a clean dish towel or screen for 12-24 hours, away from direct sun. They should get limp and leathery, but not completely dry and crispy. This gets rid of most of the water while keeping the oils intact.
Step 2: Bruise ’em Up
Now we need to break open the leaf’s cell walls to release the oils. A mortar and pestle is the traditional tool, but honestly, there are easier ways.
My favorite trick: Throw the wilted leaves into a sturdy ziplock bag, press most of the air out, and seal it. Then, just roll a wine bottle or a rolling pin over the bag a few times. You’re not trying to make a puree! You just want to bruise the leaves until they darken a bit and the whole room starts smelling intensely of peppermint.
Step 3: The Infusion (Slow vs. Fast)
You’ve got two paths here, depending on your patience level.
Method A: The Traditional Cold Infusion (4-6 Weeks)
This is the classic, foolproof method. It’s gentle and yields a fantastic oil.
- Loosely pack your bruised leaves into your clean, dry 16oz mason jar. Fill it about halfway to three-quarters full. Don’t pack it down.
- Pour your carrier oil over the leaves until they are completely submerged, with at least an inch of oil covering the top. Any exposed leaves can get moldy.
- Poke a chopstick or spoon in there and stir gently to release any trapped air bubbles.
- Seal the jar, label it with the contents and date, and place it somewhere warm, but NOT in direct sunlight. Constant sun can degrade the oil. A great trick is to pop the jar in a paper bag and then put it on a sunny windowsill—it gets the warmth without the harsh light.
- Let it sit for 4 to 6 weeks. Give it a gentle shake every day or so. By shake, I mean a slow, deliberate tip upside down and back again. We’re not making a vinaigrette here, just moving things around.
Method B: The Gentle Heat Infusion (2-5 Hours)
In a hurry? If you need peppermint oil THIS afternoon, this is your method. But it comes with a serious warning.
SERIOUSLY, DON’T BURN YOUR OIL. The biggest mistake people make is using too much heat. You are not frying the herbs. High heat will kill the delicate compounds and make your oil smell like cooked grass. Keep the temperature between 100°F and 120°F (38°C – 49°C). A kitchen thermometer is non-negotiable here.
- You can use a small slow cooker on its “warm” setting, a yogurt maker, or set up a double boiler. For a double boiler, just put your leaves and oil in a heatproof bowl set over a small pot with a few inches of simmering (not boiling) water.
- Heat the oil and herb mixture gently for 2 to 5 hours, keeping the lid on to trap the aromatic oils. Monitor that temperature!
- After a few hours, turn off the heat and let the oil cool down completely.
Step 4: Straining and Pressing
Once your oil is infused, it’s time to separate the magic. Pour the mixture through a fine-mesh strainer to get the big leaf bits out. Then, line the strainer with cheesecloth or a nut milk bag, and pour the oil through a second time to catch the fine sediment.
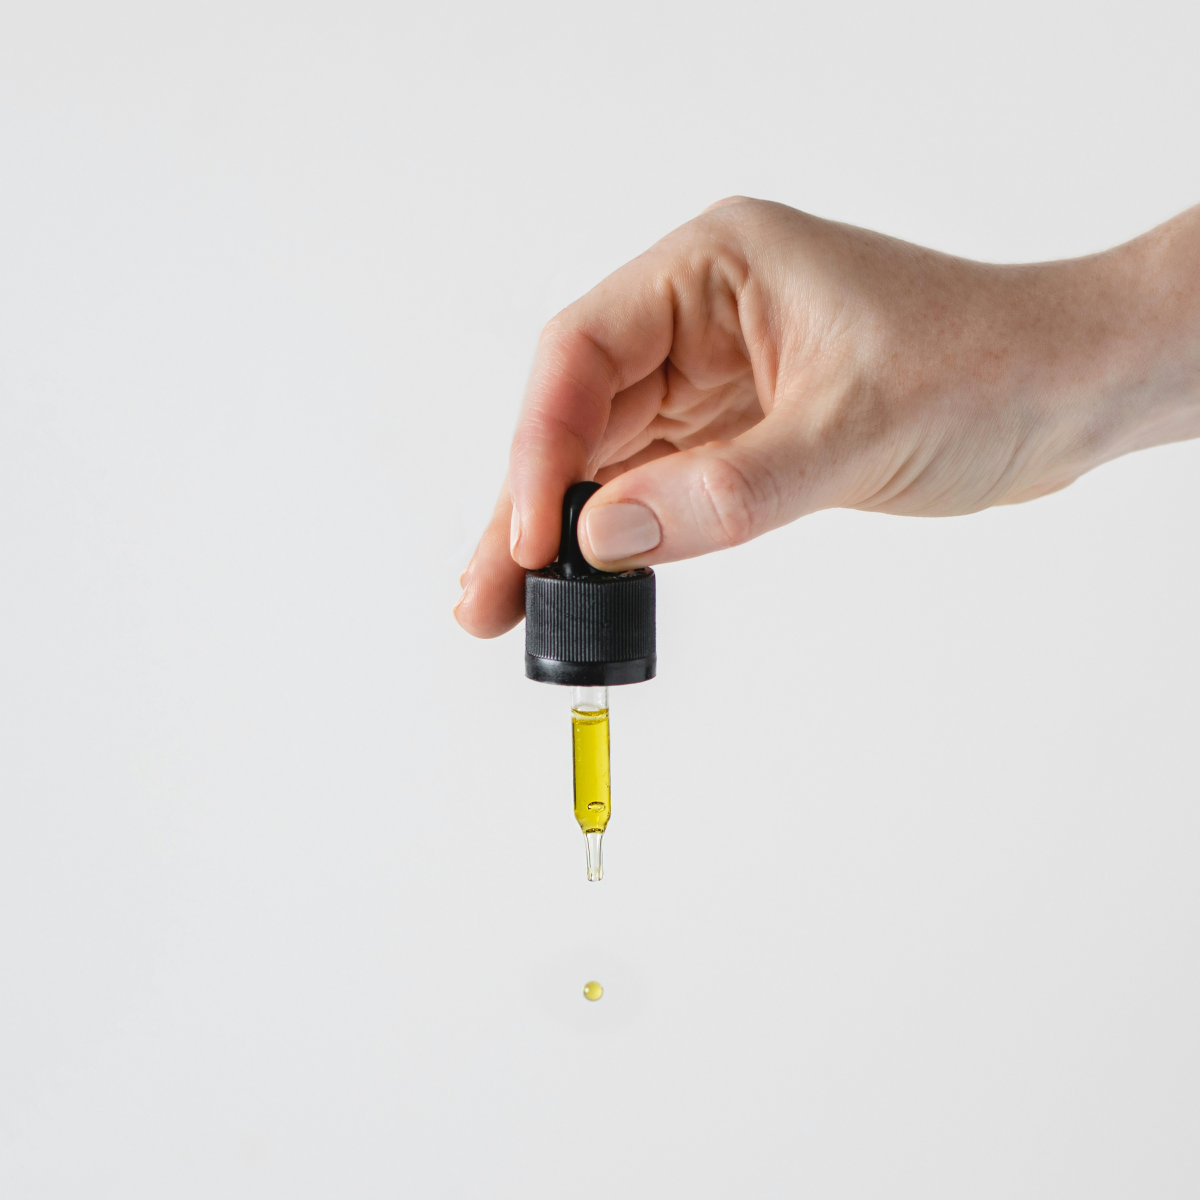
Now for the best part. Gather up the cheesecloth full of oily leaves and squeeze! Twist and press with all your might. The oil you press out here is the most potent stuff. Expect to get your hands messy.
Good to know: If you started with 2 cups of oil in a 16oz jar, you’ll likely end up with about 1.5 cups of finished oil. The herbs soak up a surprising amount, and that’s perfectly normal.
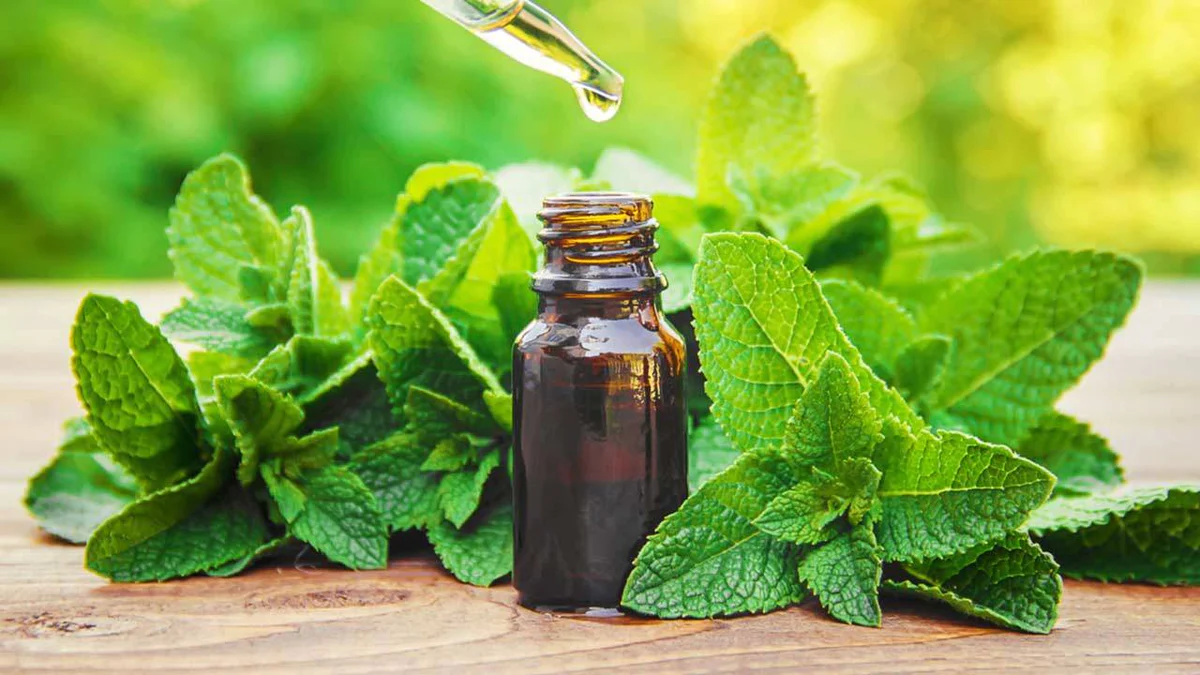
Step 5: Bottling and Storing
Pour your beautiful, finished oil into dark amber or cobalt blue glass bottles. This protects it from light damage. Label it clearly: “Peppermint Infused Oil,” the carrier oil you used (e.g., “in Jojoba Oil”), and the date you made it. Store it in a cool, dark cabinet. Its shelf life is determined by your carrier oil, but it should last at least a year if you used a stable one.
Troubleshooting Common Problems
- My oil smells weak or like a salad. You probably didn’t use enough mint, your mint wasn’t very potent, or you didn’t infuse it long enough. For cold infusions, that 4-6 week window is important for a reason!
- There’s water or cloudy stuff at the bottom. Uh oh. This means your leaves weren’t wilted enough, and water got in. This can cause spoilage. Carefully decant the oil off the top, leaving the watery layer behind. Your oil will have a shorter shelf life, so use it up quickly.
- It smells burnt or like cooked spinach. If you used the heat method, your temperature was too high. I’m sorry to say this batch is a loss. I once ruined a gorgeous batch of calendula oil by getting distracted. It’s a mistake you only make once!
How to Use Your Peppermint Oil Safely
Because it’s diluted, this infused oil is much gentler than a pure essential oil. Still, always do a patch test first. Apply a small dab to your inner elbow and wait 24 hours to make sure you don’t have a reaction.
Here are a few great uses:
- Soothing Muscle Rub: Massage it into sore shoulders, your back, or tired feet. The cooling sensation is fantastic.
- Tension Headache Helper: Gently rub a tiny amount onto your temples and the back of your neck. Be very careful to keep it away from your eyes!
- Refreshing Scalp Treatment: Massage a little into your scalp 15 minutes before you shower to soothe itchiness and stimulate circulation.
One last, very important point: This oil is for external use only. Please do not take it internally. Making things at home is wonderful, but we can’t guarantee a sterile, microbe-free product or control the dosage. For anything you plan to ingest, stick to products made by professionals in controlled environments.
Enjoy the process! There’s something deeply satisfying about capturing the power of a plant in a bottle, all with your own two hands.
Inspirational Gallery
Jojoba Oil: Technically a liquid wax, its structure is incredibly similar to our skin’s natural sebum, making it absorb quickly without a greasy feeling. It’s a superb choice for facial or hair applications. Brands like Cliganic or NOW Solutions offer excellent organic options.
Sweet Almond Oil: Rich in Vitamin E, this oil is a classic for massage and body care. It’s slightly heavier and provides a luxurious, moisturizing glide perfect for soothing tired muscles.
For a multi-purpose oil, you can’t go wrong with either, but choose jojoba for a lighter touch and almond for richer hydration.
Did you know? Dried peppermint leaves have been discovered in ancient Egyptian pyramids, with some samples dating as far back as 1000 BC. Its use as a soothing and aromatic herb is truly timeless.
Is your finished oil not as fragrant as you’d hoped?
Don’t worry, this is a common issue. For a more potent infusion, try a gentle heat method. Place your jar of leaves and oil in a saucepan with a few inches of water, creating a double boiler. Heat the water on low for 2-4 hours, never letting the oil simmer or boil. This warmth encourages the leaves to release their compounds more fully. Just be sure to let it cool completely before sealing.
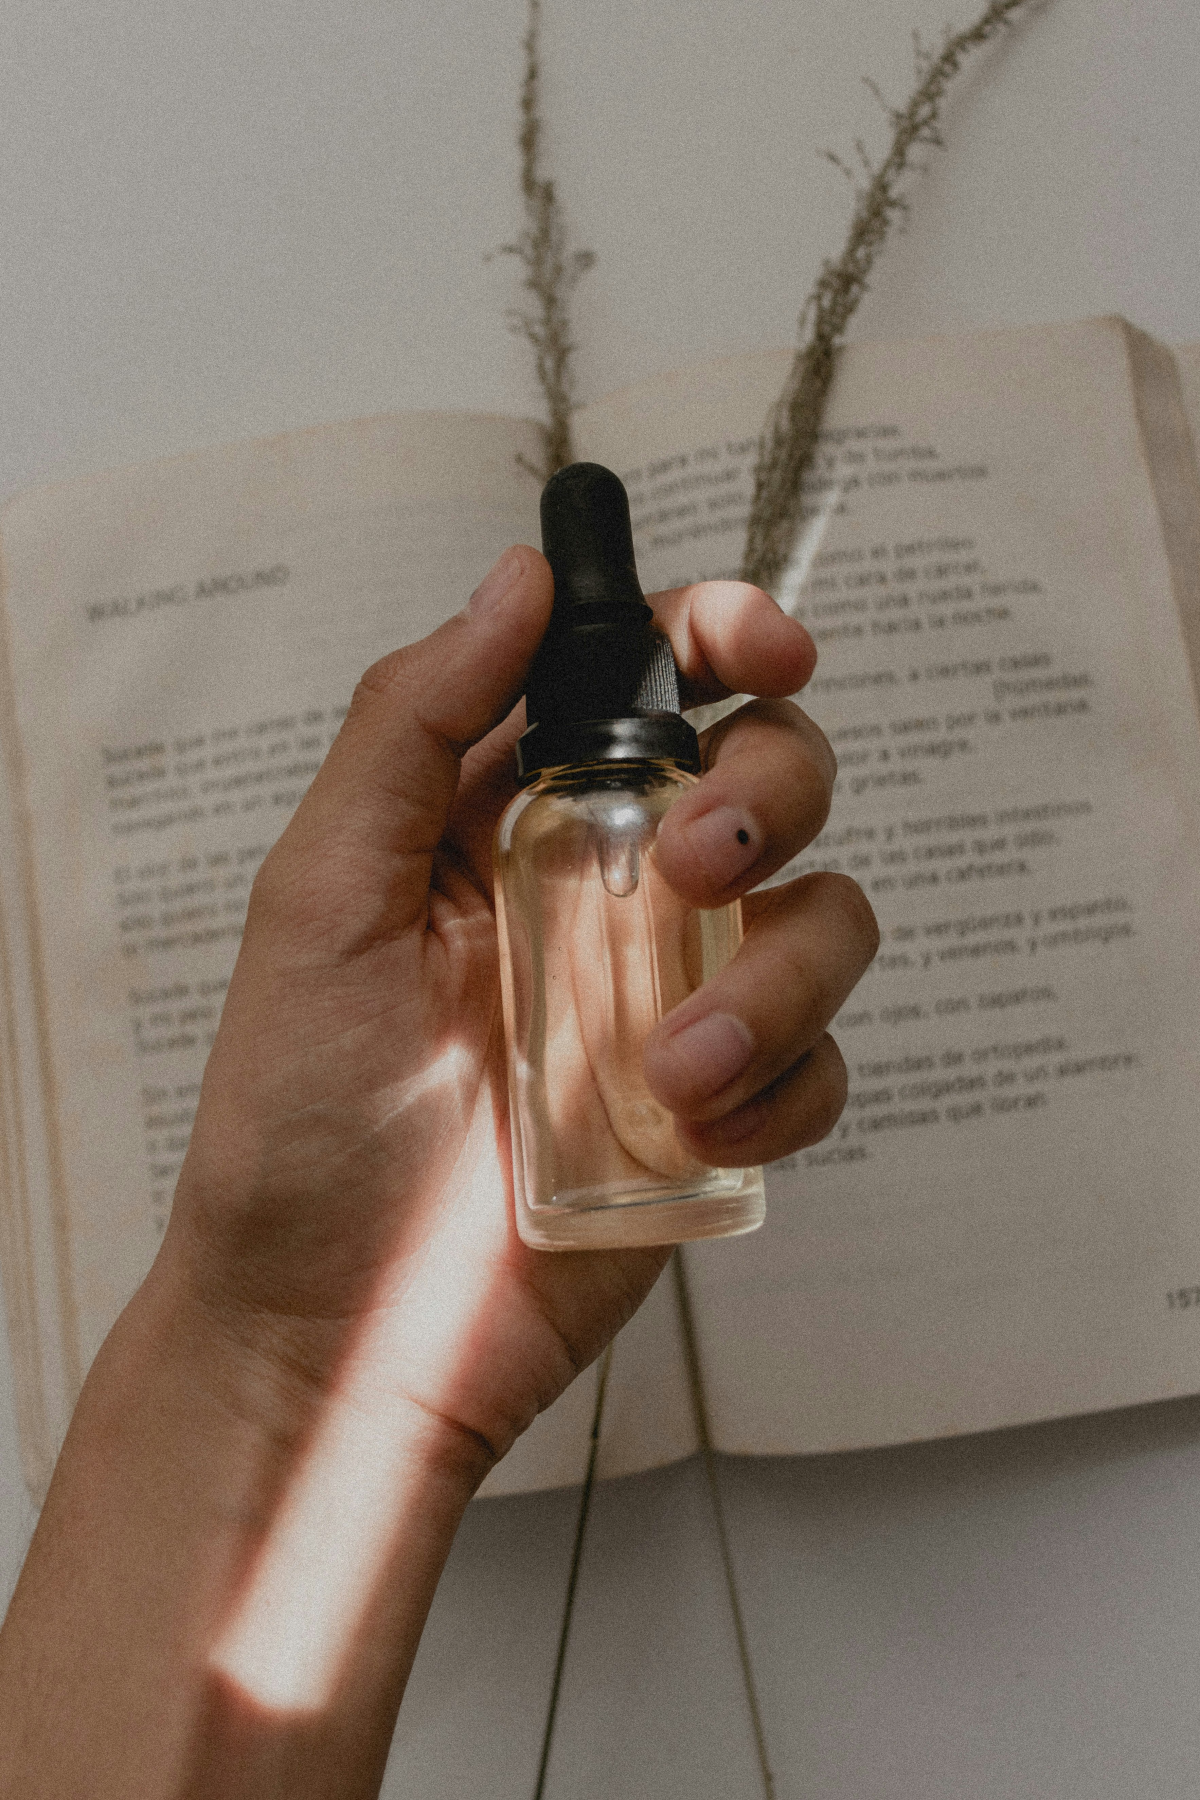
- Create a chic, gift-worthy presentation with custom labels. Use a simple label maker like a Brother P-touch for a clean, minimalist look, or design your own on Canva and print on waterproof sticker paper.
- Don’t forget to include the date of infusion and the type of carrier oil used.
- A small tag tied with natural jute twine adds a perfect rustic touch.
The number one enemy of your infused oil is water. Even a single drop can introduce bacteria and cause your beautiful creation to spoil and grow mold. Ensure your peppermint leaves and your glass jar are bone dry before you begin. If you’ve just washed your mint, pat it thoroughly with a towel and then let it air dry for an hour to be absolutely certain.
Peppermint (Mentha piperita) is a natural hybrid of watermint and spearmint, and its essential oil can contain up to 40% menthol.
This high concentration of menthol is what delivers the characteristic cooling, tingling sensation that makes peppermint oil so effective for headache relief and muscle rubs. Spearmint, by contrast, has a much lower menthol content (under 1%), giving it a sweeter, gentler profile.
Elevate your post-workout recovery or end-of-day ritual with a simple, homemade sugar scrub. In a bowl, combine one cup of white or brown sugar with about 1/4 cup of your peppermint-infused oil. Mix until it has the consistency of wet sand. For an extra touch, add a tablespoon of honey for its antibacterial properties. Store in a sealed jar and use within a month for a refreshing, exfoliating treat.
- A more vibrant, deep green color in your finished oil.
- A noticeably richer and more potent peppermint aroma.
The secret? Bruise your leaves. Before adding the mint to your jar, gently crush it with a mortar and pestle or the back of a wooden spoon. This simple step helps to break down the plant’s cell walls, allowing the carrier oil to extract the aromatic compounds much more efficiently.
Fresh vs. Dried Mint: What’s the difference?
While fresh mint provides a bright, clean, and vibrant aroma, don’t discount dried mint, especially in winter. Dried mint will produce a deeper, earthier, and more tea-like scent. Because the water content is removed, you can use about half the amount of dried mint compared to fresh. It’s a fantastic and readily available alternative.
The process of making your own infused oil is a perfect example of


