The Real Deal on Sea Moss: A Beginner’s Guide to Making Perfect Gel at Home
I’ve been working with natural foods for a long time, long enough to see wellness trends explode and then fade away just as quickly. But sea moss? This one’s different. It’s not just a fleeting trend; it’s a tradition with deep roots. My first real encounter with wild-harvested sea moss was a game-changer. The intense, salty smell and tough texture were nothing like the powders I’d seen. Learning to clean and prep it gave me a whole new level of respect for this incredible seaweed. This guide is all about sharing that hands-on knowledge. It’s for anyone who wants to get past the hype and learn how to do it right.
In this article
First Things First: Your Shopping List
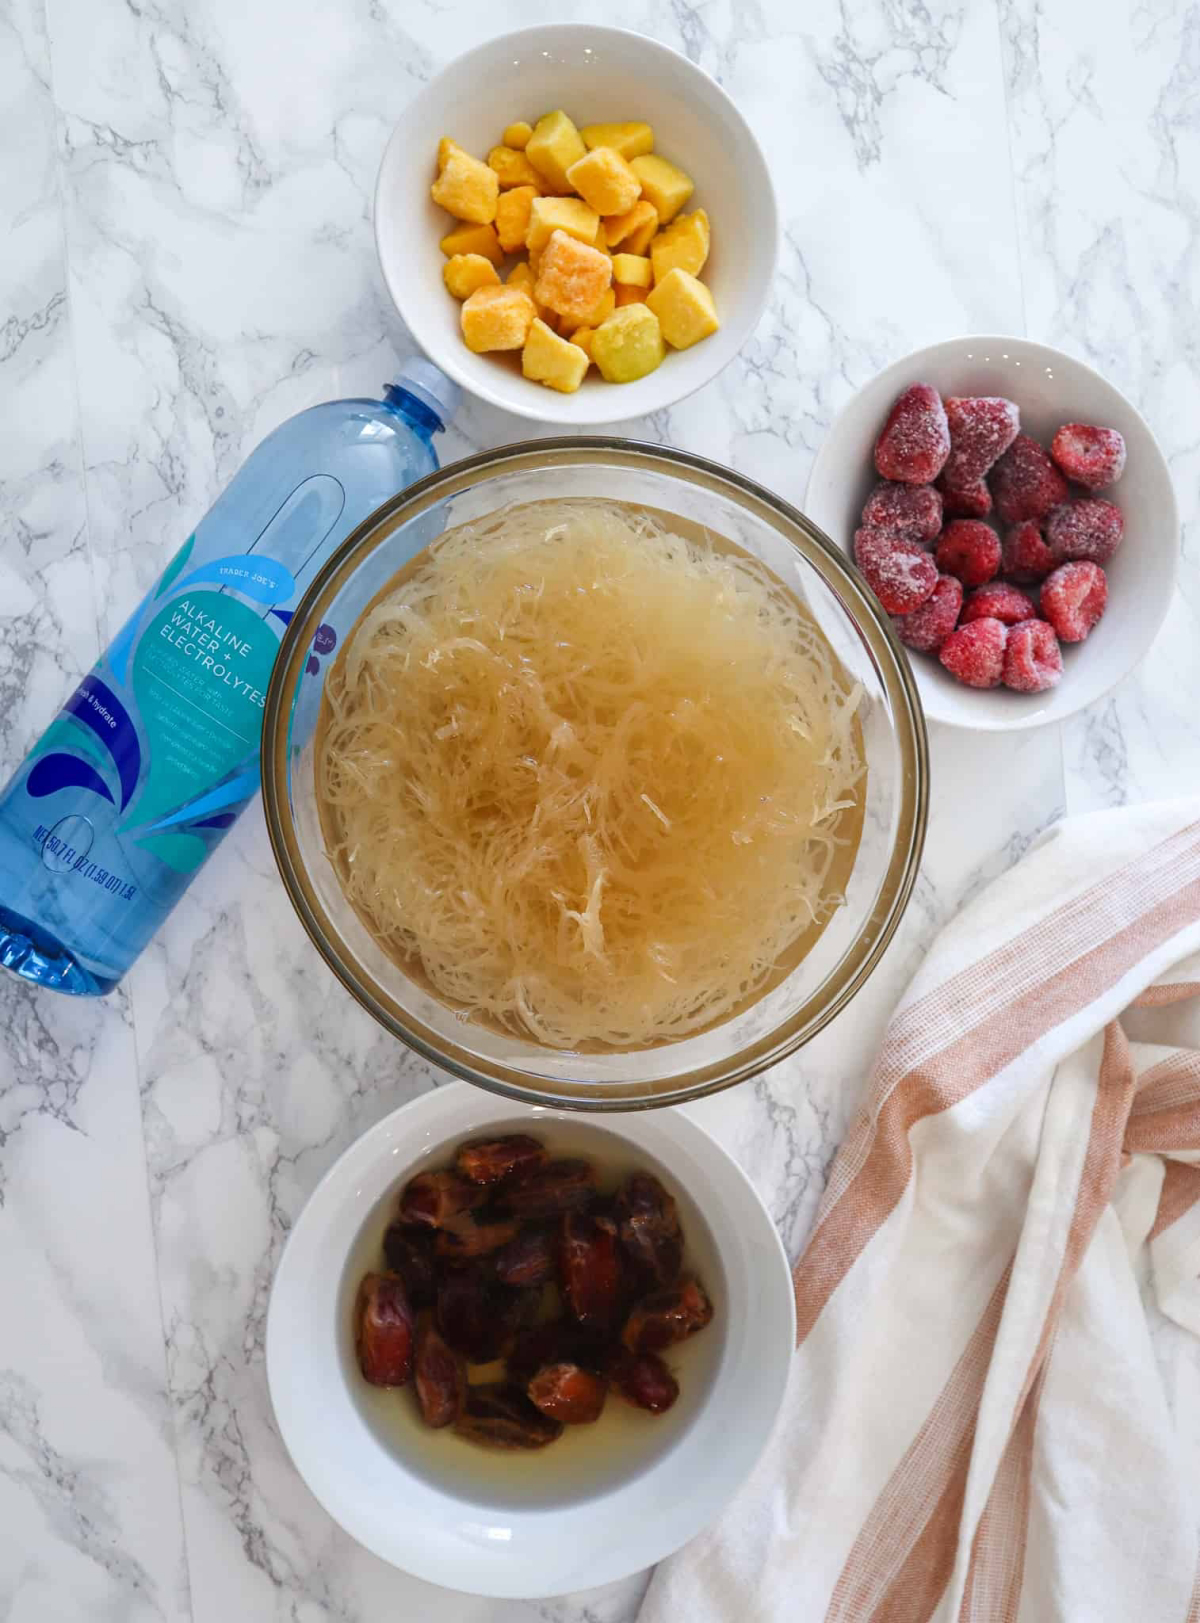
Before you dive in, let’s get you set up. It’s a surprisingly simple list, which is great news for your wallet and your weekend plans.
- Dried Sea Moss: This is your main ingredient. A 2-4 oz bag is a perfect starting point.
- Filtered or Spring Water: Avoid tap water if you can. The chlorine can affect the taste and quality of your gel.
- A Large Bowl: For rinsing and soaking.
- A High-Speed Blender: More on this later, but it really does make a difference.
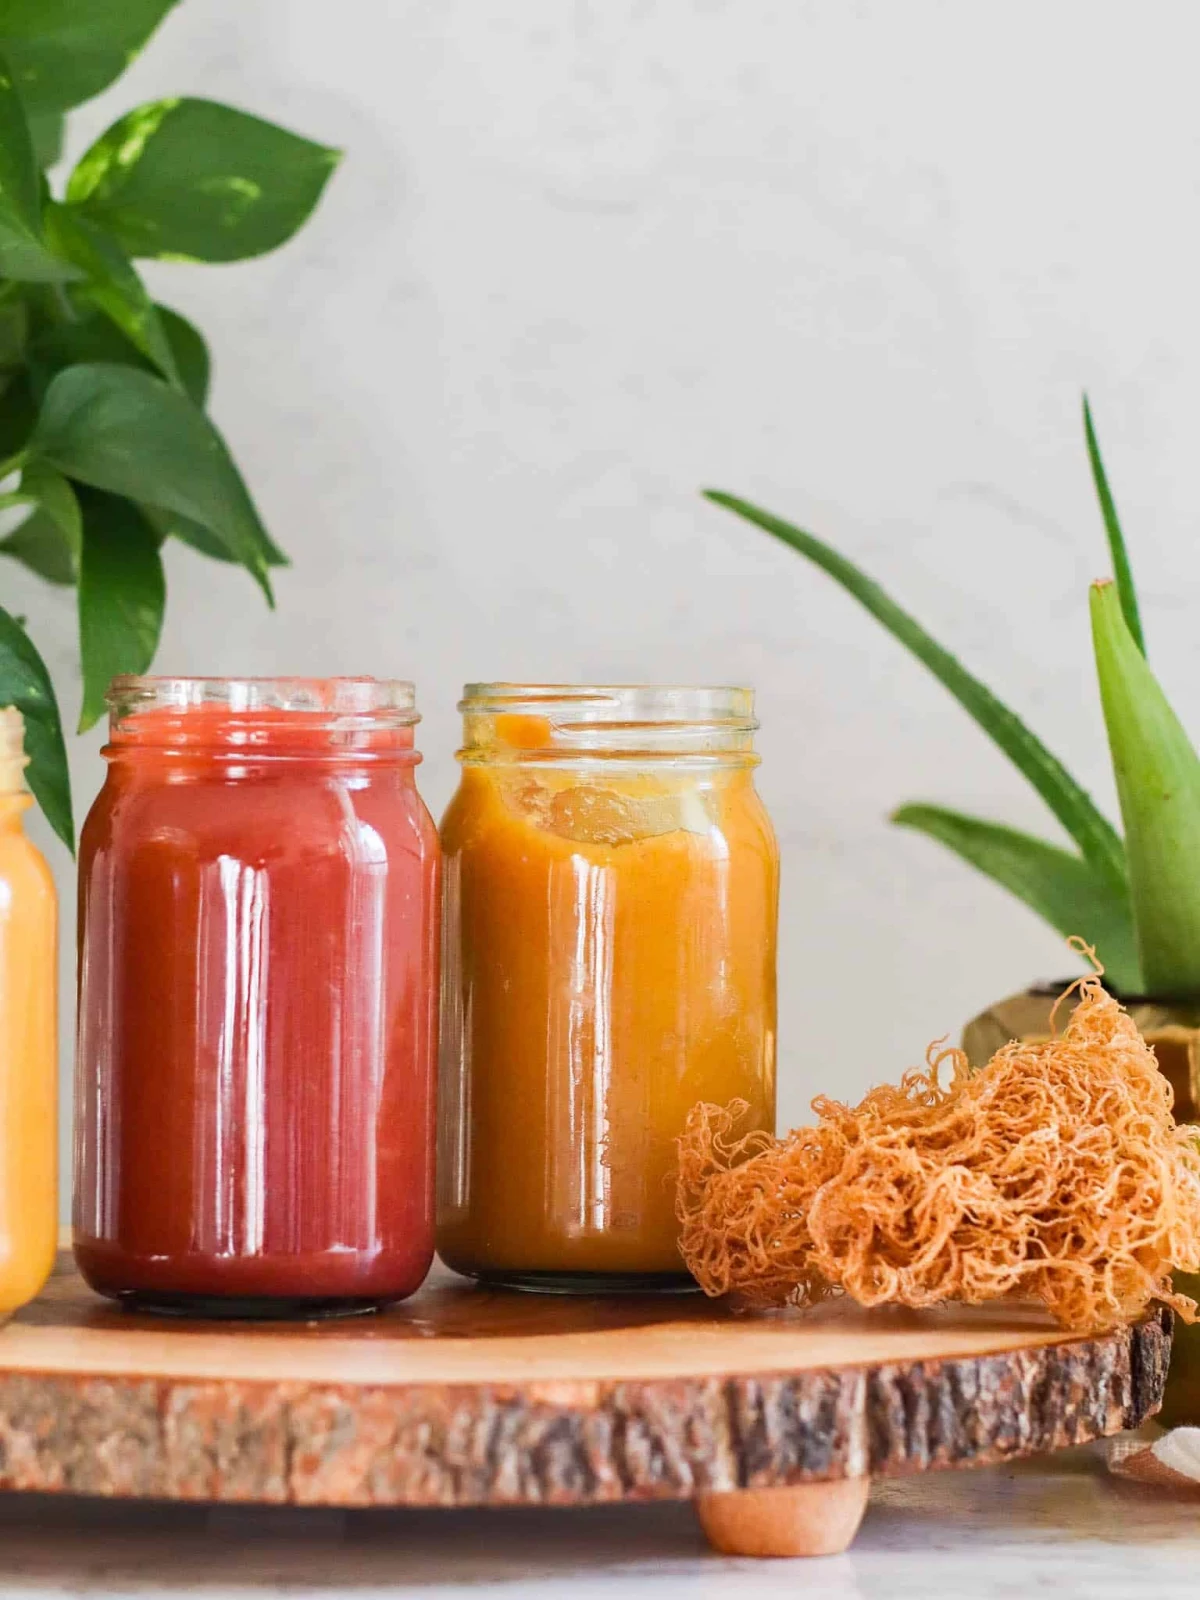
- Airtight Glass Jars: Mason jars are perfect for storing your finished gel in the fridge.
Not All Sea Moss is Created Equal
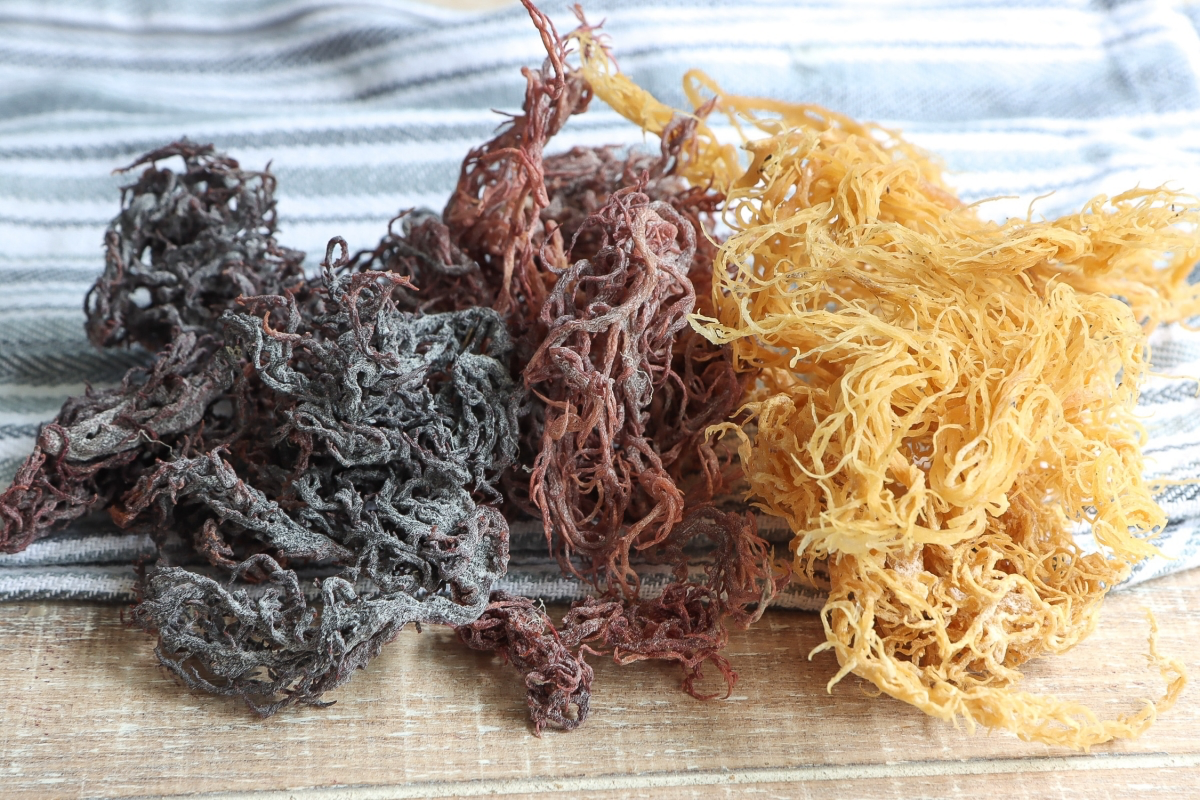
One of the first things you’ll notice is that “sea moss” can mean a couple of different things. It’s a catch-all term for several types of red algae, and what you get usually depends on where it grew. Knowing the difference is key to getting the results you want.
So, should you get the traditional stuff or the more common tropical kind? Let’s break it down.
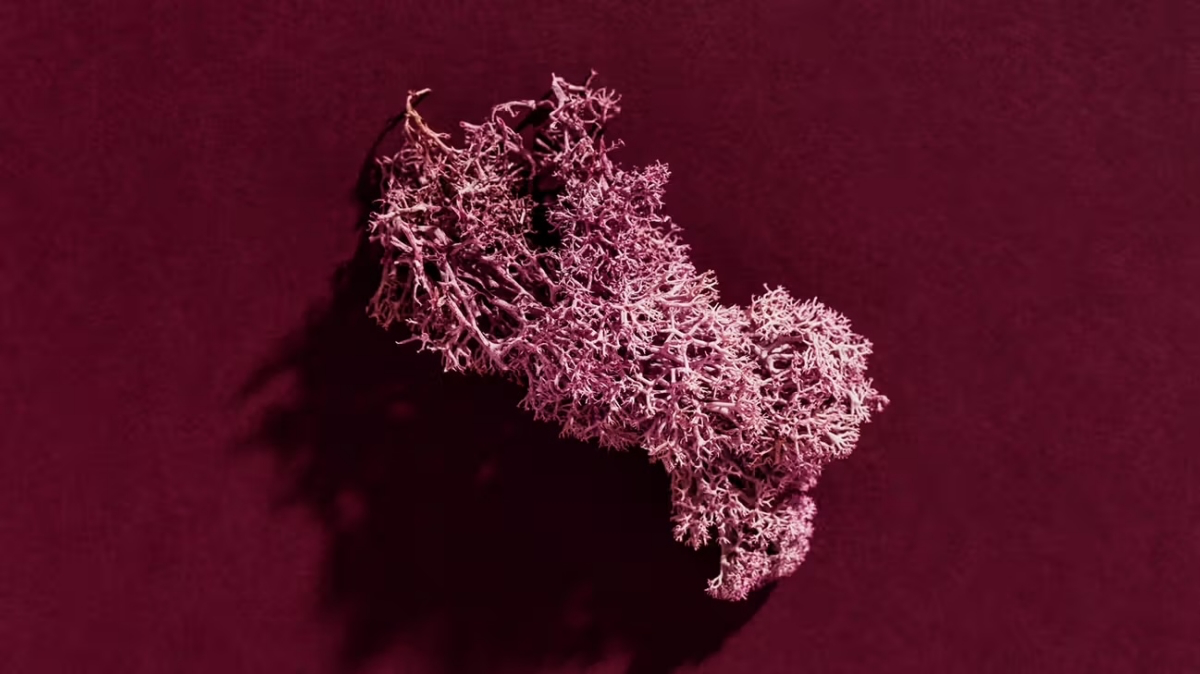
Traditional Irish Moss is the OG. It grows in the chilly, rough waters of the North Atlantic. It looks like a small, flat, fan-shaped seaweed and can be a deep purple or reddish color. To be frank, it has a very strong ocean smell and a slightly fishy taste. Its gelling power is incredible; a little goes a long way. This is the powerhouse used in old-school folk remedies and cooking. Because it’s typically wild-harvested by hand in tougher conditions, it’s more expensive, often running $35 to $50 for a 4oz bag. It’s best for people who want the most potent gel for therapeutic uses or for thickening hearty soups and stews where the flavor won’t be an issue.
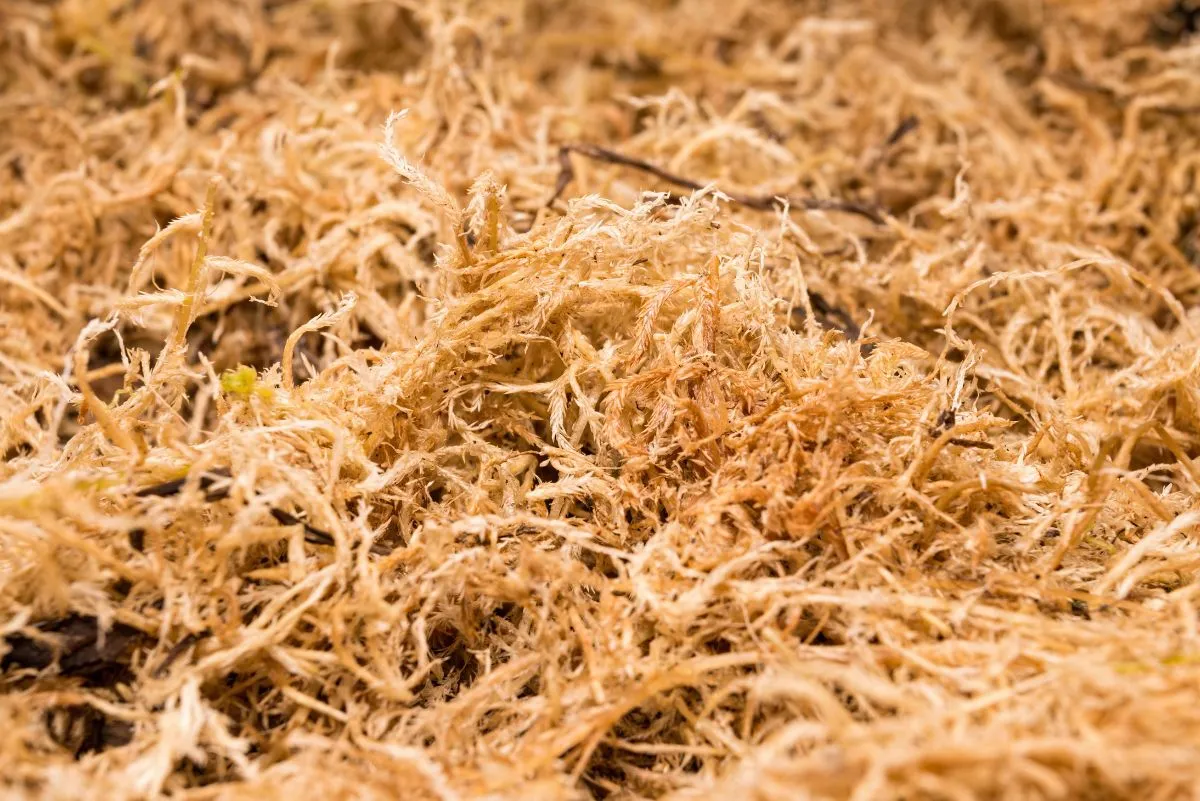
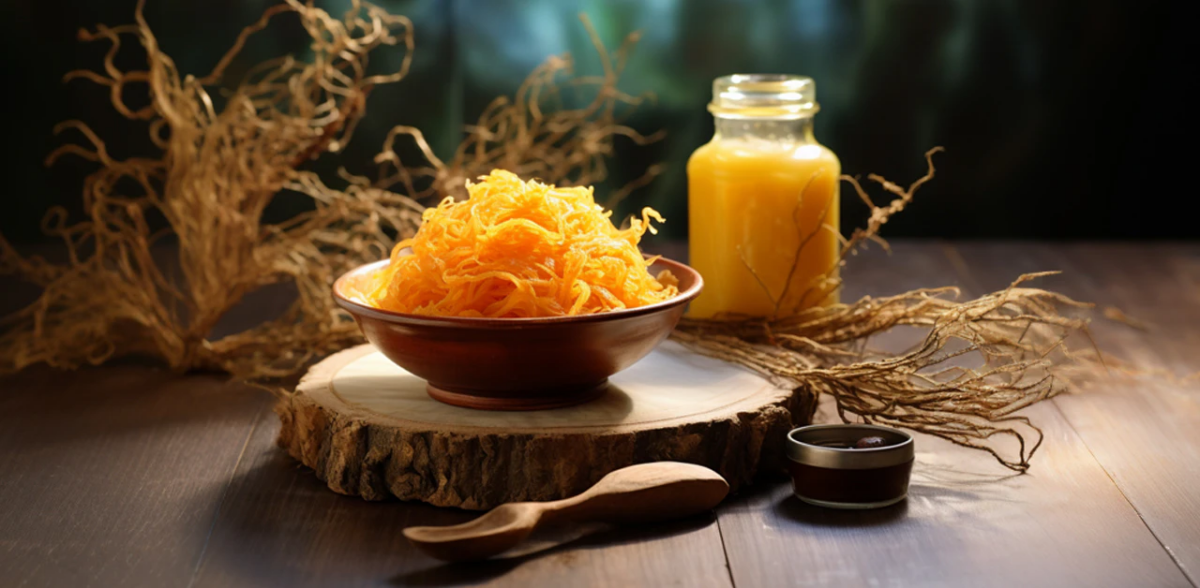
Tropical Sea Moss is what most people are using today. You’ll see it sold as “Golden” or “Purple” sea moss, and it looks more like thin, stringy noodles. It’s typically farmed in the warm waters of places like St. Lucia, a sustainable practice that supports local communities. This is the stuff for you if you’re just getting started. It has a MUCH milder taste and smell, making it perfect for smoothies, drinks, and desserts where you don’t want any ‘sea’ flavor. The gel is also a bit softer. Price-wise, it’s more accessible, usually costing between $20 and $30 for a 4oz bag. You can find good quality options from specialized sellers on Etsy or on natural food sites like iHerb.
So, What’s the Magic Behind the Gel?
When you soak and blend sea moss, you’re creating something called a hydrocolloid gel. The substance doing all the work is carrageenan, but hold on—this is not the processed stuff you see on some food labels. In its whole-food form, it’s a soluble fiber that works as a prebiotic, feeding the good bacteria in your gut. And a happy gut is linked to everything from better digestion to a stronger immune system.
And then there are the minerals. Sea moss is famous for being packed with them, especially:
- Iodine: Super important for your thyroid, which runs your metabolism. (Heads up: this is also why you need to be careful with dosage, but we’ll get to that.)
- Potassium: An electrolyte that’s crucial for hydration and muscle function.
- Magnesium & Calcium: The dream team for bone health and your nervous system.
- Sulfur: Known for its antimicrobial properties, which is why people love using sea moss gel on their skin.
How to Make Perfect Sea Moss Gel, Every Single Time
Alright, let’s get our hands dirty. Making good sea moss gel is a simple process, but you can’t rush it. Follow these steps, and you’ll end up with a smooth, potent gel that’s way better (and cheaper!) than the pre-made stuff.
Step 1: Inspect Your Moss
Your gel is only as good as your raw ingredients. When your package arrives, open it and take a sniff. It should smell like the ocean, not like pool chemicals. A real, sun-dried product will have slight color variations and might even have a little sand or a few tiny shells stuck to it. That’s a good sign! It means it’s a natural product. A 2oz portion of dried moss is a great amount to start with and will yield about 32-40oz of gel—enough to fill two medium Mason jars!
Step 2: The All-Important Cleaning
Do not skip this. Seriously. Put your dried moss in a big bowl and cover it with cool, filtered water. Now, get your hands in there and massage it. Rub the strands together. You’ll literally feel the grit and salt coming off. Pour out the water (you’ll see sediment at the bottom) and repeat this rinse 3-4 times, until the water looks pretty clear.
Quick tip: That first rinse water is loaded with minerals. Don’t pour it down the drain—your houseplants will love it!
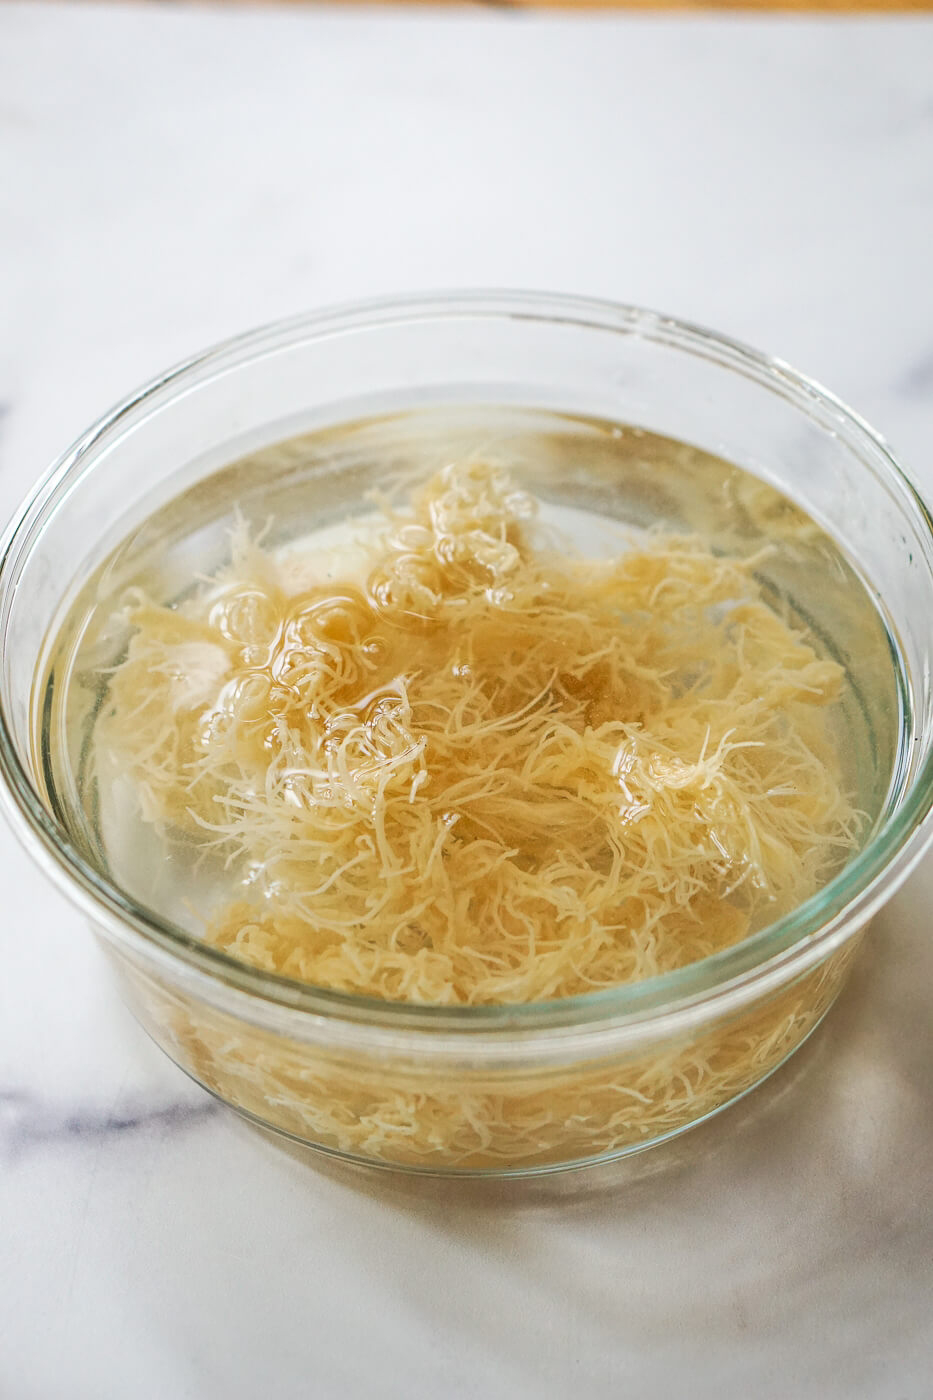
Step 3: The Slow Soak
Once clean, put the moss back in the bowl and cover it completely with fresh, filtered water, giving it plenty of room to expand. Cover the bowl and let it soak on the counter for at least 12 hours, or up to 24. This long, cold soak is the traditional way. It preserves the nutrients and gives you the smoothest possible gel. Some folks do a quick hot water soak, but in my experience, it can slightly cook the moss and give the gel a less pleasant texture.
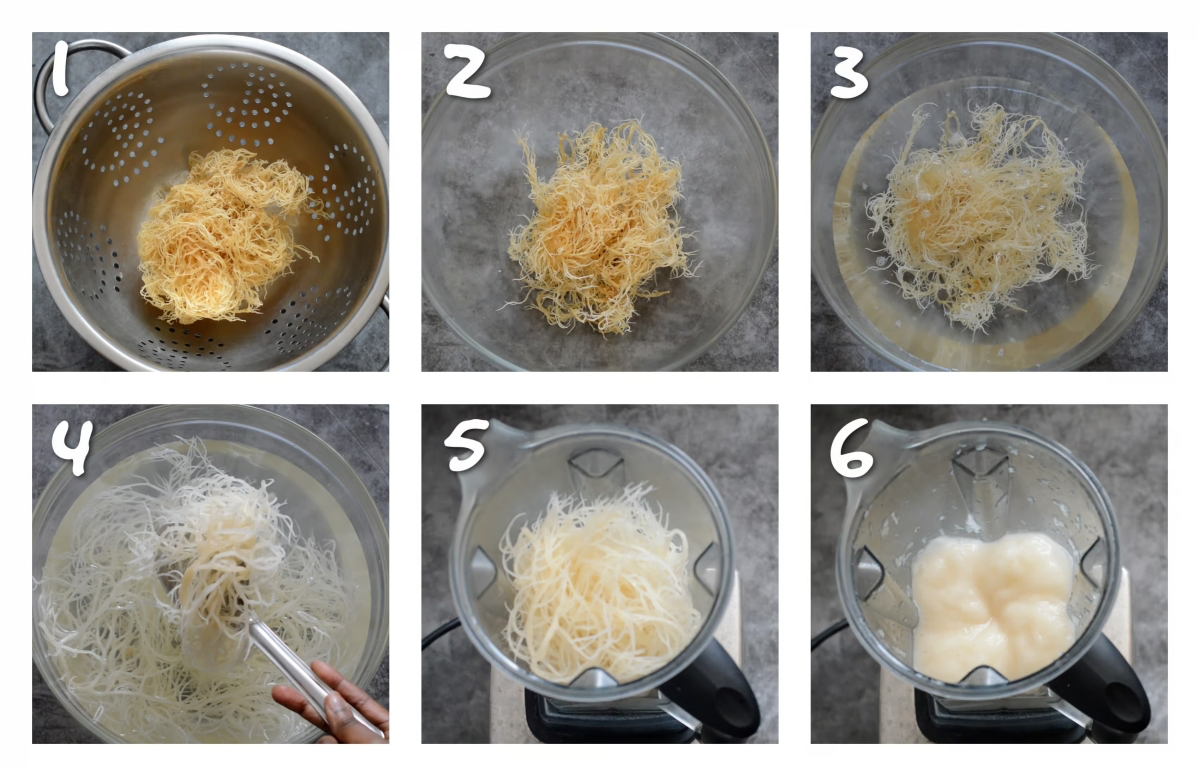
Step 4: Blend it Smooth
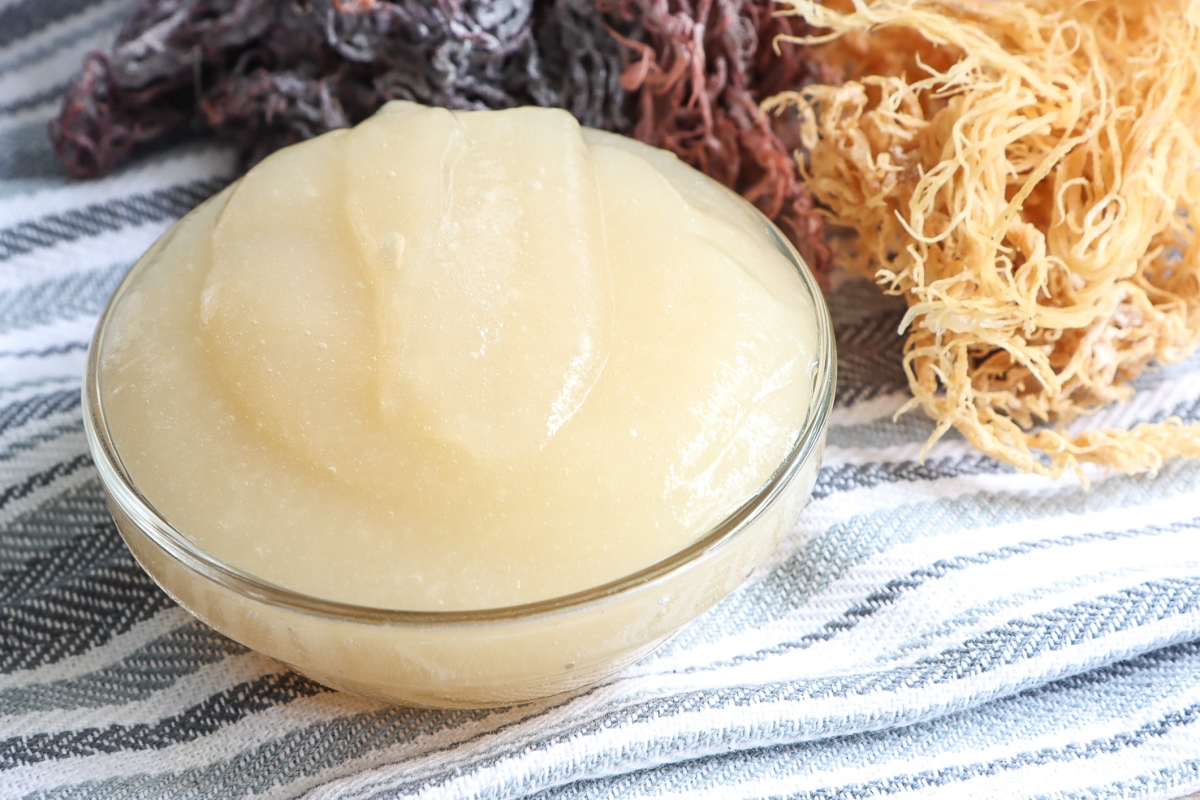
After soaking, the moss will be plump, slippery, and almost translucent. Drain off the soaking water and give it one last quick rinse. Pop the soaked moss into your blender. Now for the most important decision: the water ratio. For a thick, spoonable gel, a good starting point is 1 cup of soaked moss to 1.5 cups of fresh water. For a thinner gel to mix into drinks, try a 1-to-2 ratio.
And about that blender… a high-speed blender like a Vitamix or Blendtec is the gold standard here. It will pulverize the moss into a silky-smooth gel in 1-2 minutes. If you’re using a standard blender, like a Nutribullet, it can still work! You just might need to blend for longer (maybe 3-4 minutes, stopping to let the motor rest) and you may still have a slightly grainy texture. It’ll still be good, just not perfectly smooth.
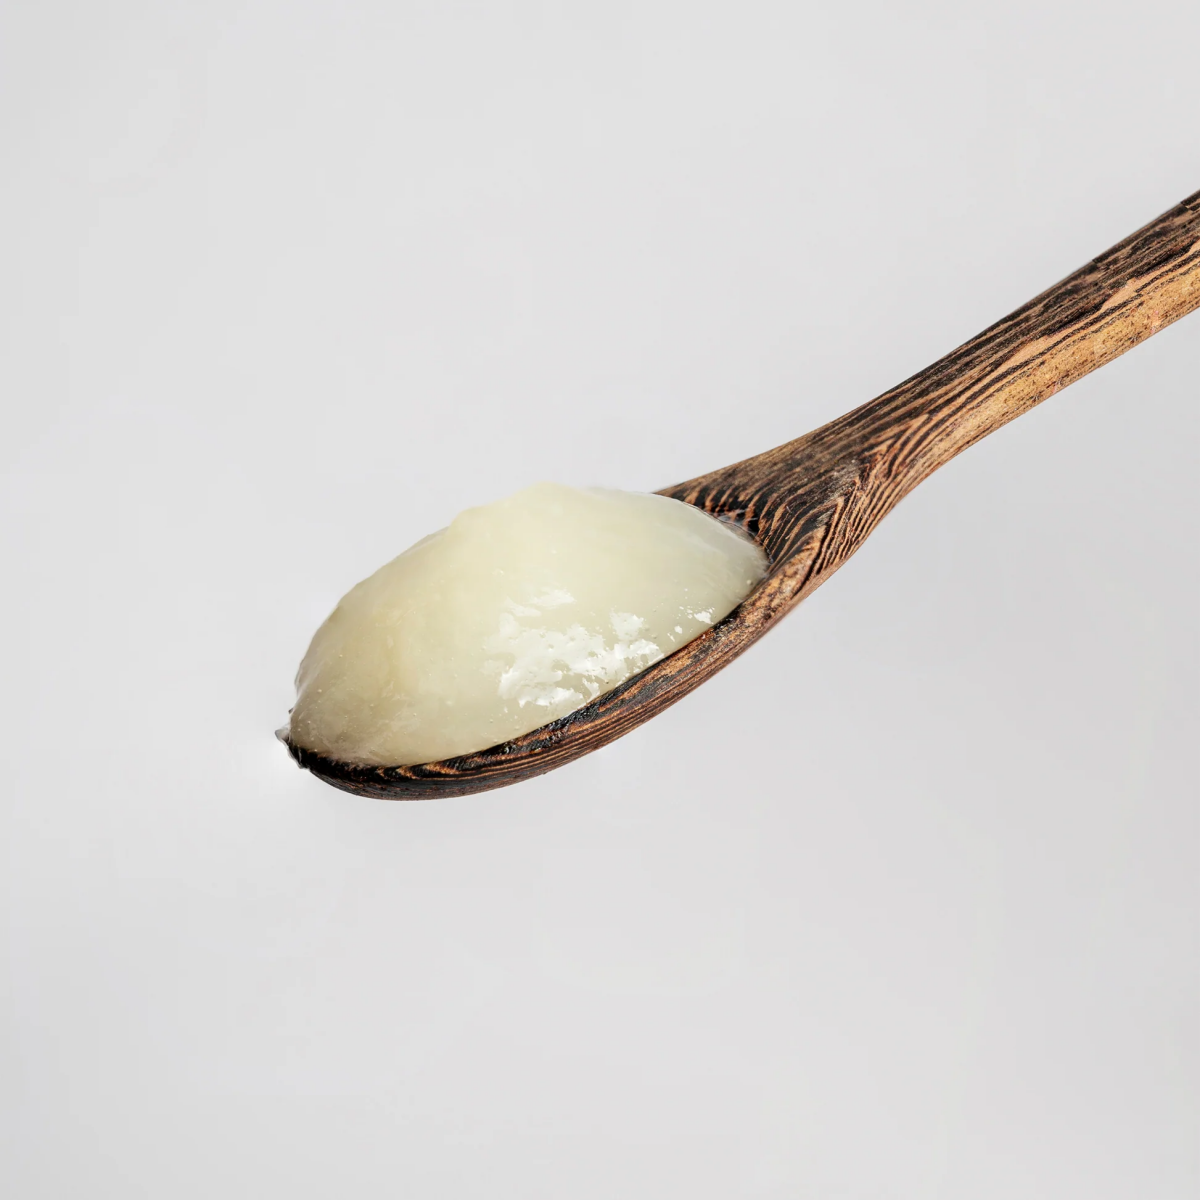
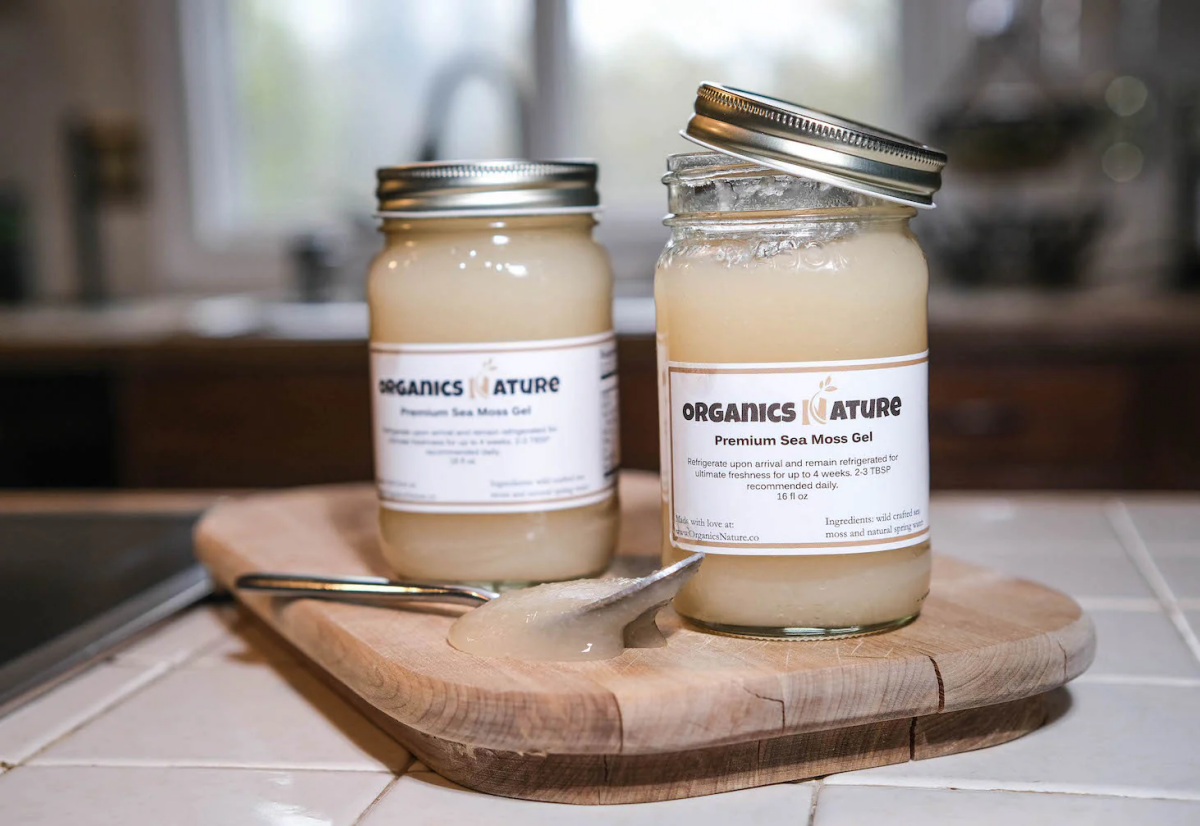
Step 5: Store it Right
Pour your beautiful gel into an airtight glass jar and stick it in the fridge. It will thicken up considerably as it cools over the next few hours. Freshly made gel lasts for about 3 weeks in the refrigerator. You’ll know it’s gone bad if it develops a sour smell or a pinkish tinge. When in doubt, throw it out.
Pro tip: For longer storage, pour the gel into ice cube trays and freeze it. The cubes last for up to 6 months and are perfect for dropping straight into your morning smoothie.
Creative Ways to Use Your Gel
Okay, so you’ve made it. Now what? You can do so much more than just put it in smoothies.
- In Soups & Stews: Add a tablespoon or two to your pot to create a rich, silky texture without changing the flavor.
- In Vegan Baking: Use it as an egg replacer! The general rule is 3 tablespoons of gel per egg. It’s fantastic in muffins and pancakes.
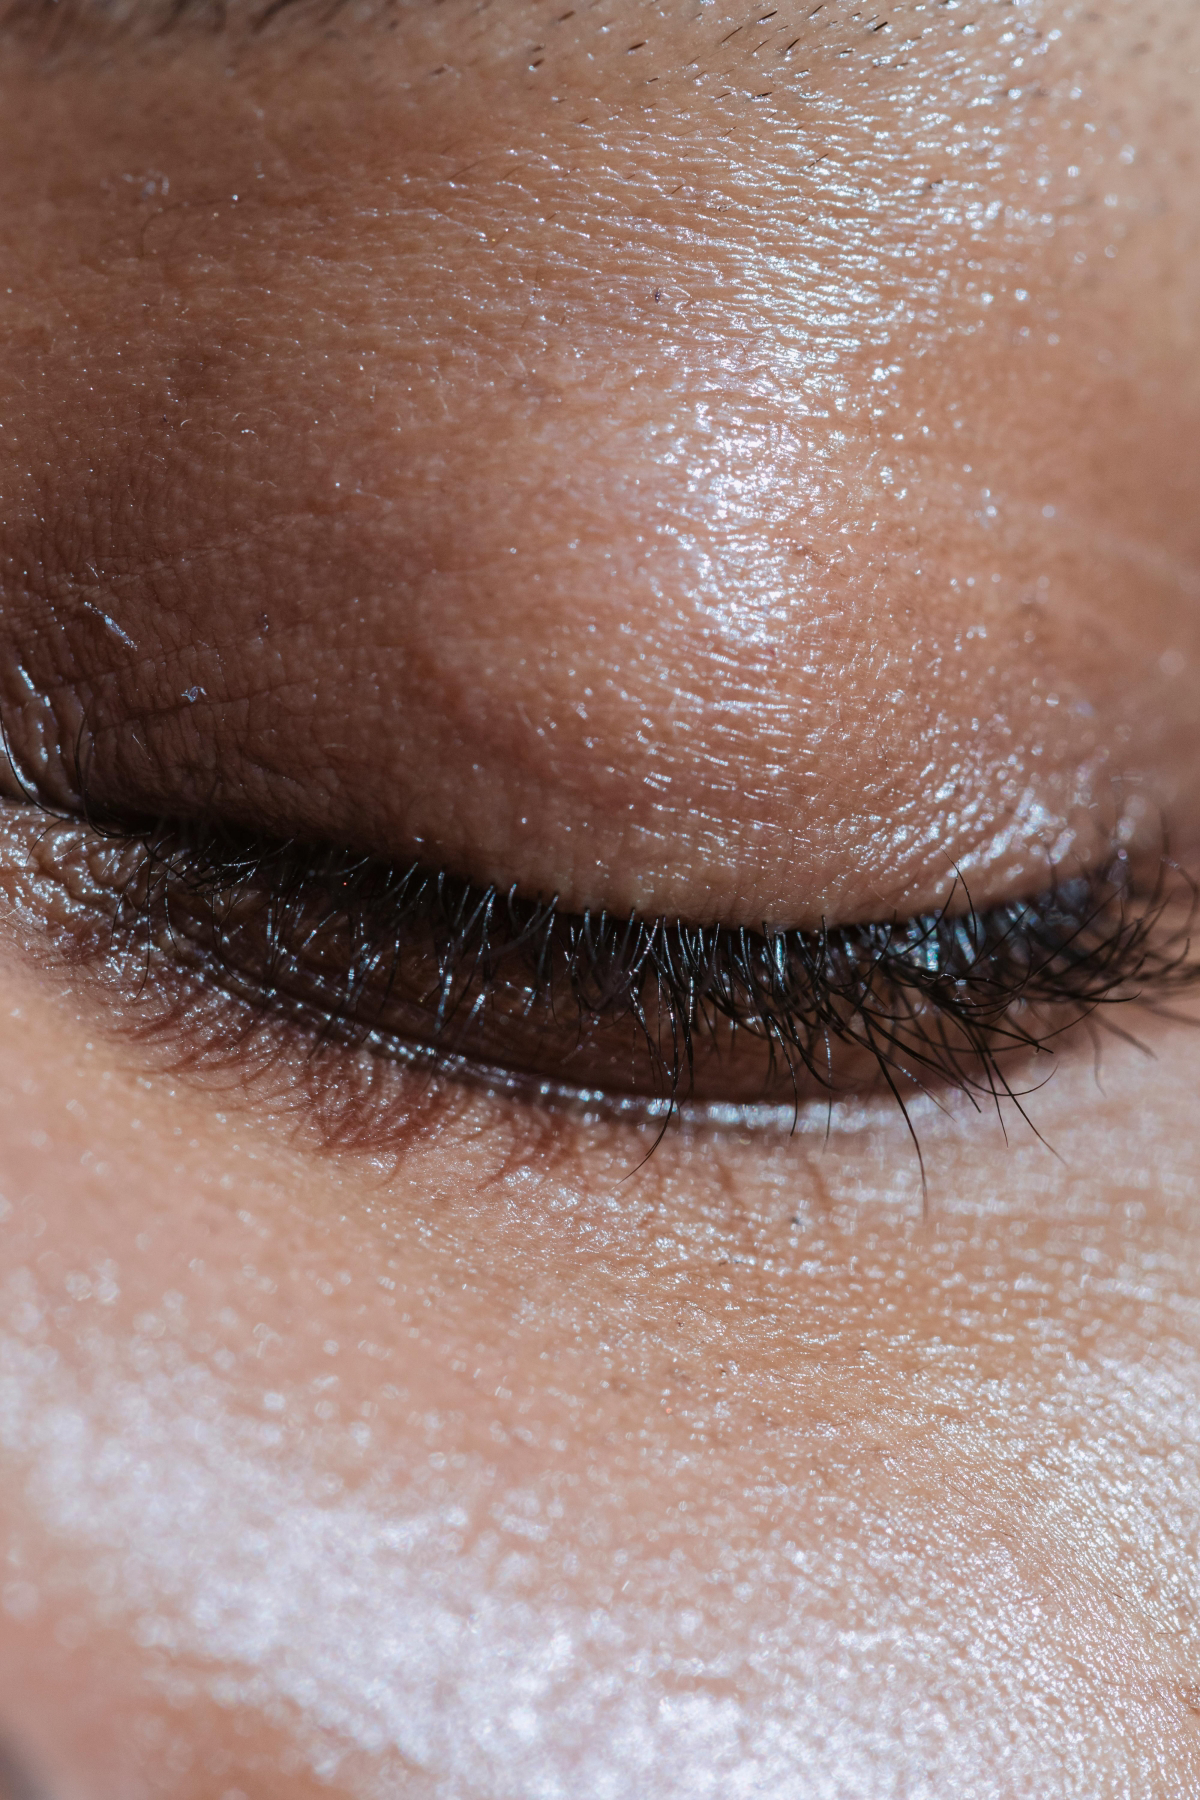
- For Your Skin: This is one of my favorite uses. It’s incredibly soothing. You can apply it directly to your face as a hydrating mask.
My Go-To Calming Face Mask: In a small bowl, mix 1 tbsp of sea moss gel with 1 tsp of raw honey. Apply a thin layer to your clean face, let it dry for about 15-20 minutes, and then rinse with cool water. Your skin will feel amazing.
A Serious Chat About Safety
Sea moss is powerful, and we need to treat it with respect. More is not better, and your safety comes first.
The biggest thing to be aware of is the iodine content. Most of us need iodine, but too much can mess with your thyroid, especially if you have a pre-existing condition like Hashimoto’s. A standard dose is 1 to 2 level tablespoons of gel per day. If you have any thyroid issues, you absolutely must talk to your doctor before trying sea moss. This isn’t just friendly advice; it’s a critical safety step.
The other concern is heavy metals. Seaweed absorbs things from the water it grows in—good and bad. This is why you must buy from a supplier who provides a Certificate of Analysis (a lab report). When you look at that report, scan for things like Arsenic, Lead, and Mercury. You want to see values that are below the safety limit or, even better, marked as “Not Detected.” If a company can’t provide this, don’t buy from them. It’s just not worth the risk.
Ultimately, sea moss is an amazing tool when you use it responsibly. Start slow, listen to your body, and enjoy the process of connecting with this powerful gift from the ocean.
Galerie d’inspiration
Did you know? Authentic Irish Moss (Chondrus crispus) contains carrageenan, a natural polysaccharide that gives it its powerful gelling ability. This is completely different from the industrially processed carrageenan extract found in some processed foods.
When you make your own gel, you are using the whole food in its natural, unprocessed state. The gel you create is rich in minerals and fiber, working synergistically within your body, unlike the isolated chemical extract which has been linked to inflammation.
Does my choice of blender really make a difference for sea moss gel?
Absolutely. The key to a perfect, silky gel without any gritty texture is pulverization. A high-speed blender, such as a Vitamix or Blendtec, creates a powerful vortex that breaks down the rehydrated seaweed on a cellular level. This results in a completely smooth, homogenous gel that incorporates seamlessly into any liquid or recipe. A standard blender may struggle, leaving behind tiny, tough bits that create an unpleasant mouthfeel.
Beyond the morning smoothie, sea moss gel has a place in your everyday cooking, acting as a nutrient-dense thickener and binder.
- Soups & Stews: Stir a tablespoon or two into your pot during the last 10 minutes of cooking to add body and a silky finish without altering the flavor.
- Sauces & Dressings: Use it to emulsify and thicken homemade salad dressings or vegan cream sauces for pasta.
- Homemade Jams: A small amount can help your fruit jams set beautifully, reducing the need for excess sugar or commercial pectin.
Wild-Harvested: This moss grows in its natural ocean habitat, attaching to rocks and absorbing a wide spectrum of minerals from the moving seawater. Its color and thickness can vary by season, reflecting its organic nature.
Pool-Grown: Cultivated in artificial, man-made pools with controlled saltwater. While this method is faster and yields a more uniform-looking product, the moss lacks the rich, diverse mineral profile that comes from a dynamic ocean ecosystem.
For maximum nutritional benefit, seeking out reputable, wild-harvested sources is always the recommended path.
To elevate your sea moss gel and tailor it to your taste, consider infusing it during the soaking process. After the initial rinse, add a cinnamon stick, a few slices of fresh ginger, or some dried hibiscus flowers to the soaking water. These aromatics will impart a subtle flavor into the moss, making your final gel more pleasant and personalized before it even hits the blender.


