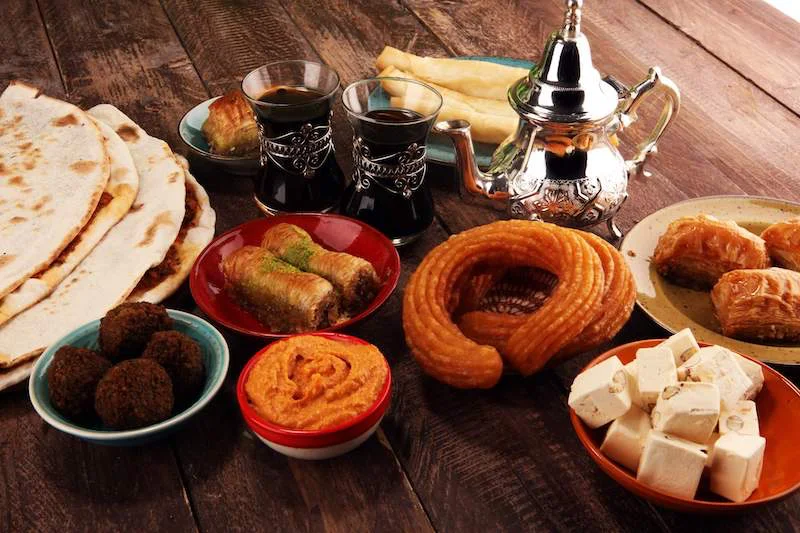
Secrets from a Pro Kitchen: How to Make Amazing Halal Food at Home
I’ve spent the better part of my life in professional kitchens, from loud, bustling spots in the heart of the Levant to high-end restaurants in major cities. And if there’s one thing I’ve learned, it’s that ‘Halal’ is so much more than a sticker on a package. It’s a whole philosophy of food that’s about respect, cleanliness, and the intention to serve something genuinely good and wholesome, or tayyib.
In this article
- First Things First: What Halal Really Means in the Kitchen
- Dish Deep Dive 1: Real-Deal Chicken Shawarma
- Dish Deep Dive 2: Impossibly Creamy Hummus
- Dish Deep Dive 3: Smoky, Rich Baba Ghanouj
- Dish Deep Dive 4: Real Lebanese Tabbouleh
- Dish Deep Dive 5: Perfect, Crispy Baklava
- Final Thoughts on Sourcing and Trust
A lot of people think it’s just a list of things you can’t eat. Honestly, I see it as a promise of quality and care that starts way before a single ingredient hits the pan.
So, this isn’t just another recipe roundup. I want to pull back the curtain and show you the real-deal kitchen techniques behind some of the most beloved dishes out there. We’ll get into the nitty-gritty details that make a dish truly sing. My goal? To give you the confidence to cook these classics with respect for the tradition and get incredible results.
First Things First: What Halal Really Means in the Kitchen
Before we even think about chopping an onion, let’s get the foundation right. In Islam, Halal simply means ‘permissible.’ For food, this boils down to a few key principles ensuring purity and ethical treatment. The opposite is Haram, or ‘forbidden,’ which covers things like pork, alcohol, and blood.
The Art of the Cut: Why Halal Meat is Different
The most important part of Halal cooking is, without a doubt, the meat. The specific method of slaughter, called dhabiha, is designed to be humane and to guarantee the meat’s purity. I’ve always said a good Halal butcher is a chef’s best partner. They get that these rules are absolute.
Here’s what the pros look for in their meat supply:
- A Healthy, Respected Animal: It all starts with a well-cared-for animal. It’s an ancient belief that stress ruins meat, and modern food science completely backs this up. Better treatment means better flavor.
- A Quick, Clean Process: The slaughter has to be done with an incredibly sharp knife. The goal is a swift action that severs the trachea, esophagus, and the main arteries and veins in the neck.
- The Importance of Draining: This is a game-changer from a culinary perspective. By cutting the major vessels, the animal’s heart pumps out most of the blood. Blood carries impurities and makes meat spoil faster. Properly drained meat has a noticeably cleaner taste, a better texture, and even a longer shelf life. It’s one of the key reasons Halal meat often just tastes superior.
- An Act of Gratitude: The person performing the slaughter must be a Muslim who invokes the name of God (Bismillah). This frames the act not as a simple killing, but as a provision from a higher power, done with reverence.
As a cook, knowing my ingredients were handled with this level of respect gives me incredible confidence in the final dish.

The Golden Rule: No Cross-Contamination
In a pro kitchen, keeping things Halal is all about strict, non-negotiable separation. You can’t let your Halal ingredients touch anything that’s not, especially pork or alcohol. One tiny mistake can ruin everything.
Heads up! We use a simple but effective system: color-coded gear. Green-handled knives and green cutting boards are for Halal products ONLY. It’s a common food safety practice that we also use to enforce Halal integrity. You also need separate fryers and dedicated grill space. You just can’t fry Halal chicken in the same oil you used for beer-battered onion rings. It’s that simple.
And it’s not just the obvious stuff. Vanilla extract is often alcohol-based. Some cheeses use animal rennet from non-Halal sources. Gelatin is usually pork-derived unless it’s specified otherwise. Learning to read every single label is a skill every cook in my kitchen has to master.
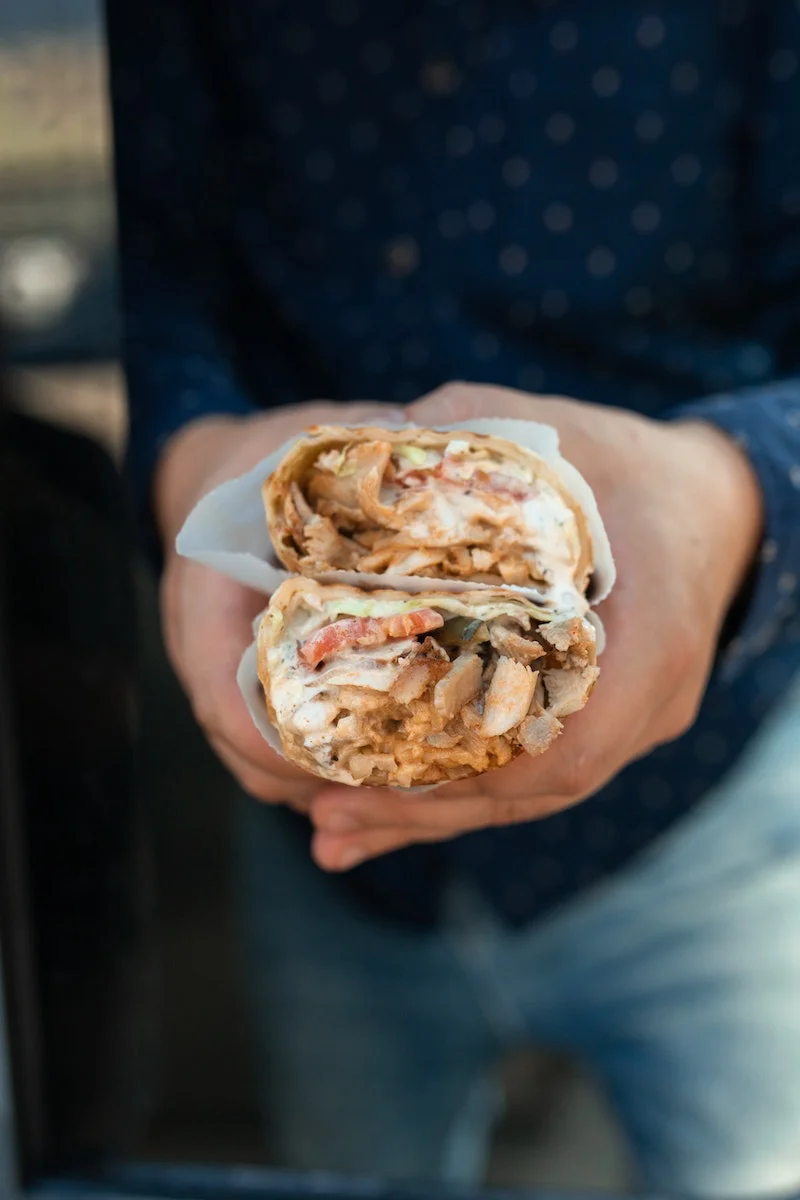
Dish Deep Dive 1: Real-Deal Chicken Shawarma
Shawarma is way more than a late-night wrap; it’s a masterclass in cooking meat. That vertical rotisserie isn’t just for show—it’s a genius way to let the meat slowly baste in its own fat and juices as it cooks.
The Pro Technique: Building the Spit
Building a shawarma spit is a true art form. It took me months before my first head chef even let me try. You can’t just jab meat onto a skewer and call it a day.
We start with boneless, skin-on chicken thighs. Forget the breast meat; it dries out in a heartbeat. The thighs have the fat content needed to stay juicy. They get marinated for at least 12 hours, and the marinade is everything. We layer the thighs one by one, pressing down firmly to remove any air pockets. Oh yeah, here’s a pro secret: every dozen or so layers, we add a thin layer of pure lamb fat. As it all rotates, that fat melts and drips down, basting the chicken. It’s what makes for an unbelievably moist shawarma.
How to Make It at Home (Serves 4)
You don’t have a giant vertical spit, and that’s totally fine. You can get 90% of the way there in your oven. The key is the marinade.
- Shopping List: 2 lbs boneless, skin-on chicken thighs; 1 cup plain yogurt; 1 lemon; 4-5 cloves garlic; olive oil; your spices.
- The Marinade: For 2 lbs of chicken, mix 1 cup of full-fat plain yogurt, the juice of one lemon, 4 minced garlic cloves, 2 tablespoons of olive oil, 1 tablespoon of paprika, 2 teaspoons of allspice, 1 teaspoon of ground cardamom, and a ½ teaspoon of cinnamon. Don’t forget salt and pepper! Let the chicken marinate for at least 4 hours, or ideally, overnight.
- Cook It Hot: Lay the marinated thighs on a baking sheet and roast at 425°F (220°C) for about 25-30 minutes, until they’re cooked through and nicely charred in spots. For an even better result, sear them in a screaming-hot cast-iron skillet. Let the chicken rest for 10 minutes before slicing it thin.
Good to know: Plan for about 30-40 minutes of active prep and cook time, plus at least 4 hours for marinating. And always cook chicken to an internal temperature of 165°F (74°C). No exceptions.
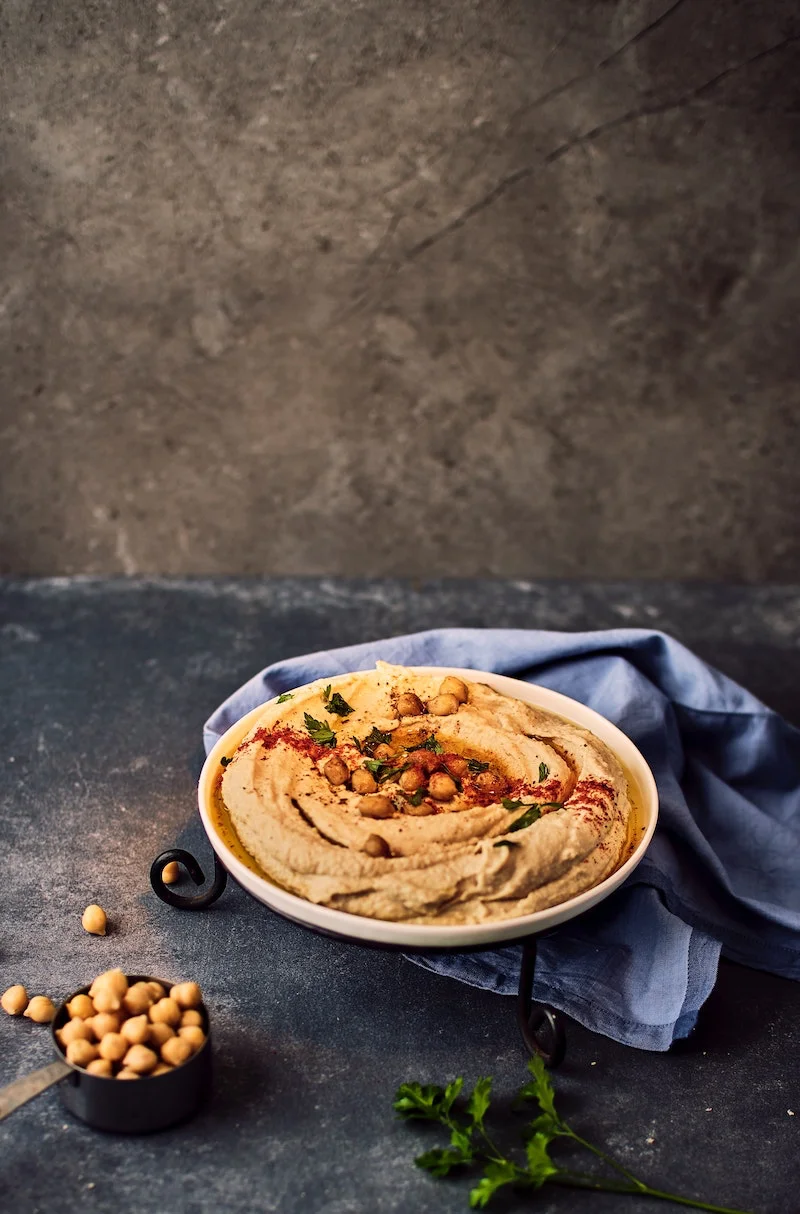
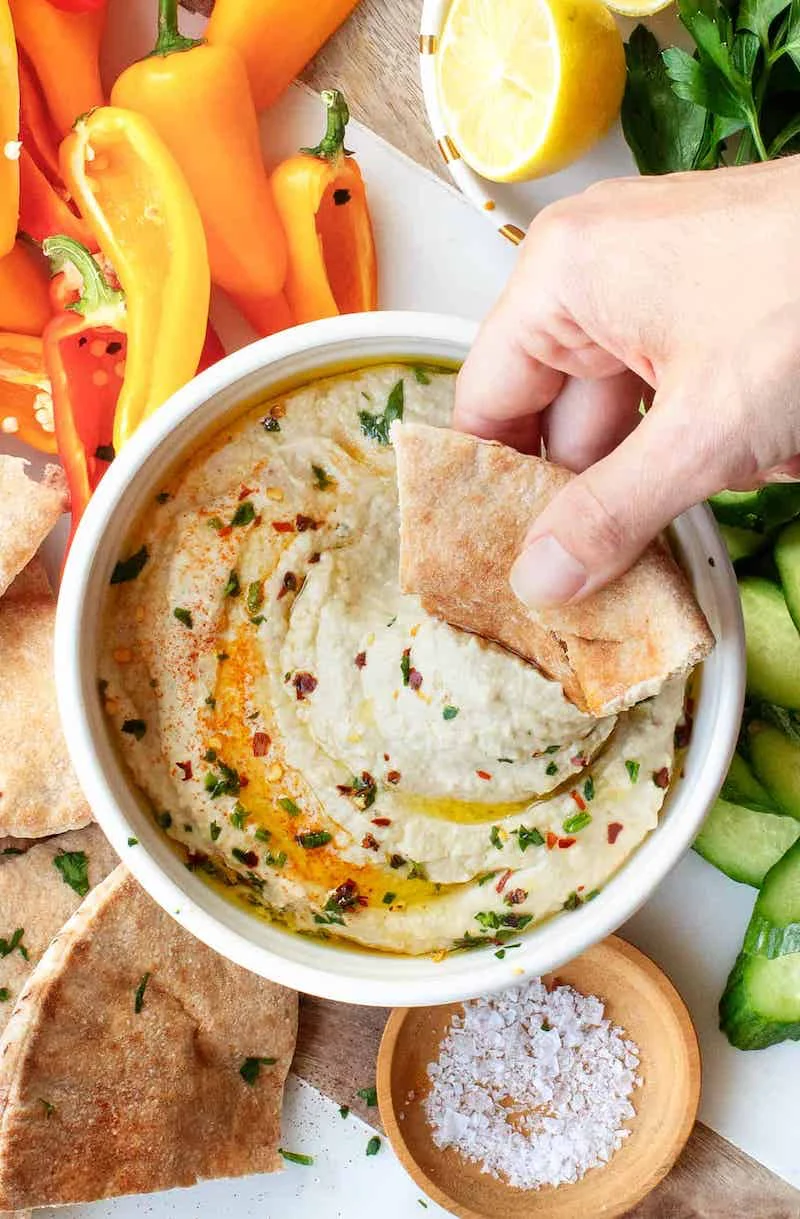
Dish Deep Dive 2: Impossibly Creamy Hummus
Everyone thinks they know hummus. But the gap between that grainy stuff from the grocery store and truly silky, restaurant-quality hummus is massive. The secret isn’t the ingredients—it’s the technique.
Good, Better, Best: The Chickpea Question
Your hummus lives or dies by the state of your chickpeas. You have three options:
- Good: Use canned chickpeas. It’s fast, and it’ll be decent. Just make sure to rinse them well.
- Better: Use dried chickpeas. Soak them overnight, then boil them until they are absolute mush. I mean, falling apart if you look at them wrong. This takes a while, sometimes up to two hours, but the texture is a huge step up.
- Best (The Pro-Level Secret): Do all of the above, but after boiling, you peel the chickpeas. Yes, one by one. It’s tedious, I know. In the restaurant, we’d have a prep cook do this for an hour every morning. But it is the single biggest thing you can do for a velvety, luxurious texture.
The Recipe for Perfect Hummus (Makes about 2 cups)
The order you blend things in matters. A lot.
- Shopping List: 1 can (15 oz) chickpeas OR 1 cup dried chickpeas; ½ cup good tahini; 1 large lemon; 2 cloves garlic; ice water; olive oil.
- The Tahini Trick: First, blend ½ cup of tahini with the juice of one lemon and 2 cloves of garlic. It will get thick and pasty—that’s normal! Now, with the blender running, slowly stream in 3-4 tablespoons of ICE-COLD water. This aerates the tahini, making it fluffy and pale. This is the ultimate quick win for creamier hummus, even if you use canned chickpeas.
- Finish It: Only now should you add your cooked (and hopefully peeled!) chickpeas. Blend until it’s impossibly smooth, adding a bit more ice water if it’s too thick.
A word on tahini: Your hummus is only as good as your tahini. Cheap stuff can be bitter. Look for brands like Al-Wadi or Ziyad, often found at Middle Eastern markets or online. A good jar might cost you $8-$12, but it’s the best investment you can make for your hummus.
Dish Deep Dive 3: Smoky, Rich Baba Ghanouj
This is hummus’s smoky, mysterious cousin. The soul of a great Baba Ghanouj is a deep, smoky flavor that you can only get one way: by properly charring the eggplant.
The Secret is the Smoke
Please, do not just bake your eggplant. You’ll end up with a bland, mushy dip. The smoke is non-negotiable. The best method is to put the whole eggplant directly on a gas stove burner or a charcoal grill. Let the flames char the skin until it’s black, blistered, and collapsing.
No gas stove? No problem. Just set your oven to its highest broil setting. Place the eggplant on a foil-lined sheet pan right under the heating element. Turn it every 5-7 minutes with tongs until the entire outside is blackened and the inside is totally soft.
Once it’s charred, put it in a bowl and cover it with plastic wrap for 15 minutes. This steams the eggplant and makes the skin super easy to peel off. Then, chop the smoky pulp by hand. Never, EVER use a food processor for this—Baba Ghanouj should have some texture, not be a purée.
The Step Everyone Skips
Here’s a trick that makes all the difference: after chopping the eggplant, put the pulp in a fine-mesh strainer over a bowl for 20 minutes. You’ll be shocked at how much bitter liquid drains out. Skipping this step is why so many homemade versions are watery. Finally, gently fold in a few tablespoons of tahini, minced garlic, lemon juice, and salt. Easy does it.
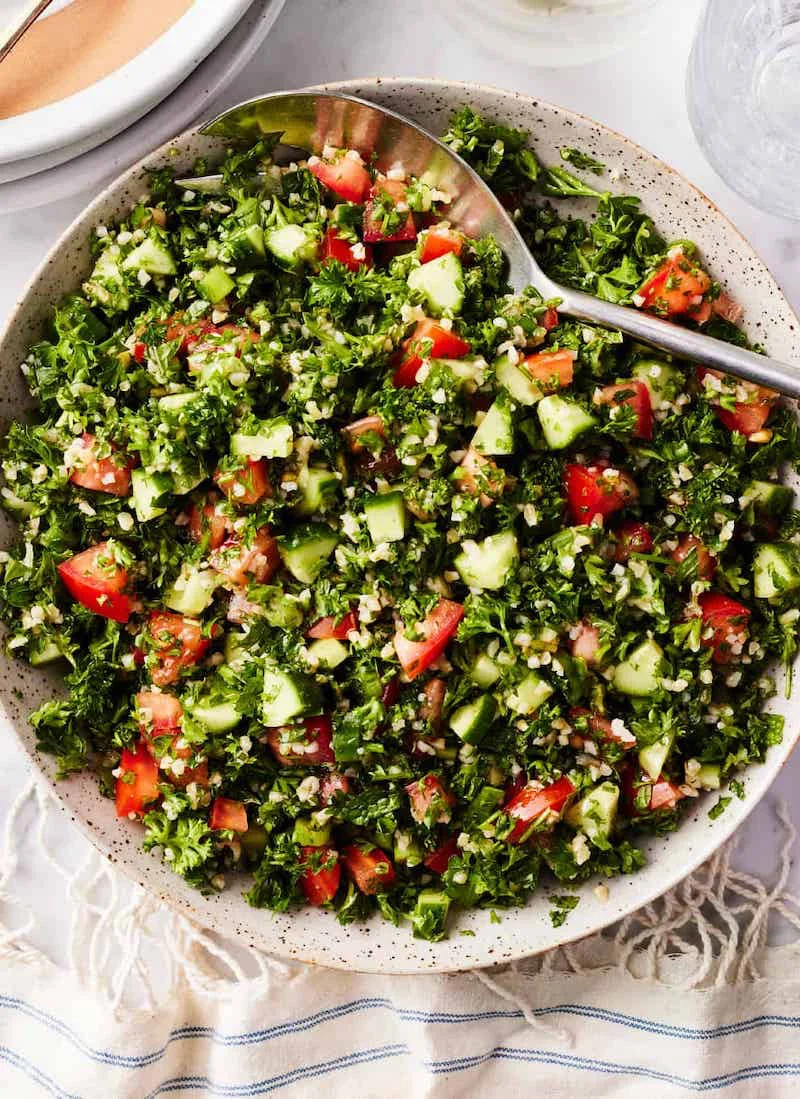
Dish Deep Dive 4: Real Lebanese Tabbouleh
Let’s set the record straight: authentic Tabbouleh is a parsley salad, not a grain salad. The bulgur wheat is just a supporting actor, not the star.
It’s All About the Ratio
The ratio defines the dish. My rule of thumb is for every 1 part of fine bulgur wheat, you need at least 8 to 10 parts of fresh parsley. It should look like green confetti with a few grains sprinkled in, not the other way around. The parsley must be chopped very finely with a razor-sharp knife; a dull one will just bruise the leaves and make them soggy.
- Shopping List: 4-5 big bunches of flat-leaf parsley; 1 bunch of fresh mint; 3-4 firm Roma tomatoes; 2-3 spring onions; ⅓ cup fine (#1) bulgur wheat; 2 lemons; good olive oil.
- Prep is Key: Finely chop the parsley and mint. Dice the tomatoes (remove the seeds to keep the salad from getting watery) and slice the spring onions.
- For the Bulgur: Don’t cook it! Just put the ⅓ cup of bulgur in a bowl and pour the juice of one lemon over it. Let it sit for 20 minutes to soften, then fluff it with a fork.
CRITICAL TIP: Never dress Tabbouleh until the second before you serve it. The salt and lemon will immediately start pulling water from the veggies and wilting the herbs. Combine everything at the last minute for a fresh, vibrant salad.
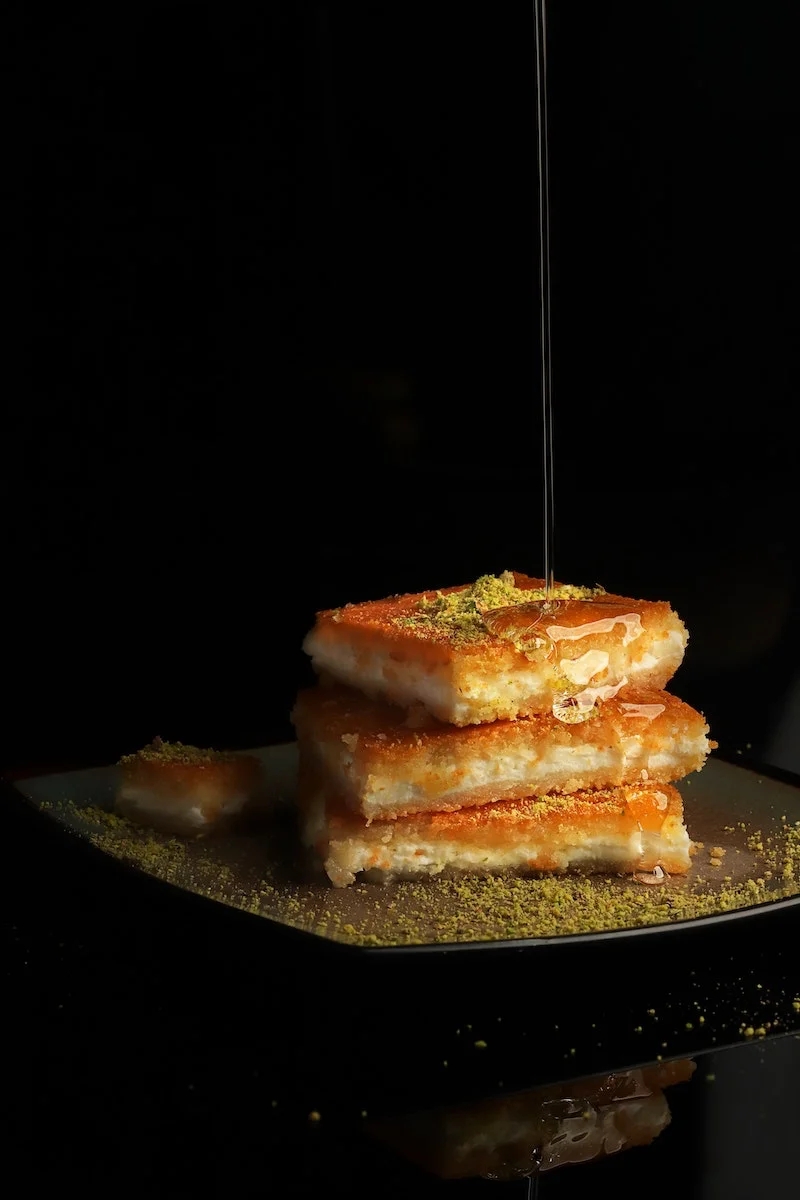
Dish Deep Dive 5: Perfect, Crispy Baklava
Baklava is all about patience and technique. It requires you to tame one of the pastry world’s most difficult ingredients: phyllo dough.
The Two Golden Rules for Crispiness
There are two things you absolutely must do for flaky, perfect baklava. No shortcuts here.
1. Use Clarified Butter (Ghee). Regular melted butter has water and milk solids that will make your phyllo soggy and cause burnt, bitter spots. To clarify butter, just gently melt a stick or two in a saucepan, let it settle for a minute, skim the white foam off the top, and then carefully pour the pure golden butterfat into a bowl, leaving the watery milk solids behind at the bottom of the pan. It’s an extra five-minute step that makes all the difference.
2. The Hot/Cold Syrup Rule. This is the most important secret of all. To get that signature crackle, one component must be hot and the other must be cool. Either pour cool syrup over hot-from-the-oven baklava, OR pour hot syrup over completely cooled baklava. I prefer cool syrup on a hot pastry. If both are hot, you get a sticky mess. If both are cold, the syrup won’t soak in.
A Quick Word on Phyllo
Phyllo dough dries out in seconds. The moment you open it, cover the stack with plastic wrap and a damp (not wet!) towel. Work quickly, laying one sheet at a time in your pan and brushing generously with that clarified butter before adding the next. Don’t be shy with the butter—it’s what creates those amazing, paper-thin layers.
A SERIOUS SAFETY WARNING: Hot sugar syrup is basically napalm. It gets much hotter than boiling water (around 220°F or 105°C) and it clings to skin, causing horrific burns. Always pour away from your body and handle the pot with extreme care.
Final Thoughts on Sourcing and Trust
Cooking these dishes is about more than just a recipe; it’s about building a connection with your ingredients. I really encourage you to find a good local Halal butcher and ask them questions. Find a neighborhood Middle Eastern market for your spices, tahini, and pomegranate molasses. The quality is worlds apart from what you’ll find in a generic supermarket.
Mastering these dishes is a journey into a rich culinary world. It’s about understanding the core principles, respecting the ingredients, and focusing on technique. Get these right, and you’ll have a foundation for a lifetime of incredible cooking.
(Just a heads-up: my expertise is all in the kitchen, based on years of hands-on experience. For specific religious rulings on Halal, it’s always best to consult a qualified scholar. My goal here is to share the craft of food preparation as I’ve learned it in some incredible Halal kitchens.)


