Your Ceiling Fan Has a Secret Winter Mode—Here’s How to Actually Use It
Over the years, I’ve walked through thousands of homes, from shiny new builds to charming old farmhouses, and I see the same thing everywhere. One of the most common and easiest-to-fix mistakes is a ceiling fan spinning the wrong way in the winter. So many of us just turn them off when the weather gets cold, thinking their job is done. But honestly, you’re missing out on one of the simplest ways to make your room feel warmer and actually knock a few bucks off your heating bill.
In this article
Let’s be clear: a ceiling fan doesn’t create heat. That’s not its job. Its real purpose in the winter is to circulate the heat you’ve already paid for. By reversing the fan’s direction, we can gently nudge all that cozy, warm air that’s trapped up on the ceiling back down into the room where you can feel it. It’s a tiny change that can make a space feel several degrees warmer, letting you turn your thermostat down a notch. And that’s where the real savings kick in.
The Simple Science of a Cozier Room
To get why this works, you just have to remember one basic rule of physics: heat rises. It’s that simple. Warm air is less dense than cool air, so it floats up. In any heated room, a layer of the warmest air is just hanging out at the ceiling, doing nothing. Experts call this “heat stratification.”
I’ve used an infrared thermometer in clients’ homes and regularly see a 5 to 10-degree difference between the floor and the ceiling. In rooms with high or vaulted ceilings, it can be even more dramatic. By the way, you can test this yourself! A basic infrared thermometer is pretty cheap online, maybe $20-$30, and pointing it at your ceiling and then your floor might just shock you.
All that expensive, toasty air is stuck where you can’t enjoy it. Your furnace or heater has to work overtime just to keep the lower part of the room comfortable. A ceiling fan is the perfect tool to fix this imbalance.
Summer vs. Winter Mode
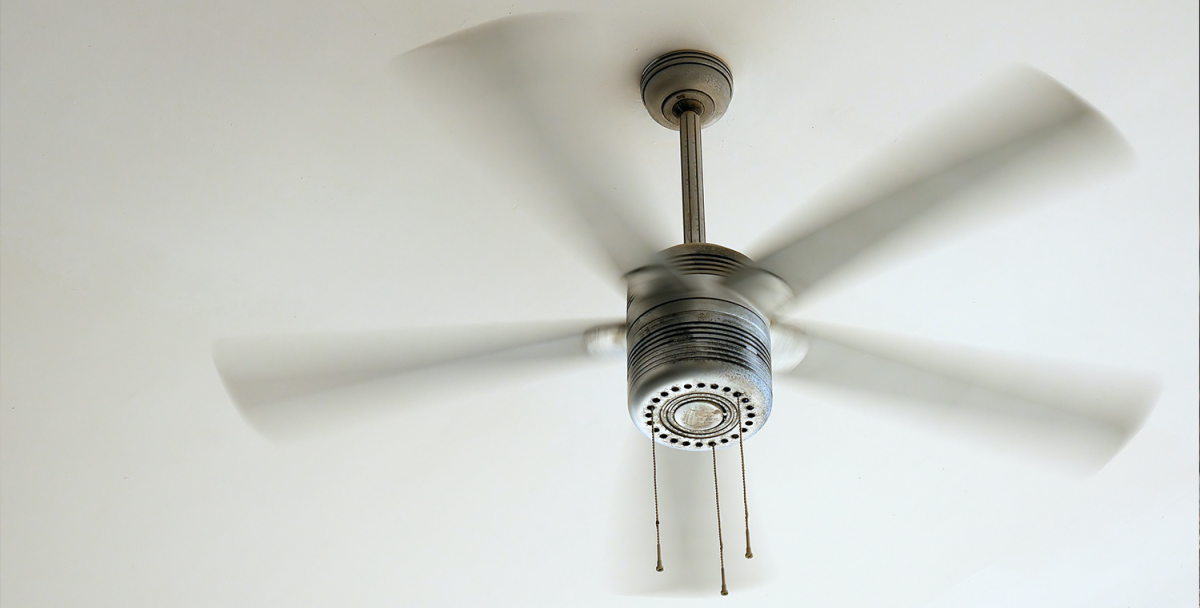
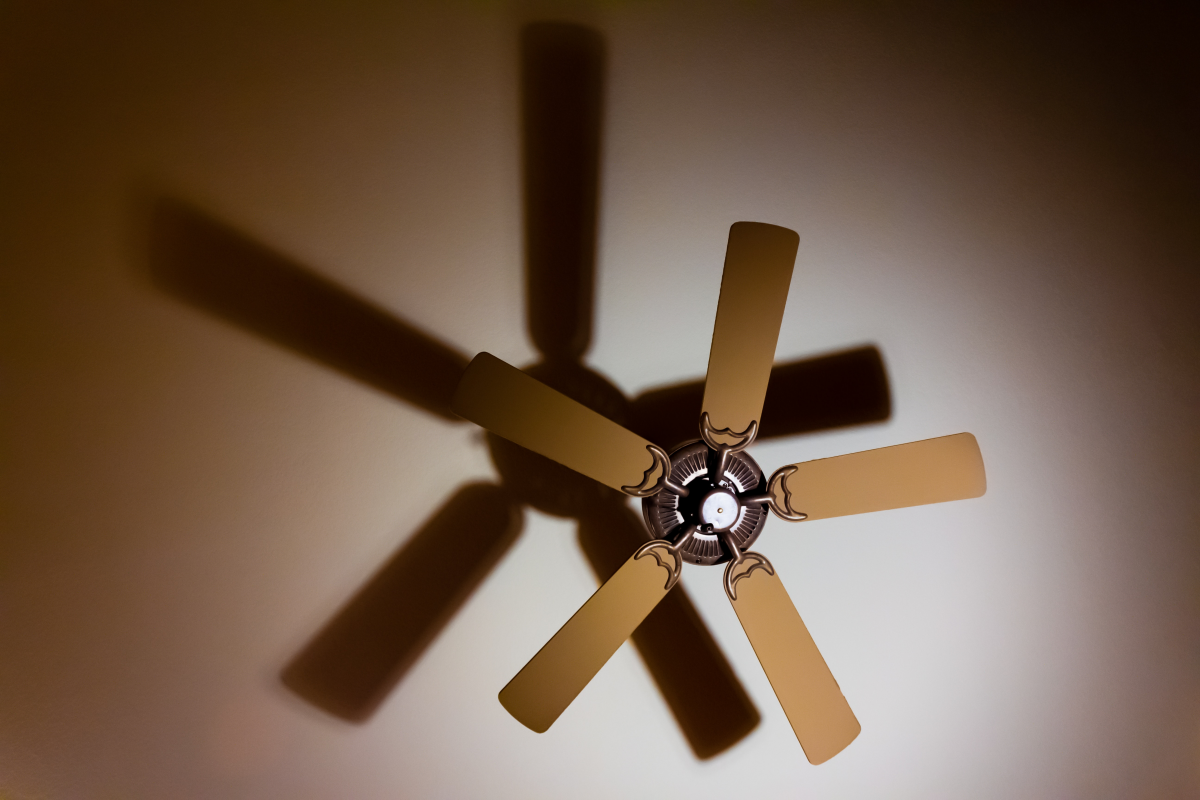
A fan’s blades are angled, a bit like an airplane’s wing. The direction they spin determines whether they push air down or pull it up.
In Summer (Counter-Clockwise): You want the fan to spin counter-clockwise. This pushes a column of air straight down, creating a direct breeze. It’s a wind-chill effect that helps sweat evaporate from your skin, making you feel cooler. It’s not actually changing the room temperature, just how you perceive it.
In Winter (Clockwise): We want the exact opposite. By setting the fan to spin clockwise, the blades pull the cooler air from the middle of the room upward. This moving column of air displaces the warm air at the ceiling, forcing it down the walls and back into your living space. This creates a slow, gentle circulation—you shouldn’t feel a draft at all. If you do, the fan is on too high. The goal is to mix the air, not create a breeze.
How to Change Your Fan’s Direction: A Step-by-Step Guide
Flipping the switch on your fan is usually a simple task. But since you’re often working overhead on a ladder, safety has to be your number one priority. I’ve heard some horror stories and seen some close calls, so trust me, let’s do this the right way.
First, Safety Always
Before you touch anything, make sure the fan is completely off. Turn it off at the wall switch, not just with the pull chain or remote. For total peace of mind, you might even want to flip the circuit breaker. Wait for the blades to stop spinning on their own. Please don’t try to stop them with your hand or a broomstick!
Next, grab a proper A-frame stepladder. Don’t balance on a dining room chair, especially one with wheels. Make sure the ladder is fully opened, locked, and on a flat surface. It takes an extra minute, but it prevents a trip to the emergency room.
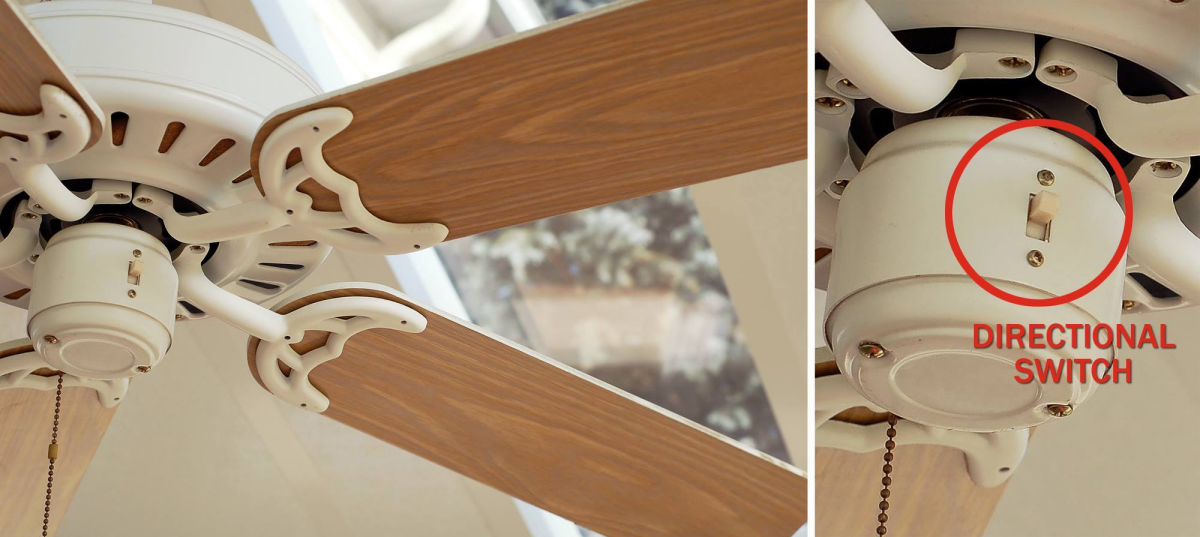
Step 1: Find the Control Switch
Okay, time to play detective. Your fan will have one of a few common control types for changing direction.
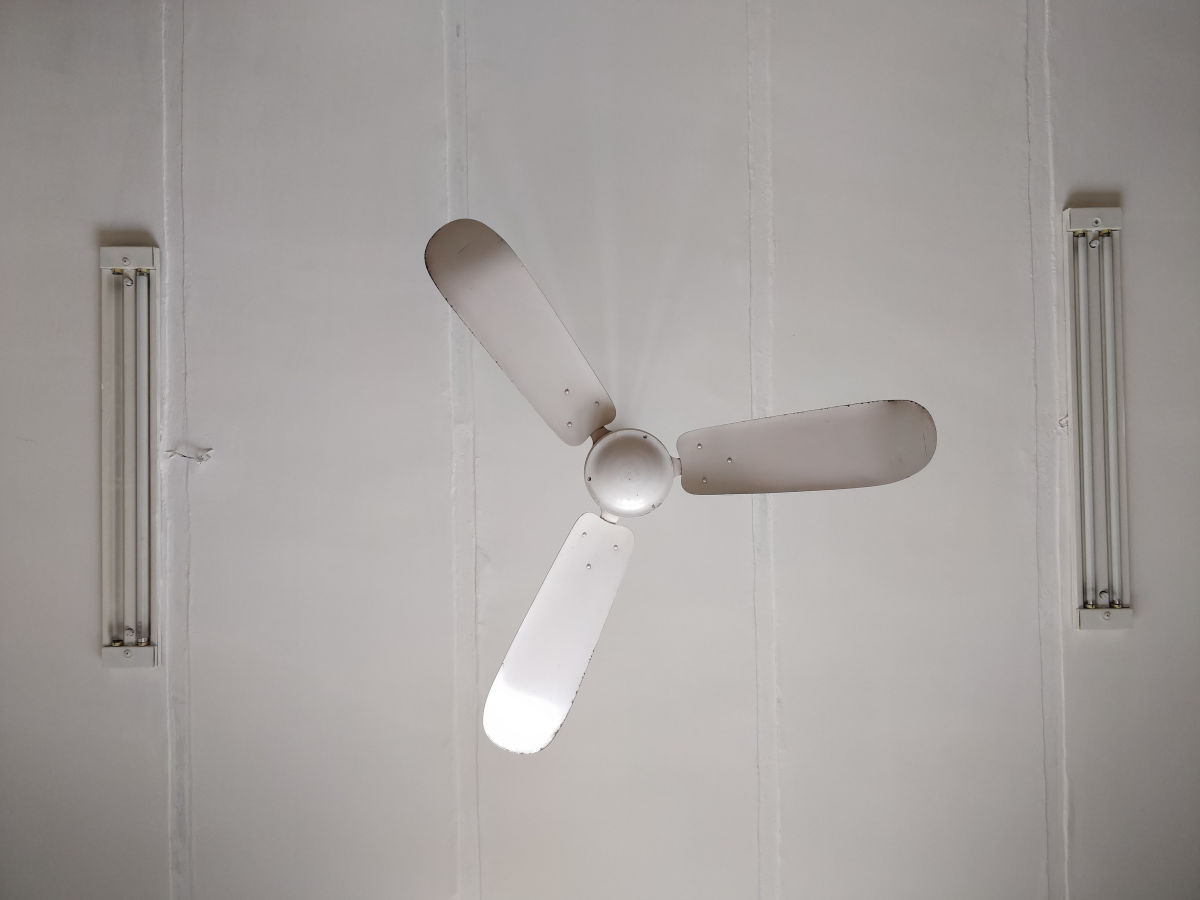
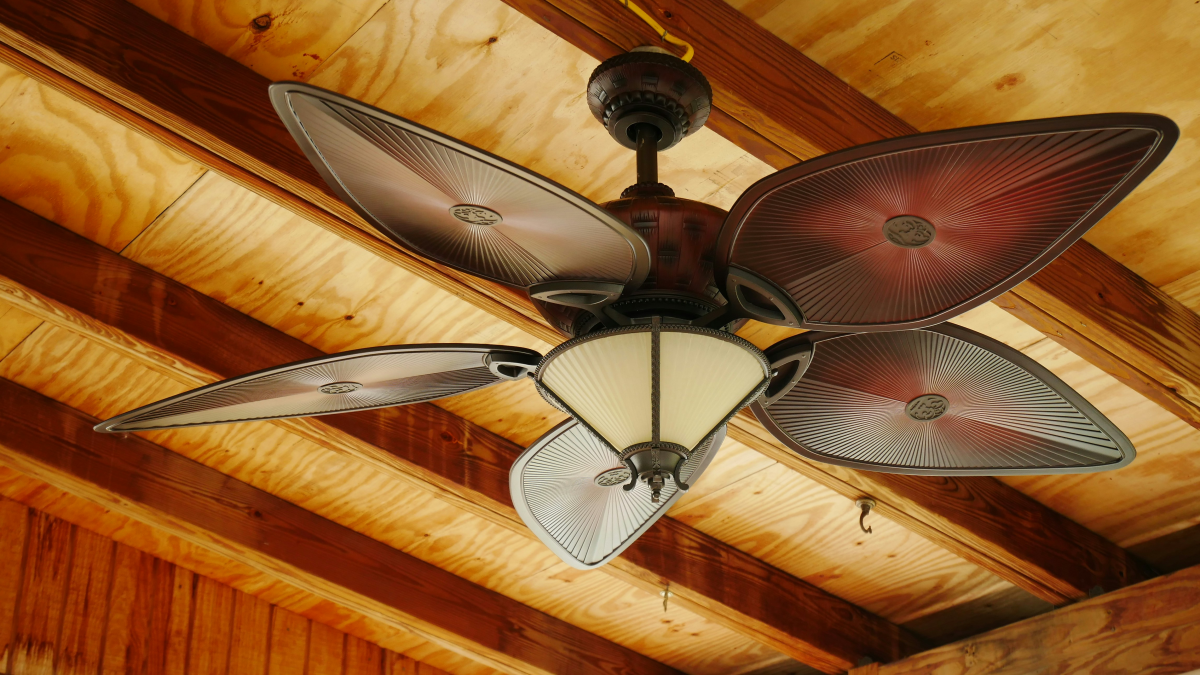
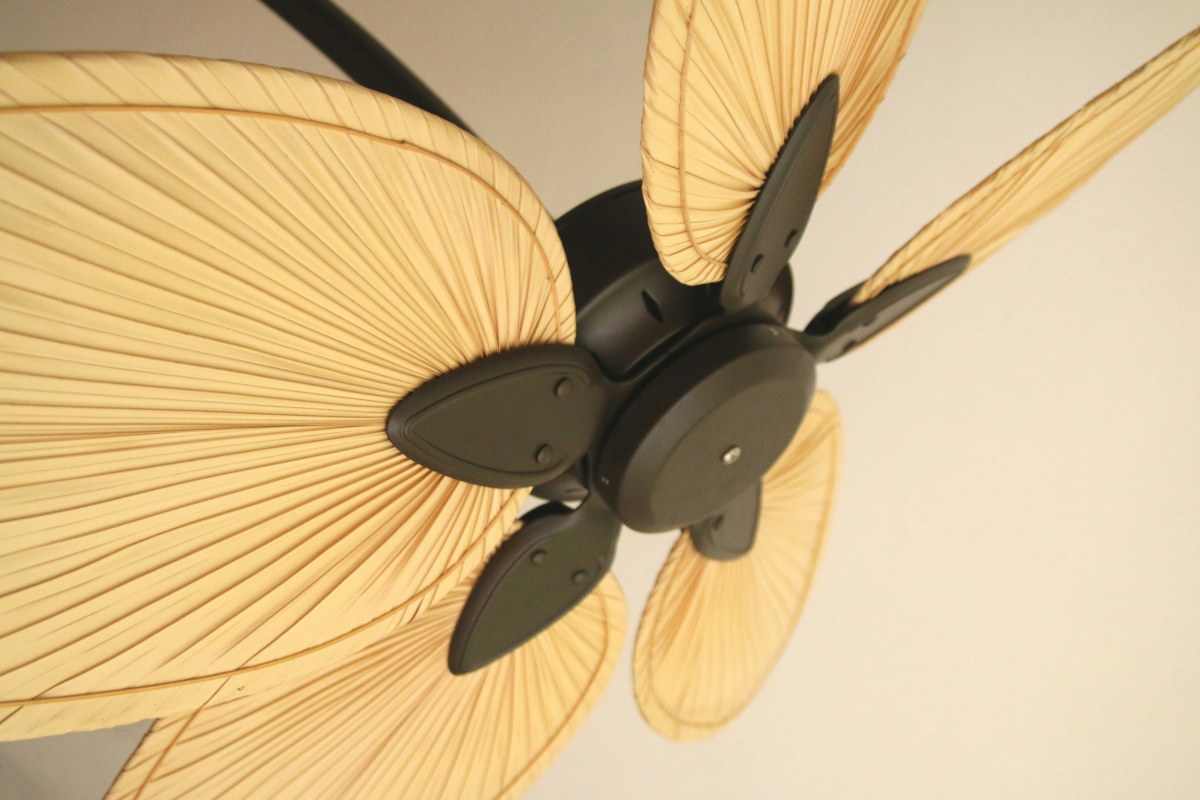
- The Toggle Switch: This is the most common, especially on slightly older fans. It’s a small plastic switch, usually black, on the fan’s motor housing (the main body part). You might need a flashlight to spot it.
- The Remote Control: Many modern fans use a remote. Look for a button with an icon of two curved arrows, or sometimes a little sun and snowflake. Pressing it should reverse the fan.
- The Wall Control: Some fancier systems have a specialized wall panel. Like the remote, it will have a dedicated button for reversing the fan direction.
Heads up! A standard smart switch or a simple dimmer switch can’t change the fan’s direction. That function is built into the fan’s own motor and electronics, so you have to use the control that came with it.

Step 2: Okay, Let’s Flip the Switch
Now that you’re prepped and safe, it’s time to make the change.
- For Toggle Switches: Get up on your stepladder, find the little switch, and just flip it to the other position. There’s no universal standard, but often “up” is for winter (updraft) and “down” is for summer (downdraft).
- For Remotes or Wall Controls: Just press the reverse button. You might need to have the fan turned on (but with the blades stopped) for the signal to register.
Okay, pause reading for 60 seconds. Go look at your main ceiling fan. Can you see the reverse switch? Is it spinning clockwise right now? Go check!
Step 3: Test Your Work
Turn the power back on and set the fan to its lowest speed. Stand directly underneath it. You should NOT feel a breeze blowing down on you. If you want to be extra sure, hold up a single ply of toilet paper. It should get pulled gently upward toward the fan, not blown away from it. If it’s blowing down, you’ve got it in summer mode. No big deal—just turn it off, wait for it to stop, and flip the switch again.

Pro Tips for Getting the Most Out of It
Getting the fan spinning the right way is step one. But to really get the full benefit, you need to optimize how you use it. This is where a lot of people miss out.
Get the Speed Just Right
The correct speed for winter use is almost always the LOWEST setting. Remember, the goal is gentle circulation, not a wind tunnel. If you feel a draft, the speed is too high and it’s making you colder. For a standard 8-foot ceiling, low is all you’ll ever need. The only time you might consider medium is for very high, vaulted ceilings, and even then, start on low.
Pair it With Your Thermostat for Real Savings
This is where the magic happens. Once your fan is circulating that warm air, the room will feel just as cozy at a lower thermostat setting. Try setting your heat 2 to 4 degrees lower than you normally would. If you’re a 70°F household, try it at 67°F or 68°F. You can save around 1% on your heating bill for every degree you lower the thermostat over an 8-hour period. Over a whole winter, that adds up to real money.
Clean Those Blades!
A dusty fan is an unhappy fan. That layer of gunk on the blades disrupts airflow and, more importantly, can throw the fan off balance, causing that annoying wobble. Here’s a brilliant trick: grab an old pillowcase and slide it over a blade. As you pull it back, all the dust gets trapped inside instead of falling all over your furniture. Do this every few months, especially before you switch directions for the season.
Fix That Wobble
A wobbly fan isn’t just distracting; it’s inefficient. Most fans come with a little balancing kit that people usually throw away. It’s got a plastic clip and some small adhesive weights.
Here’s how to use it: slide the plastic clip onto the back edge of one blade, about midway out. Turn the fan on low. Does the wobble get better or worse? Turn it off, move the clip to the next blade, and test again. Keep doing this until you find the blade where the clip makes the biggest improvement. Once you’ve found the sweet spot on that blade, stick one of the adhesive weights on the top center of the blade, right where the clip was. It might take 30-60 minutes of trial and error, but it’s worth it for a silent, steady fan.
What About Different Types of Rooms?
The basic idea is the same everywhere, but you might need to tweak the approach based on your home’s layout.
High Ceilings Make a HUGE Difference
Ceiling height is the number one factor. The higher the ceiling, the more heat gets trapped, and the more a fan can help.
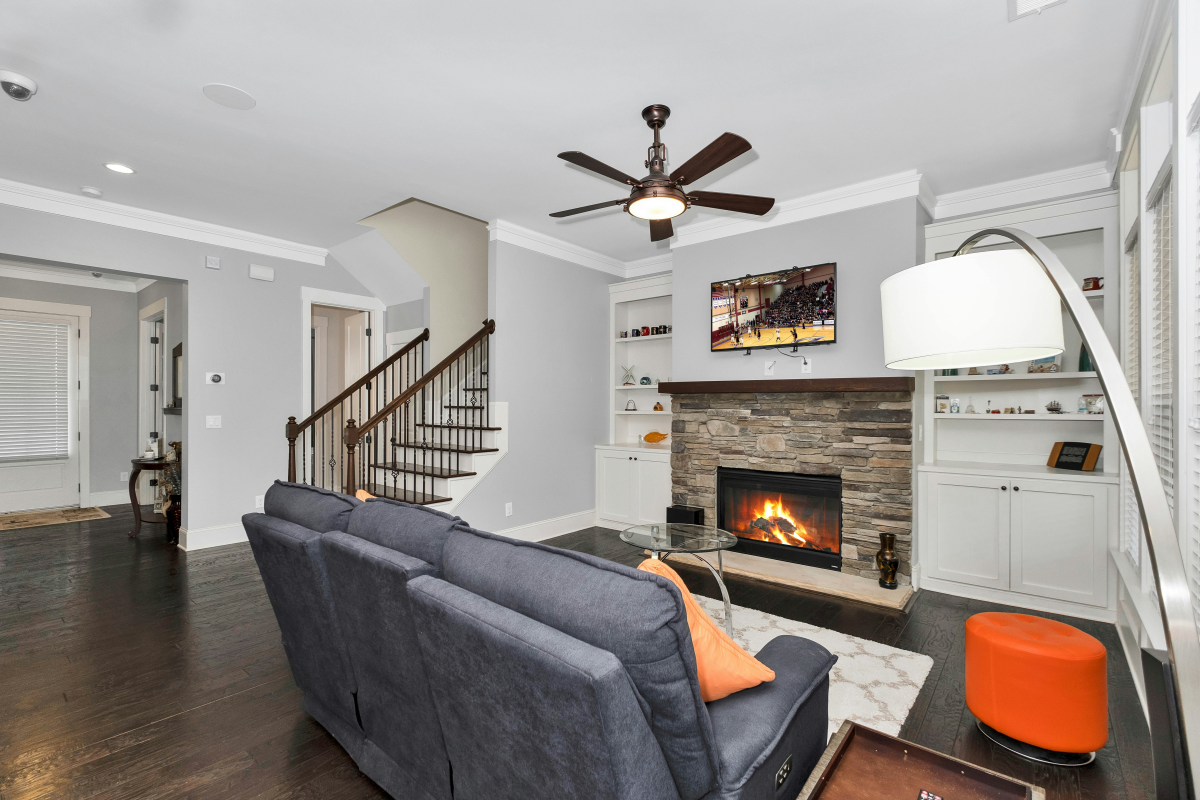
I’ll never forget this one client with a huge, vaulted great room. The loft area was a sweltering 85 degrees while they were freezing downstairs in the main living area. We cleaned the fan, flipped the switch to clockwise, and put it on low. An hour later, the temperature throughout the entire space had evened out. They were blown away by the difference.
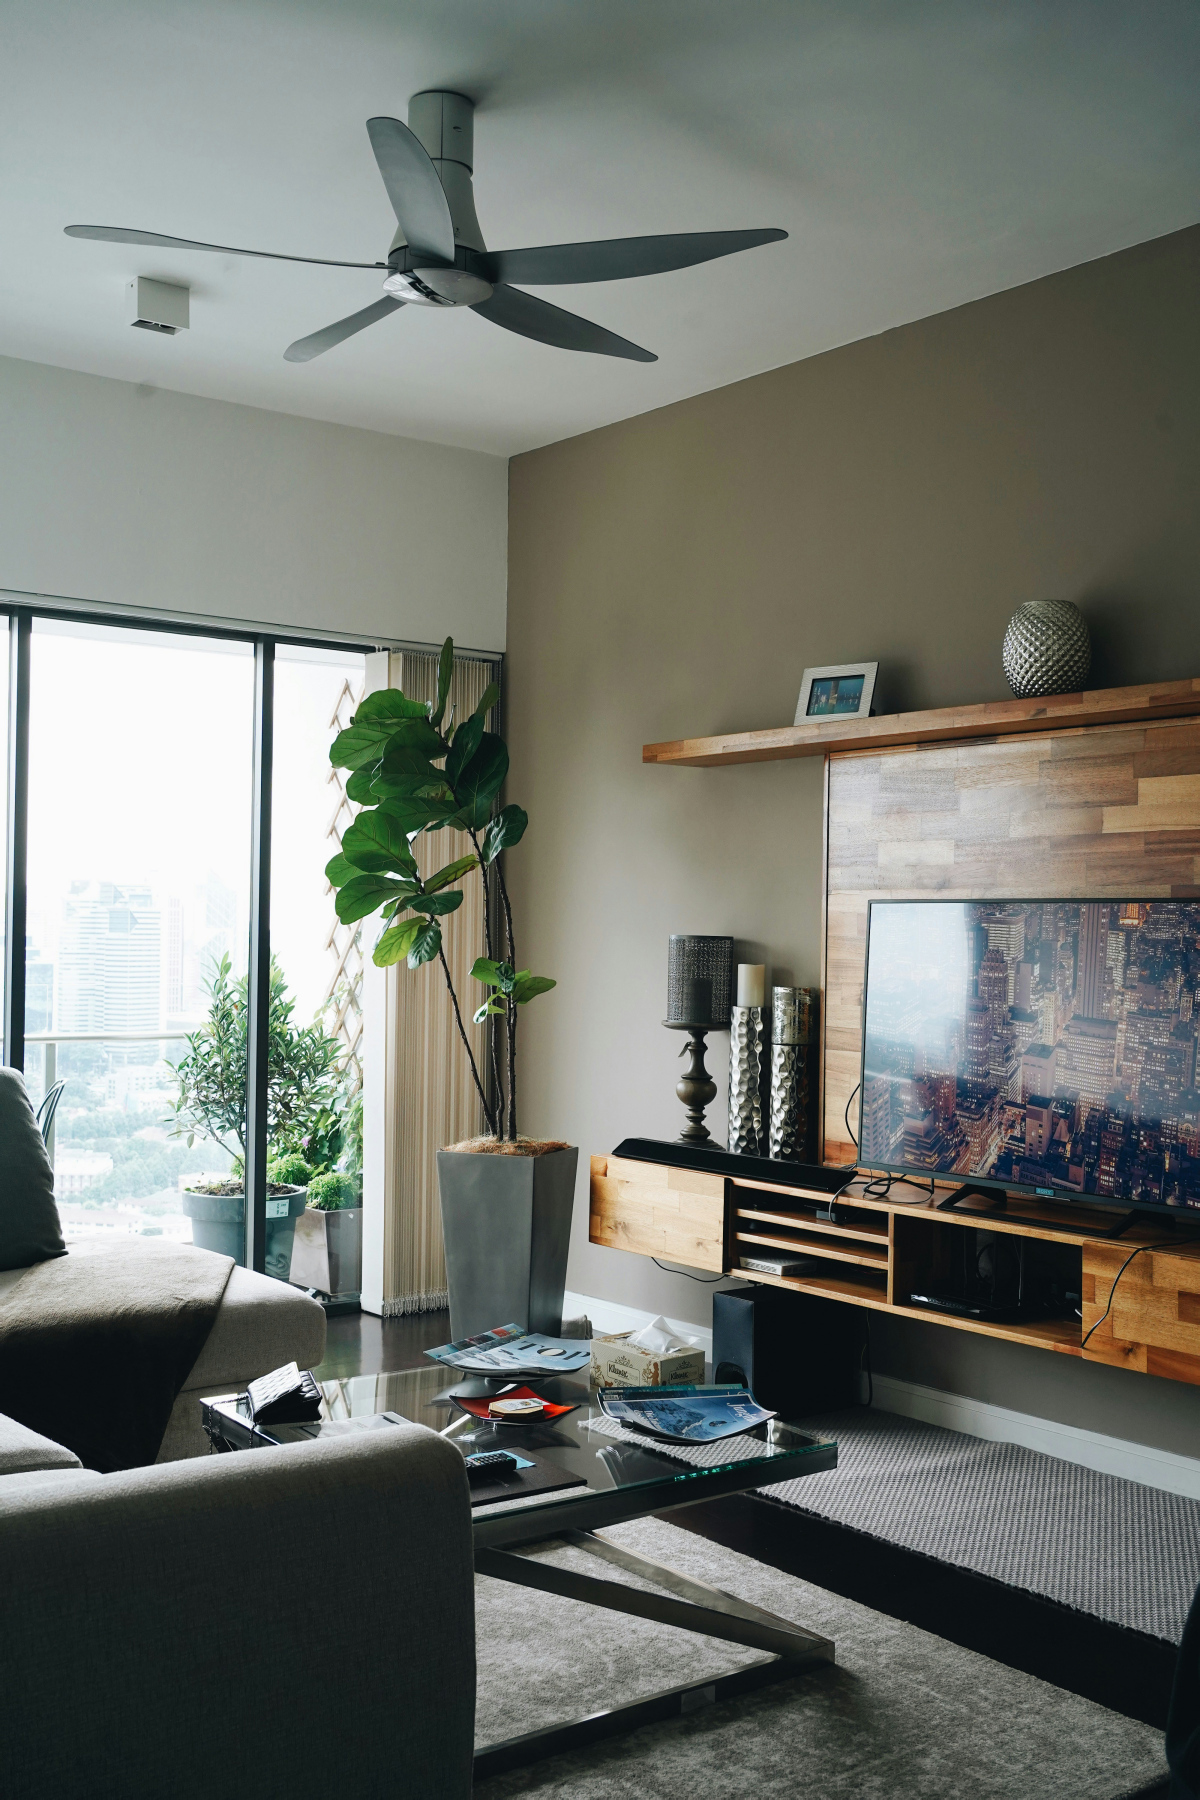
For ceilings 10 feet and up, a fan is an essential tool. But here’s a critical detail: the fan needs a downrod (the pipe connecting it to the ceiling) long enough to position the blades about 8-9 feet from the floor. A fan mounted flush against a 15-foot ceiling isn’t doing much. A longer downrod costs between $20 and $60 at a hardware store, and hiring an electrician to install it might run you $100-$200, but the improvement in comfort is well worth it.
Does Your Fan Fit the Room?
A tiny fan in a giant room won’t do much. As a general rule of thumb:
- For small rooms like an office or guest room (under 75 sq. ft.), a 36-inch fan is fine.
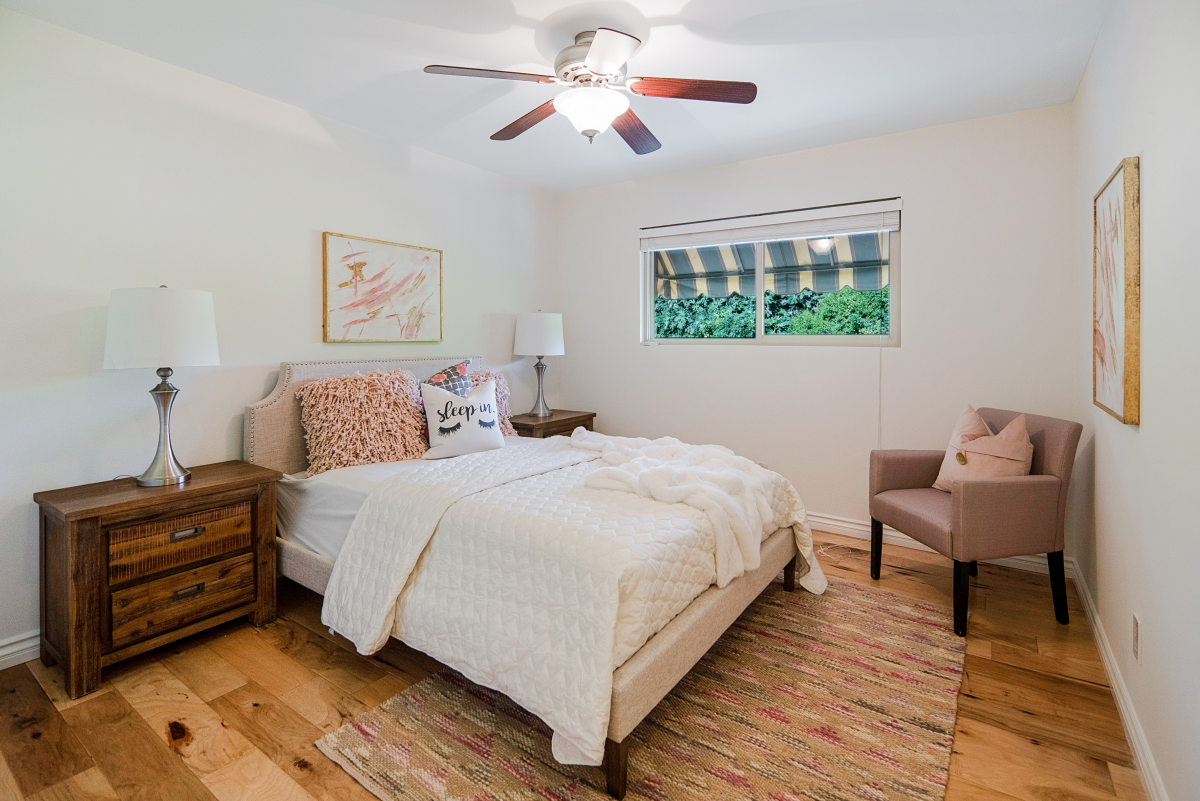
- For most standard bedrooms and living rooms (up to about 175 sq. ft.), you’ll want a 42- to 52-inch fan.
- For large, open-concept spaces, go with a 52-inch fan or even larger. Two fans might even be necessary for really big areas.
Works Great with Any Heating System
This trick is especially effective with certain heating types. If you have a wood stove or fireplace, it’s a game-changer for moving that intense heat from one spot around the rest of the house. For forced-air systems, it helps distribute the air from vents more evenly, and for radiators or baseboard heaters, it speeds up the natural convection process.
Common Problems and Smart Home Tricks
Sometimes things don’t go as planned. Here are a few common hiccups I’ve seen.
- Problem: My fan has no reverse switch at all.
Solution: Unfortunately, some very old or super cheap fans were made for summer only. There’s no fix for this other than replacing the fan. - Problem: The remote’s reverse button does nothing.
Solution: Honestly, nine times out of ten, the battery is just dead. Try a fresh one first! If that doesn’t work, you might need to re-pair the remote to the receiver in the fan’s canopy, which is a bit more involved. - Problem: My fan makes a loud humming noise.
Solution: This is often a DIY mistake. If someone installed a standard light dimmer switch instead of a proper fan-rated speed control, it can cause the motor to hum and even damage it. You’ll need an electrician to install the correct type of switch. Expect this to take about an hour and cost between $75 and $150, depending on their rates.
Automating with Smart Home Tech
If you love to set it and forget it, you can automate this. Some newer DC-motor fans have smart controls built-in. For older fans, you can install a smart fan controller from brands like Bond or Lutron. You can find them online or at stores like Home Depot for between $50 and $100. You can program them to automatically switch the fan to clockwise on low whenever your smart thermostat calls for heat. Pretty cool, right?
When to Call a Professional
While reversing a fan is simple, any work with ladders and electricity has risks. A crucial safety point is that a ceiling fan MUST be installed in an electrical box rated to hold its weight and vibration. A standard plastic box for a light fixture won’t cut it. If you’re not sure, it’s always best to have a licensed electrician take a look.
Give the pros a call if you need to install a new fan, add a longer downrod, or fix a fan that hums, wobbles severely, or just isn’t working right. Your safety is worth the cost of a service call.

Reversing your ceiling fan for the winter is genuinely one of the most effective and overlooked energy-saving tips out there. It’s a simple, 10-minute task that uses equipment you already own to make your home more comfortable and lower your bills. It’s a small time investment that pays off all winter long.
Galerie d’inspiration

Before you flip that switch for the season, give your fan blades a quick clean. Dust settles on the top surface all summer, and reversing the fan will send it flying. The easiest trick? Slip an old pillowcase over a blade and slide it back, trapping all the dust inside. Repeat for each blade, and you’re ready for a dust-free, cozy winter.
Running your fan in winter can reduce your heating costs by up to 15%.
That’s a significant saving over a whole season! This efficiency boost, confirmed by energy studies, means your heating system doesn’t have to work as hard to maintain the temperature on your thermostat. You’re not just feeling warmer; you’re actively lowering your energy consumption and your monthly bill.
What’s the right speed for winter mode?
The key is gentle circulation, not creating a breeze. Always use the lowest possible speed for your fan’s winter (clockwise) setting. The goal is to slowly push the warm air from the ceiling down along the walls without creating a noticeable draft. If you can feel the air moving directly under the fan, the speed is likely too high.
Modern & Smart Fans: Many new fans from brands like Minka-Aire or Big Ass Fans don’t have a physical switch on the housing. Instead, the reverse function is on the remote control or in the smart home app. Look for a button with a circular arrow icon. Often, you need to press and hold it for a few seconds to change the direction.
Traditional Fans: These almost always have the small, physical toggle switch on the motor housing. Just make sure the fan is completely stopped before you flip it.


