Why Are My Orchid Leaves Turning Yellow? (And How to Fix It)
I’ve spent what feels like a lifetime with my hands in orchid pots, from the steamy benches of commercial greenhouses to the curated grow shelves of serious collectors. And in all that time, the one question that pops up more than any other is, “Why are my orchid’s leaves turning yellow?”
In this article
Think of a yellow leaf as your plant’s way of sending up a flare. It’s a signal that something in its world isn’t quite right. But here’s the good news: it’s rarely a death sentence. It’s just a puzzle waiting to be solved.
I learned this lesson the hard way. Early in my career, we had a massive batch of gorgeous Phalaenopsis orchids ready for sale. Then, almost overnight, the bottom leaf on nearly every single plant started to go pale. Panic mode activated. We scoured them for pests, diseases, you name it. The culprit? A well-meaning new helper had been a little too generous with the watering can. The roots were suffocating in the constantly soggy bark. It was a costly mistake, but it taught me that the most direct answer is usually the right one. Let’s get to the bottom of what your orchid is trying to tell you.
First: Is It Actually a Problem?
Before you start diagnosing, let’s make sure there’s even an issue. Sometimes, a yellow leaf is totally normal.
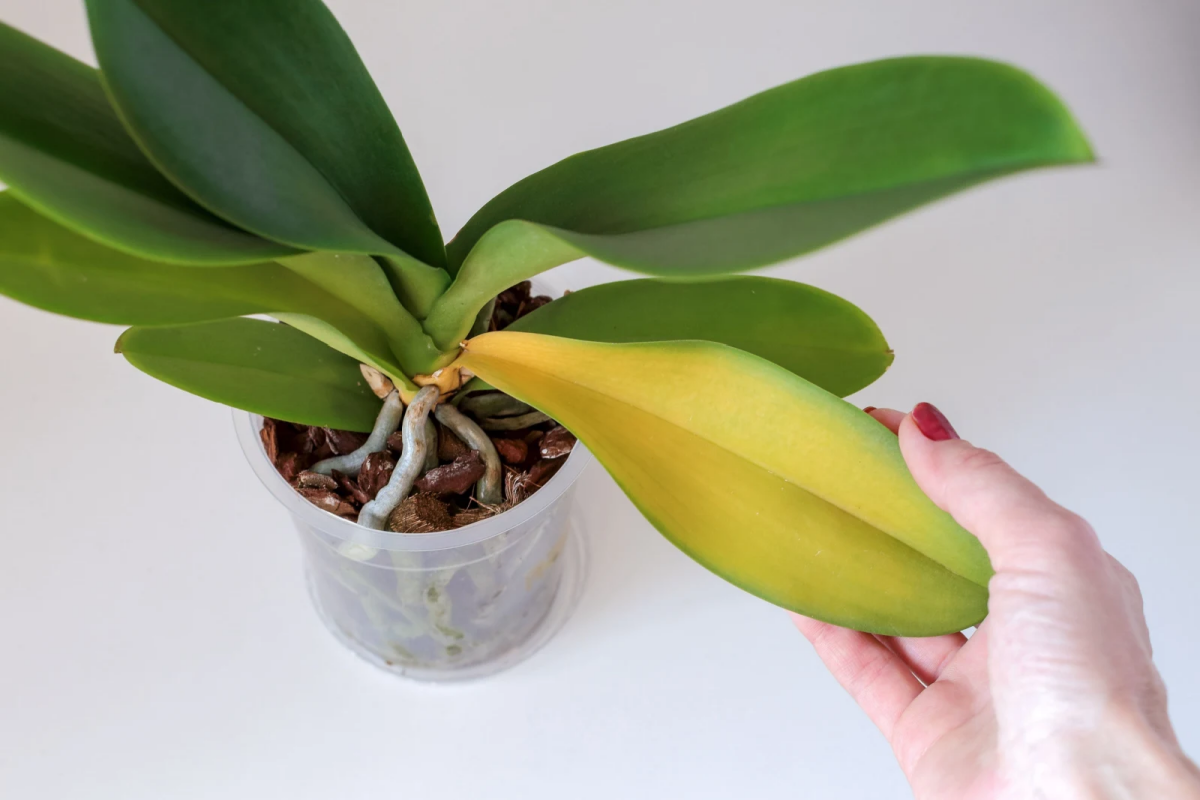
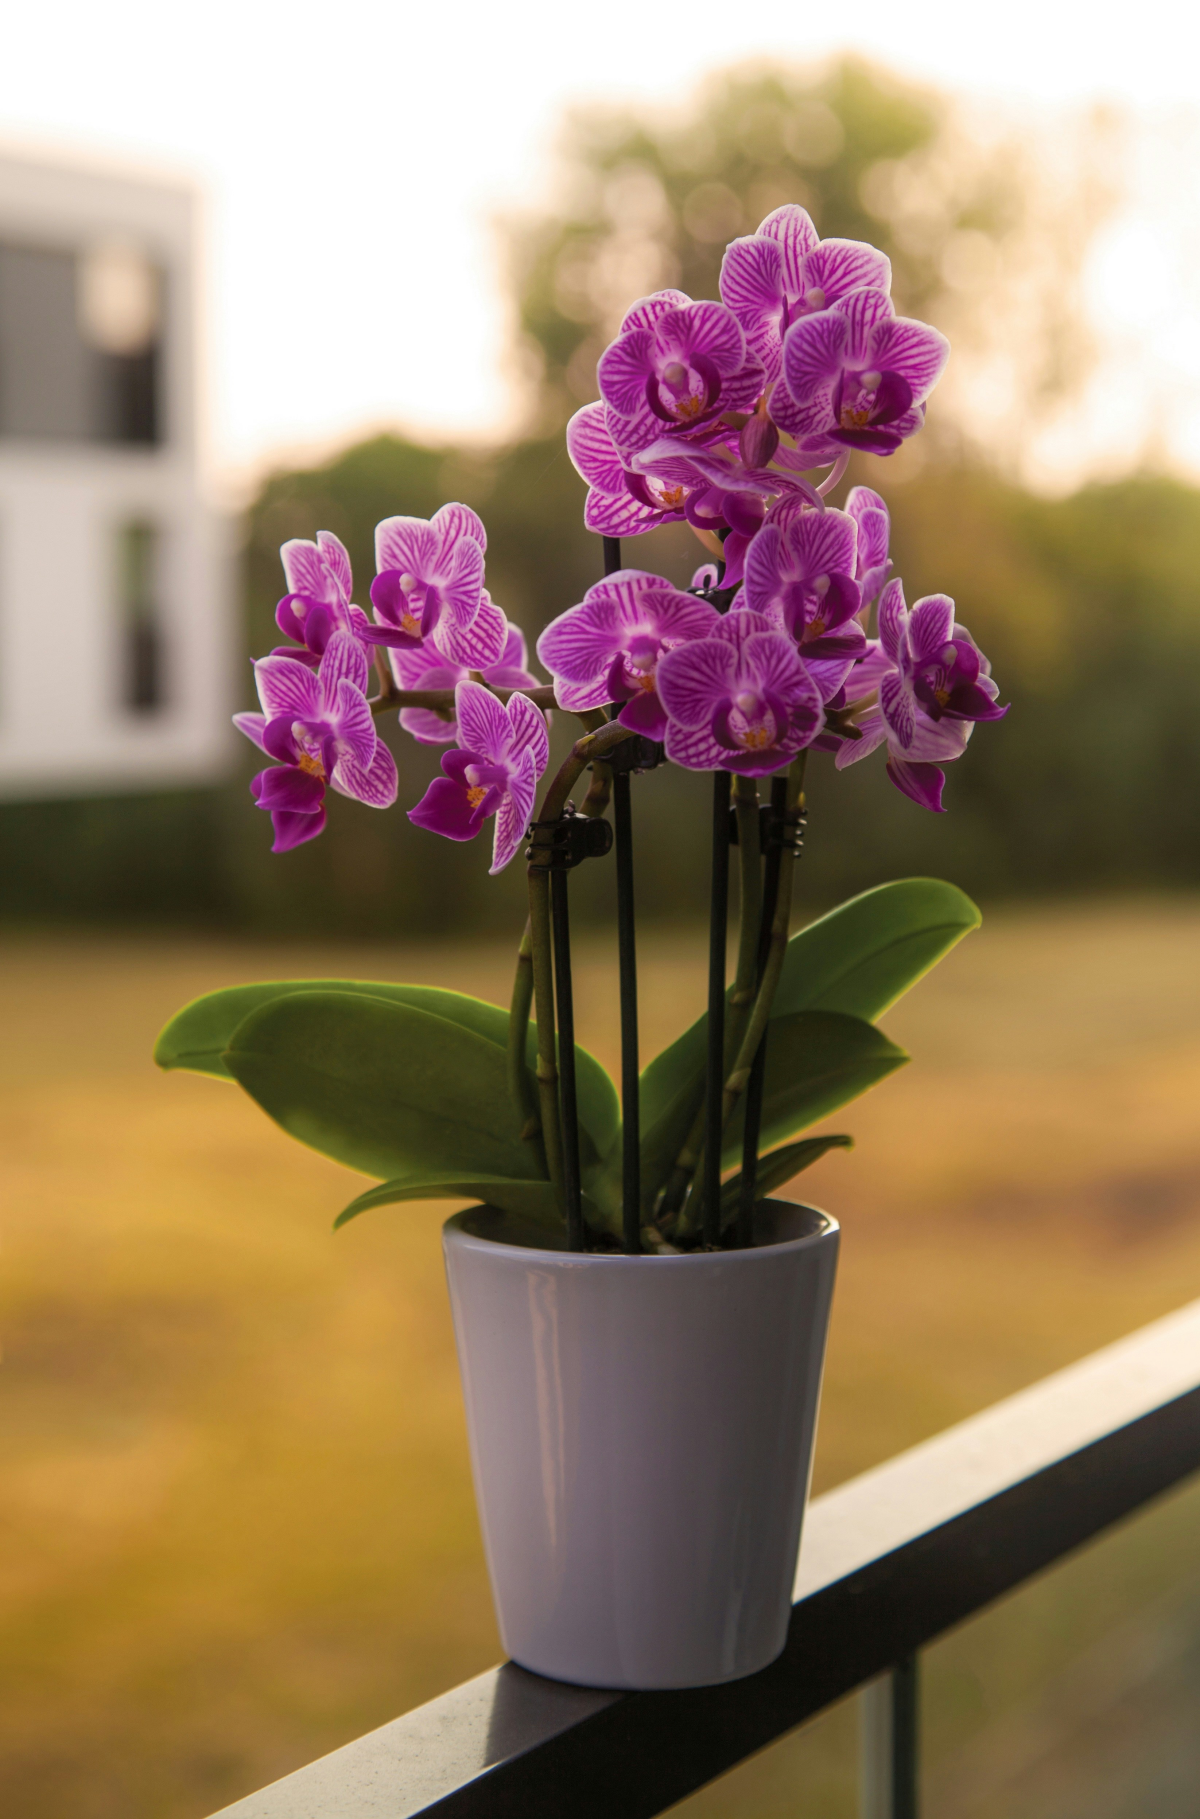
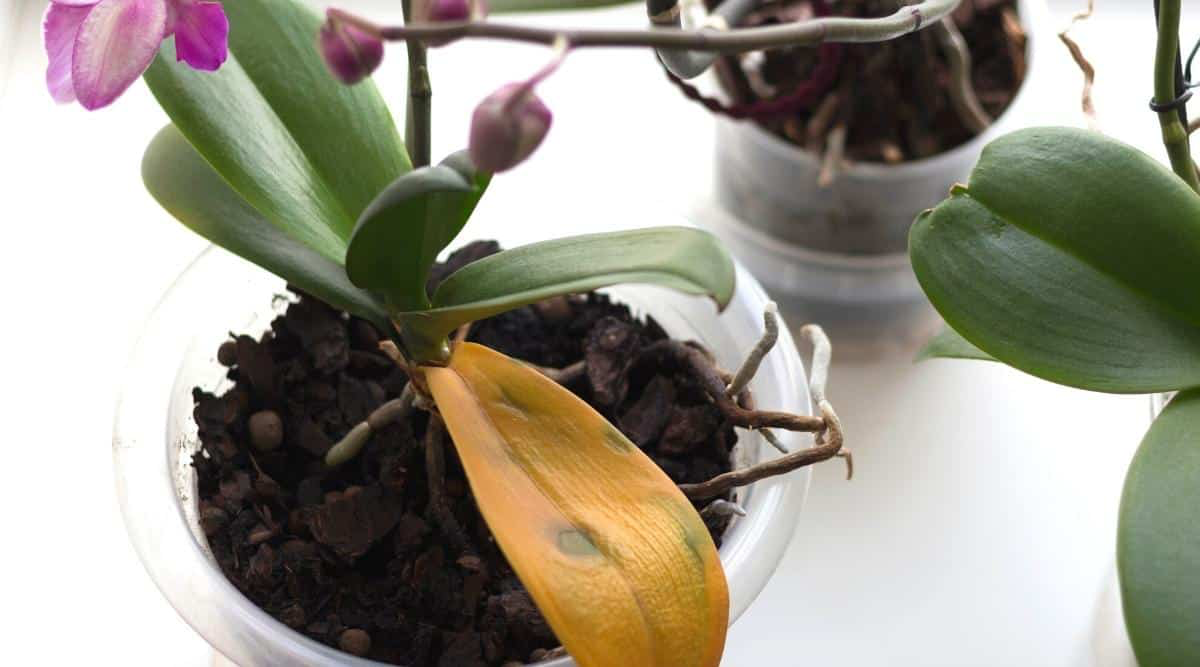
For orchids that grow from a single stalk (the pros call them monopodial), like the popular Phalaenopsis or Vanda types, shedding old leaves is part of the life cycle. The very bottom, oldest leaf will slowly and evenly turn yellow. It’ll stay firm for a bit, then get thin and papery before falling off on its own. This is your plant simply recycling energy from an old, inefficient leaf to fuel new growth up top. Just let it be. Cutting it off prematurely can create a wound that invites infection.
A real warning sign is when you see something different, like:
- Several leaves turning yellow at once.
- The yellowing starts on a newer leaf in the middle or top, not the bottom.
- The color is splotchy, streaky, or has weird spots.
- The leaf feels soft, mushy, or—and this is a big one—has a bad smell.
- You spot other red flags, like limp leaves or visible bugs.
If you’re nodding along to any of these, it’s time to play detective. And our first suspect is always water.

The #1 Culprit: The Delicate Dance of Water and Roots
Most orchids we keep at home are epiphytes, meaning in the wild, they grow on trees, not in soil. Their roots are built for a cycle of a sudden downpour followed by air drying them out. They need to breathe.
The problem starts when the potting mix stays waterlogged. Without air pockets, the roots can’t get oxygen, so they start to die and rot. And here’s the irony: rotting roots can’t absorb water. So, an overwatered orchid is actually dying of thirst. The leaves turn yellow and go limp because the plant is dehydrated, even though its pot is soaking wet.
Overwatered vs. Underwatered: Telling Them Apart
This is where most new orchid parents trip up. It’s confusing because both can cause yellow, limp leaves. Here’s how to spot the difference.
Signs of an OVERWATERED Orchid:
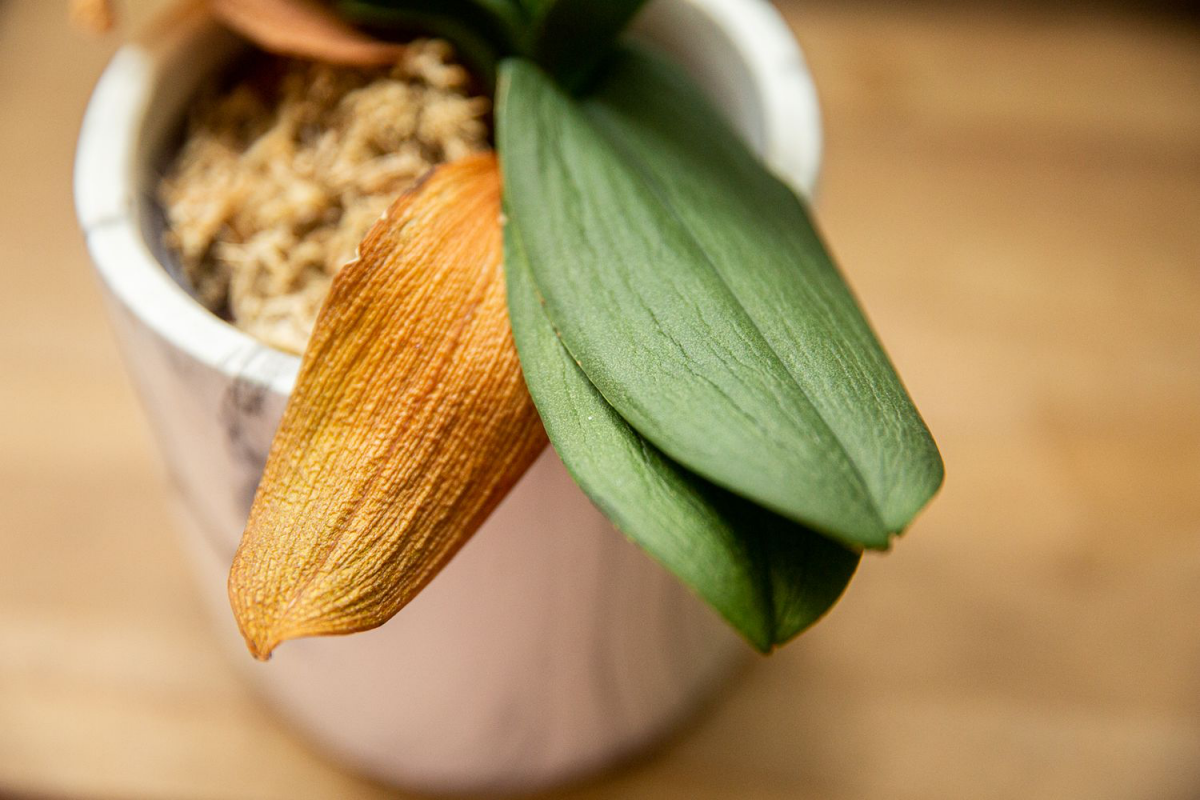
- The Leaves: They turn a dull, almost muddy yellow. The texture is key—they’ll feel soft, limp, and even a bit mushy.
- The Pot: It will feel consistently heavy. You might even see a bit of green algae or mold on the surface of the bark.
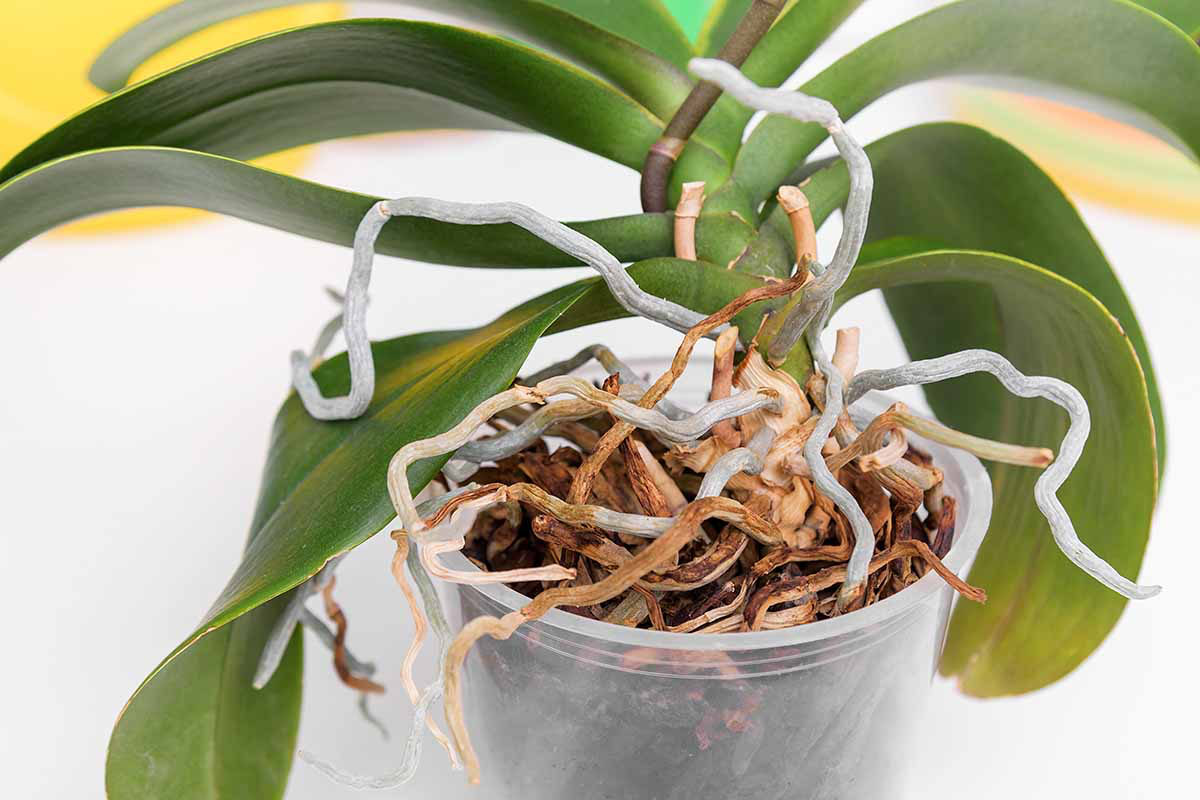
- The Roots: This is the definitive test. Healthy roots are firm and plump (silvery-white or green when dry, bright green when wet). Rotting roots are brown or black, squishy, and may have a swampy smell. Sometimes the outer spongy layer will slide right off, leaving a stringy core.
Signs of an UNDERWATERED Orchid:
- The Leaves: They’ll look more leathery, wrinkled, or crinkled, like an accordion. The yellow is often a brighter, drier color.
- The Pot: It will feel surprisingly light when you pick it up.
- The Roots: They will look dry and maybe a little shriveled. They might be brittle or papery to the touch.
Lesser-known trick: If you’re still not sure, try the wooden skewer test. Just grab a cheap bamboo skewer (like for kebabs). Gently push it into the center of the potting mix, leave it for a minute, then pull it out. If it comes out dark and damp, your orchid is not thirsty. If it comes out clean and dry, it’s time to water. It’s a foolproof method!
How to Save a Drowning Orchid (Root Rot Surgery)
If you’ve diagnosed root rot, you have to act fast. Think of it as a necessary medical procedure for your plant.
What You’ll Need:
- Clean, sharp pruning shears or a razor blade. Sterilize them with rubbing alcohol!
- Fresh orchid potting mix. A good quality mix of fir bark, charcoal, and perlite is standard and will cost you between $8 and $20 for a bag that will last a while.
- A new pot. Often, you’ll need one size smaller if you remove a lot of dead roots. You can find suitable pots for $5-$15 at garden centers.
- Ground cinnamon (optional, but a great natural fungicide).
Step-by-Step Recovery:
- Unpot Carefully: Gently ease the orchid out of its pot. If roots are clinging for dear life, it’s better to carefully cut the pot away than to yank and break healthy roots.
- Wash Away the Old Gunk: Take the plant to the sink and gently rinse all the old, decomposed mix off the roots.
- Be Ruthless: This is the most important part. Using your sterile shears, cut off every single dead root. If it’s mushy, hollow, or black, it has to go. Squeeze the roots if you’re unsure; healthy ones are firm.
- Assess the Damage: Take a look at what’s left. A decent web of healthy roots is a great sign. If you’re down to just one or two, the road to recovery will be long.
- Treat the Wounds: You can lightly dust the cut ends with ground cinnamon to help them dry out and prevent infection. Let the whole plant air dry for a few hours or even overnight so the cuts can callous over.
- Repot: Choose a pot that just fits the remaining roots. Too big a pot holds too much water, which is how you got here in the first place! Settle the plant in and fill around it with fresh, DRY mix.
- Aftercare is CRUCIAL: Do not water it right away. Give it about a week to heal. Then, water sparingly. With fewer roots, it needs much less water. Keep it in slightly lower light to reduce stress, and be patient. It can take months to see new growth.
Oh yeah, a common mistake is leaving the orchid in its plastic nursery pot inside a decorative cache pot. After watering, people forget to dump the excess water out of the decorative pot. The orchid ends up sitting in a puddle, which is a one-way ticket to root rot. Always dump the excess water!
Your Orchid’s Environment Matters
Sometimes, the problem isn’t your watering can, but the world you’ve created for your plant.
Getting the Light Right
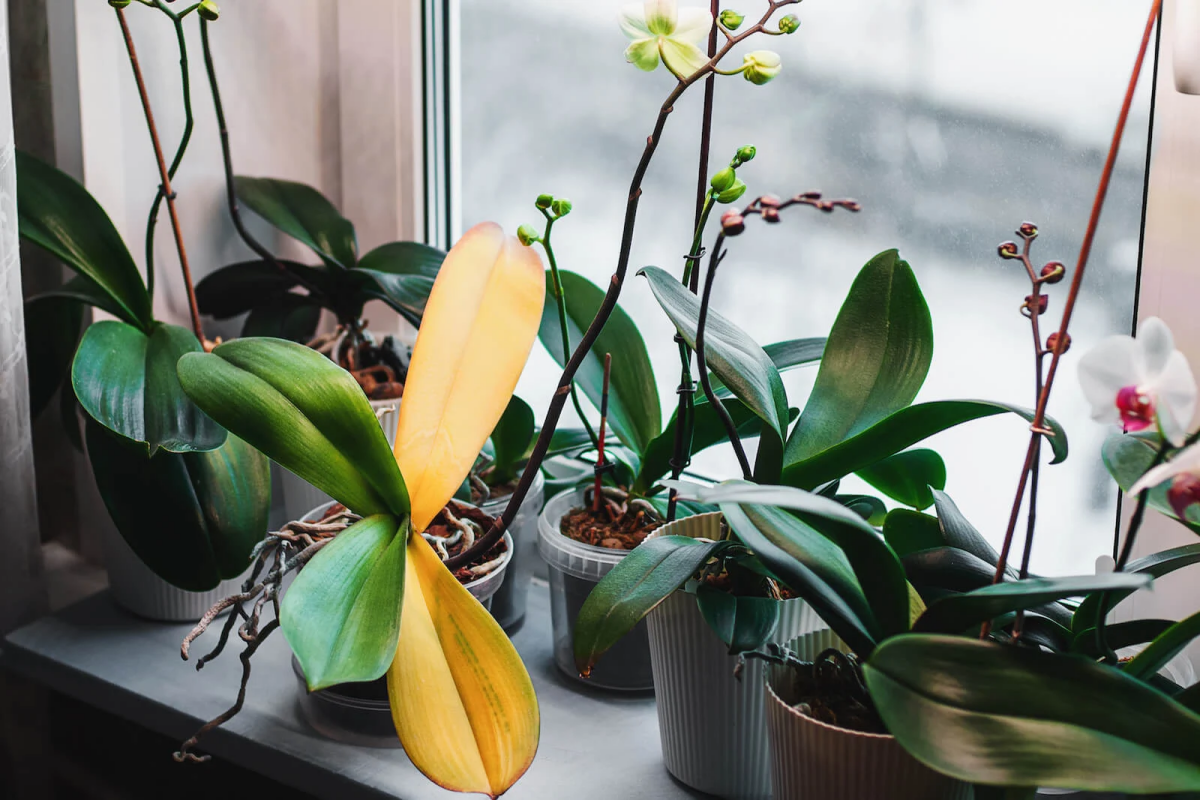
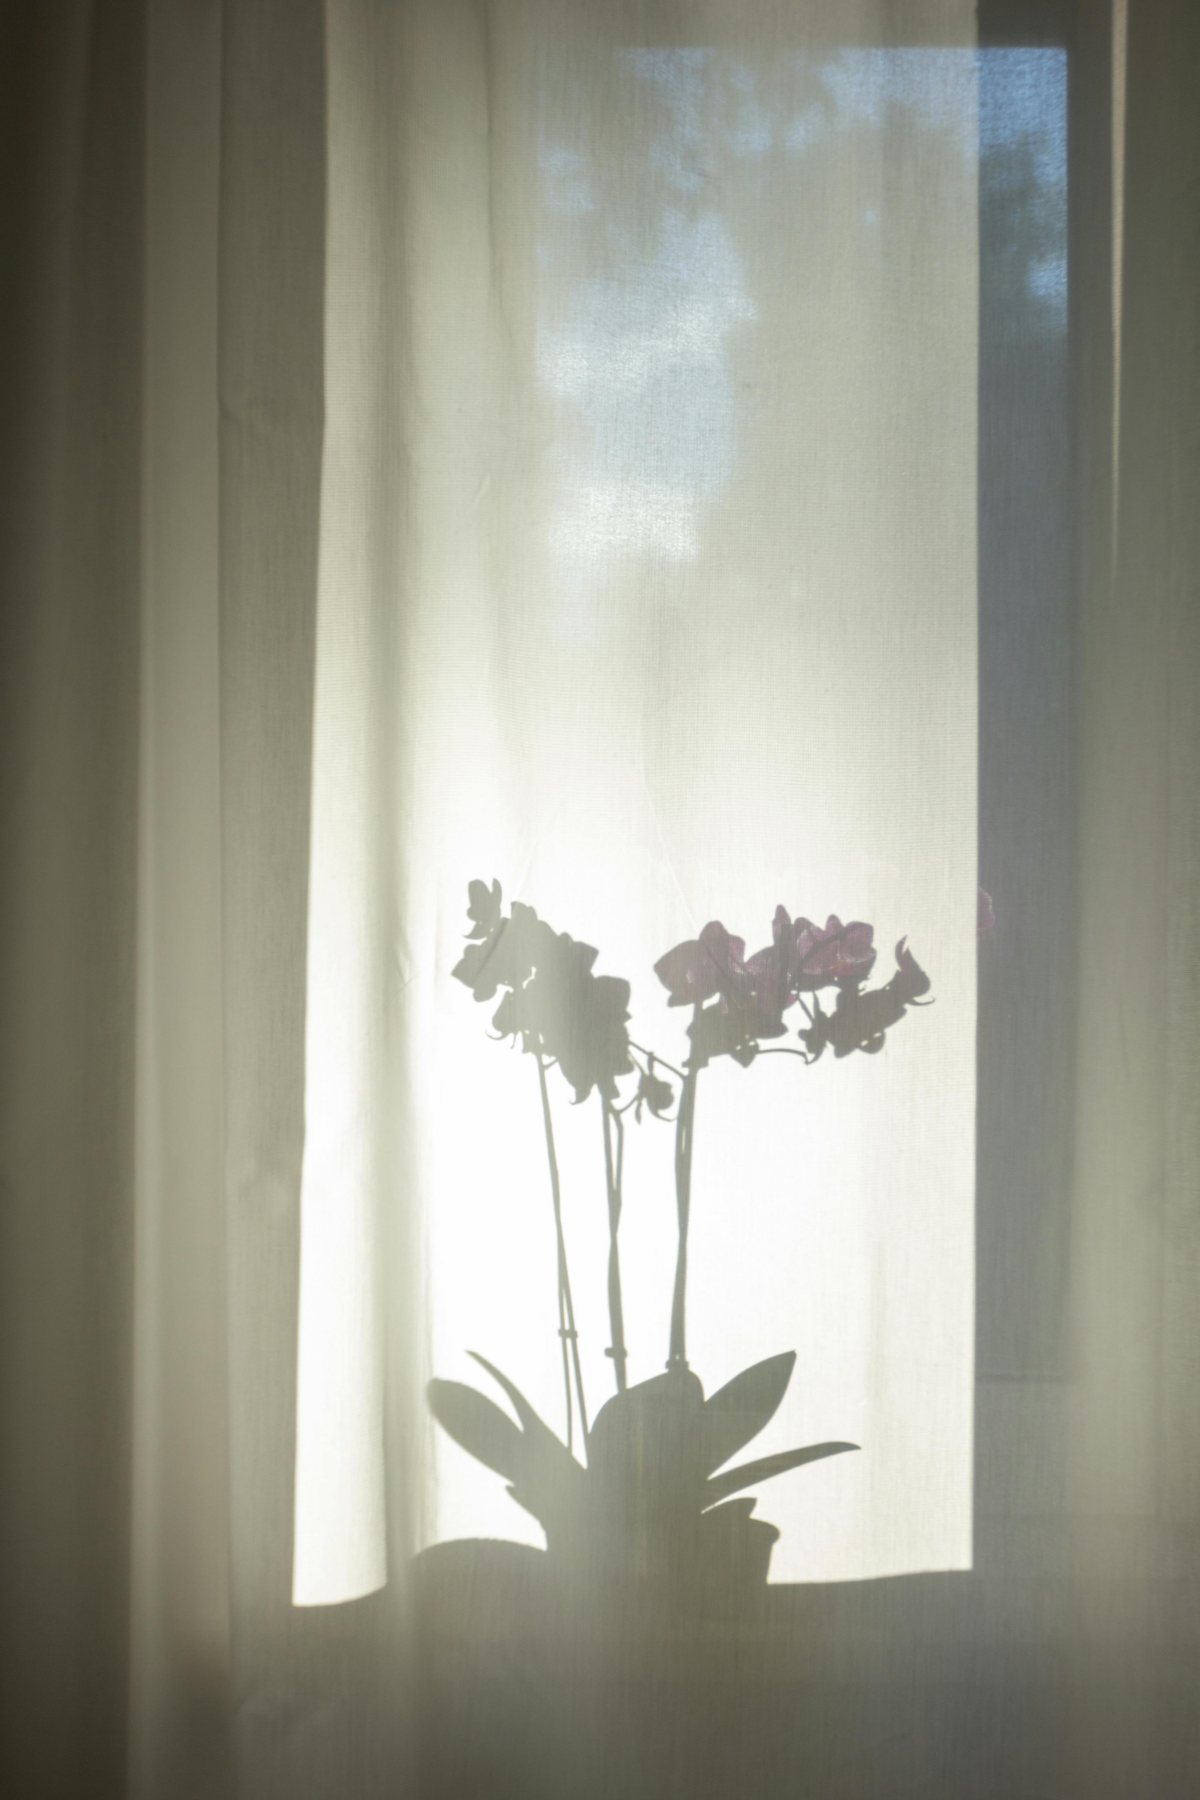
Too Much Light: We’re talking sunburn. Direct, harsh sunlight will literally cook the chlorophyll in the leaves, leaving a bleached white or yellow patch that can eventually turn black and crispy. Immediately move the plant to a spot with less direct sun. An east-facing window with gentle morning light is often perfect. A sheer curtain can diffuse the light from a south or west window.
Too Little Light: The first sign is super dark, forest-green leaves. While it might look healthy, the plant is actually struggling to capture every last photon of light. It will refuse to bloom, and eventually, it will start dropping its lower leaves to conserve energy. Stuck with a north-facing window? To be frank, that’s a tough spot for most orchids. You’ll almost certainly need to supplement with a simple LED grow light to keep it happy. You can get a single bulb for under $20 that screws into any standard lamp.
Let’s Talk Pots
The pot you choose has a huge impact on watering and root health. Those clear plastic pots with lots of slots are fantastic for beginners because you can literally see the roots and the moisture level in the mix. Terracotta is another option; it’s porous and breathes well, which roots love, but it also dries out very quickly, so you’ll need to water more often.
Temperature and Humidity
Orchids are tropical creatures; they hate sudden changes. A cold draft from an open window or a blast of dry air from a heating vent can cause leaves to yellow and drop. Most common orchids enjoy temps between 75-85°F during the day, with a small dip at night. And for humidity? Our homes are usually too dry. Misting is a temporary fix at best. A much better solution is a simple humidity tray—just a shallow tray filled with pebbles and water. Place the pot on top of the pebbles, ensuring the bottom of the pot isn’t touching the water.
Food, Pests, and Other Troubles
If your water and environment are on point, it’s time to look at a few other culprits.
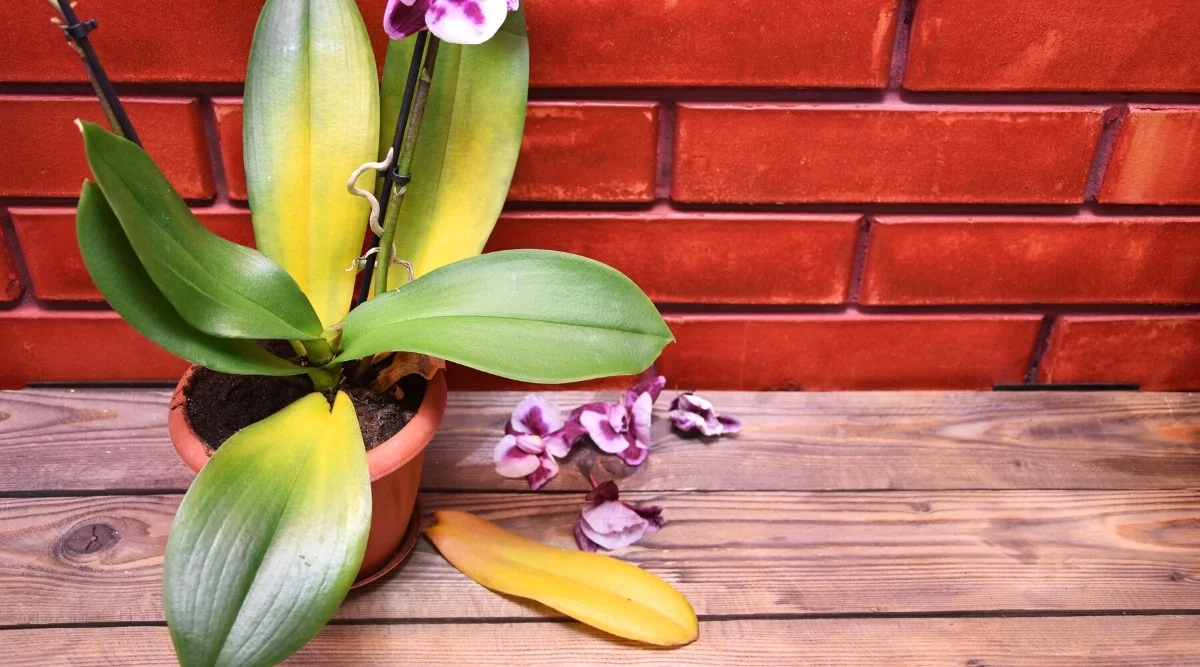
Feeding: An orchid in a pot is 100% reliant on you for food. A lack of nitrogen is the most common issue, causing—you guessed it—the oldest, lowest leaves to turn yellow. The fix is simple: fertilize “weakly, weekly.” Use a balanced orchid fertilizer diluted to 1/4 strength and use it with every watering during the growing season. Once a month, flush the pot with plain water to wash out any salt buildup.
Bad Potting Mix: That bark mix doesn’t last forever. After a year or two, it breaks down into a dense, soil-like mush that holds too much water and suffocates roots. If your plant was thriving and suddenly starts to fail, old mix is a likely suspect. The solution? Repot it in fresh mix!
Pests and Disease: Get up close and personal. Check under the leaves and in the crevices. Tiny spider mites cause a silvery, stippled look. Mealybugs look like little bits of cotton. Scale looks like hard bumps. For small outbreaks, a cotton swab dipped in rubbing alcohol will do the trick. For bigger issues, use horticultural oil or insecticidal soap. Heads up! Always use these products in a well-ventilated area (like outside) and test on one leaf first to make sure it doesn’t harm the plant.
A Final Word
Solving a yellow leaf mystery is really just a process of elimination. Start with the most common cause and work your way down the list. Is it just one old leaf? Check your watering habits. Look at the roots. Evaluate the light. When was it last repotted?
Patience is the name of the game. Every yellow leaf is a message. Learning to read those messages is what makes growing these plants so incredibly rewarding. Don’t get discouraged. Pay attention, stay consistent, and your orchid will thank you with years of beauty.
Galerie d’inspiration
A common myth to bust: Don’t water your orchid with ice cubes. While trendy, the extreme cold can shock the delicate tropical roots, causing cellular damage that leads to… you guessed it, yellowing leaves. Always use tepid, room-temperature water to keep your plant happy.
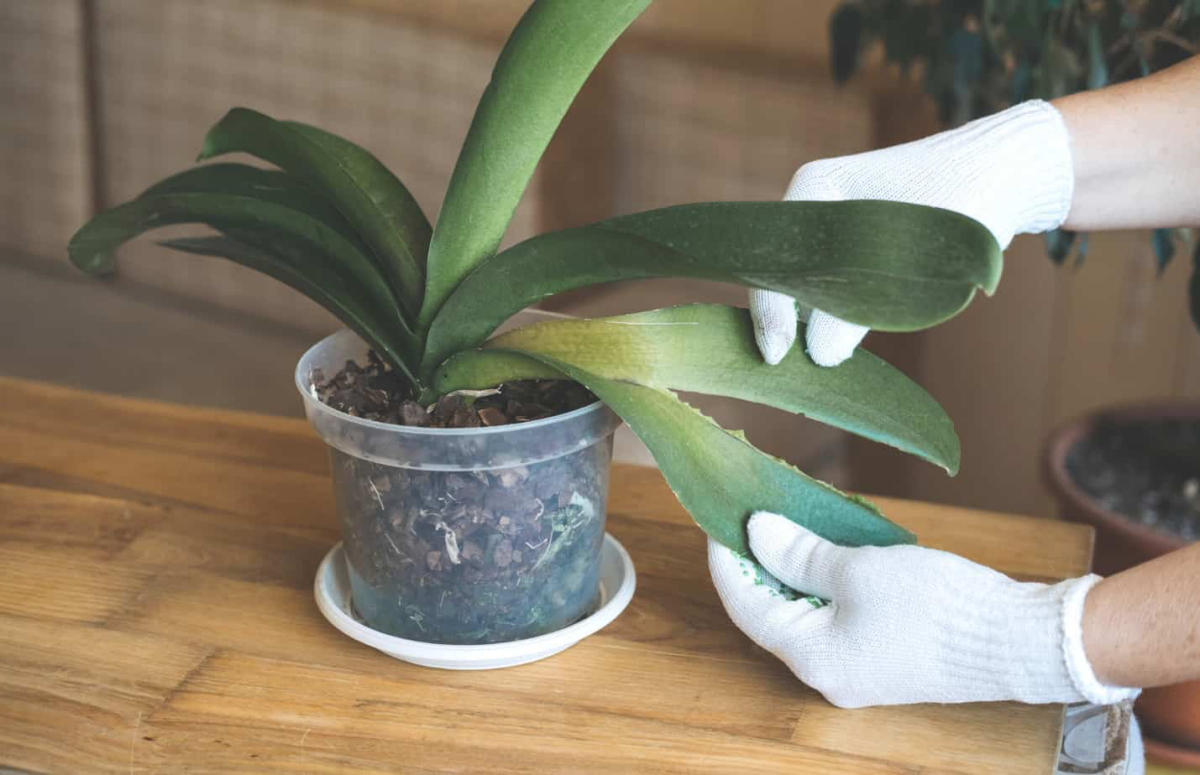
Are those silvery roots escaping the pot a bad sign?
Quite the opposite! These are aerial roots, and they are a sign of a healthy, vigorous orchid. In their native environment, orchids are epiphytes—they grow on other plants, not in soil. These roots are designed to absorb moisture from the air. Let them roam free; trying to force them back into the pot will only damage them and can lead to stress and yellow leaves.
Orchid roots often contain chlorophyll and can photosynthesize, just like leaves.
This is why clear plastic pots are so popular among enthusiasts. They aren’t just for checking moisture levels; they allow light to reach the roots, helping the plant create more energy. A healthy root system is the foundation for preventing leaf problems.
The right pot is more than just a decorative container; it’s a critical part of your orchid’s support system. Look for features that promote health:
- Clear Plastic Pots: These are a game-changer for beginners. They let you see the roots, so you know exactly when to water—wait until they turn from green to a silvery-gray.
- Slotted or Vented Pots: Ceramic or plastic pots with side vents provide superior airflow, which is the number one defense against the root rot that causes yellow leaves.
Fir Bark: Offers excellent aeration, mimicking an orchid’s natural treetop habitat. It dries out faster, reducing the risk of root rot for those prone to overwatering.
Sphagnum Moss: Retains moisture significantly longer. It’s great for orchids that need consistent humidity, but requires careful monitoring to avoid sogginess.
Many expert growers use a custom blend from suppliers like RepotMe.com to get the best of both worlds.
- Fewer mysterious yellow spots on leaves.
- Stronger, more resilient root growth.
- More energy directed towards producing spectacular blooms.
The secret? Consistent, gentle fertilization. Many growers swear by the ‘weakly, weekly’ method using a balanced, non-urea-based fertilizer like MSU Orchid Fertilizer at quarter-strength with every watering during the growing season. This avoids the chemical burn that can cause yellowing.
Don’t overlook the ‘rescue’ section at your local garden center. An orchid with yellowing leaves and a discounted price tag isn’t a lost cause—it’s an opportunity. With a simple repot into a fresh, airy medium and a little careful observation, you can often bring it back to stunning health. The satisfaction of seeing a new, green leaf emerge from a plant you saved is one of gardening’s greatest rewards.
Creating a micro-climate of higher humidity can prevent leaf-tip yellowing caused by dry air. A simple DIY humidity tray works wonders:
- Find a shallow tray or saucer wider than your orchid’s pot.
- Fill it with a layer of pebbles, decorative stones, or LECA.
- Add water until it’s just below the top of the pebbles.
- Place your orchid pot on top of the stones. The pot itself should not be sitting in water.
According to the American Orchid Society, a change in leaf color can be a direct indicator of light levels.
Leaf color is your orchid’s personal light meter. A healthy Phalaenopsis should have bright, olive-green leaves. If the leaves are a very dark, forest green, your plant is likely not getting enough light to trigger blooming. Conversely, leaves that are yellowish-green might be getting too much direct sun, which can lead to sunburn spots and, eventually, full yellowing.
If your orchid’s leaves look dull and the air in your home is dry, consider the water you’re using. Tap water can be high in minerals that build up in the potting medium over time, stressing the roots and causing yellow leaves. Every month or so, flush the pot thoroughly with distilled water or rainwater for 20-30 seconds to wash away these excess salts and give the roots a fresh start.


