Stop Tolerating Wet Socks: A No-Nonsense Guide to Fixing Leaky Boots
We’ve all been there. That first, ice-cold trickle of water that seeps through your boot and into your sock. It’s the absolute worst. For a lot of people, that’s the moment they give up on an otherwise perfectly good pair of boots. They either resign themselves to a life of damp feet or just toss them in the trash.
In this article
But honestly, you don’t have to do either. A comfortable, broken-in pair of boots is a treasure, and throwing them away over a leak is often a huge waste. It’s not just about comfort, either—chronically wet feet can lead to nasty stuff like blisters and fungal infections. The good news is that most leaks are totally fixable, and you can often do it yourself for less than the cost of a fancy lunch.
This isn’t about shoddy, temporary fixes. I’m going to walk you through the real-deal methods the pros use to find a leak, choose the right materials for the job, and get a repair that actually lasts. I’ll also give you the straight scoop on when a boot is a goner and it’s time to call it.
First, A Quick Look at How Your Boots Work
Before you can plug a hole, you have to understand why it’s there in the first place. A boot is a whole system, and a leak means one part of that system has failed. It almost always comes down to the materials or the way it was put together.
The Materials Making the First Stand
The upper part of your boot is its primary shield against the elements.
- Full-Grain Leather: This is the top-shelf stuff. It’s the outer layer of the hide, and its dense fibers are naturally great at repelling water. When you condition it properly, it does this cool thing where it swells just a tiny bit when wet, sealing itself up even tighter.
- Suede and Nubuck: These are also leather, but they’ve been buffed to get that soft, velvety feel. The downside is that this process opens up the fibers, making them want to soak up water like a sponge. They need special surface treatments to even stand a chance against rain.
- Synthetic Fabrics: Think materials like nylon or polyester, common in modern hiking boots. They’re light, but water goes right through the weave. Their waterproofing comes from a coating or, more often, an internal liner.
- Waterproof Membranes (The “Tech”): This is the secret sauce in most boots advertised as “100% waterproof.” It’s a super-thin layer of material with microscopic pores. Did you know the holes are about 20,000 times smaller than a water droplet but 700 times larger than a molecule of sweat? That’s how it keeps rain out while letting your foot breathe. It’s brilliant, but it’s also fragile. A sharp rock can puncture it, and once it’s compromised, the boot will leak, and the membrane itself is pretty much impossible to fix at home.
How It’s All Put Together
The seam where the boot upper meets the sole is the #1 spot for leaks. How that seam is built makes all the difference.
Cemented Construction: This is what you find on most sneakers and lighter boots. The sole is literally just glued to the upper. It’s a fast and cheap way to build footwear, but that glue can degrade over time from flexing and exposure to the elements. Once that bond fails, you’ve got a direct channel for water.
Welt Construction: This is the gold standard for durable, long-lasting boots. A strip of material (the welt) is stitched to both the upper and the midsole, and then the outsole is stitched to the welt. It creates a tough, highly water-resistant barrier that can be resoled again and again. Go grab your favorite pair of boots right now. Look at the edge of the sole where it meets the leather. See that visible line of heavy stitching holding it all together? That’s a welt. If it’s a smooth, seamless join, it’s probably cemented. Now you know!
Step 1: The Leak-Finding Mission
Don’t just start smearing goop on your boots. You need to be a detective and find the exact entry point. Guessing is a waste of time and sealant. The best way to do this is with a simple submersion test.
The Submersion Test: No More Guesswork
- Get ‘em Clean: First, scrub off all the mud and grime with a stiff brush and maybe a little saddle soap. Dirt can plug up small holes and give you a false sense of security. Let them dry completely.
- Get Ready: Grab a bucket or use your bathtub. Pull the laces and insoles out of the boots so you can see inside easily.
- Stuff the Boots: Pack the inside of each boot tightly with dry paper towels or a light-colored rag. Shove it all the way down into the toe.
- Submerge and Wait: Fill the tub with a few inches of cool water—just enough to cover the suspected leak area, usually up to the ankle. Quick tip: The boots might try to float or tip over. Toss a small rock or a heavy wrench inside each boot to weigh it down and keep it stable in the water. Now, let them sit for at least 30 minutes. If it’s a slow leak, you might even need an hour.
- Examine the Evidence: Pull the boots out and remove the paper towels. The damp spots on the towels will point you directly to the source of your leak. Wet toe? It’s probably the seam where the boot flexes. Wet along the side? You’re likely looking at a failed seam along the welt.
And just like that, you know exactly where to focus your repair.
Step 2: Picking the Right Tool for the Job
Now that you’re armed with knowledge, you can choose the right fix. Using the wrong product is a classic mistake. Forget about weird hacks like using candle wax; it’s brittle and just makes a mess.
Fixing Leaky Seams and Stitching
This is easily the most common issue, especially around the welt. A good seam sealer is what you need.
The Gear: The industry standard is a urethane-based sealant like Gear Aid Seam Grip WP. It dries into a tough, flexible, and completely waterproof rubber. You can find it at most outdoor stores like REI or order it online for about $9. All you need besides that is some rubbing alcohol (a couple of bucks at any pharmacy) and an old toothbrush.
The Technique:
- Prep is key. Seriously. Clean the seam with the toothbrush and some rubbing alcohol to get rid of any oils or grime. Let it air dry for a few minutes.
- Apply a thin bead of the sealer right onto the stitching.
- Work it in. Use the small brush to push the sealant deep into the stitch holes and along the seam. You want to fill every tiny void.
- Let it cure. This is the most important part. Urethane needs at least 24 hours in a dry place to fully harden. If you rush this, the repair will fail. Guaranteed.
Fixing Minor Sole Separation
If the sole is peeling away at the toe or heel (no more than a few inches), you can re-bond it yourself.
The Gear: First, a warning: DO NOT use super glue. Trust me on this one. I’ve had people bring in boots they ‘fixed’ with super glue, and it’s an absolute nightmare. The glue is brittle and shatters, making a proper repair ten times harder and more expensive. You need a dedicated, flexible shoe adhesive. For a pro-level job, you could order Barge Universal Cement. For something you can grab at Home Depot or a hardware store, Shoe Goo is a great, thick adhesive that works well. A tube will run you about $6-$10.
The Technique:
- Clean both surfaces. Open the gap and scrape out all the old dirt and glue. A small metal file or some coarse-grit sandpaper wrapped around a screwdriver works great if you don’t have a Dremel tool. Wipe both surfaces with rubbing alcohol.
- Apply the glue to both the sole and the upper.
- Wait for it to get tacky. This is a crucial step for contact cements. You have to wait about 10-15 minutes until the glue feels sticky, not wet.
- Press and clamp. Carefully press the two surfaces together. You only get one shot at alignment. The real strength comes from pressure, so wrap the repair tightly with duct tape or heavy-duty rubber bands.
- Let it fully cure. Don’t even think about wearing them for at least 24 hours. Honestly, 72 hours is even better for maximum bond strength.
When the Leather Itself is Leaking
If your test showed water just seeping through the leather, it means the material is dried out and needs to be reconditioned.
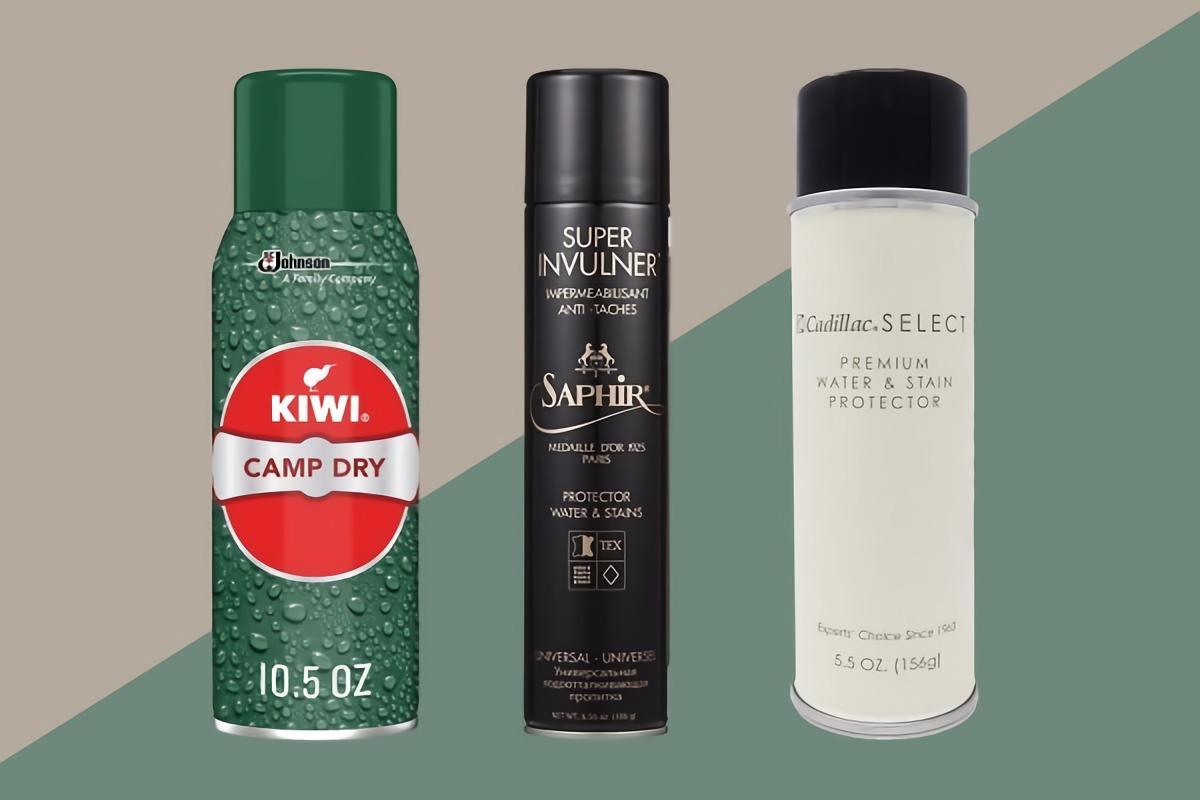
The Gear: This is a two-step process. First, a conditioner with natural oils like Obenauf’s Heavy Duty LP or Huberd’s Shoe Grease. Then, a wax-based waterproofer like Sno-Seal or Nikwax. A tin of either will cost between $10 and $20 and last you for years.
The Technique:
- Start with clean, dry boots, as always.
- Gently warm the leather. This is the secret pro-level trick. Use a hairdryer on a low setting. Hold it about 8 inches away and keep it moving. The leather should feel warm to the touch, like a coffee cup you can comfortably hold, but never so hot you have to pull your hand away. This opens up the pores.
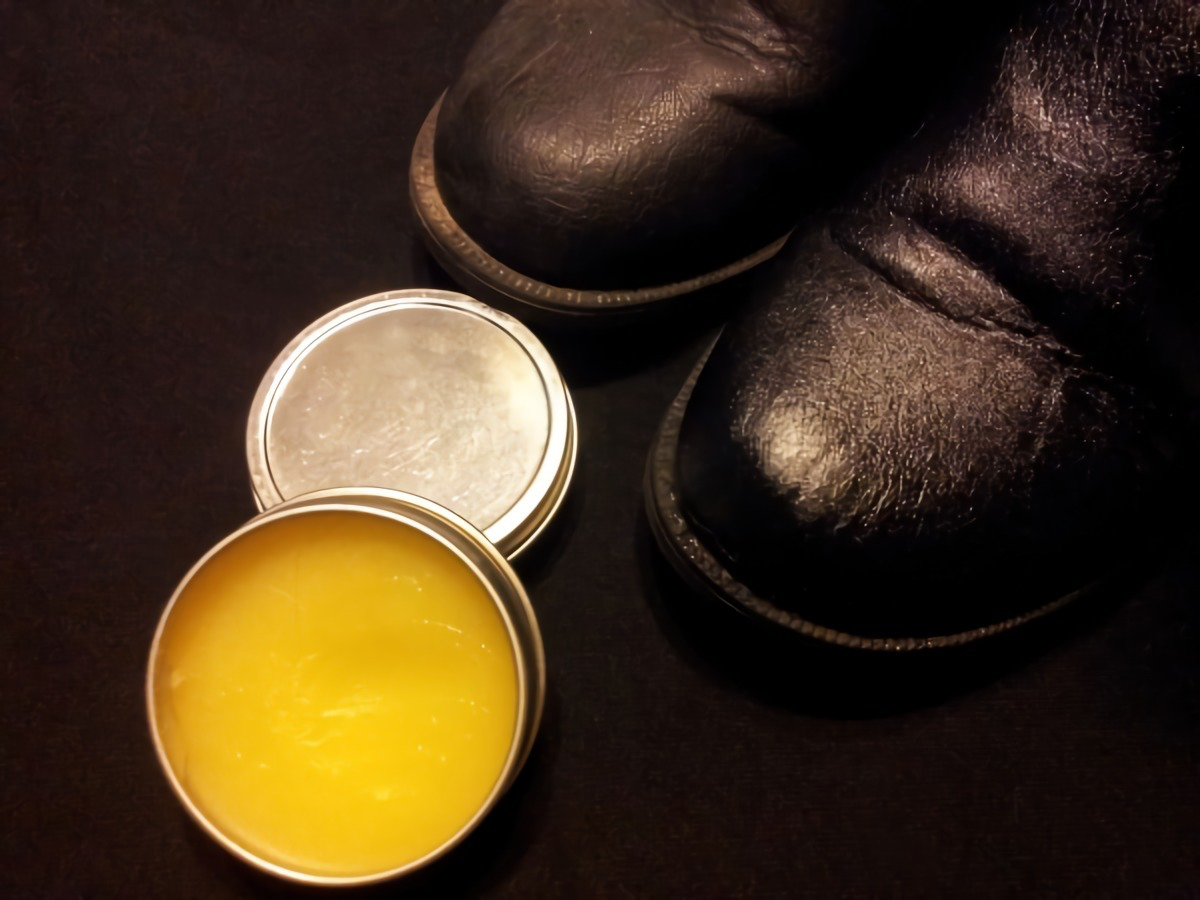
- Apply the conditioner first, working it in with your fingers or a soft cloth.
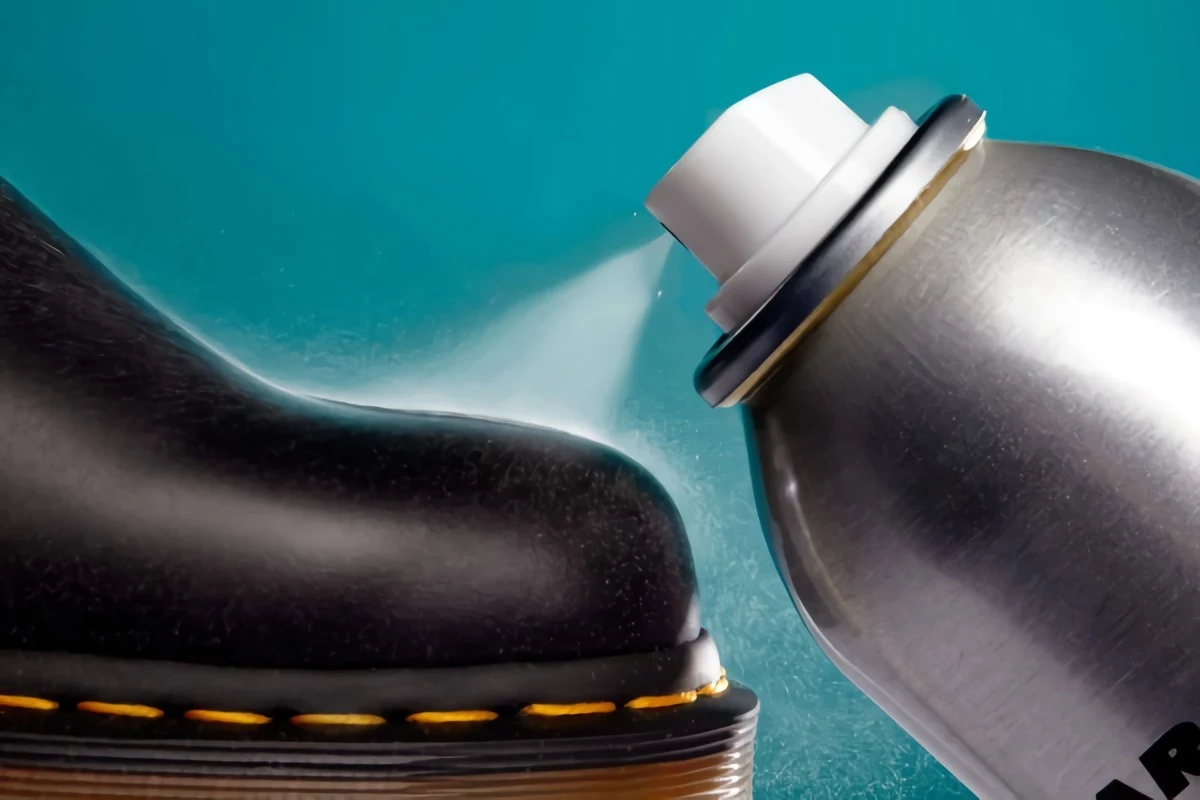
- After conditioning, apply the waterproofing wax. Use the hairdryer again to gently melt the wax so it flows right into the seams and leather.
- Wipe off any excess wax with a clean cloth and you’re good to go.
Do this at the start of every wet season to keep your boots in fighting shape.
Knowing When to Call in a Professional Cobbler
Look, I’m all for DIY, but it’s just as important to know your limits. A bad DIY attempt can make things worse. Here’s when to find a local repair shop:
- Major Sole Separation: If more than a third of the sole is flapping in the wind, it needs a full professional re-glue with industrial equipment.
- Cracked or Worn-Out Soles: If you have actual holes or deep cracks in the bottom of your sole, it needs to be replaced entirely (a “resole”).
- Punctured Waterproof Liner: If you’ve got a hole in that techy membrane, there’s no reliable home patch that holds up to the flexing of a boot.
Heads up on the cost: You have to ask if the repair is worth it. For a quality pair of welted boots that cost you $300, spending money on a resole is a fantastic value. Expect a professional resole to cost between $100 and $180, depending on the type of sole you choose and where you live. For a cheap, $60 pair of cemented boots? You’re probably better off putting that repair money toward a better replacement.

Final Thoughts: Buying Smarter Next Time
Seeing what fails on boots every day gives you a pretty clear idea of what makes a pair last. When it’s time for a new pair, remember what you’ve learned. If your budget allows, investing in a boot with welt construction is almost always worth it for the sheer durability and repairability. And please, take care of them from day one! Clean and condition them regularly. And never, ever dry wet boots by a fire or radiator—it cooks the leather and melts the glues. Just stuff them with newspaper and let them air dry slowly. A little care goes a long, long way.
Inspiration:
- A small, stiff brush to dislodge dirt from seams.
- Isopropyl alcohol for cleaning and prepping surfaces.
- A quality seam sealer, like Gear Aid Seam Grip WP, which remains flexible.
- Heavy-duty adhesive, such as Barge Cement, for sole delamination.
- Tough tape (Gorilla Tape or Tenacious Tape) for temporary field repairs.
The secret to a lasting repair? Having these five essentials on hand before you even spot a leak.
My “waterproof” boots make my feet clammy and wet. Are they leaking?
Not necessarily. This is often a breathability issue. A waterproof membrane like Gore-Tex works by letting sweat vapor out. But if the boot’s outer fabric (leather or synthetic) gets soaked and saturated—a condition called ‘wetting out’—the vapor can’t escape. It condenses inside, making your socks damp. The fix isn’t sealing a leak, but restoring the outer layer’s DWR (Durable Water Repellent) finish so water beads off instead of soaking in.

For Seam Leaks: Gear Aid Seam Grip WP is the gold standard. It’s a urethane-based adhesive that cures into a flexible, clear, and totally waterproof seal. It’s perfect for sealing stitched seams or small punctures on fabric and leather.
For Separating Soles: Barge All-Purpose Cement is a professional-grade contact adhesive. It’s the stuff cobblers use. Apply it to both the sole and the boot, let it get tacky, and press them together for a bond that’s stronger than the original.
Choose the right tool for the job; a seam sealer won’t hold a sole, and contact cement is too rigid for flexible seams.
The technology behind most modern waterproof boots, the expanded polytetrafluoroethylene (ePTFE) membrane, was discovered by accident in a DuPont lab in 1969.
That happy accident, commercialized as Gore-Tex, revolutionized outdoor gear. It created the first material that could block liquid water from the outside while allowing water vapor (sweat) to escape from the inside. Nearly every waterproof-breathable boot today owes its existence to that single moment of scientific serendipity.
A critical mistake: Applying a heavy wax or grease, like Sno-Seal, over a boot that has a synthetic waterproof-breathable liner. While excellent for conditioning and waterproofing traditional all-leather boots, these heavy-duty products will clog the pores of the outer fabric and leather, completely blocking the membrane’s ability to breathe. You’ll stop leaks, but you’ll be creating a personal swamp for your feet by trapping all your sweat inside.
Instead of just patching a worn area on the ankle or toe box, consider it an opportunity. A well-placed leather patch, perhaps from an old glove or belt, not only provides a robust repair but also adds a unique, personal story to your boots. Stitched on with heavy-duty waxed thread, it’s a visible testament to the adventures you’ve had and a badge of honor for a pair of boots saved from the landfill.


